
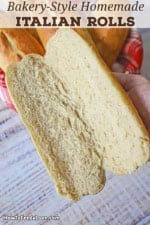

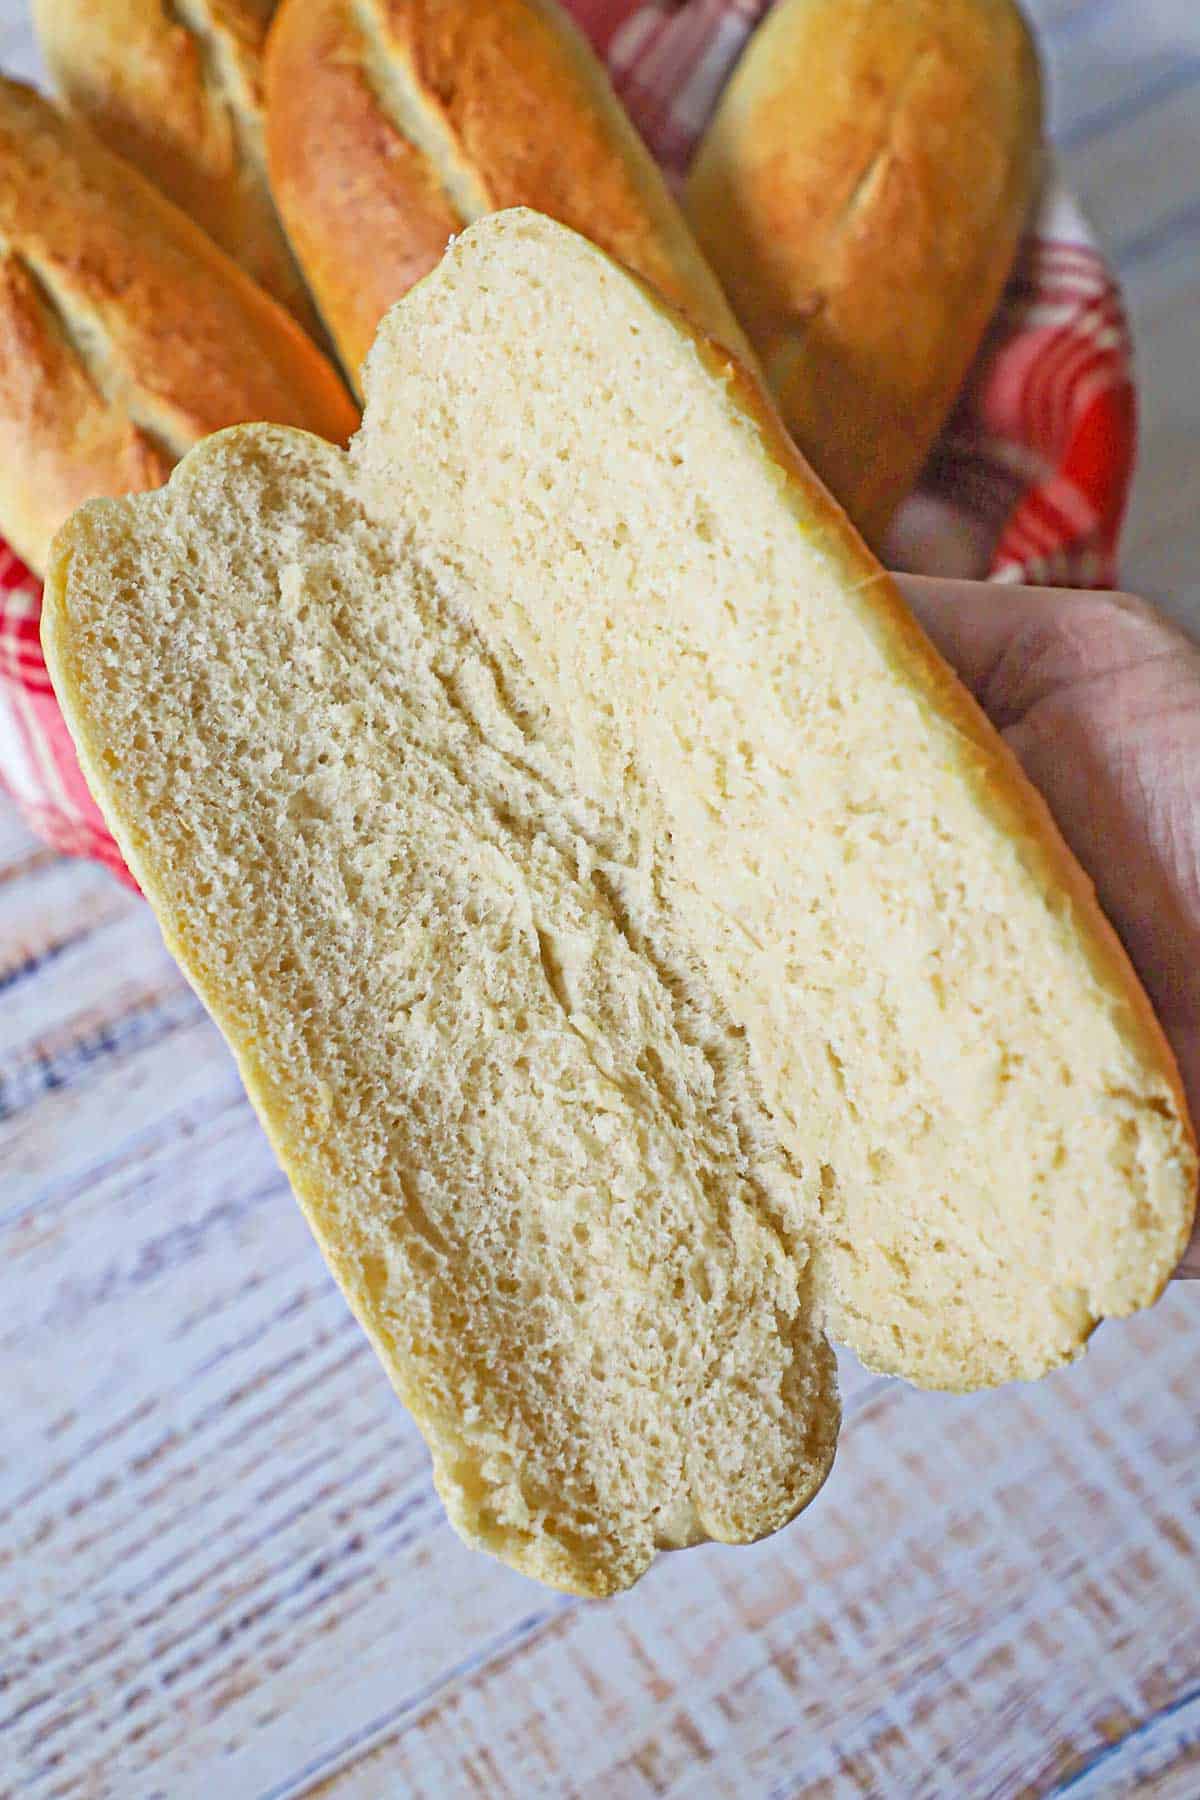
Elevate your sandwich game with these bakery-style homemade Italian rolls that boast a perfectly rounded shape and a thin, crackly crust. By using a professional hybrid method with a silicone channel mat, you can achieve that elusive sub-shop quality right in your home oven. These sturdy yet soft torpedoes are the ultimate foundation for any hero, grinder, or sub.

Jump to:
🥖 The Ingredients
Crafted from high-protein organic staples and enriched with premium oil, this dough produces a flavorful, structured crumb finished with a signature golden shine.
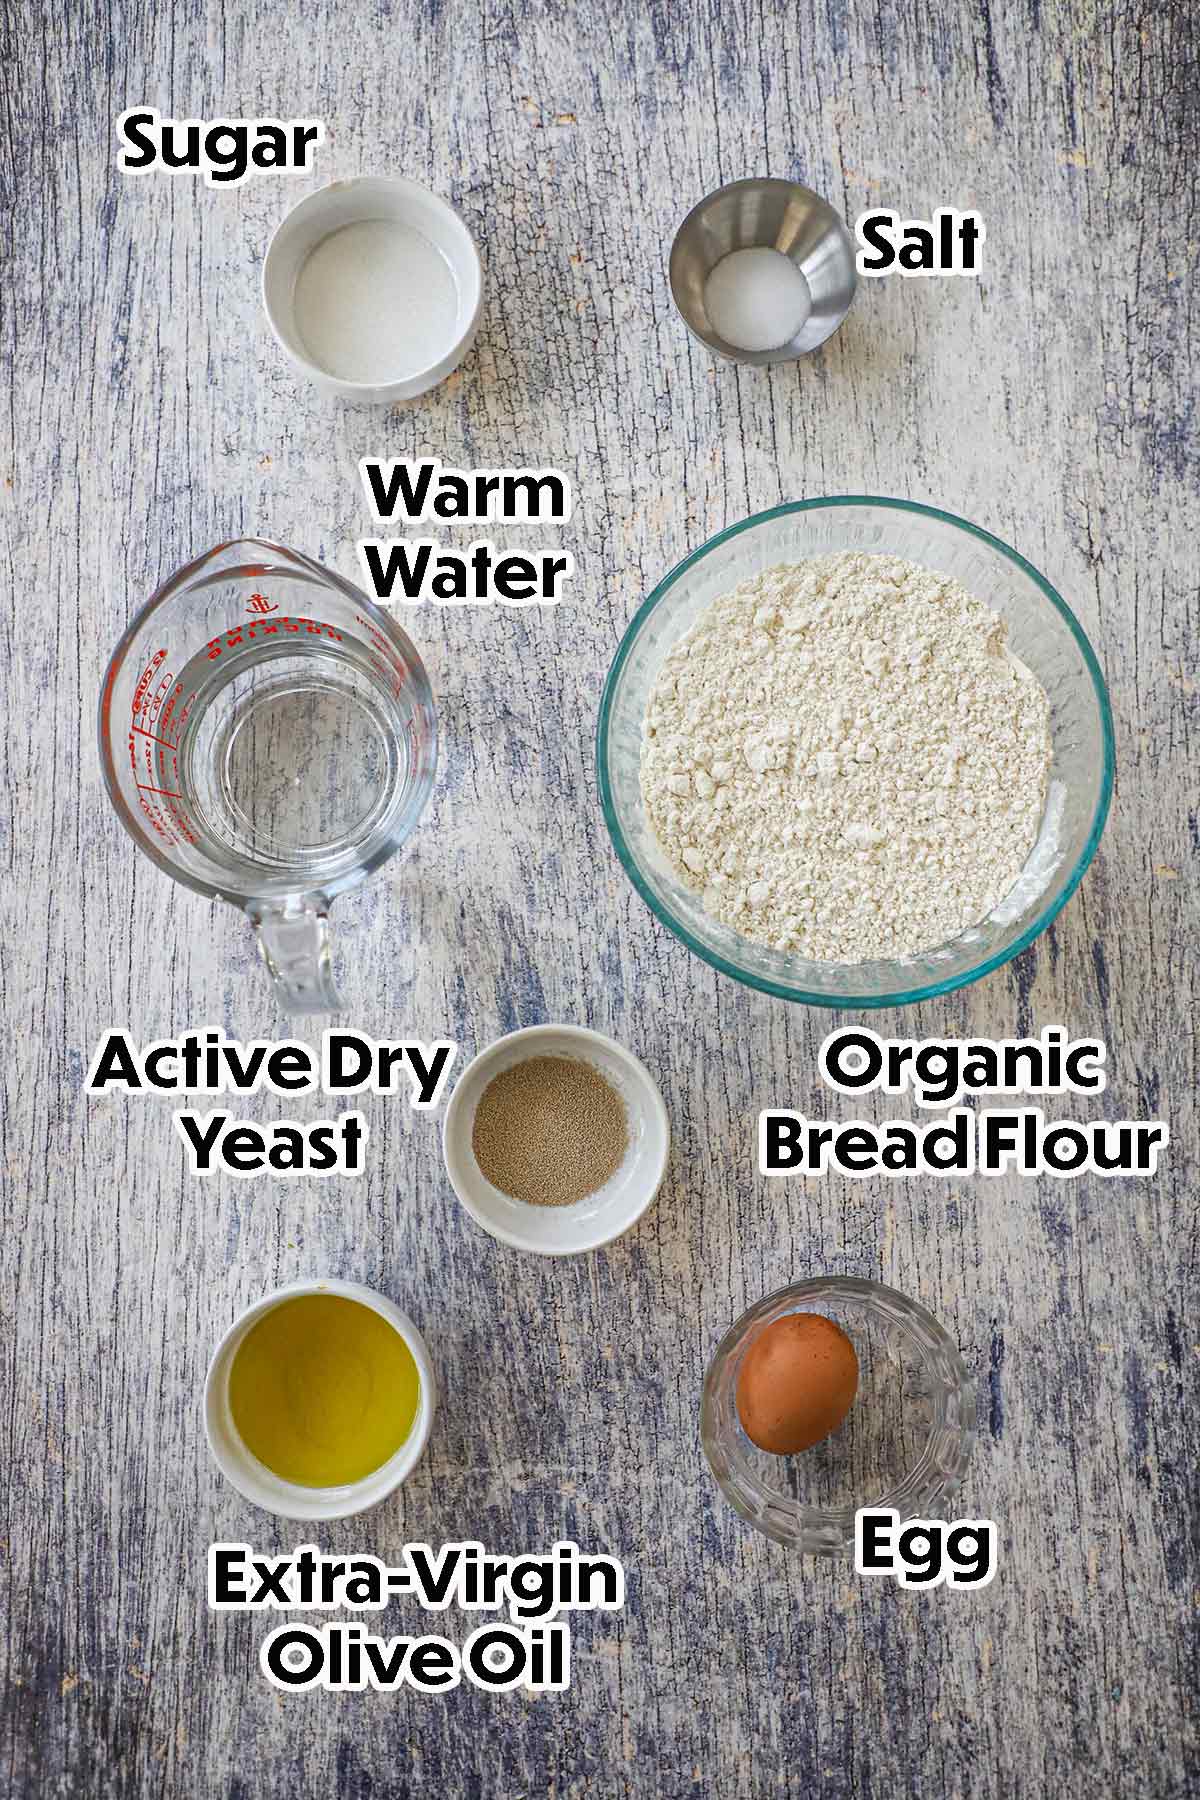
📝 Ingredient Notes
- Organic Bread Flour: Using a high-protein bread flour is essential for creating the strong gluten network needed to achieve a chewy “hero” texture and a roll that holds its shape.
- Active Dry Yeast: To ensure a successful rise, always “bloom” your yeast in warm water (ideally between 105°F–110°F) with the sugar until it becomes foamy and active.
- Extra-Virgin Olive Oil: This provides an authentic Italian flavor profile while tenderizing the crumb, ensuring the rolls are soft enough to eat comfortably but sturdy enough to handle juicy fillings.
- Granulated Sugar: In addition to feeding the yeast, a touch of sugar aids in the Maillard reaction, resulting in a more vibrant, caramelized crust color.
- Fine Sea Salt: This not only enhances the natural flavors of the organic flour but also helps regulate the yeast’s fermentation for a more consistent rise.
- Egg Bath: A simple egg wash applied right before baking is the secret to achieving that professional, glossy sheen and a deep golden-brown finish.
⚖️ Important Tools You Will Need
- Digital Kitchen Scale (or Dry Measuring Cups): While standard measuring cups work, a digital scale is highly recommended for precision—especially when weighing out individual dough portions to ensure every roll is perfectly uniform.
- Stand Mixer with Dough Attachment: This is the most efficient way to handle the intensive kneading required to develop the strong gluten structure needed for a chewy, bakery-style crumb.
- Silicone Mat with “Channels”: This perforated mold is the secret to the “torpedo” shape; it supports the dough as it rises, forcing it to grow upward rather than spreading out flat.
- Perforated Half Sheet Pan: A flat pan with holes provides a rigid base for your silicone mat while allowing heat and steam to circulate directly to the bottom of the rolls for a superior crust.
- Razor Blade (or Bread Lame): A very sharp blade is necessary for “scoring” the dough; a clean, shallow slit down the center allows the roll to expand beautifully in the oven without tearing.
- Shallow Metal Pan: Placed on the bottom rack of the oven, this pan is used to hold boiling water, creating the steam necessary to achieve a thin, professional, crackly crust.
👩🏼🍳 How to Make Italian Rolls Dough
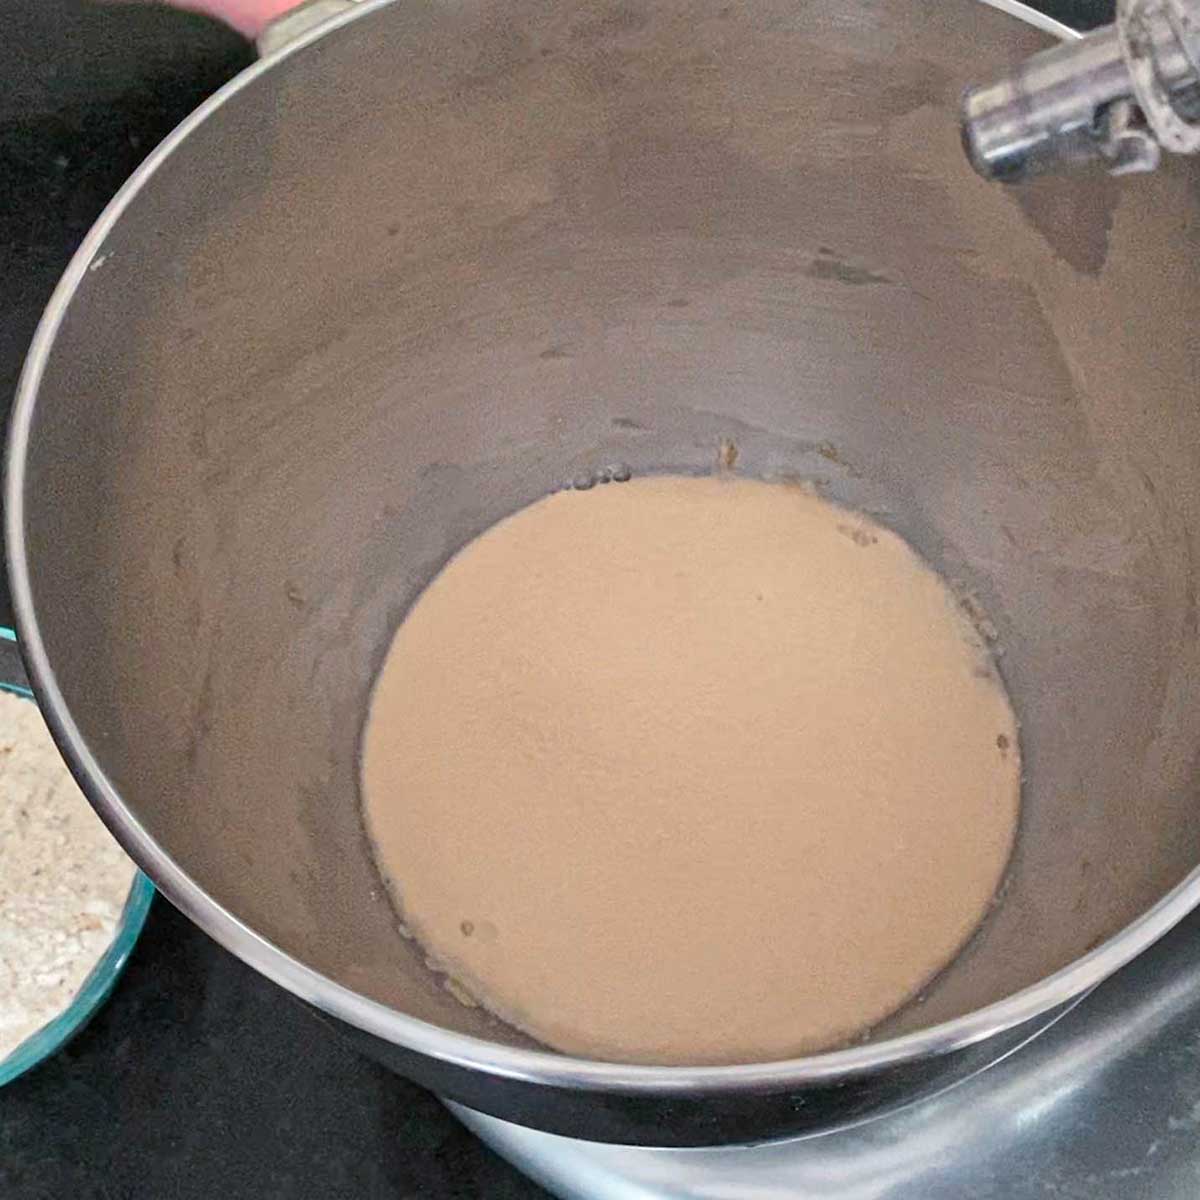
- Step 1: In the bowl of your stand mixer, combine the warm water, sugar, and yeast. Let rest for 5 – 7 minutes, until foamy.
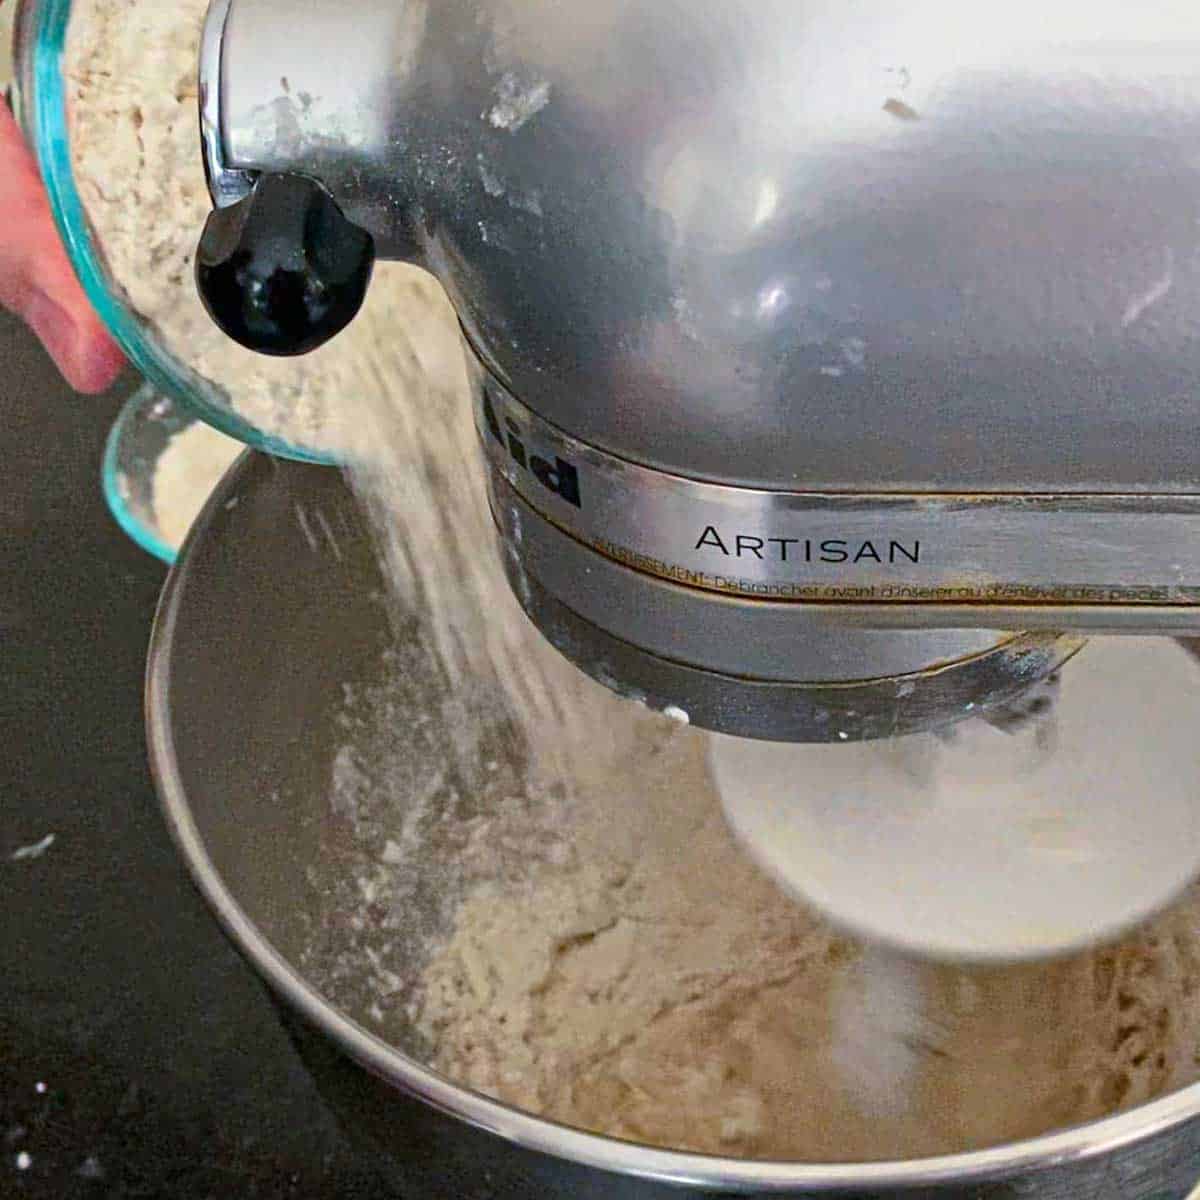
- Step 2: Add the oil and 2 cups of the bread flour. Use the dough attachment to beat the mixture until fully combined. Add the other 2 cups of flour and salt. Beat for 8 minutes, until smooth.

- Step 3: Form into a smooth ball and place in a bowl or proofing container that has been oiled with cooking spray. Cover and place in a warm, non-drafty area.
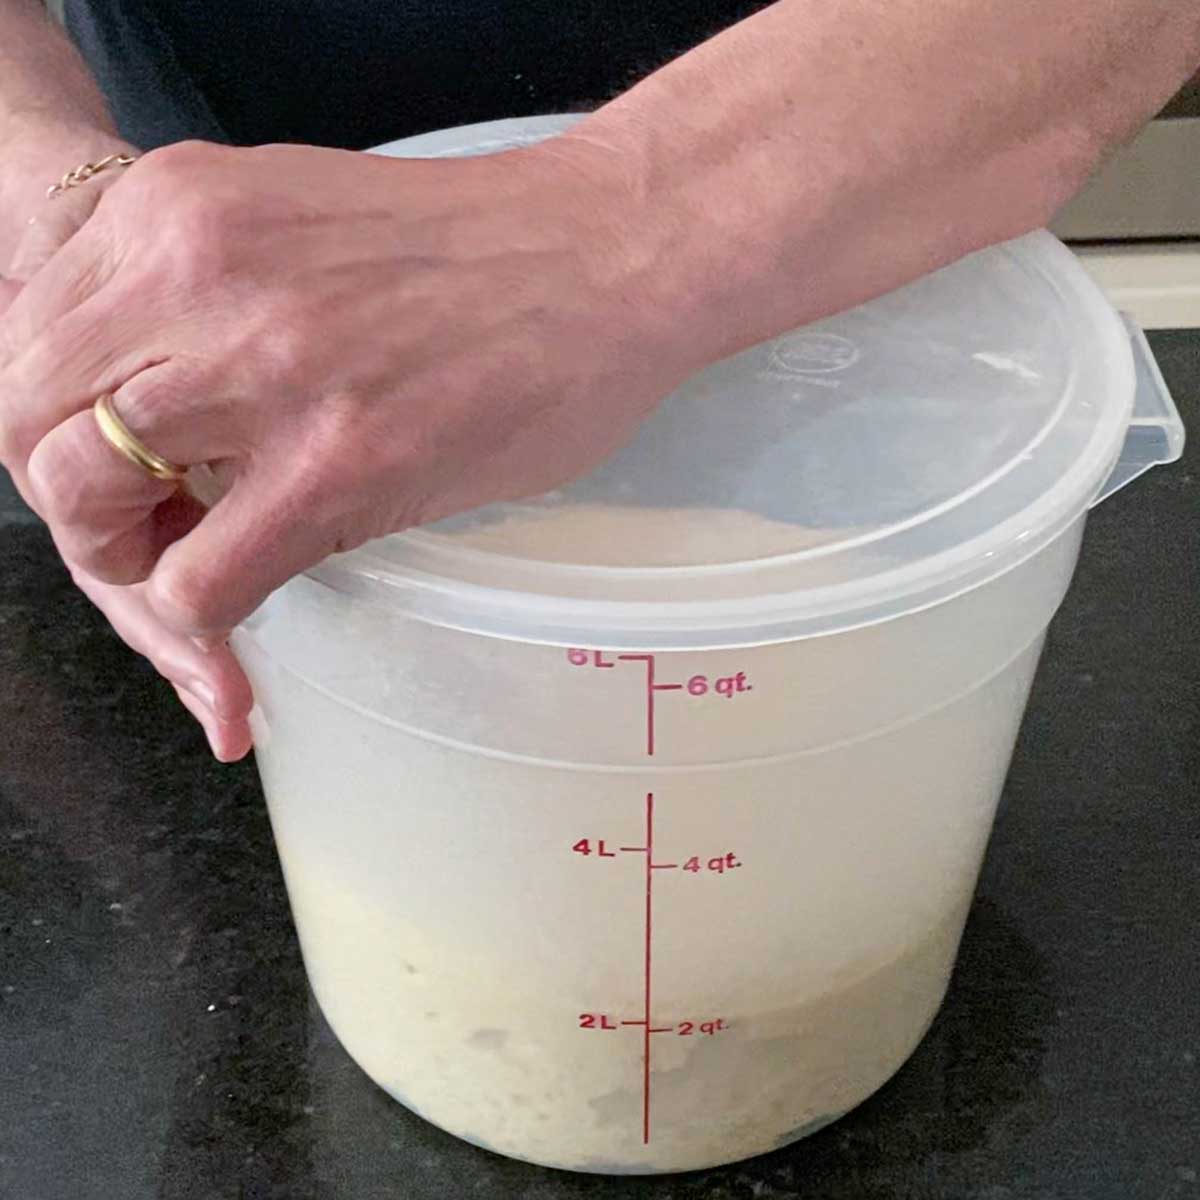
- Step 4: Let it proof until doubled in size, usually 60 to 90 minutes.
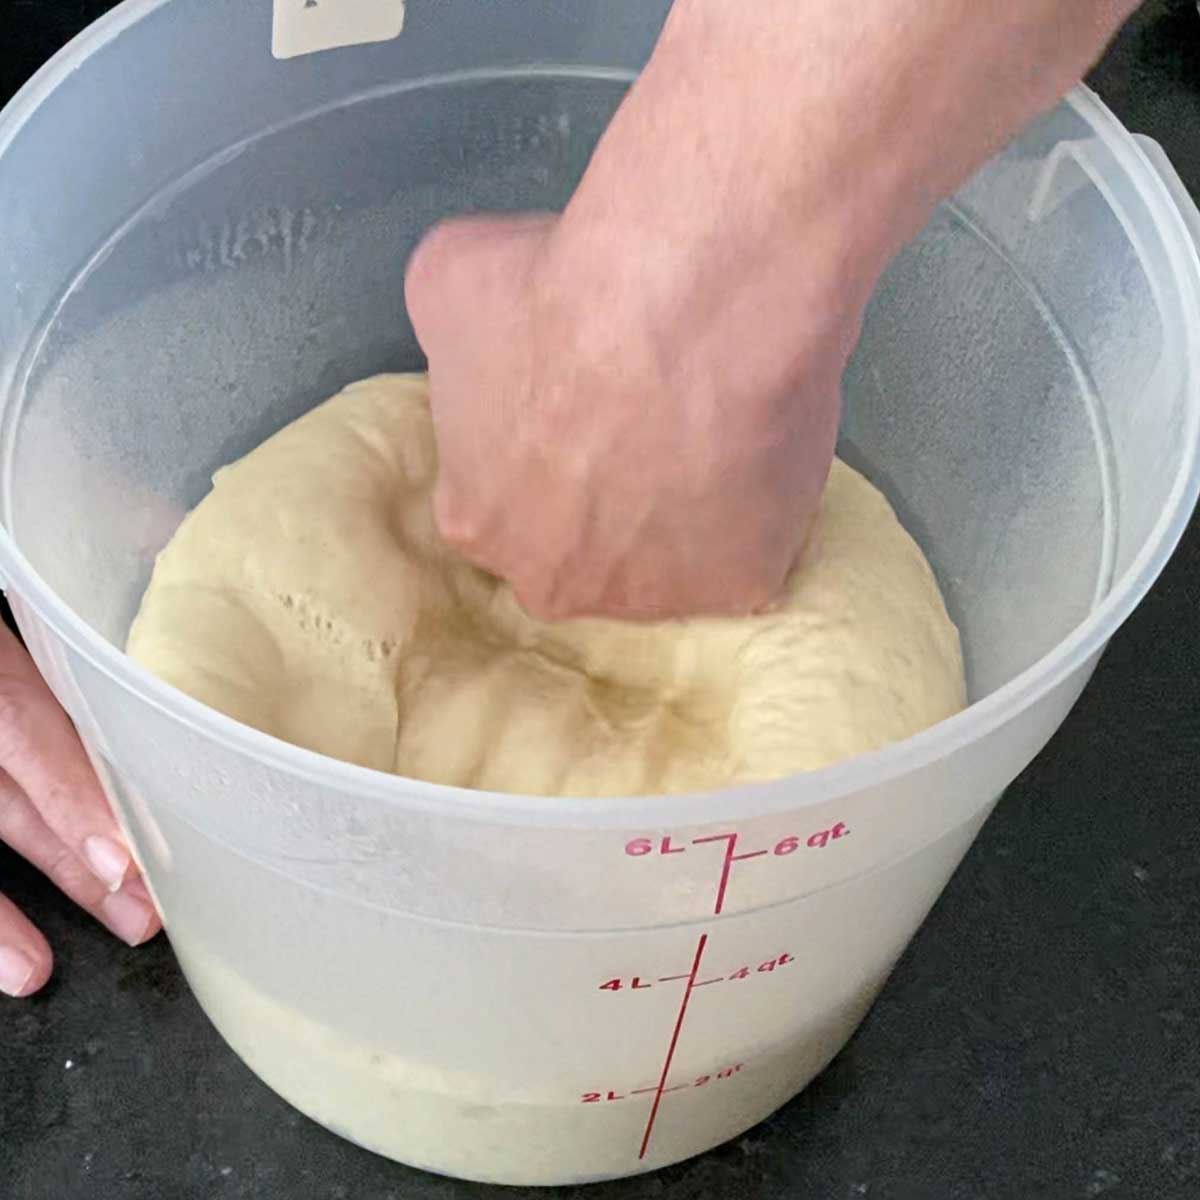
- Step 5: Gently punch the dough down.
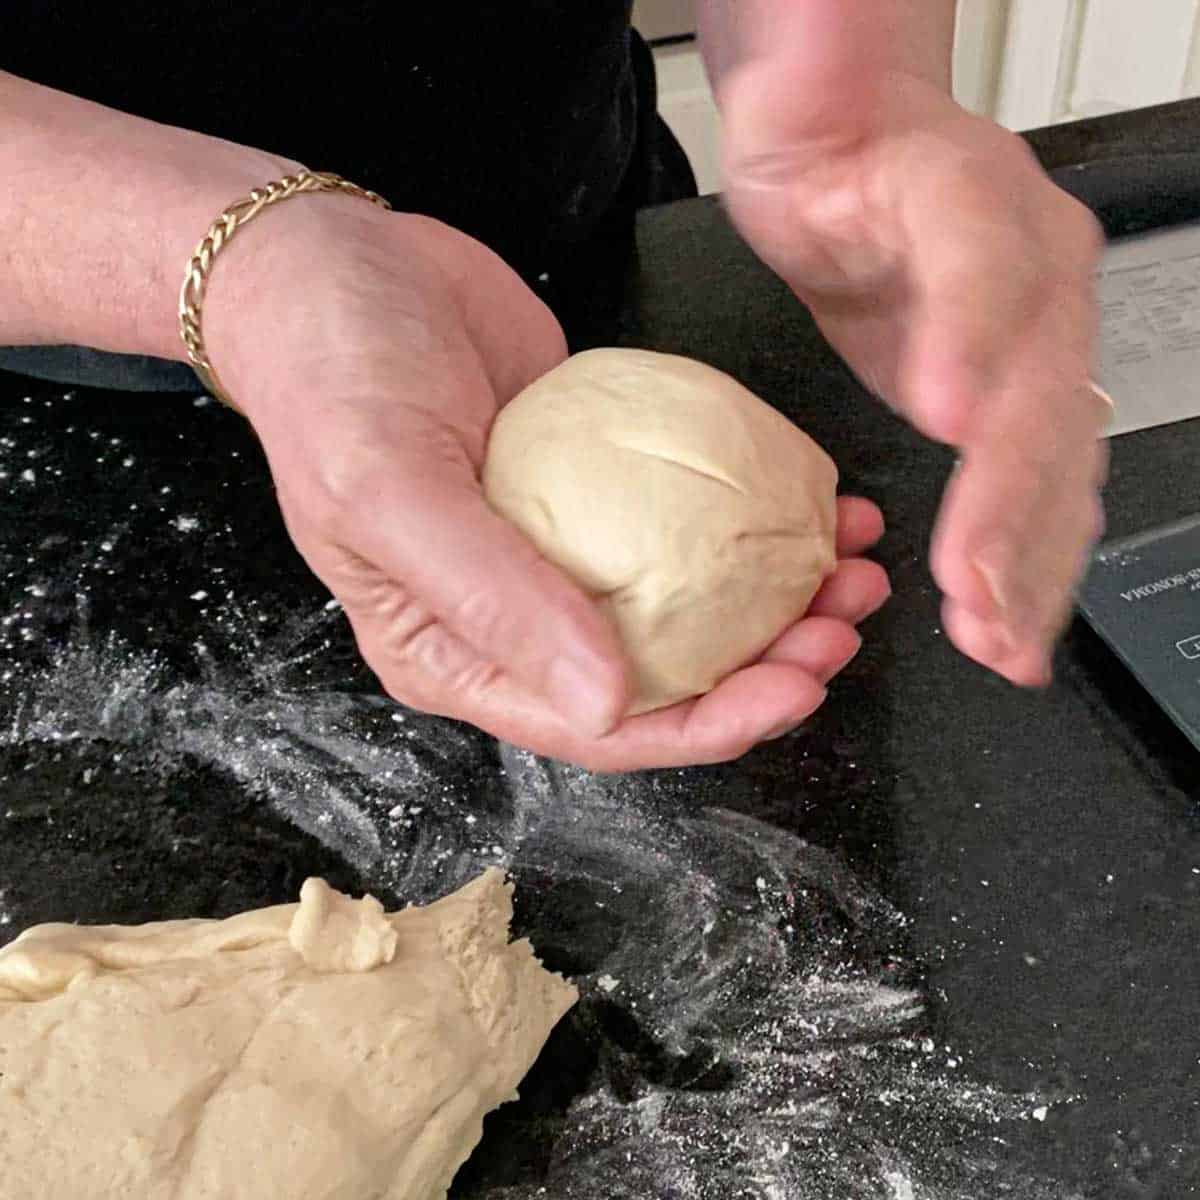
- Step 6: Turn the dough out onto a lightly floured surface. Form into five smooth balls, about 175 grams each.
Expert Tip: Master the “Finger Poke Test” for Maximum Height
The secret to a tall, airy roll is catching the dough at its peak “oven spring” potential. Avoid the temptation to over-proof; if the dough rises for too long, the gluten structure weakens, and the rolls will flatten or collapse once they hit the heat. Gently press a floured finger into the side of a rising roll—if the indent springs back slowly but remains slightly visible, it is perfectly primed for the oven.
👨🍳 How to Make Bakery-Style Italian Rolls
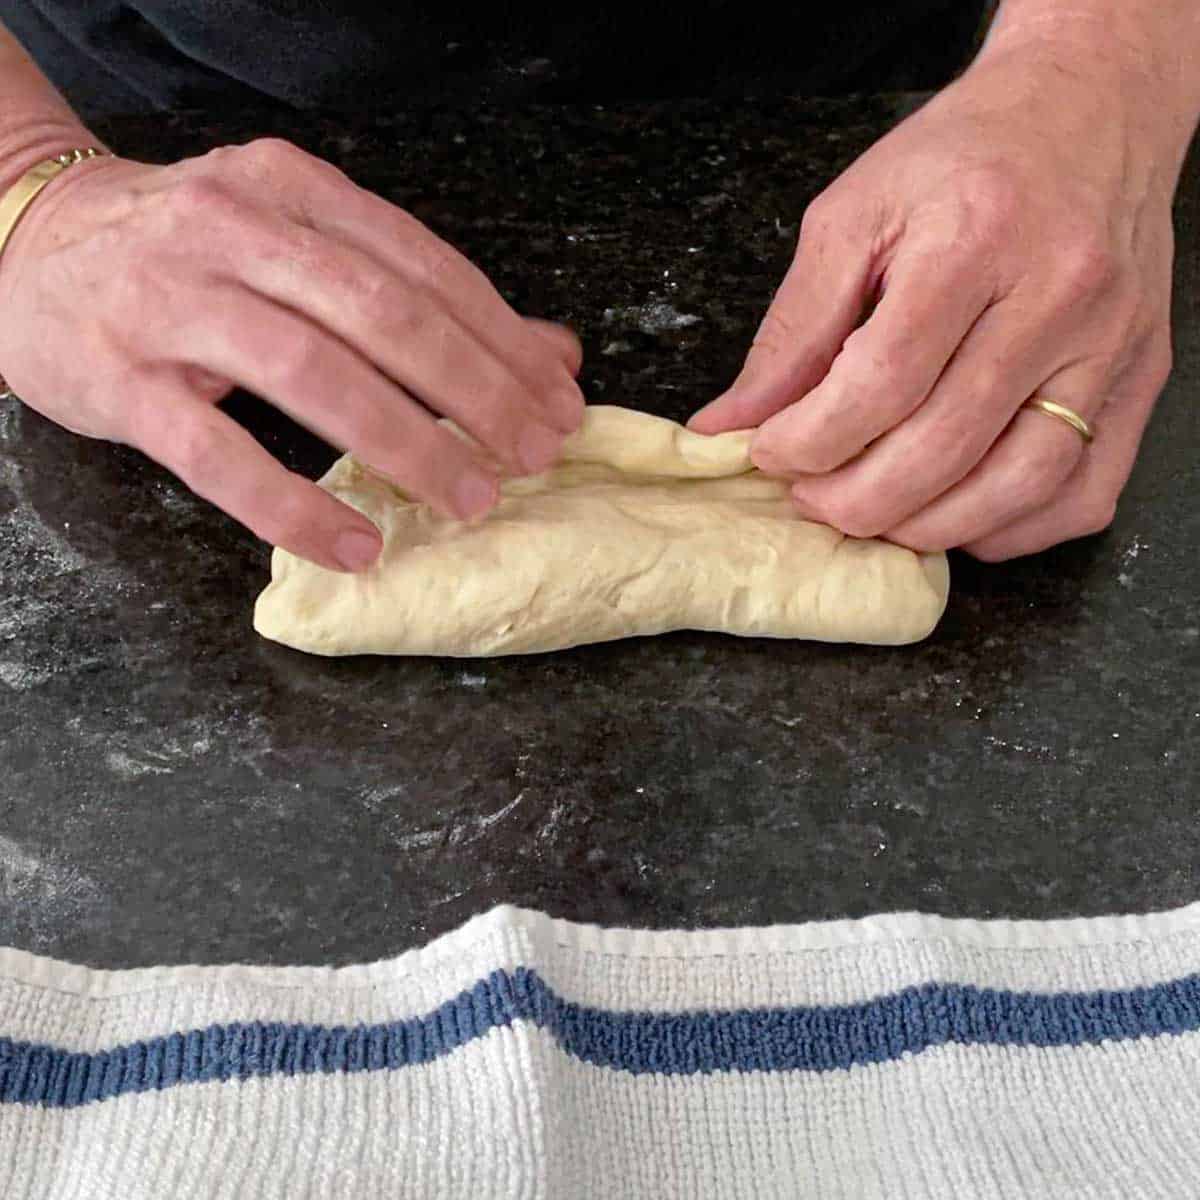
- Step 1: Use your fingers to gently stretch the dough into a rectangle. Fold the top to the middle, then the bottom to the middle. Repeat and pinch the seal.
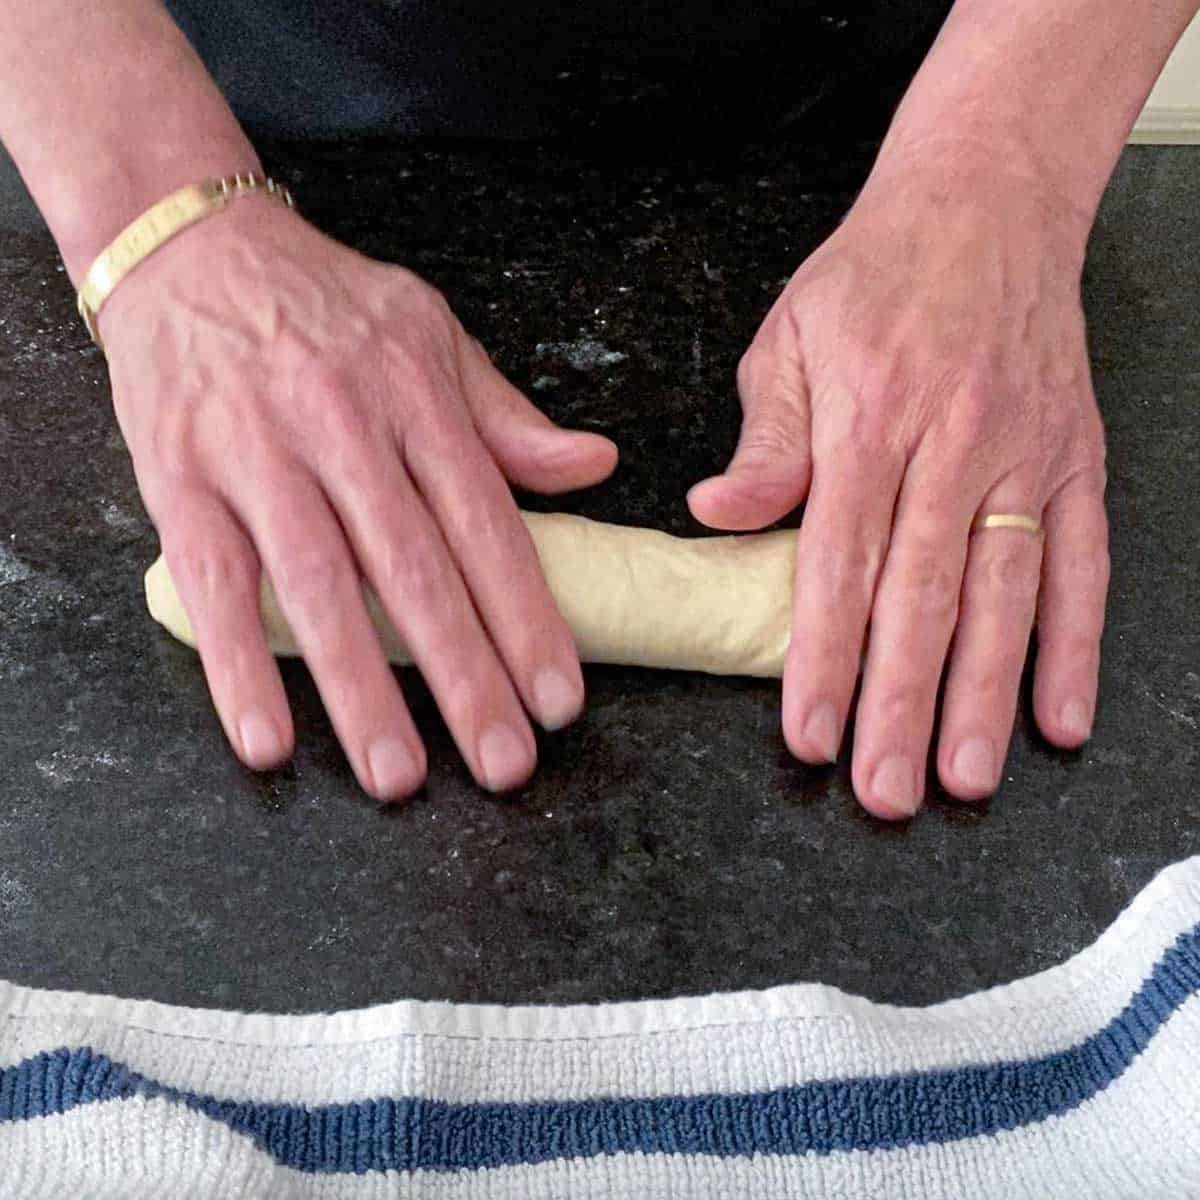
- Step 2: Roll the dough under your palms until it is a long cylinder about 6 to 8 inches long.
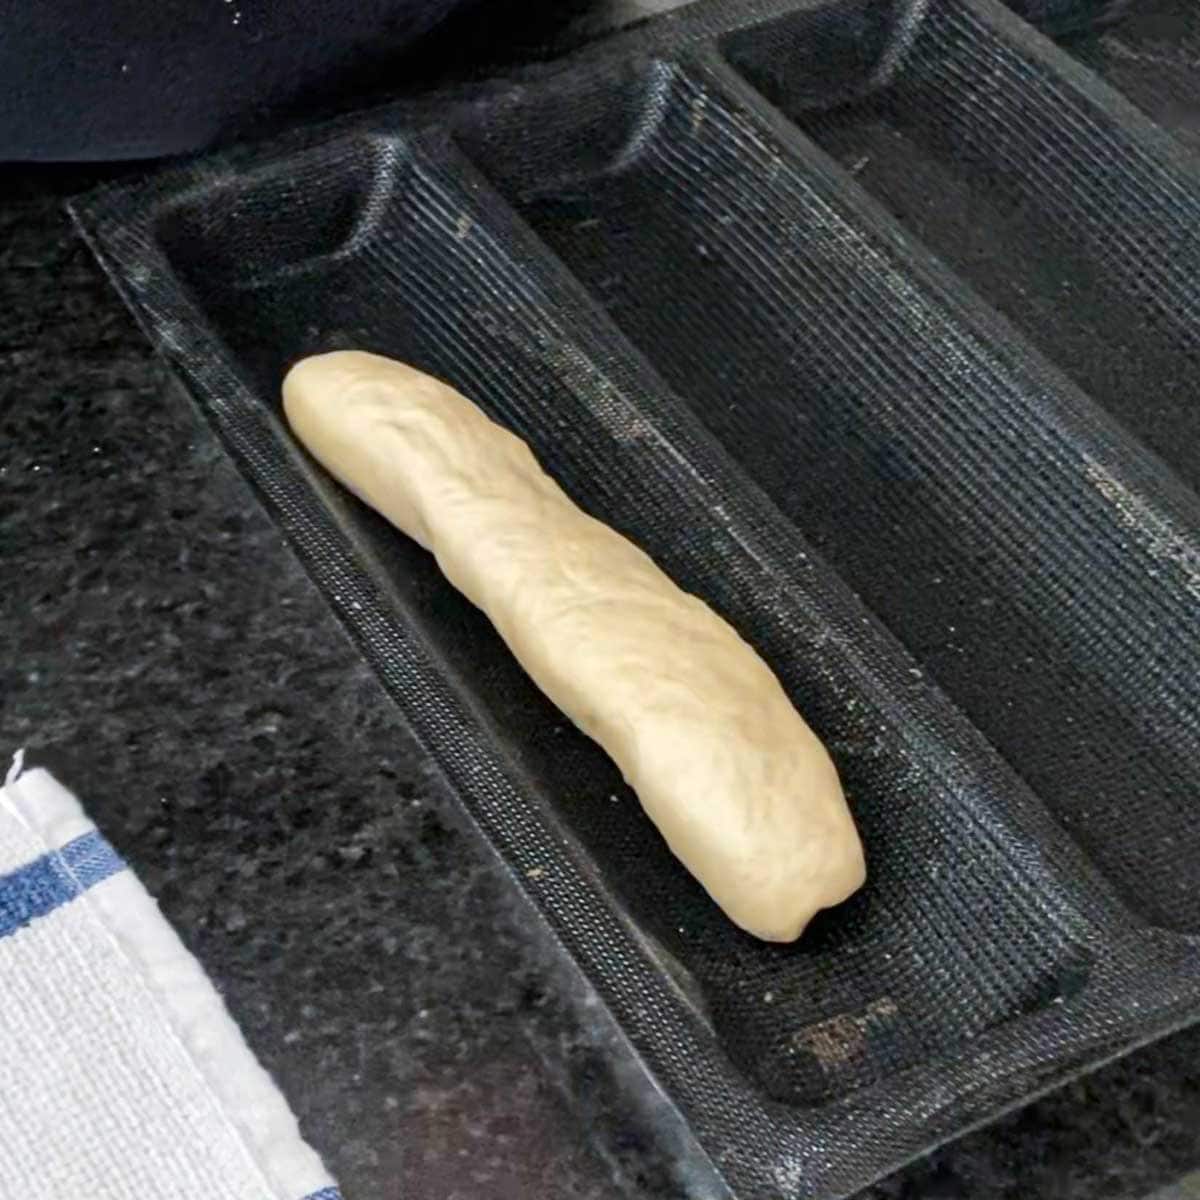
- Step 3: Place the dough into the silicone mat channels, that is preferably on a perforated pan. Cover with oiled plastic wrap and proof for another 45 minutes.
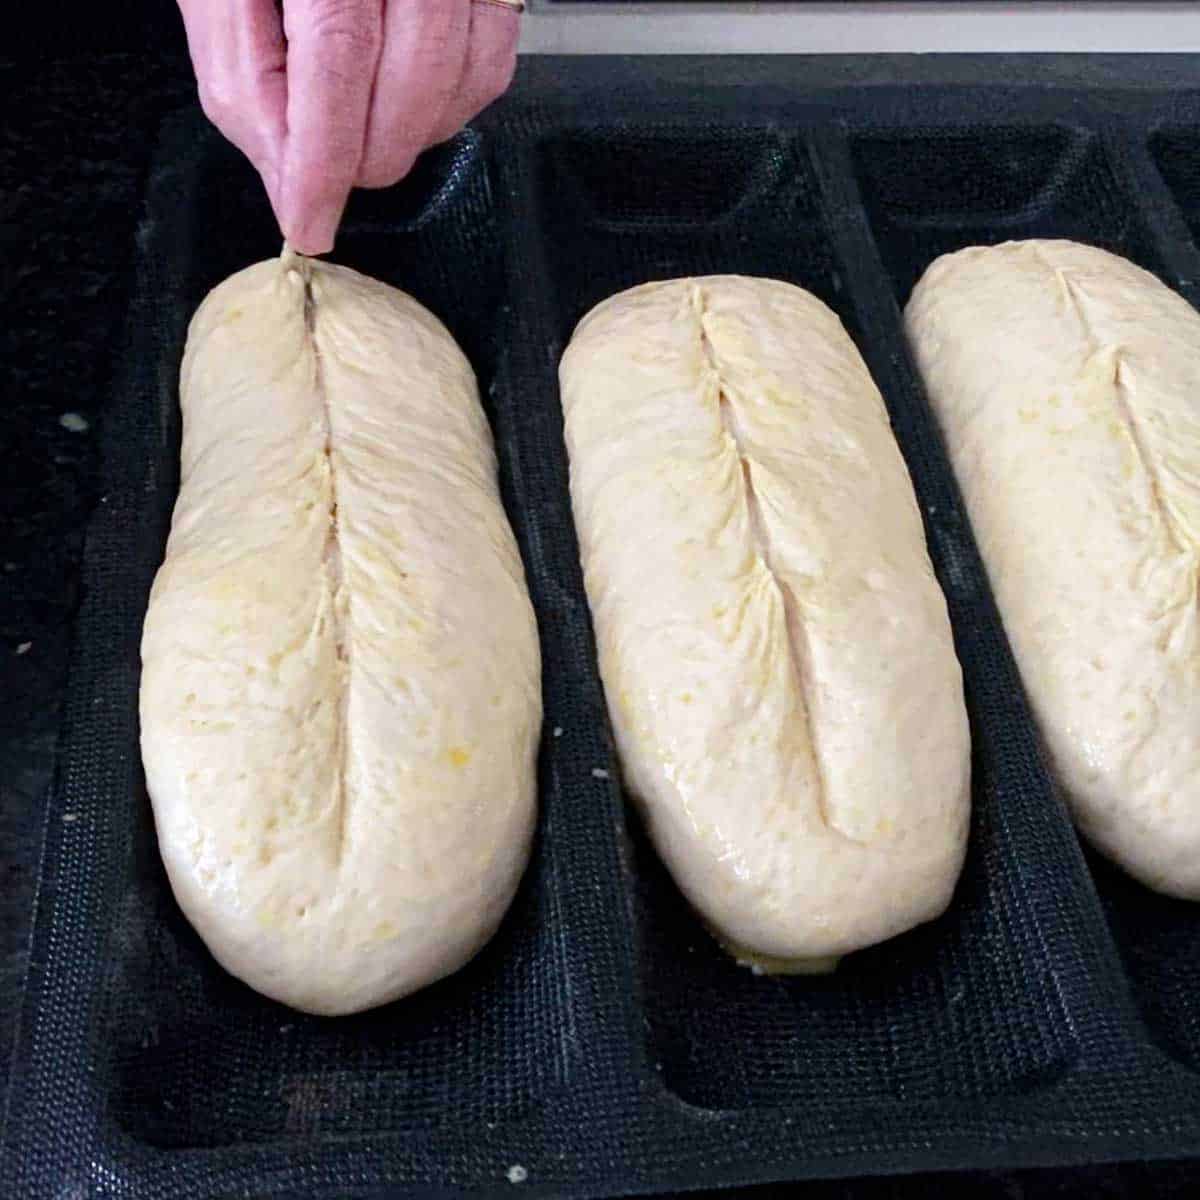
- Step 4: Wash the tops of the rolls with the egg wash and then score down the middle with a razor blade or sharp knife (about ½-inch deep).
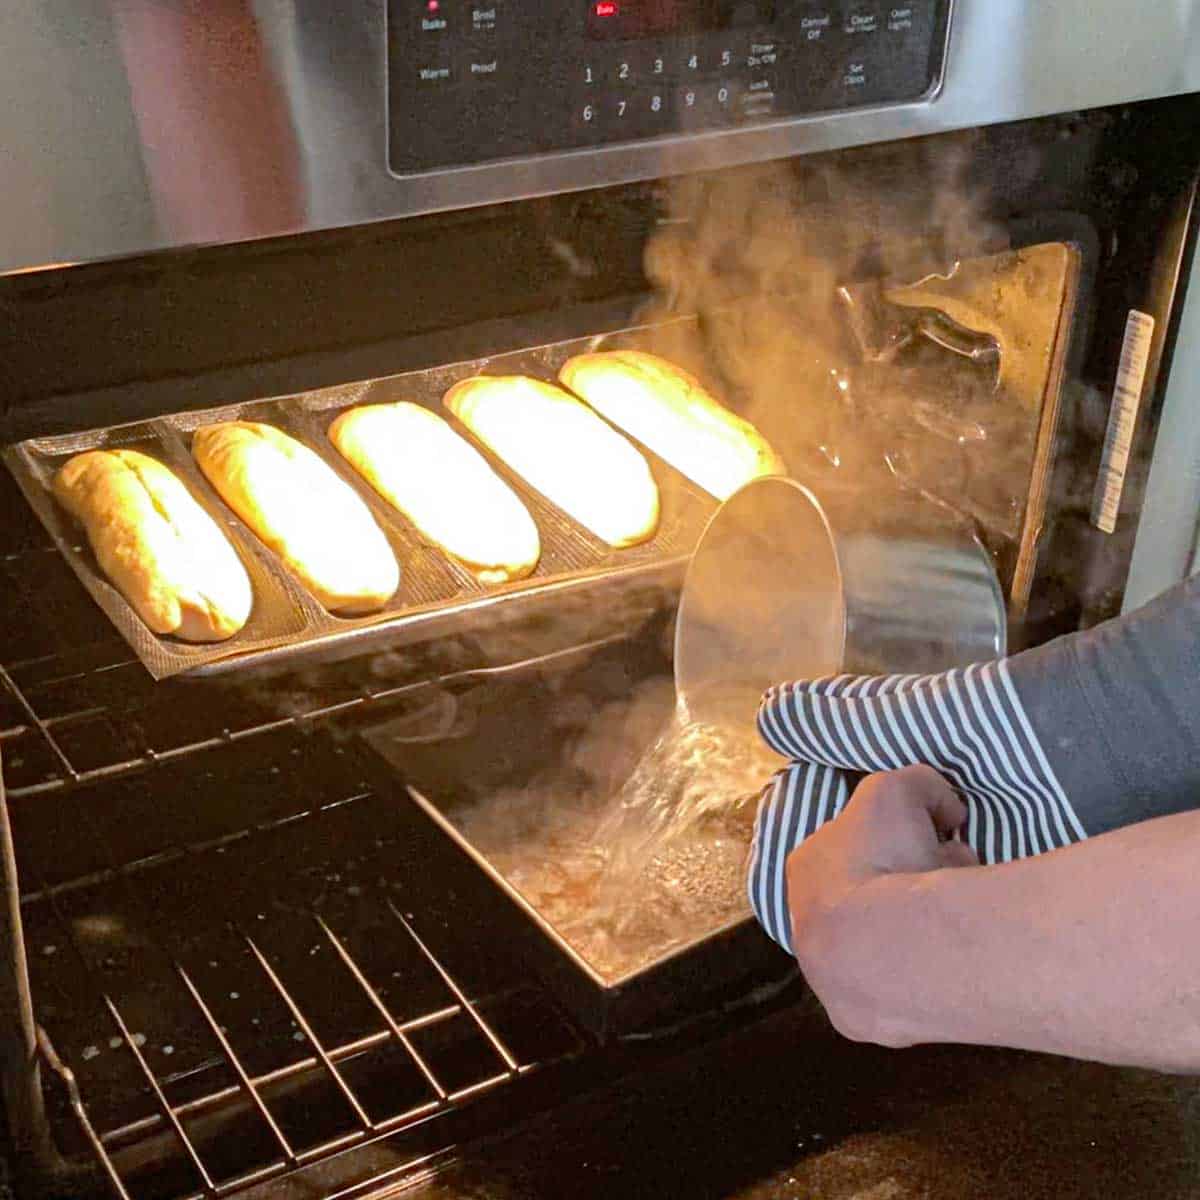
- Step 5: Place in a 400°F oven and immediately pour boiling water into a pan below the rolls.
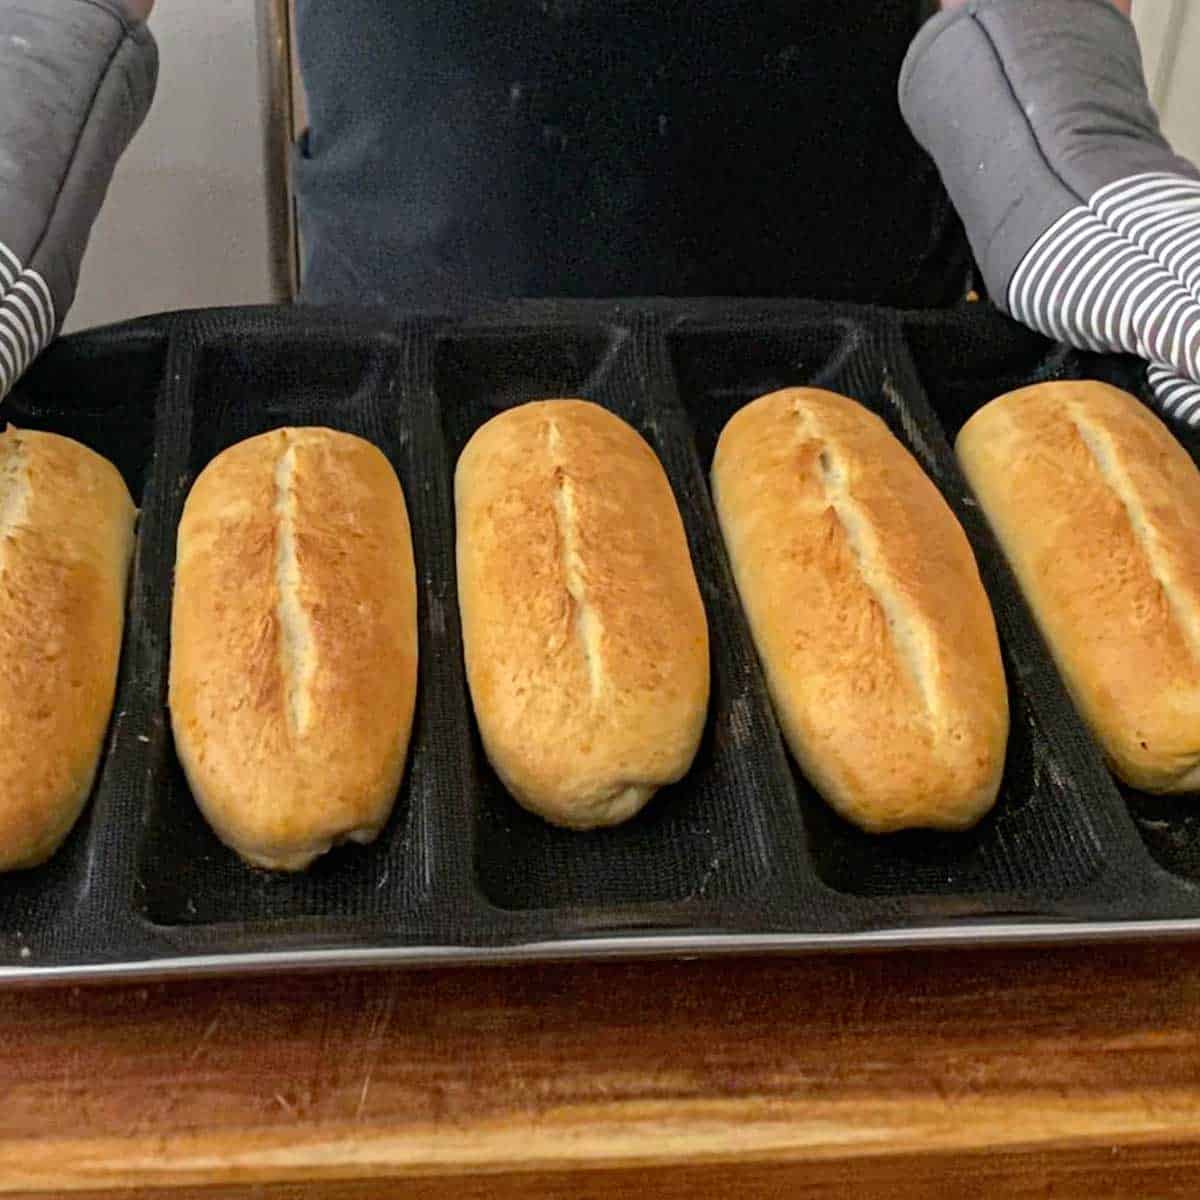
- Step 6: Bake until golden, about 17 – 18 minutes. Let rest for 5 minutes, then remove from the mat to cool on a wire rack.
🙋🏽♂️ Frequently Asked Questions
This usually occurs when there is a lack of surface tension during the shaping process or if the dough has been allowed to rise for too long. To fix this, ensure the outer “skin” of the dough is pulled tight when rolling your torpedoes and bake them as soon as they pass the finger-poke test (see Expert Tip above).
For a substantial hero that can support heavy fillings, aiming for 165 to 175 grams per portion is best. This amount of dough fills the channels of a silicone mat perfectly, resulting in a taller and more professional profile.
Using a perforated channel mat placed on a flat, hole-filled sheet pan is the most effective way to mimic a commercial bakery. This combination provides the necessary structure for the shape while allowing heat to circulate around the entire crust.
Introducing steam into the oven during the first few minutes of baking is the key. By pouring boiling water into a preheated metal pan on the bottom rack, you create a humid environment that allows the exterior to expand and crisp up beautifully.
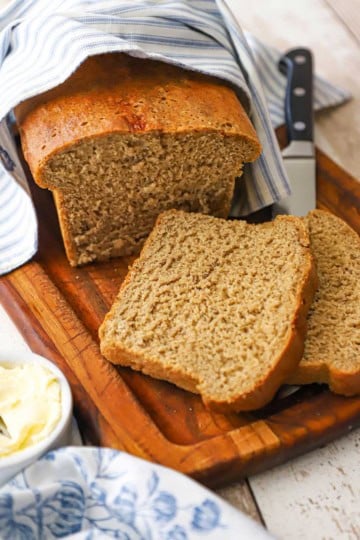
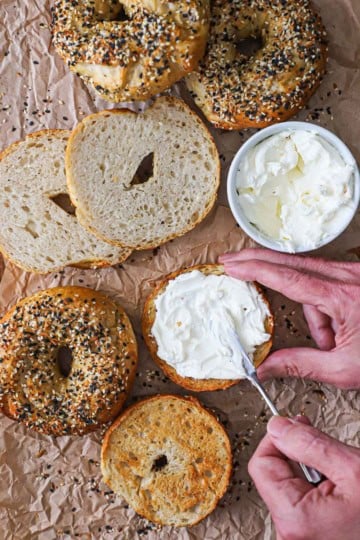
🍞 More Amazing Bread Recipes

Ready to make the best sandwich rolls this side of Little Italy? Go for it!
And when you do, be sure to take a photo of them, post it on Instagram, and tag @HowToFeedaLoon and hashtag #HowToFeedaLoon!
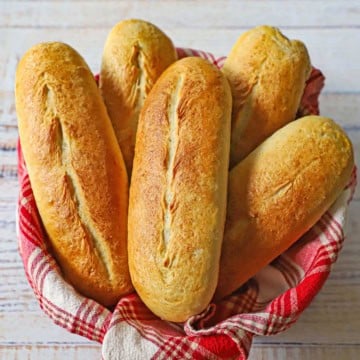
Bakery-Style Homemade Italian Rolls
Video
Equipment
- Digital scale or dry measuring cups
- Stand mixer with dough attachment
- perforated silicone mat with channels
- perforated half-baking sheet pan
- razor or very sharp knife (small)
- sturdy pan for holding boiling water
- baking rack for cooling rolls
Ingredients
- 1½ cups warm water (350ml), 105°F
- 2¼ teaspoon active dry yeast (0.25 ounces/7 grams), 1 packet
- 1 tablespoon sugar
- 4 cups bread flour (500 grams), preferably organic
- 2 tablespoon extra-virgin olive oil
- 1½ teaspoon fine sea salt
- cooking spray
- 1 egg beaten with 1 tablespoon water
Instructions
- In a stand mixer, combine the warm water, yeast, and sugar. Gently whisk until combined. Let it rest for 5 to 8 minutes, until it becomes foamy. See NOTES.1½ cups warm water, 2¼ teaspoon active dry yeast, 1 tablespoon sugar
- Add 2 cups of the flour (approx. 125 grams per cup) and the olive oil. Mix with the dough attachment until the mixture is fully combined. You may need to scrape down the sides of the bowl with a spatula.4 cups bread flour, 2 tablespoon extra-virgin olive oil
- Add the salt and the remaining 2 cups of flour gradually. Let the mixer run on medium for 8 minutes. The dough should be smooth and elastic. If it is sticking to the side of the bowl, add another tablespoon of flour. It should be "tacky" but not "sticky."1½ teaspoon fine sea salt
- Spray a bowl (or proofing container) with cooking spray.cooking spray
- Form the dough into a smooth ball, and place it in the oiled bowl (or container). Turn the dough over a time or two to coat it with the oil. Cover and let it rise (proof) in a warm spot for 60 to 90 minutes until doubled in size.
- Gently punch the dough down and then turn it out onto a lightly floured surface (not too much flour!). Divide the dough into 5 equal pieces (a digital scale helps you do this). Each ball should be around 165 grams. Cover with a kitchen towel and let them rest for 15 minutes.
- Working one piece of dough at a time, flatten the ball into a rectangle (about 5×7"). Take the long edge furthest from you and fold it to the center. Press the edge into the dough with your fingertips to "tack" it down. Take the edge closest to you and fold it up to the center (like you are folding a piece of paper to put into an envelope). Now, fold the entire log in half again, bringing the top edge to the center and then the bottom edge to the center. Seal with your fingetips.
- Turn the dough seal-side down, and place your palms over the center of the log. Gently roll the log back and forth on the counter. As you roll, slowly move your hands apart toward the ends of the log. Don't just press down, press outward. Taper the ends slightly.
- Place the silicon mat with channels on the perforated sheet pan. Pick up your shaped log and look for the seam. Place the log into the silicone channel with the seam-side facing down. Repeat with the remaining dough pieces.
- Spray a large piece of plastic wrap with cooking spray and then loosely cover the silicone mat with the dough in the channel. Place in a warm spot for 45 minutes. They should look puffy and fill the width of the channels.
- Preheat oven to 400°F. Bring 1 to 2 cups of water to a boil. Place a pan on the bottom rack of the oven and place another rack in the middle.
- In a small bowl, combine the beaten egg with 1 tablespoon of the water. Gently brush the tops of the rolls with the egg wash. Use a razor blade (or very sharp knife) to make one, long slit (about ½-inch deep) down the center of each roll.1 egg
- Put the tray on the middle rack and immediately pour (carefully) the boiling water into the pan on the bottom rack. Shut the door immediately and bake for 17 to 19 minutes, until the rolls are a deep golden brown.
- Remove from the oven and let them cool in the mat for 5 minutes. Then, move them directly to a wire rack to finish cooling. Store the rolls in a brown paper bag at room temperature. The paper allows the bread to "breathe," which keeps the crust from getting soft and chewy.
Notes
- Test Your Yeast: If the mixture of yeast, warm water, and sugar does not become foamy or creamy within 5–10 minutes, the yeast is no longer active. Discard the mixture and start again with fresh yeast; using “dead” yeast will prevent the dough from rising and result in dense, flat rolls.
- Precision Portioning: For a professional “tall” profile that fills out your silicone channels, use a digital scale to portion your dough into 160g–170g pieces. This ensures every roll is uniform in size and has enough volume to rise upward rather than spreading.
- Water Temperature: Aim for a water temperature between 105°F and 110°F. Water that is too cold won’t activate the yeast, while water above 120°F can kill it instantly.
- The Steam Secret: Don’t skip the pan of boiling water on the bottom rack. The steam keeps the dough’s surface moist during the first few minutes of baking, allowing the rolls to expand fully (oven spring) before the crust sets and becomes crackly.
- Proper Cooling: To maintain the integrity of the crust, move the rolls from the silicone mat to a wire cooling rack immediately after baking. This prevents steam from being trapped underneath, which can lead to a “soggy bottom.”


Emma Martin says
It’s the kind of recipe that homemade bread should be. Epic!
Kris Longwell says
For sure! Homemade is the very best!
Wesley says
Soft and chewy on the inside with light and crispy exterior! Perfection!
Kris Longwell says
Woo hoo!!