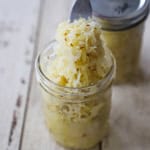
There is nothing quite like the tangy crunch of homemade sauerkraut, and it is incredibly easy to make with just cabbage, salt, and caraway seeds. While the process is straightforward, I used some fun tools from Masontops that made the fermentation even easier and more foolproof. This step-by-step guide will show you how to create a delicious, probiotic-packed batch right in your own kitchen.
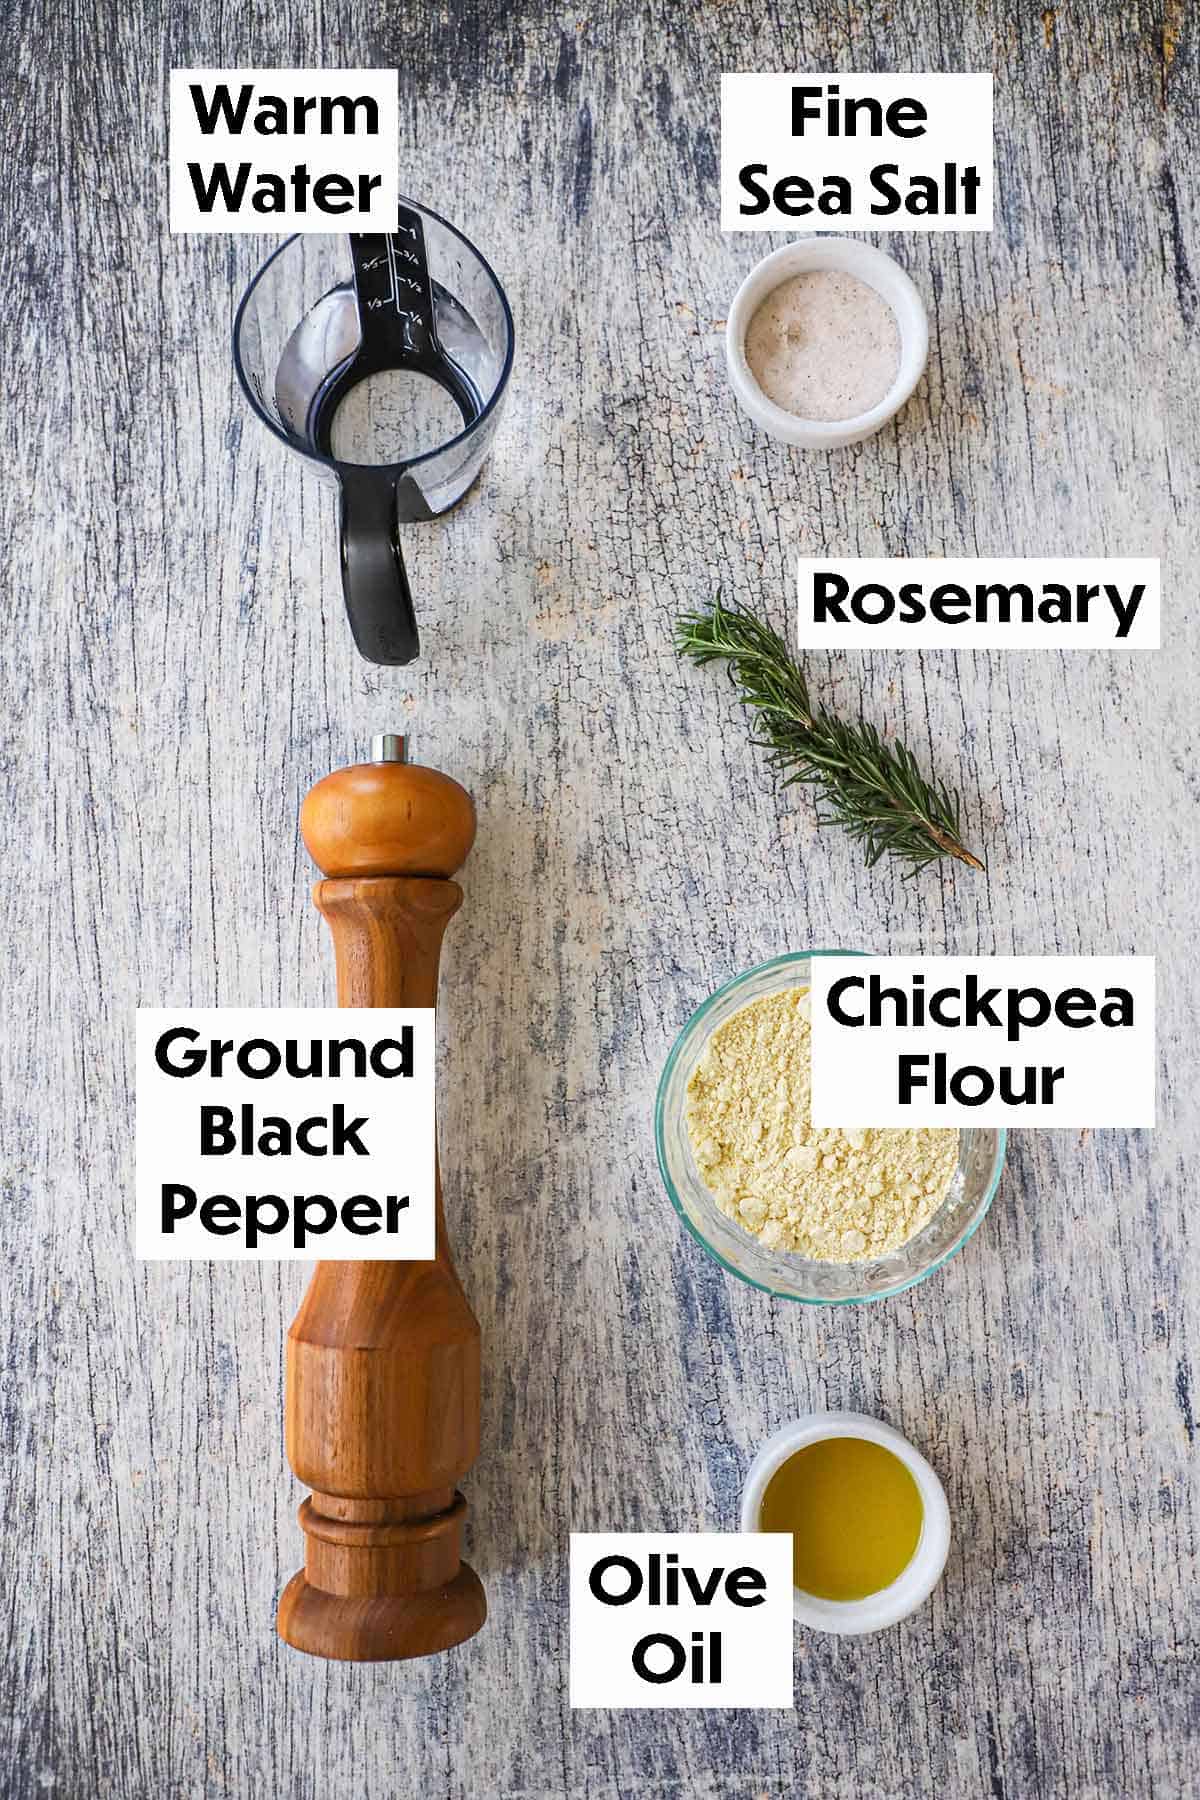
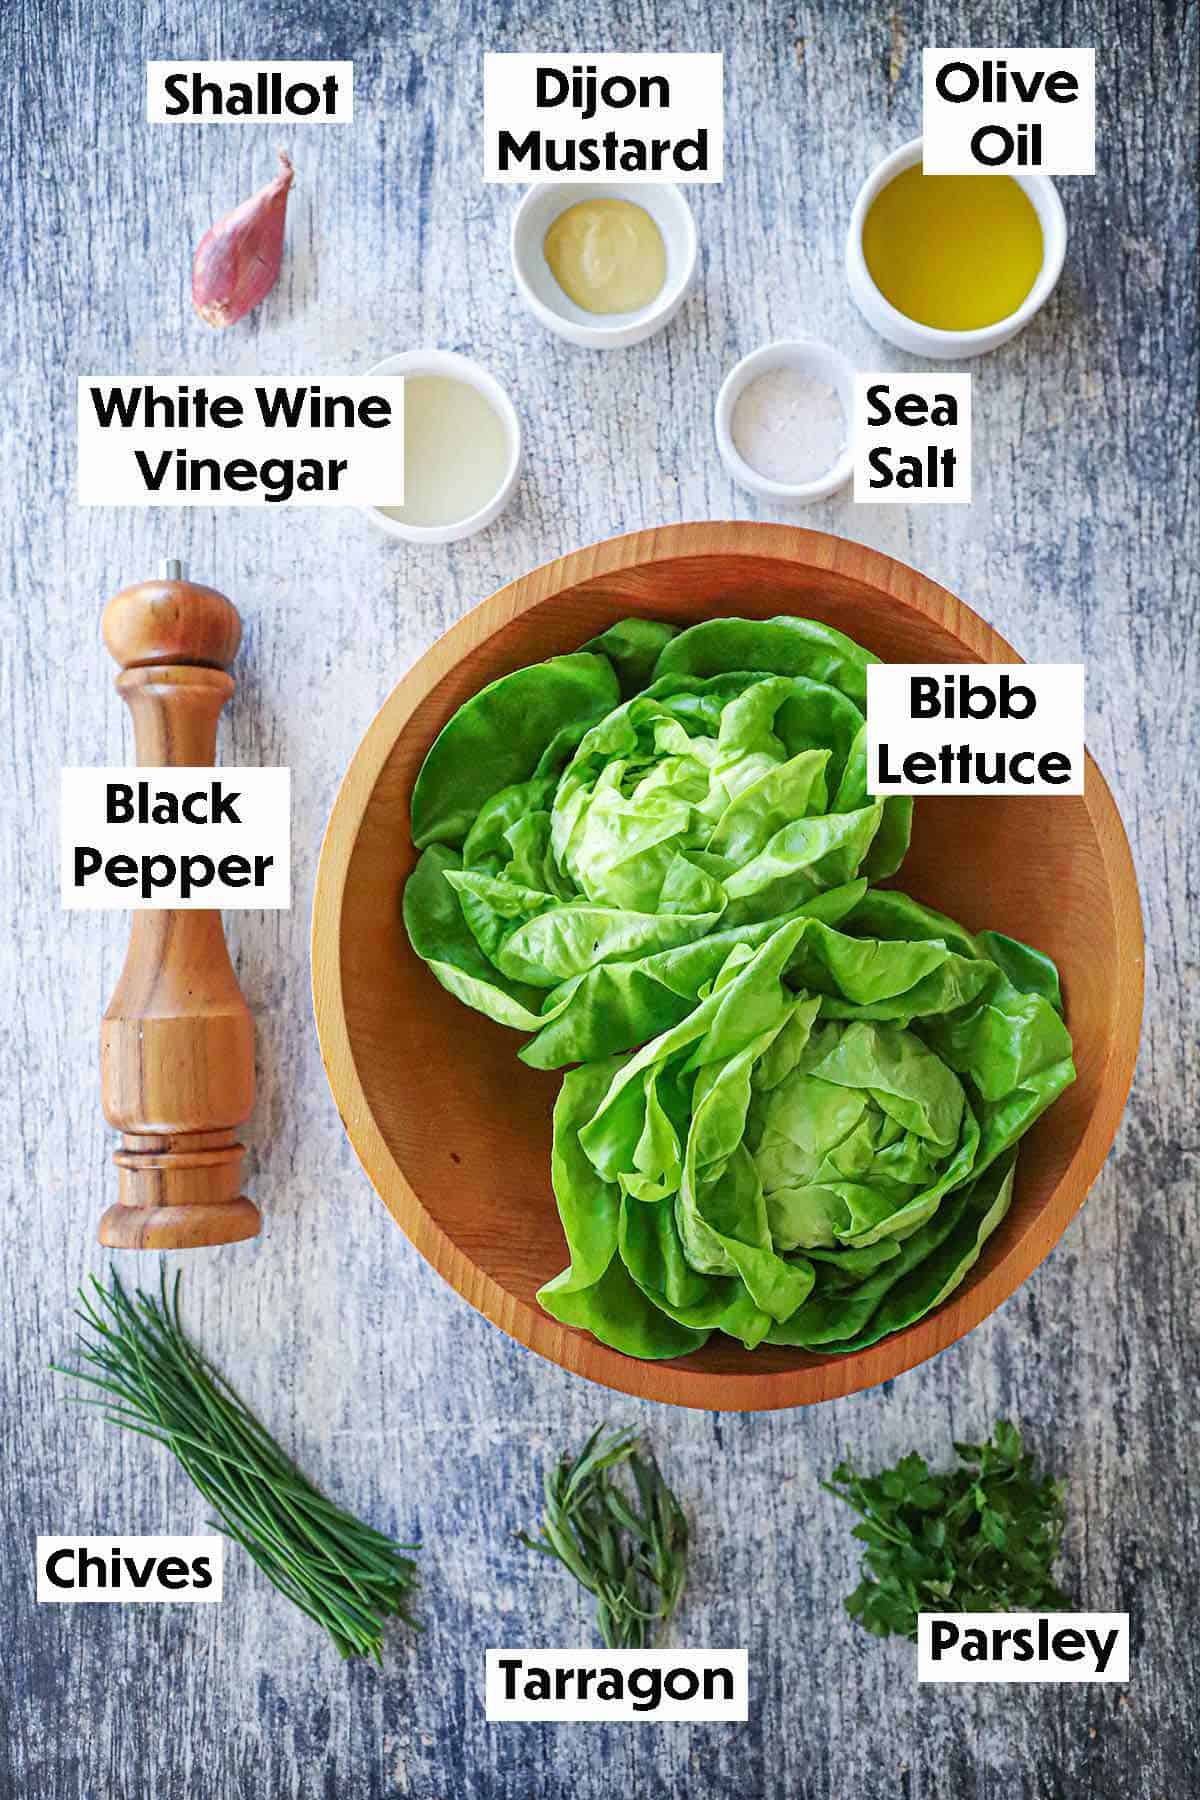
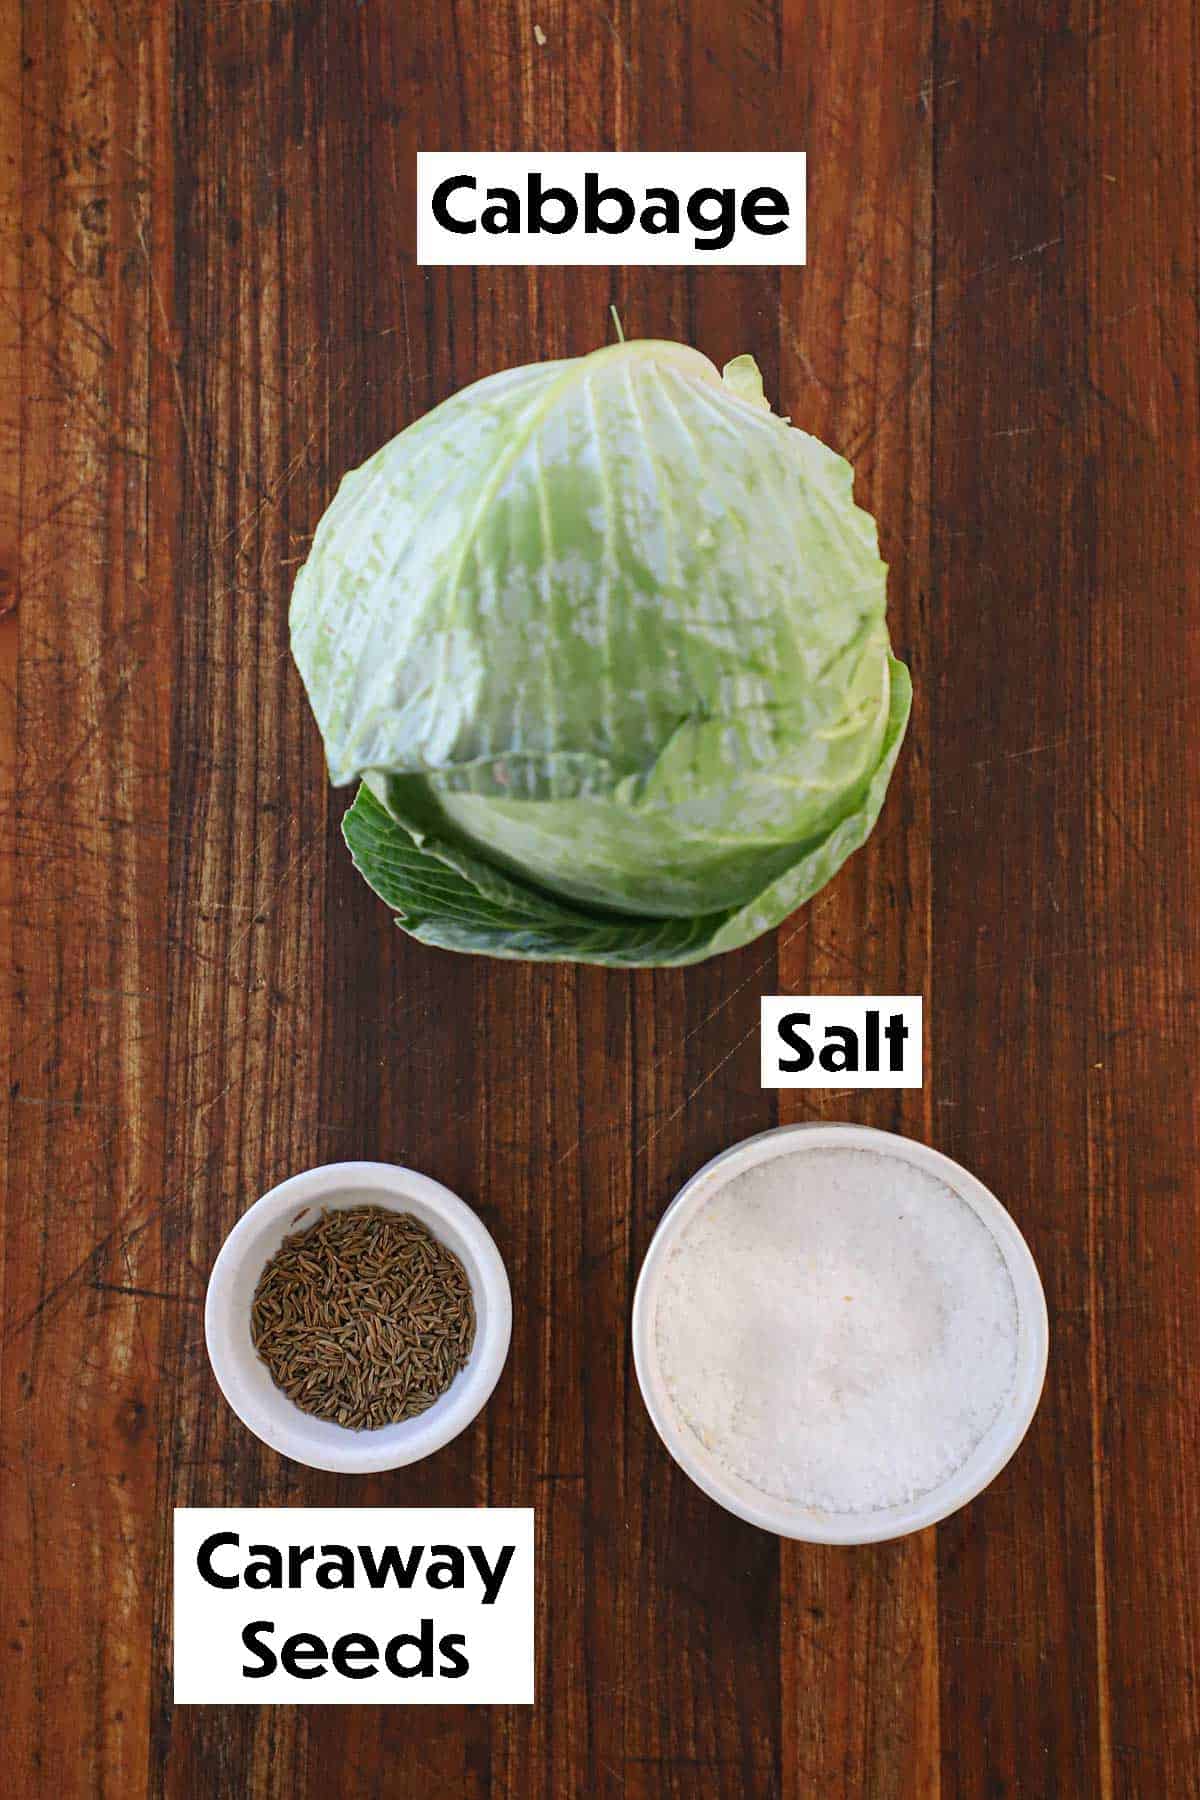
🥬 The Ingredients
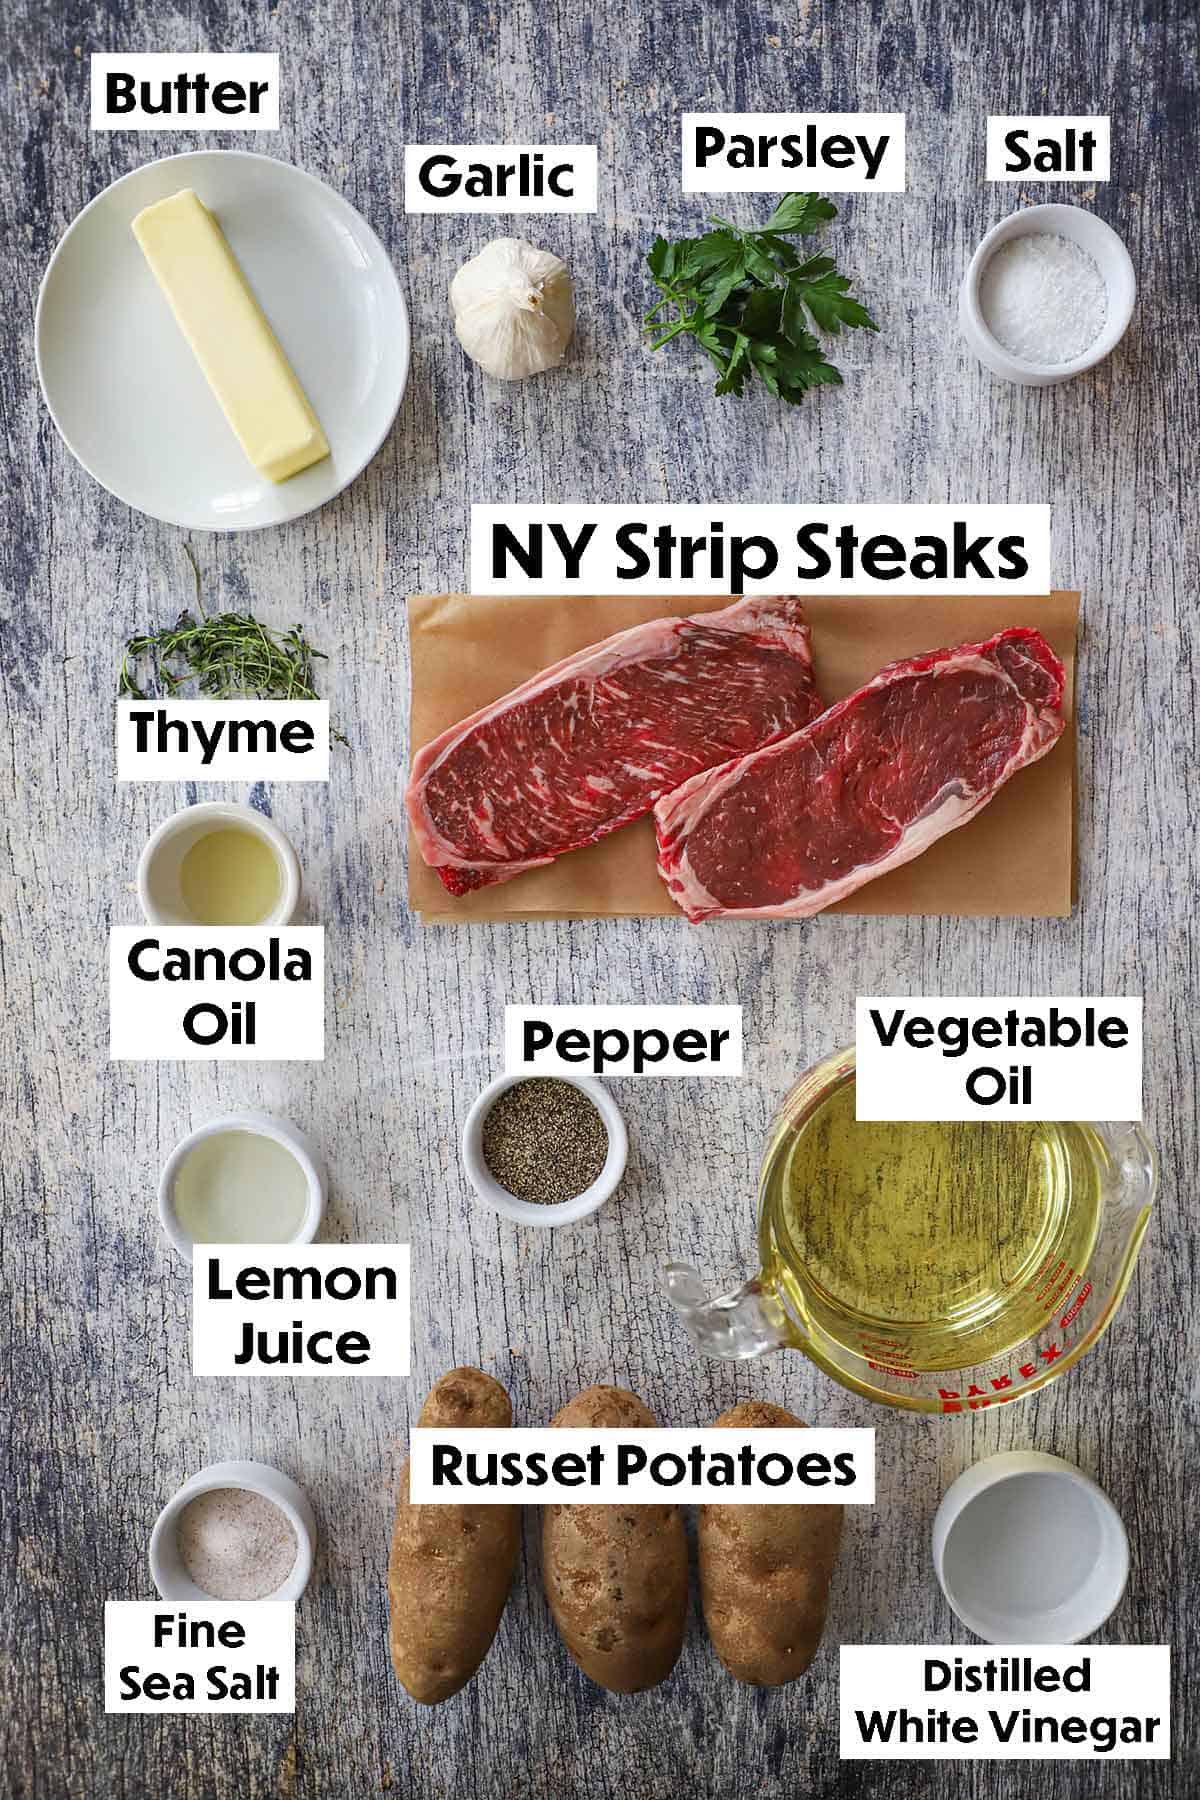
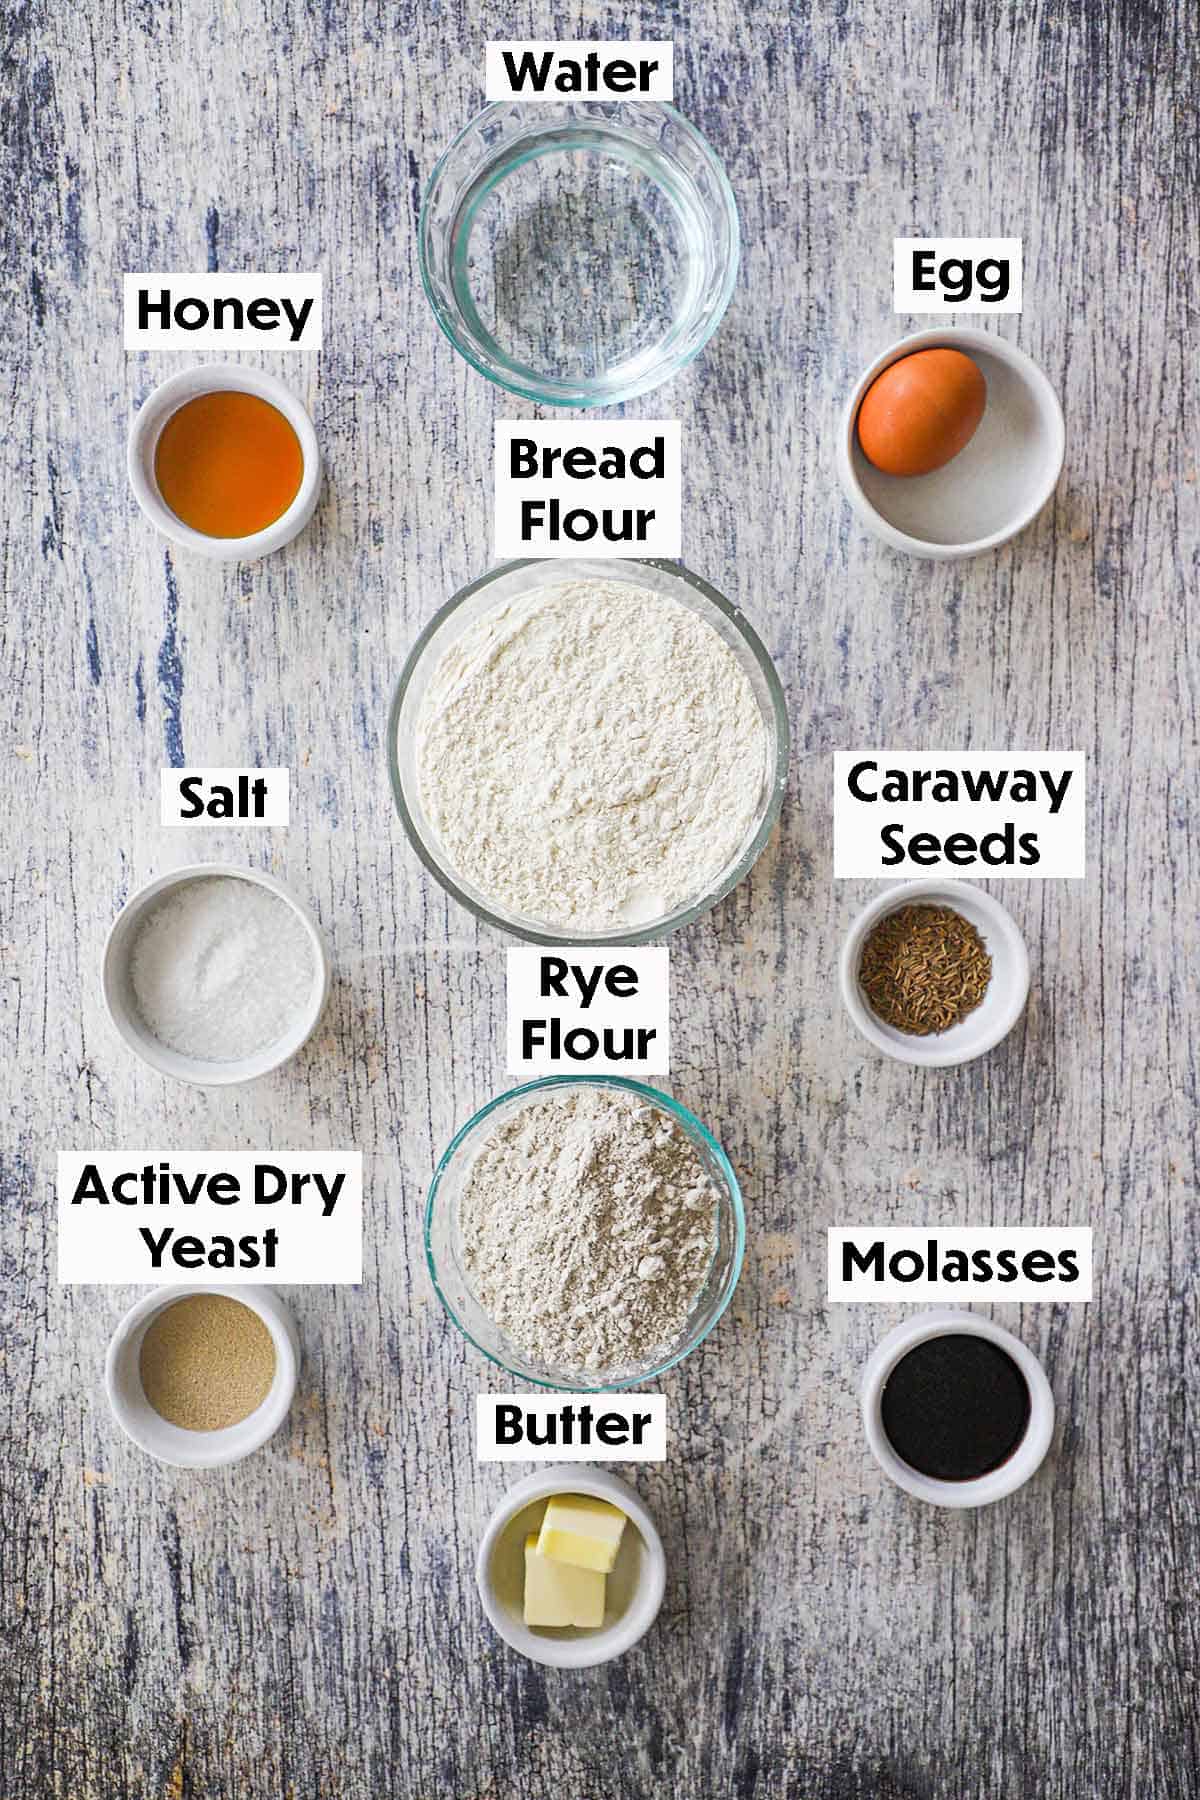
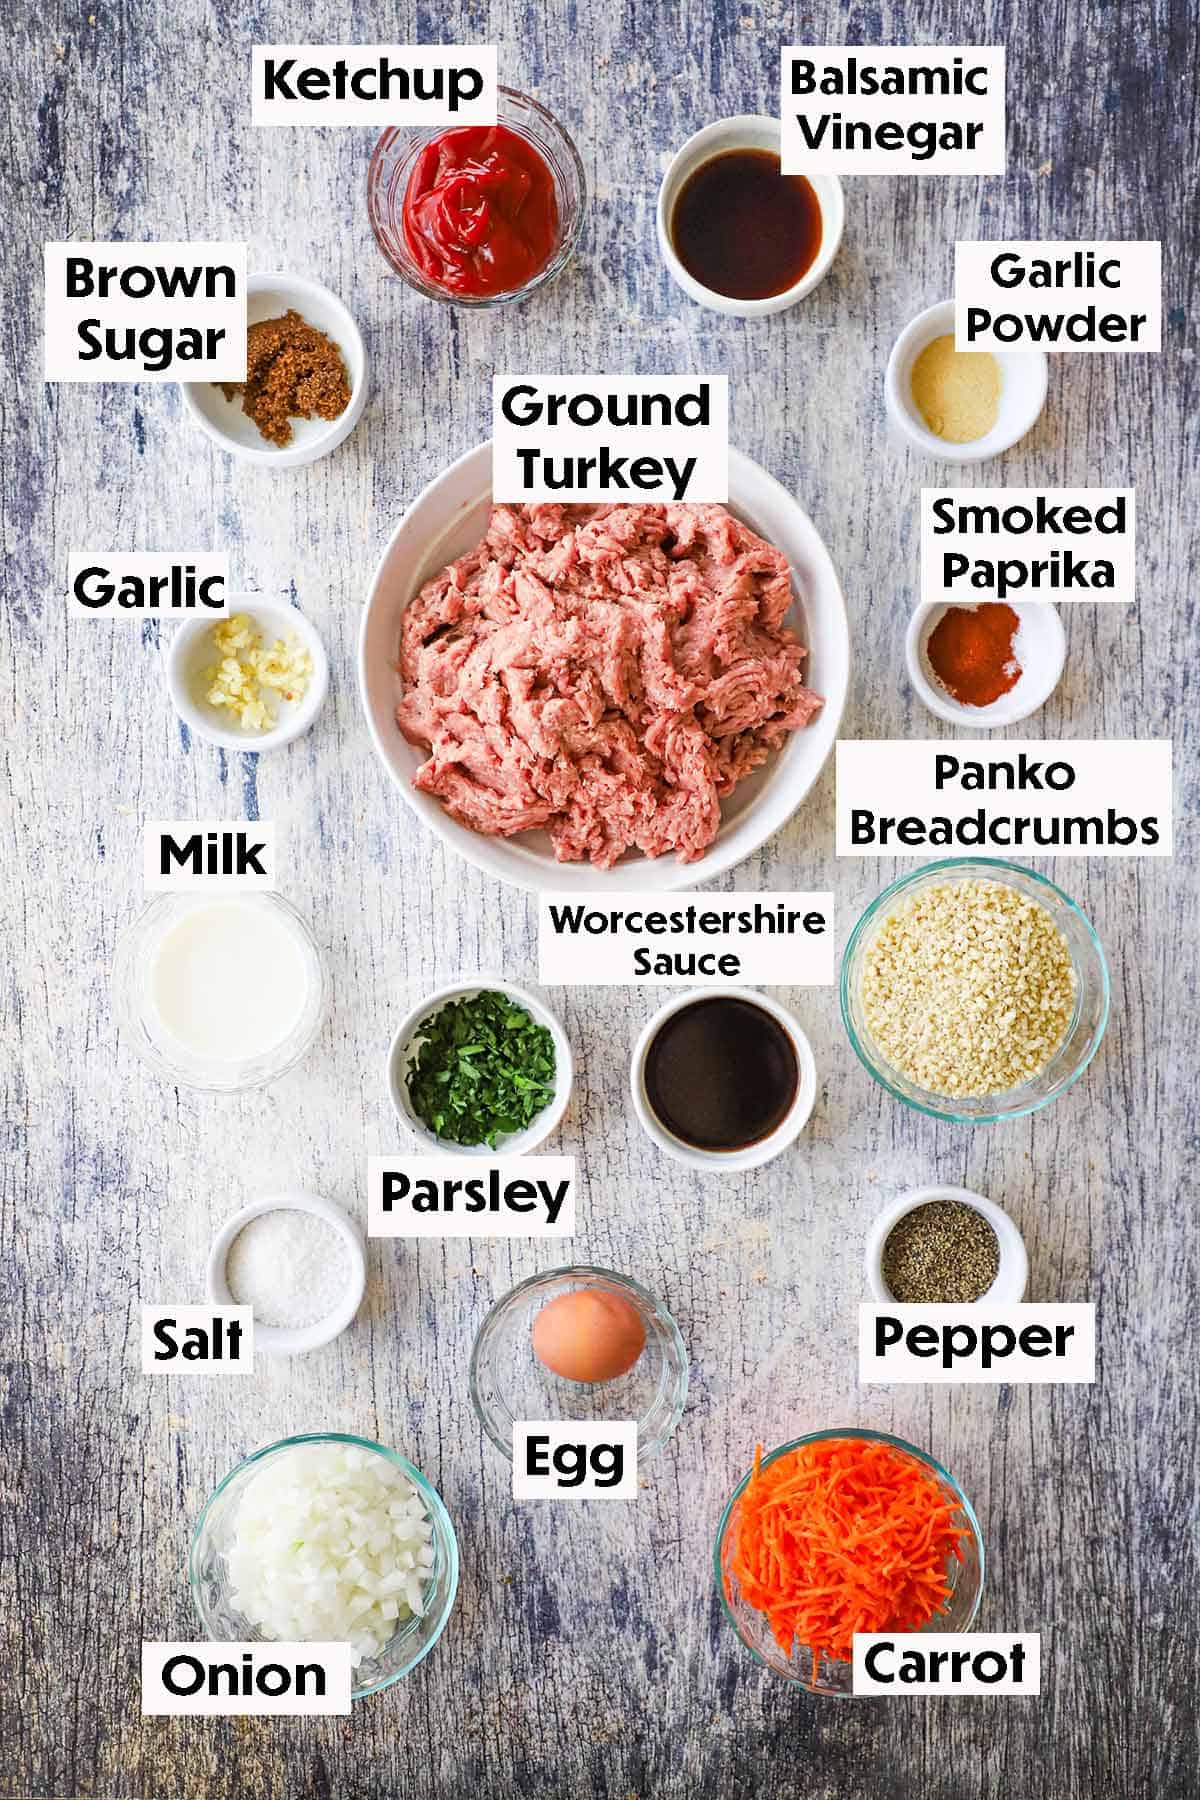
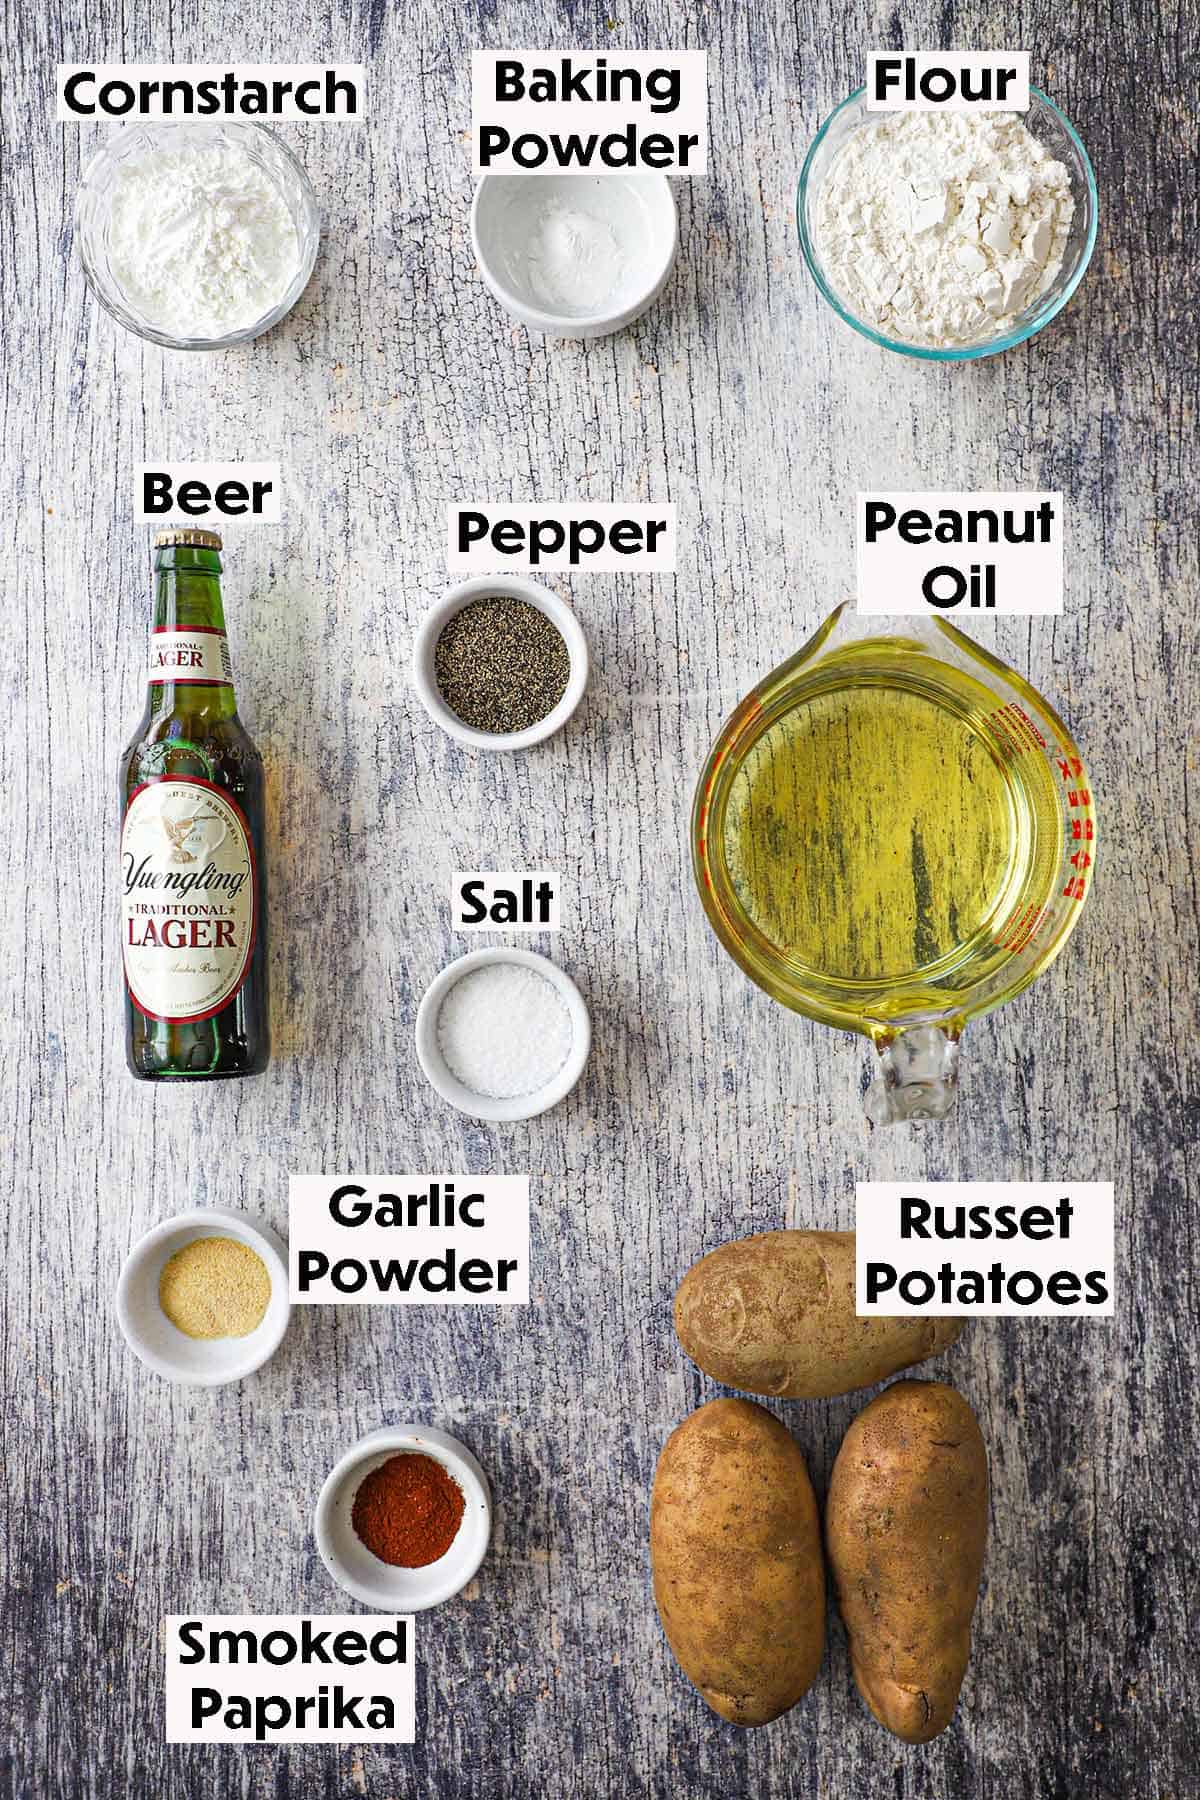
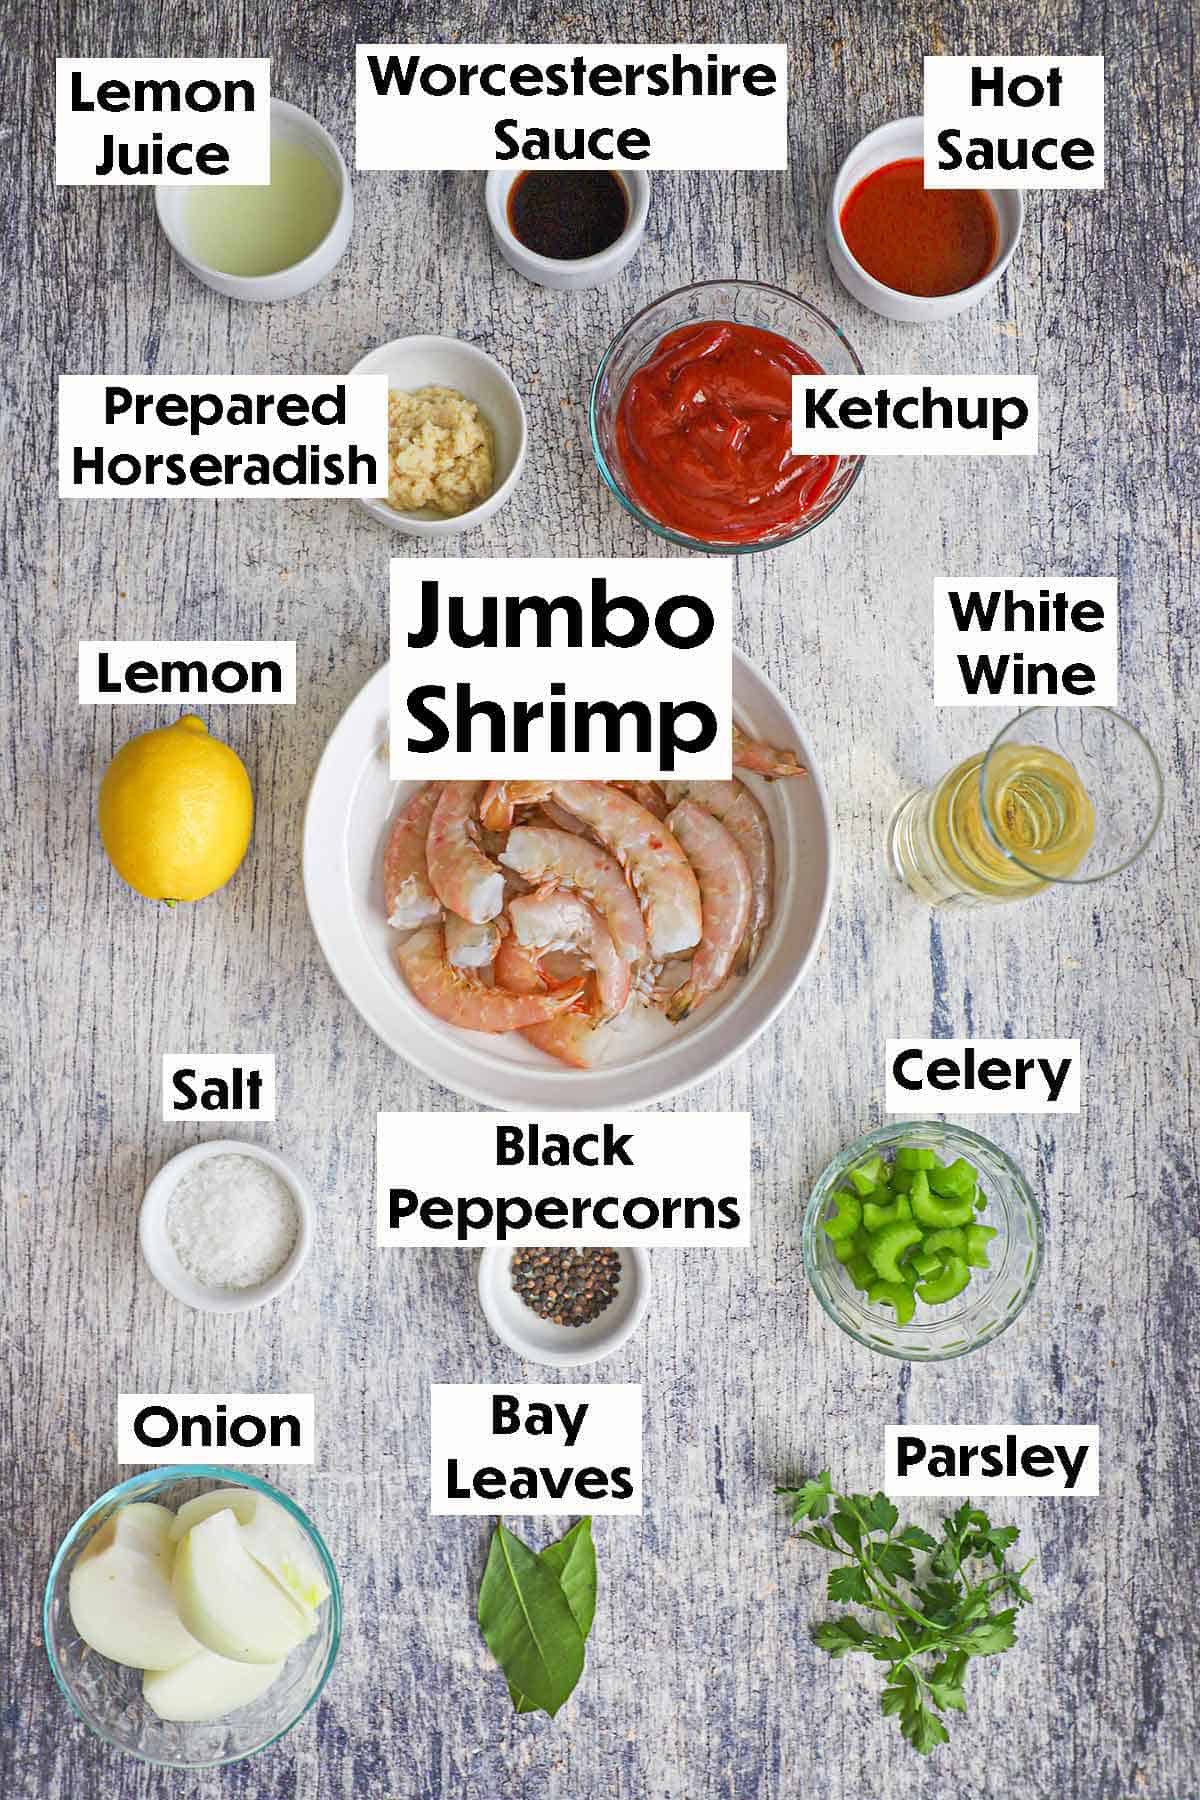
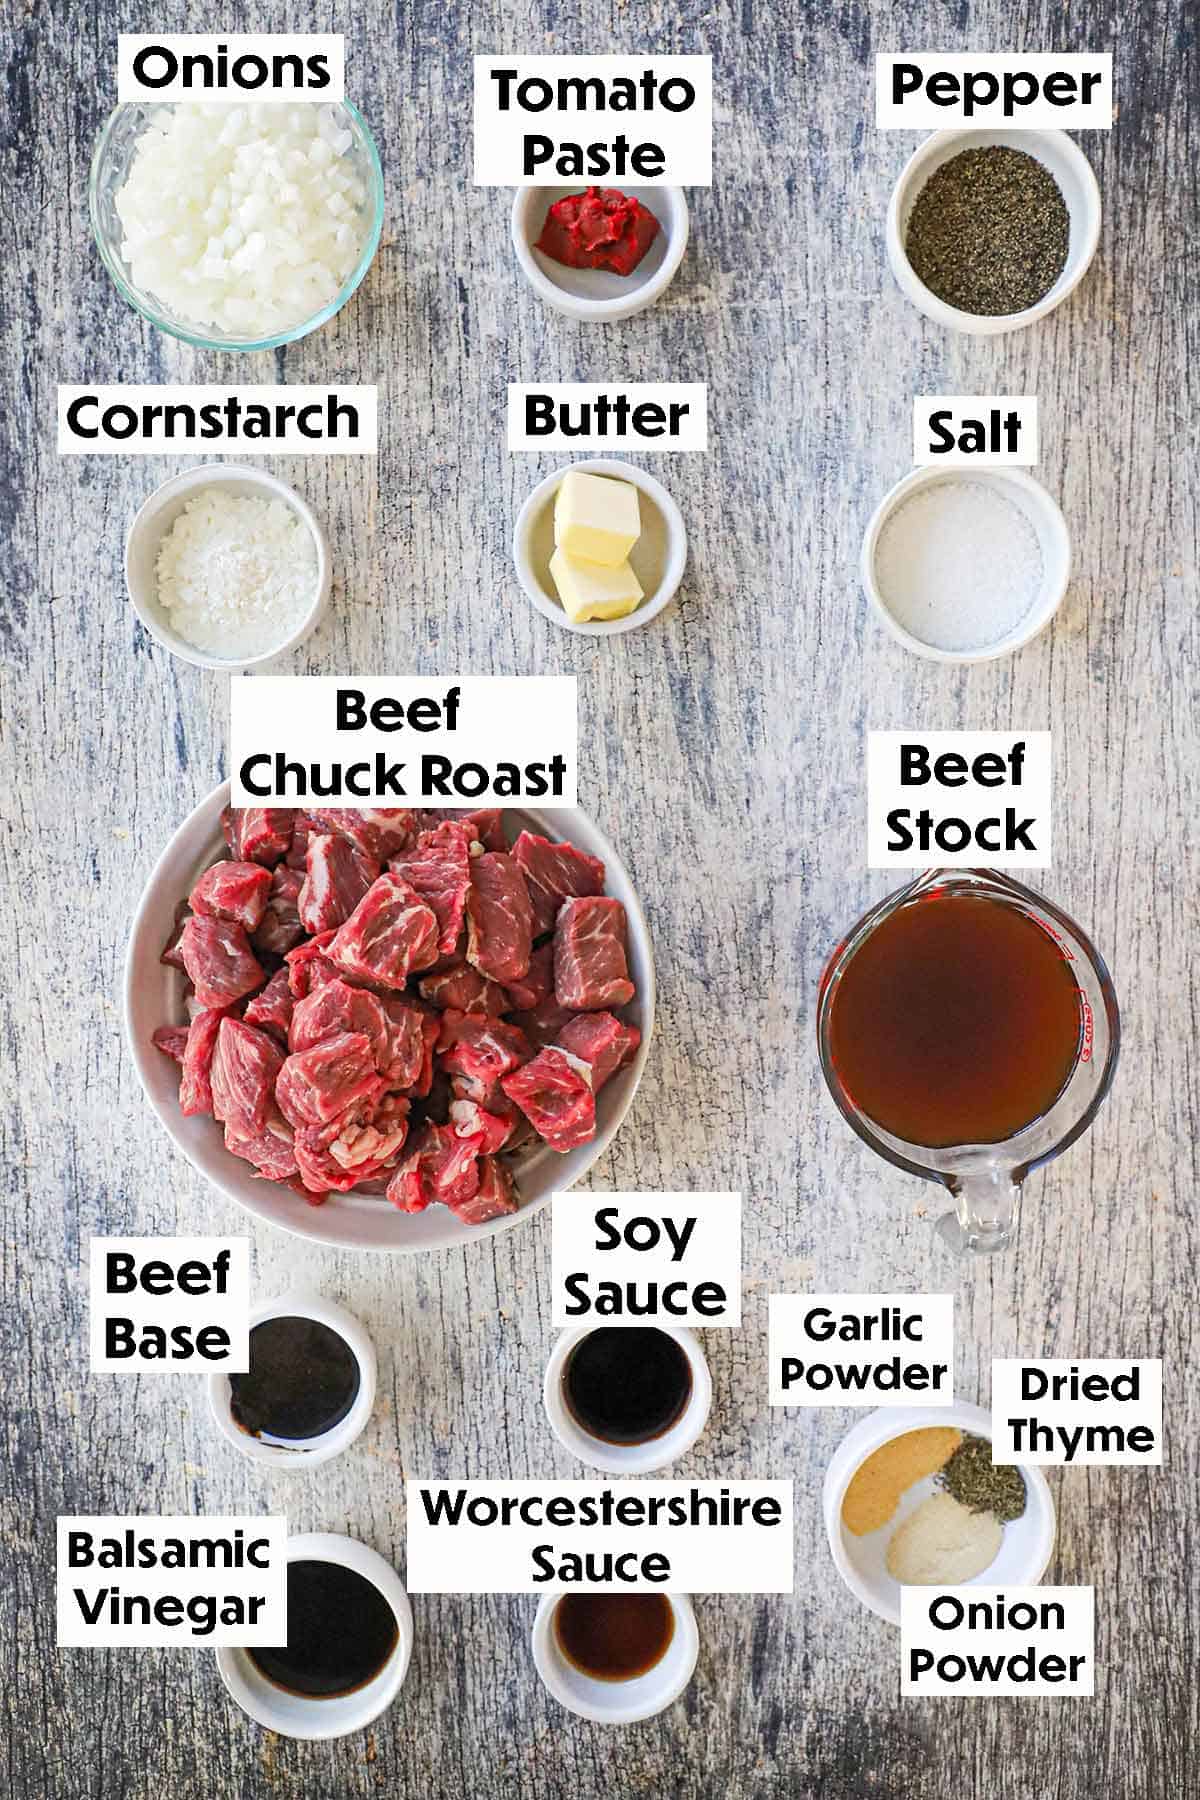
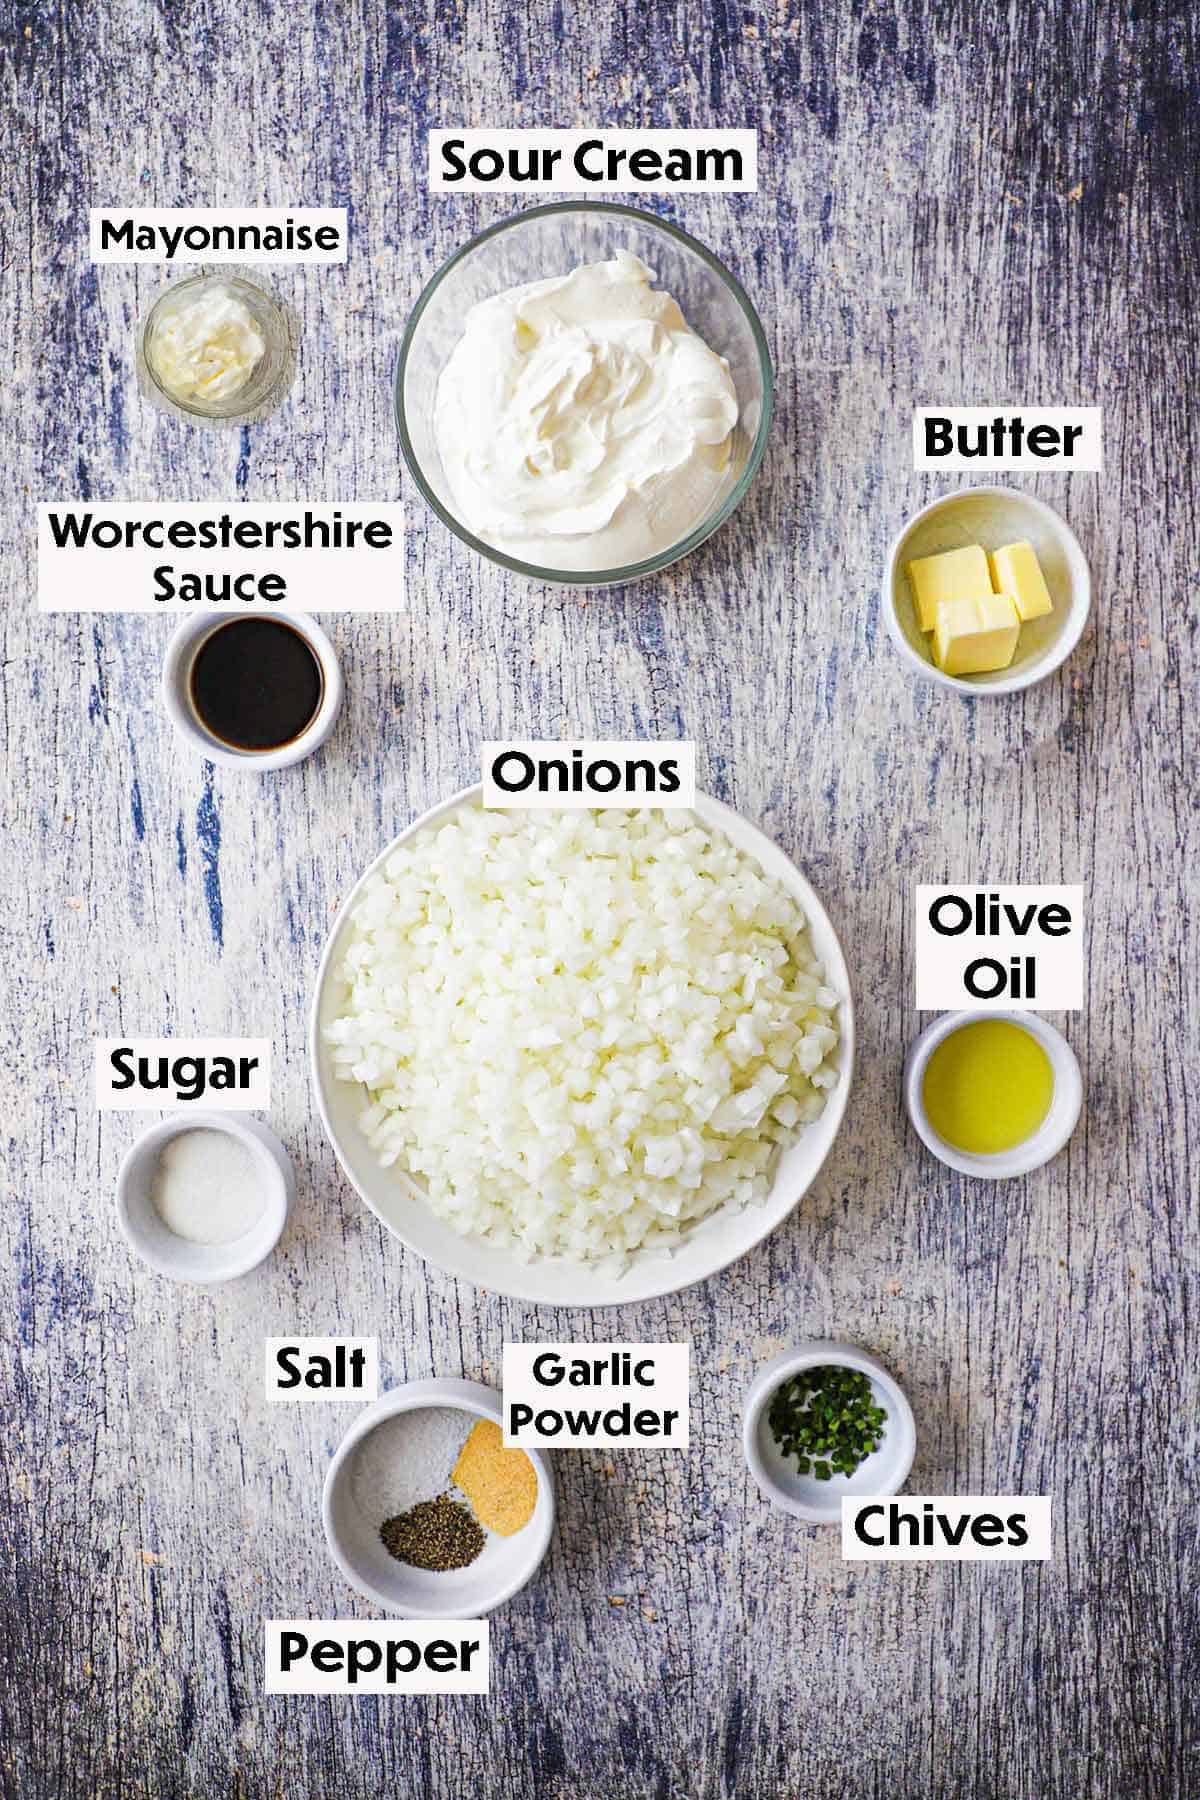
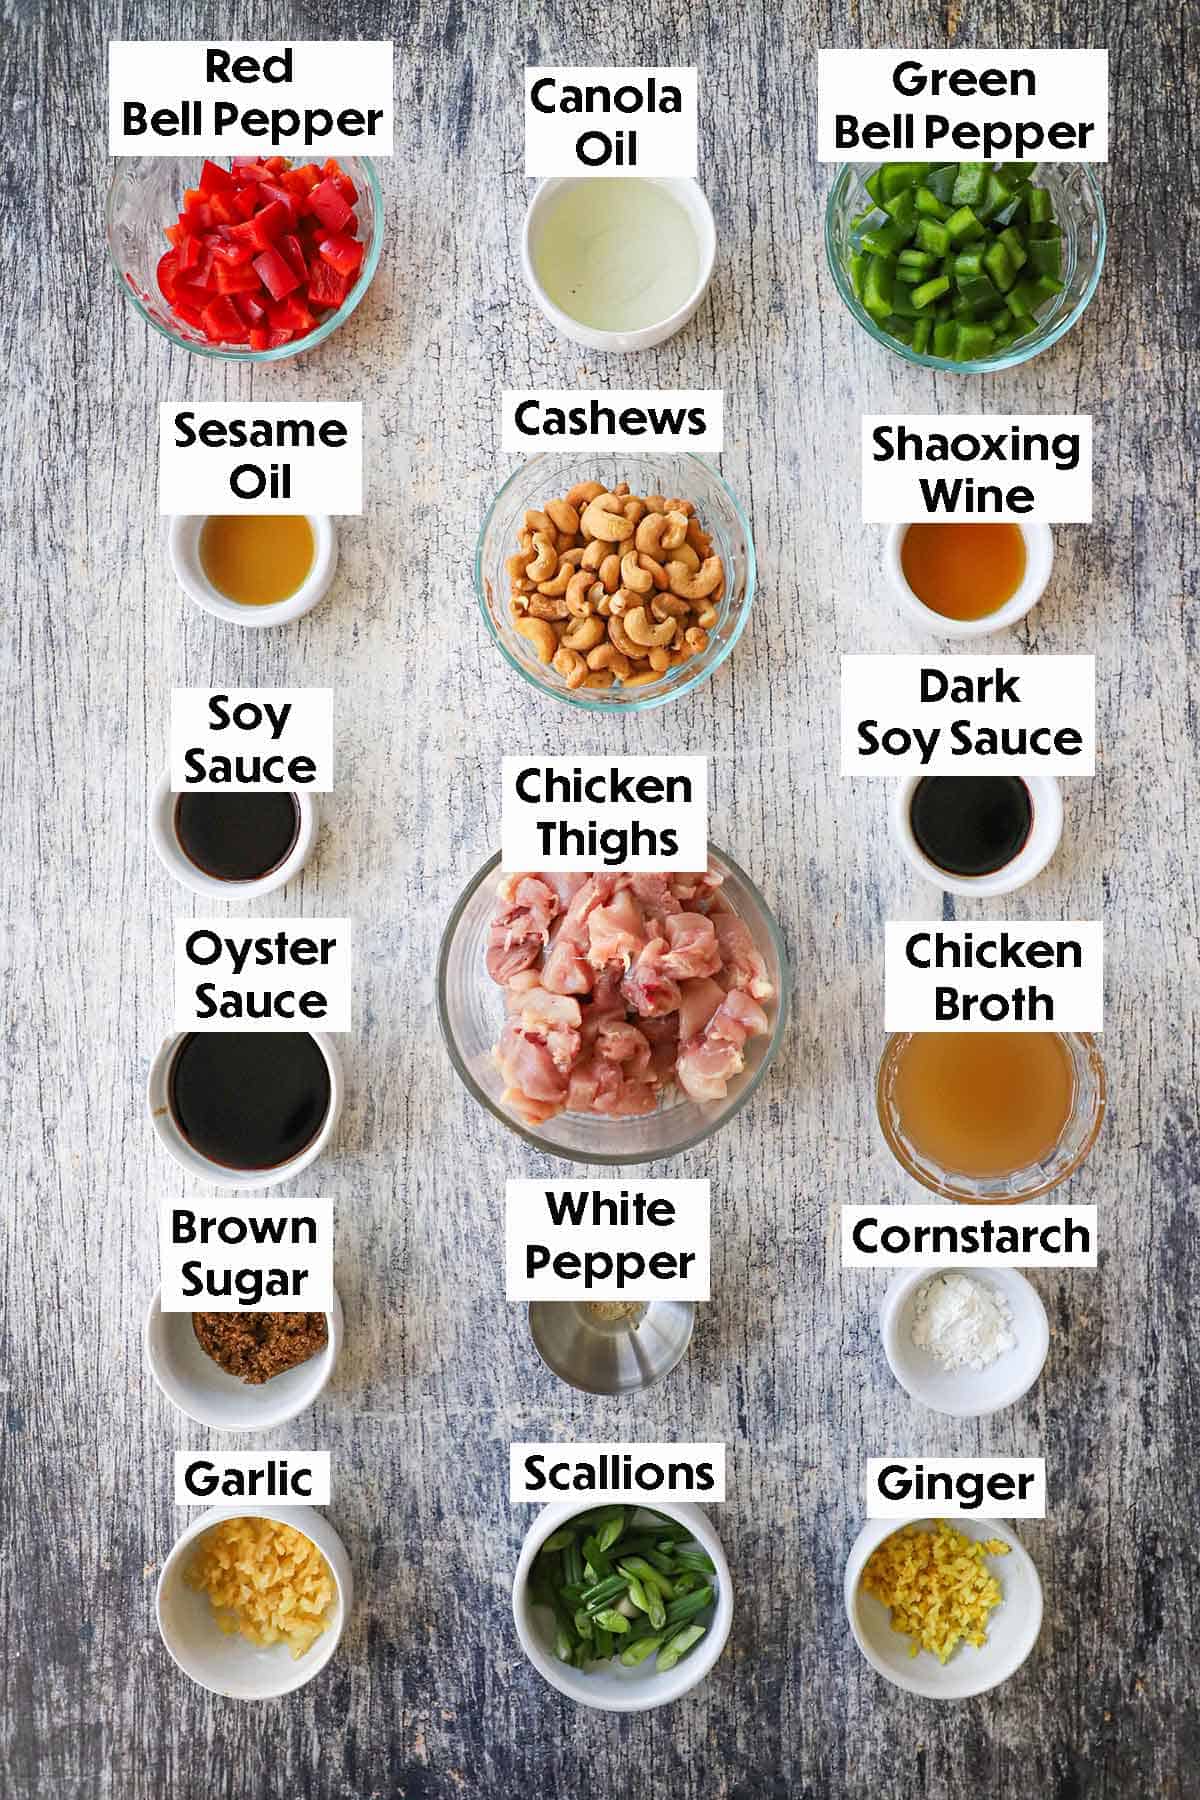
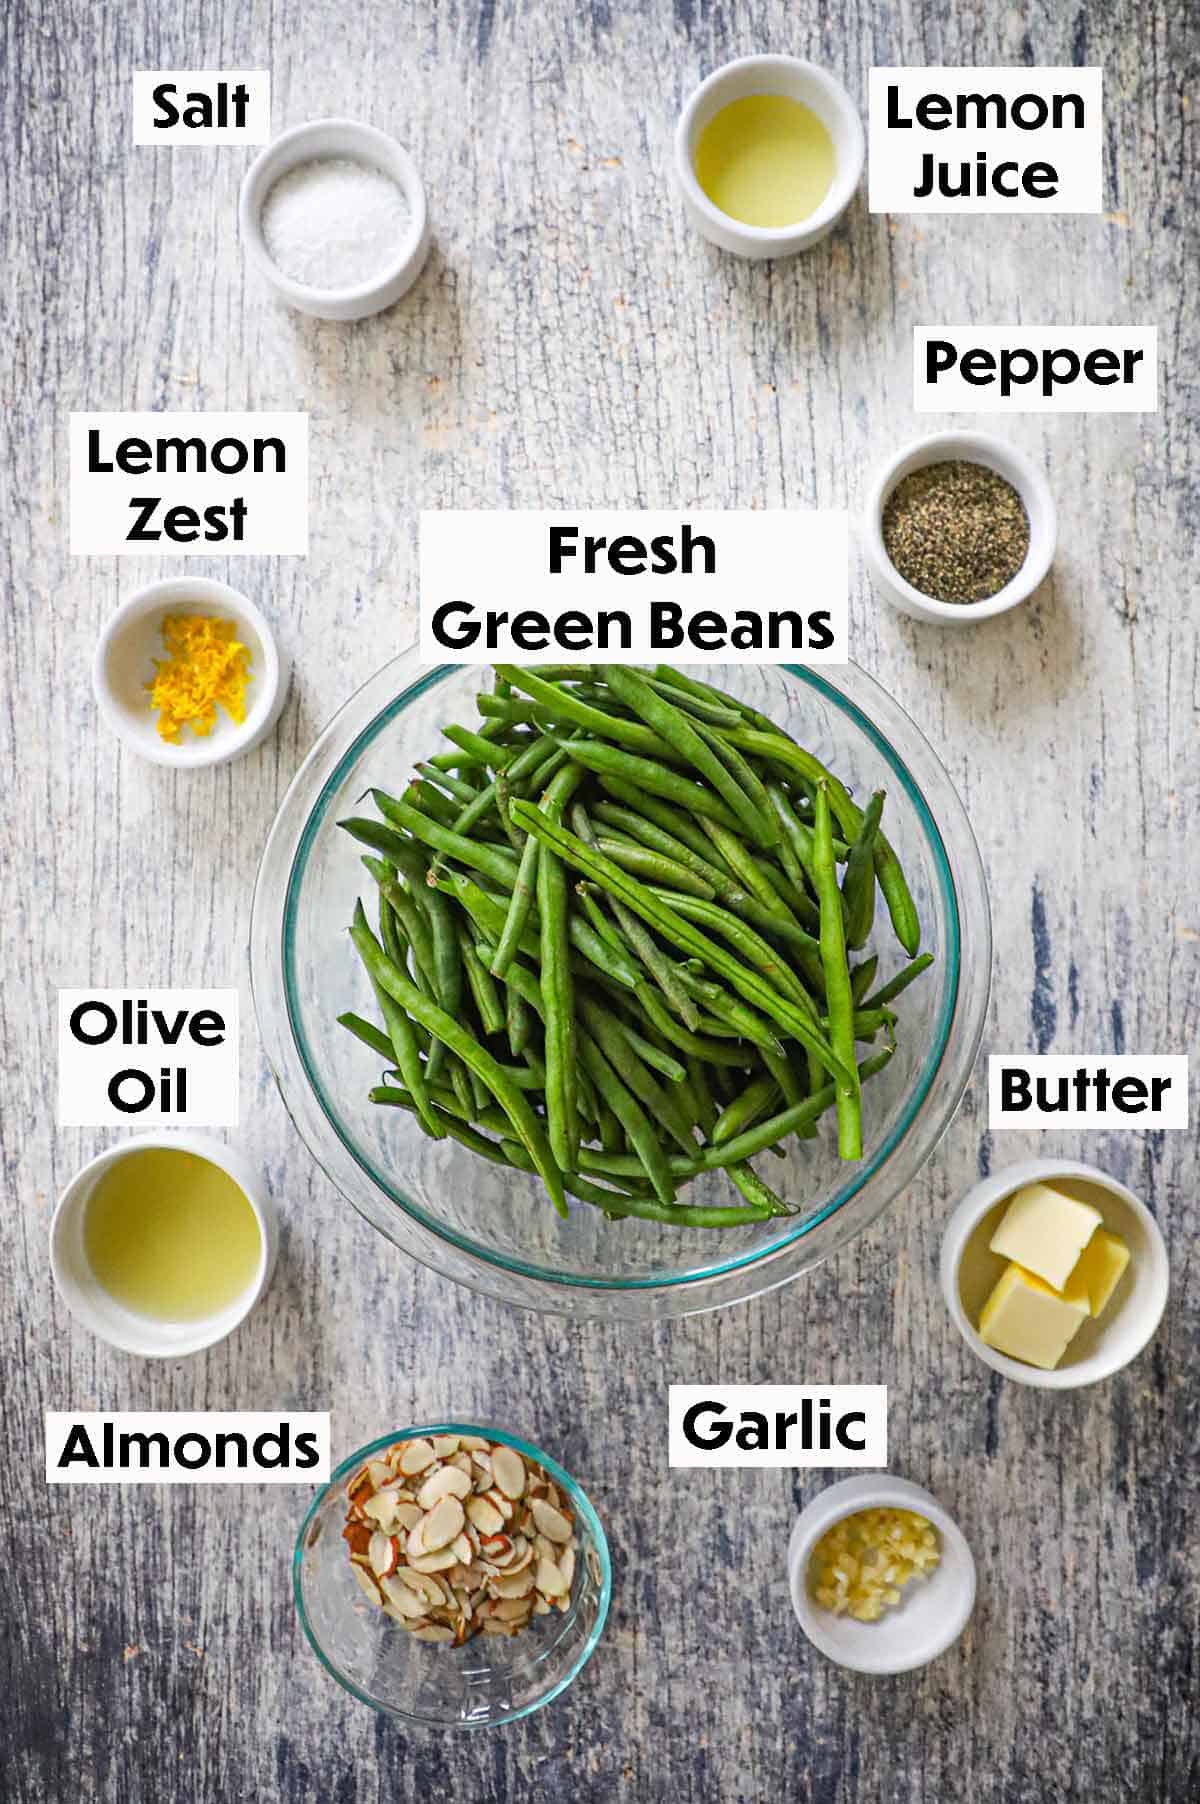
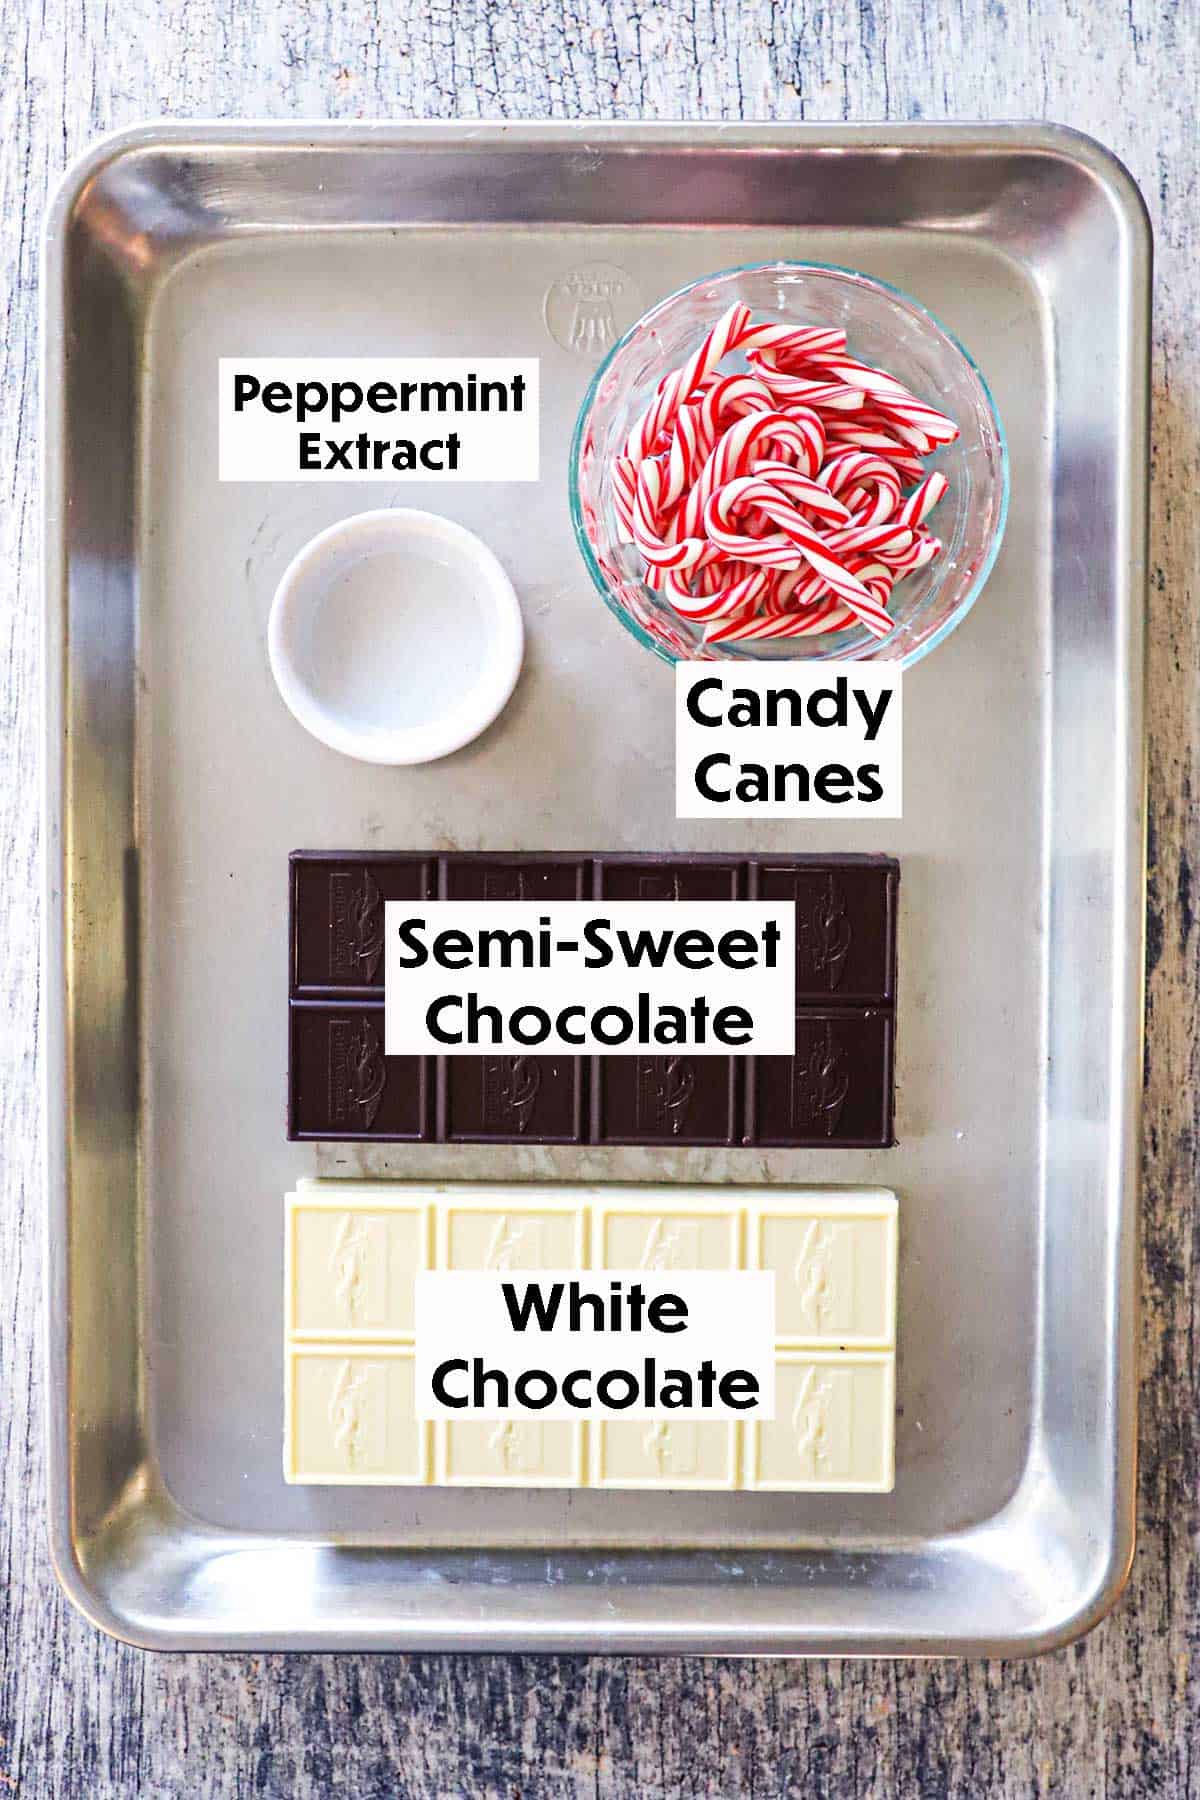
This recipe relies on just three basic, natural components that work together to create a complex, tangy flavor and a satisfying probiotic crunch. Find ingredient notes (including substitutions and variations) below.
📌 Tips and Tricks for Fermentation Success
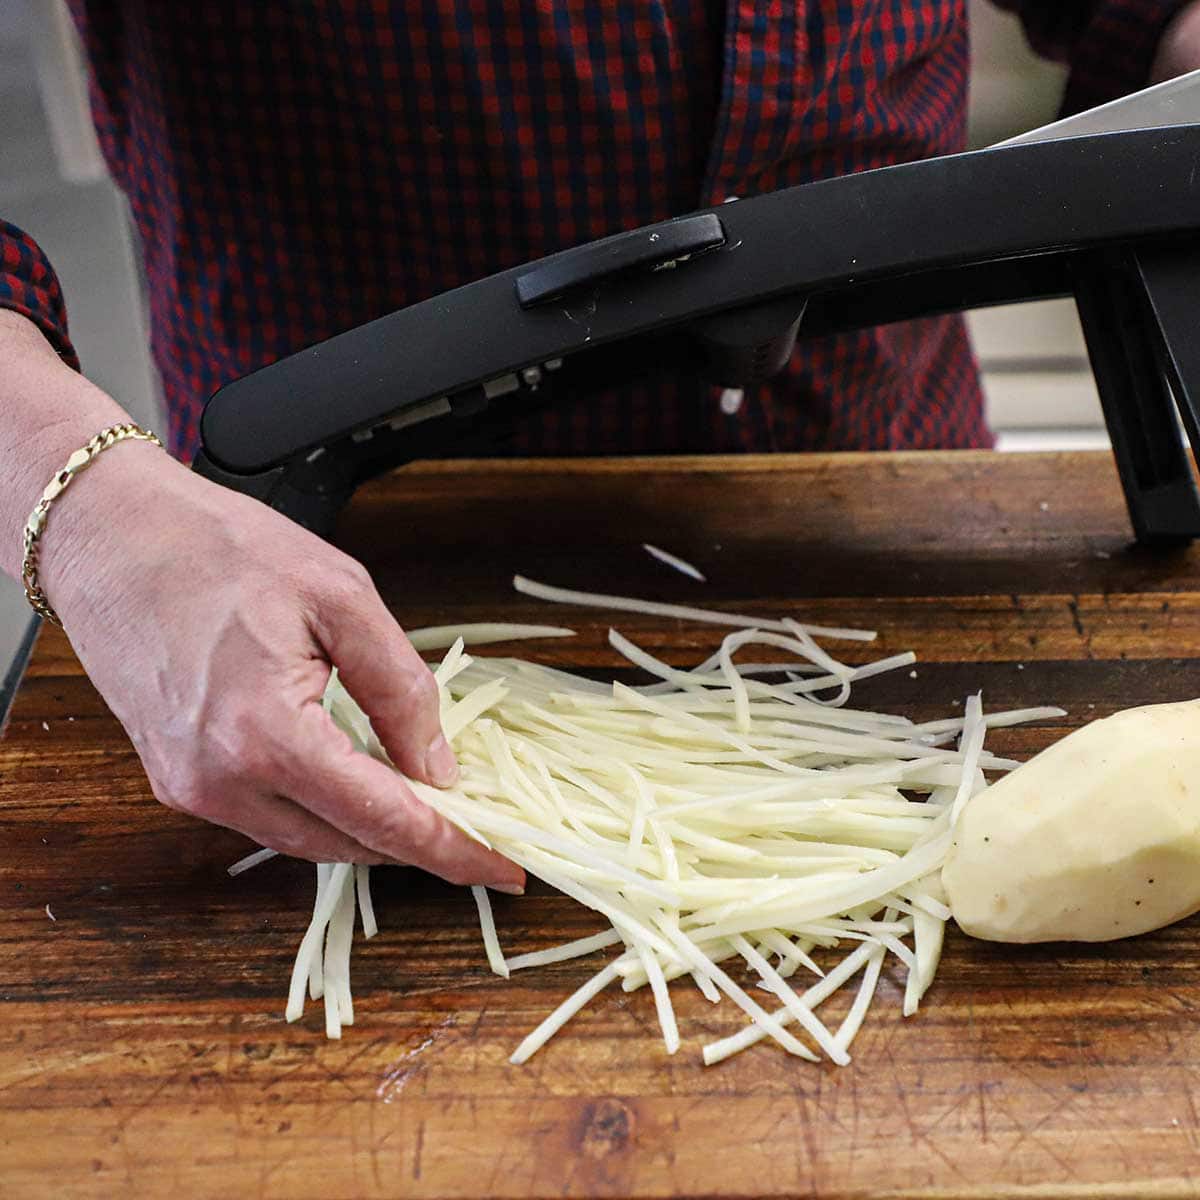
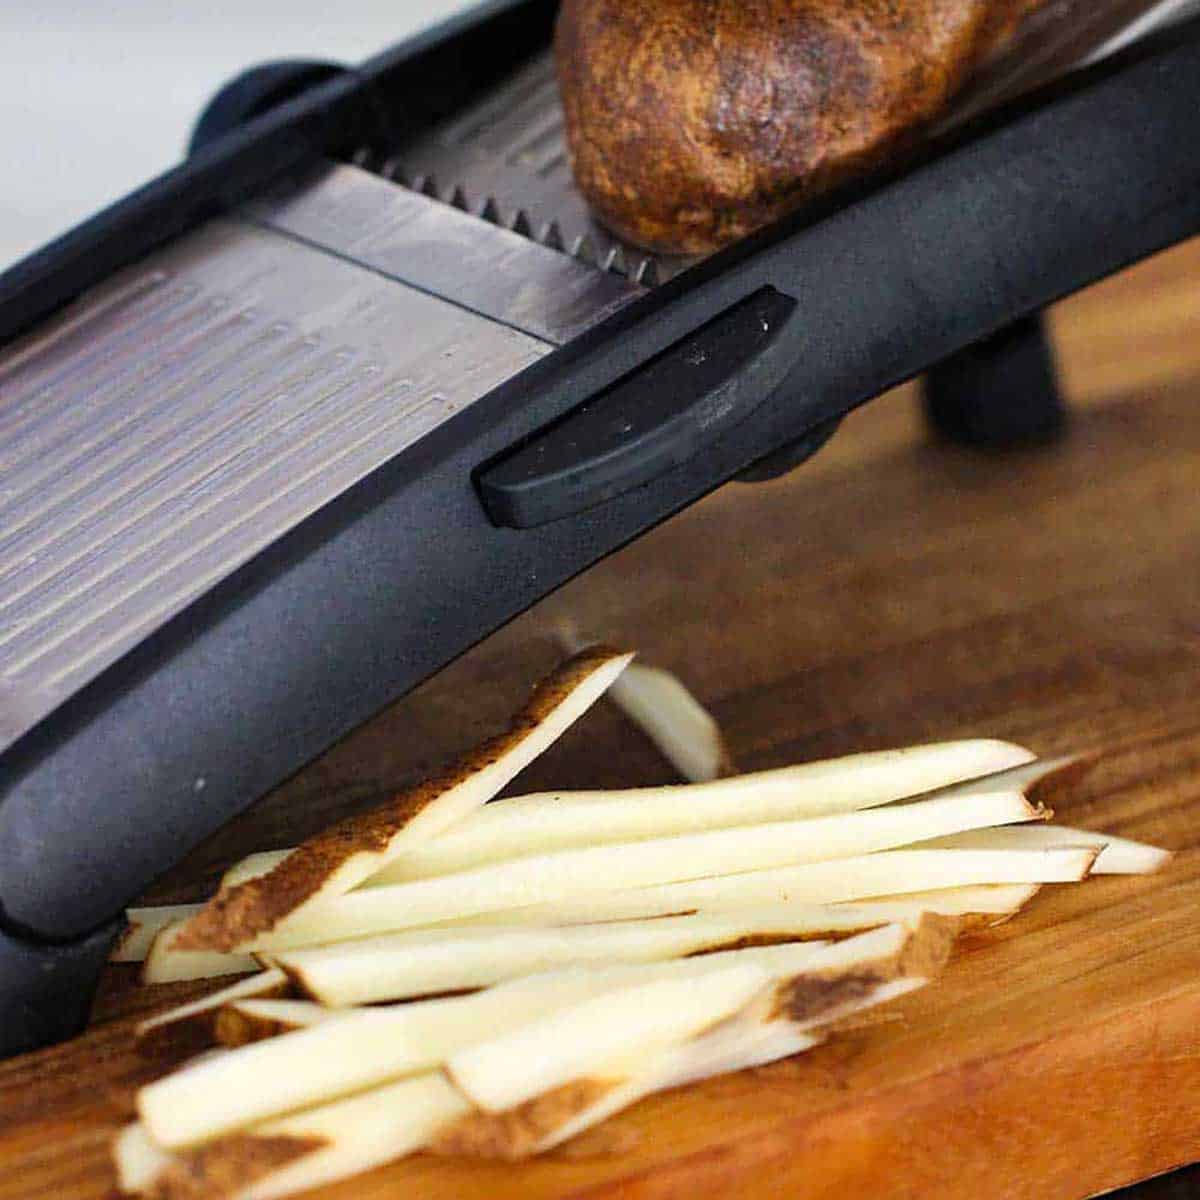
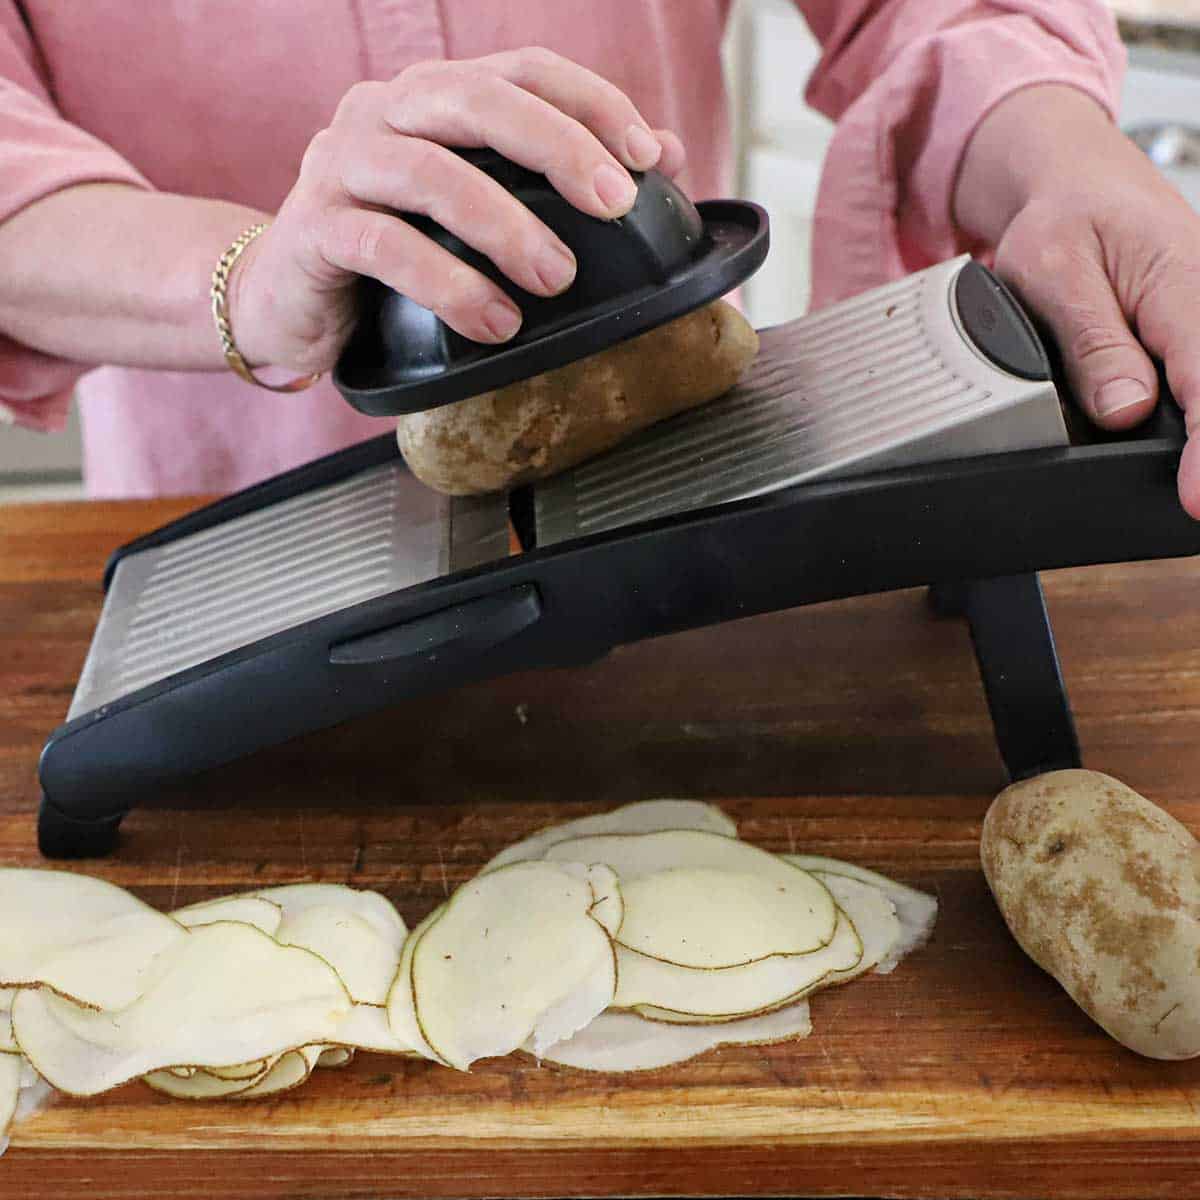
- Use the Core as a Handle: When using a mandolin, keep the core attached to the cabbage quarters; it acts as a perfect natural handle to protect your fingers while you get those paper-thin shreds.
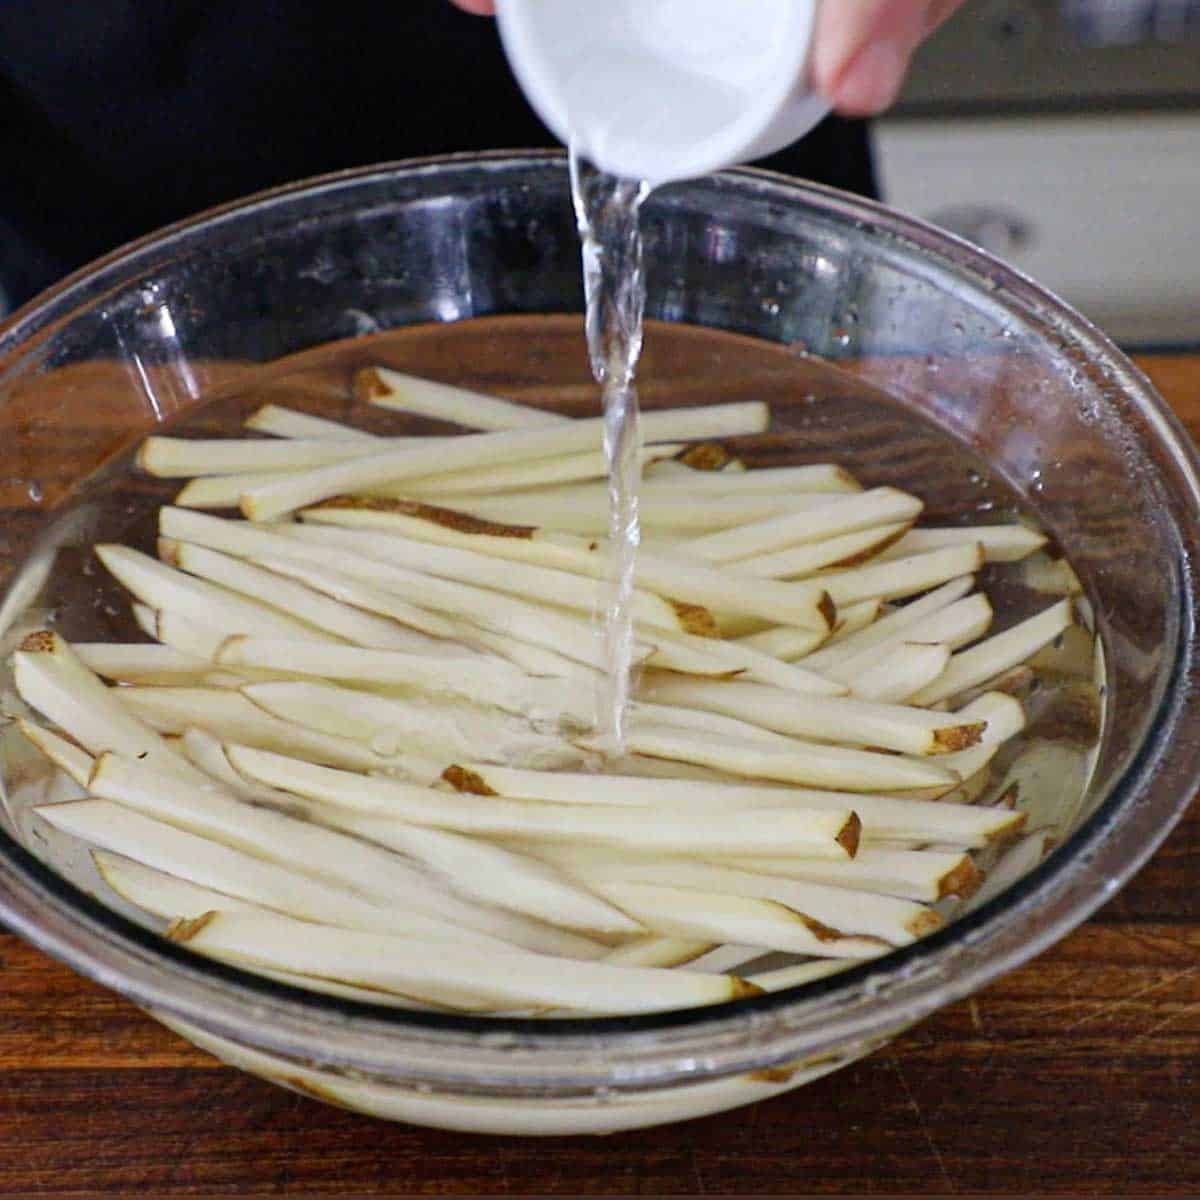
- The “Floaters” Rule: Always keep your cabbage submerged under the brine to prevent mold; using a dedicated weight like a Pickle Pebble is a great way to ensure everything stays safely under the liquid.
- Don’t Toss the Outer Leaf: That reserved exterior leaf is a secret weapon—tucking a hand-cut circle of it over your shredded cabbage creates an extra barrier that keeps small bits from floating to the surface.
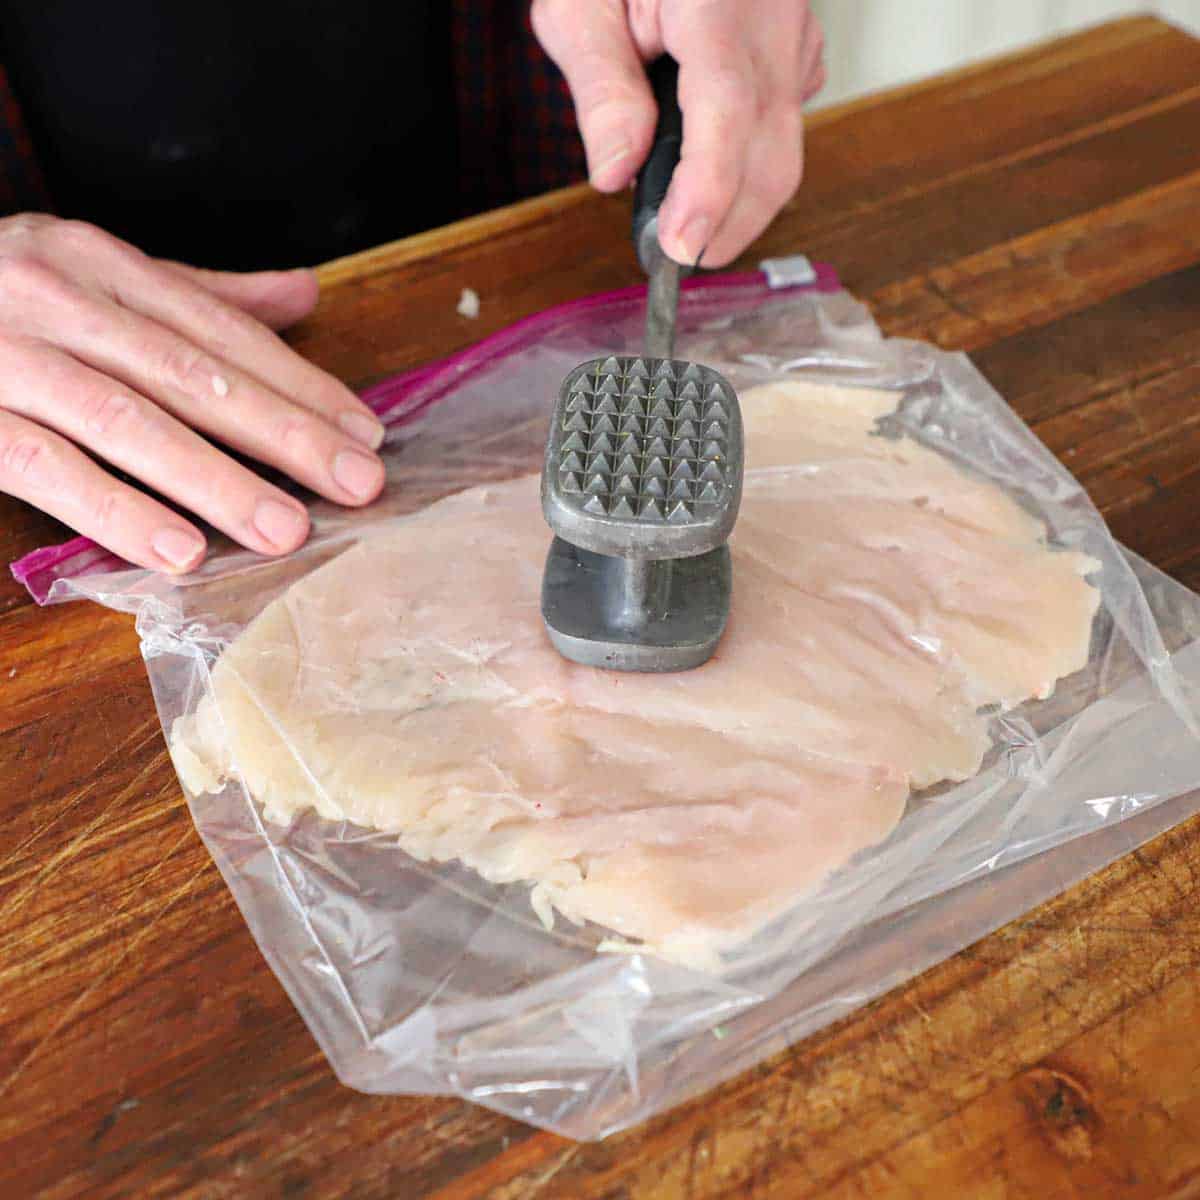
- Pound for Better Brine: Don’t be afraid to get aggressive with your Pickle Packer; the more you pound and massage the cabbage, the more natural juices it will release, creating a better brine for fermentation.
- Temperature Matters: Store your jars in a cool, dark place like a pantry; consistent temperatures help the flavors develop slowly and prevent the cabbage from becoming too soft.
- Trust Your Nose: It is normal for the jars to have a strong, tangy aroma while the Pickle Pipe vents gas, but your sauerkraut should always smell clean and acidic, never “off” or unpleasant.
Expert Tip
While the specialized tools from Masontops.com make the fermentation process incredibly hands-off and reliable, you can still achieve great results with common household items if you’re just starting.
If you don’t have a Pickle Packer, use the end of a wooden spoon or your clean fists to firmly bruise the cabbage, and replace the Pickle Pebble with a small, clean glass jelly jar that fits inside the mouth of your mason jar to keep everything submerged. To manage gases without a Pickle Pipe, simply use a standard lid and “burp” the jar once a day by slightly unscrewing it to let the pressure escape before sealing it back up.
👩🏼🍳 How to Make Homemade Sauerkraut
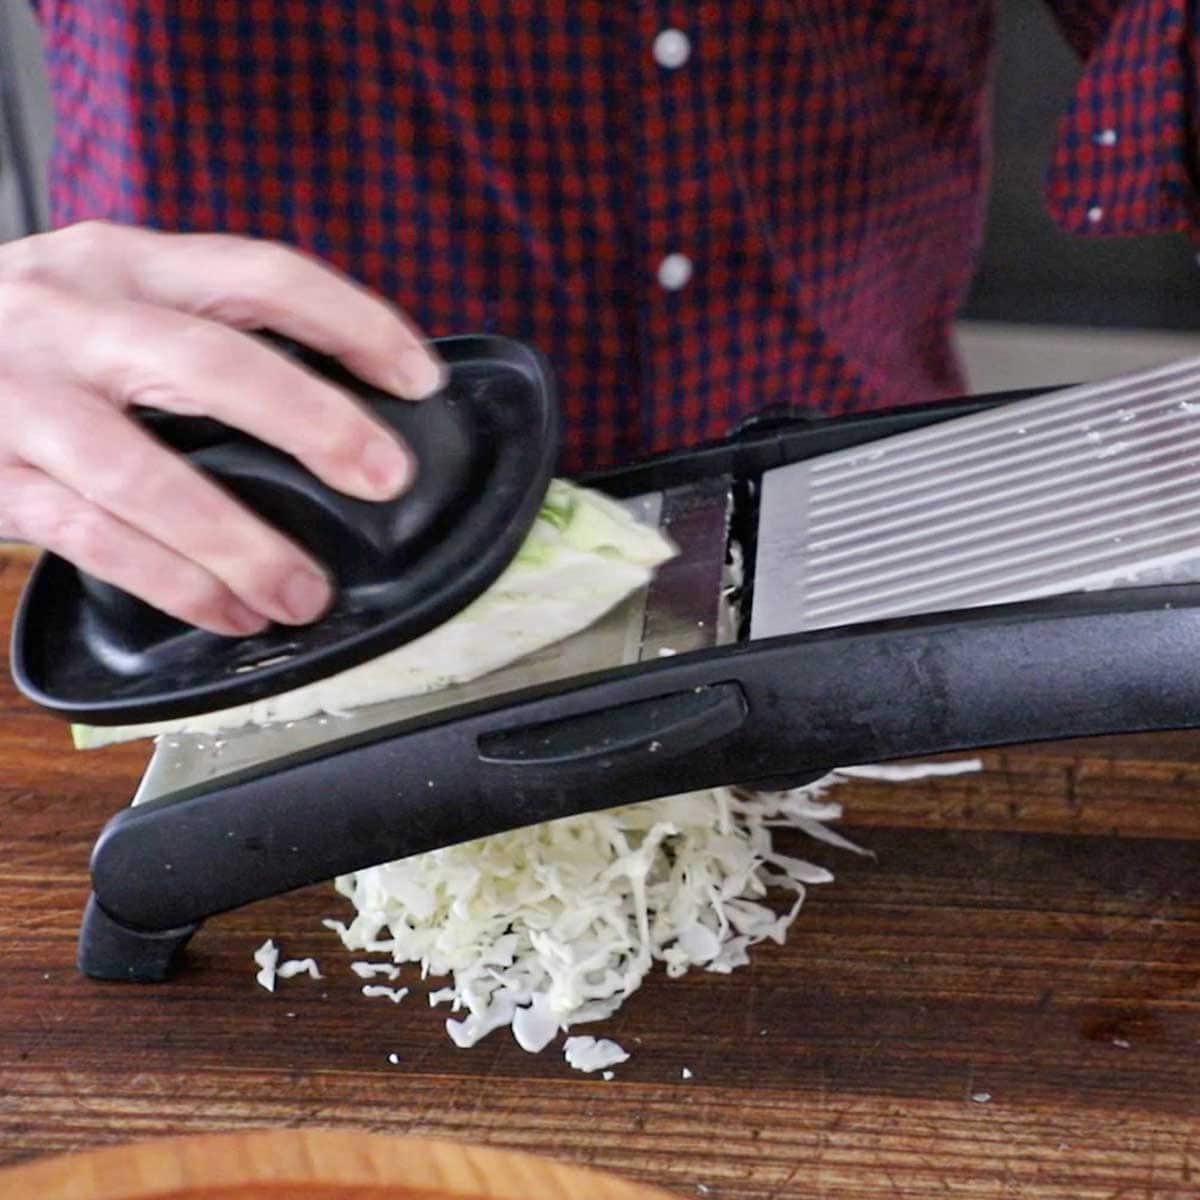
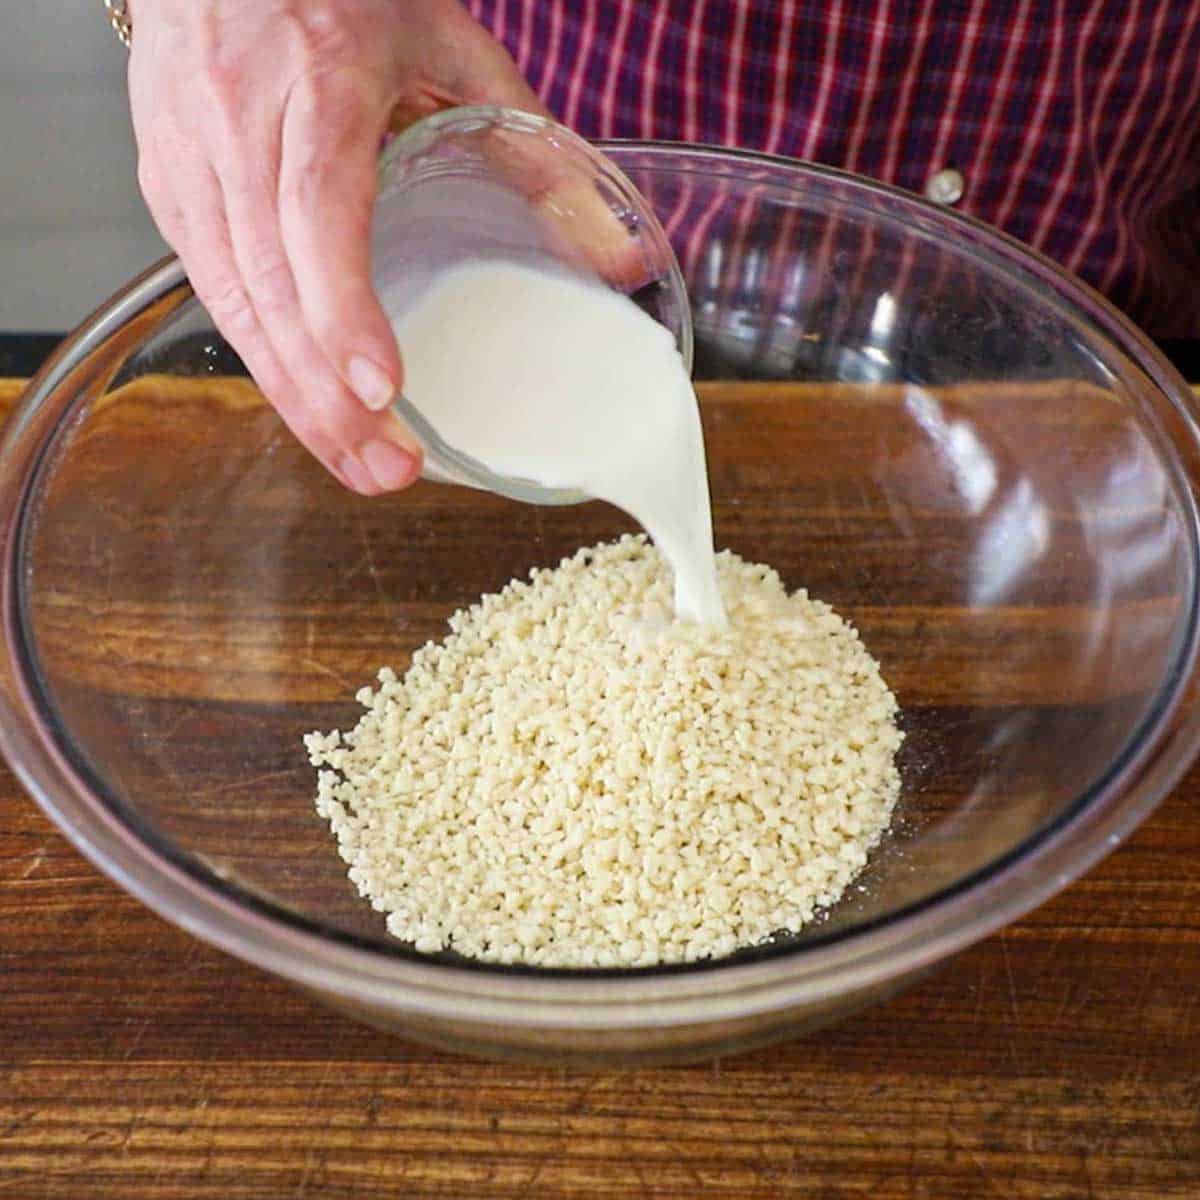
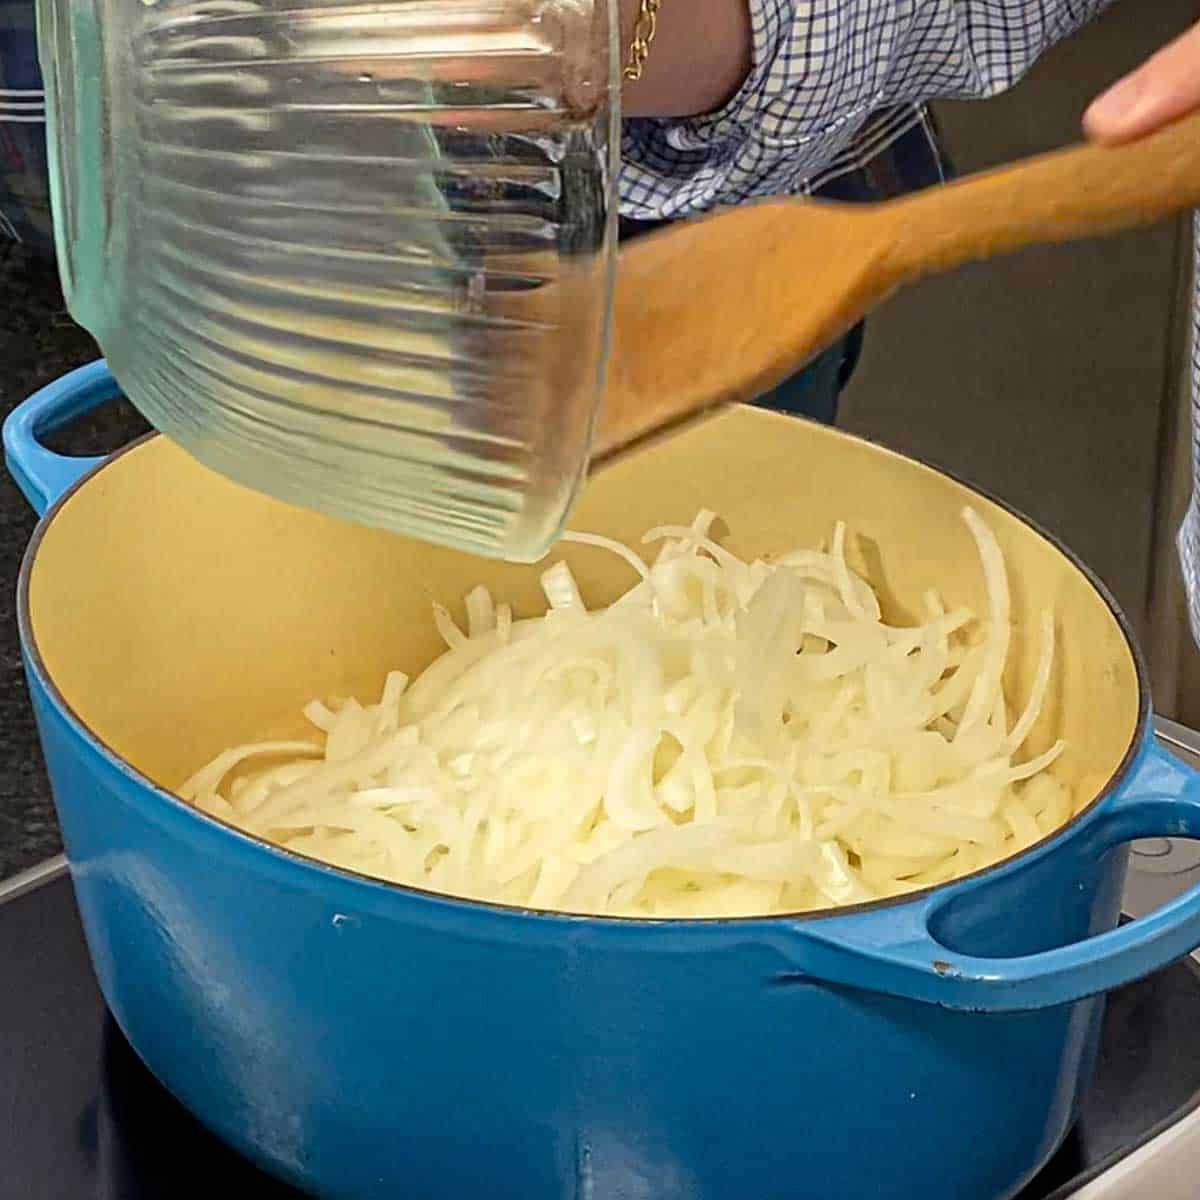
- Step 1: Save an outer cabbage leaf for later use. Then, cut the cabbage into quarters, and then carefully shred it very thinly on your mandolin or with a large, sharp knife.
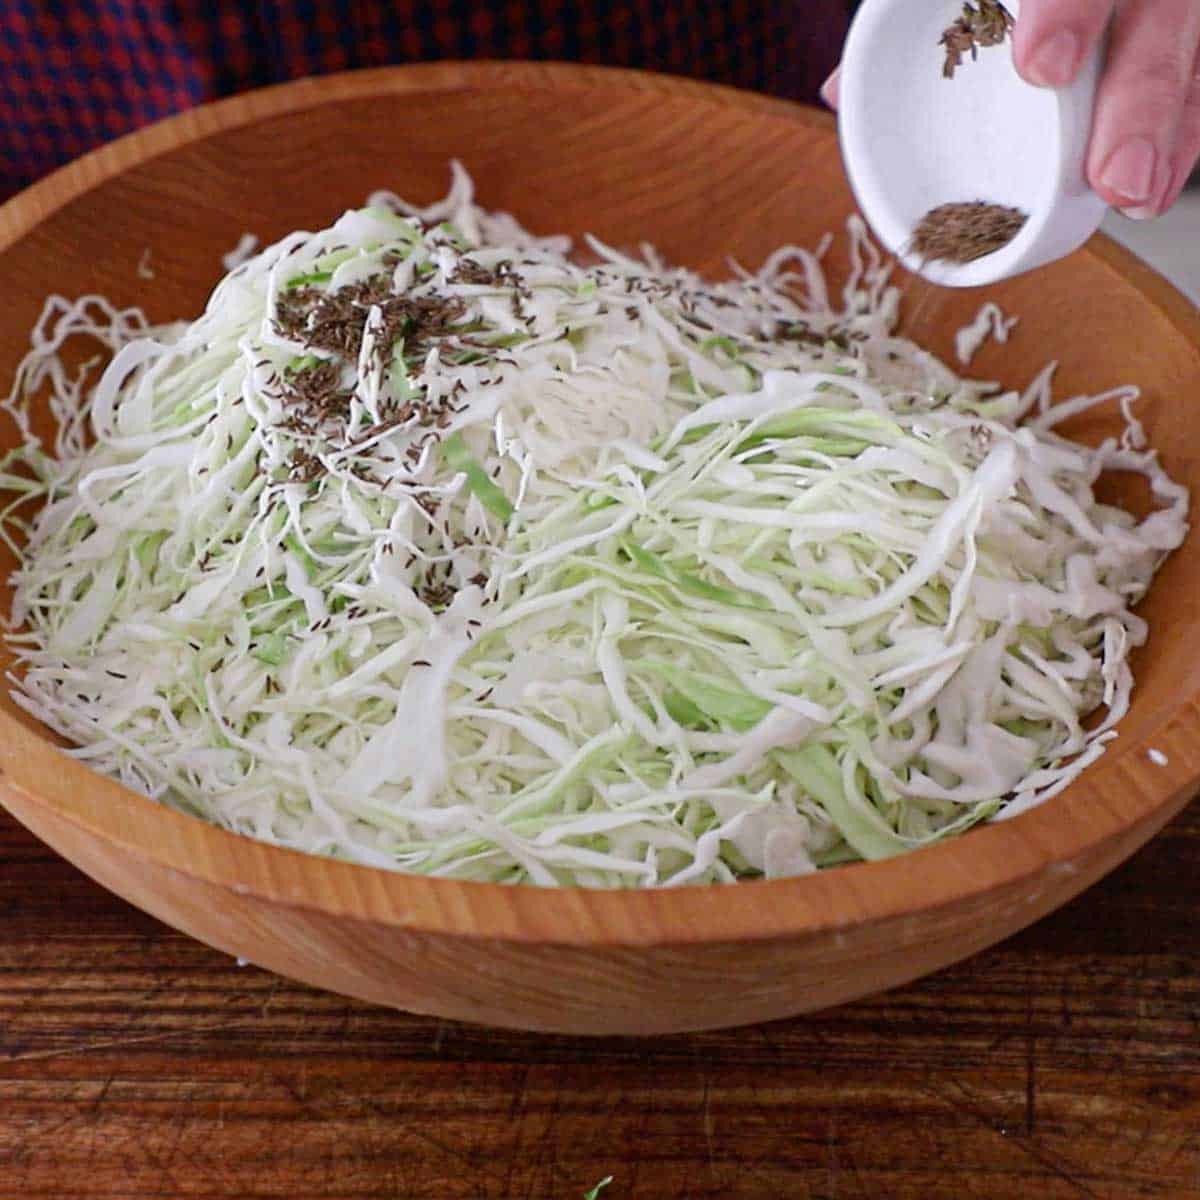
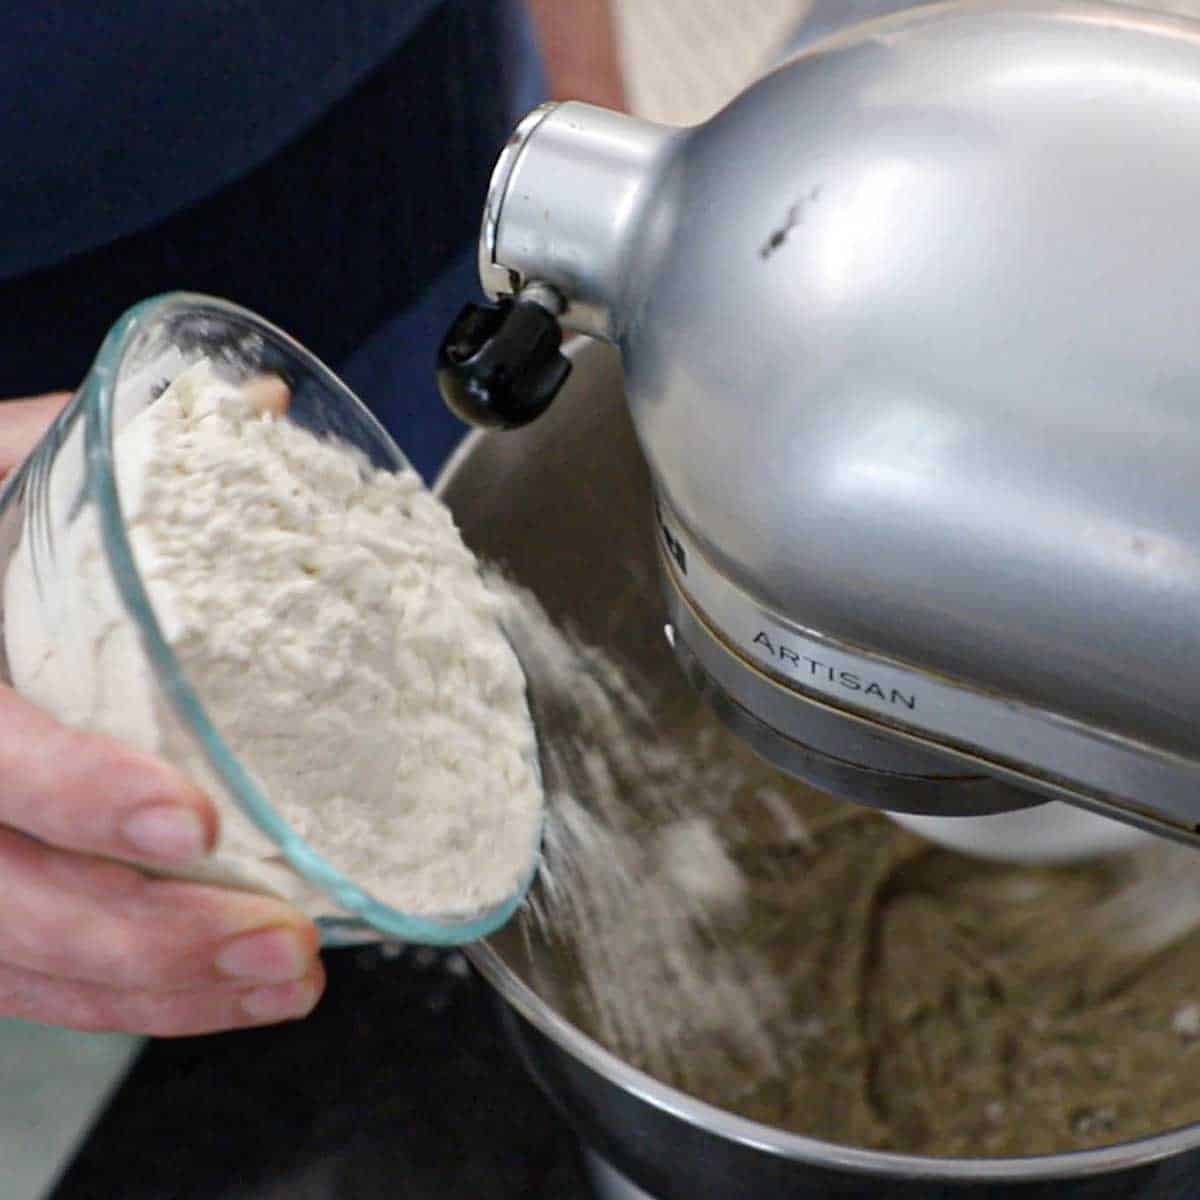
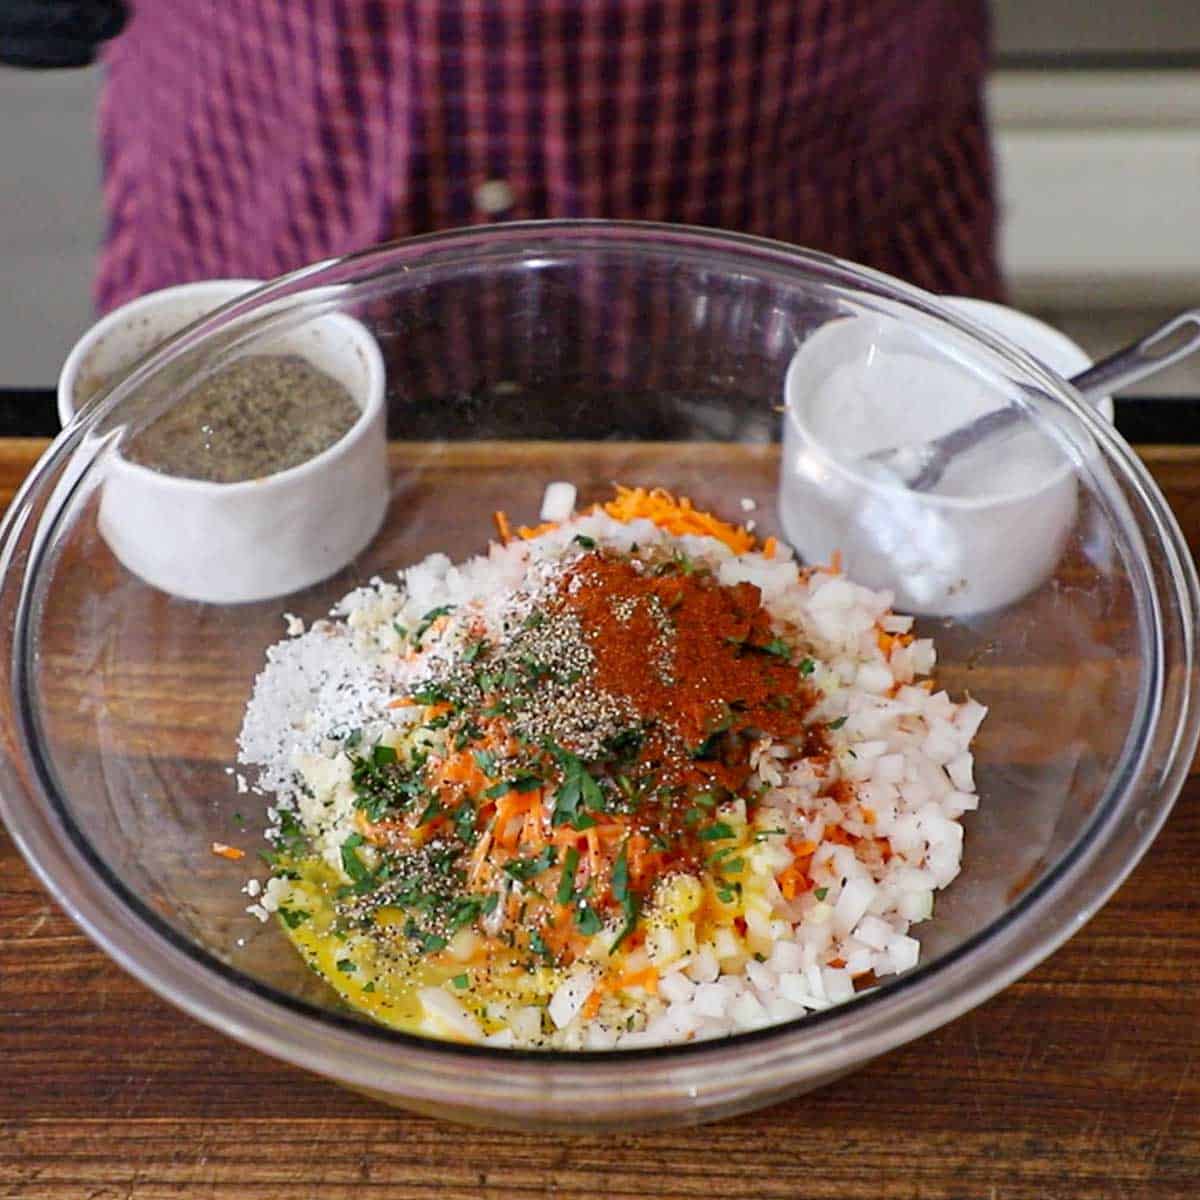
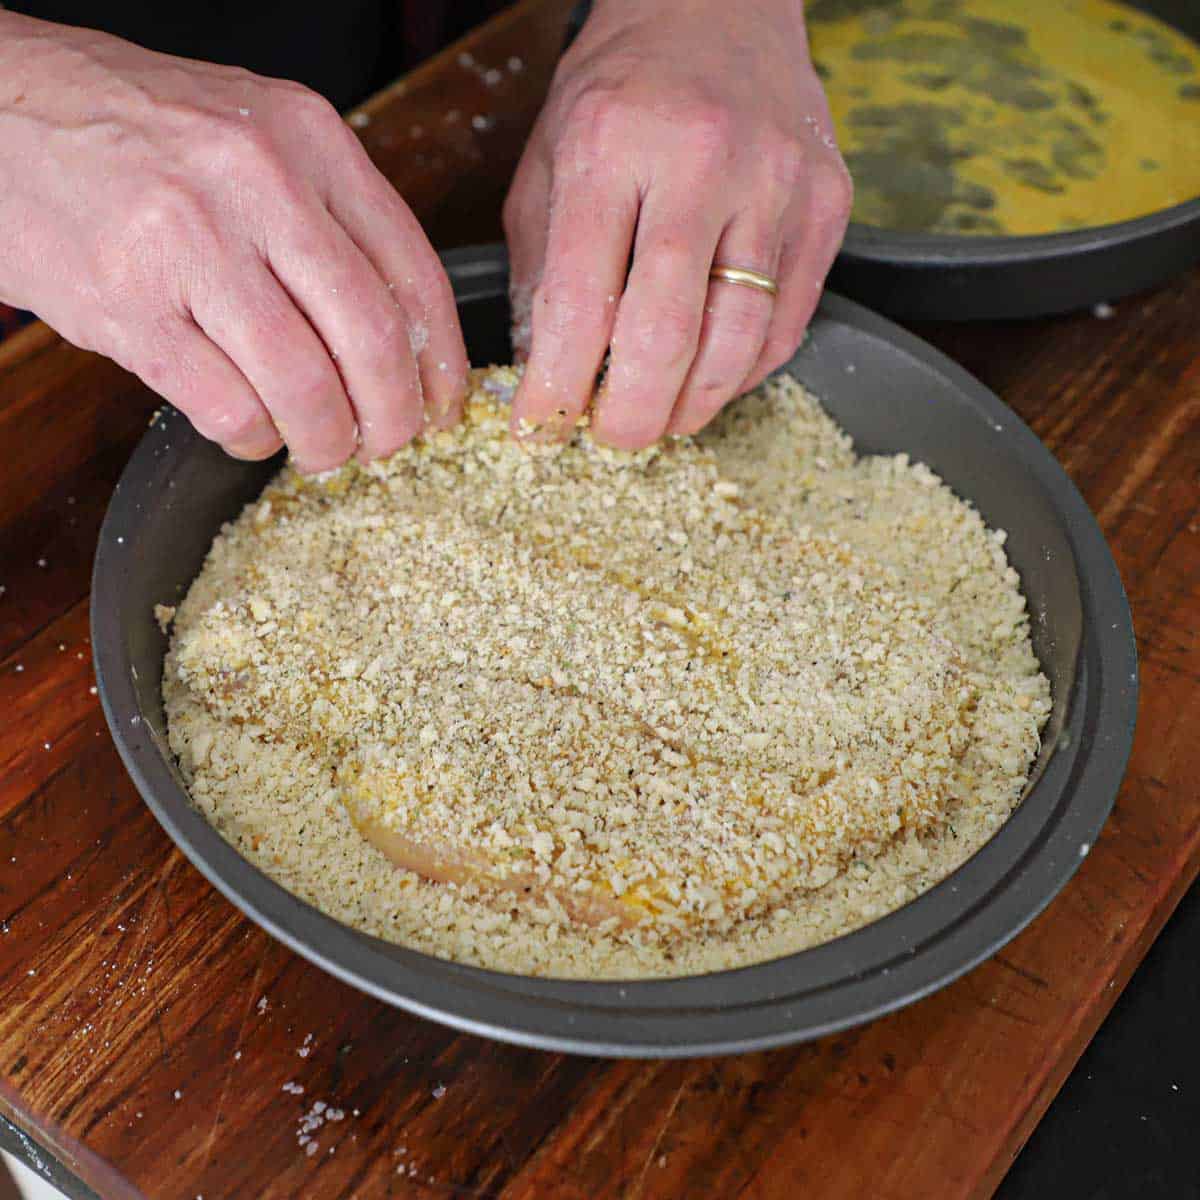
- Step 2: Place the cabbage in a large bowl and top with the salt and caraway seeds (2 tablespoon each for a large cabbage and 1 tablespoon each for a small cabbage, 2 lbs).
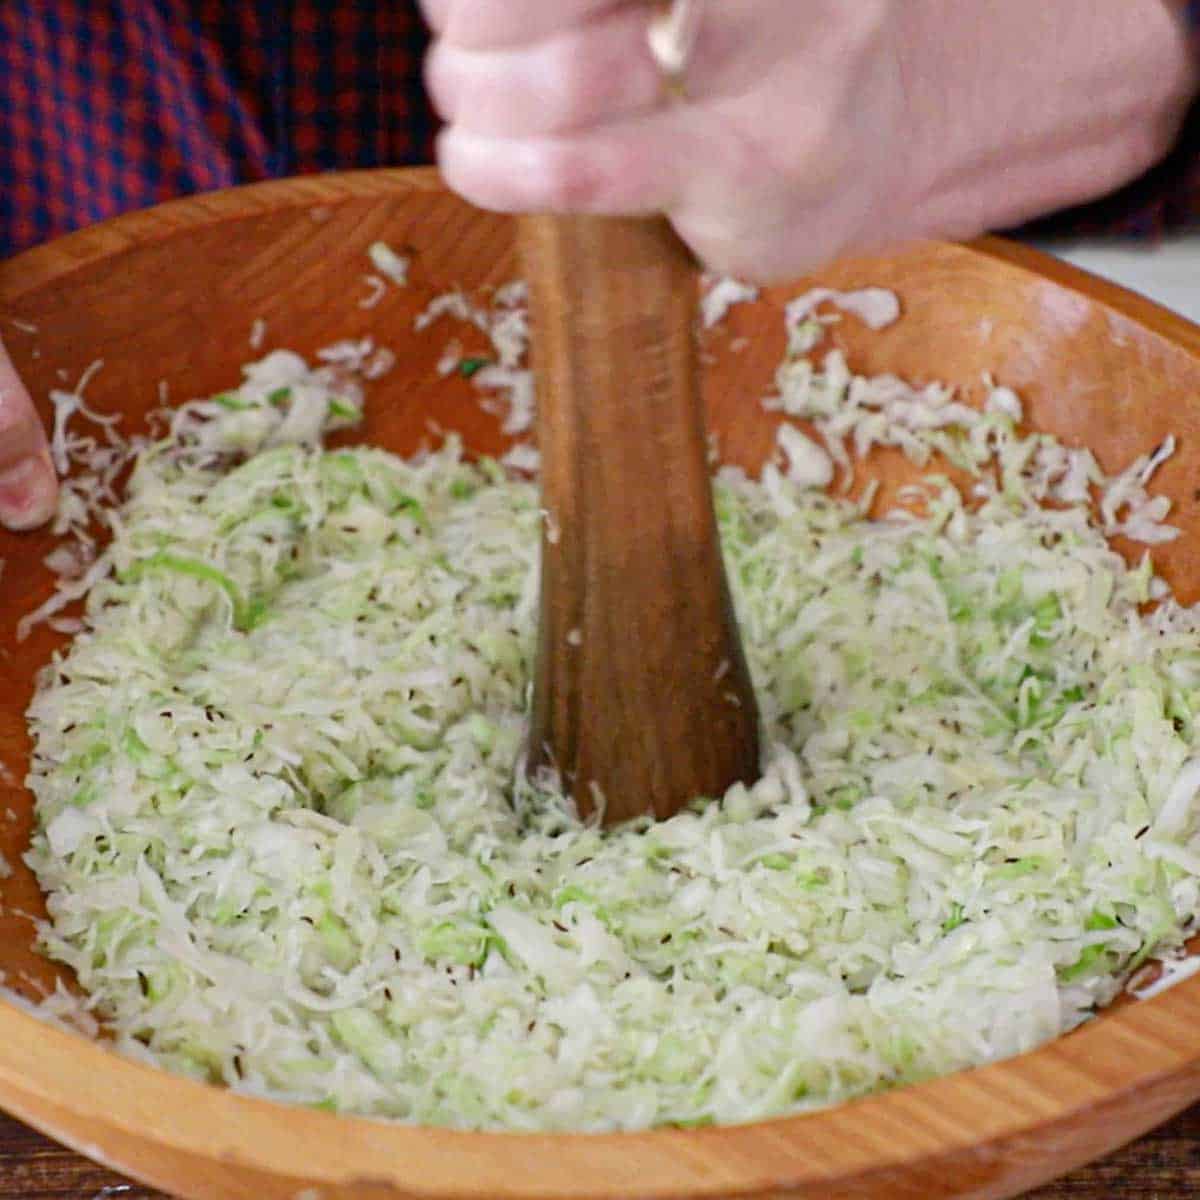
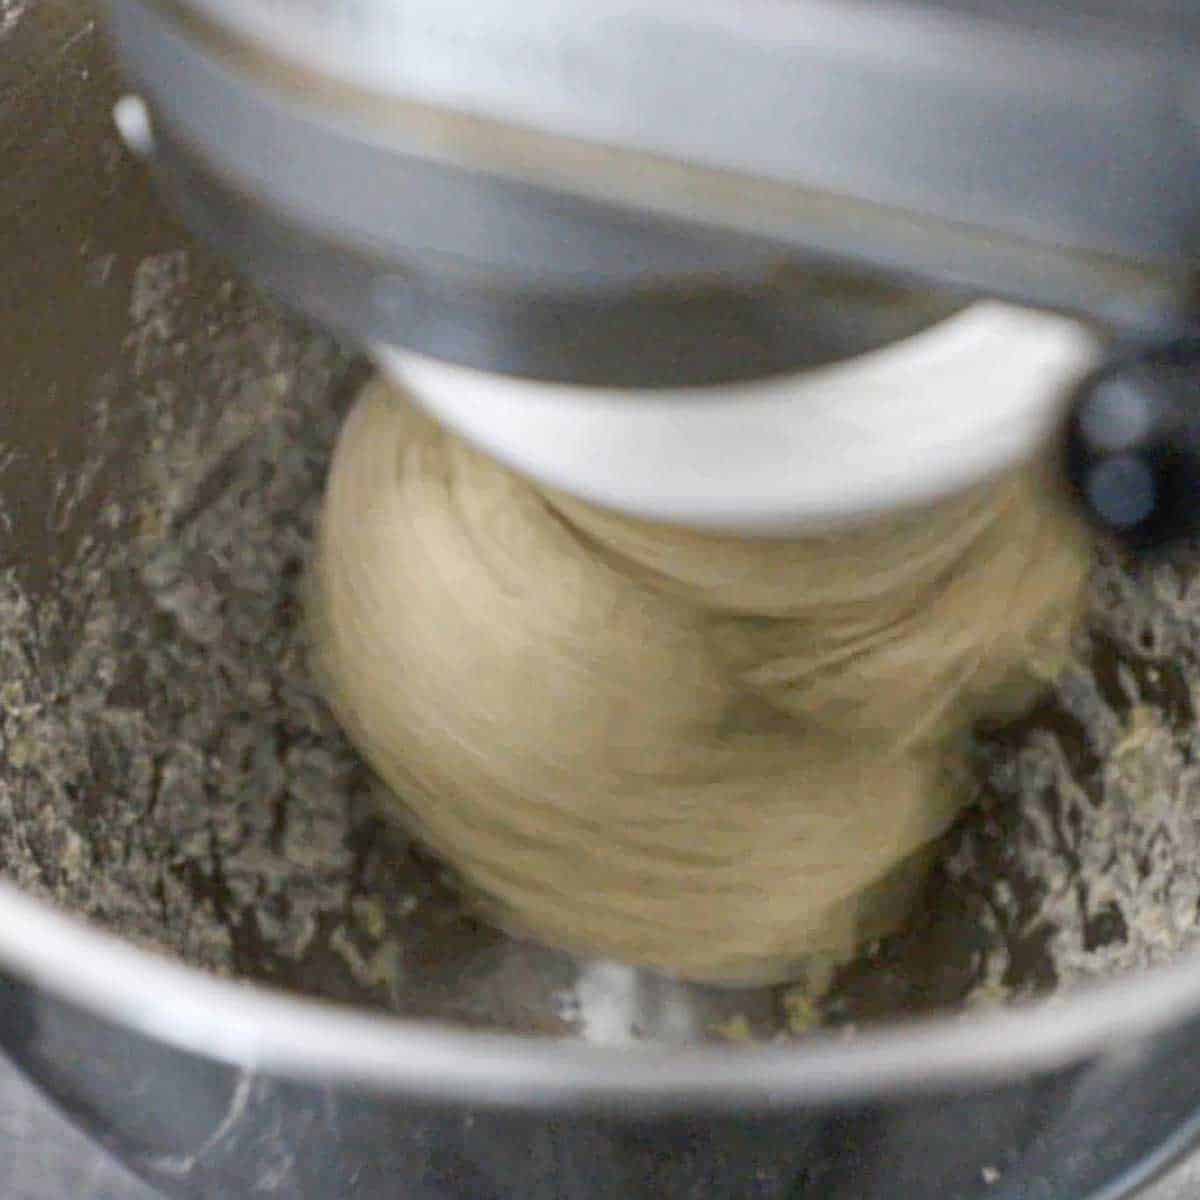
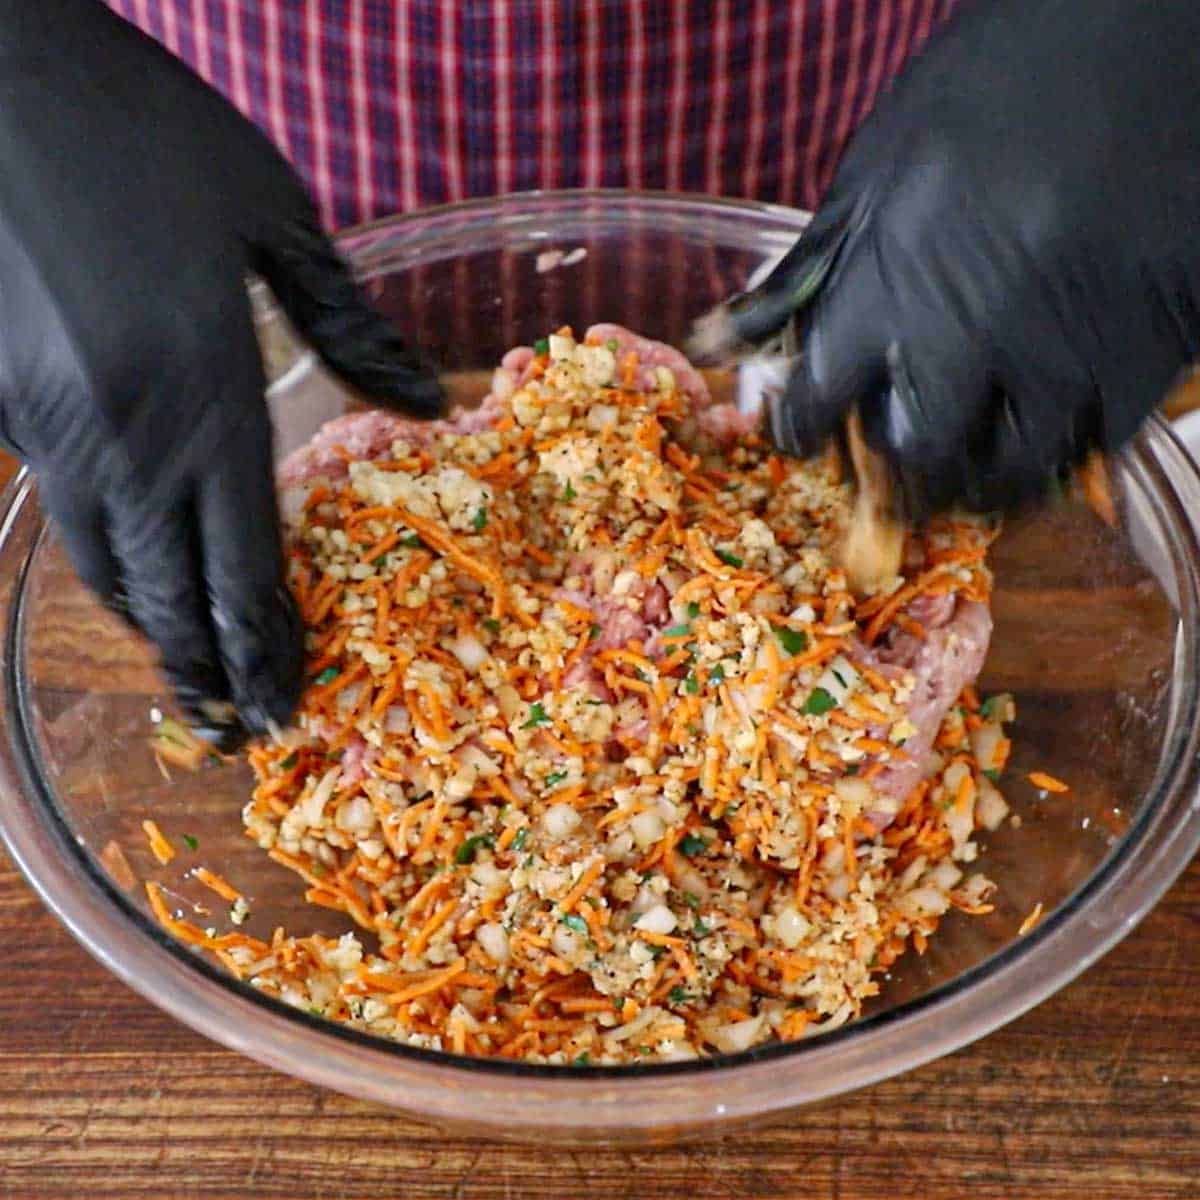
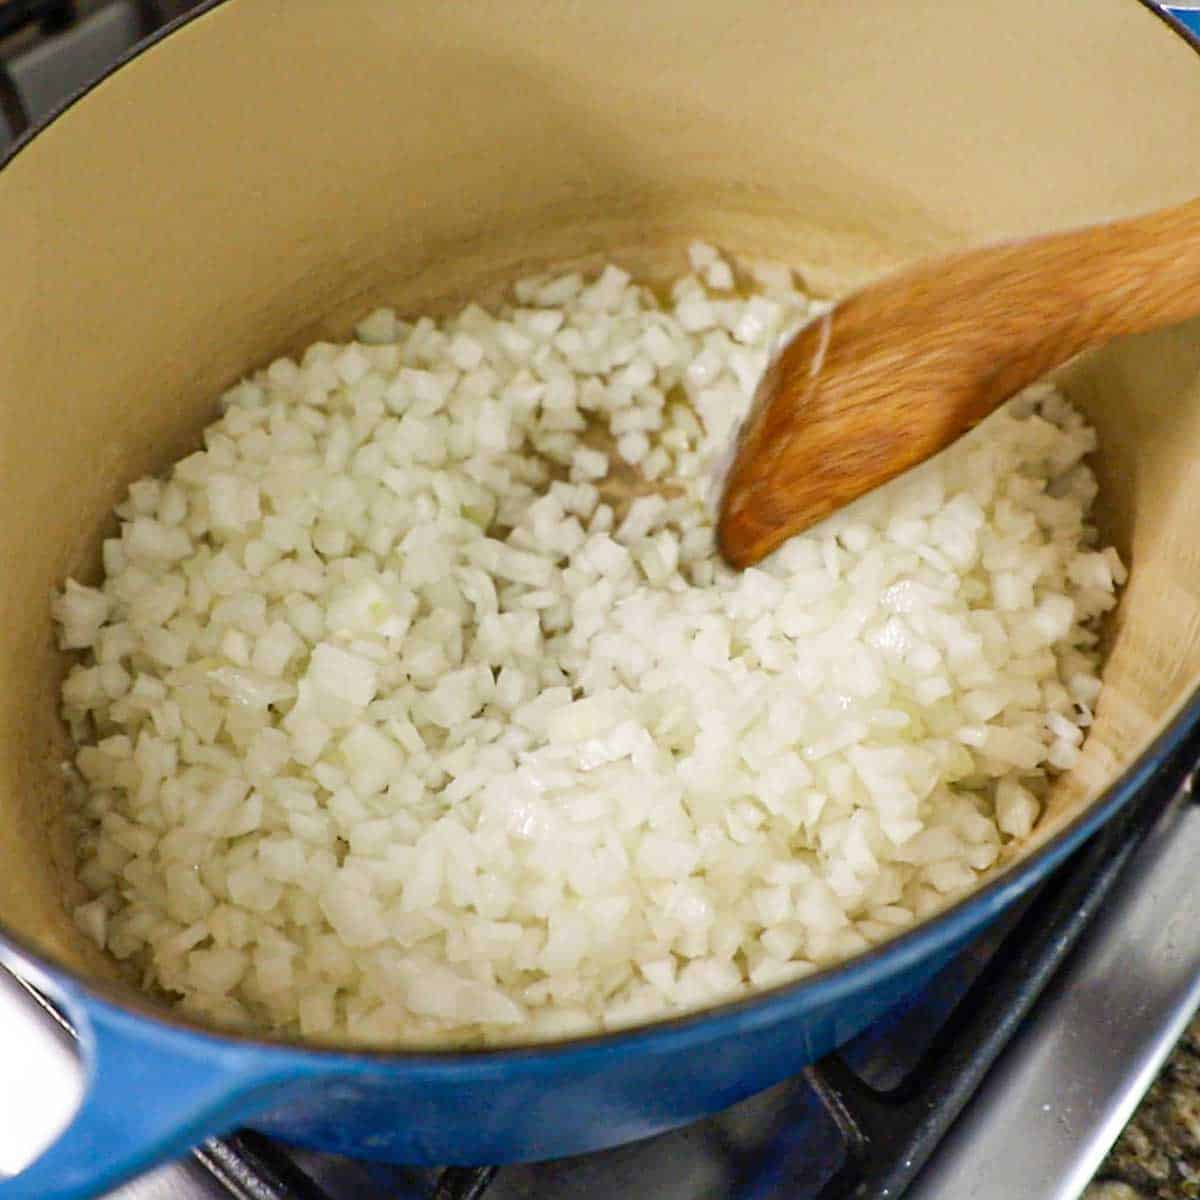
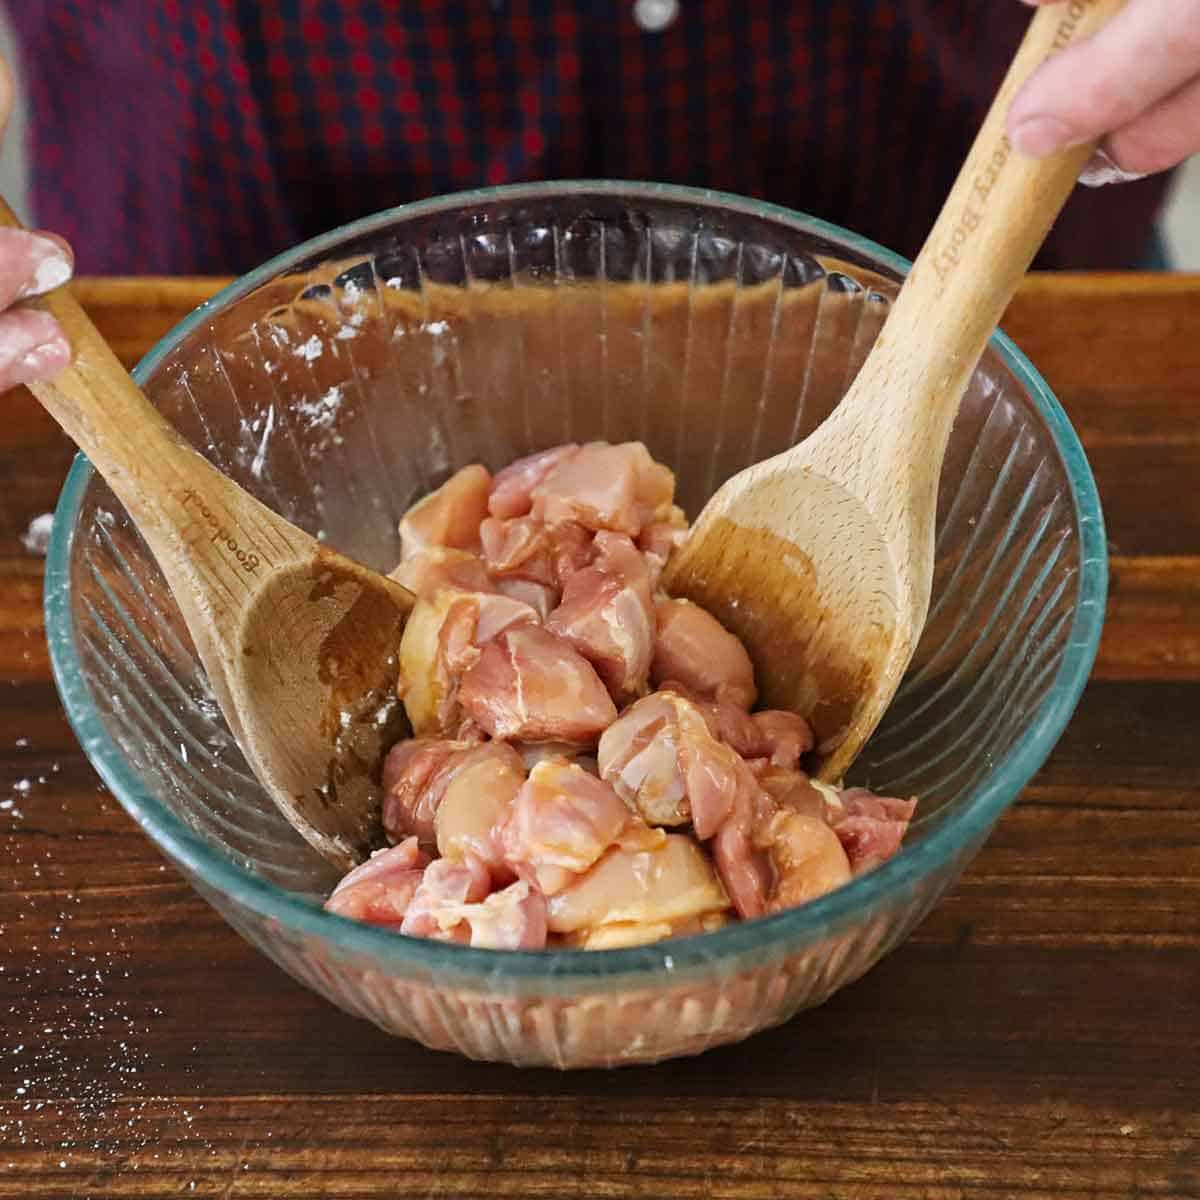
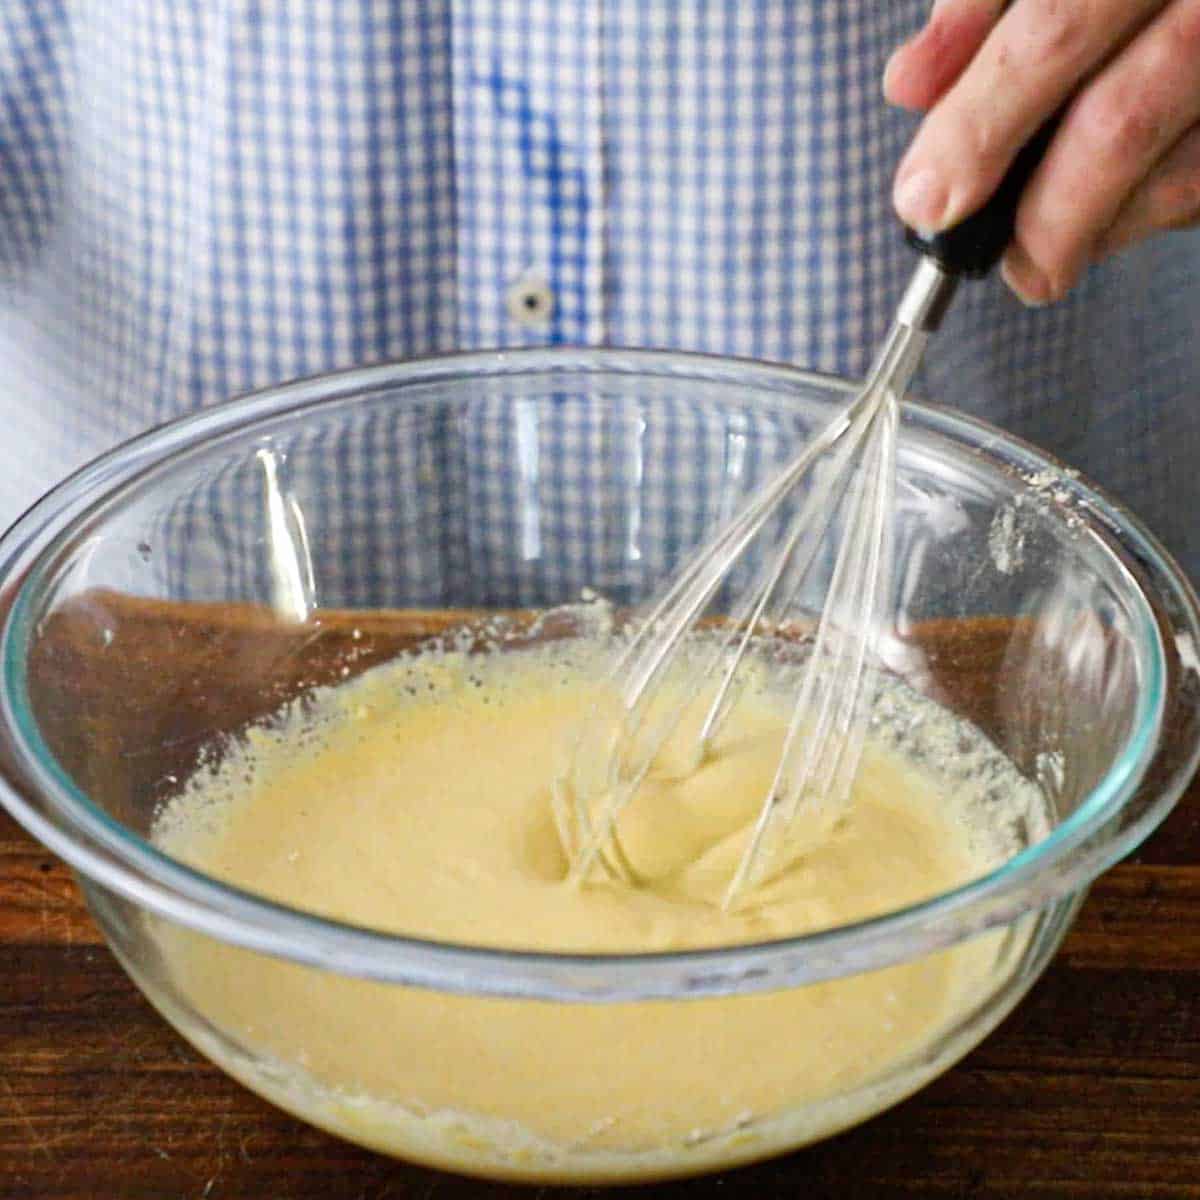
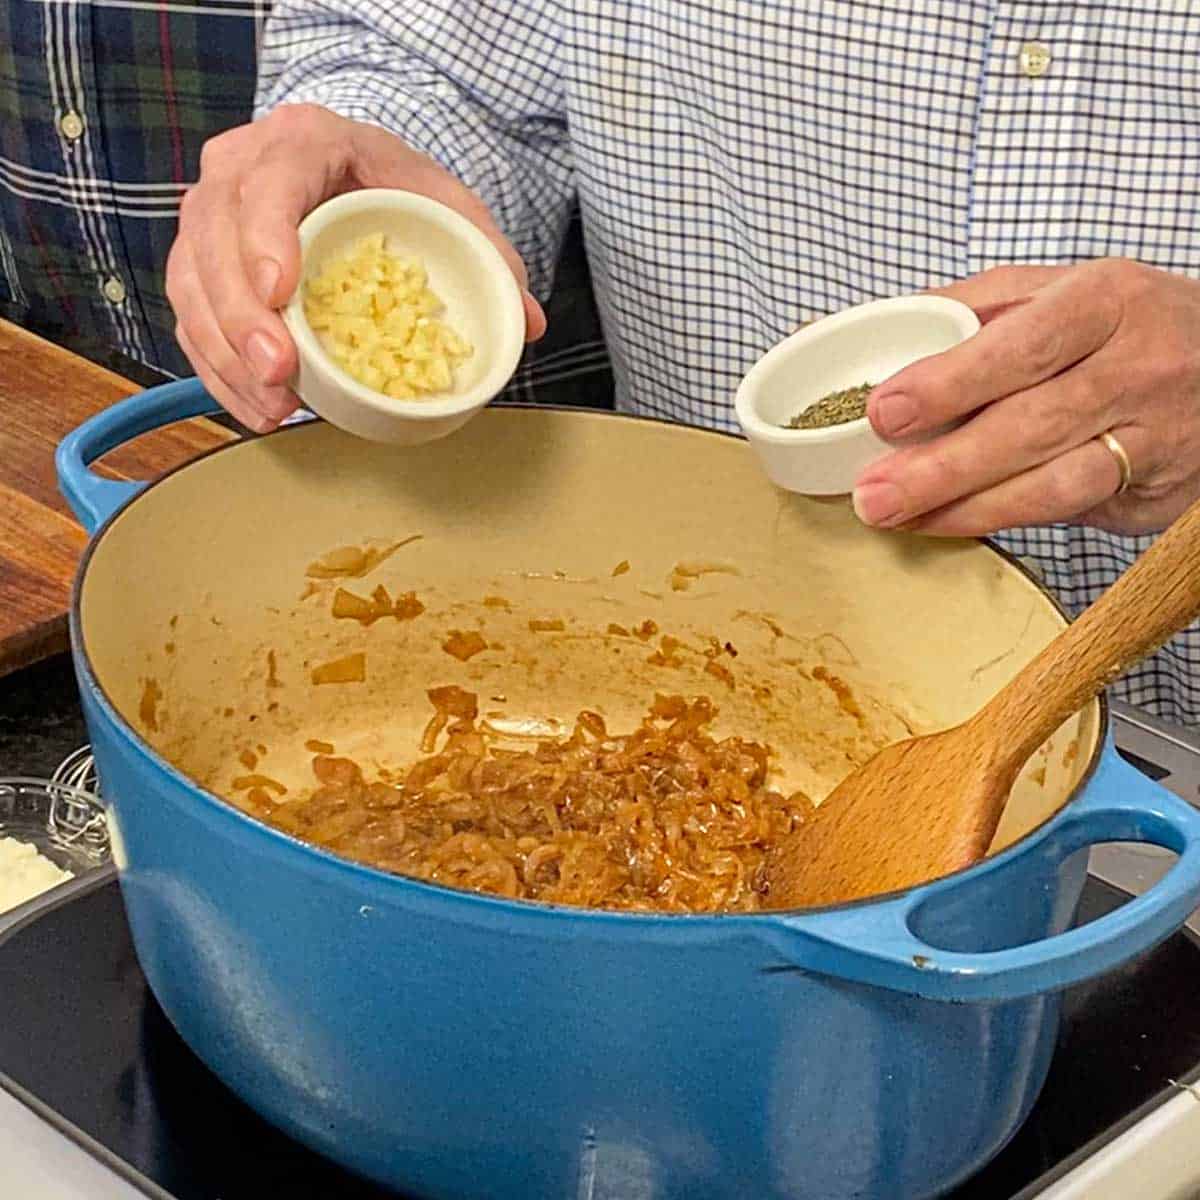
- Step 3: Toss the cabbage to distribute the salt and caraway seeds. Massage it with your hands for about 1 minute, and then pound with a blunt object, until the cabbage is wilted and very juicy, about 3 minutes.
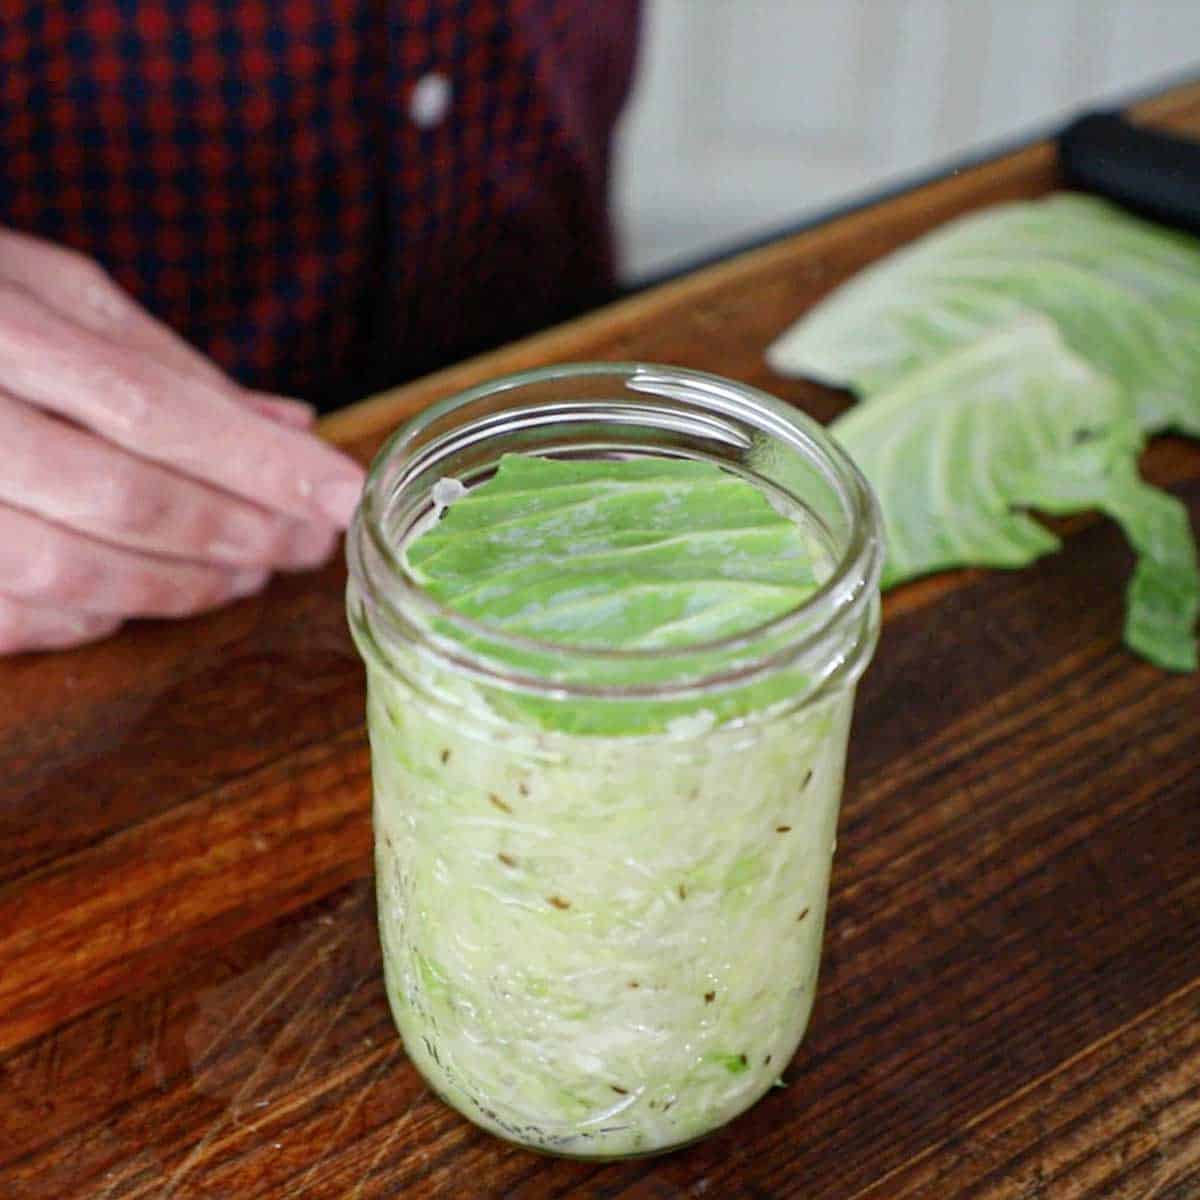
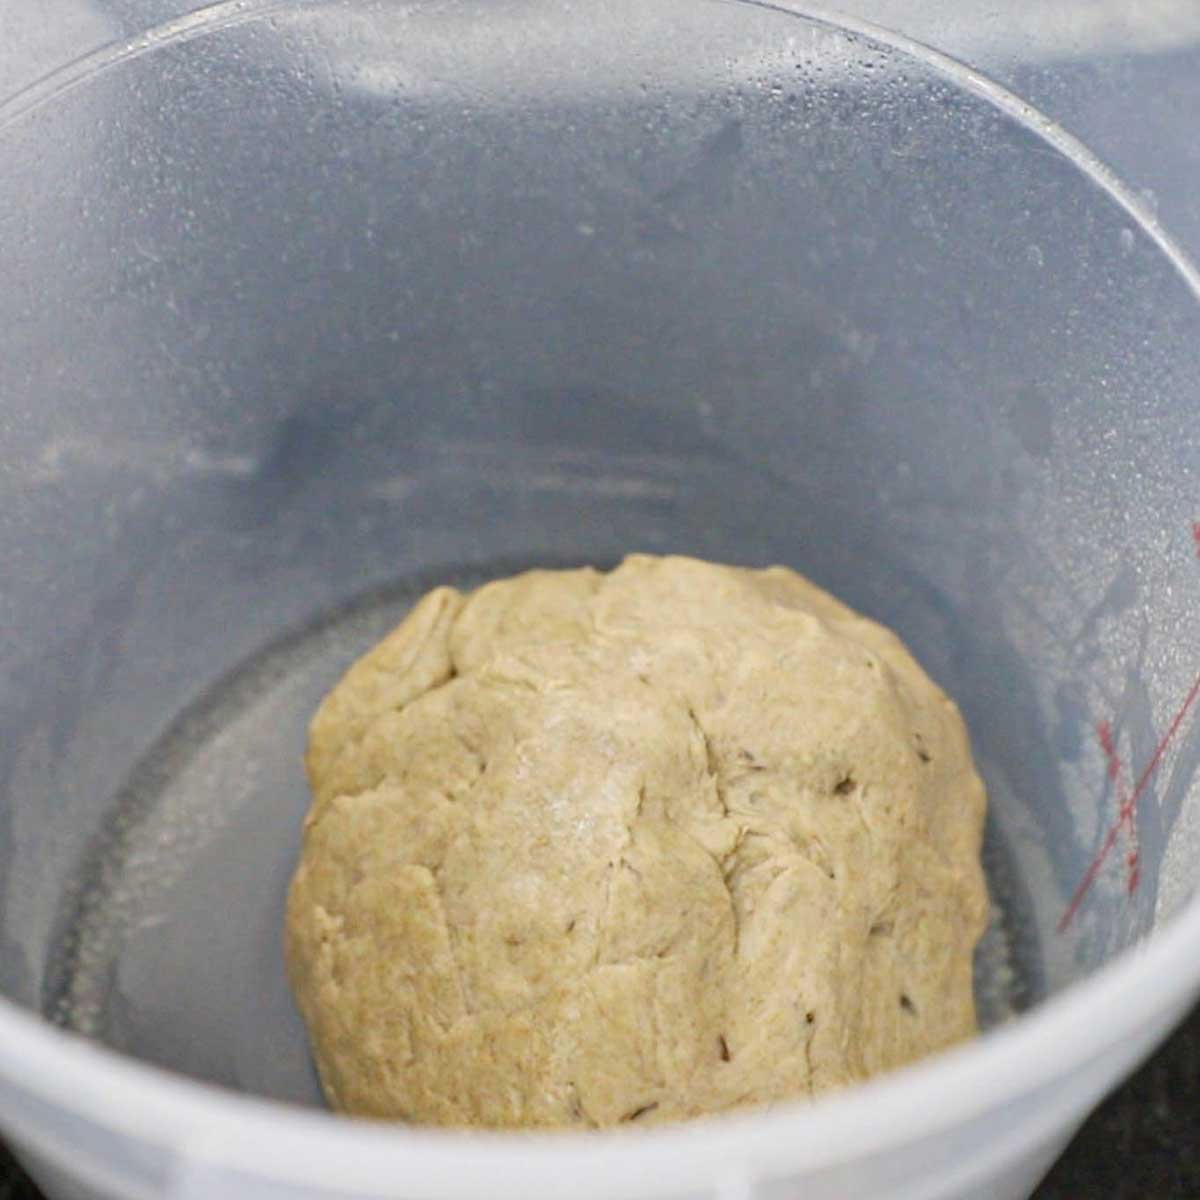
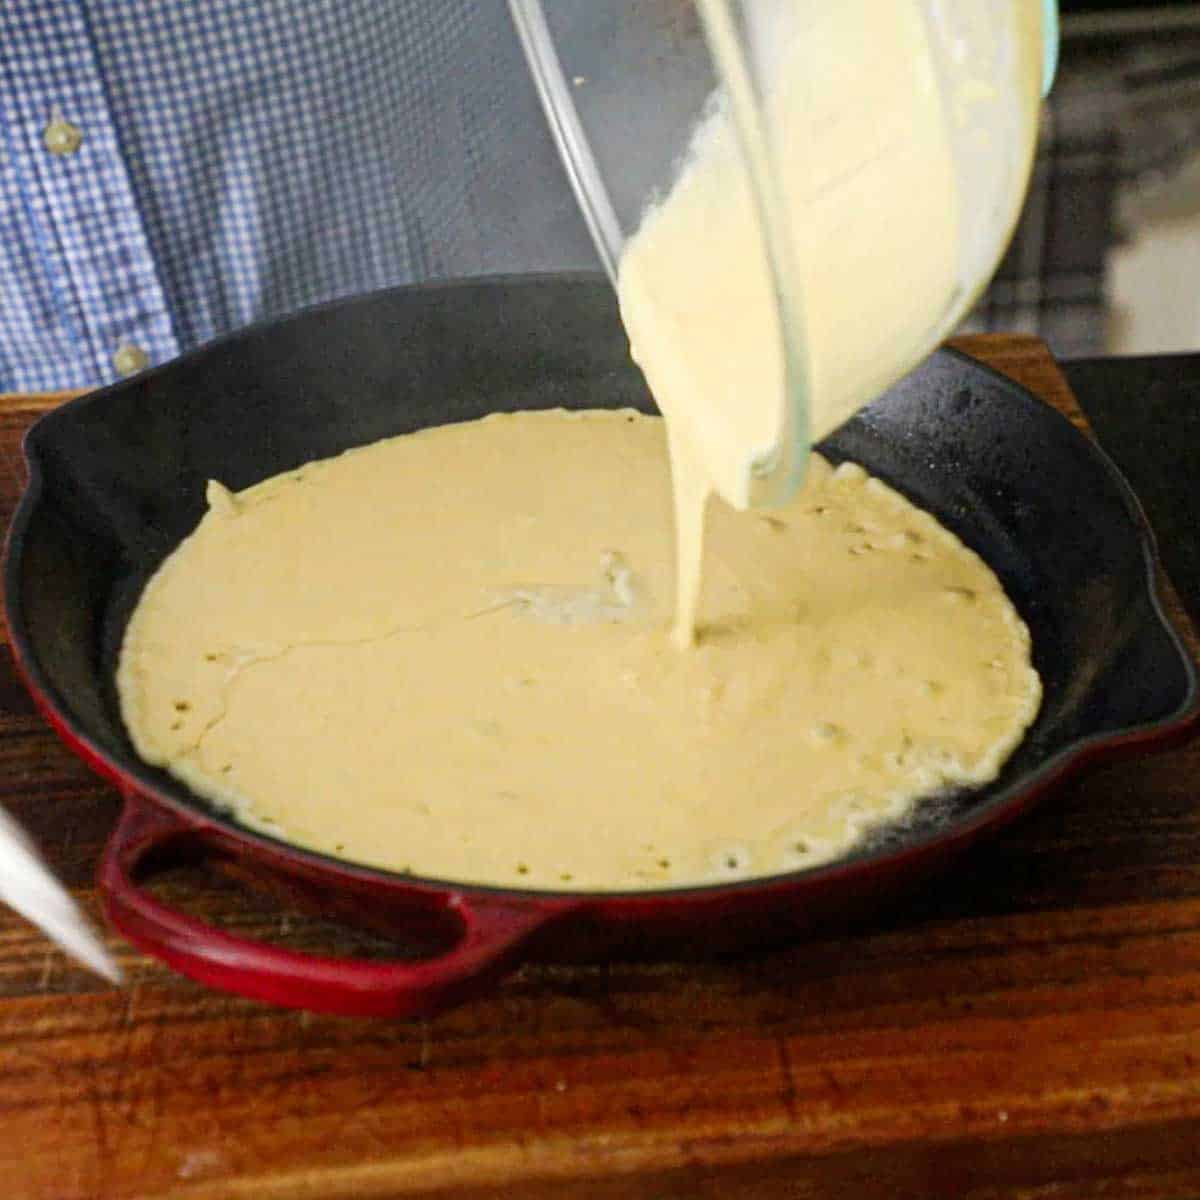
- Step 4: Pack the cabbage into a Mason jar. Take the reserved cabbage leaf and cut a circle that will fit over the cabbage.

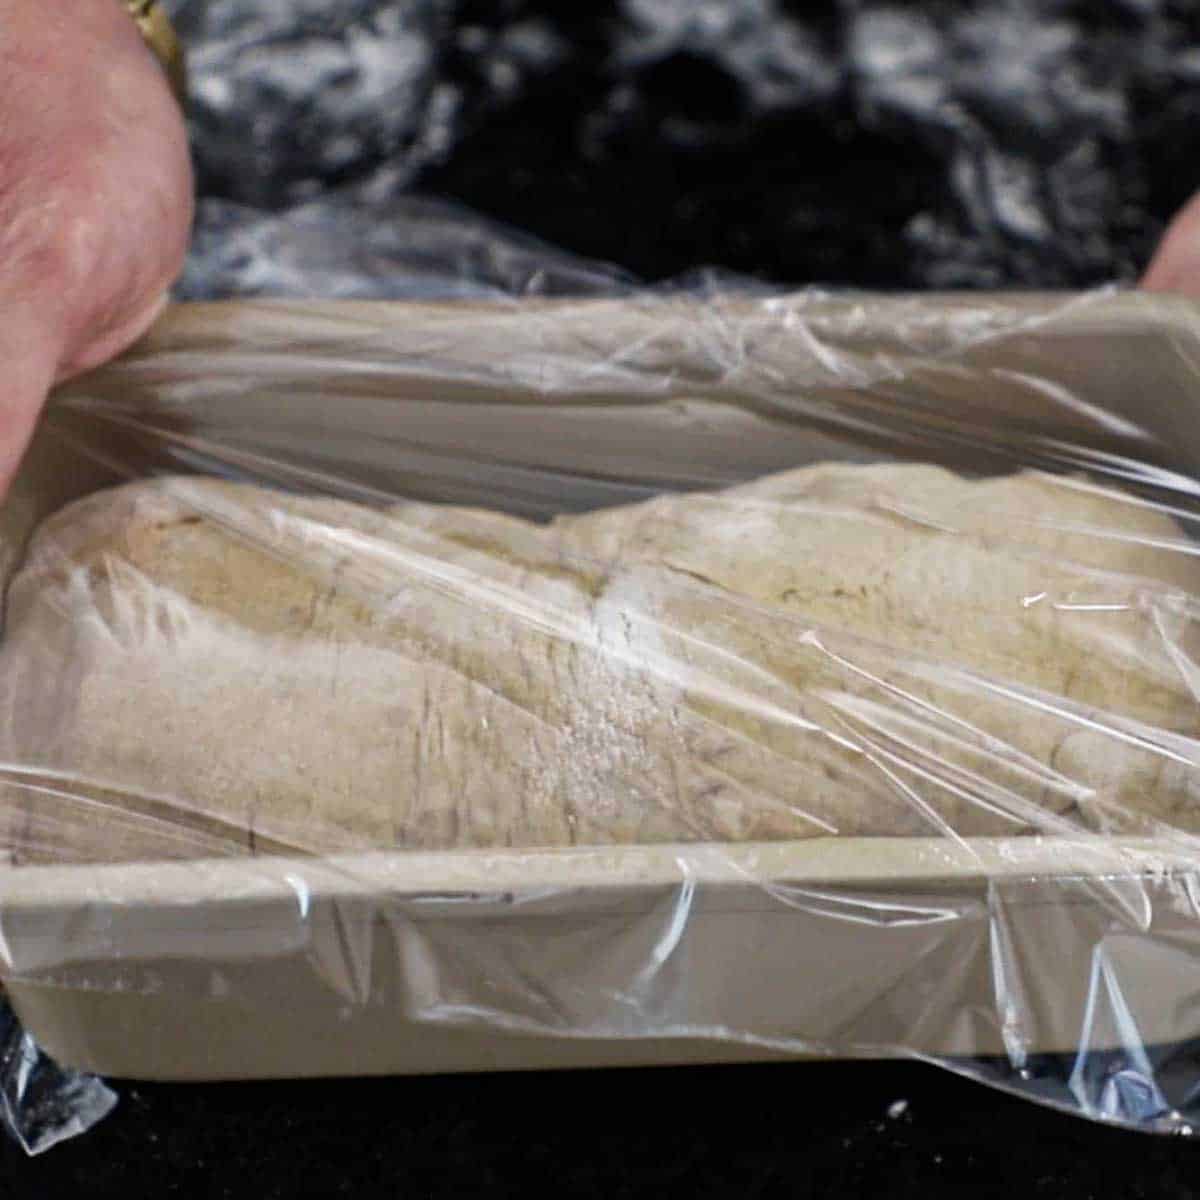
- Step 5: Place a weight over the top layer of cabbage. The shredded cabbage should be completely submerged in the liquid.
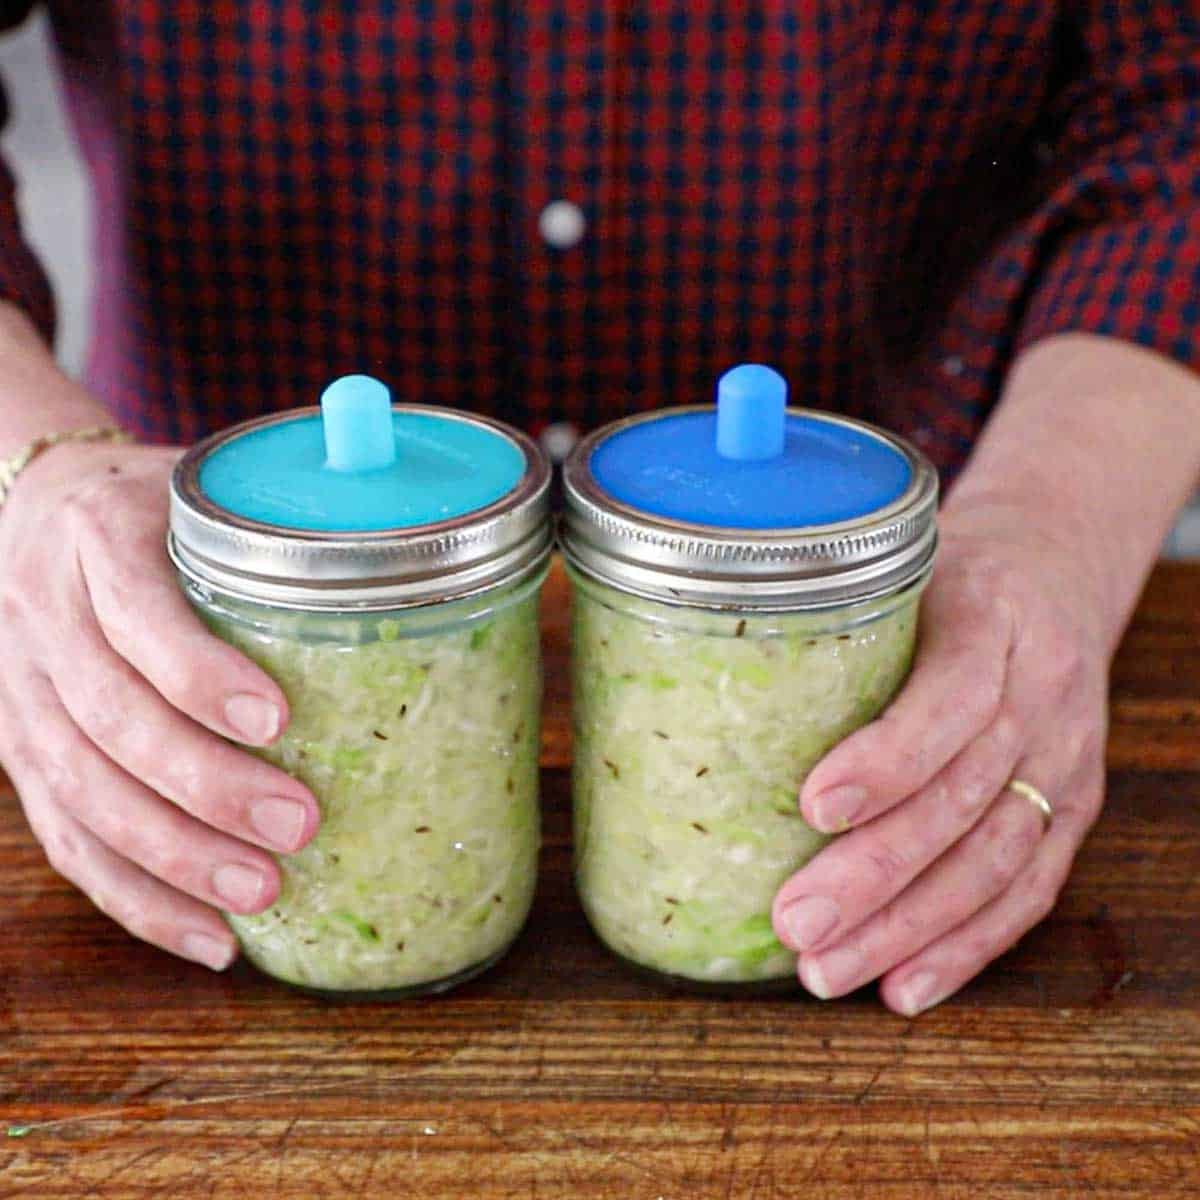
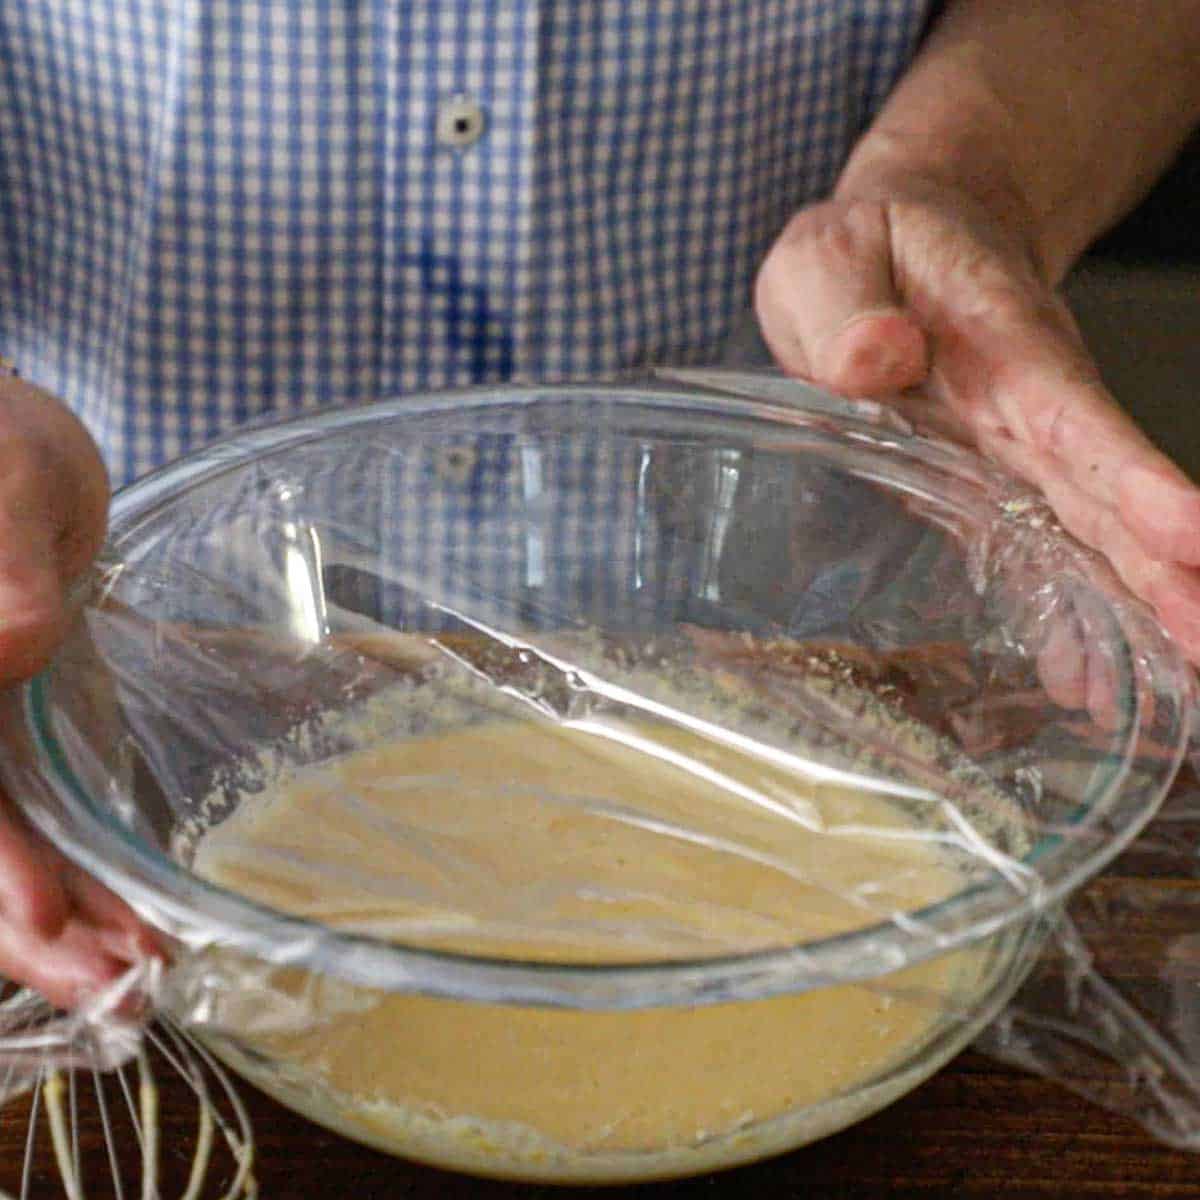
- Step 6: Seal the jars and place them in a dark spot to ferment, about 2 to 3 weeks.
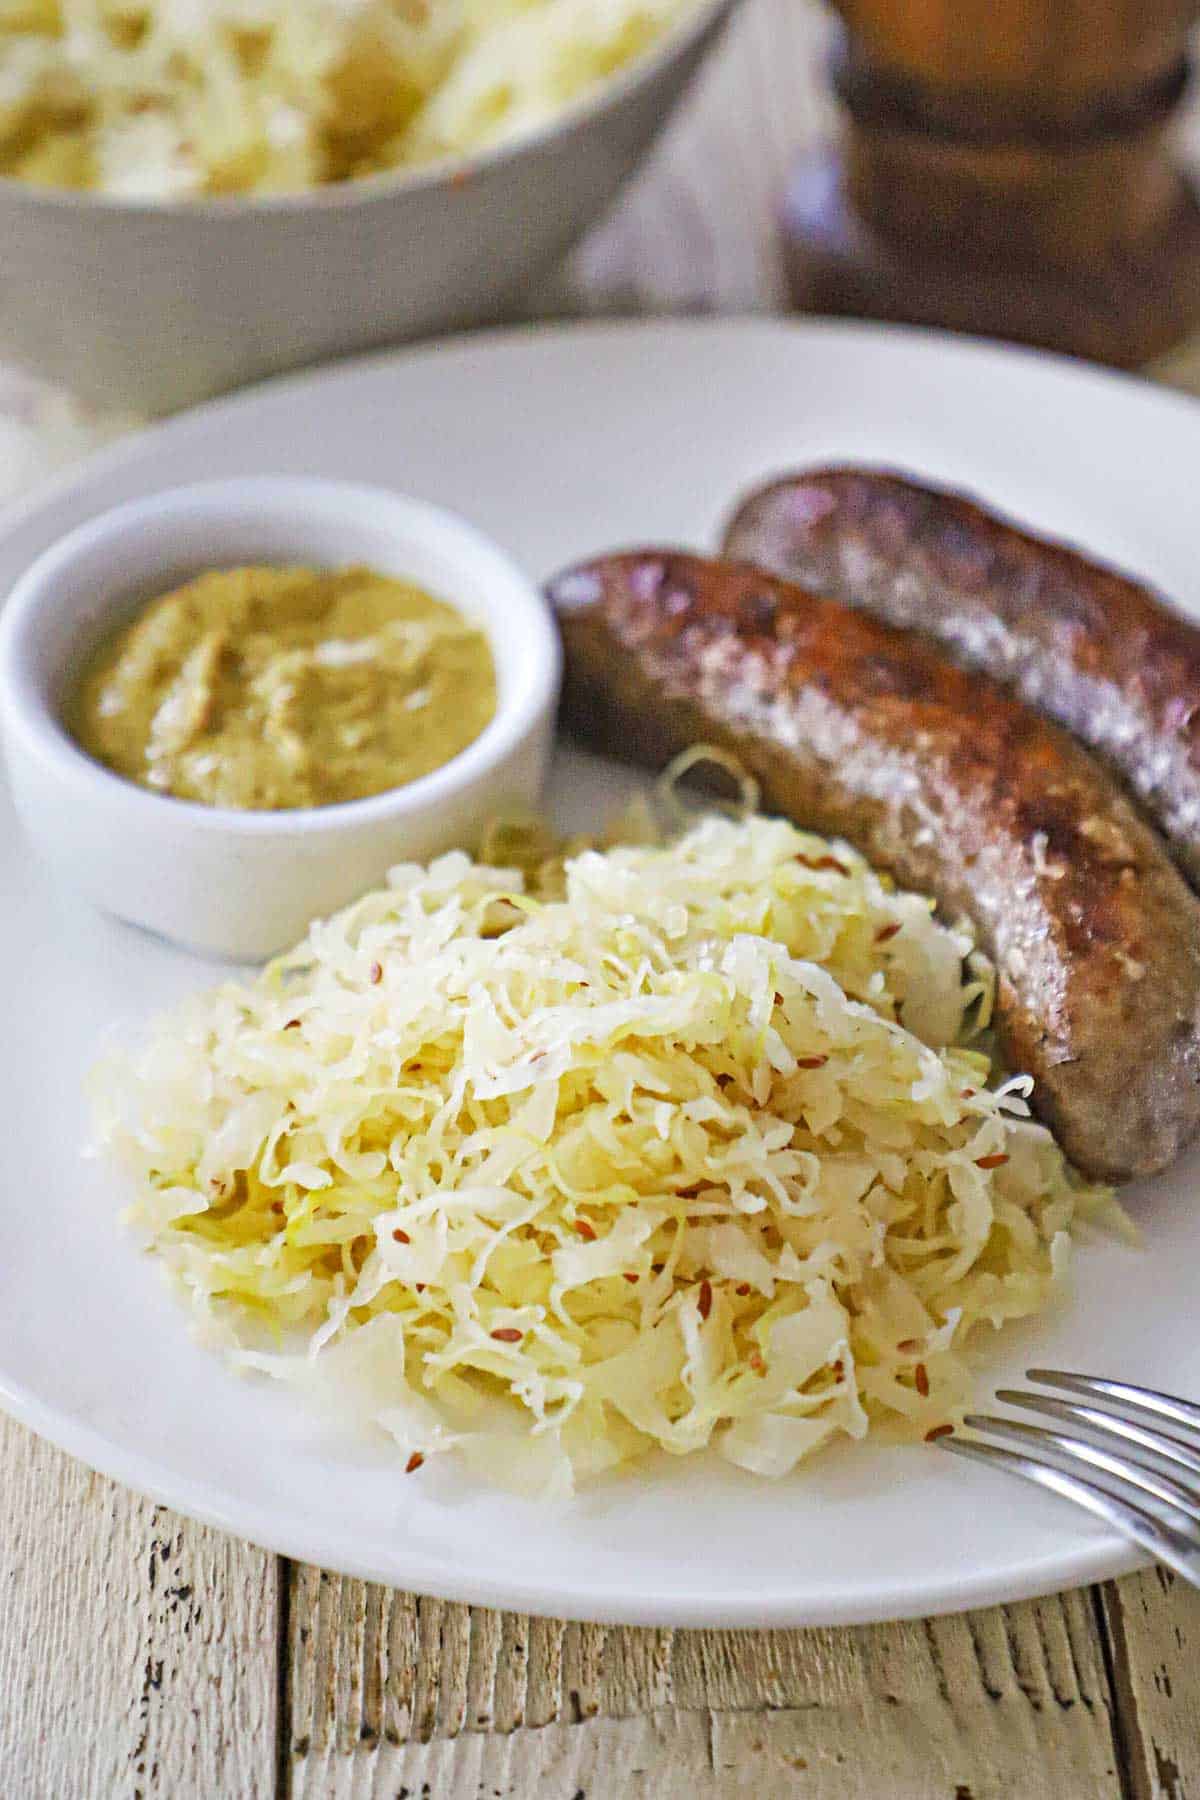
🍽️ How to Serve
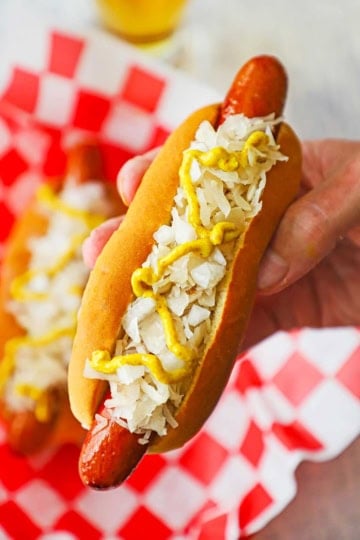
- Classic Sausage Topper: Pile a generous amount onto grilled bratwurst, kielbasa, or hot dogs to add a tangy crunch that cuts through the richness of the meat.
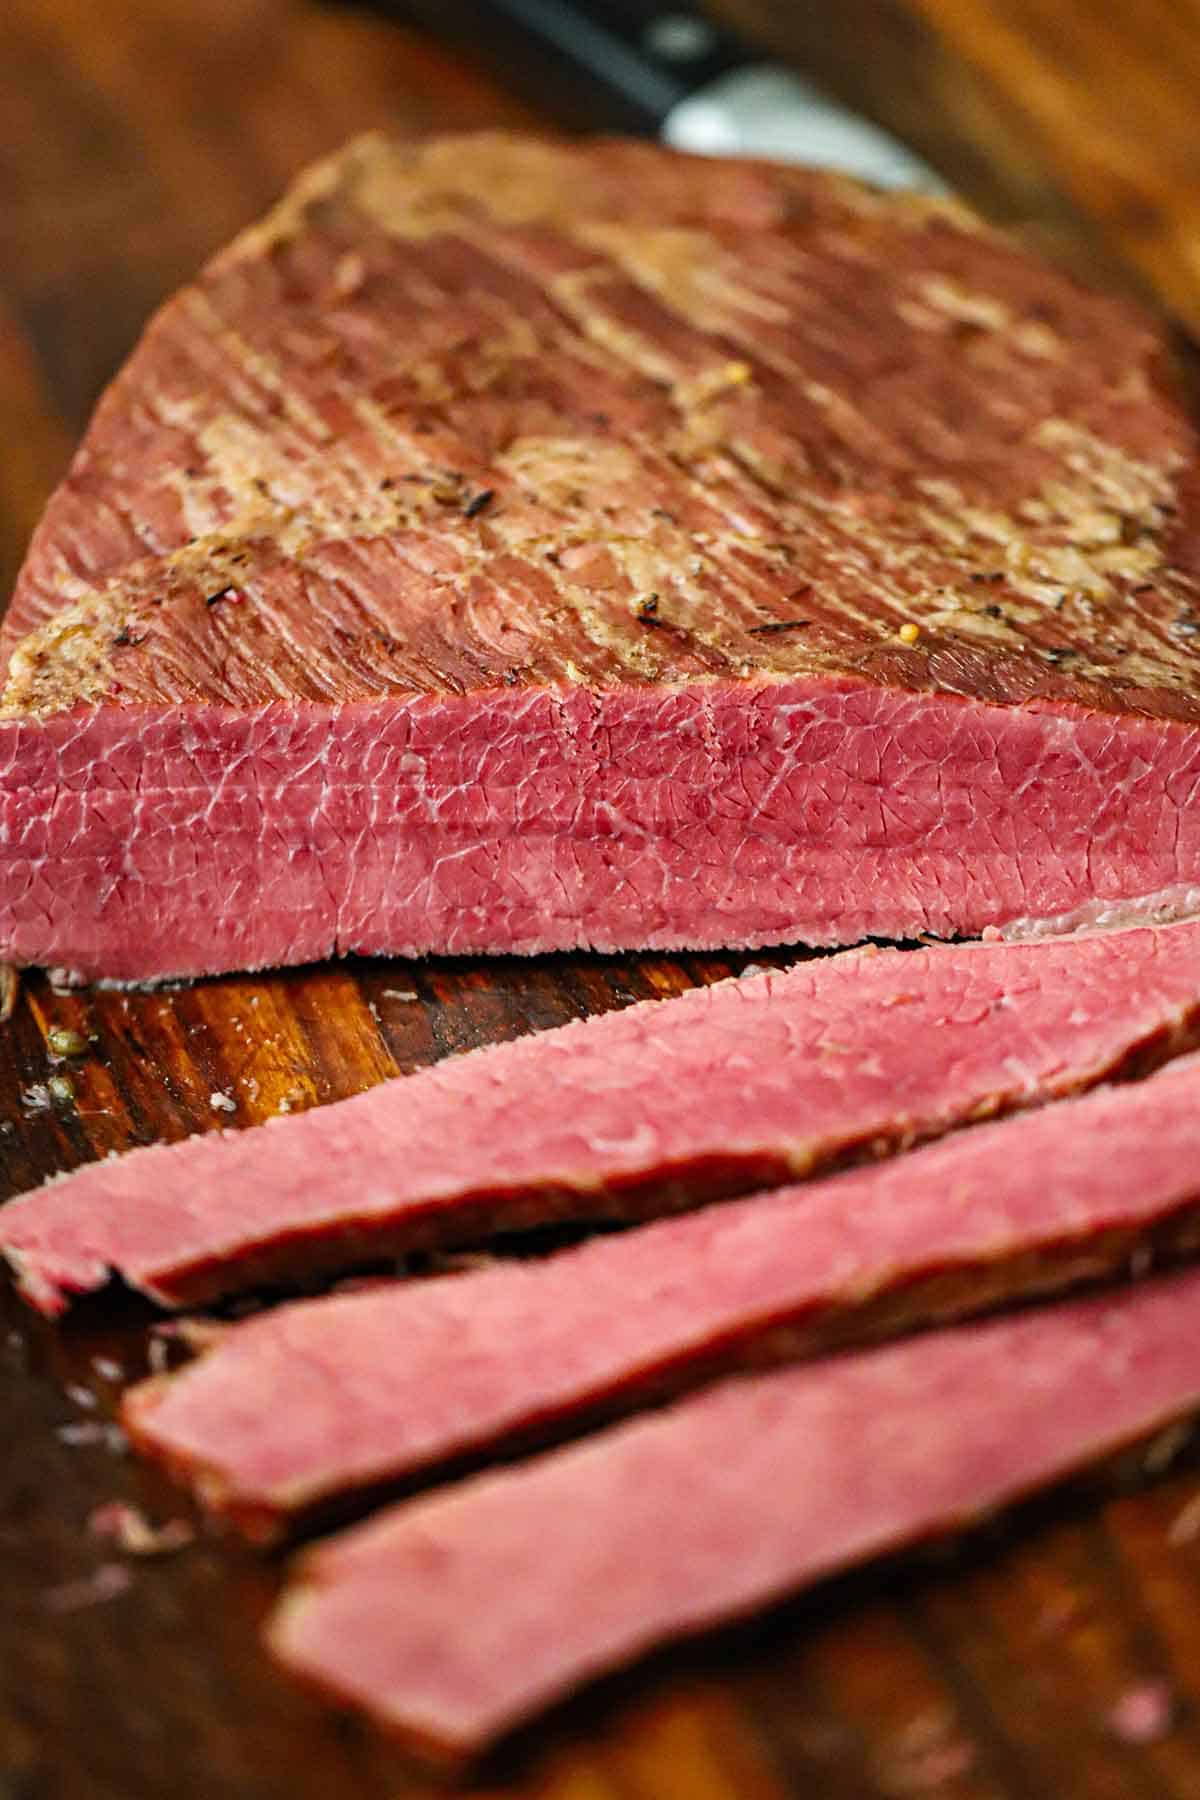
- The Ultimate Reuben: Layer it onto rye bread with corned beef, Swiss cheese, and Russian dressing for a professional-quality sandwich at home.
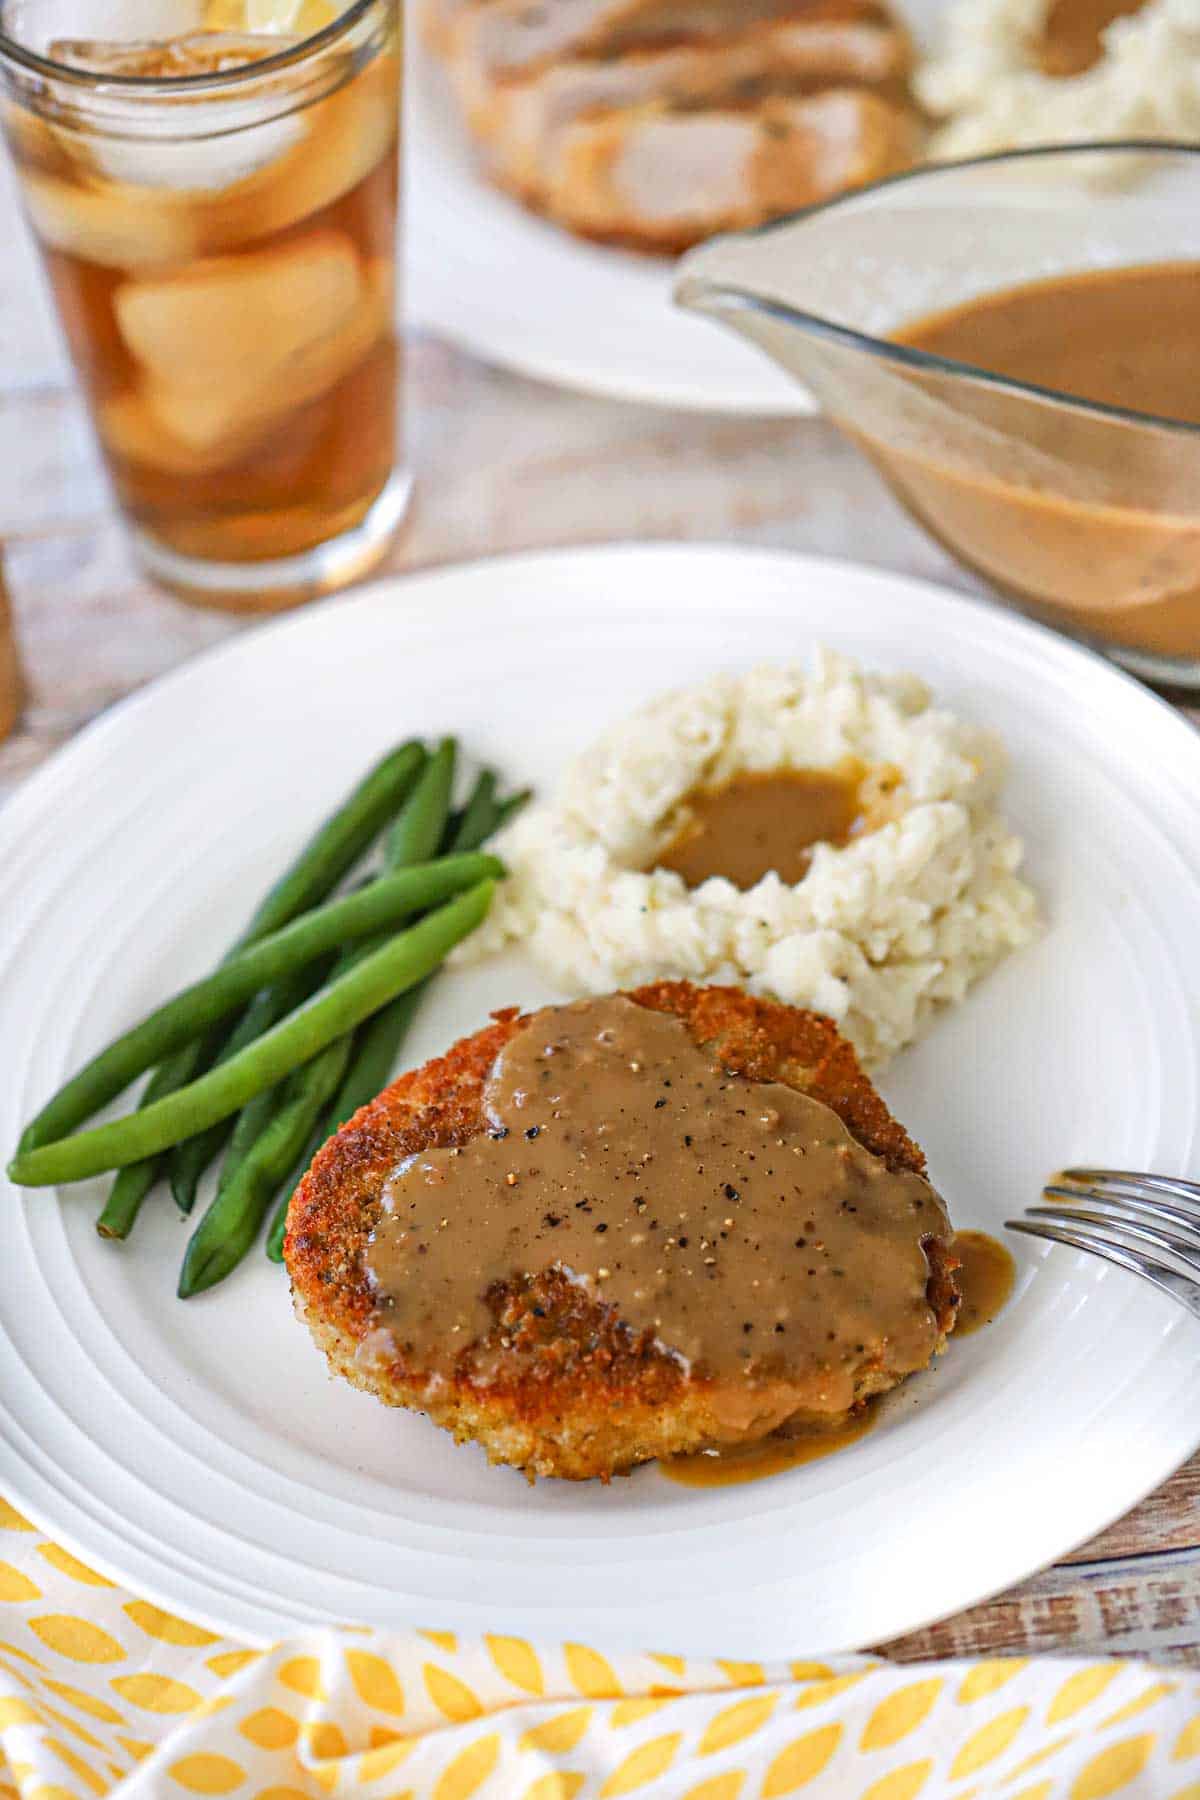
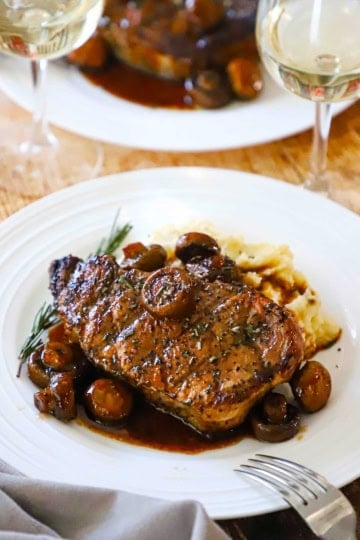
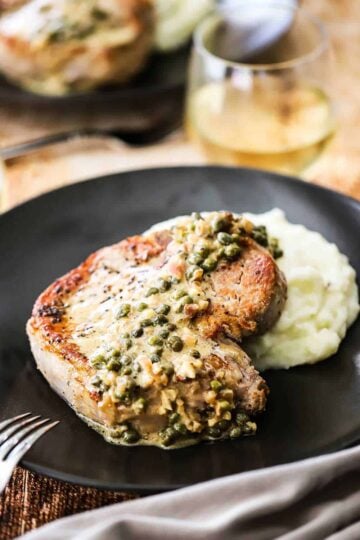
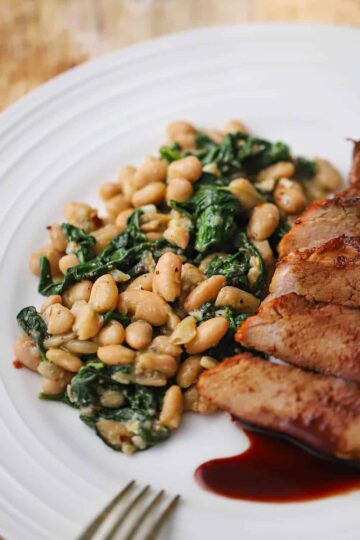
- Savory Pork Side: Serve it alongside roast pork or pan-seared chops; the caraway seeds in this recipe pair perfectly with traditional pork dishes.
- Grain Bowl Boost: Add a large spoonful to Buddha bowls, quinoa salads, or rice bowls for a punch of flavor and a healthy dose of probiotics.
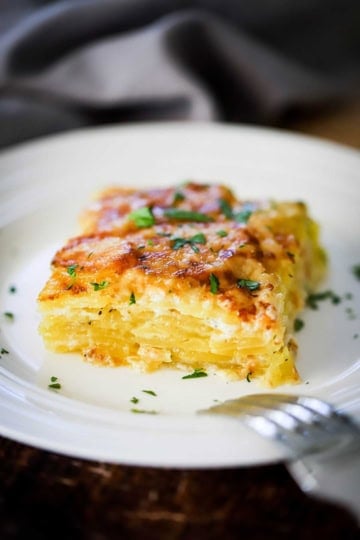
- Zesty Potato Salad: Mix a bit of the kraut (and even a splash of the brine) into your favorite potato salad recipe to give it a bright, acidic lift.
- Straight from the Jar: Enjoy a small forkful as a daily probiotic snack or as a palate cleanser between courses.
🙋🏽♂️ Frequently Asked Questions
It typically takes about three weeks in a cool, dark pantry to reach the ideal level of tanginess and texture.
After the three-week period, move the jars into the refrigerator to slow down the bacterial activity and preserve the flavor.
A pungent, acidic scent is a natural byproduct of the process as gases are released, so don’t be alarmed as long as everything stays submerged.
While green varieties are the most traditional, red or Savoy options work just as well and can provide a beautiful color to your finished batch.
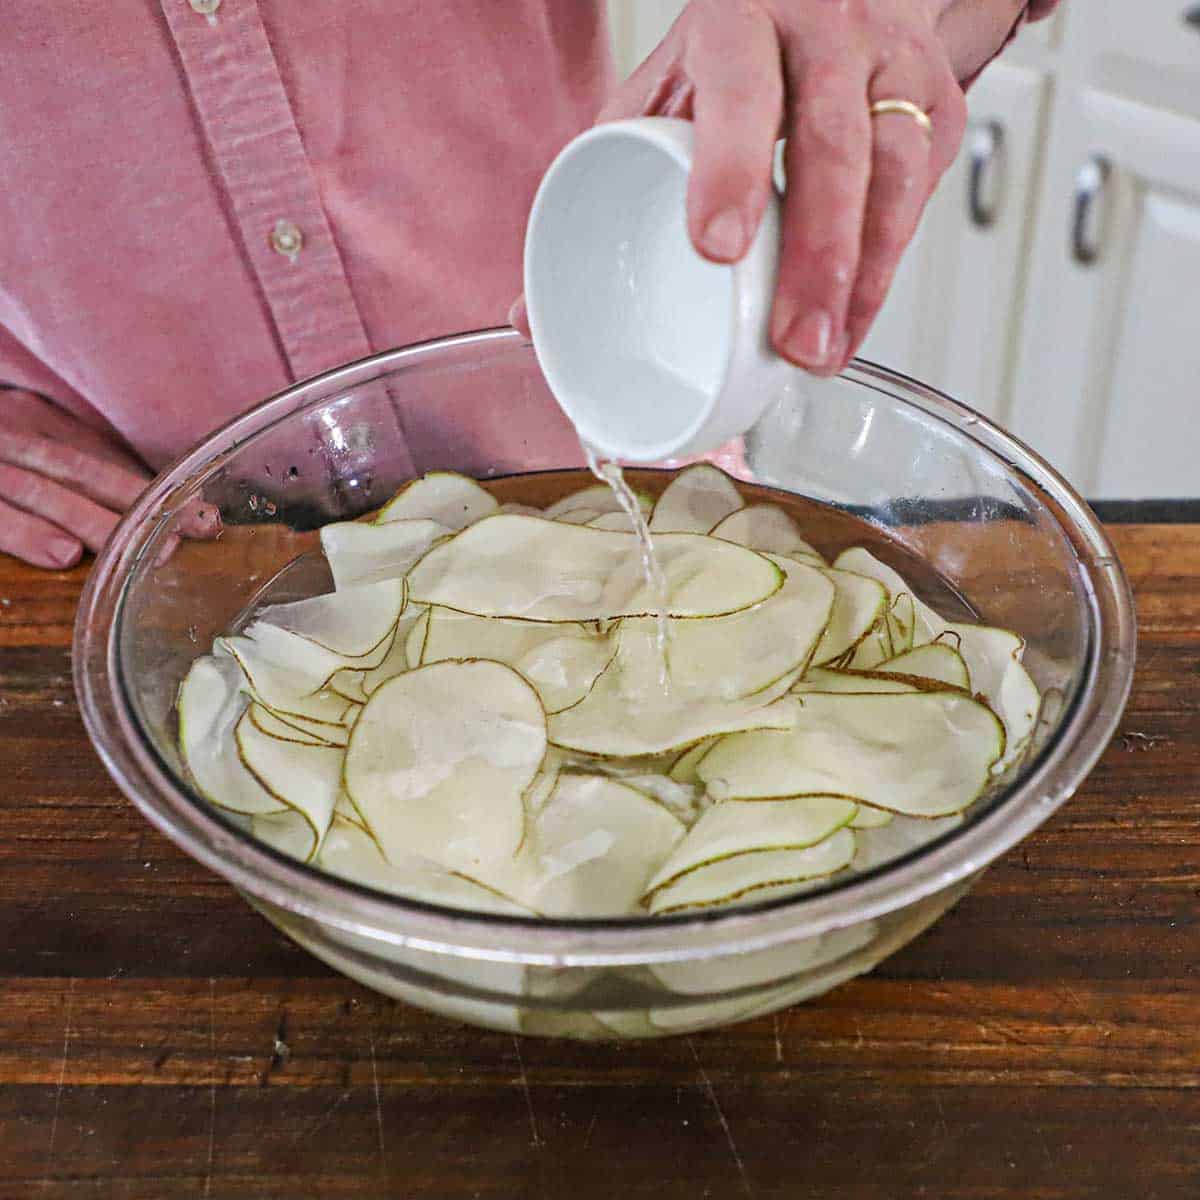
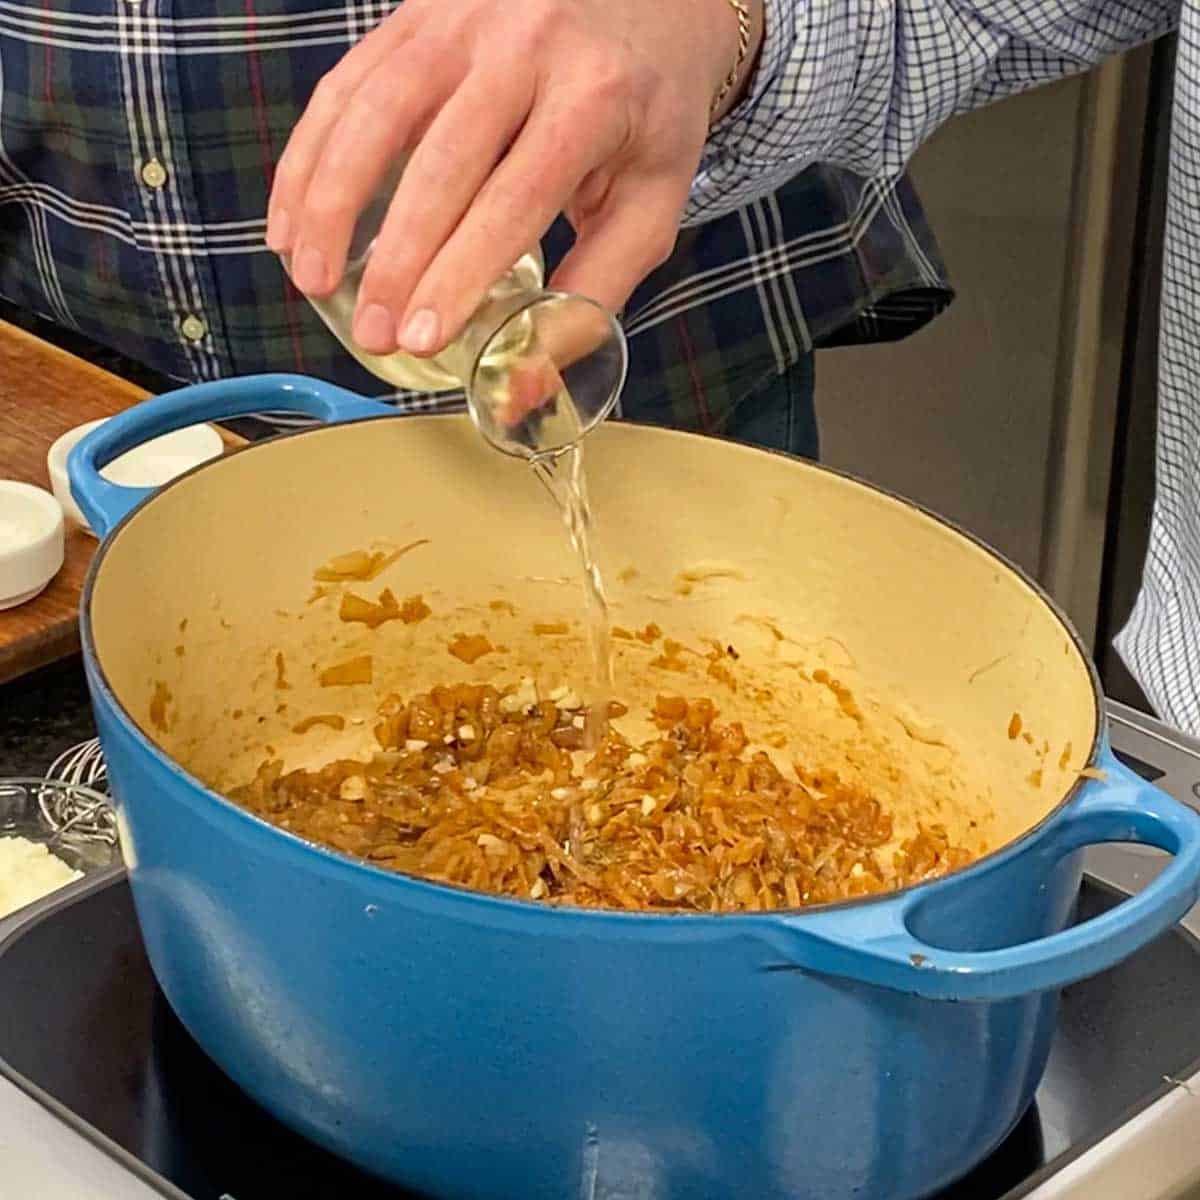
If the liquid doesn’t naturally rise above the solids after pounding, you may need to add a small amount of salt water (one teaspoon of salt per cup of water) to ensure everything stays covered.

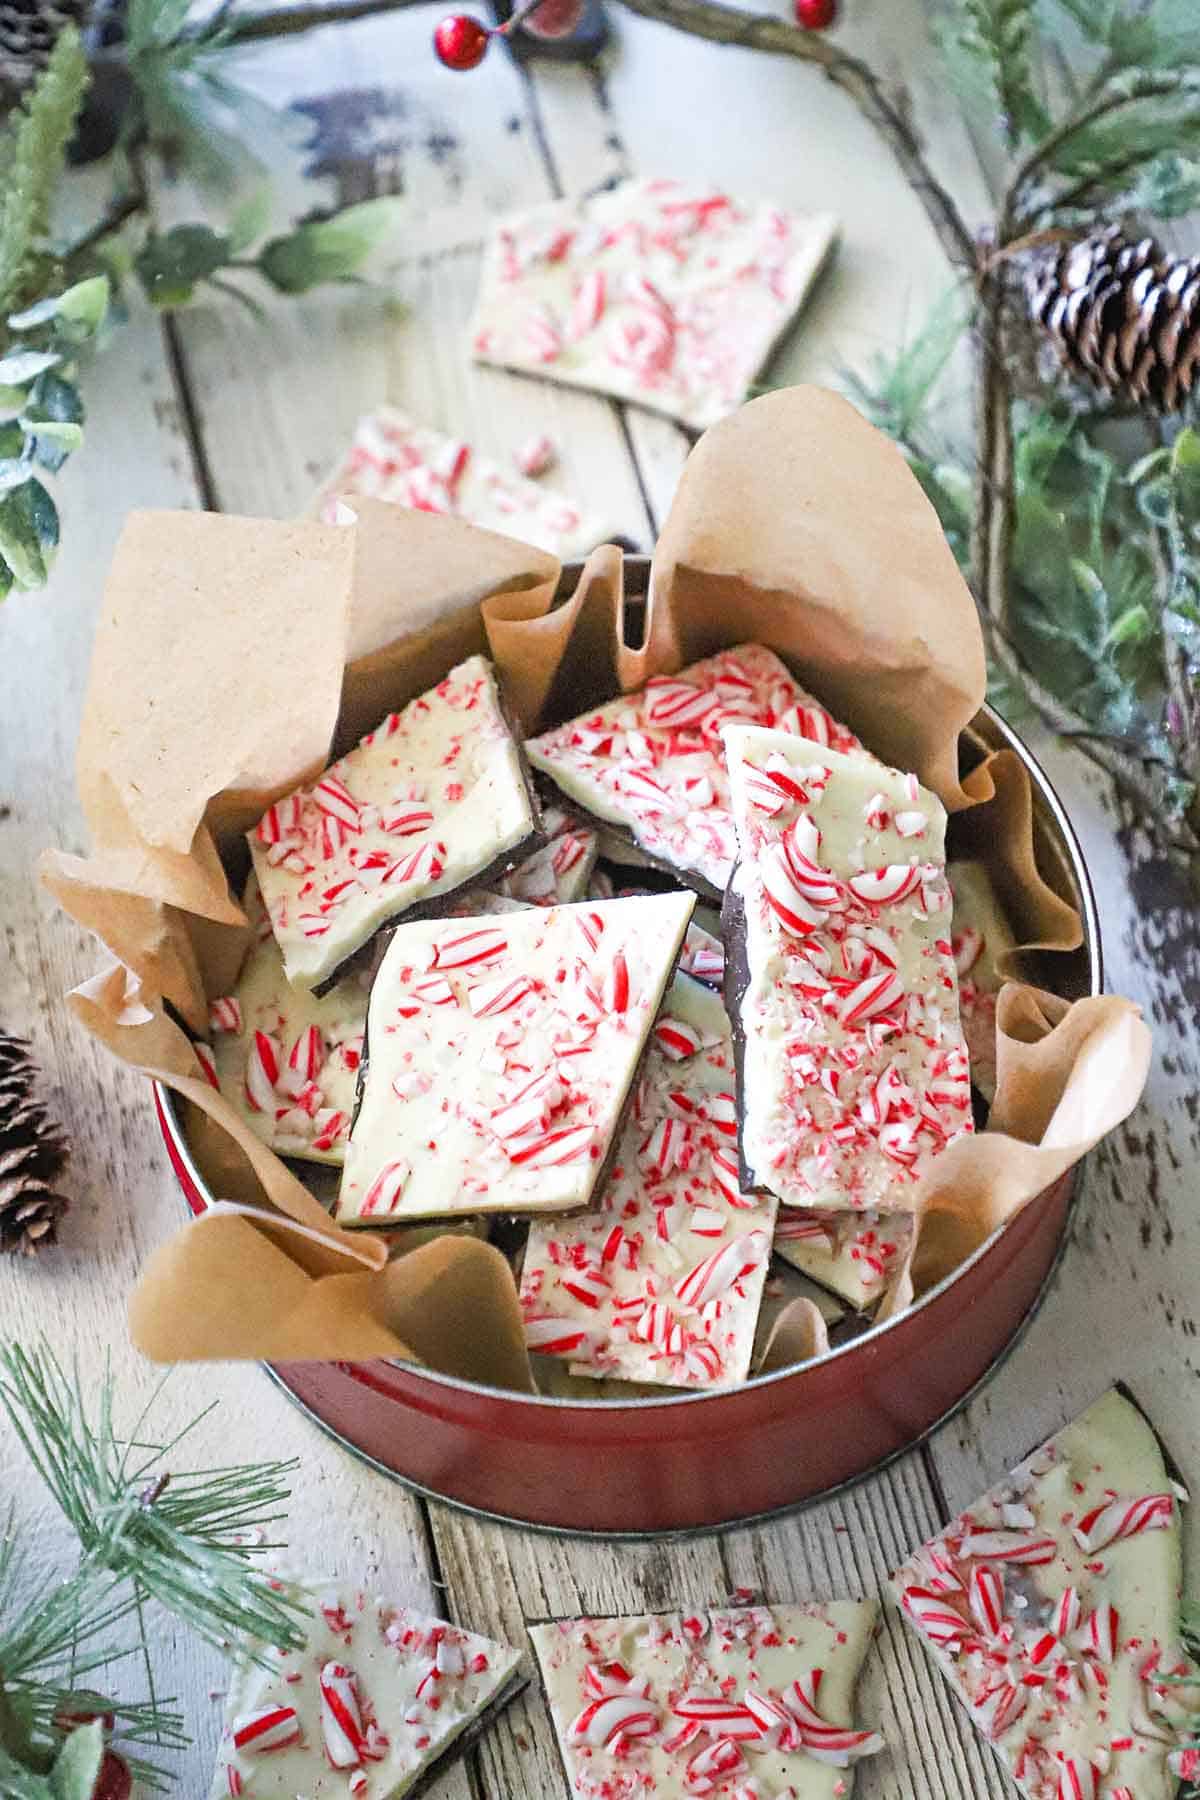
😋 Recipes Perfect for Homemade Sauerkraut


Ready to make the best homemade sauerkraut of all time? Go for it!
And when you do, be sure to take a photo of it, post it on Instagram, and tag @HowToFeedaLoon and hashtag #HowToFeedaLoon!
Easy Homemade Sauerkraut
Equipment
- mandolin or a sharp knife
- blunt object Pickle packer, or a wooden spoon (or your fists)
- 2 wide-mouth Mason jars standard-size Mason jars with lids
- weights Pickle pebble, or a small (clean) rock or weight
- Pickle pipe to let the fermentation gases release, see NOTES
Ingredients
- 1 green cabbage see NOTES
- 2 tablespoon fine salt
- 2 teaspoon caraway seeds
Instructions
- Remove one or two clean outer whole leaves. Set aside. Cut the cabbage in half and then cut each half in half, leaving the core in place.1 green cabbage
- Use a mandolin to carefully shred the cabbage quarters thinly. Or, use a sharp knife. Discard the core portions.
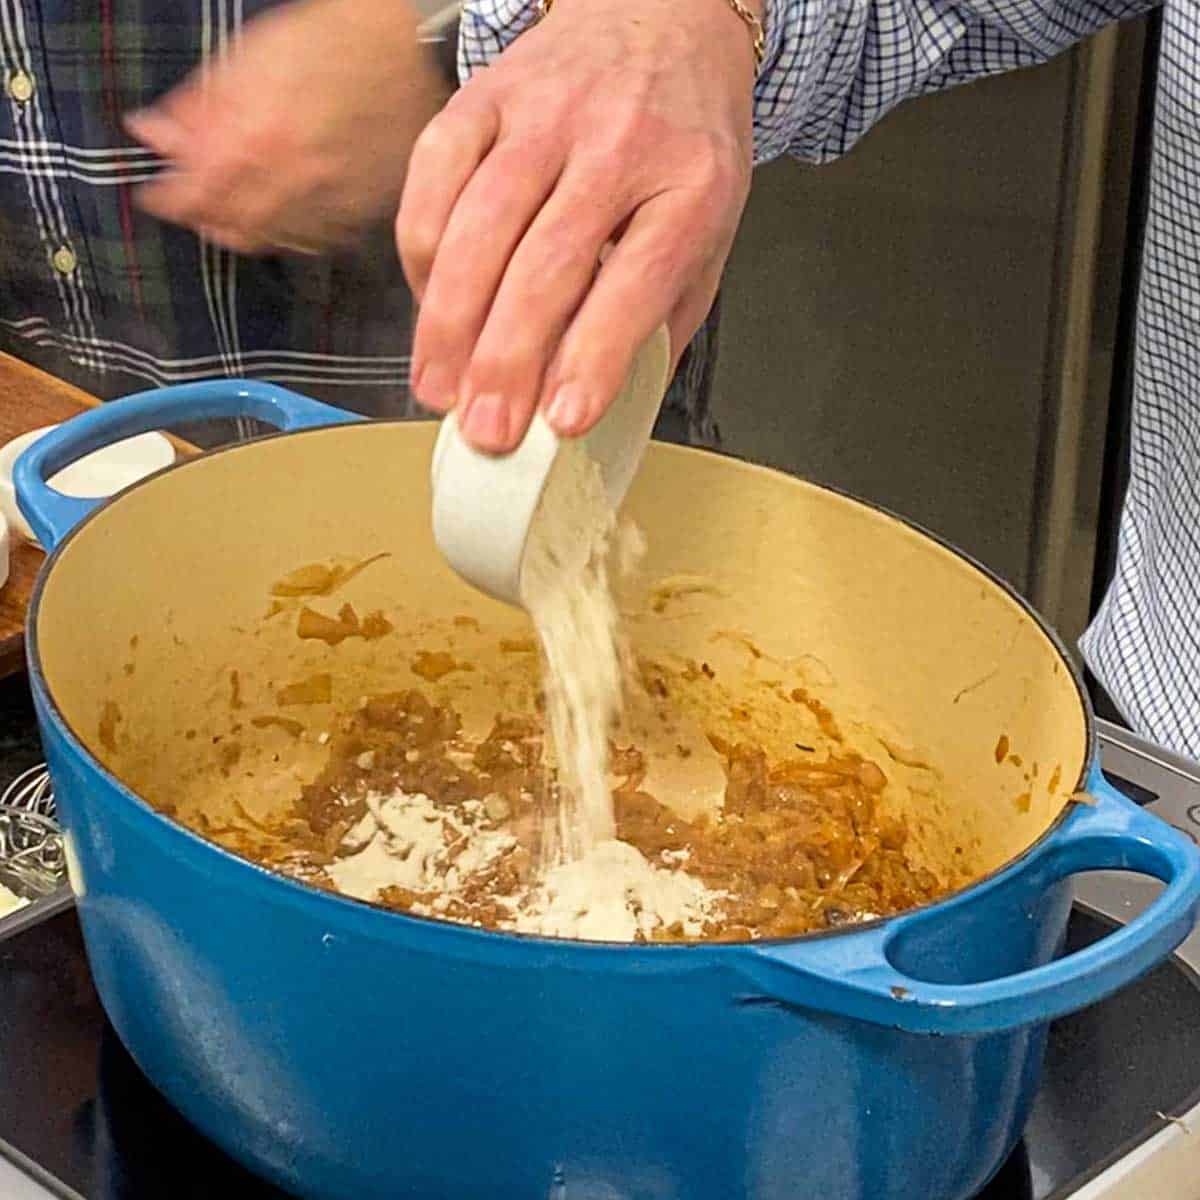
- Place the shredded cabbage in a large bowl and add the salt and caraway seeds. Use your hands to toss the cabbage until the salt and seeds are evenly distributed. Massage the cabbage with your hands for 1 to 2 minutes.2 tablespoon fine salt, 2 teaspoon caraway seeds
- Use a blunt object (or your fists) to pound and mix the cabbage until it is very wilted and juicy. This will take about 3 minutes. Use your Pickle Packer, if you have one See NOTES).
- Once the cabbage is thoroughly pounded and juicy, it's time to pack the jar. Place a couple of handfuls of the cabbage into a standard-size Mason jar and pack it down firmly. If you have a Pickle Packer, use this. As you pack the cabbage down, the brine will rise in the jar. Keep adding and packing down the cabbage until the jar is filled to the shoulder. Don't overfill! If you have extra cabbage, save it for a yummy salad. One large cabbage will fill two jars (or close to it), and a small (2 lb) cabbage will fill one jar.
- Now, take the clean cabbage leaves you set aside and lay them flat on your cutting board. Set the jar(s) on the leaf (or leaves) and use a knife to cut a circle out of the leaf, close to the diameter of the jar. Place the leaf (or leaves) directly over the surface of the cabbage.
- Place a small (but heavy) object on top of the leaf. If you have a Pickle Pebble, this is where you use them (see NOTES). It is important to keep the cabbage submerged entirely in the brine. Wipe the rim of the jar, then secure the lid to the jar, or add the Pickle Pipe, and then secure with the ring. (see NOTES).
- Set the jar(s) in a dark place to ferment, about 2½ to 3 weeks. If your home is chilly, this may take up to a month or longer for the fermentation process to complete.
- After a day or two, the cabbage will continue to release juice. If the cabbage looks dry, make a brine of ½ teaspoon salt dissolved in ½ cup of water. Add enough to keep the cabbage completely submerged.
- Over the next few weeks, the cabbage will expand somewhat, pockets of gas may appear, the color changes from bright to dull green, bubbles will appear on the surface, and a strong sulfurous odor might be emitted from the jar. This is all good and normal!
Video
Notes
- Specialized Tools: You can easily order the specialized tools used in this recipe—the Pickle Packer, Pickle Pebbles, and Pickle Pipe—directly from Masontops.com to make the fermentation process even more foolproof and hands-off.
- Tool Substitutions: If you don’t have a Pickle Packer, the end of a wooden spoon or your clean, firm fists work perfectly to bruise the cabbage and release its natural juices.
- Weight Alternatives: In place of a glass Pickle Pebble, you can use a small, clean jelly jar that fits inside the mouth of your mason jar to keep the cabbage submerged under the brine.
- Manual Venting: If you aren’t using a self-venting Pickle Pipe, be sure to “burp” your jar daily by briefly loosening the lid to release fermentation gases before resealing.
- The Cabbage Leaf Trick: Using the reserved outer leaf circle as a secondary barrier is highly recommended to keep small bits of shredded cabbage from floating to the surface.
- Storage: Once the three-week fermentation period is complete, replace the fermentation lid with a standard lid and move the jars to the refrigerator to preserve the flavor and texture.