Bright. Vibrant. Healthy. And bursting with flavor. That’s what this vinaigrette is all about.
We love making dressing from scratch. One, because in most cases, like this one for sure, they are so easy to make! And the difference between the store-bought bottled variety and homemade is night and day. You’d probably also like our homemade Italian Dressing, Ranch, and Caesar Dressing, too!
VIDEO ALERT: Be sure to check out the video for this recipe in the recipe card. If you like the video, subscribe to our YouTube Channel!

HOW TO MAKE HOMEMADE BALSAMIC VINAIGRETTE
You just can’t believe how easy it is to make this classic salad dressing at home.
We can’t emphasize enough going with quality ingredients here. And a good whisk.
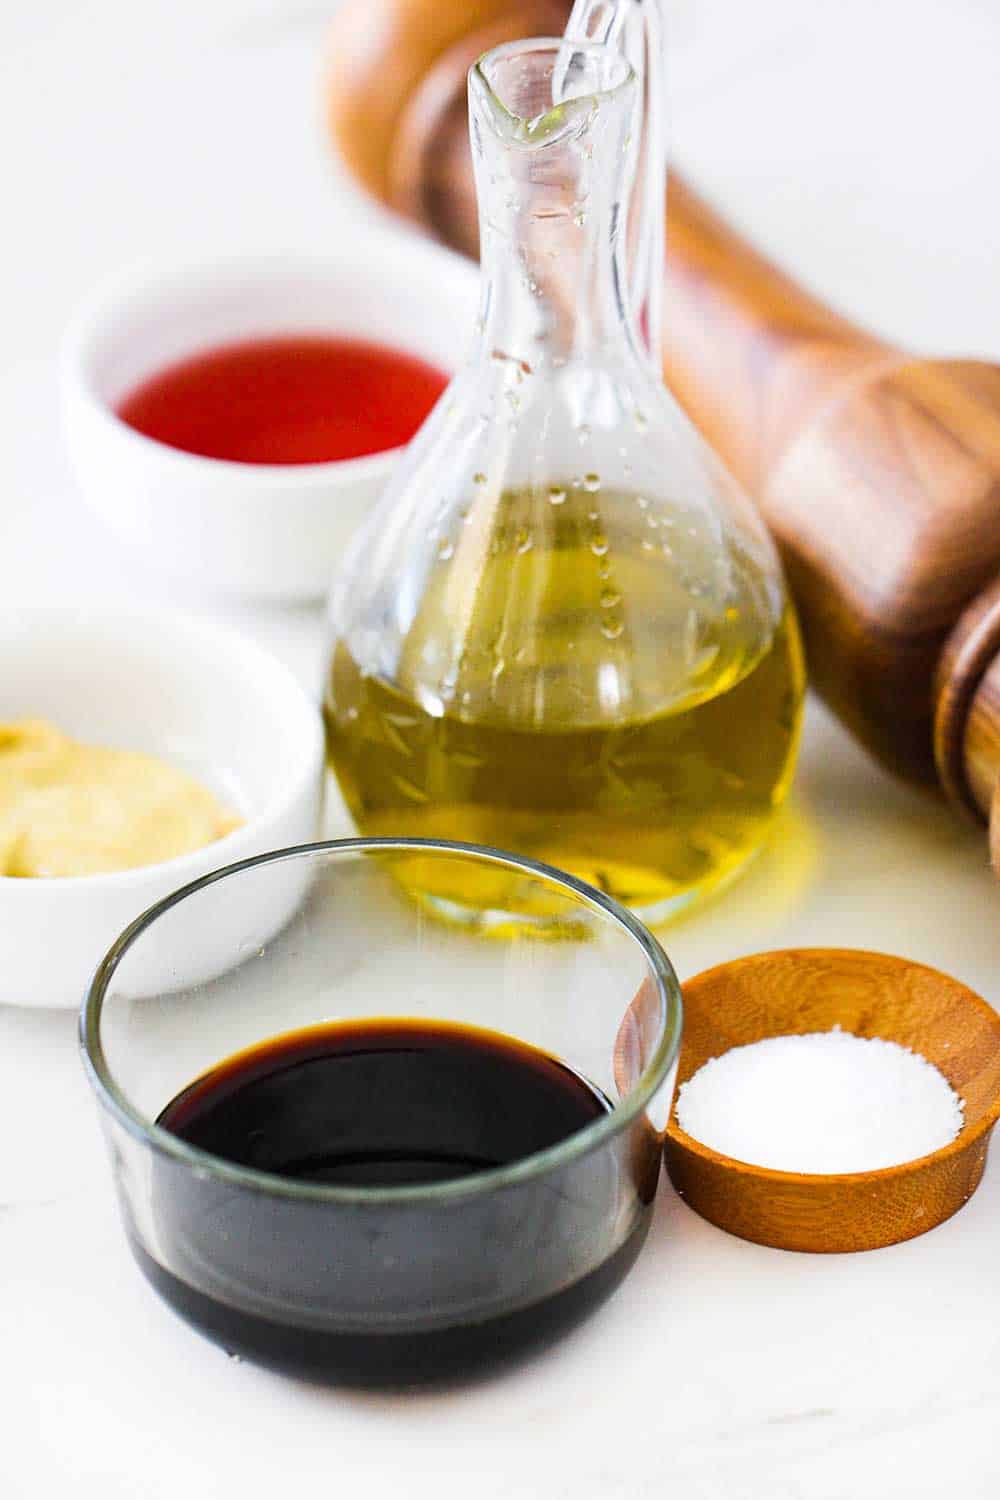
THE INGREDIENTS YOU WILL NEED
Balsamic vinegar is obviously the star of this vinaigrette. We think it’s worth it to go with top-notch balsamic. They have plenty of good ones to choose from nowadays in most well-stock supermarkets.
Here’s all you need to make this delicious balsamic vinaigrette:
- Dijon mustard
- Balsamic vinegar
- Granulated sugar, or honey
- Kosher salt
- Freshly ground black pepper
- Extra-virgin olive oil
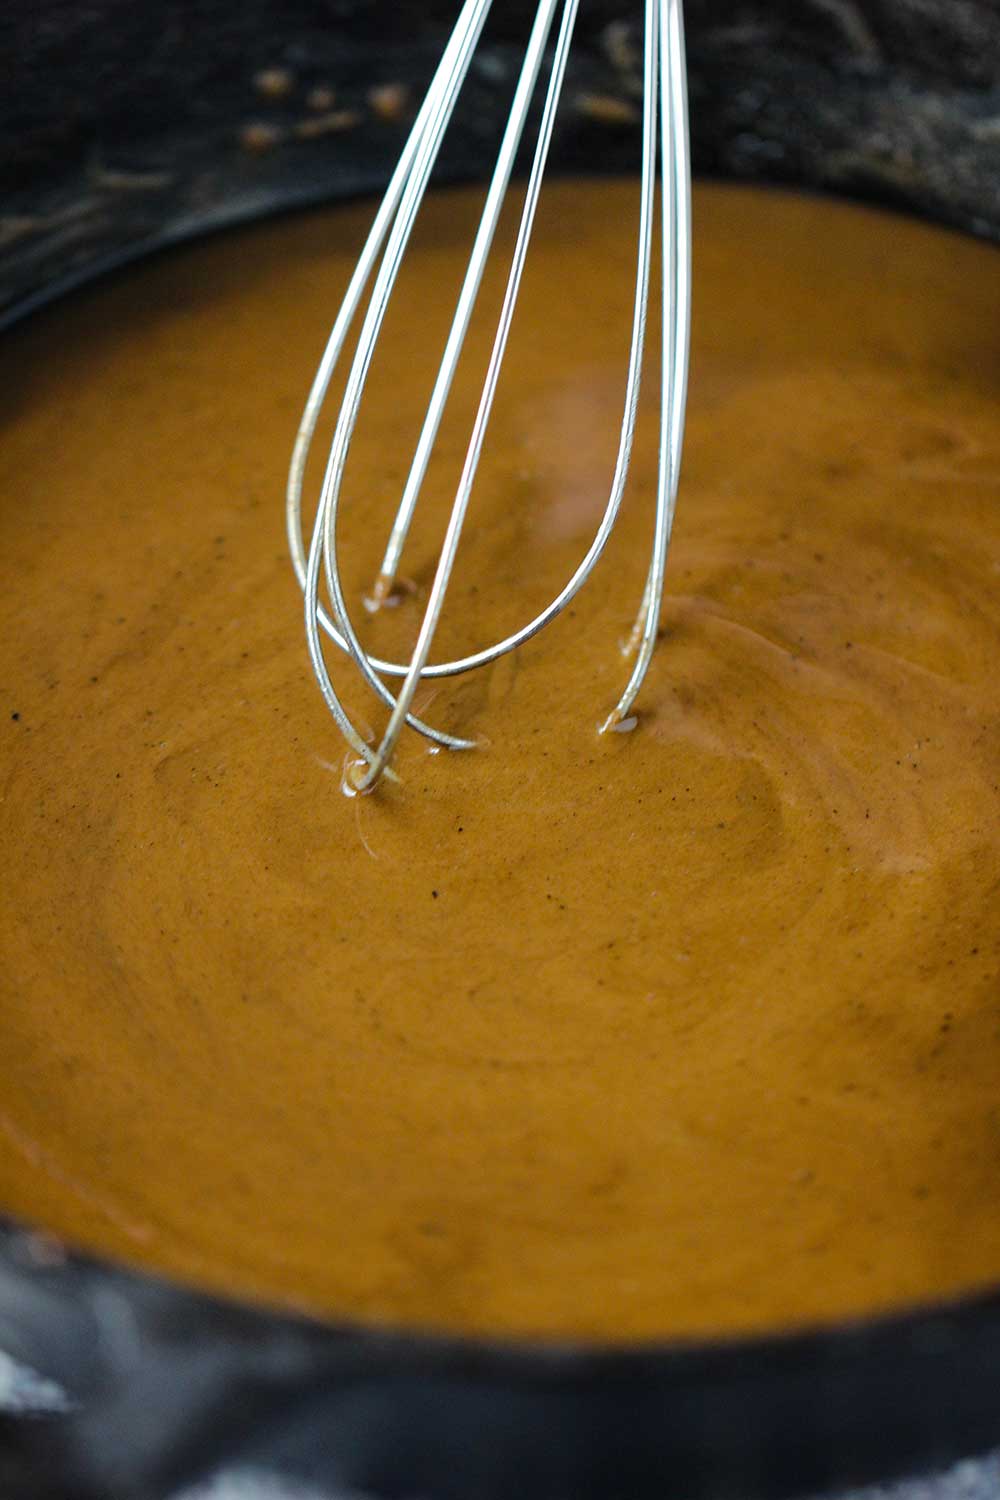
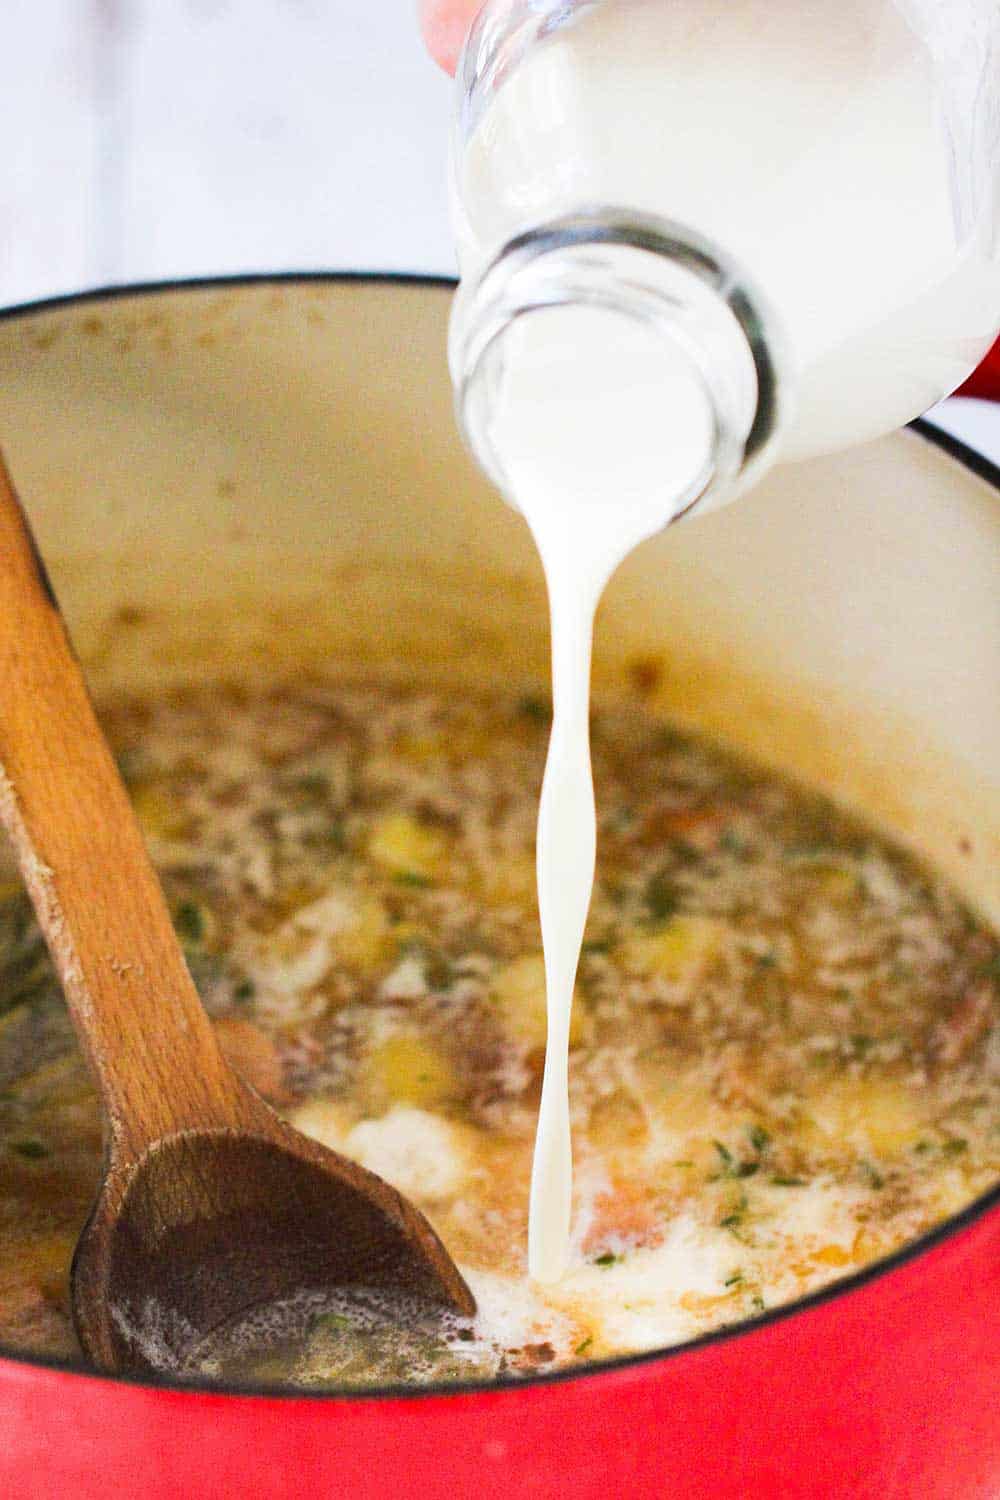
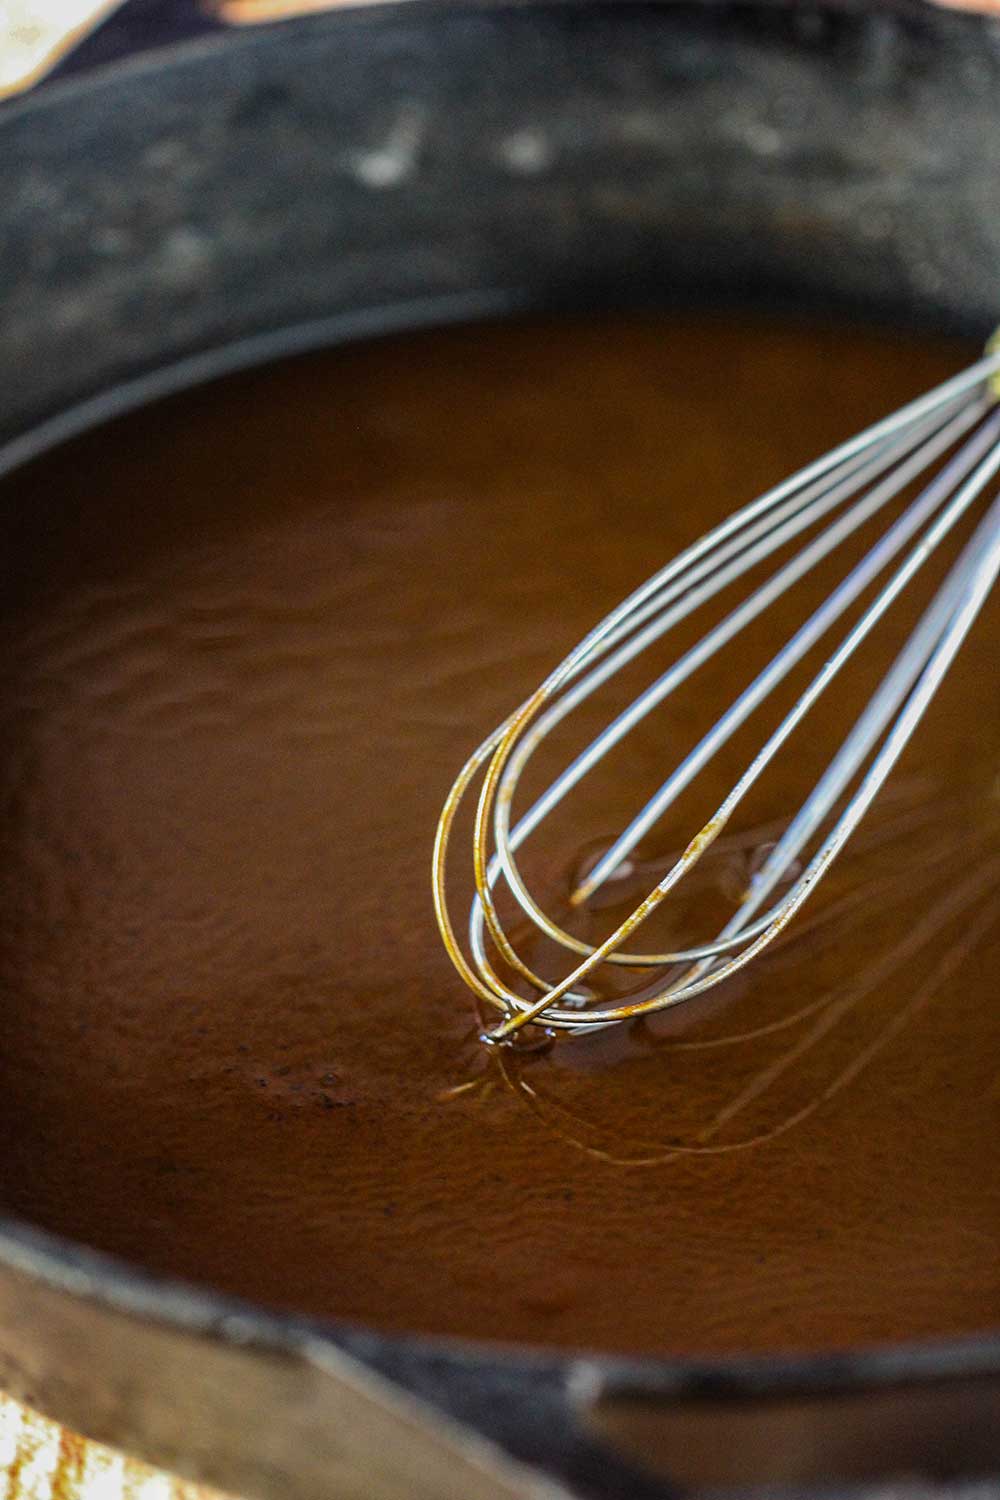
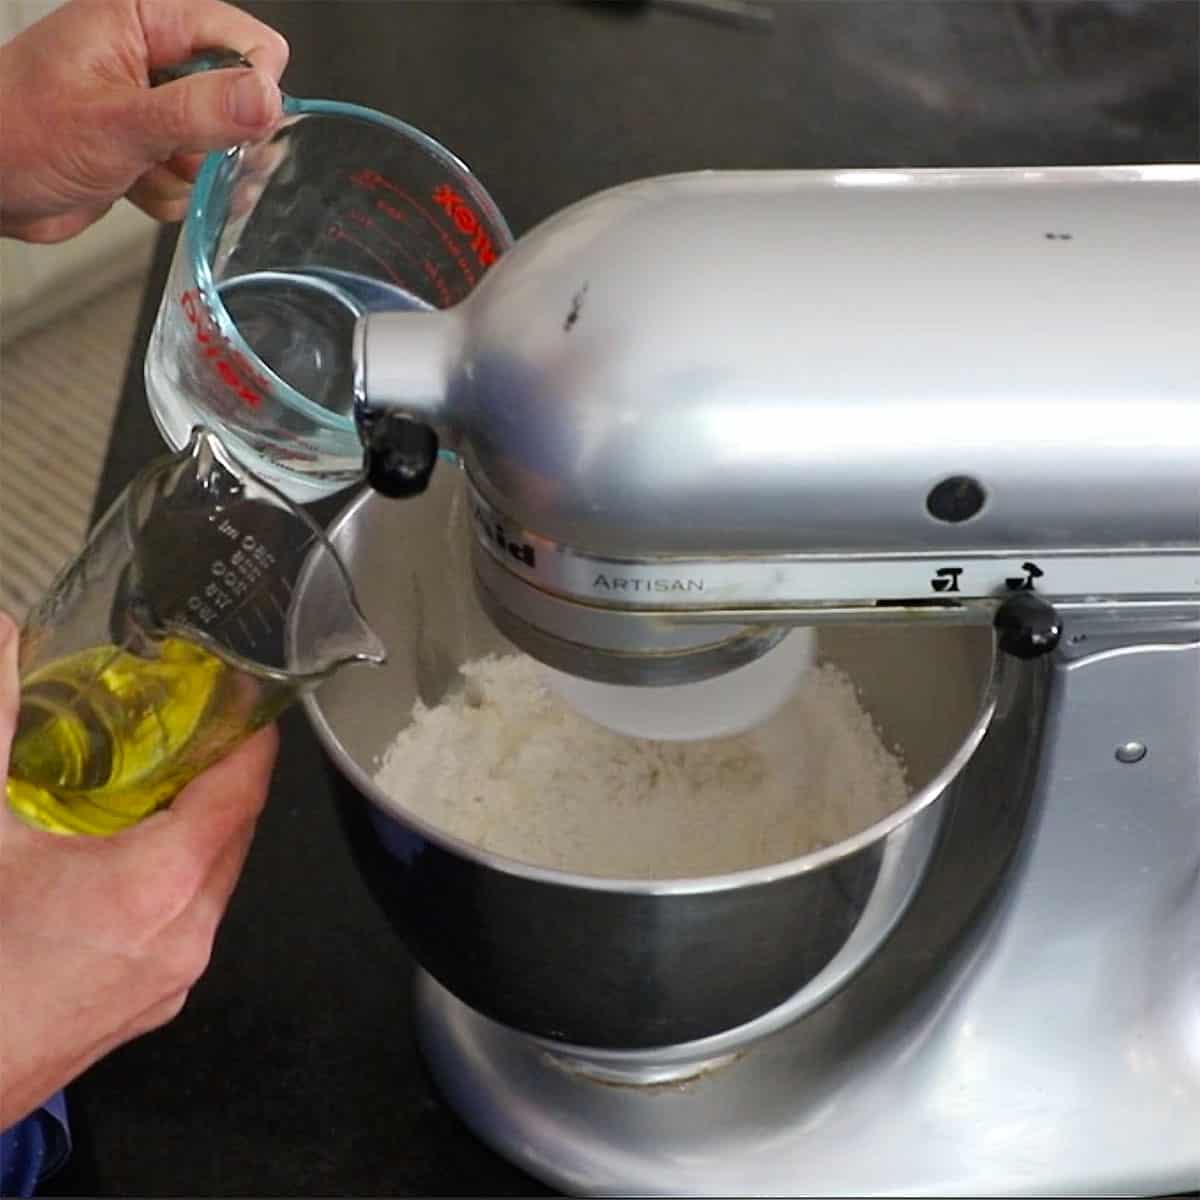
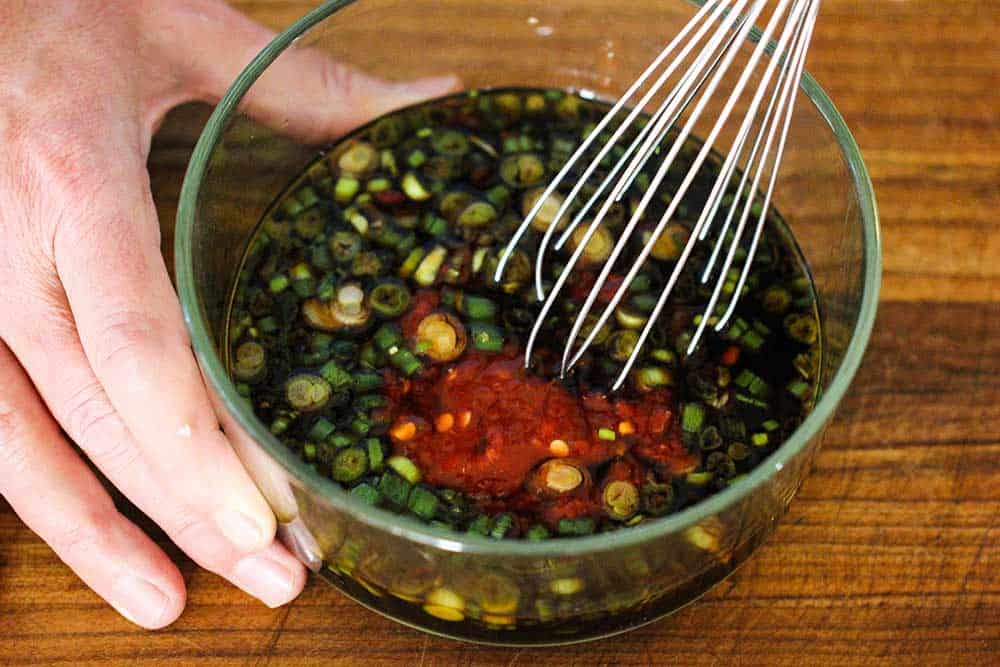
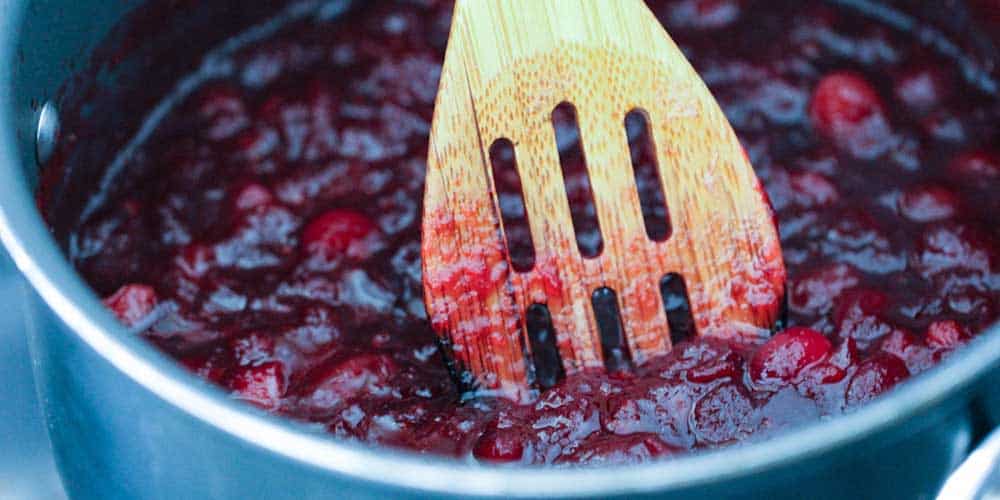
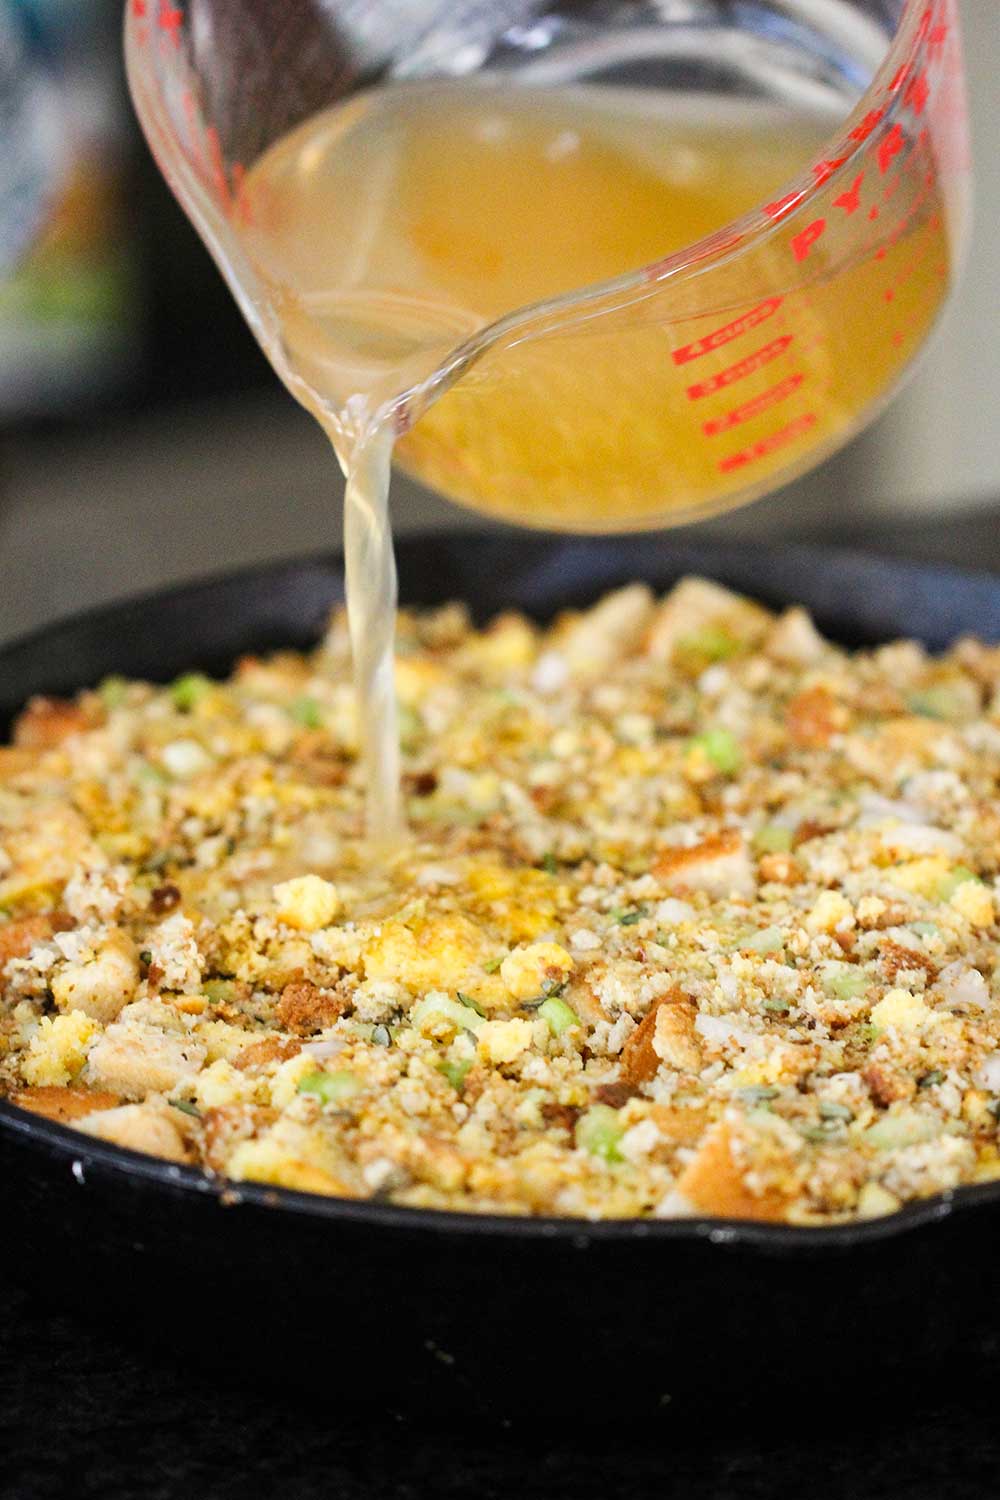
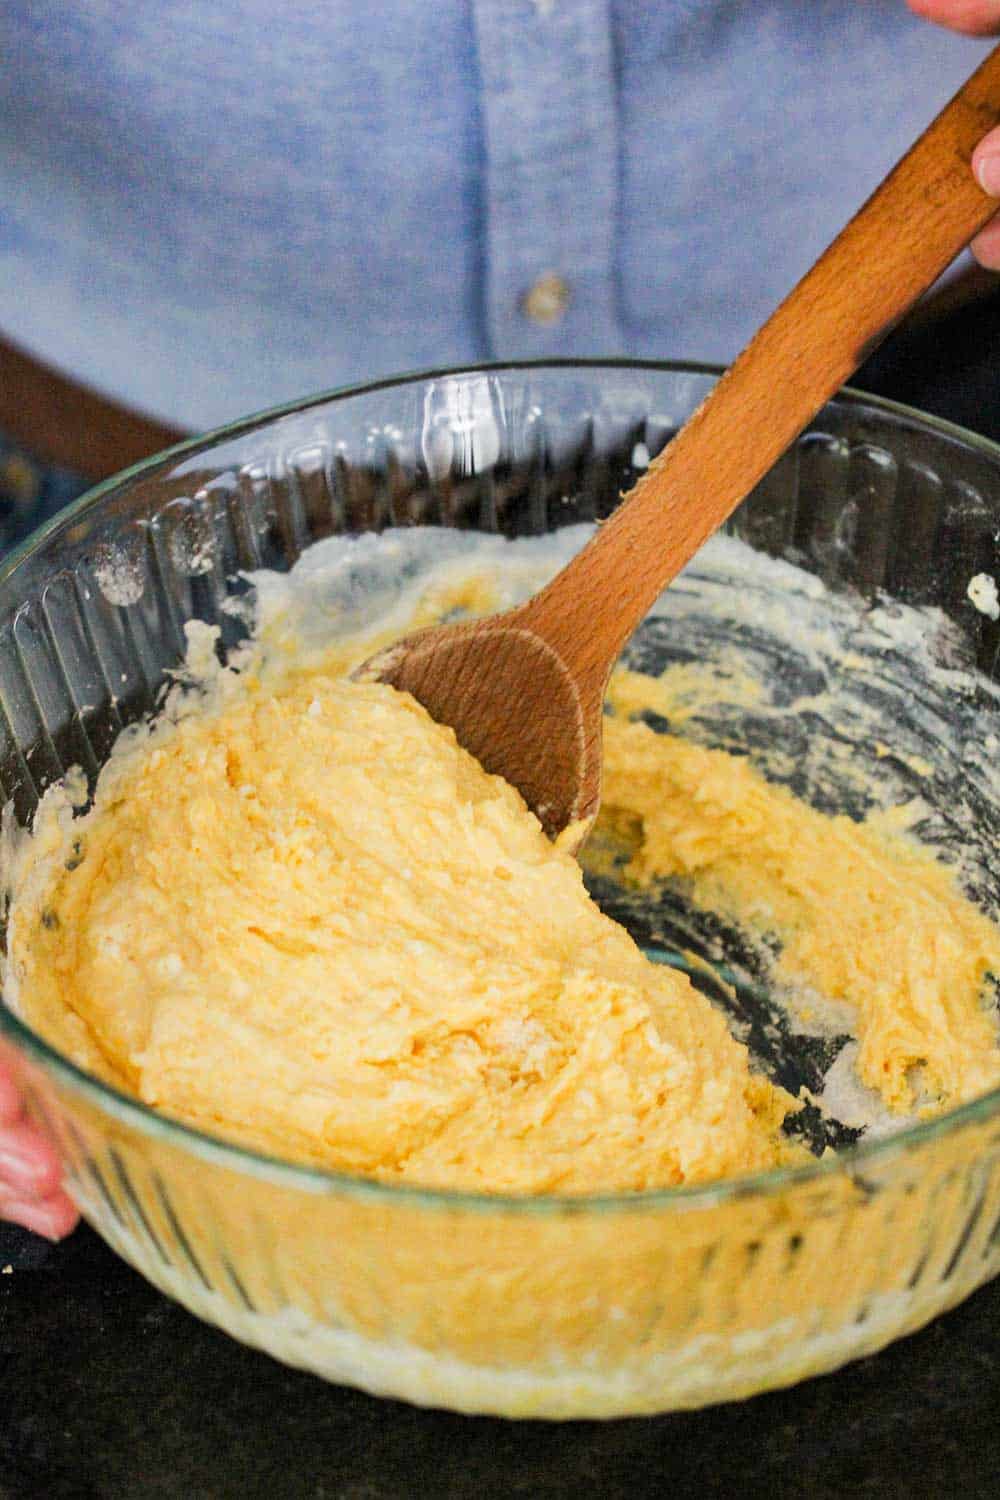
Once you’ve whisked together the mustard, balsamic and red wine vinegar, salt, and pepper, it’s time to whisk in the oil
Pour the oil in a slow steady stream and whisk continuously.

HOW TO MAKE A CREAMY BALSAMIC VINAIGRETTE
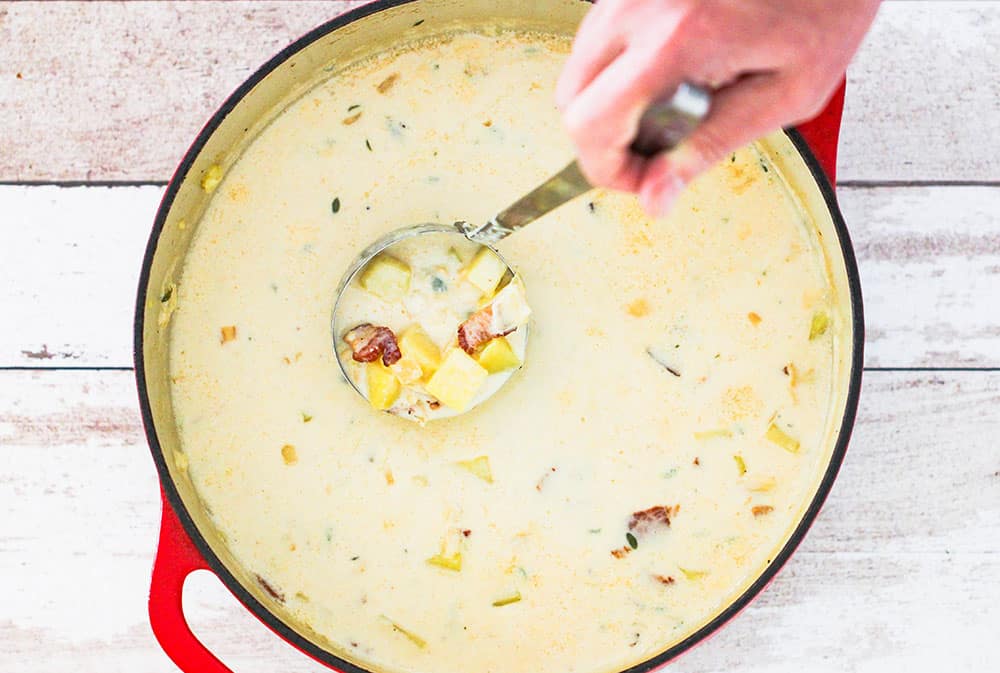
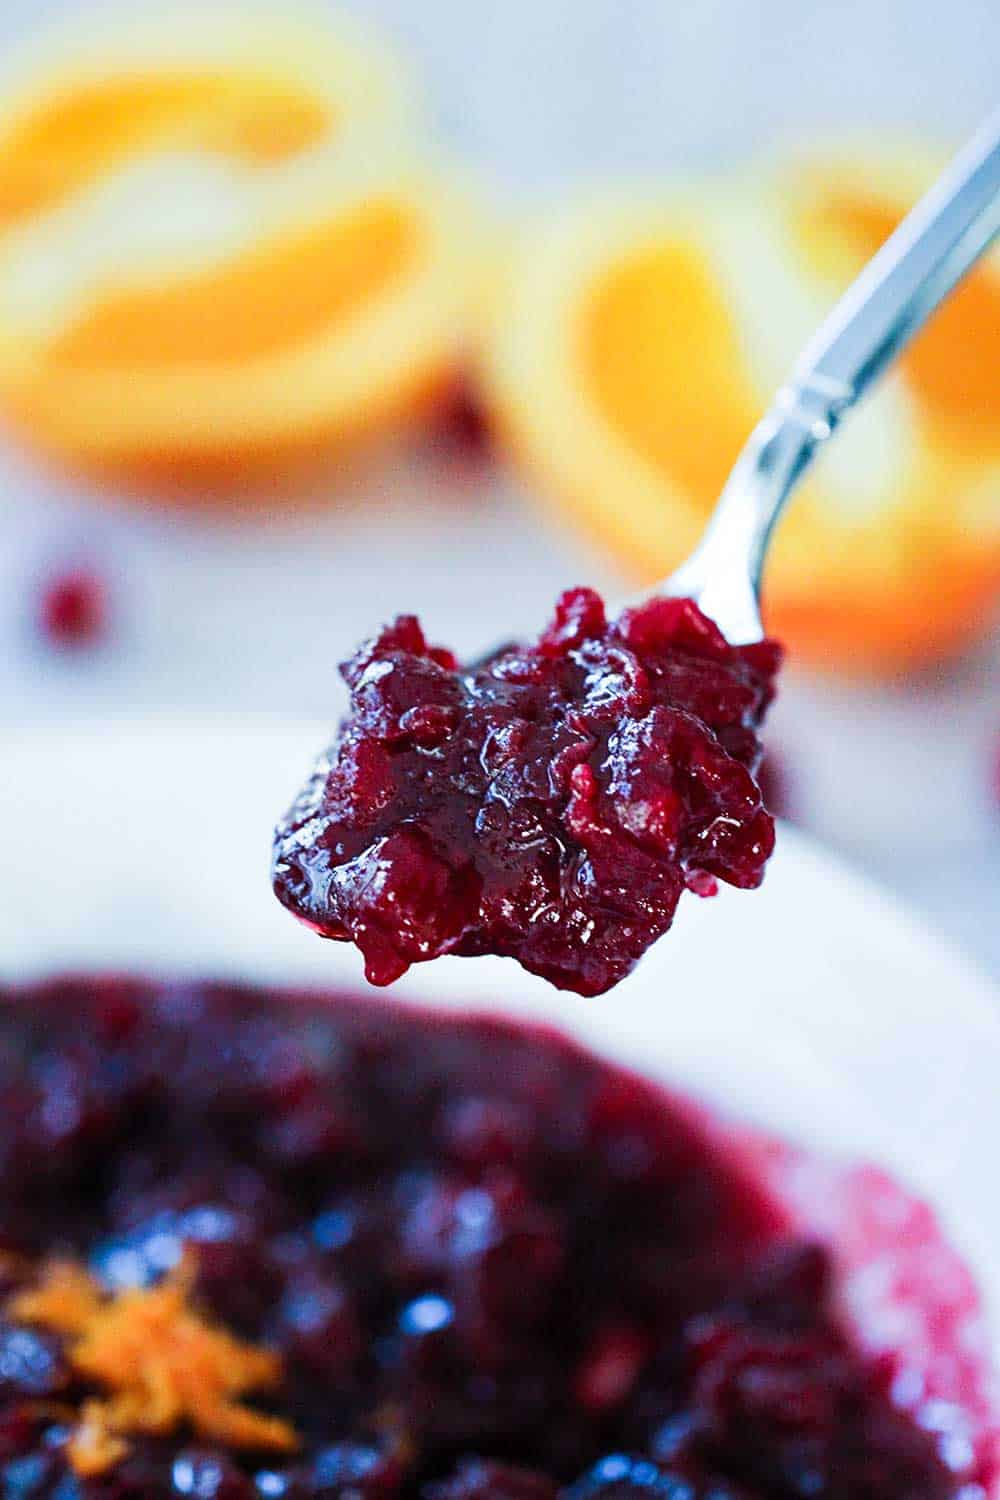
At this point, we like to chill the vinaigrette to allow the flavors to continue to meld. This also allows it to slightly thicken in texture.
However, the dressing is perfectly fine to use immediately, too, if desired.
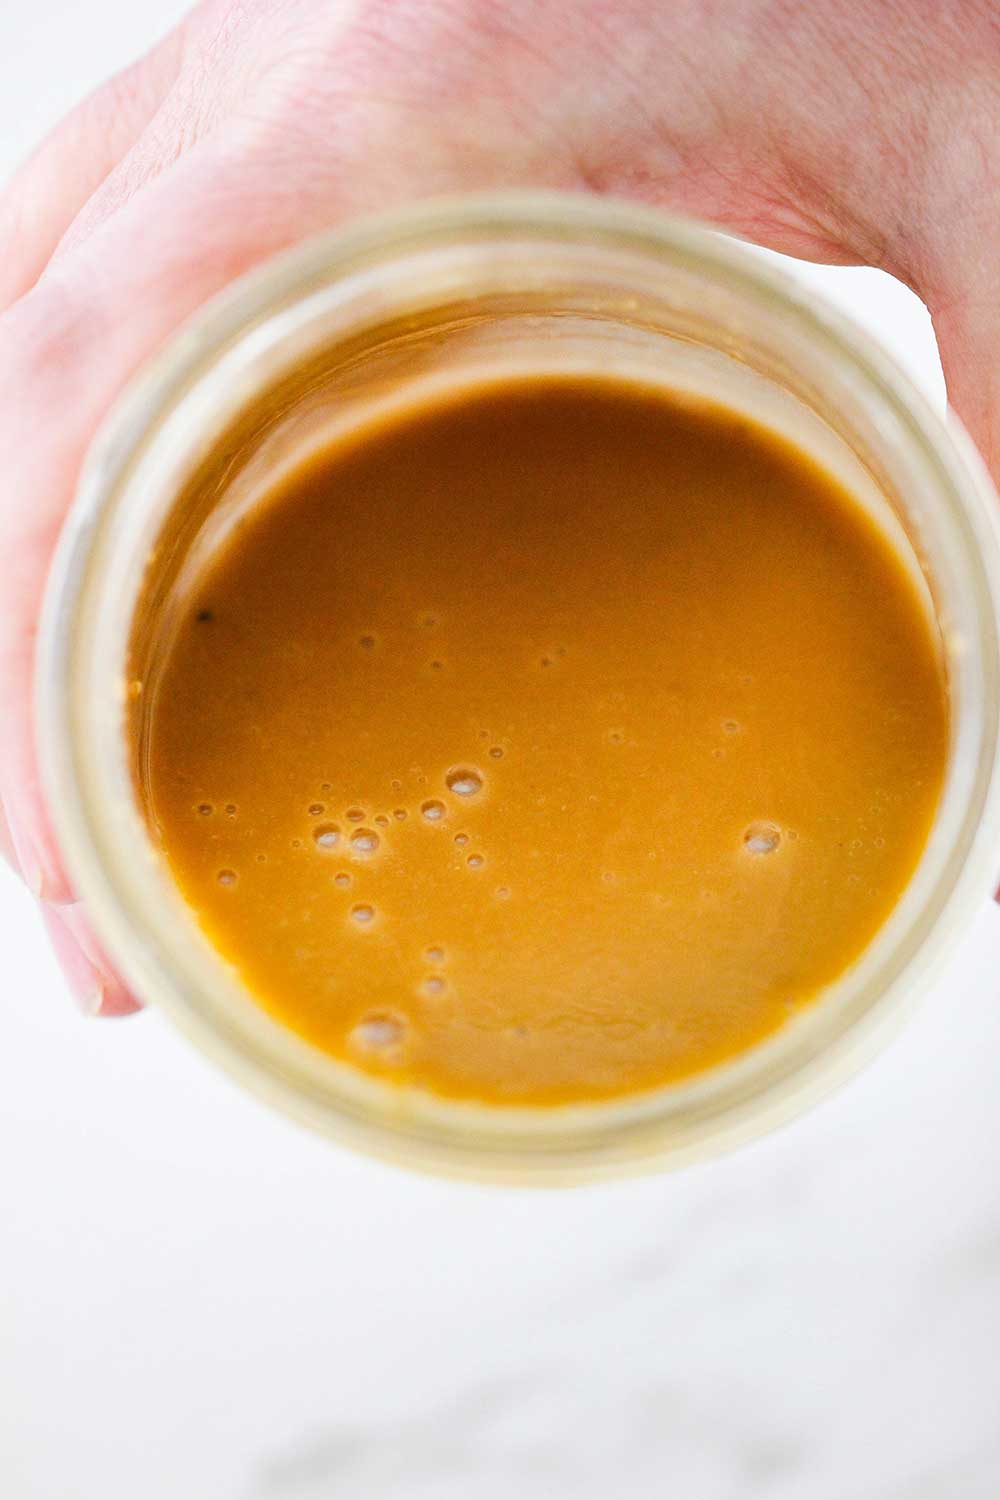
EXPERT TIP: At this point, the vinaigrette should be well blended. To truly emulsify the dressing, transfer the dressing to a jar with tight-fitting lit and then shake vigorously. This causes the oil to completely blend with the other ingredients. You may notice once this is done, the dressing becomes lighter in color. This is normal and produces an almost creamy balsamic vinaigrette.
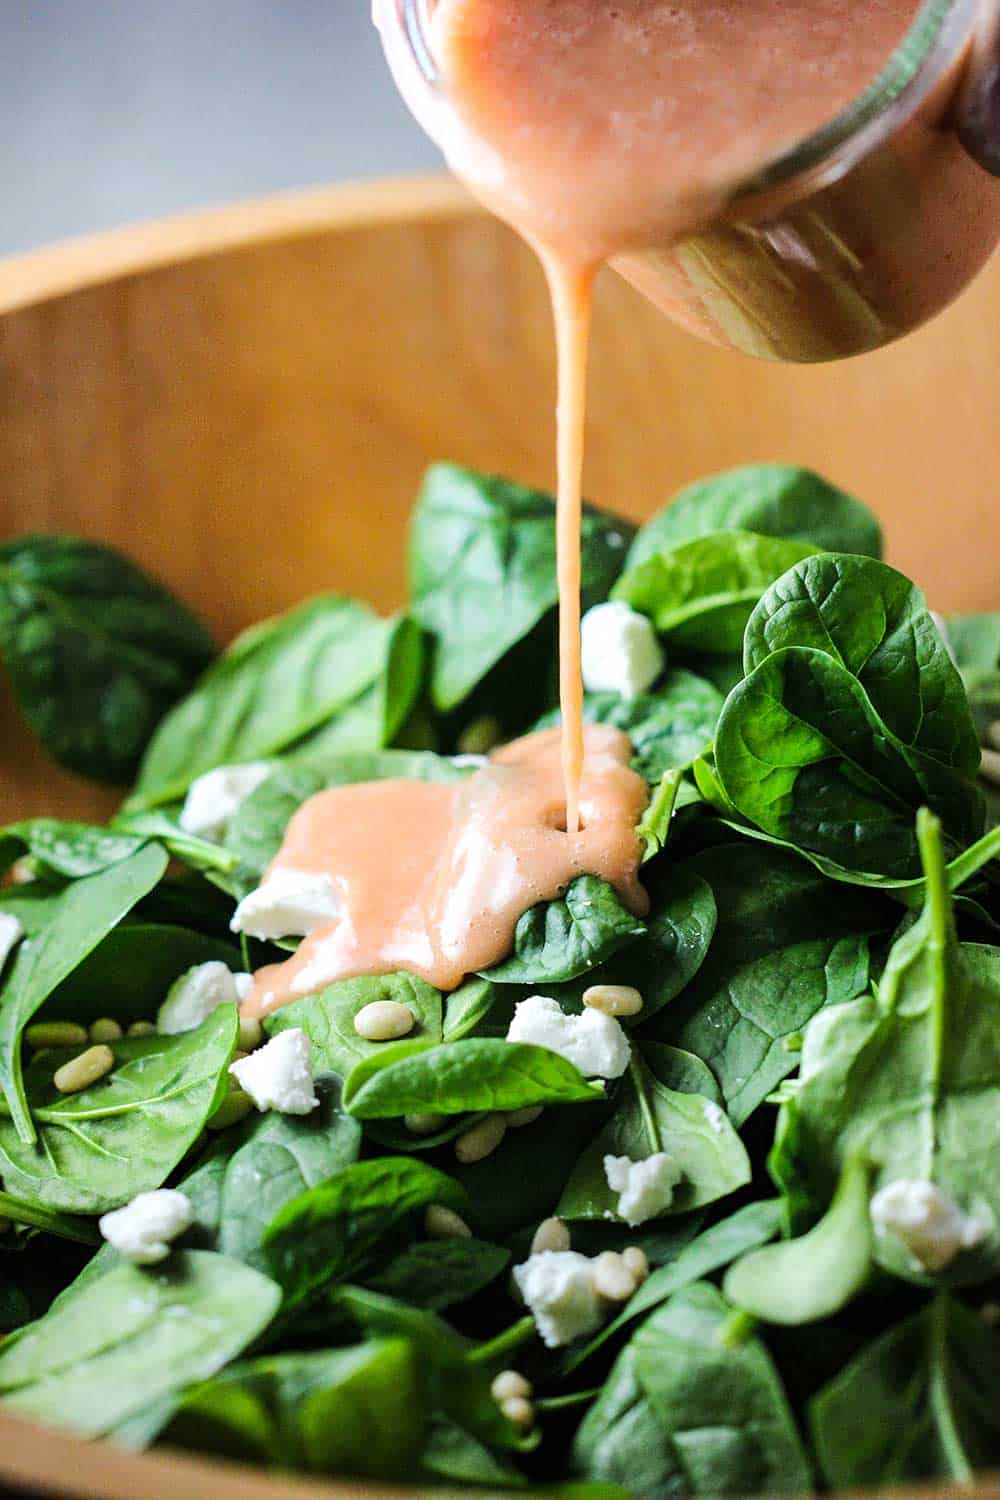
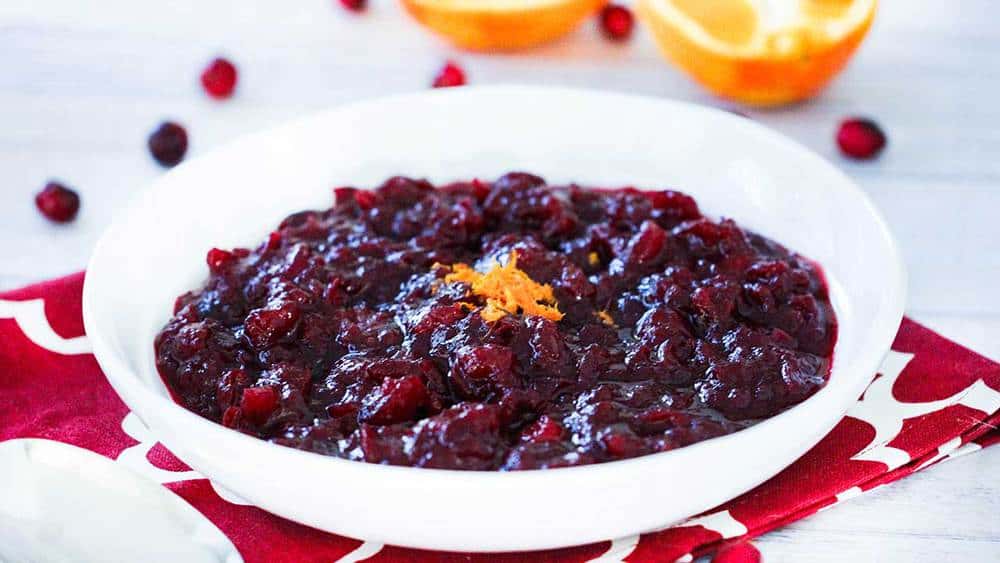
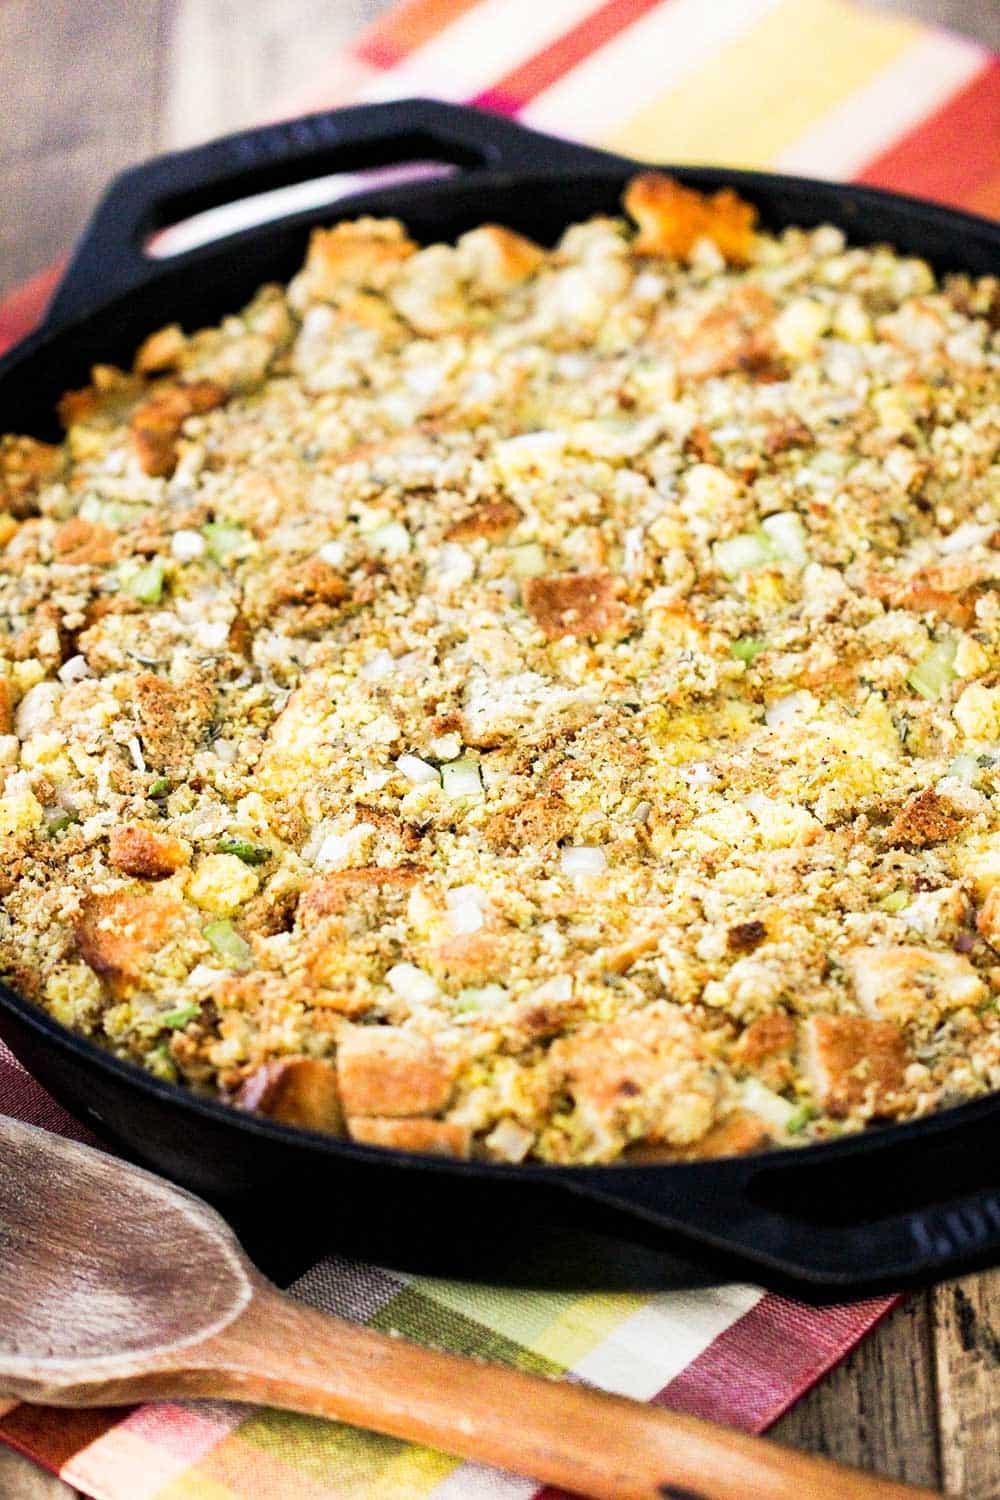
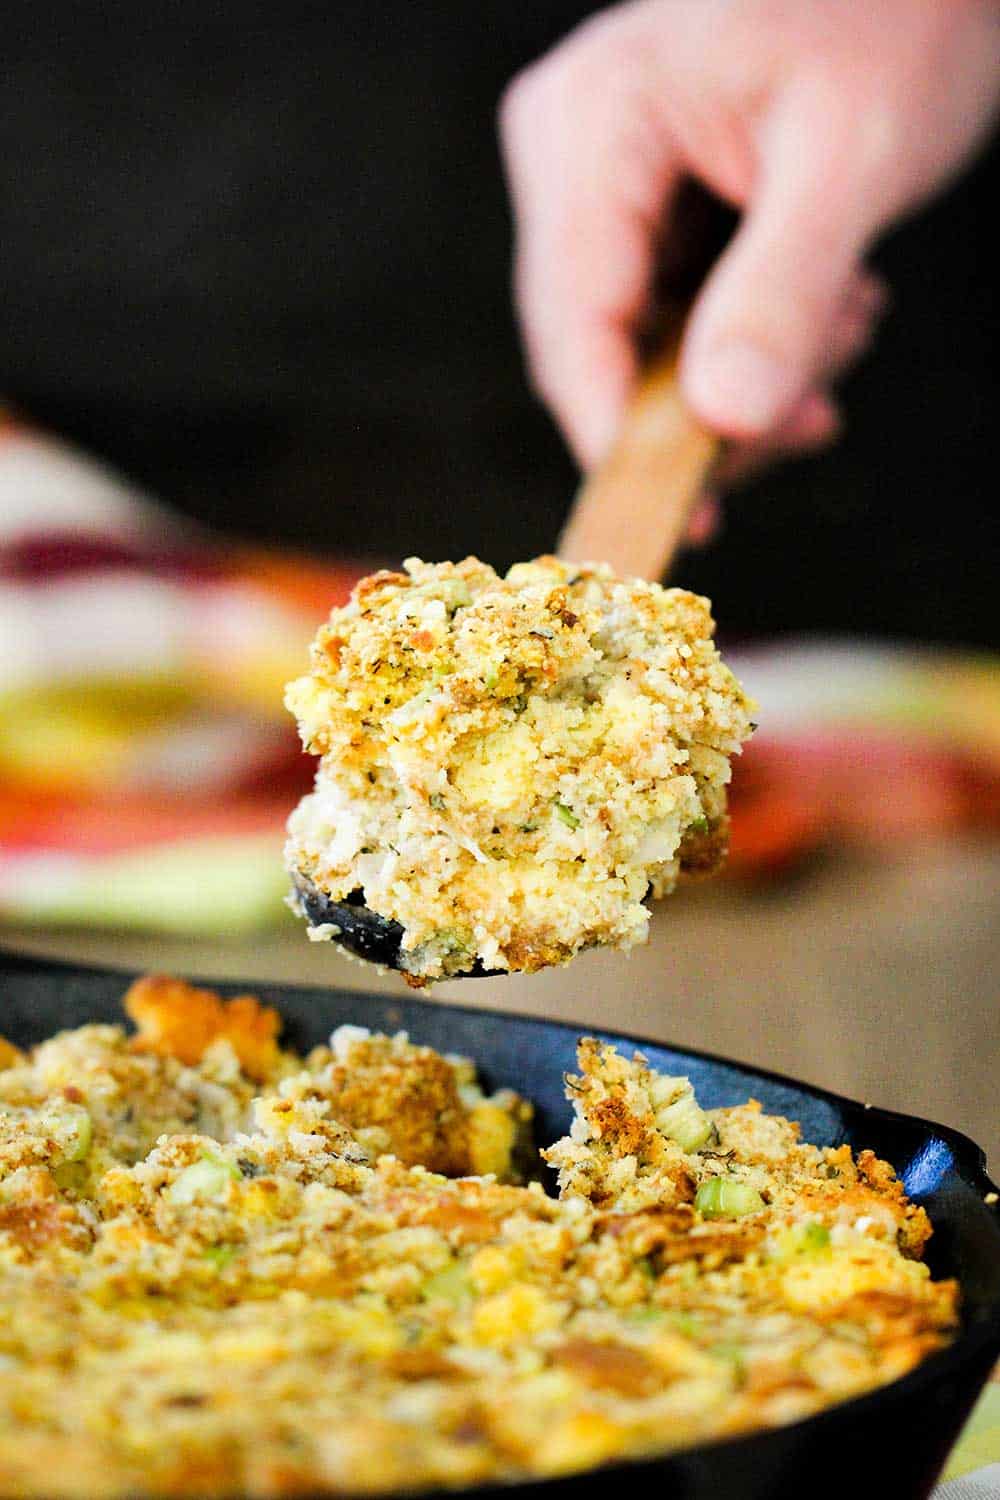
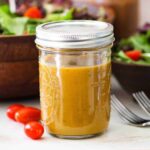
Homemade balsamic vinaigrette comes together in a matter of minutes and is just so delicious.
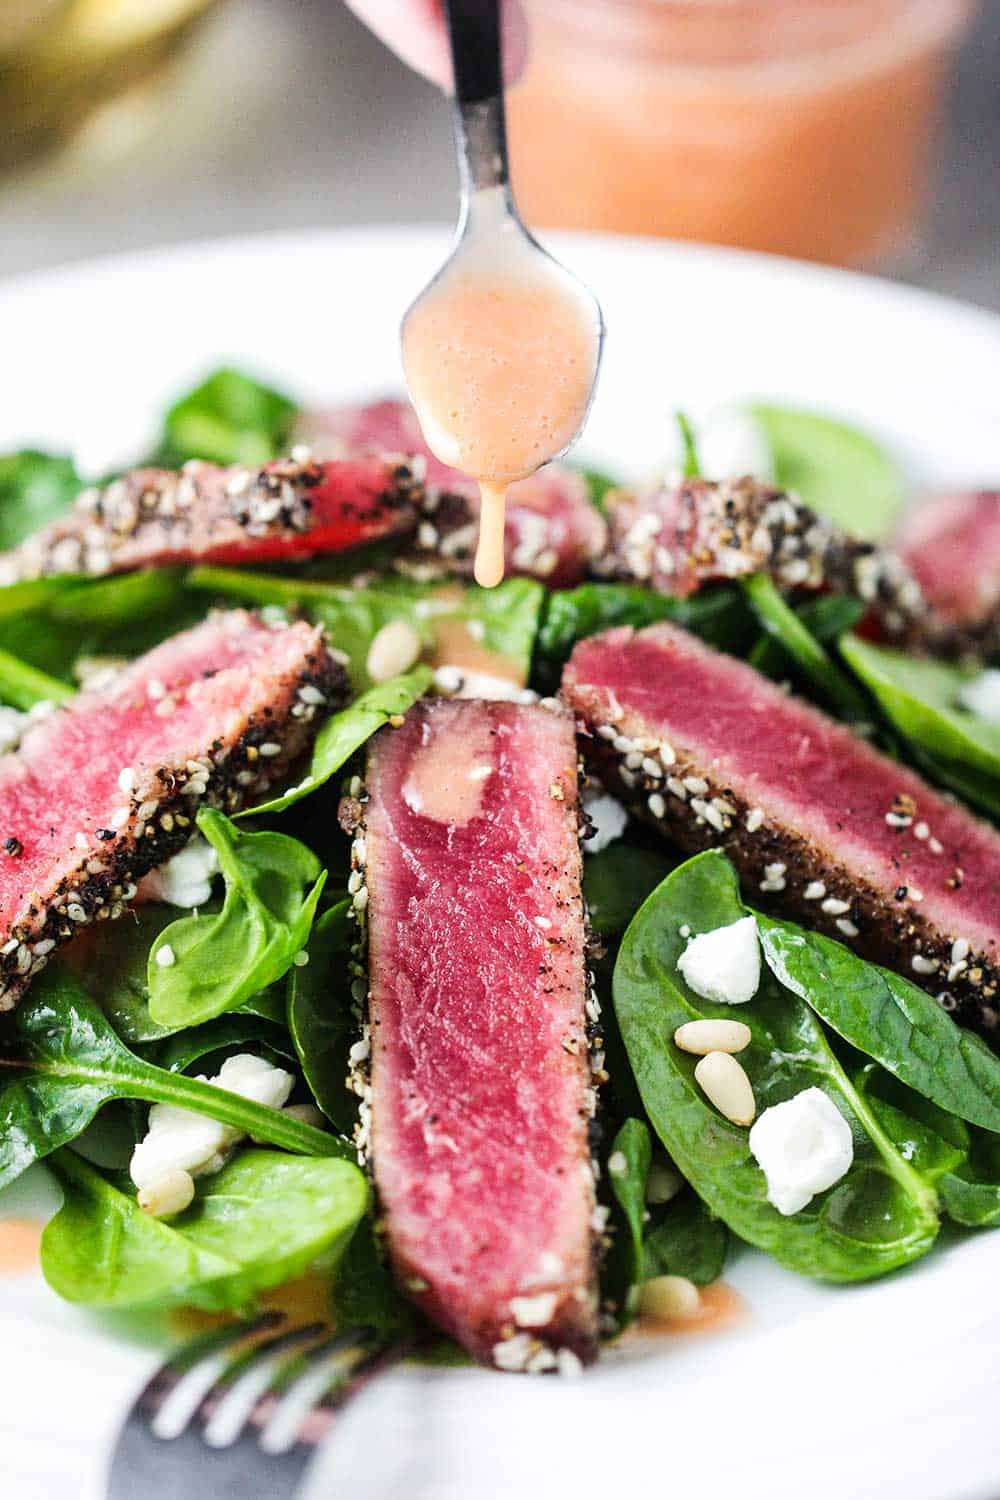
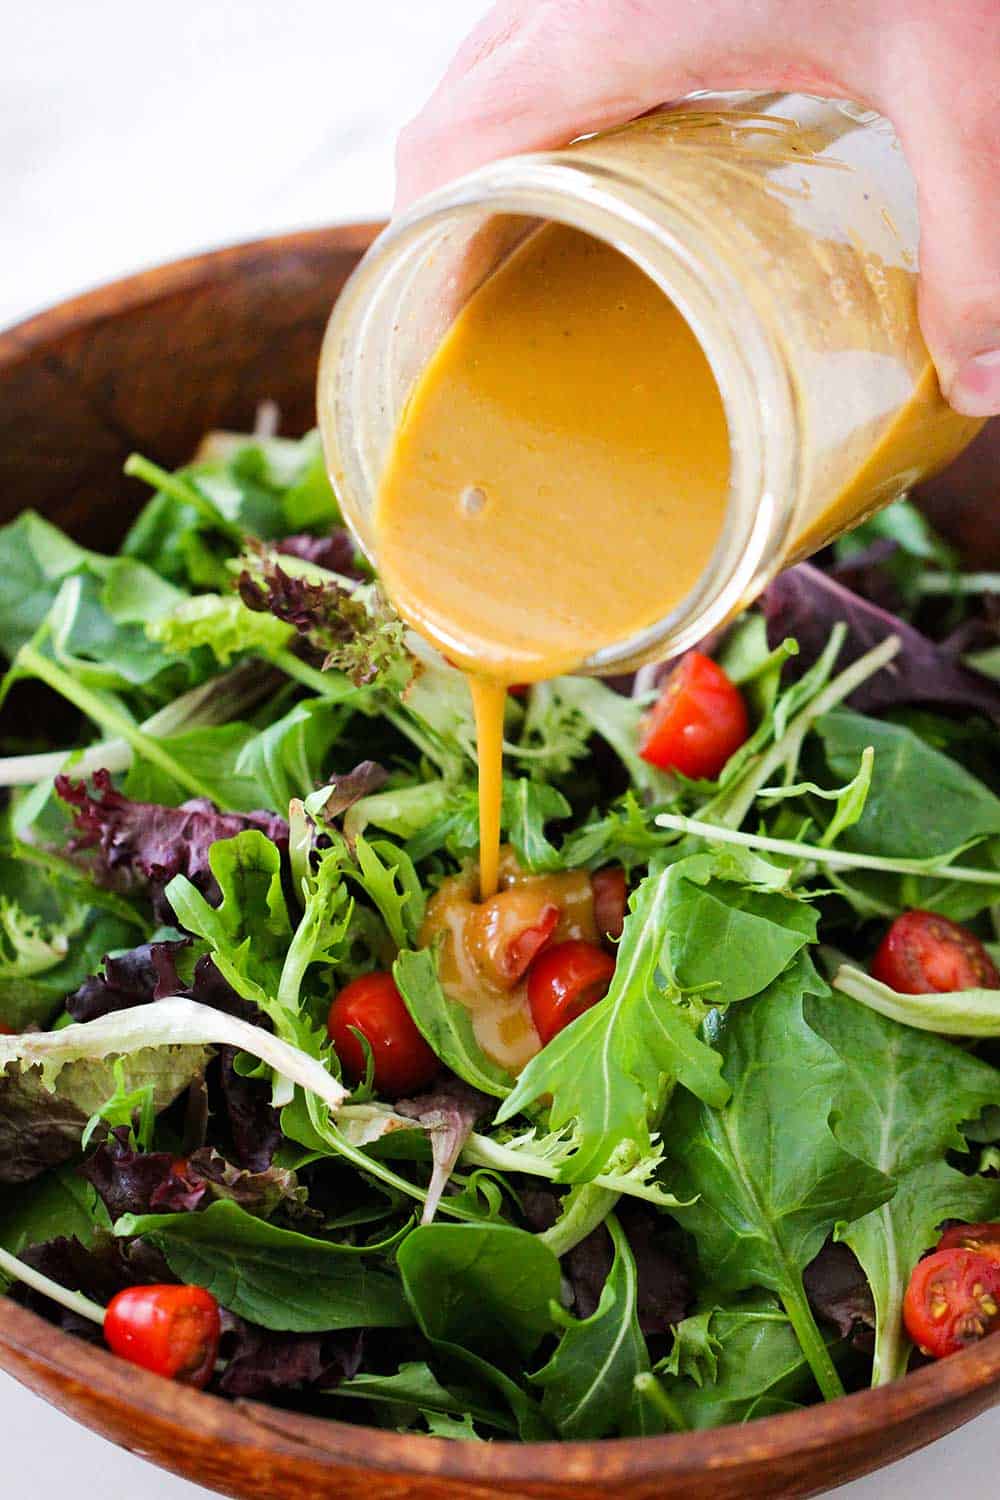
It brightens a green salad to levels you just have to taste to believe.
And the dressing keeps in the refrigerator for up to 2 weeks so it can easily be made in advance of serving!
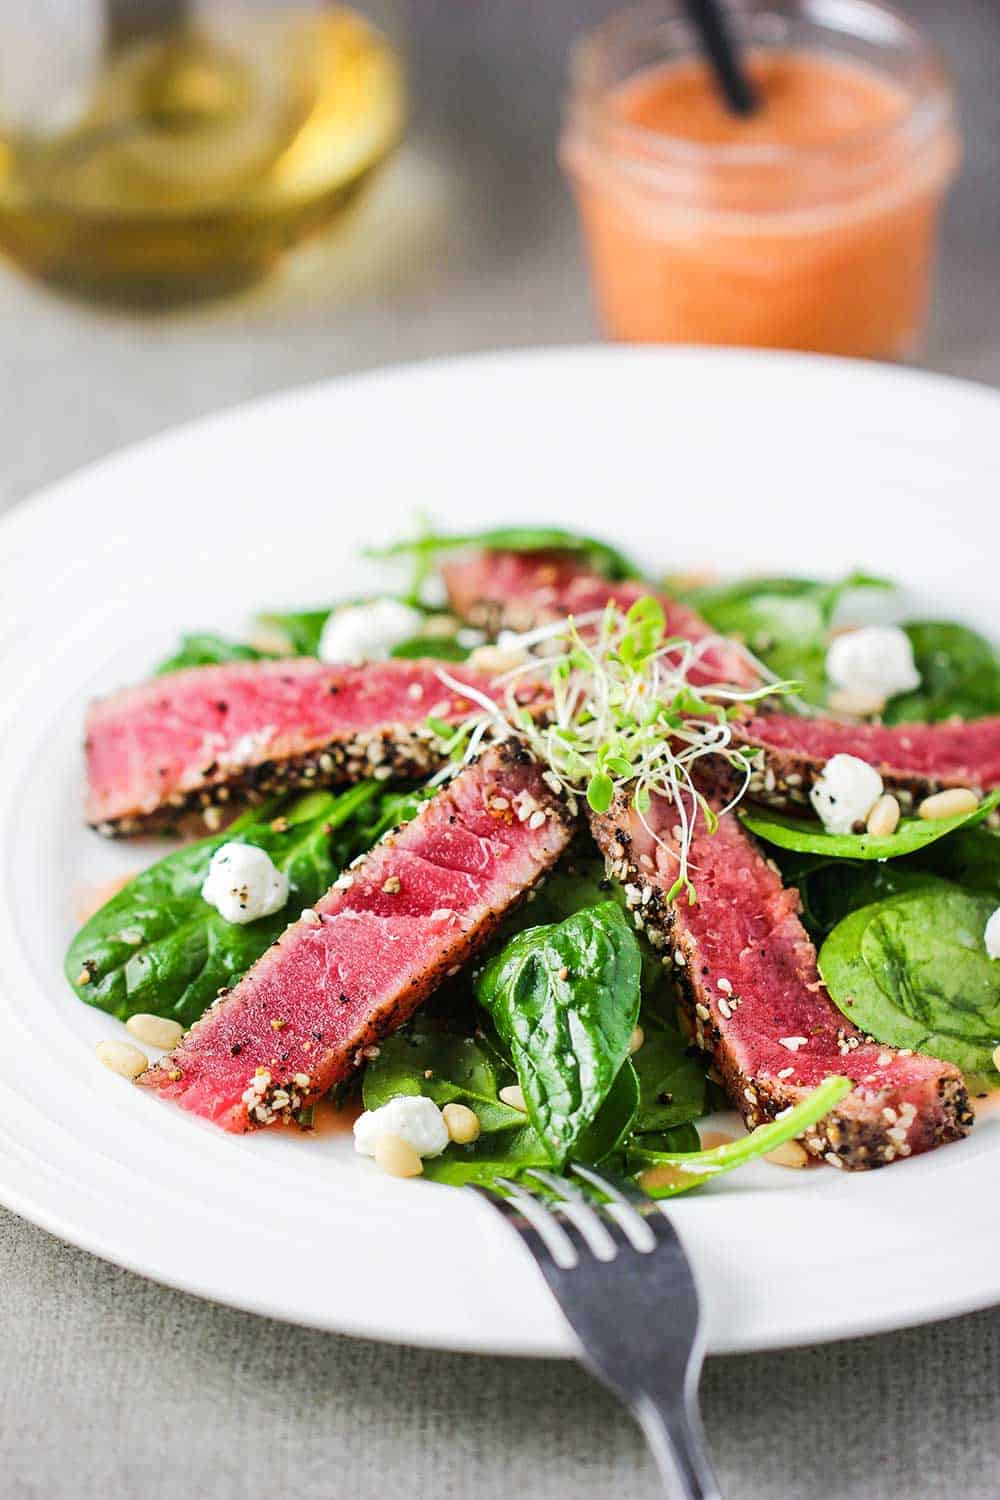
Ready to make one of the best salad dressings in the world? Go for it!
And when you do, be sure to take a picture, post it on Instagram, and tag @howtofeedaloon and hashtag #howtofeedaloon!
Balsamic Vinaigrette
Equipment
- Whisk, bowl, and jar with a tight-fitting lid
Ingredients
- 2 tablespoon Dijon mustard
- ⅓ cup balsamic vinegar
- 2 tablespoon red wine vinegar
- ¼ teaspoon sugar or honey
- ½ teaspoon Kosher salt
- ¼ teaspoon black pepper freshly ground
- ¾ cup extra-virgin olive oil
Instructions
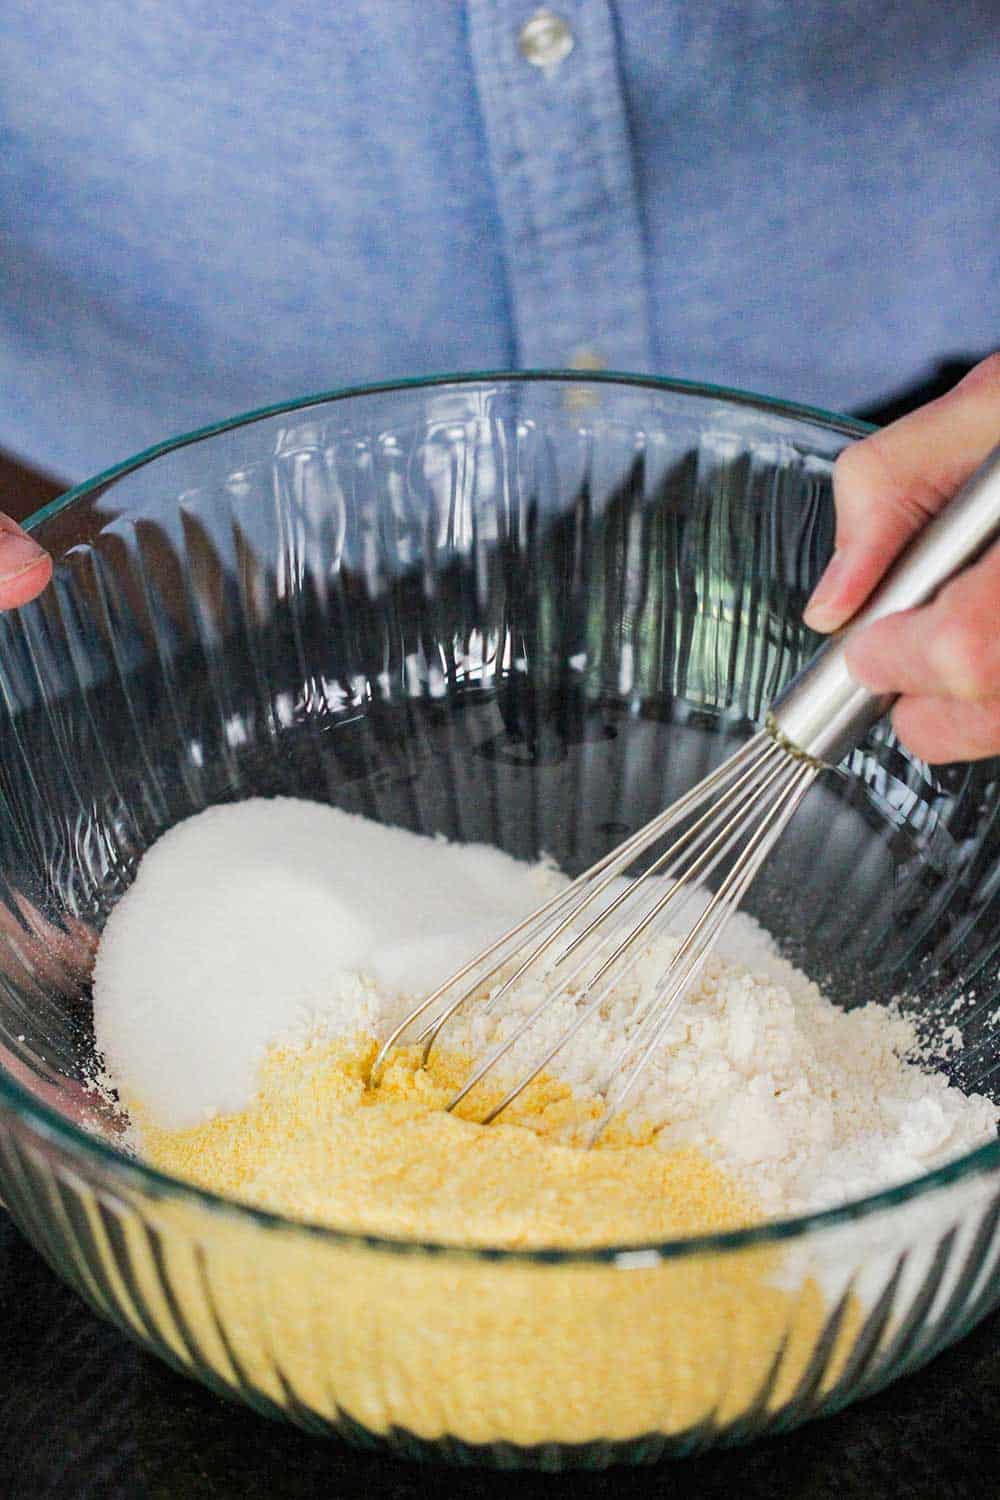
- In a small to a medium-sized bowl, whisk together the mustard, balsamic and red wine vinegars, sugar, salt, and pepper.
- In a slow, steady stream, add the oil into the bowl, whisking continuously.
- Transfer to a jar with tight-fitting lid.
- Chill for up to 24 hours. To completely emulsify, shake vigorously before serving.
Video
Notes
Nutrition
POST UPDATE: This recipe was originally published in February 2014, but was updated with improved tweaks to the recipe with tips, new photography, and a fabulous new video!