I am so excited to share my Eggs Blackstone with Sausage recipe starring delicious breakfast sausage from Smithfield.
You’ve probably heard that breakfast is the most important meal of the day, and I couldn’t agree more.
Well, if it is indeed that important, why not make it incredibly delicious, too? Just take a look at this protein-packed breakfast that came together in about 30 minutes.

It’s a proven fact that a breakfast packed with protein is likely to help you and your family be more efficient and effective throughout the day.
The Loon and I love using Smithfield for all of our favorite breakfast dishes.
With Smithfield Hometown Original Bacon, fresh breakfast sausage, and Anytime Favorites Ham, breakfast ideas are endless. Talk about a well-balanced start to an amazing day!
I have been using Smithfield breakfast products for years and there is a reason: quality and ease. Things can be hectic in the morning, as everyone is trying to get out the door. But, as we all know, having a good breakfast is important. Smithfield makes that on-the-go morning so much easier with their one-stop-shop breakfast products.
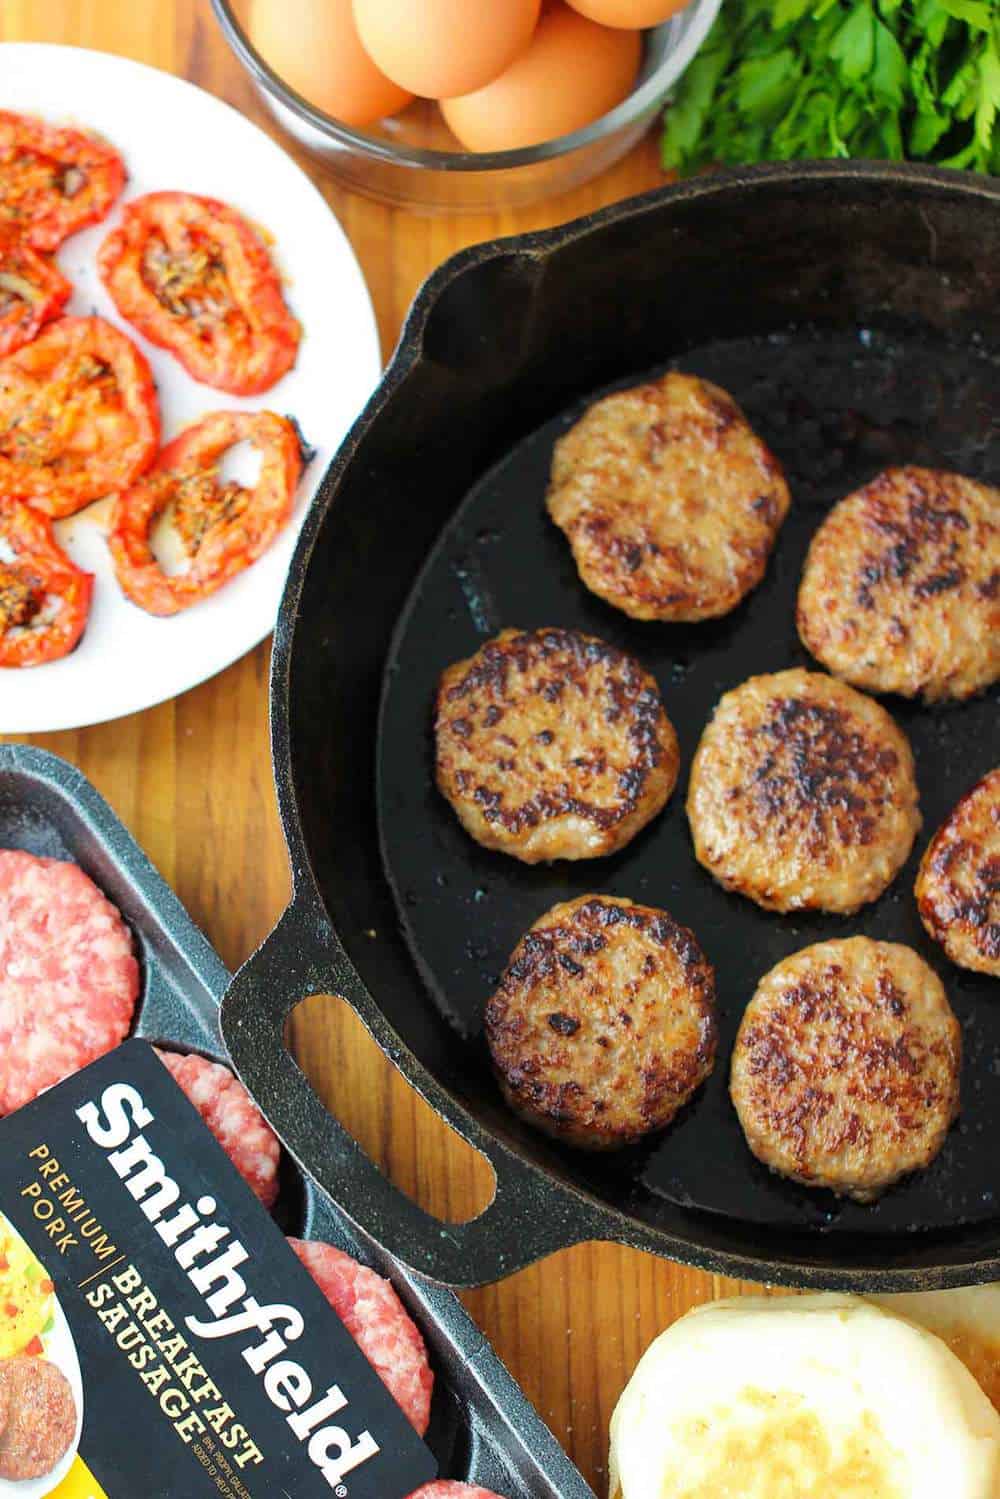
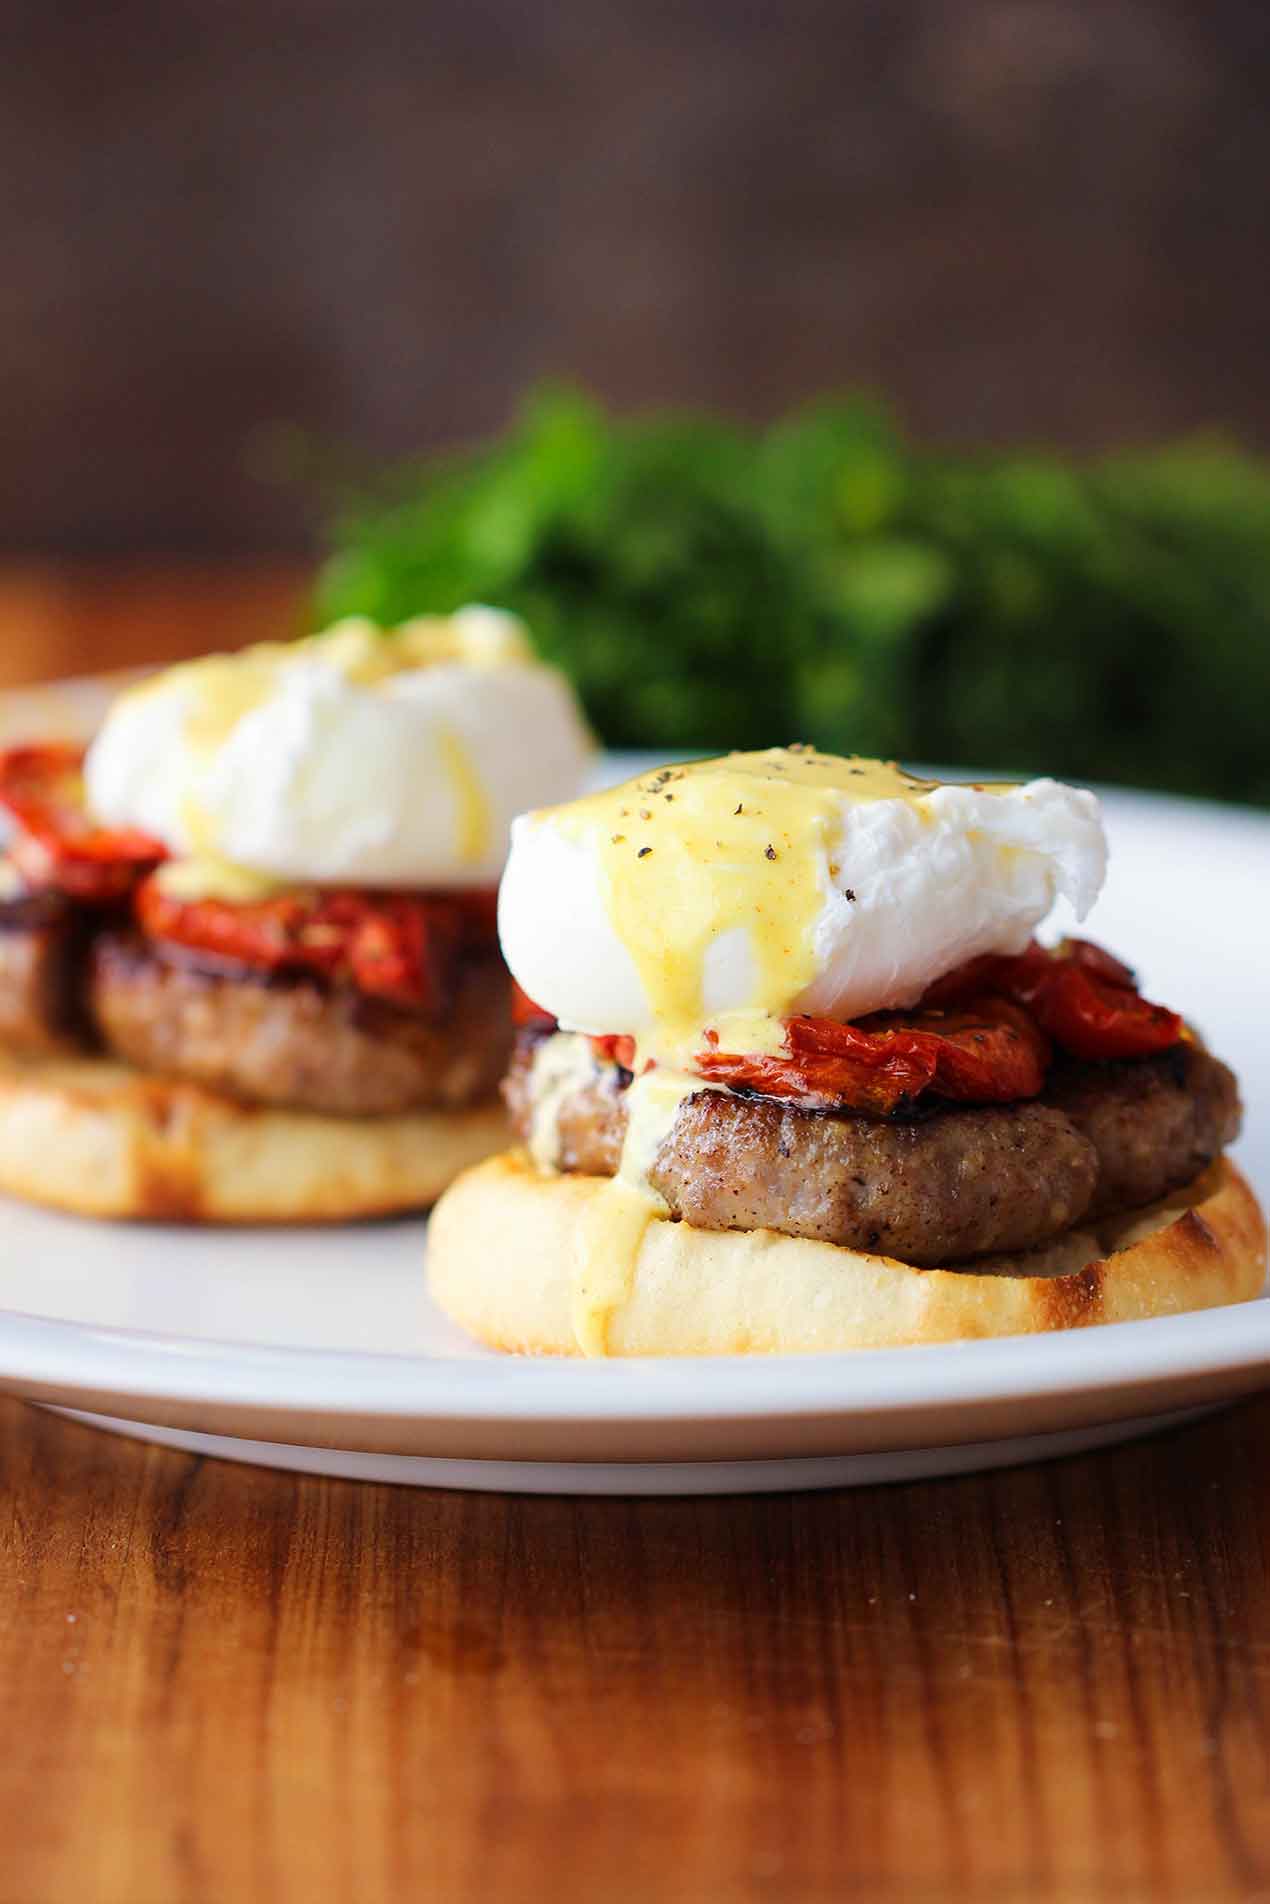
I mean just look at this recipe. I whipped up an easy batch of my no-fuss-Hollandaise sauce, toasted some English muffins and sliced tomatoes, quickly poached some eggs in a pot of boiling water, while simply browning our favorite Smithfield Original fresh pork patties. We just love this sausage, they also come in Maple and Bacon flavors. Mmmmmm.
It’s a proven fact that breakfast can have a potentially dramatic and positive impact on students. In fact, No Kid Hungry found that students who eat breakfast have been shown to achieve 17.5% higher scores on standardized math tests and 1.5 more days of school per year. That is just amazing.
We love the No Kid Hungry organization and the incredible and innovative solutions they have implemented to combat child hunger. And we love Smithfield for partnering with No Kid Hungry to donate one million meals* to children in communities across America!
And what’s even more awesome is that until October 31st, you can help Smithfield and No Kid Hungry reach their goal by purchasing a Smithfield product – for every purchase Smithfield will donate enough for one meal to No Kid Hungry. To double your donation, post a picture of your Smithfield breakfast** to your social channels (Facebook, Twitter and Instagram) and tag it #BreakfastPower and Smithfield will donate a second breakfast to No Kid Hungry.
Helping fight child hunger AND making an amazing breakfast with Smithfield? It doesn’t get much better than that!
Now, let’s make this amazing Eggs Blackstone with Sausage recipe!

Eggs Blackstone with Sausage
Equipment
- Cast-iron skillet
Ingredients
FOR THE NO-FUSS HOLLANDAISE SAUCE
- 4 egg yolks
- 2 tablespoon lemon juice fresh
- 1 cup unsalted butter 2 sticks
- ½ teaspoon cayenne pepper
- ¼ teaspoon salt and pepper each
FOR THE EGGS BLACKSTONE WITH SAUSAGE
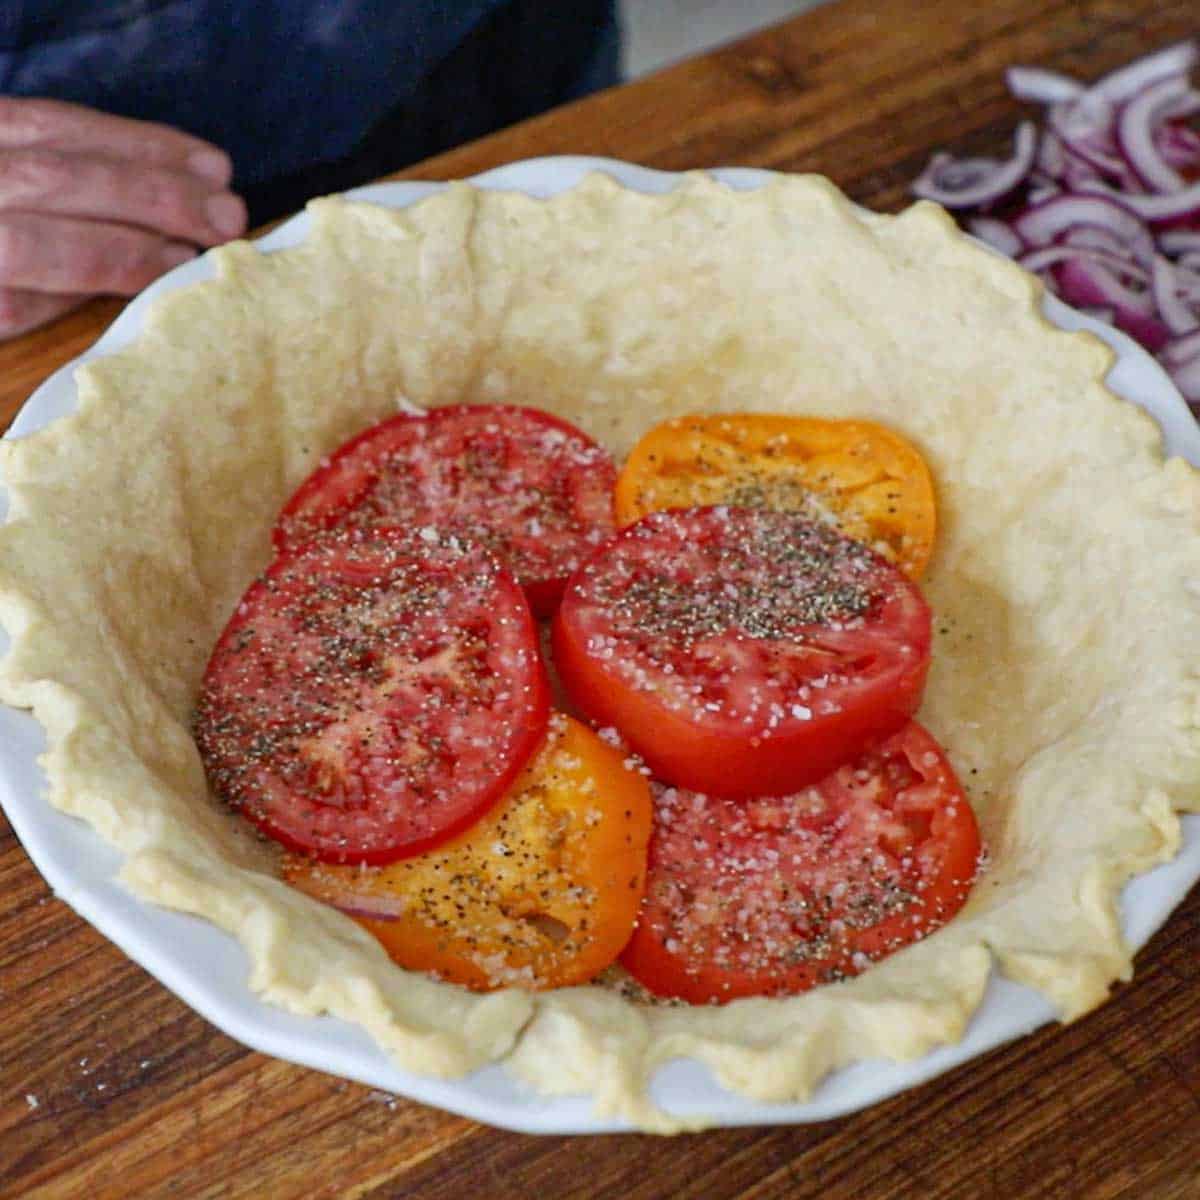
- 2 medium tomatoes sliced
- 1 tablespoon olive oil
- 1 teaspoon thyme dried
- Salt and pepper to taste
- 4 English muffins
- 1 package breakfast sausage patties
- 2 teaspoon distilled white vinegar
- 8 large eggs
Instructions
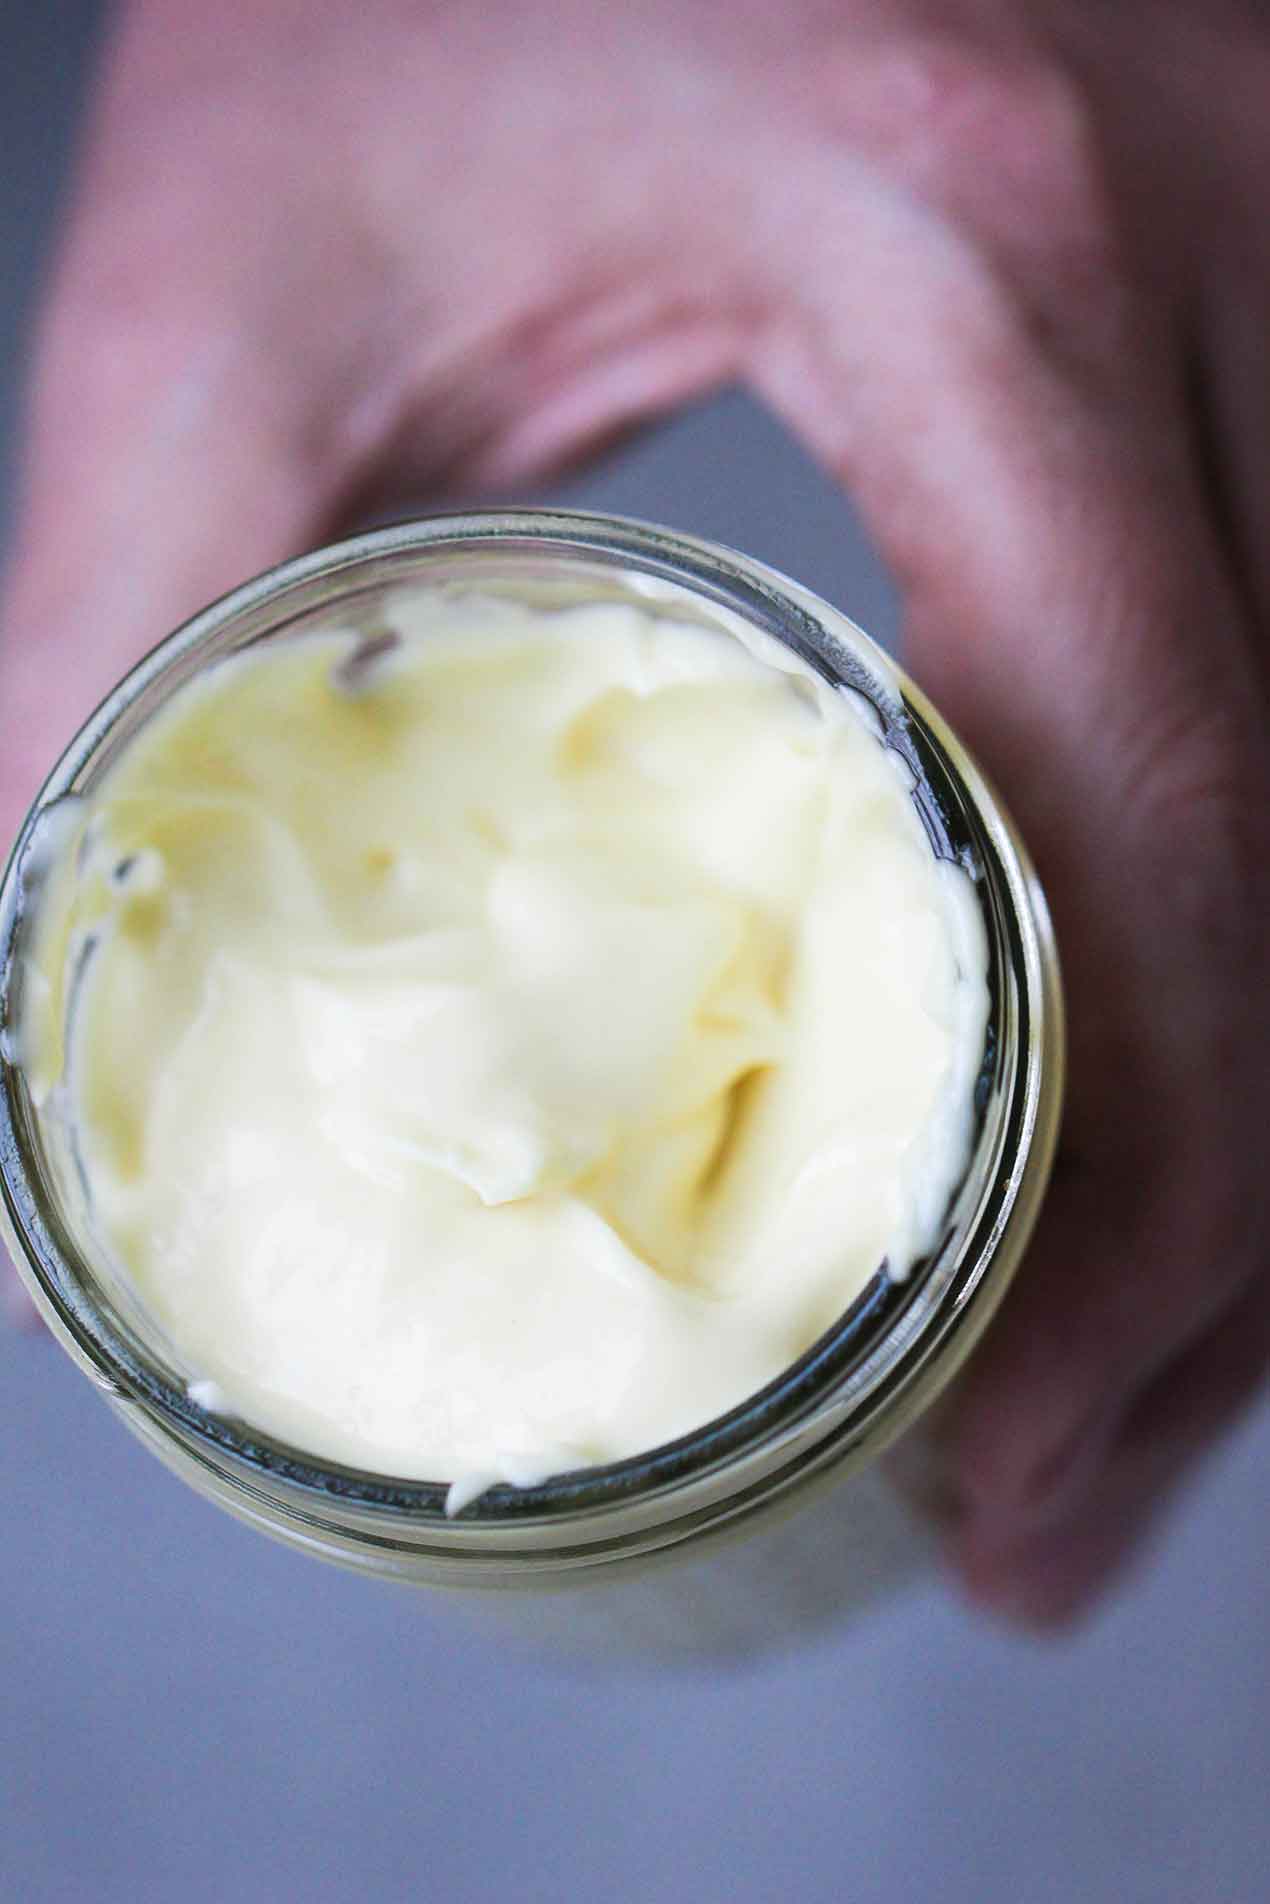
MAKE THE NO-FUSS HOLLANDAISE SAUCE
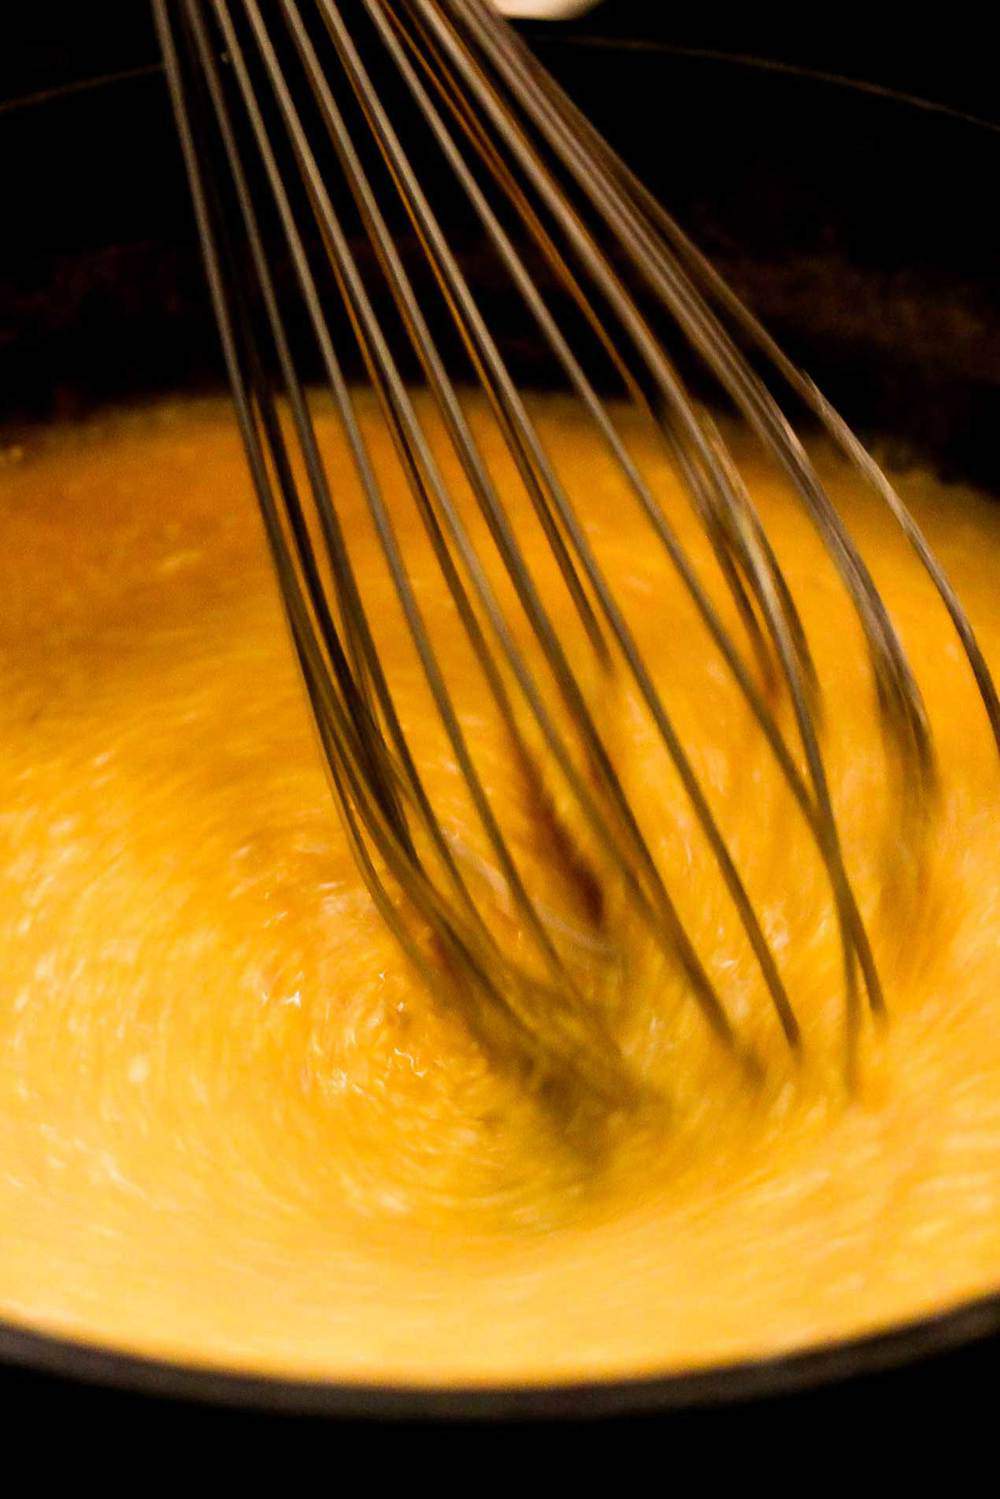
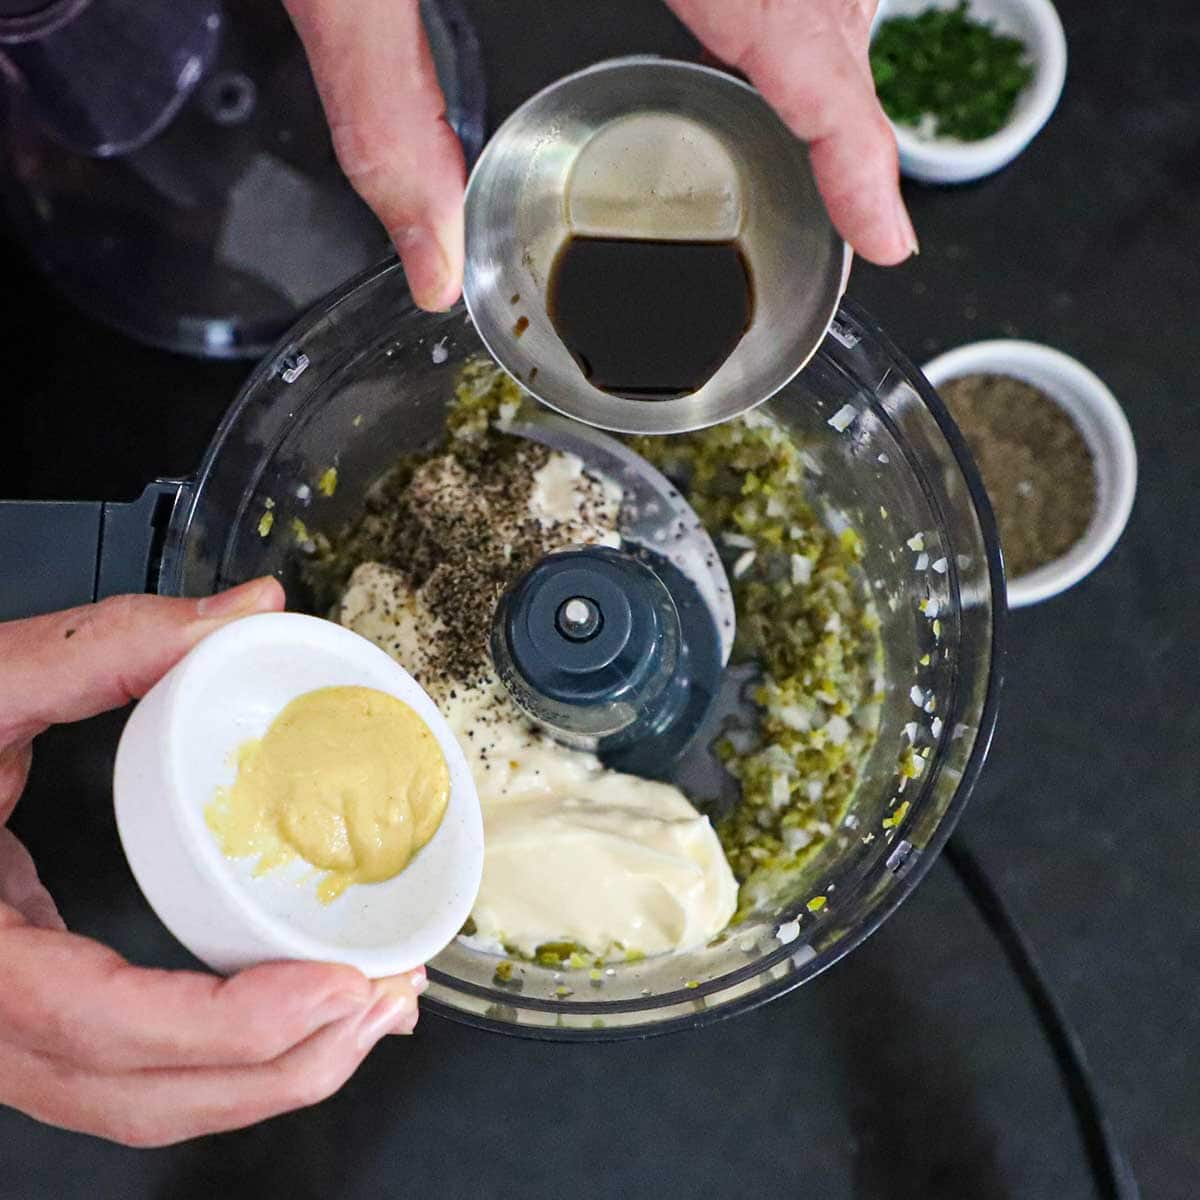
- In a blender, combine the egg yolks, lemon juice, cayenne, salt and pepper.
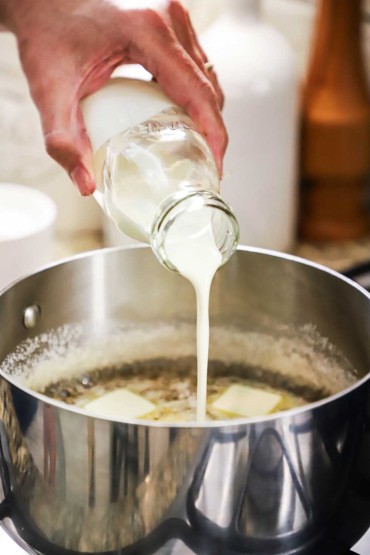
- In a small saucepan, melt the butter over medium heat.
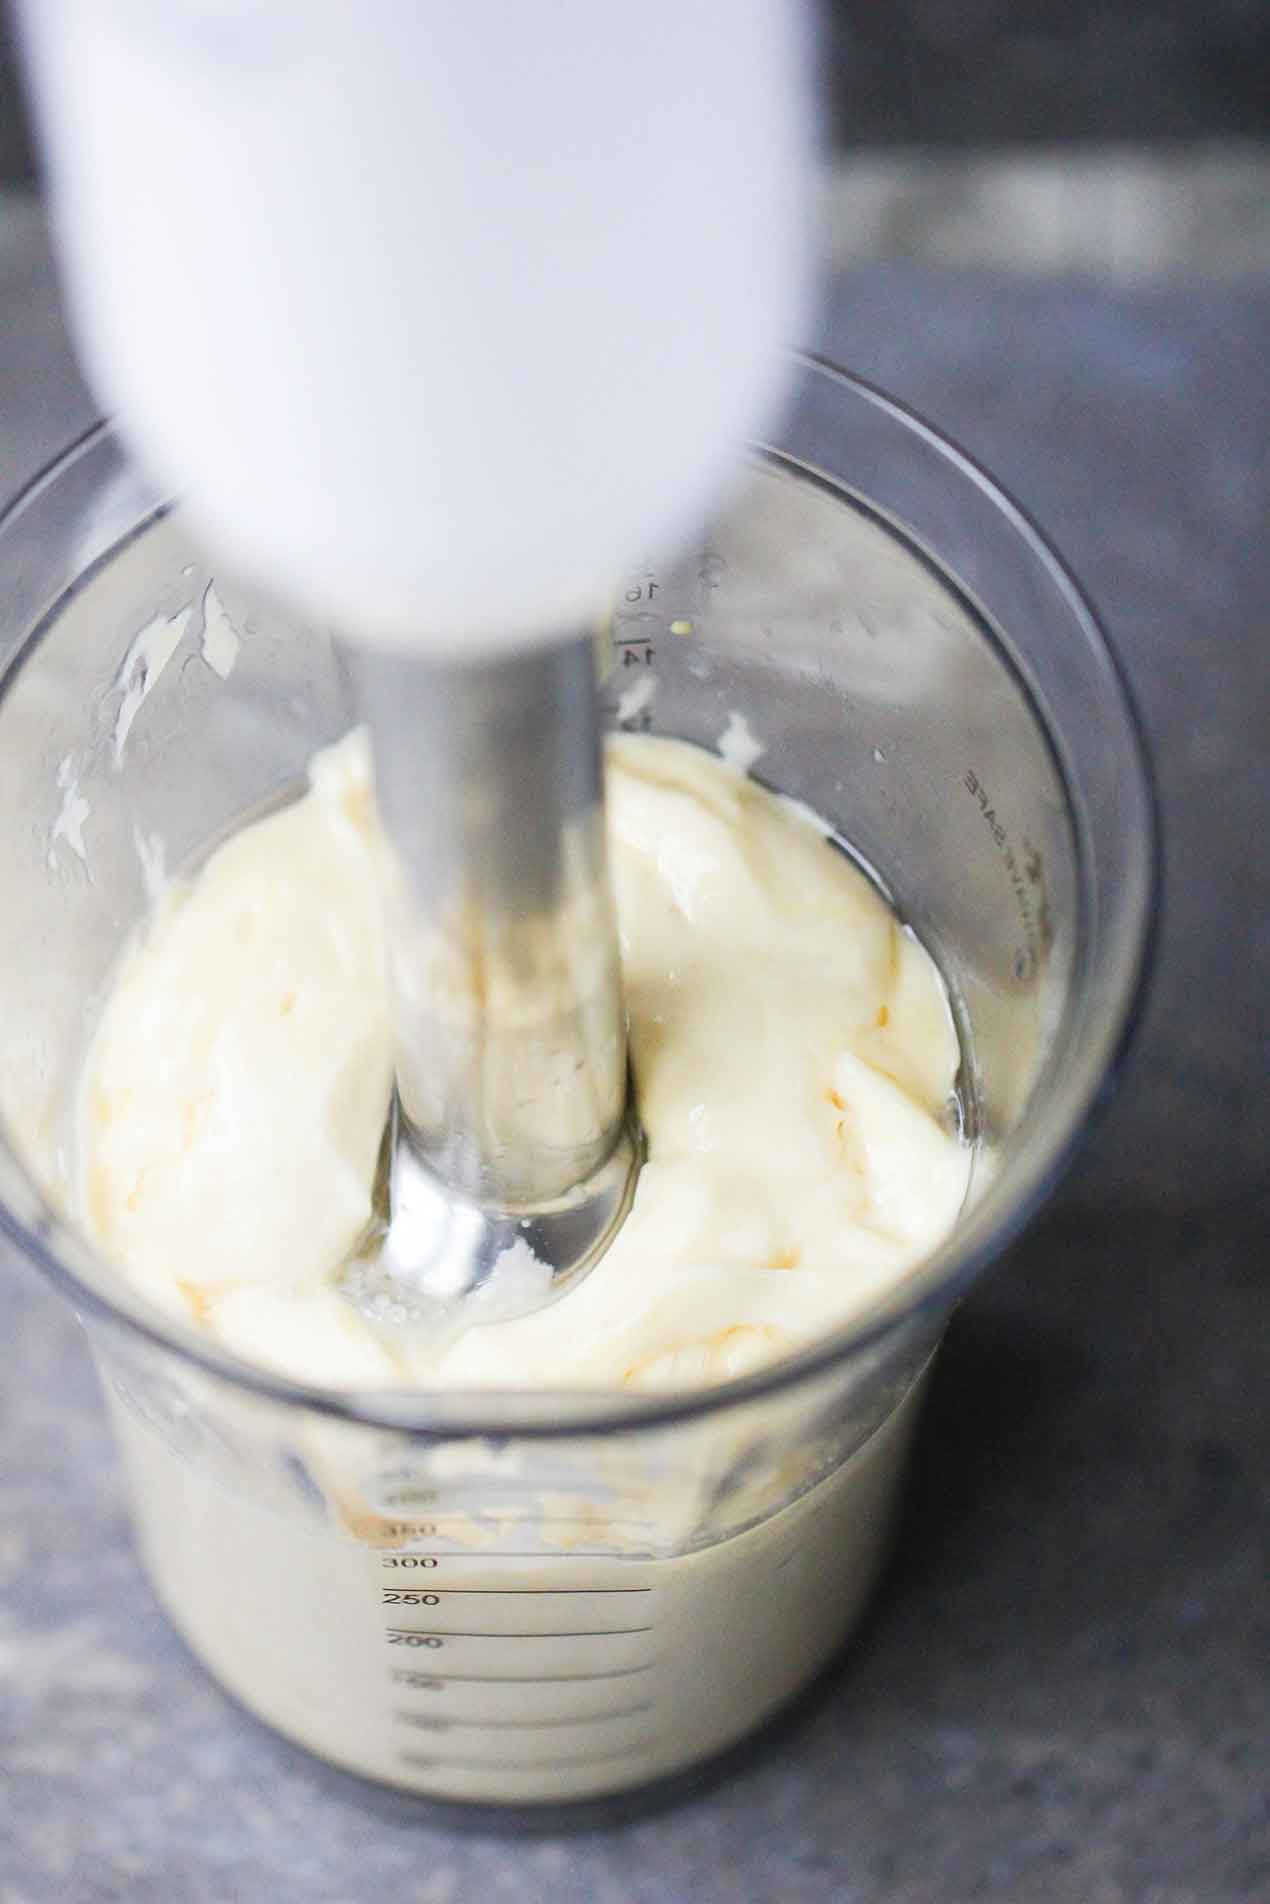
- With the blender running, slowly add the melted butter through the vent in the lid (you may want to hold a kitchen towel to prevent splattering).
- Process until thick and smooth, about 1 to 1 ½ minutes.
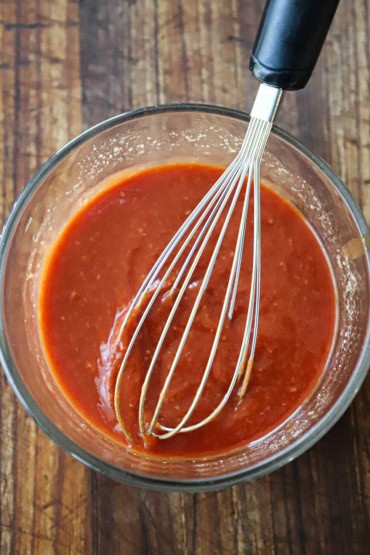
- Taste and add more salt, if desired. If the sauce is too thick, add a little water to thin it.
MAKE THE EGGS BLACKSTONE WITH SAUSAGE
- Turn the broiler on high.
- Place the tomato slices on a baking sheet and drizzle the oil over them and sprinkle with the thyme, salt and pepper.
- Place under the broiler until softened and lightly charred, about 1 - 3 minutes (Keep an eye on them, broilers vary, so cook time will too!). Remove from the oven and set aside.
- Place the English muffins on a baking sheet and place under the broiler for about 1 minute, until lightly crisped. Set aside.
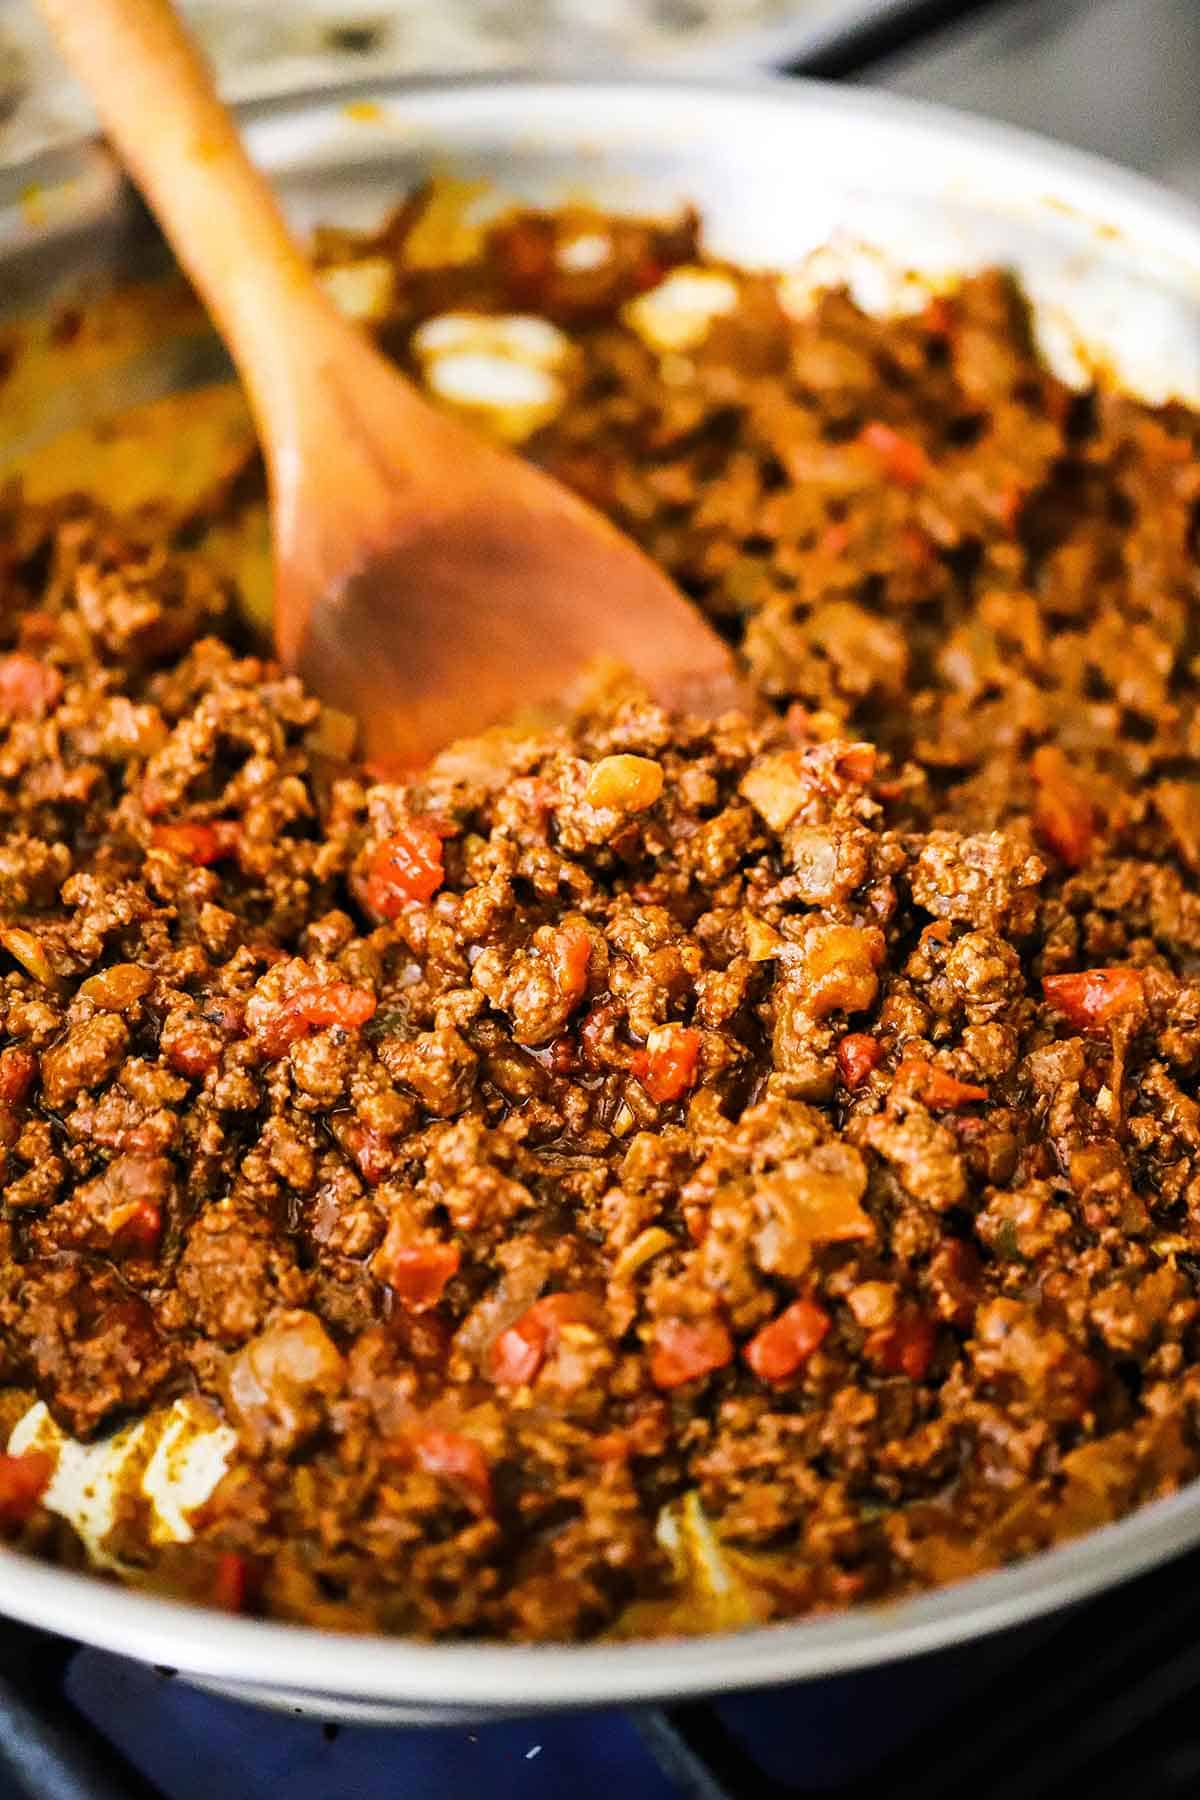
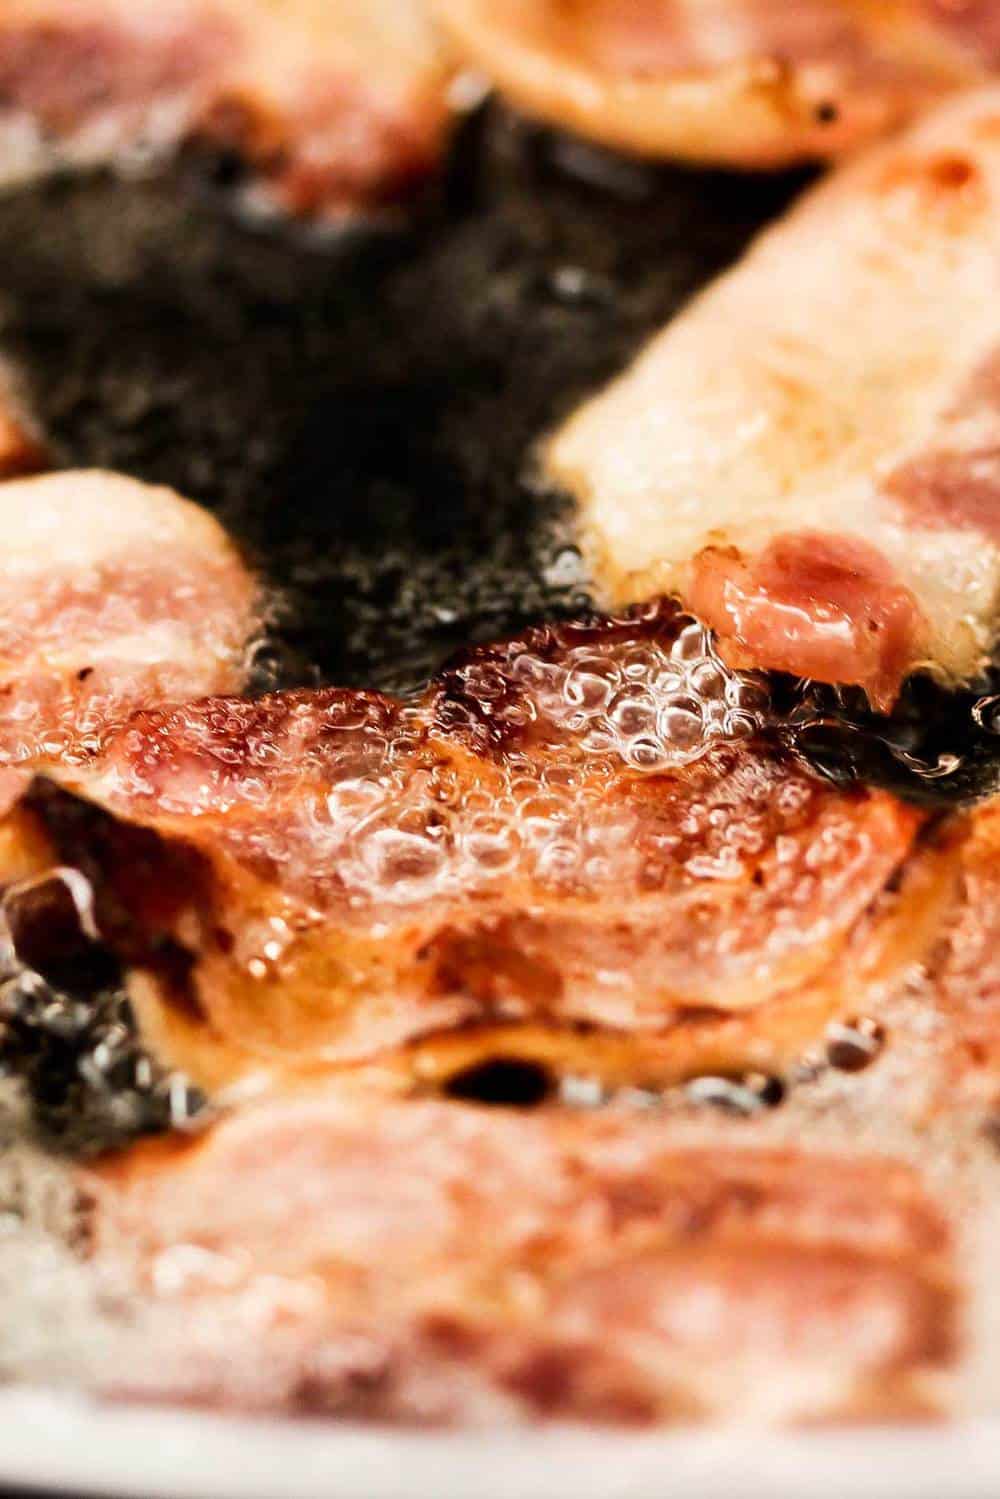
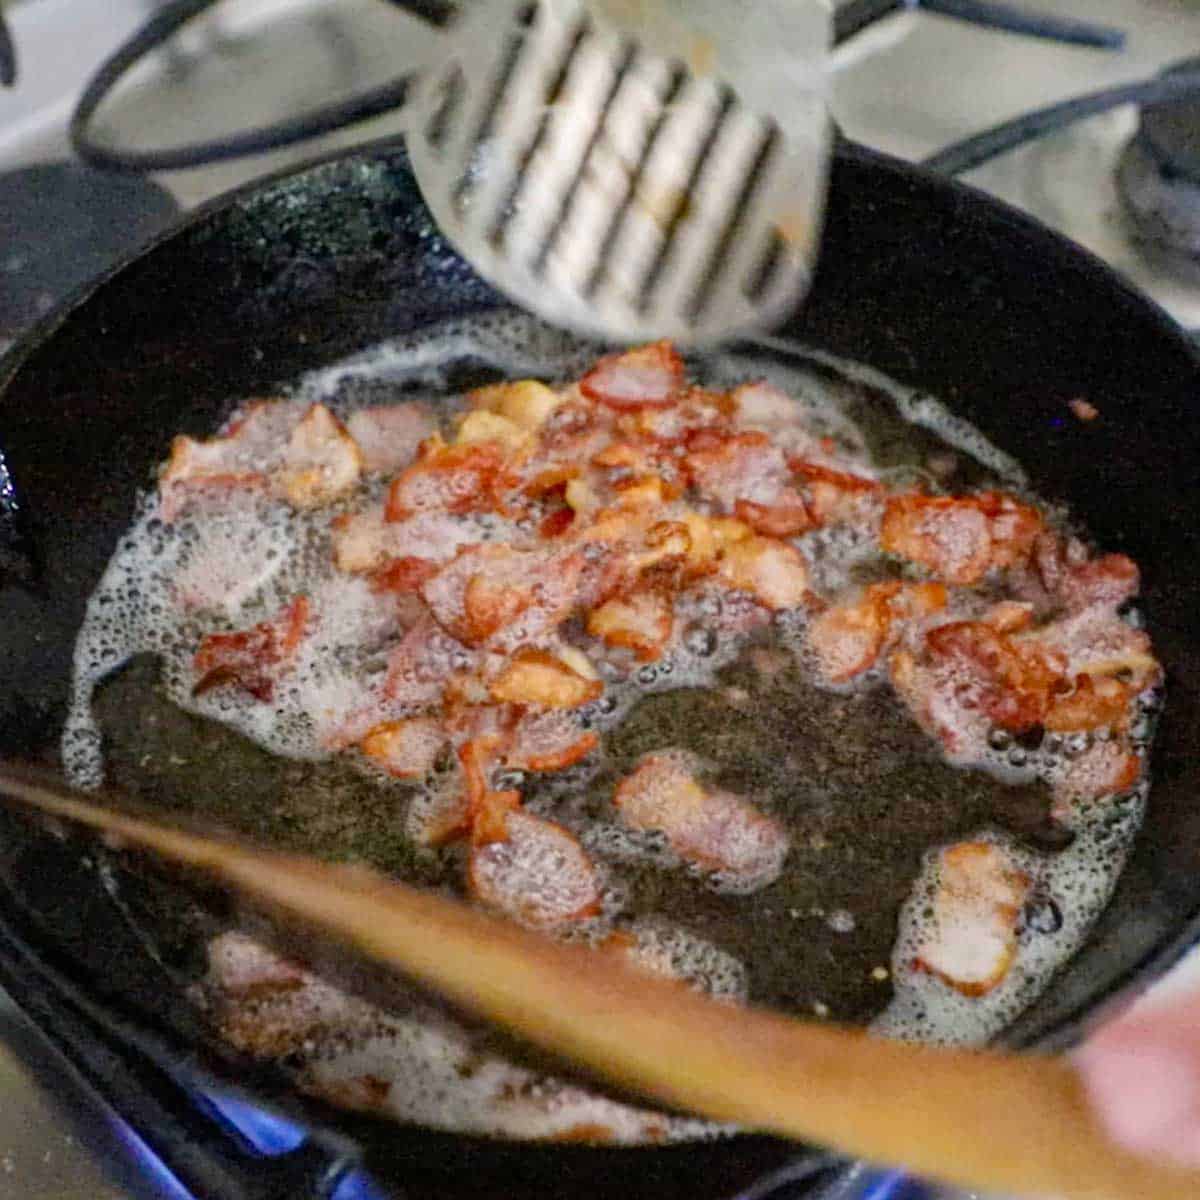
- In a large frying pan, cook the sausage until lightly browned and cooked through, about 3 minutes per side. Set aside.
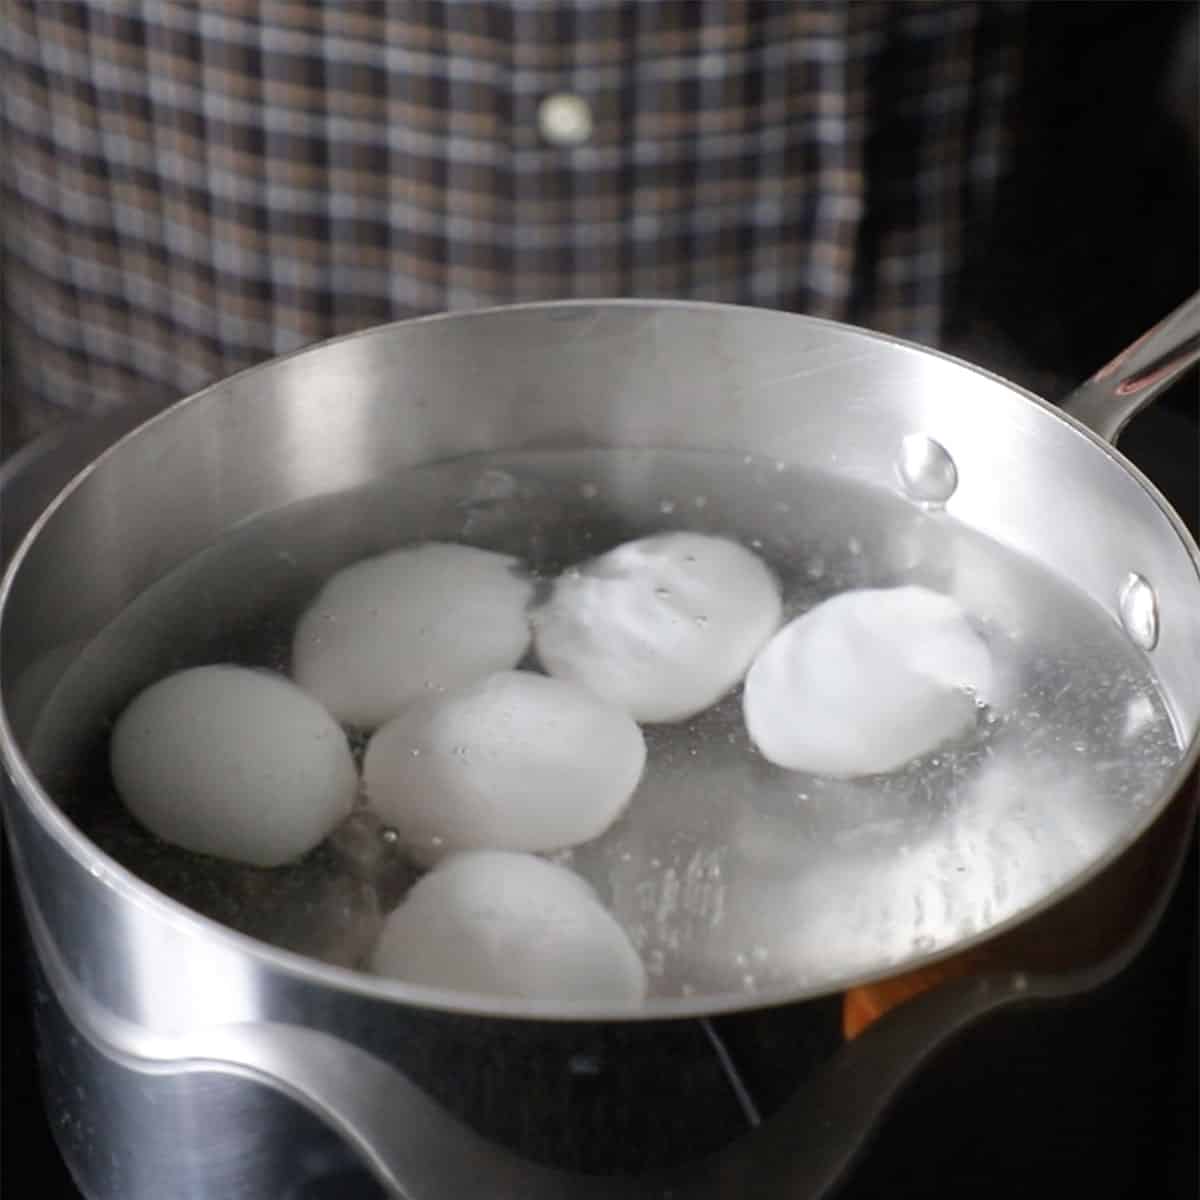
- Meanwhile, bring a pot of water to a boil.
- Pour about ¼ teaspoon vinegar into one or two ramekins or small vessels large enough to hold an egg.
- Crack an egg into each vessel
- Use a whisk or spoon to create a swirling vortex by vigorously circulating the boiling water.
- Quickly remove the whisk and gently lower the eggs (1 or 2 at a time) into the water and immediately lower the heat to medium.
- Let simmer for 3 to 4 minutes until the eggs are just firm enough to hold their shape.
- Use a large slotted spoon to lift the eggs out of the water and transfer to a bowl filled with warm tap water. Repeat process with remaining eggs.
FINISH OFF THE DISH
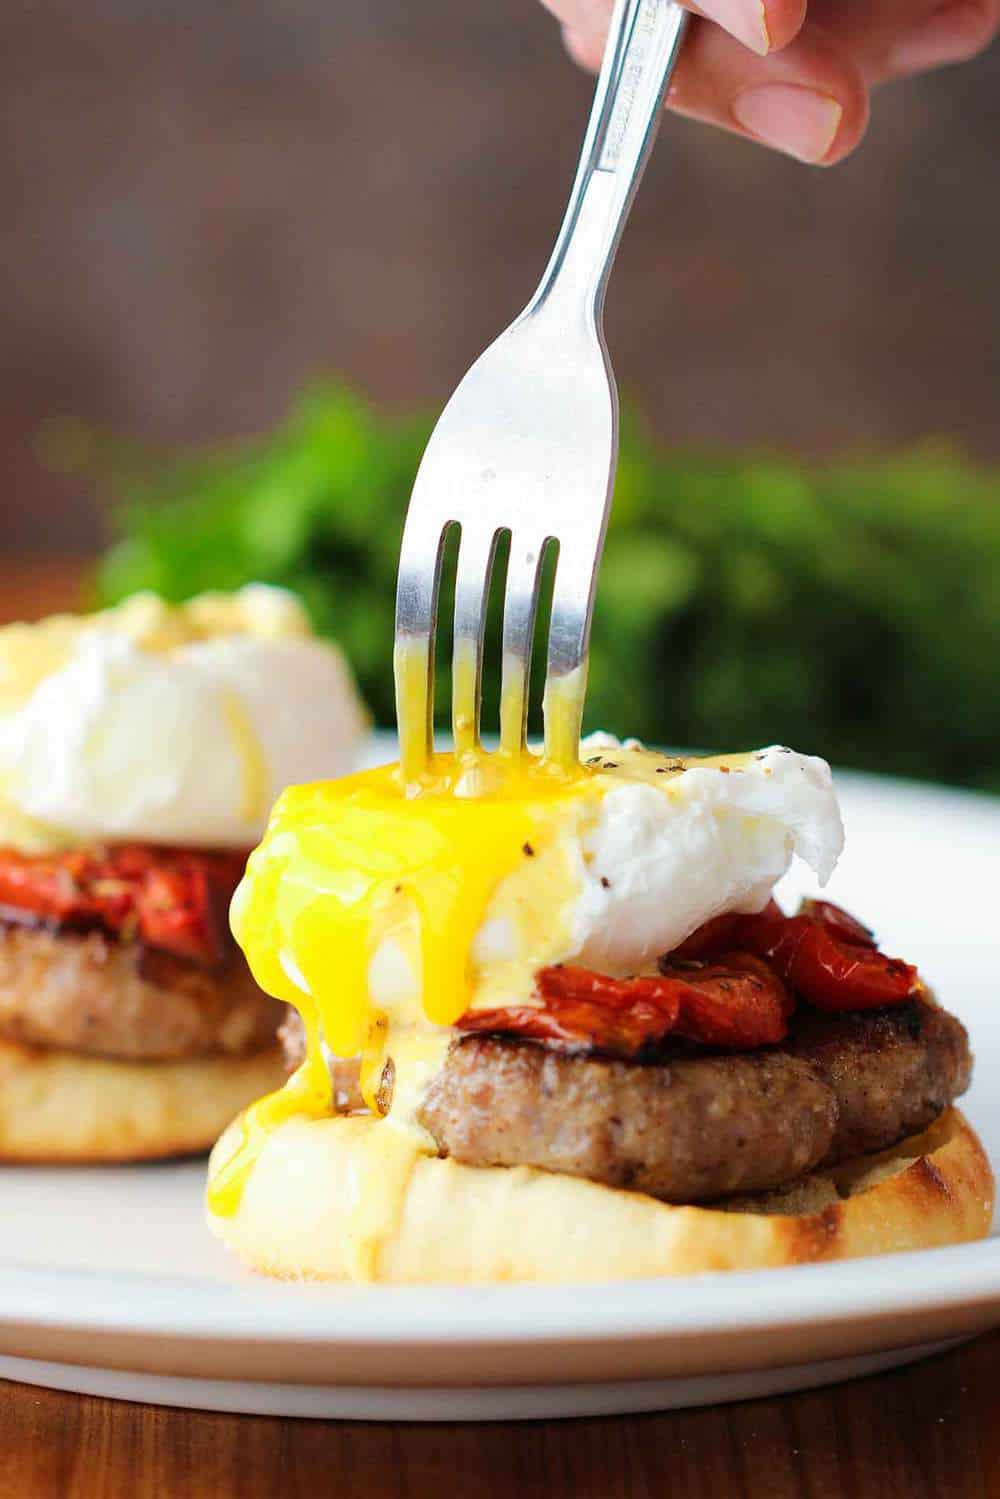
- Place 2 muffin halves, cut side up, on each plate.
- Top each half with one or two sausage patties and 1 roasted tomato slice.
- One at a time, carefully remove a poached egg from the warm water with a slotted spoon (letting excess water drip off) and place on top of each muffin half.
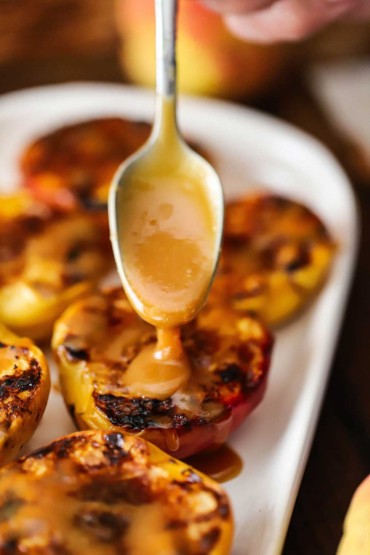
- Spoon about 3 tablespoons of the Hollandaise sauce over each half and then sprinkle with pepper.
Nutrition