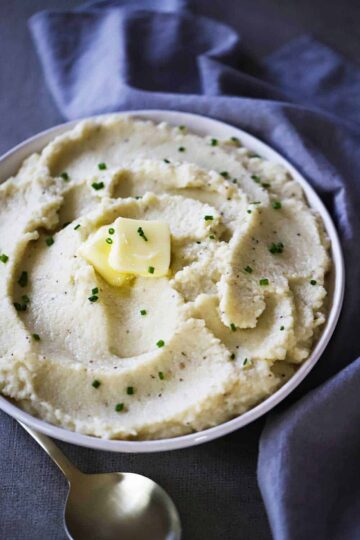
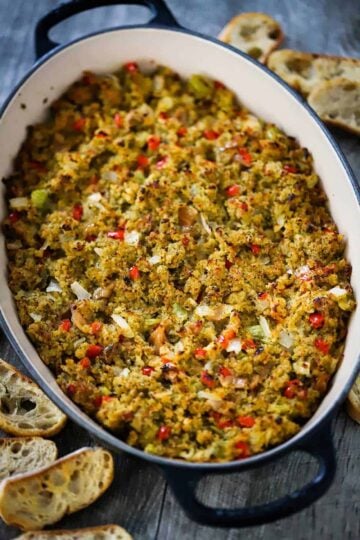
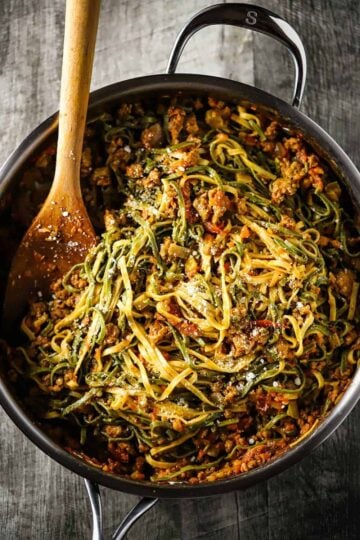
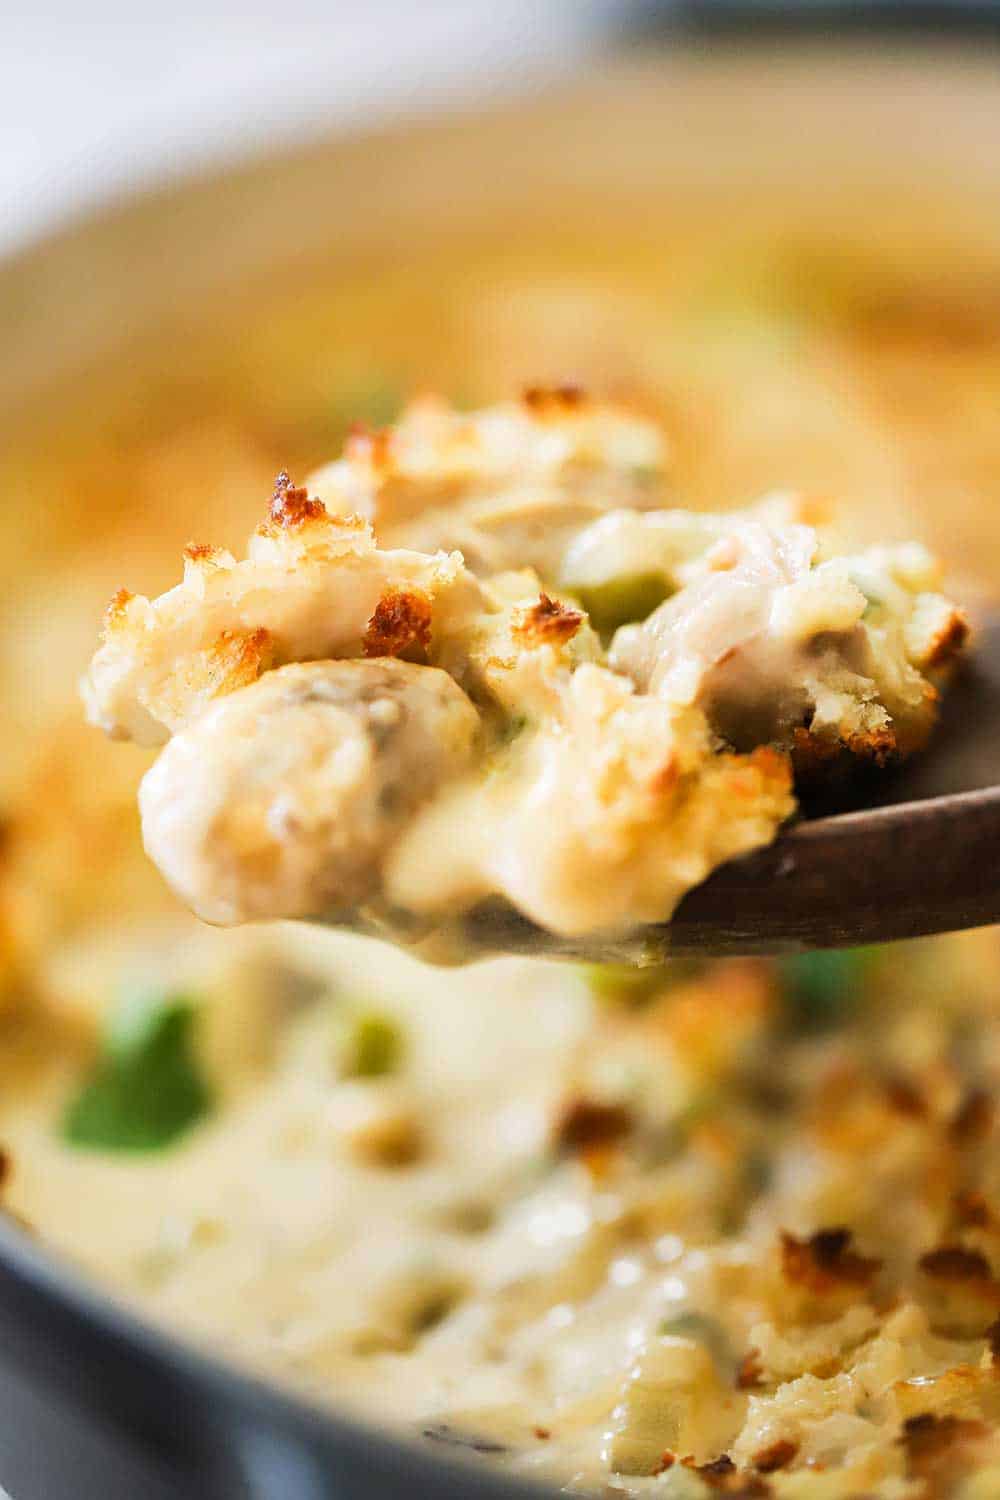
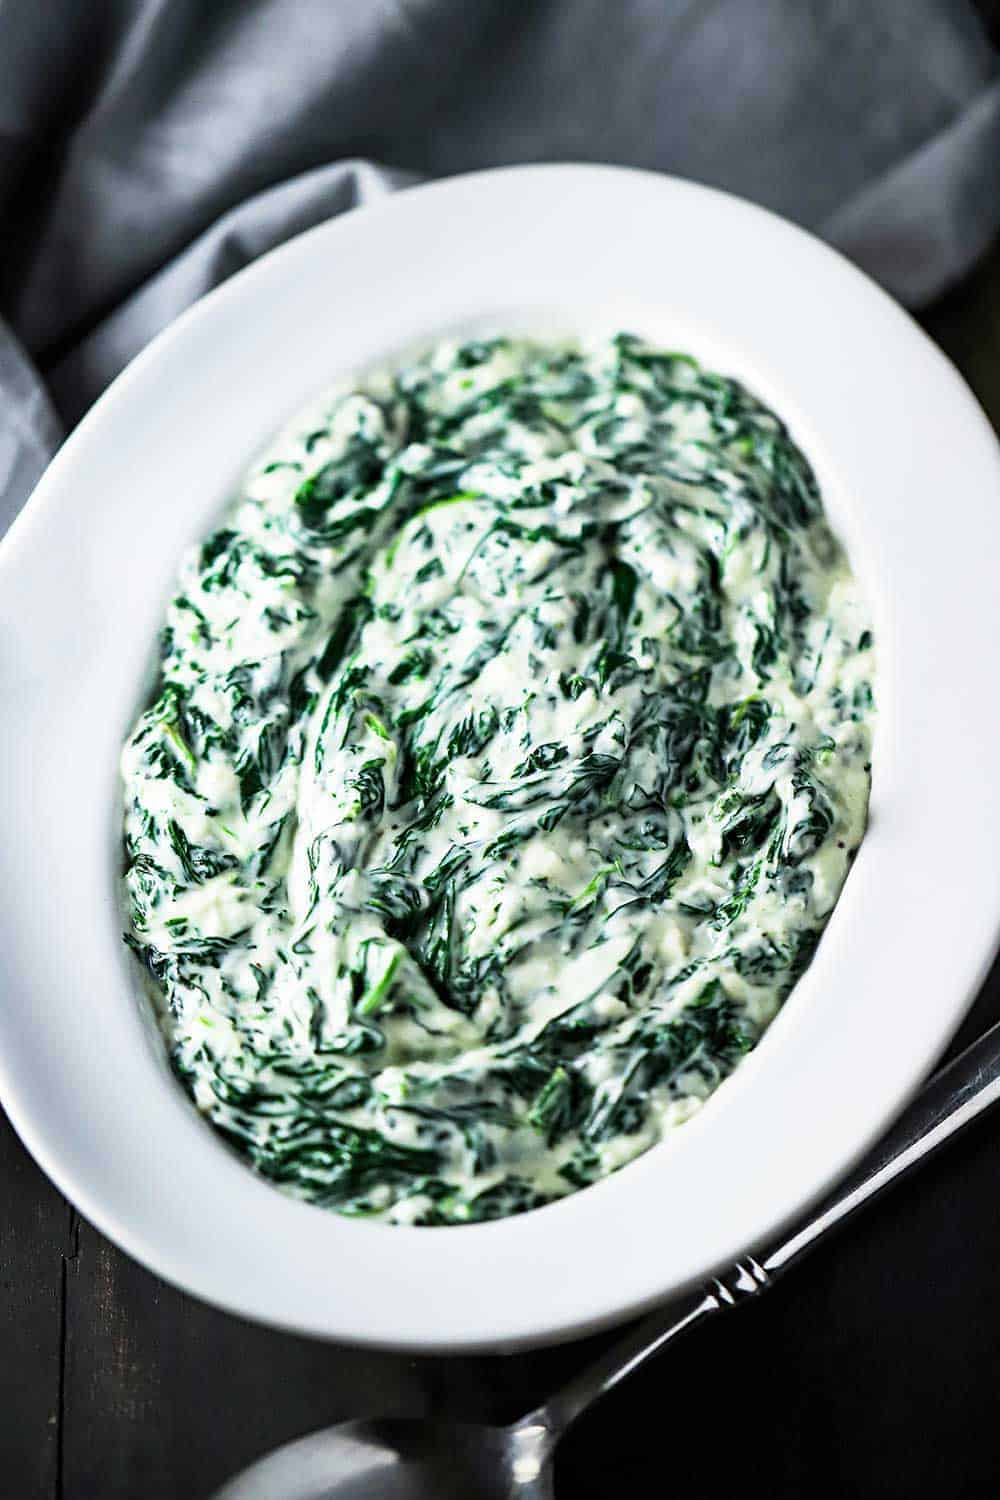
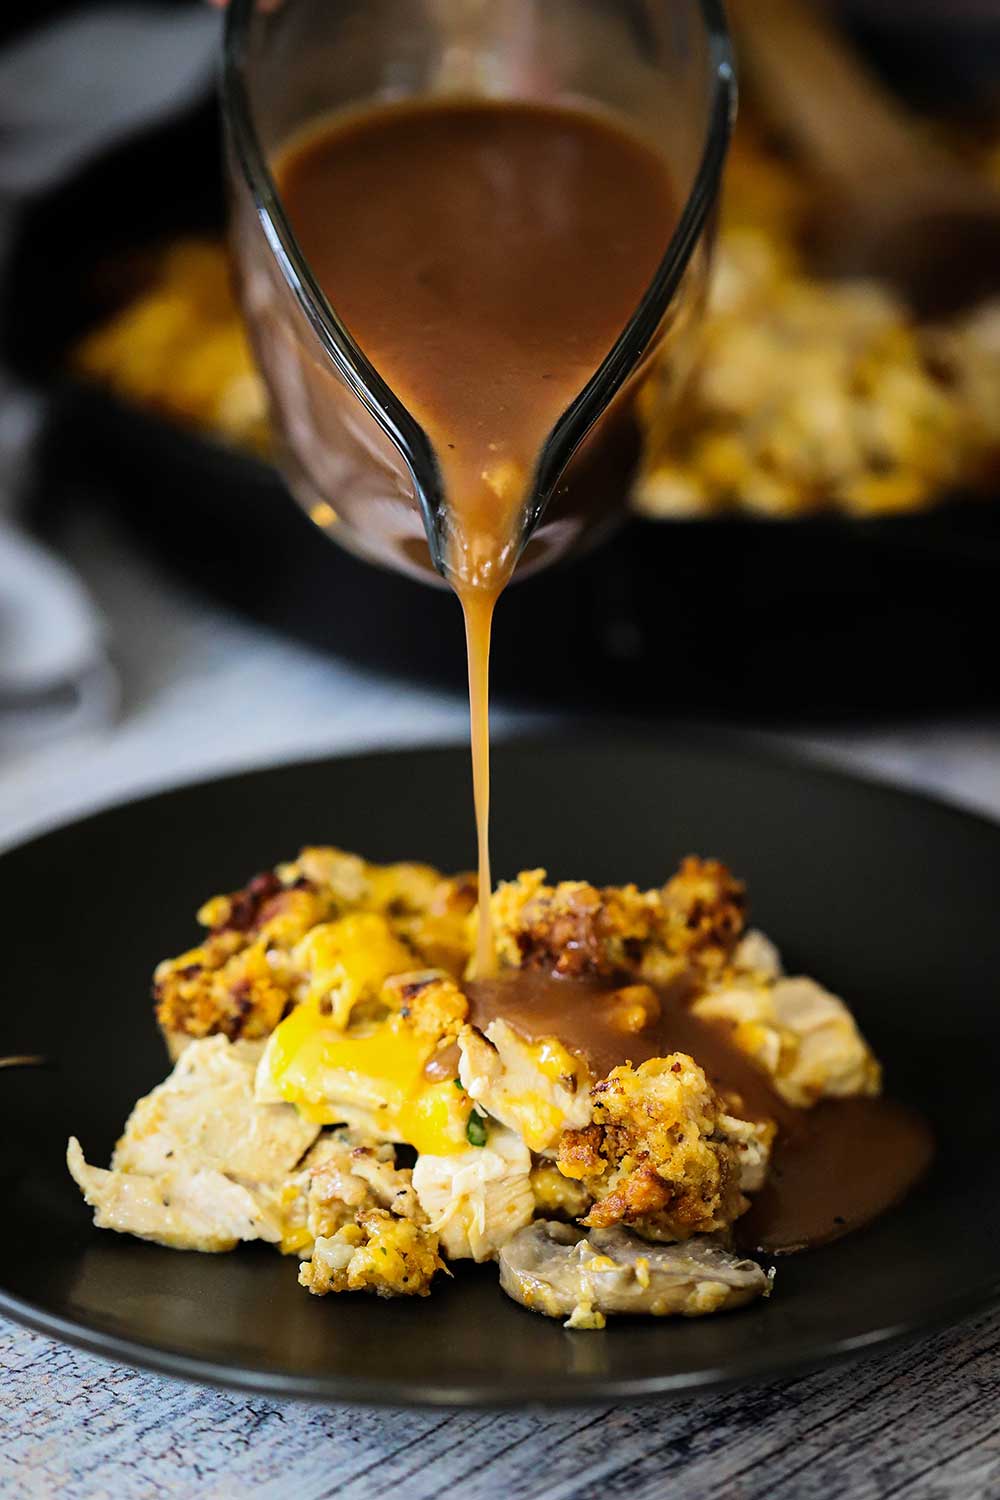
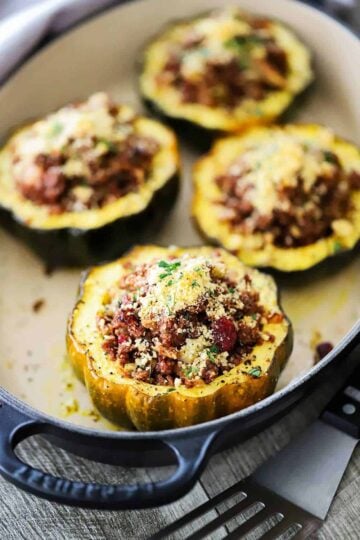
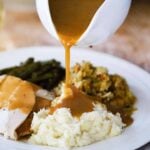
Shepherd’s Pie is quintessential comfort food. All in one dish.
This recipe is as beautiful as it is delicious.
Oh my goodness, how we love to make this amazing meat and potatoes casserole!
VIDEO ALERT: Be sure to check out the video for this recipe in the recipe card. If you like the video, subscribe to our YouTube Channel!
How To Make Shepherd’s Pie
NOTE: If you liked this video, please subscribe to our YouTube channel. Remember to click the little ‘bell’ icon so you’ll never miss a new video. Thank you!
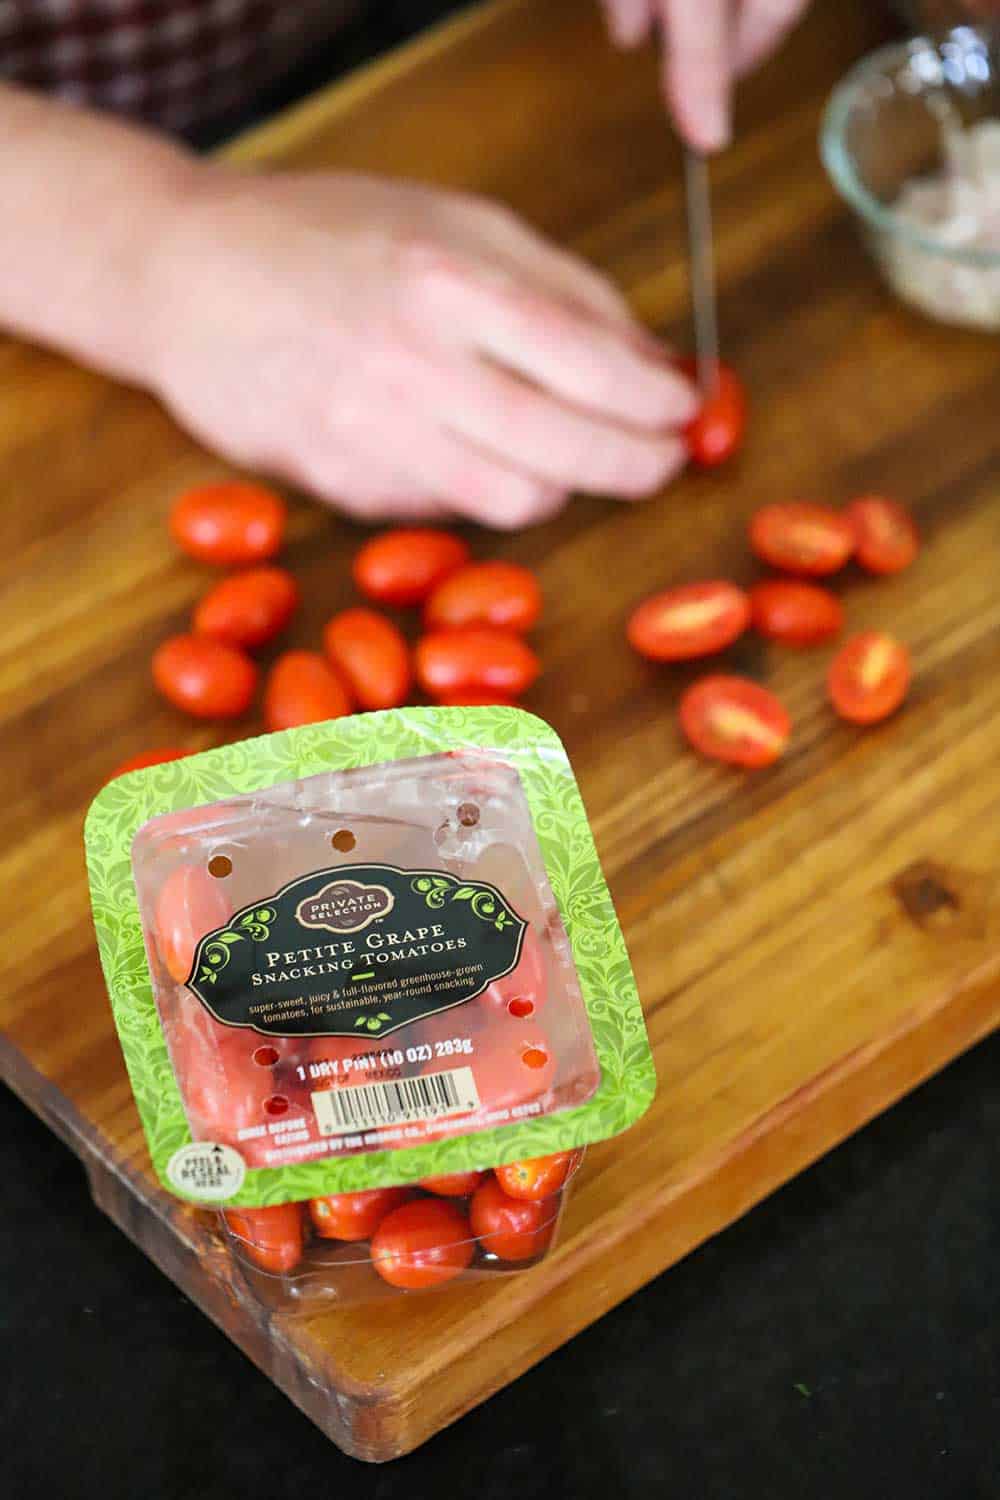
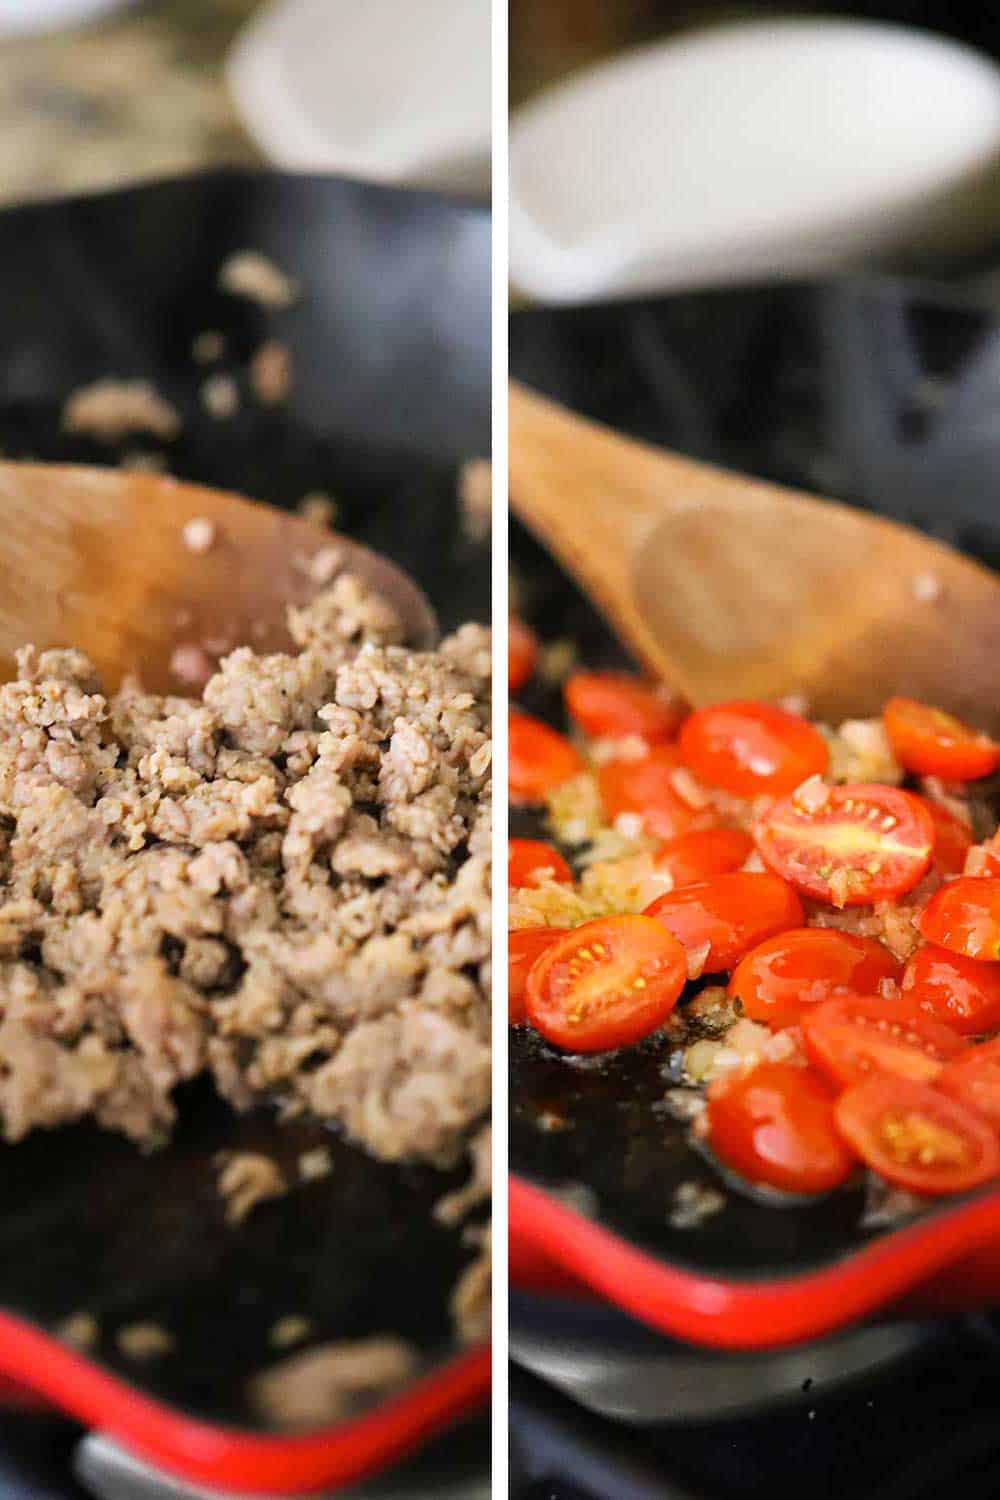
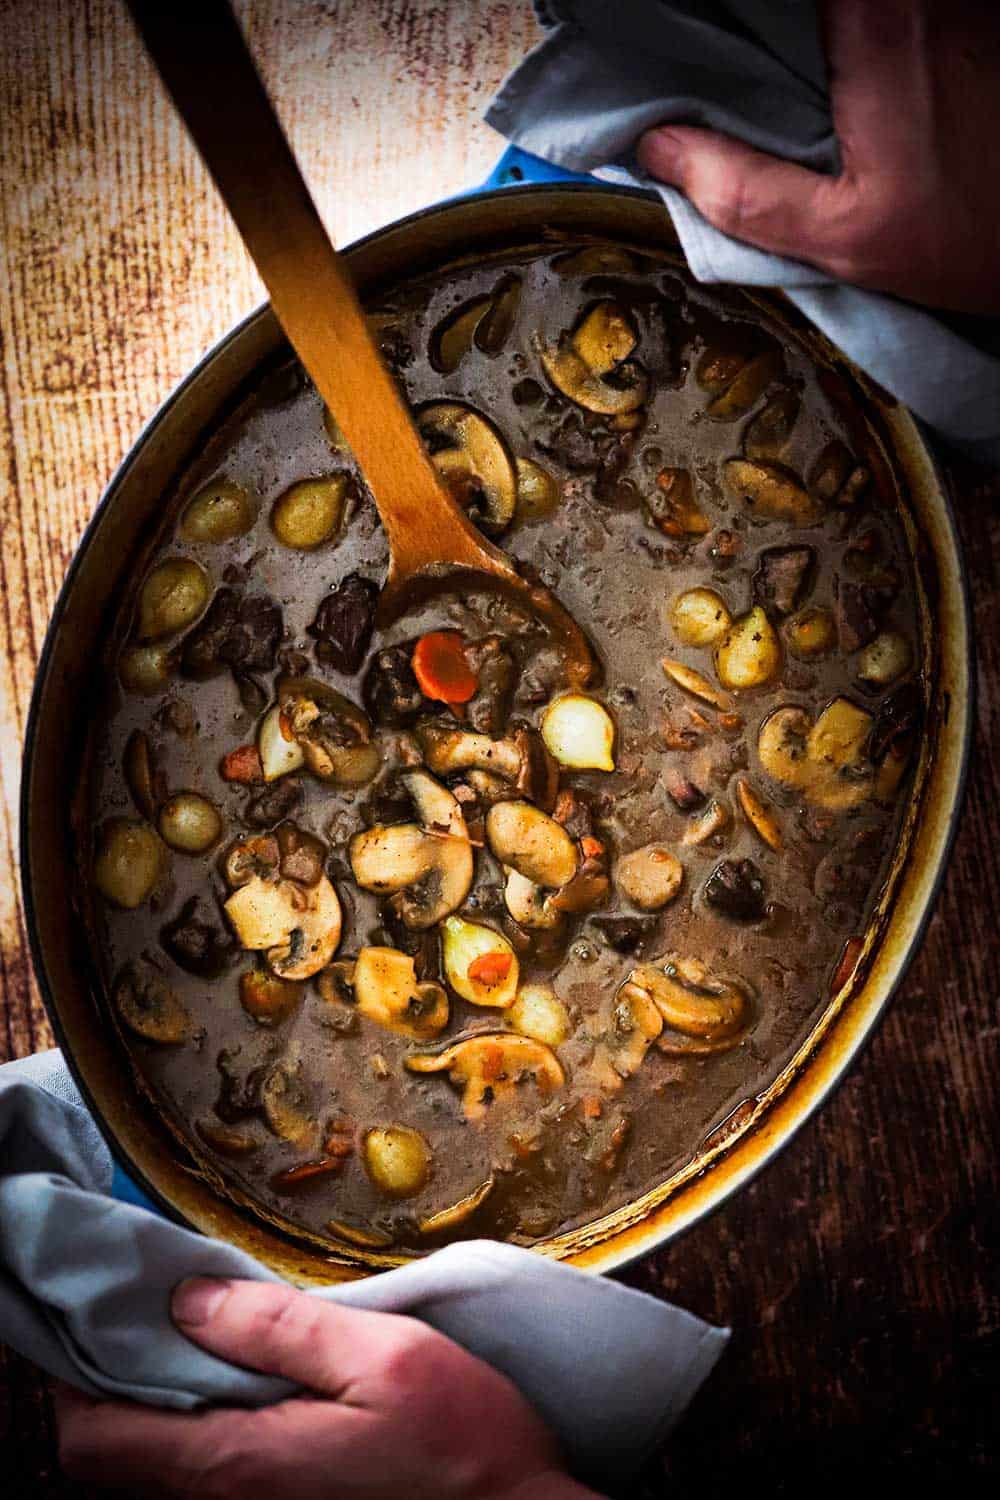
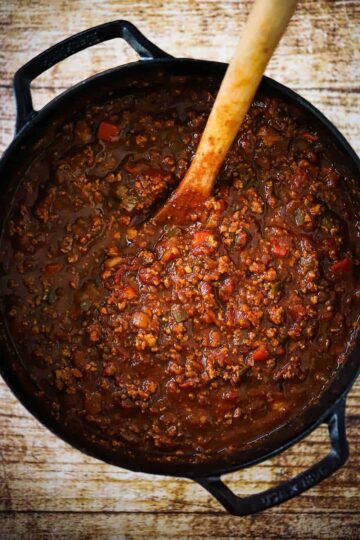
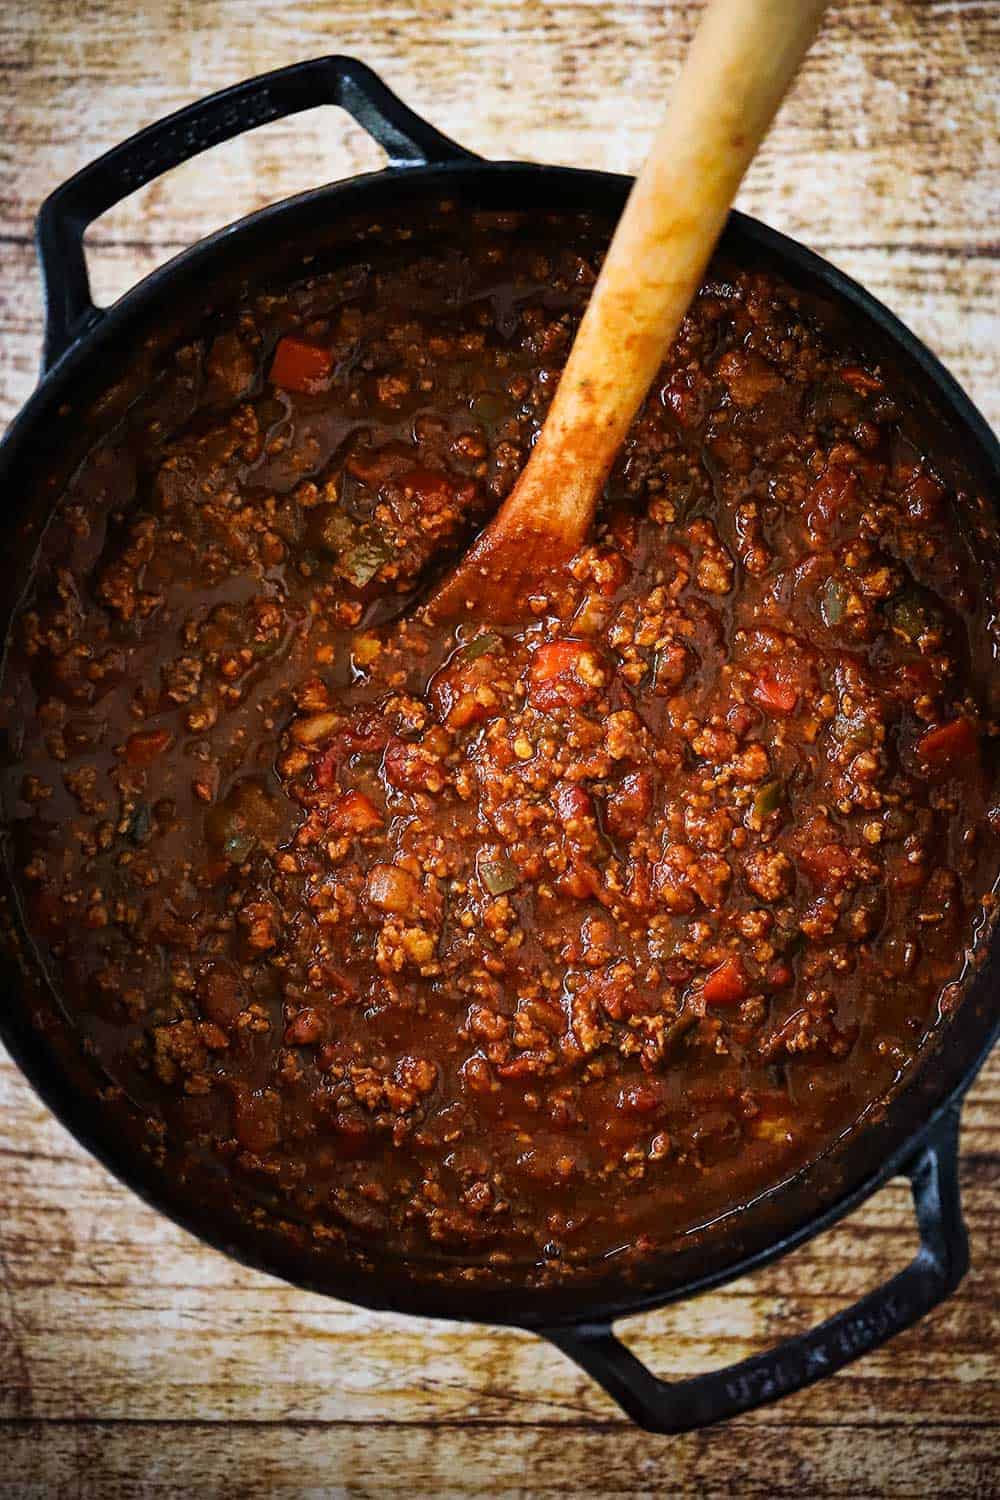
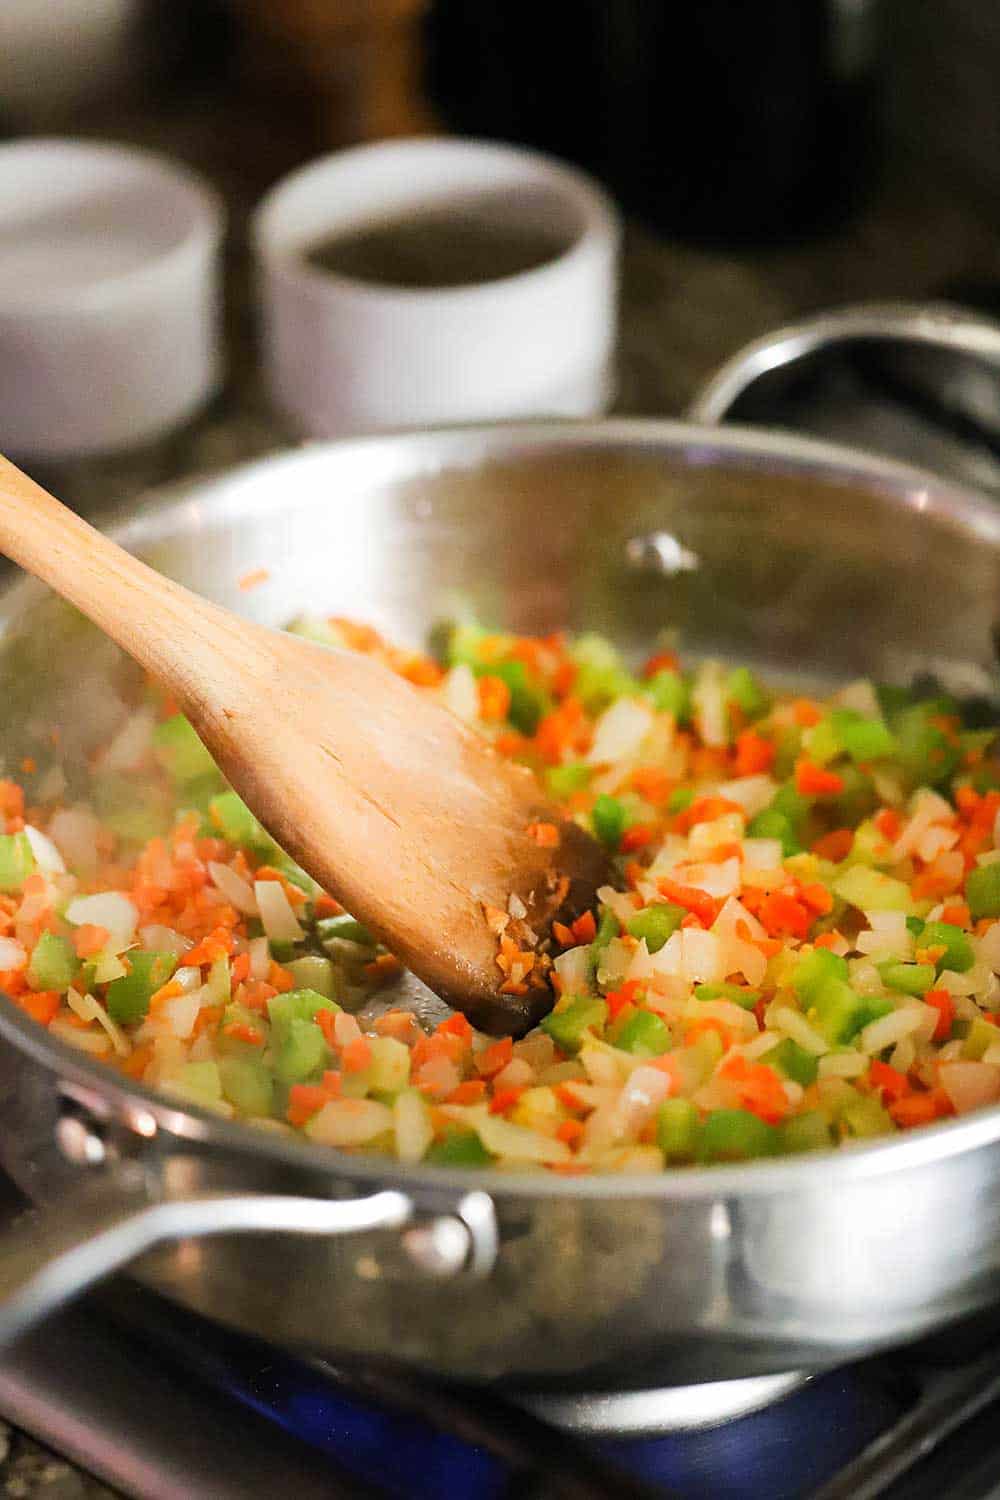
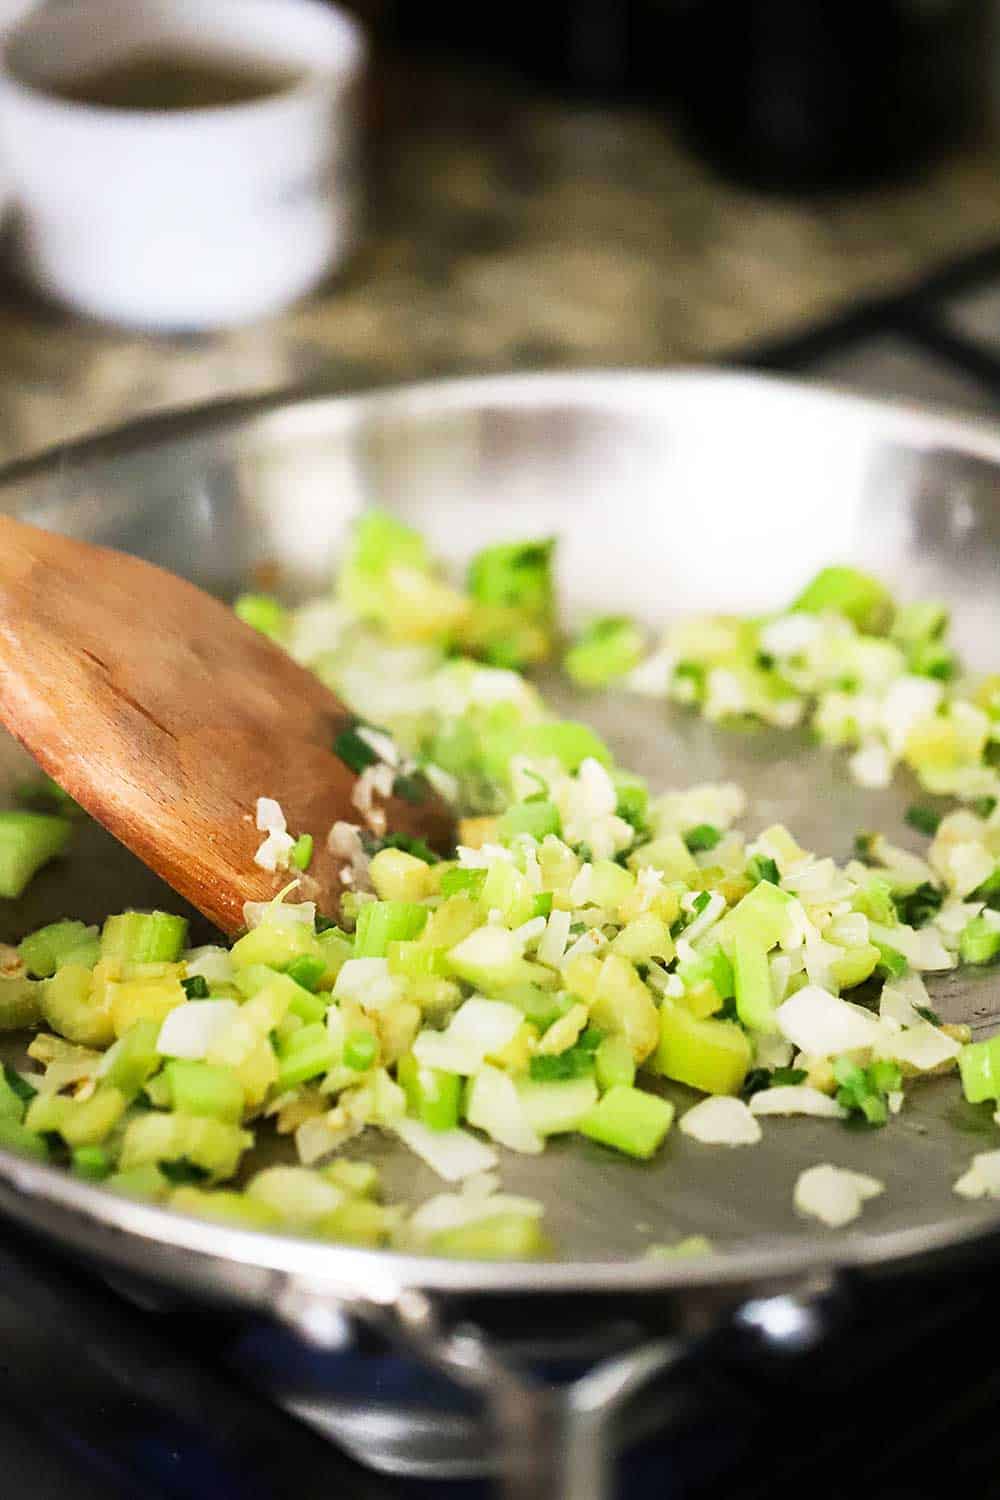
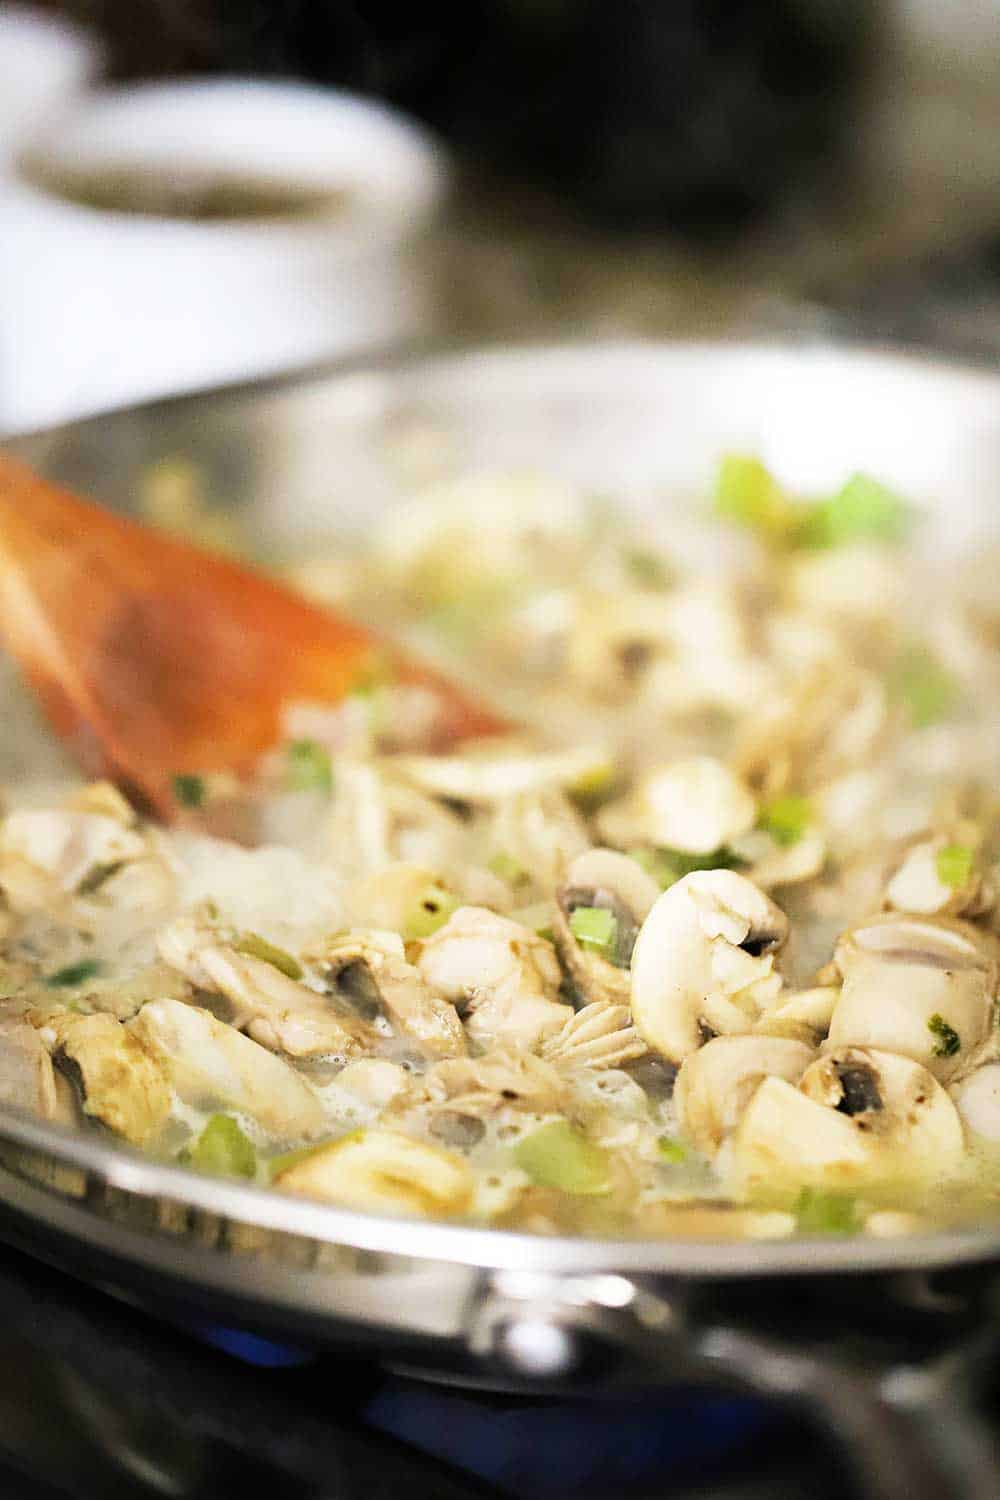
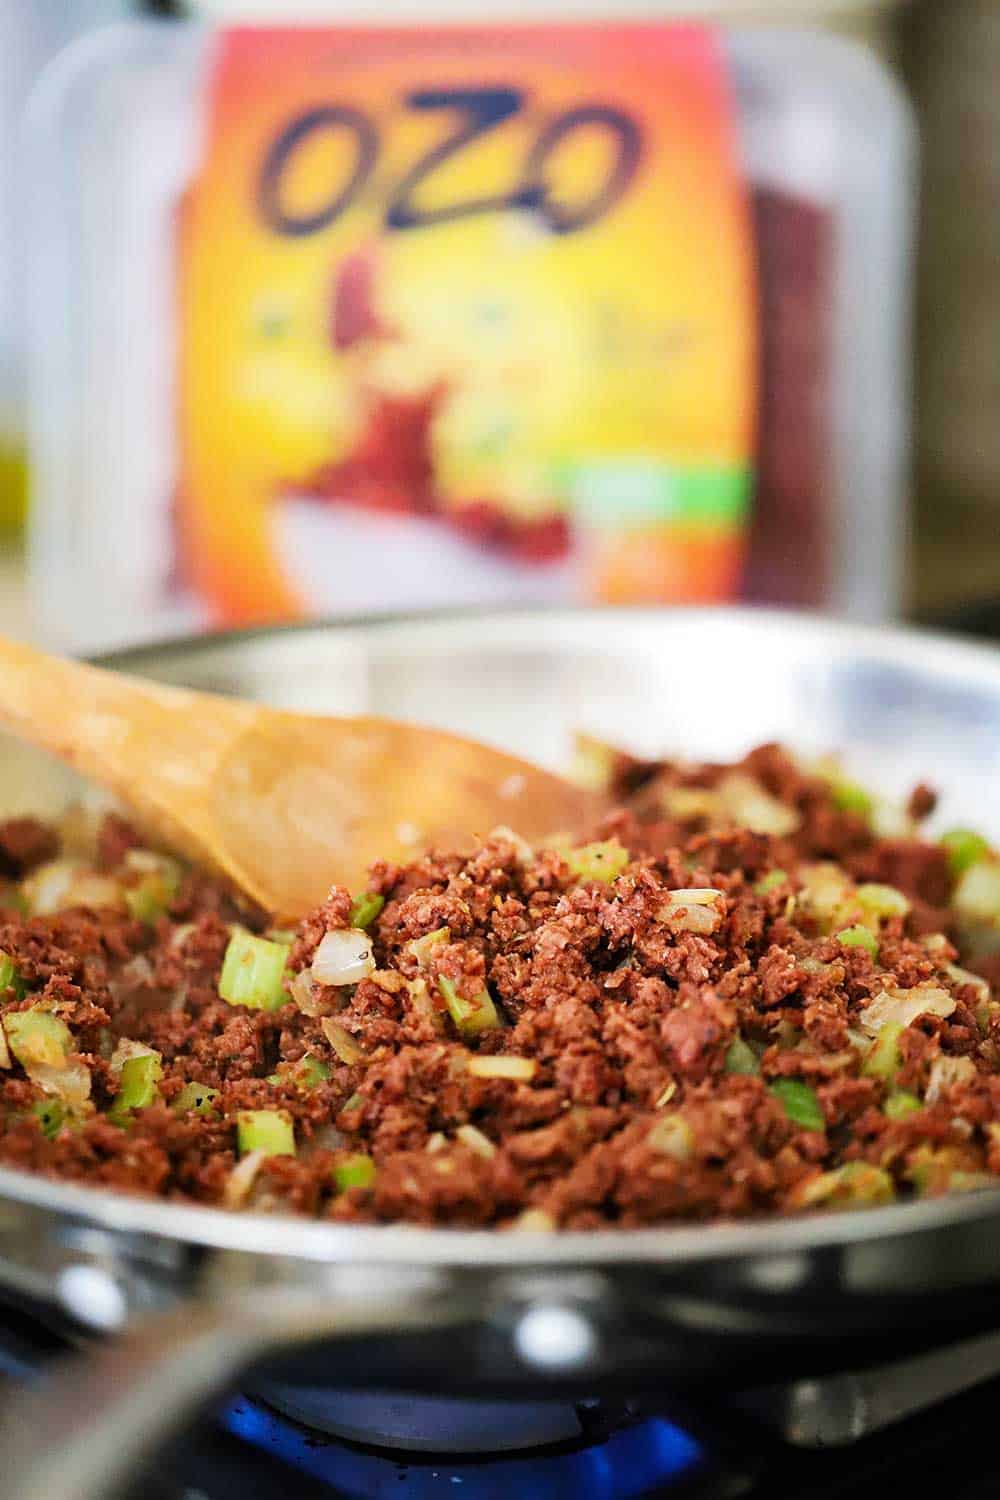
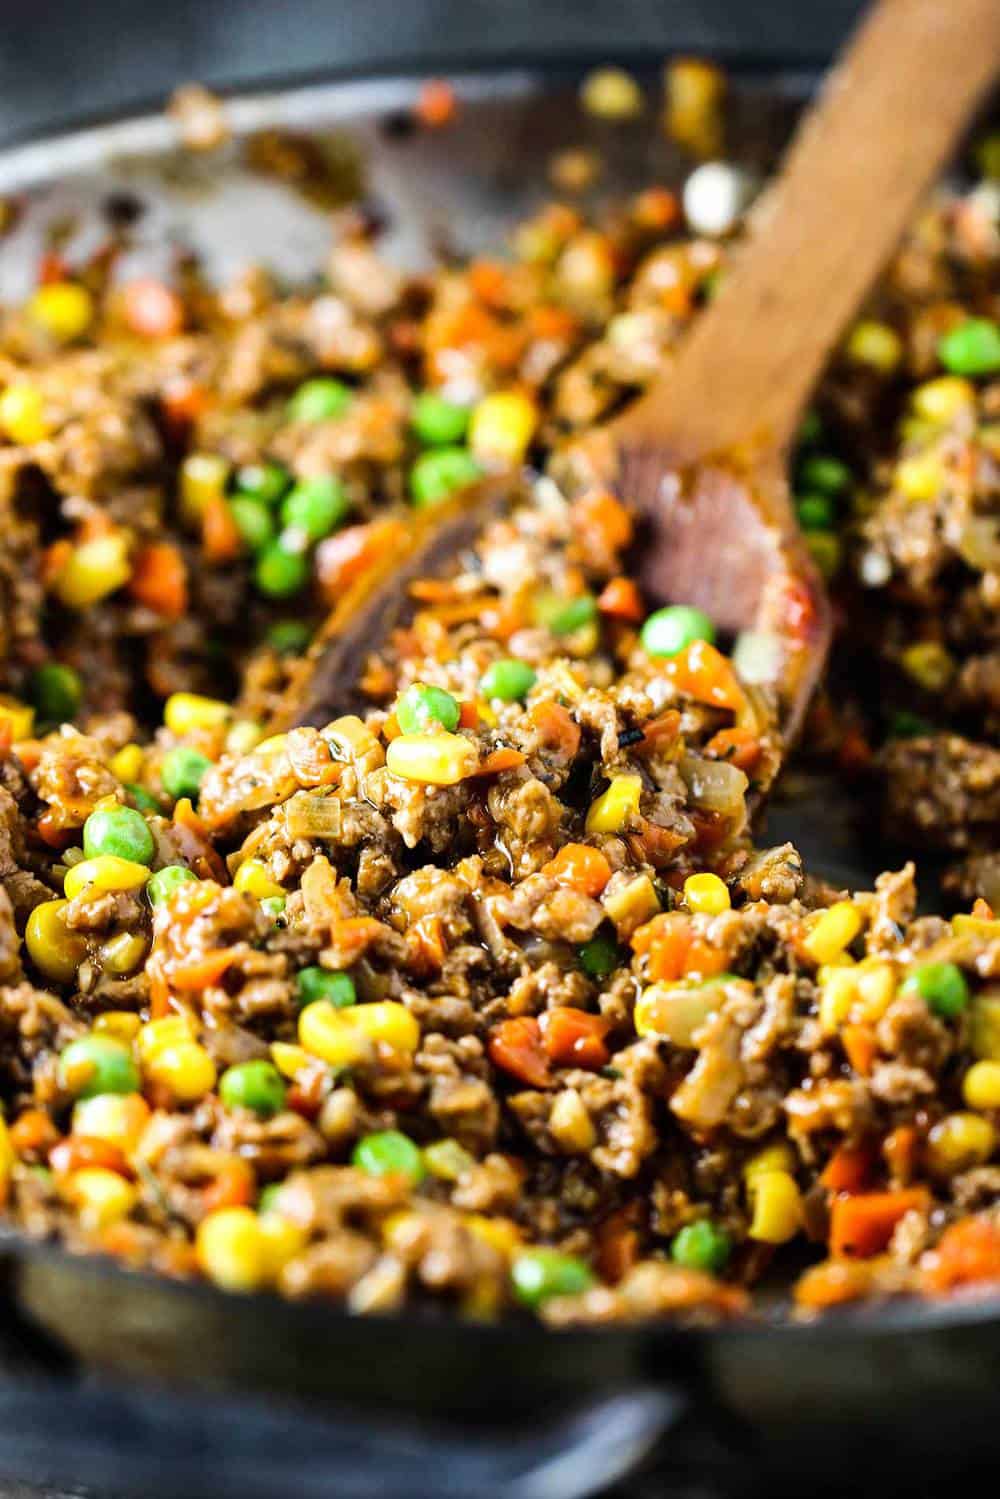
The meat filling is loaded with vegetables and aromatics and comes together in about 20 minutes.
Ground lamb is the traditional protein in classic shepherd’s pie, however, you can substitute beef, if you prefer.
Technically, if you use beef instead of lamb, it’s called Cottage Pie. We think lamb works perfectly in the dish.
A Meal-in-One Dish
What could be better than a dish that has its meat and potatoes living together in one serving!
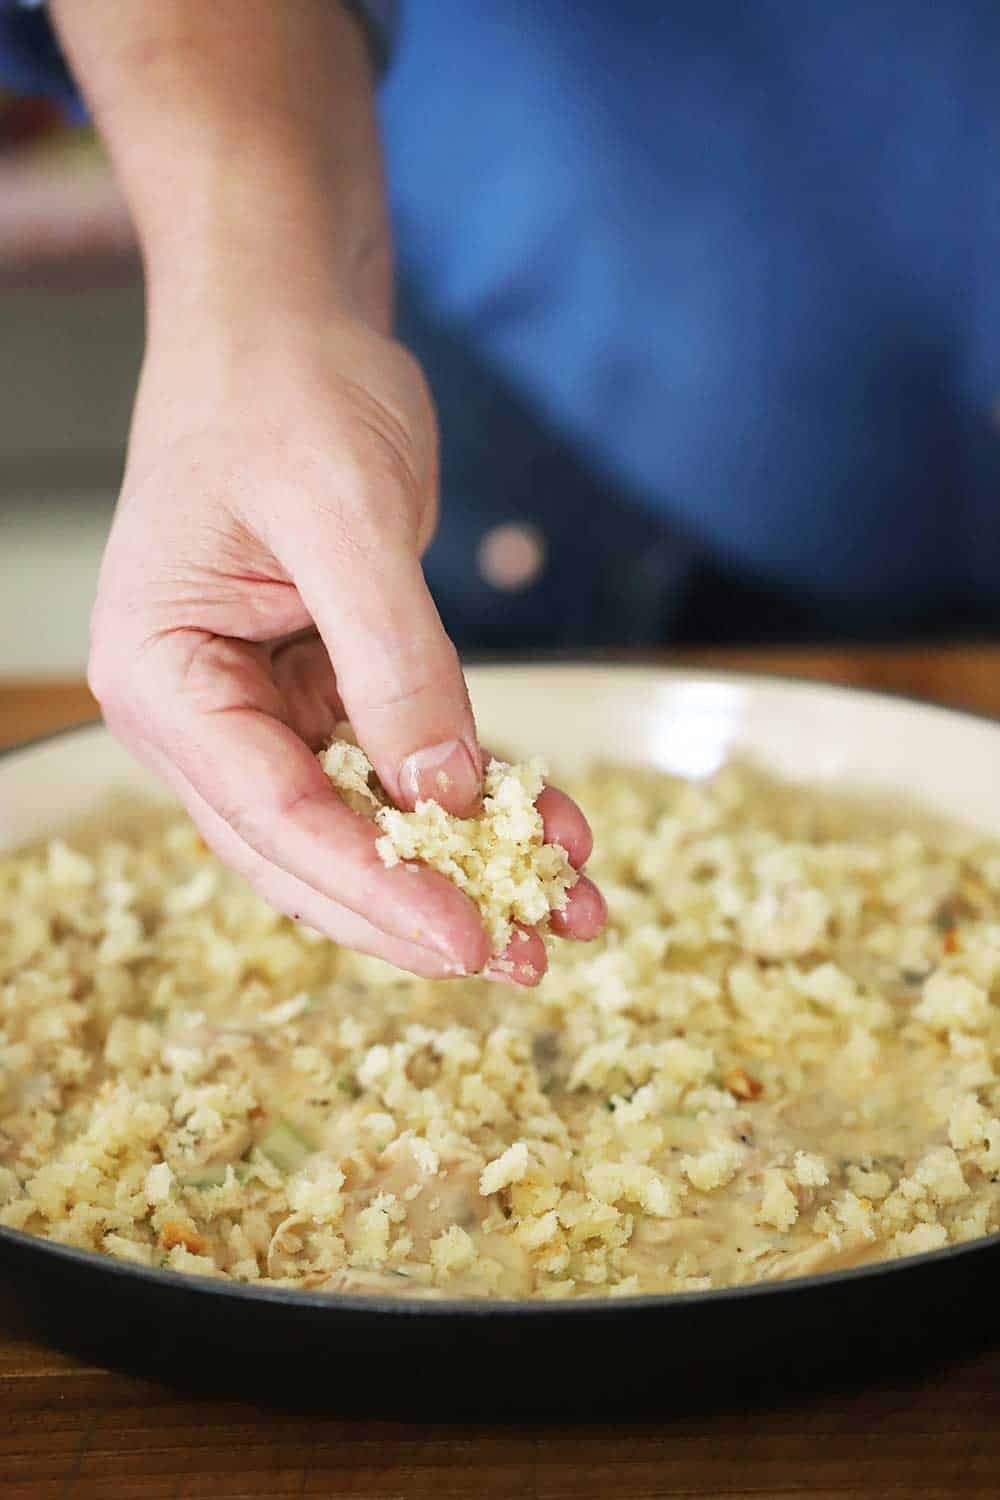
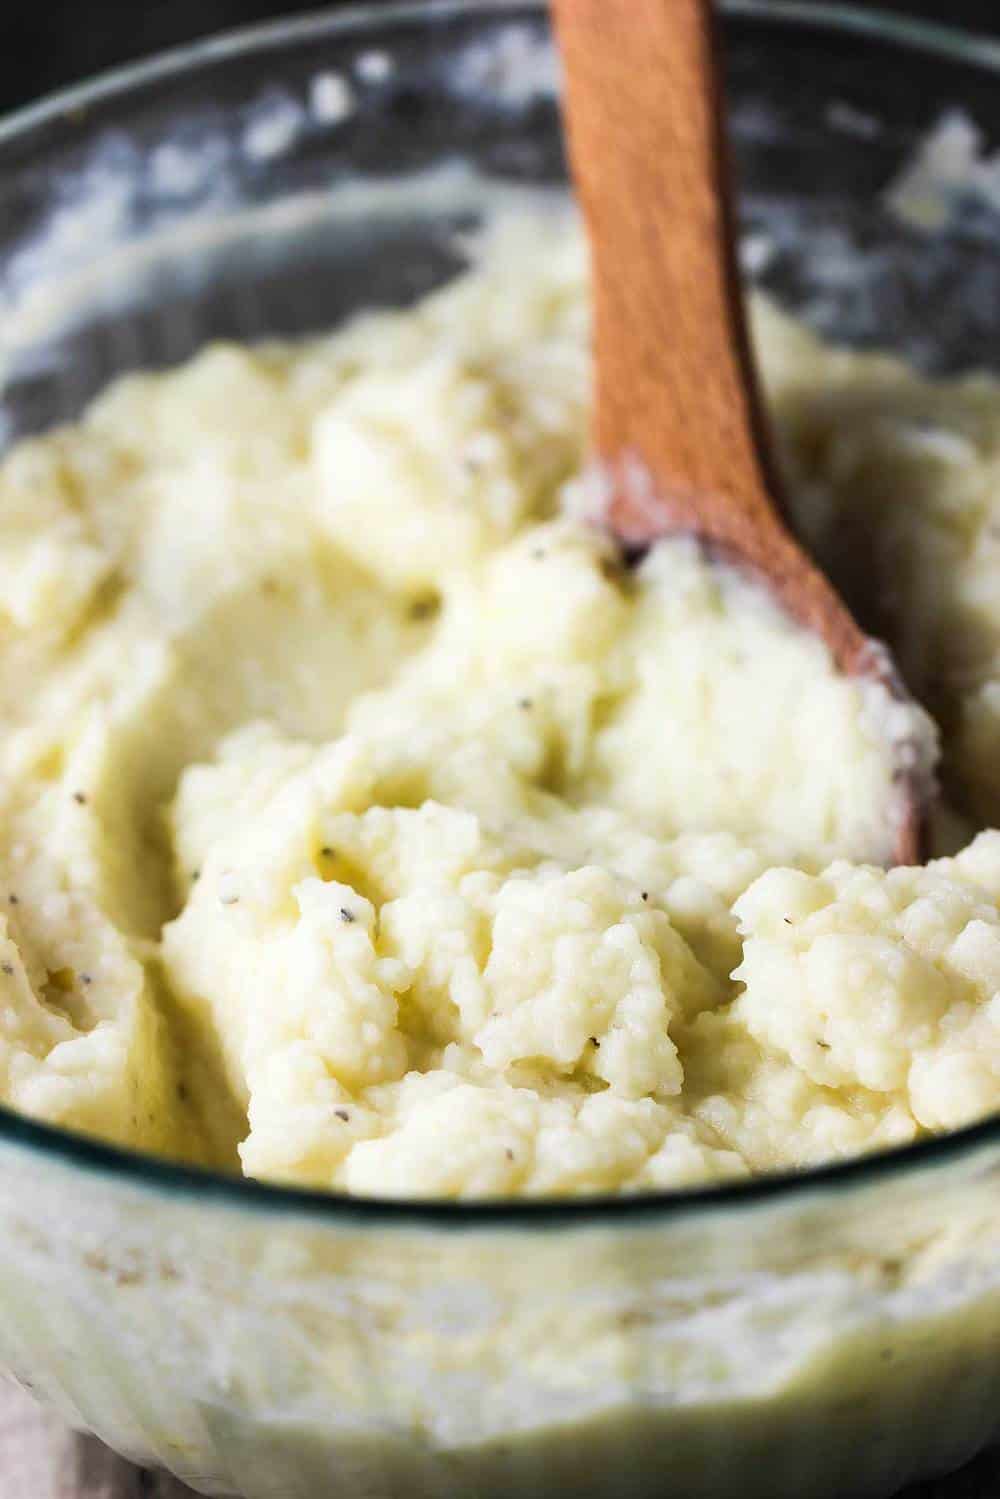
When you prepare the whipped potatoes, it may seem like they have a little too much liquid.
Don’t worry, as the dish bakes, they firm up and develop a perfect almost crust-like texture.
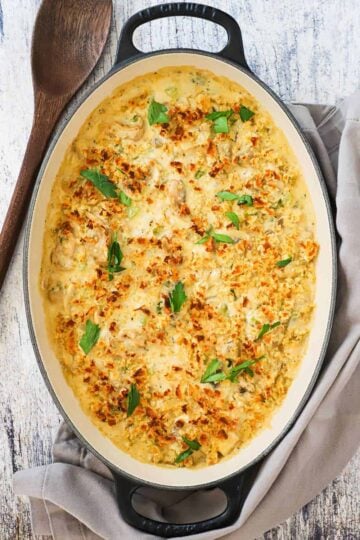
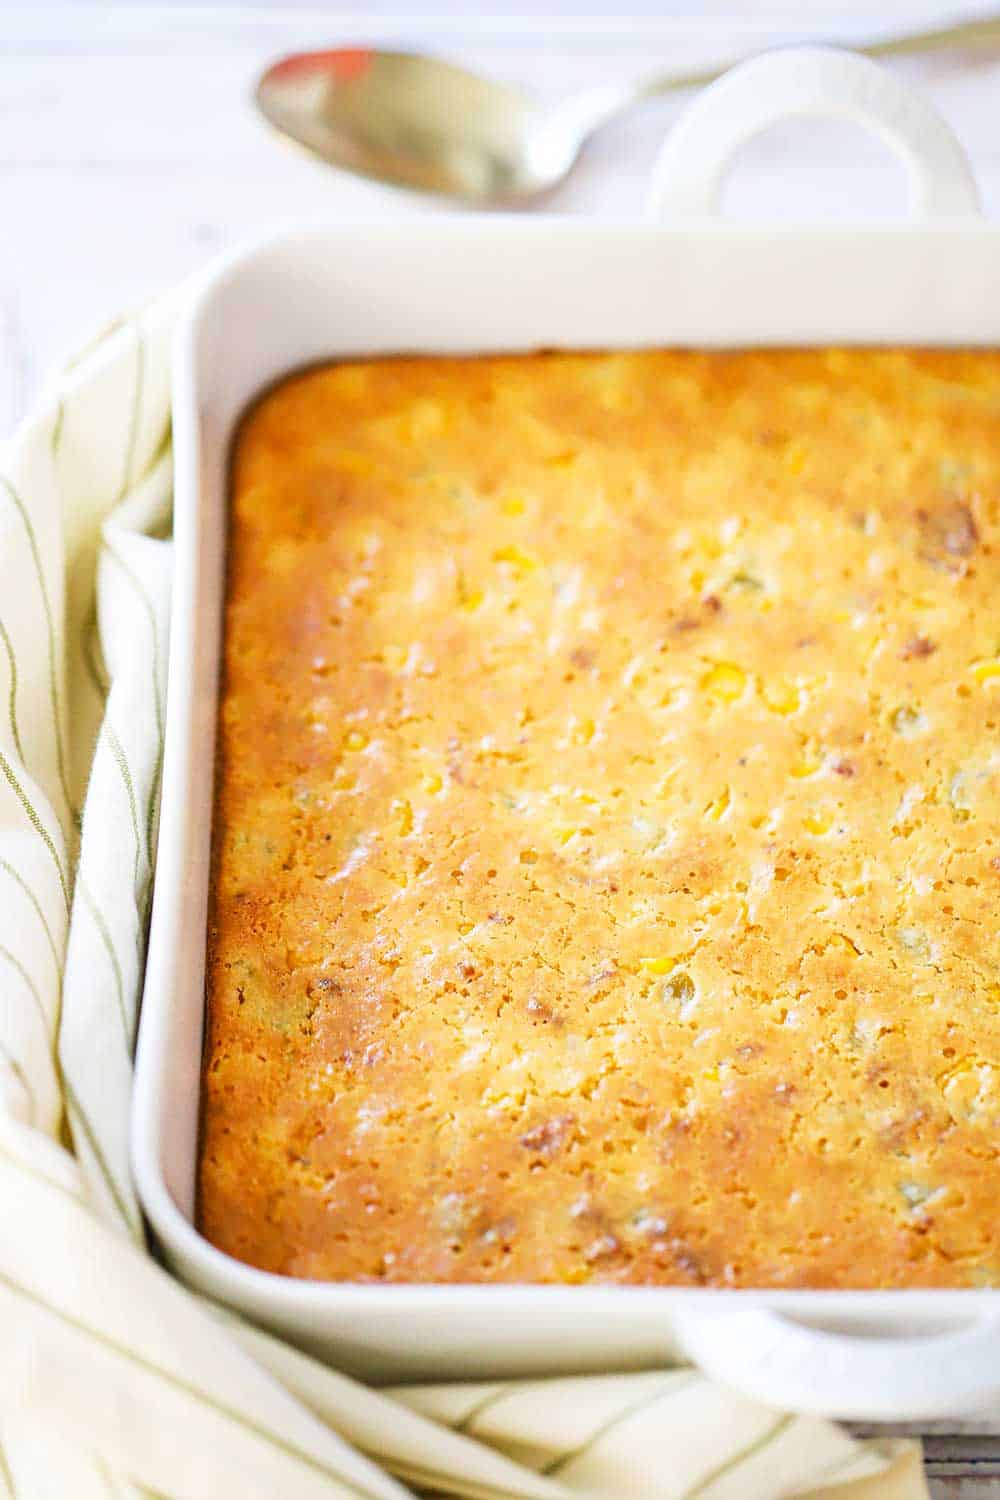
Use a 2-quart baking dish (an 11″x 7″ works) for adding the filling.
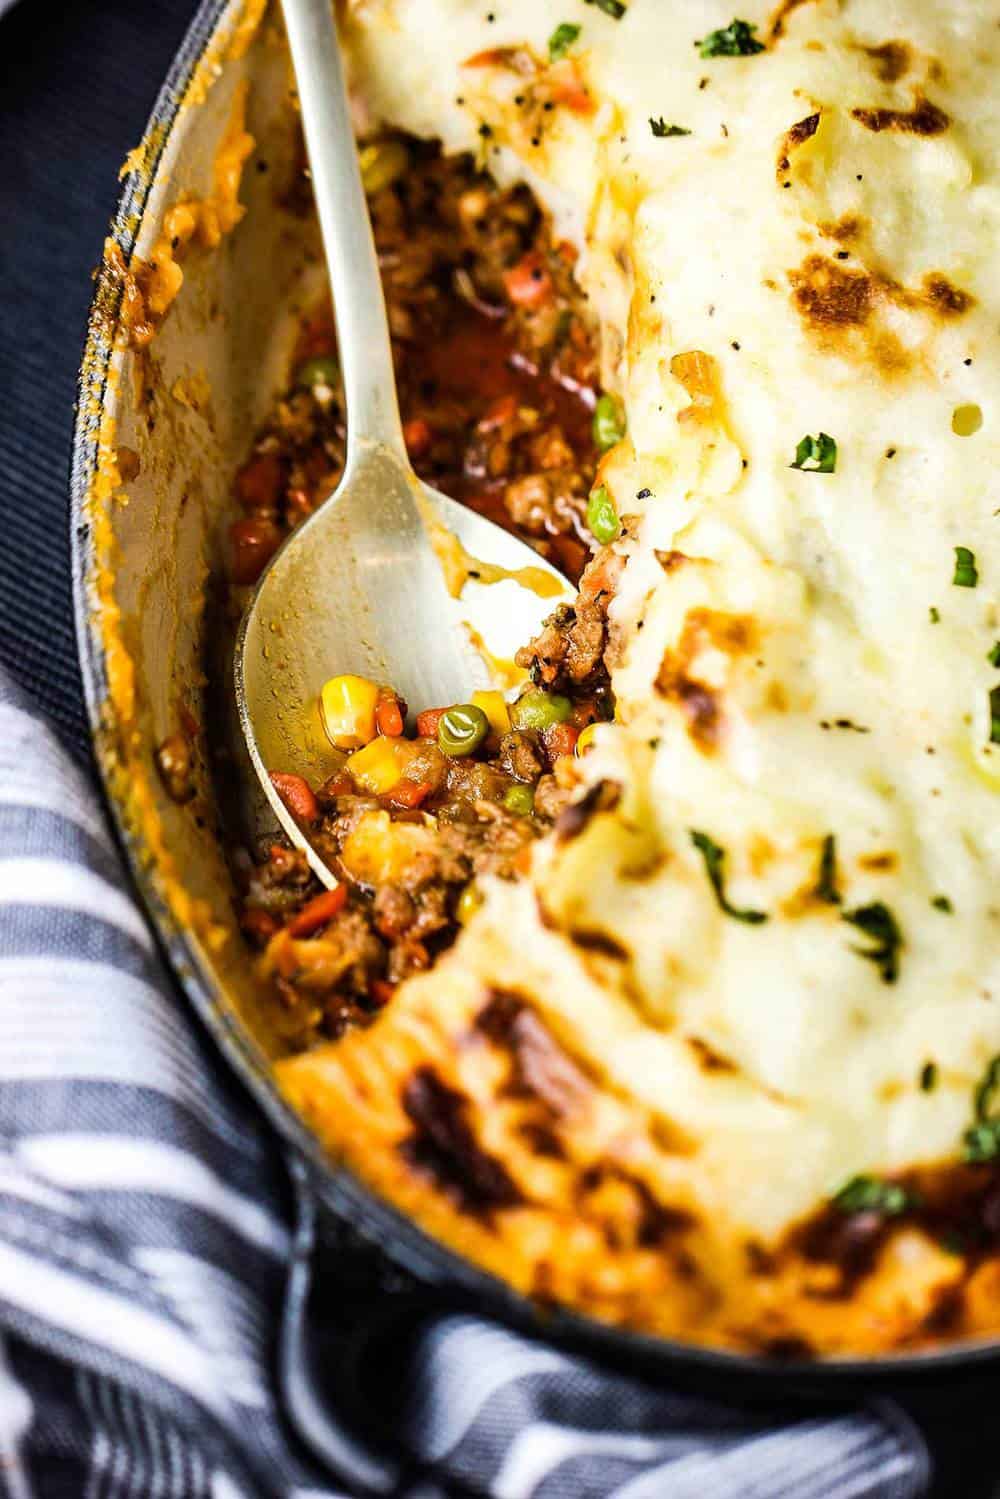
Carefully spoon the potatoes over the top of the meat and veggie filling.
Make sure to get the potatoes all the way to the side of the dish. This will help to keep the filling from bubbling over, but it’s perfectly fine if some of the juices do bubble up.

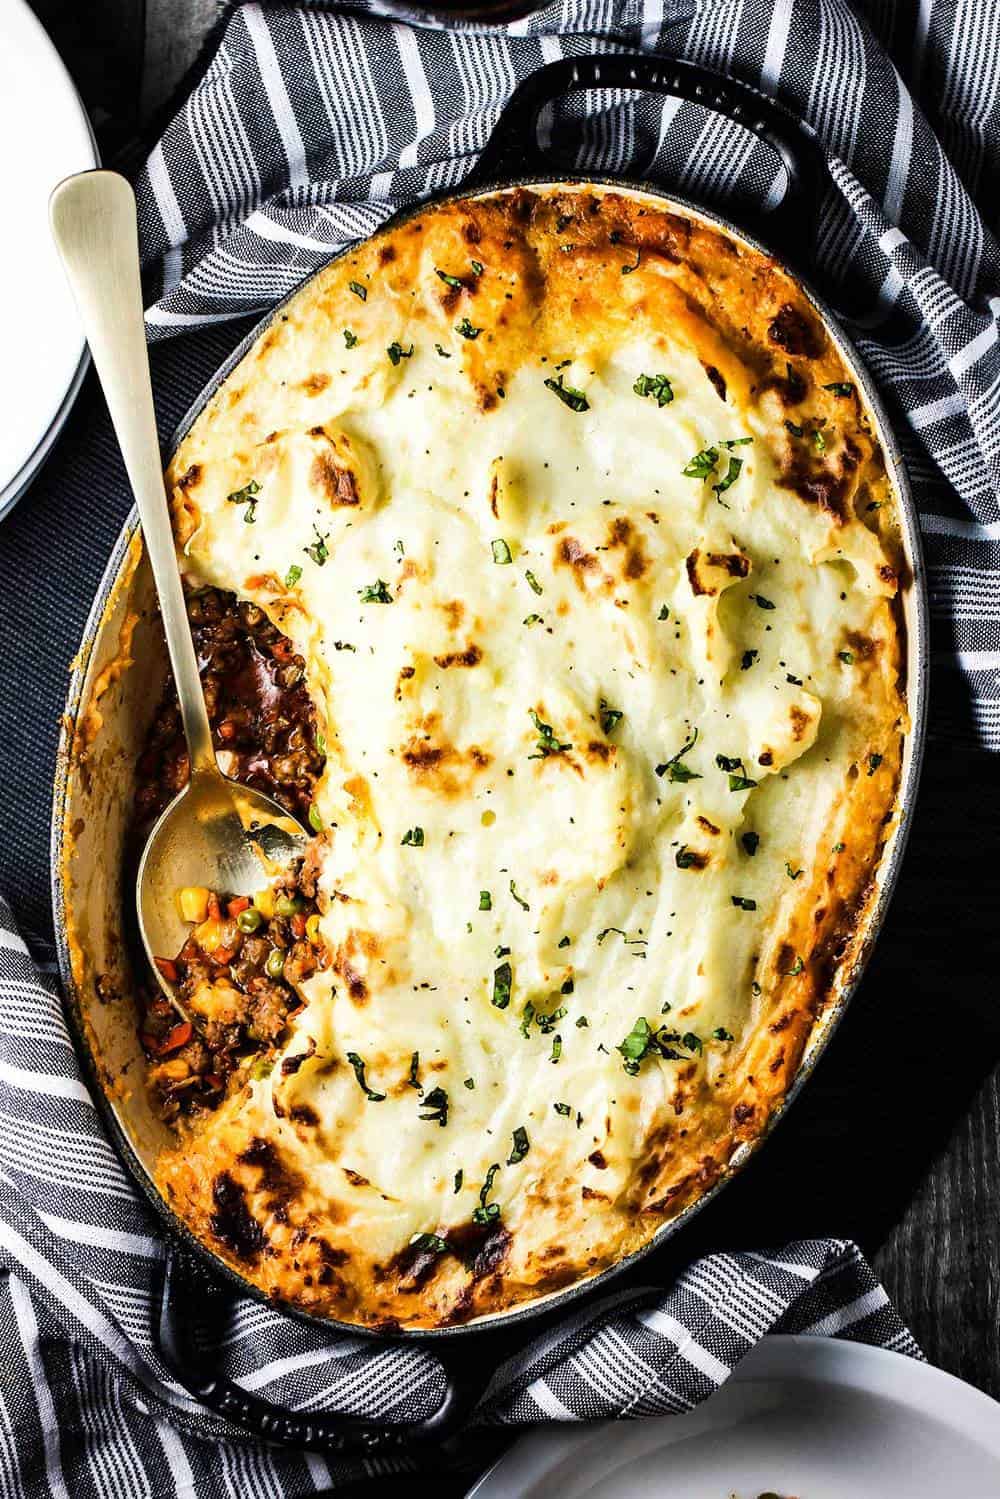
How To Serve Shepherd’s Pie
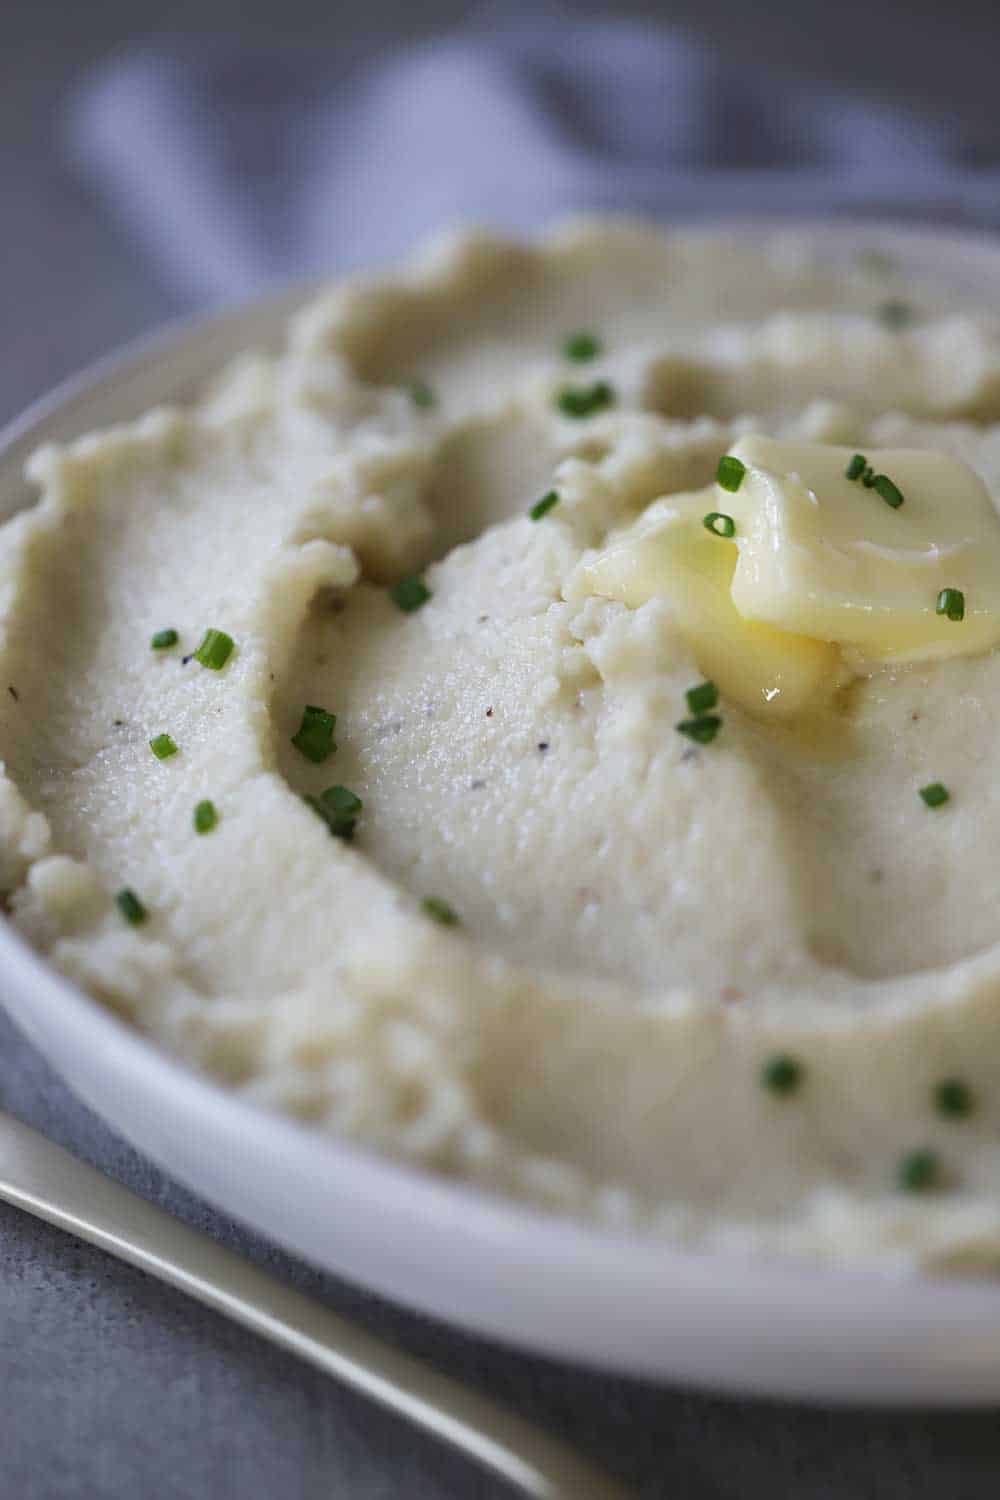
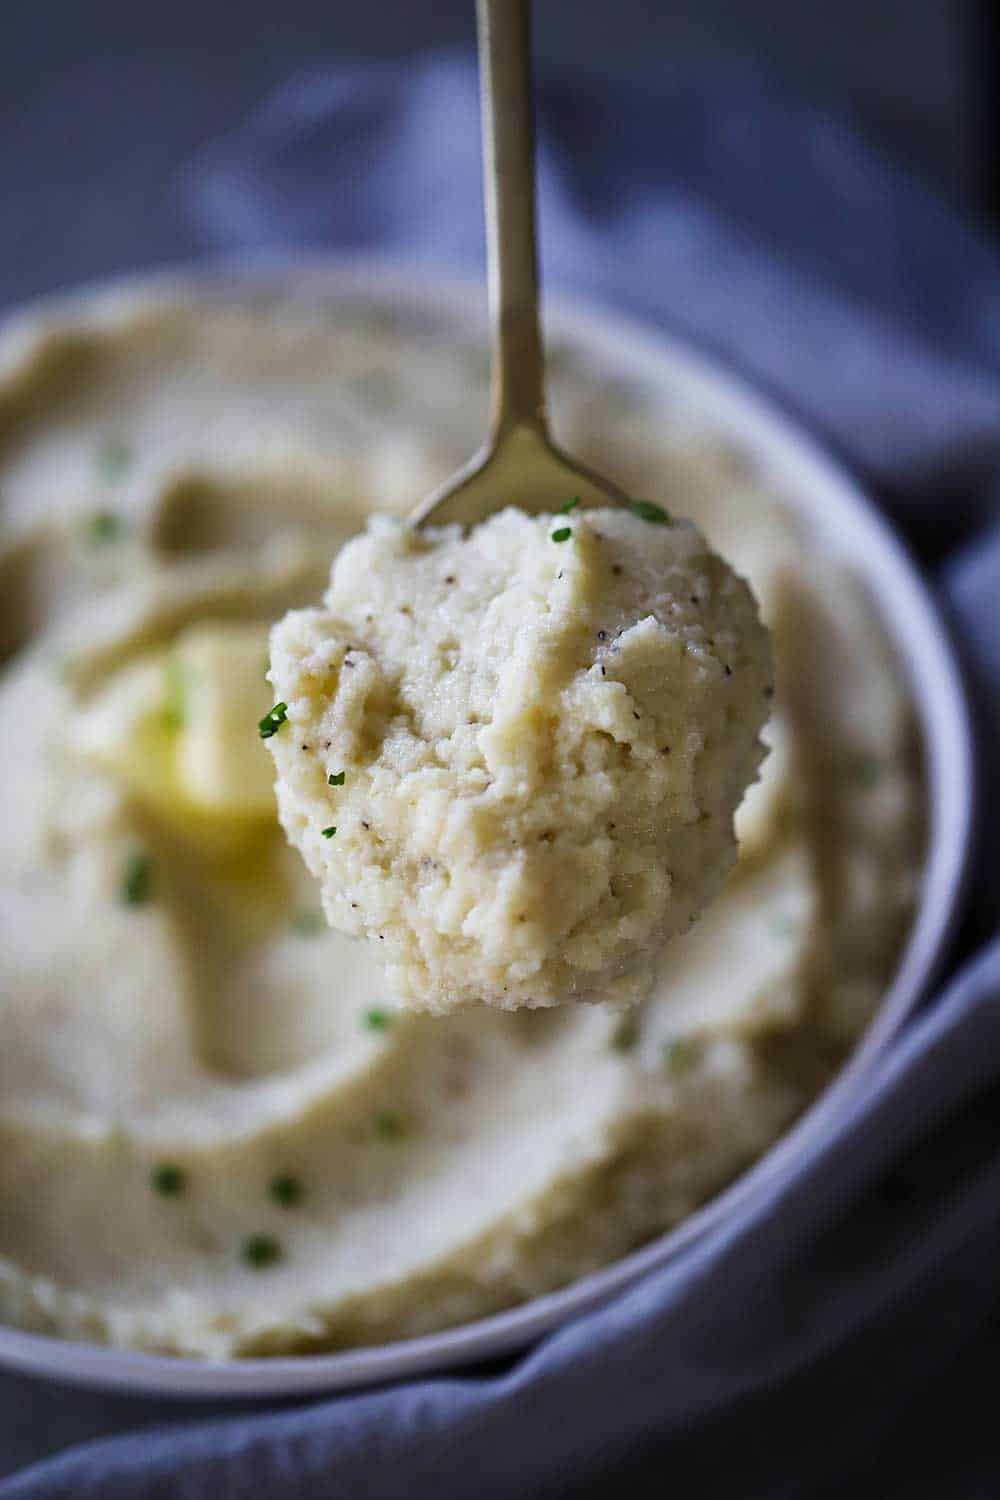
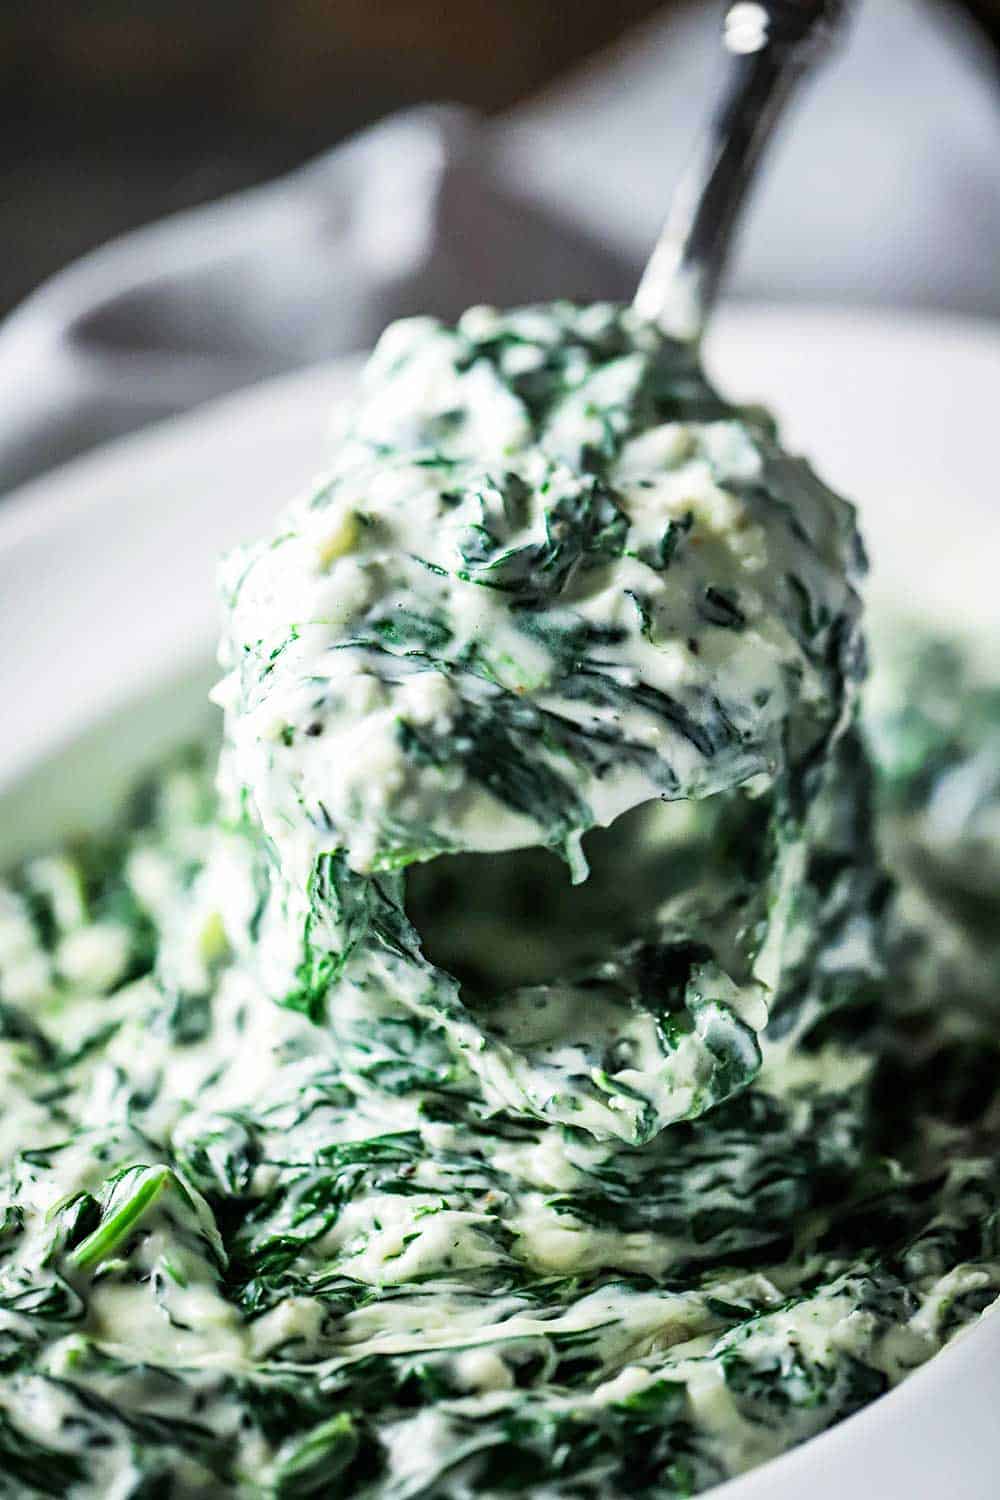
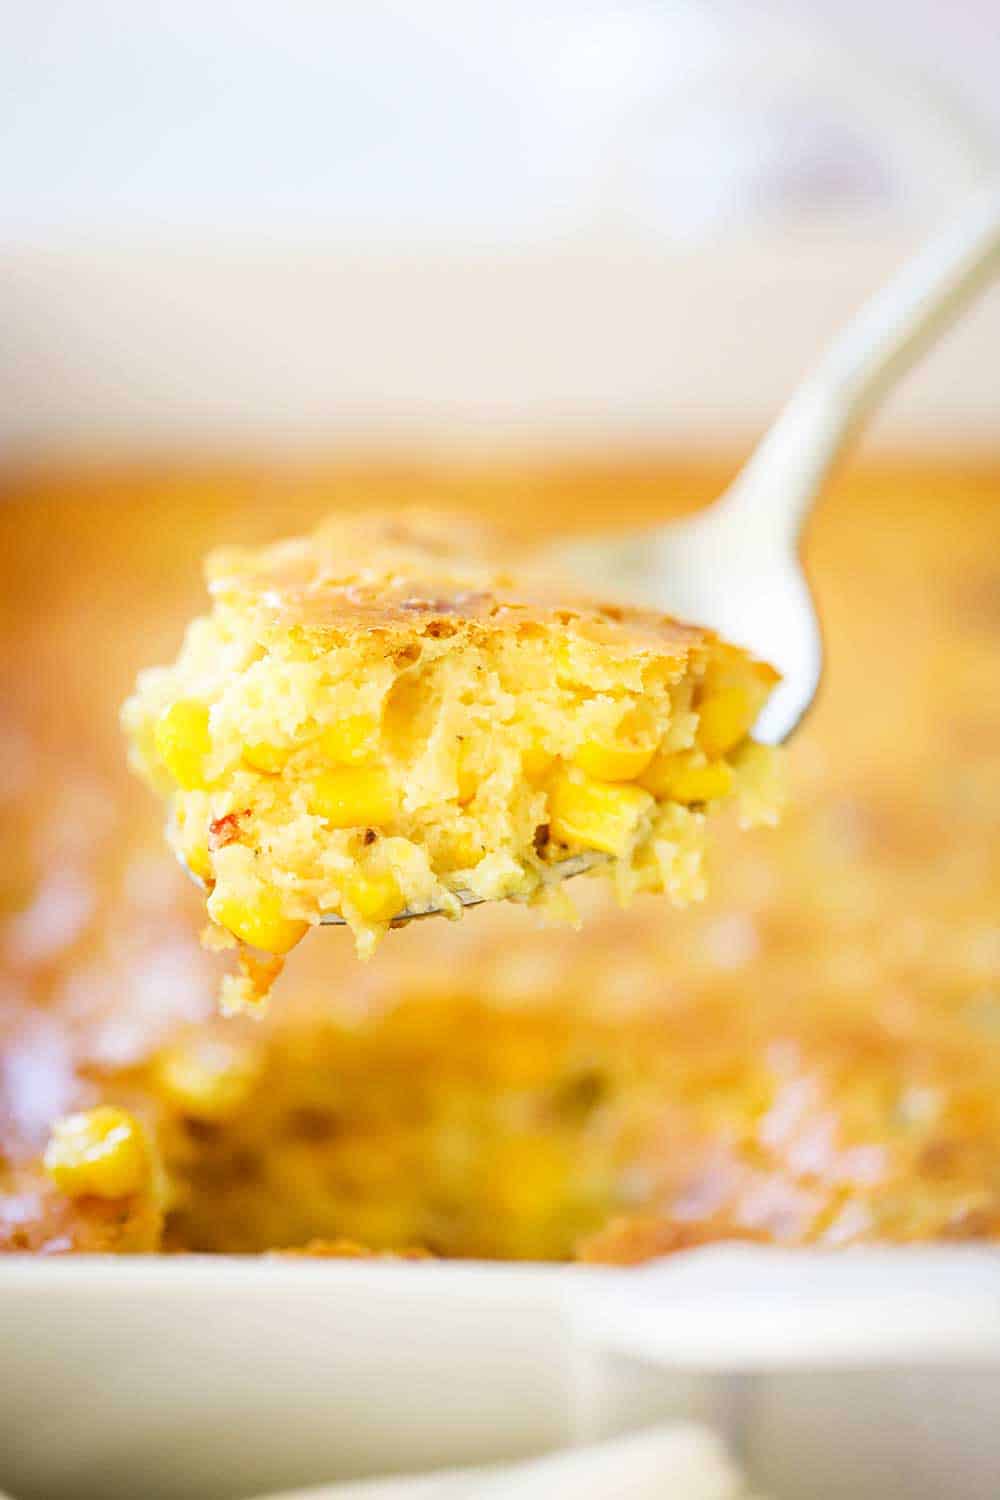
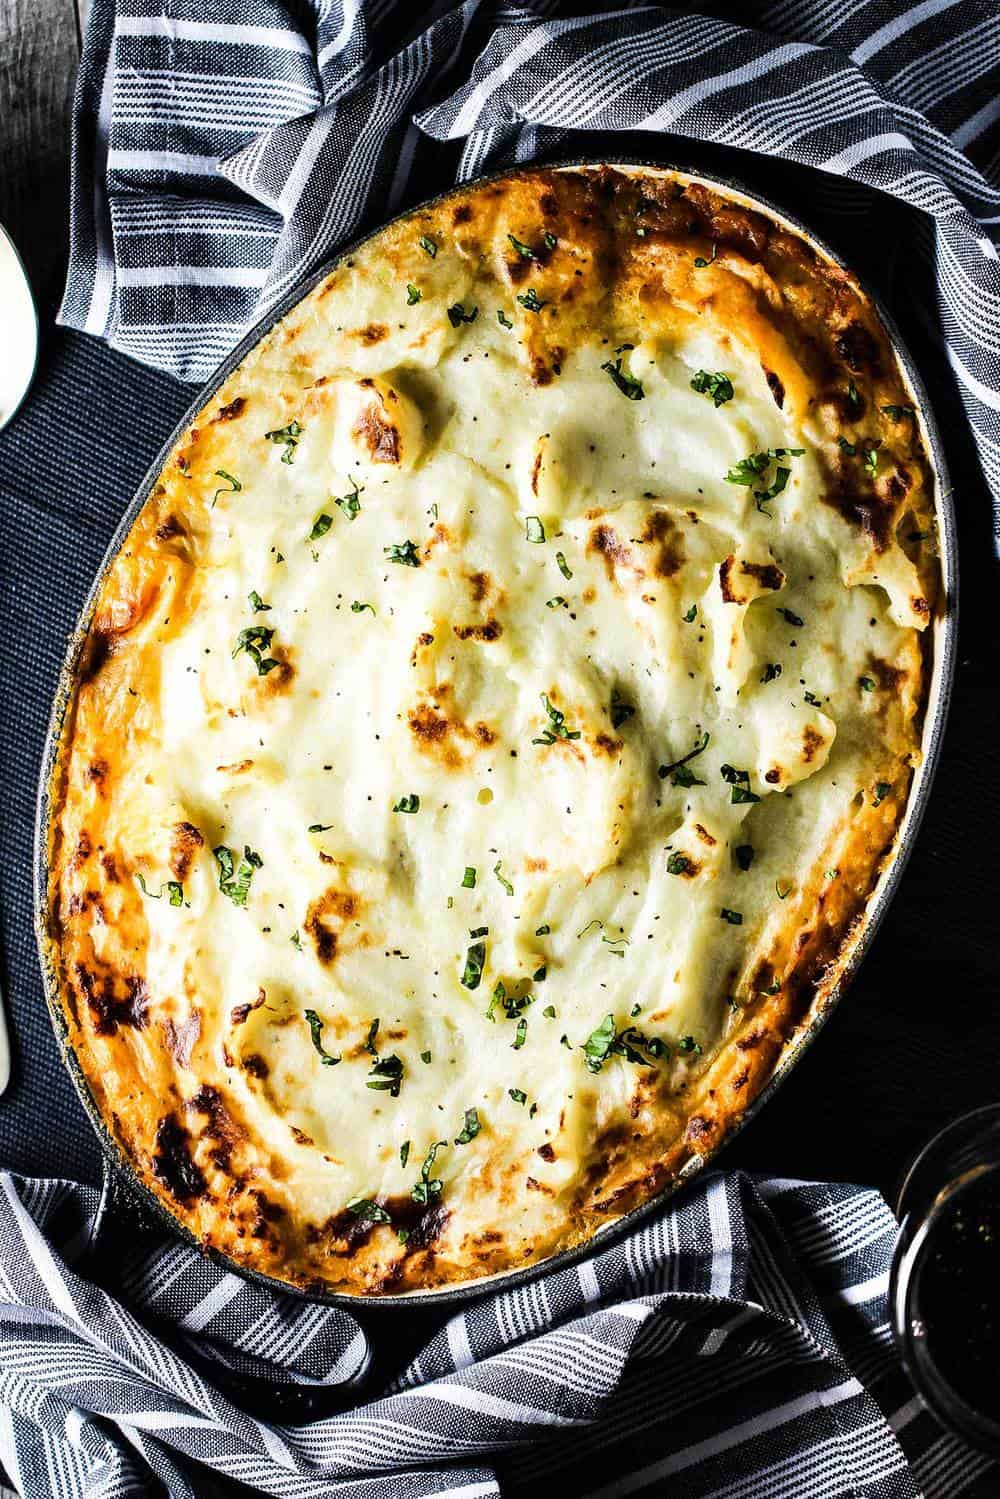
The back of a large metal spoon or fork is the perfect tool for creating small ‘wisps’ on the whipped potatoes.
As the shepherd’s pie bakes, these wisps will brown slightly, adding to the beautiful appearance and wonderful texture.
Oh, we’re getting so close!

The Origins of the Iconic Dish
This history of Shepherd’s Pie dates back to the 18th Century in Britain and Ireland.
Although it is popular during the cold winter months and certainly on St. Patrick’s Day, it’s so comforting and delicious, we love it year-round.
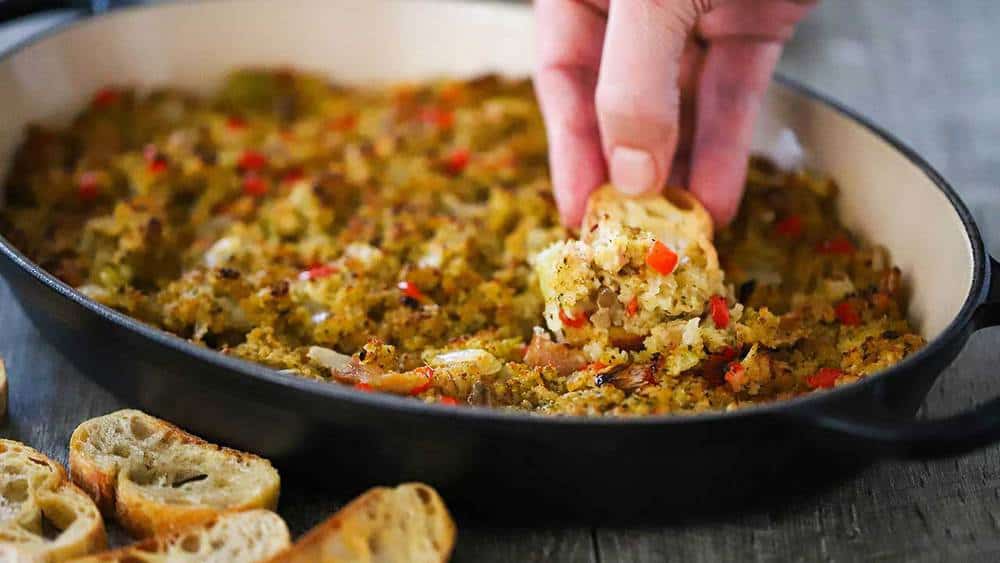
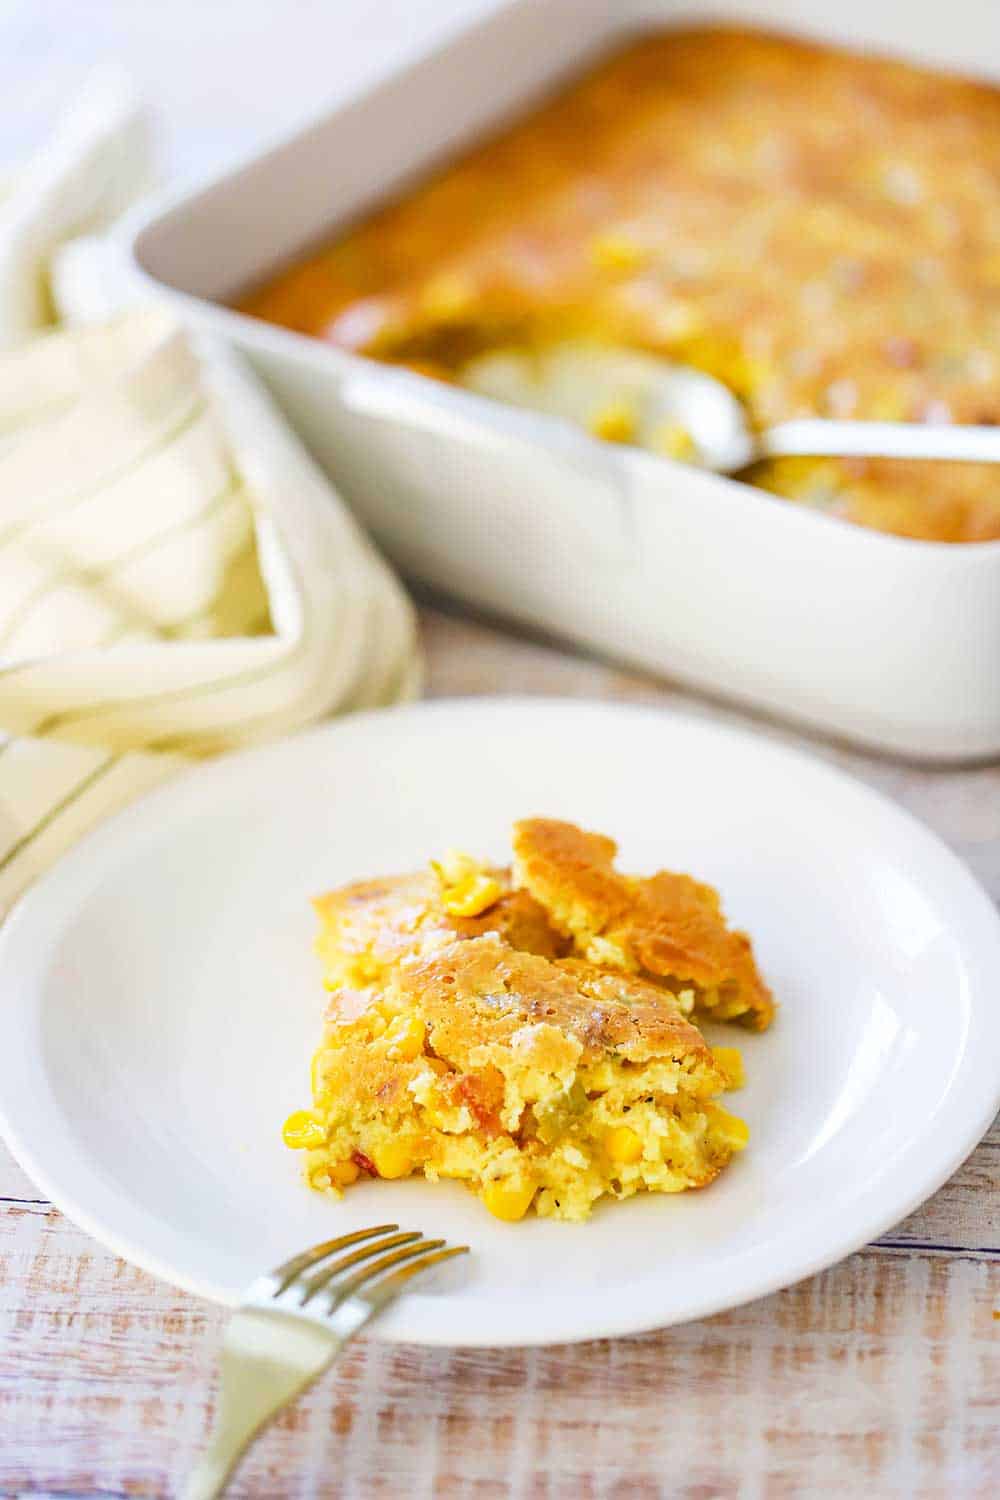
The dish is wonderful fresh out of the oven, but it also makes amazing leftovers!
Shepherd’s Pie can easily be made in stages. The meat mixture can certainly be made a day in advance. And the potatoes can, too.
The dish also freezes wonderfully. Simply let thaw, and then bake as you normally would. Or, bake for an additional 45 minutes if no time to thaw.
Shepherd’s Pie is pure comfort and so incredibly satisfying. Prepare for lots of “oohs” and “ah’s” when you place this dish on the table.
Looking for another St. Patrick’s Day favorite dish? Try our authentic Irish Soda Bread or our Instant Pot Irish Beef Stew!
Ready to make the best meat and potatoes dish of all time?
Go for it! And when you do, be sure to take a photo of the dish, post it on Instagram, and tag @HowToFeedaLoon and hashtag #HowToFeedaLoon!

Shepherd's Pie
Ingredients
For the Meat Filling
- 2 tablespoon unsalted butter
- 1 leek white part only, chopped
- 1 medium onion chopped
- 2 medium carrots peeled and chopped (food processor works well)
- 2 cloves garlic minced
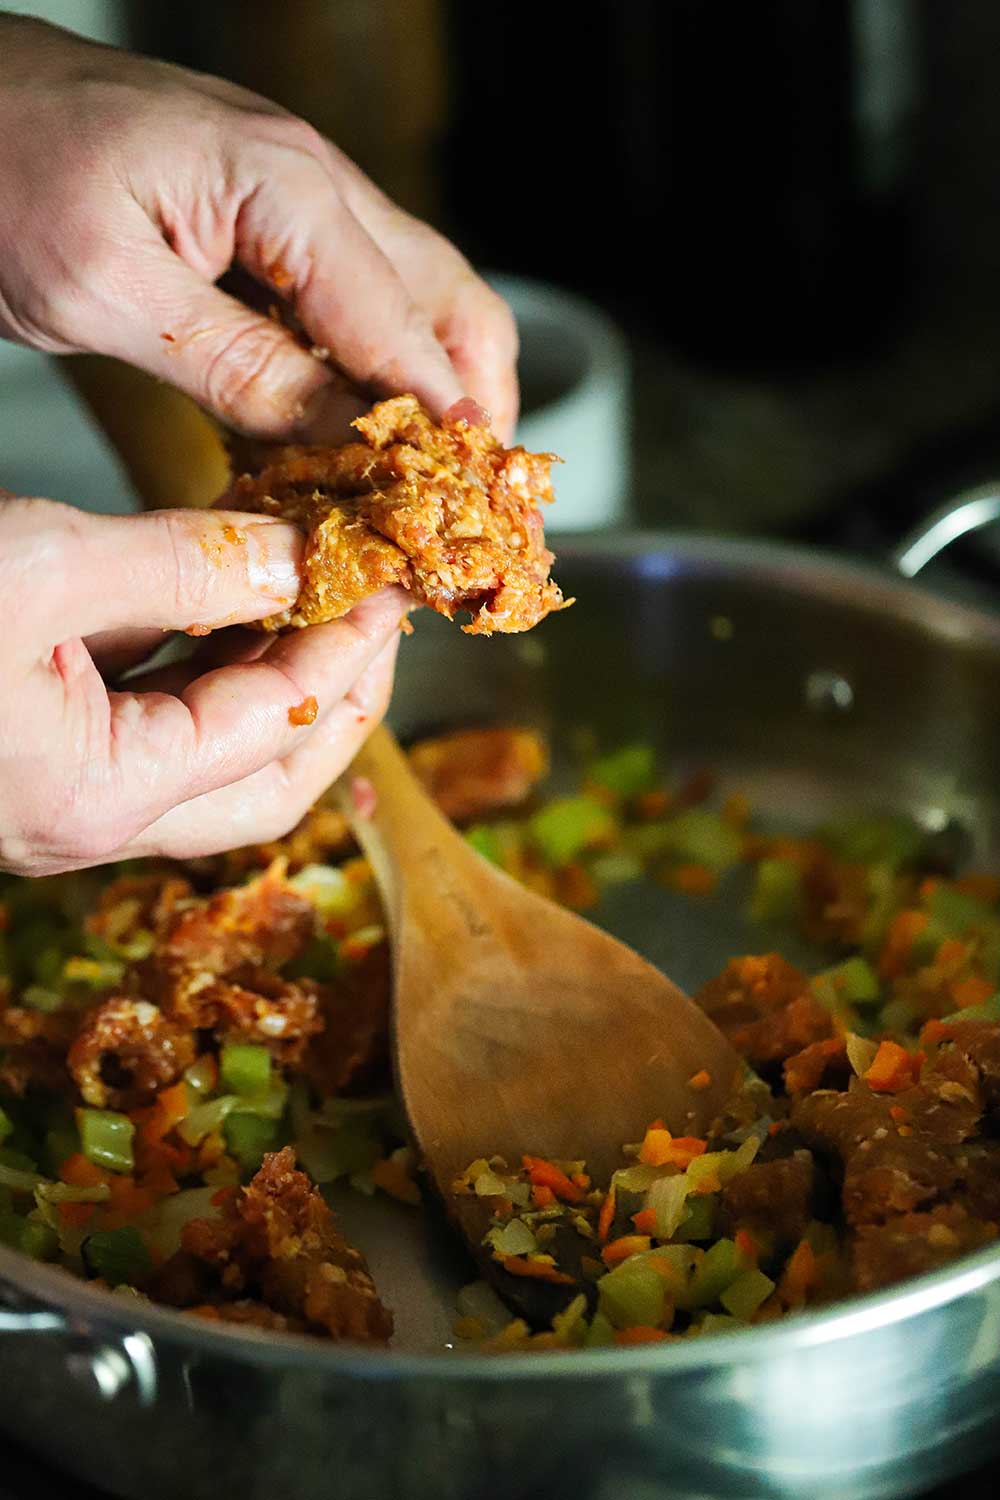
- 1½ lbs ground lamb
- 1 teaspoon Kosher salt
- ½ teaspoon freshly ground black pepper
- 2 tablespoon flour
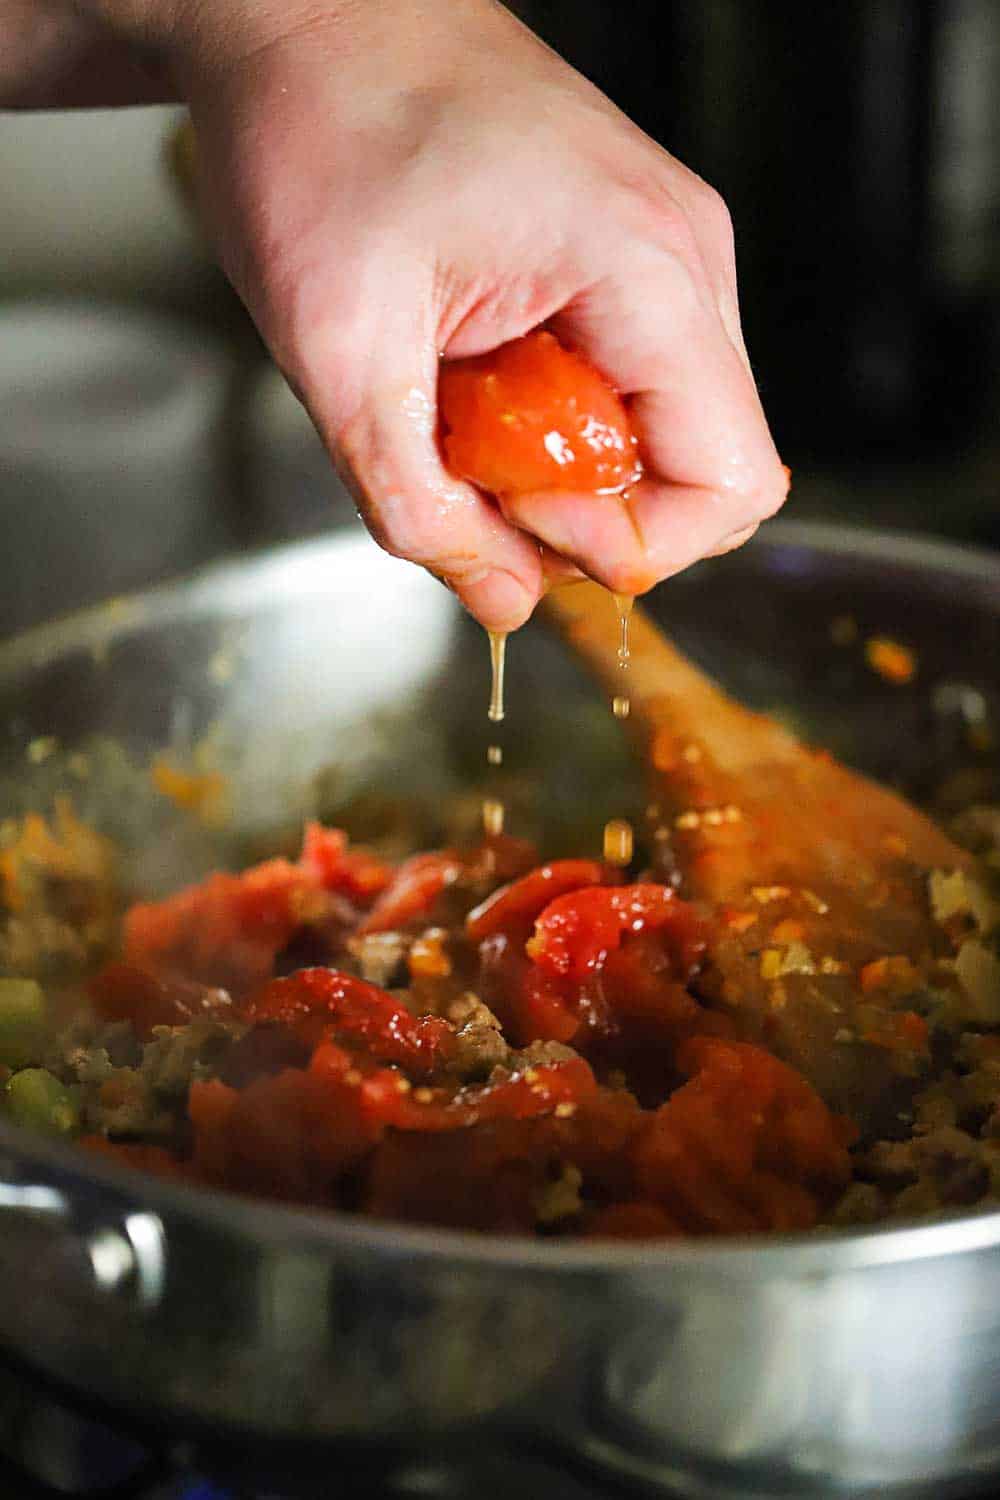
- 1 tablespoon tomato paste
- 1 cup beef stock
- 1 tablespoon Worcestershire sauce
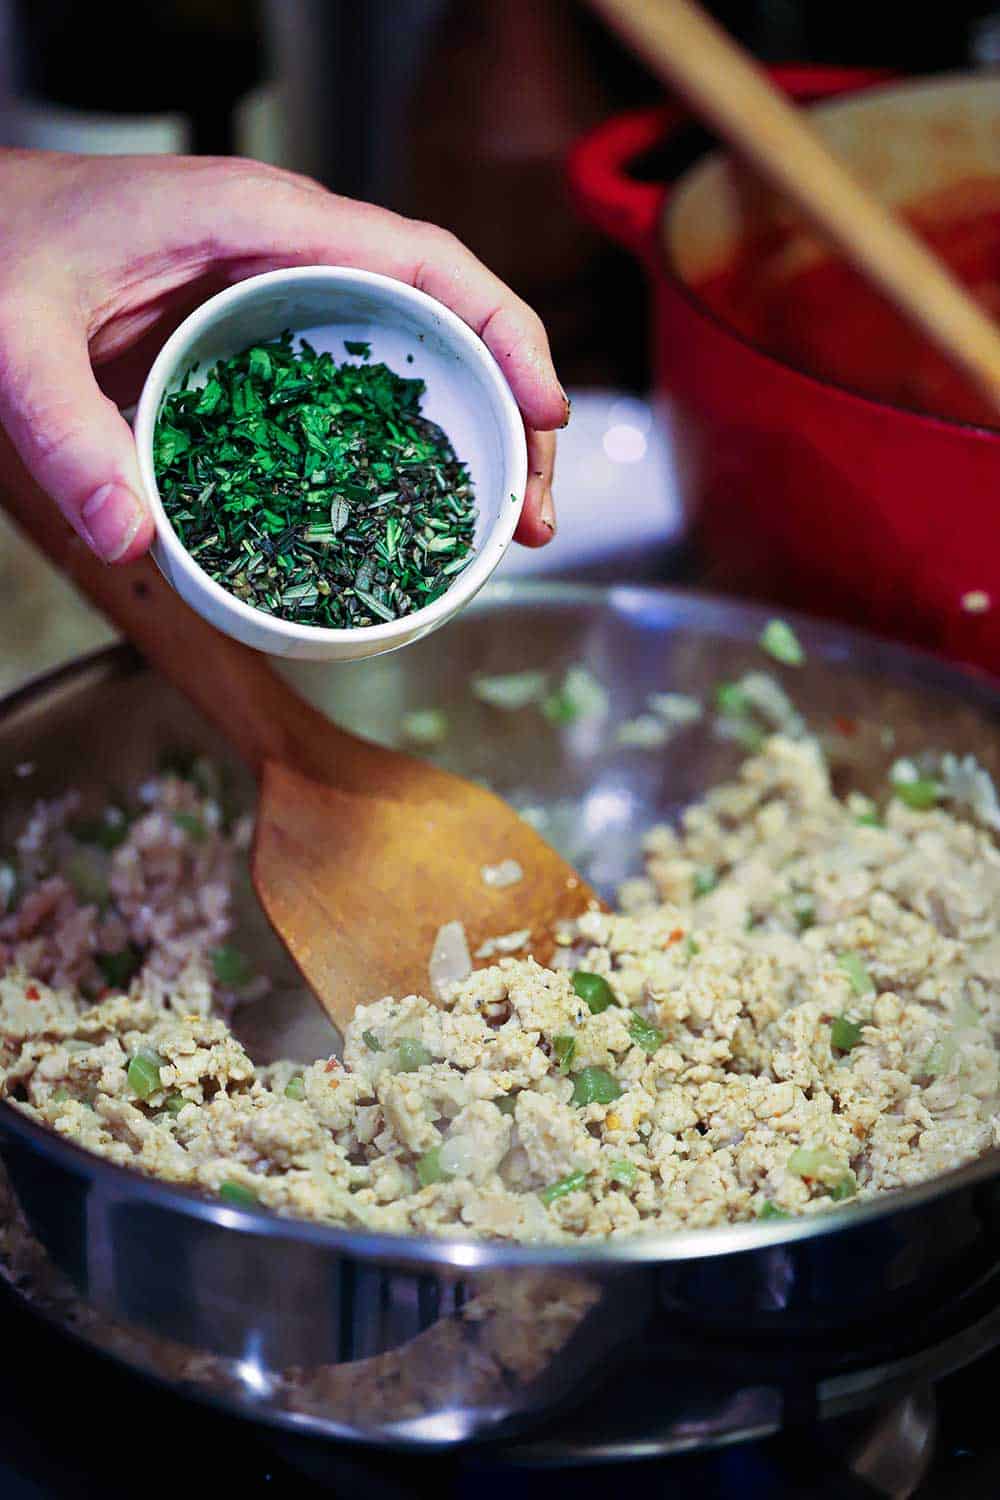
- 1 tablespoon fresh thyme chopped
- 1 tablespoon fresh rosemary chopped
- ¼ teaspoon ground nutmeg
- ½ cup frozen corn kernels
- ½ cup frozen sweet peas
For the Potato Topping
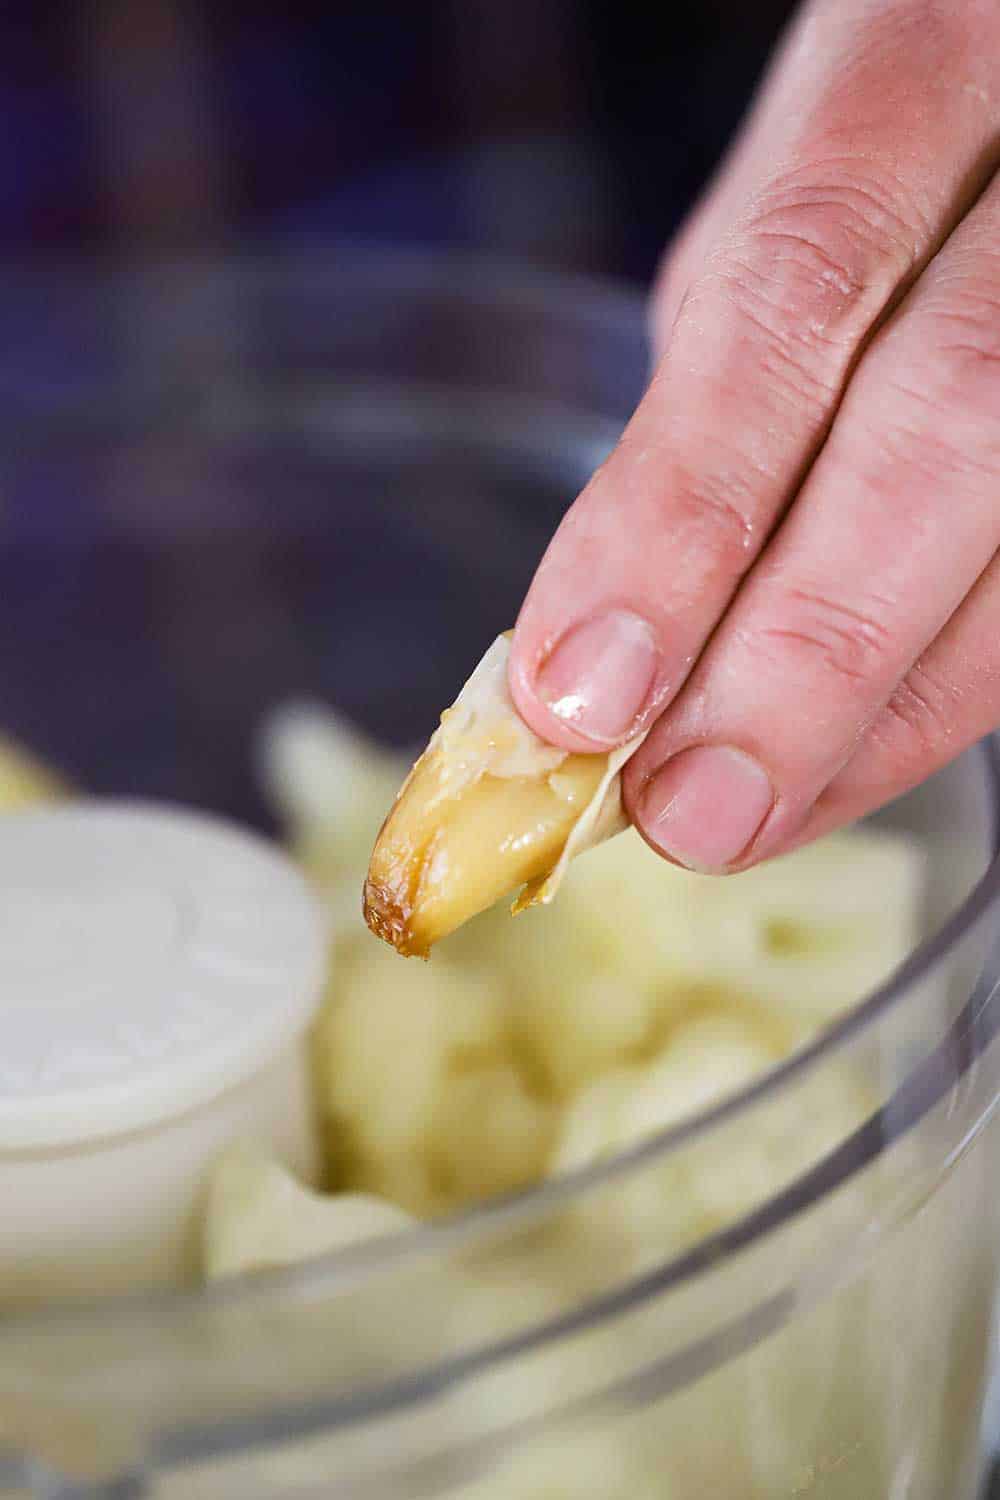
- 4 to 5 large russet potatoes about 2 lbs, peeled and quartered
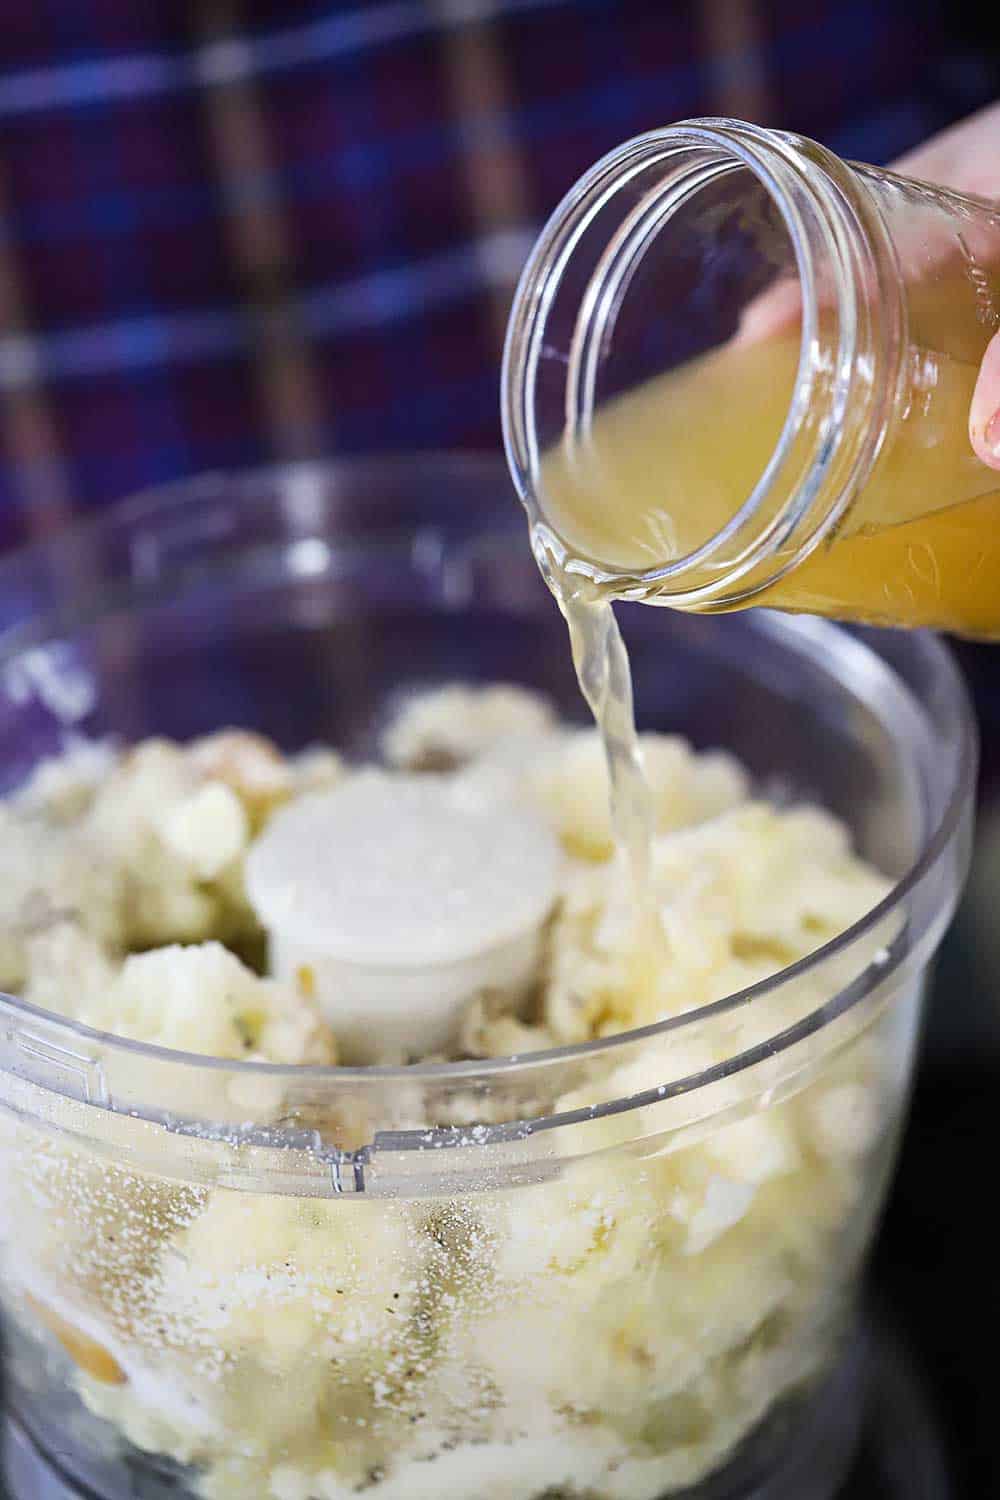
- ¼ cup half-and-half plus more for an extra creamy topping
- 6 tablespoon unsalted butter
- Kosher salt to taste, usually about 2 tsp
- 1 tablespoon fresh parsley (optional) chopped, for garnish
Instructions
Make the Meat and Veggie Filling
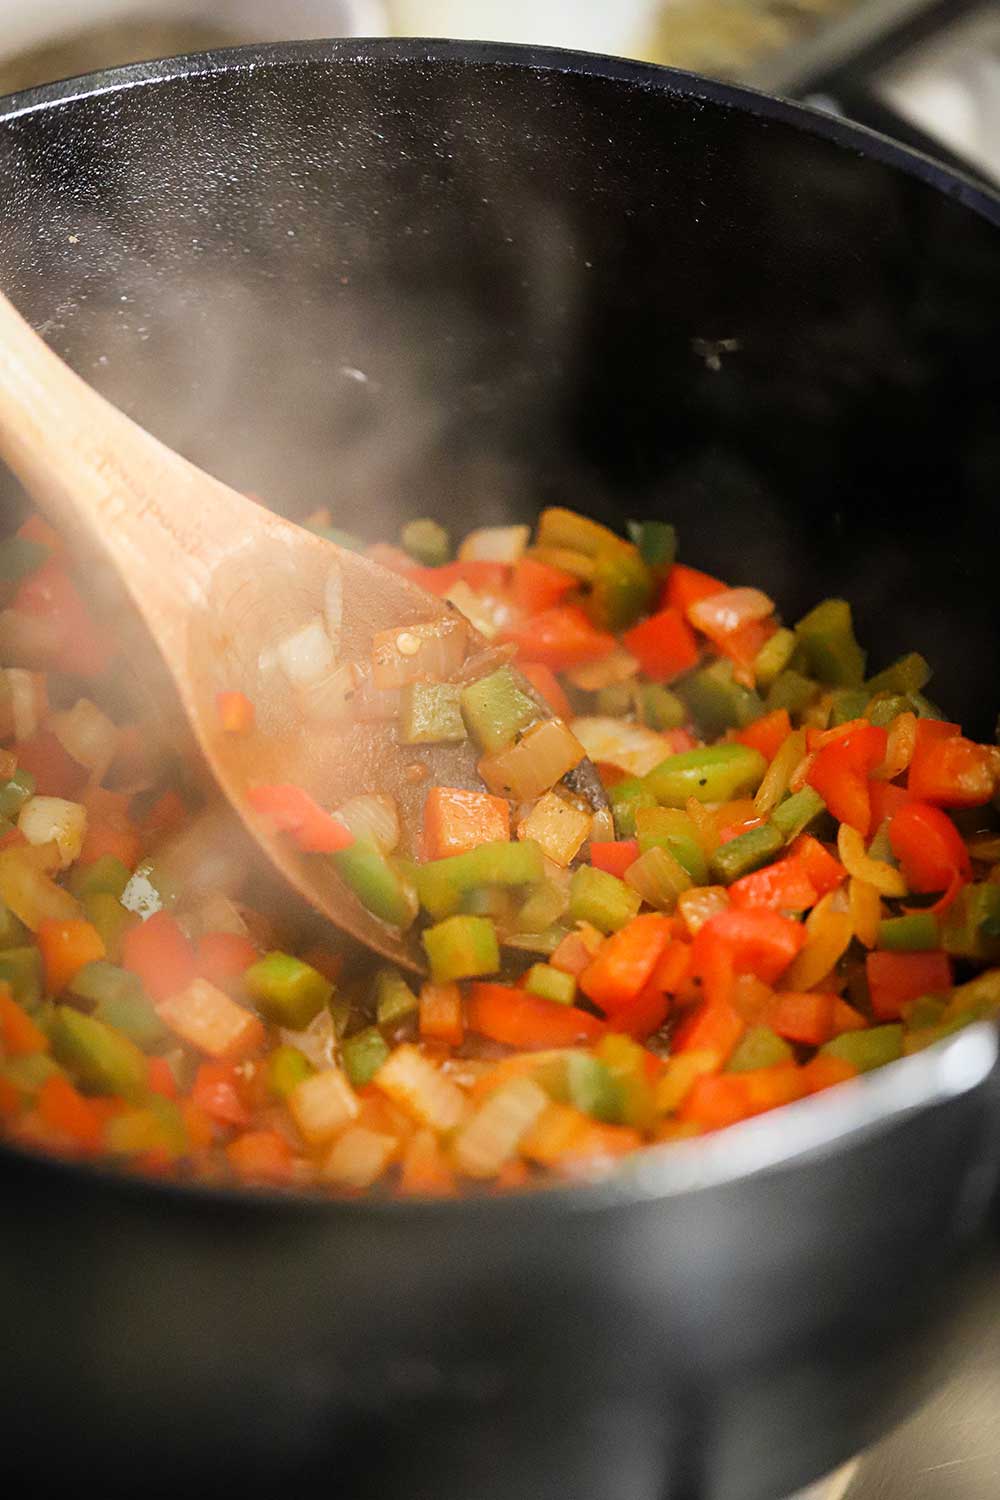
- Melt the 2 tablespoon butter in a large skillet over medium-high heat.
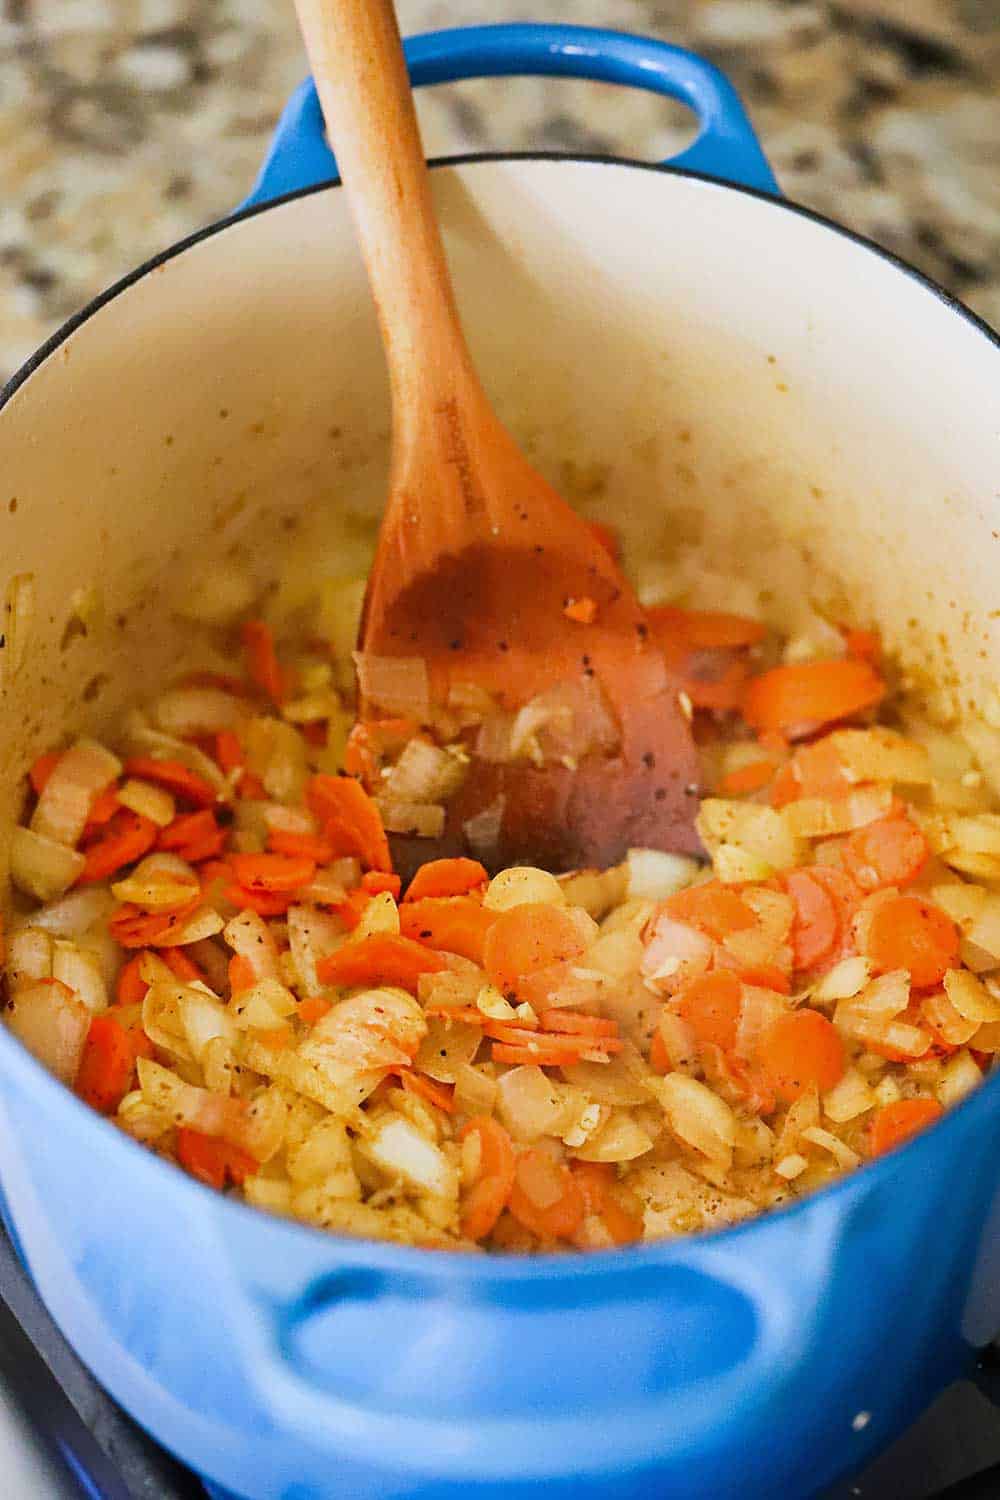
- Add the leeks, onion, and carrots and cook until softened, about 5 minutes. Add the garlic and cook for about another minute.
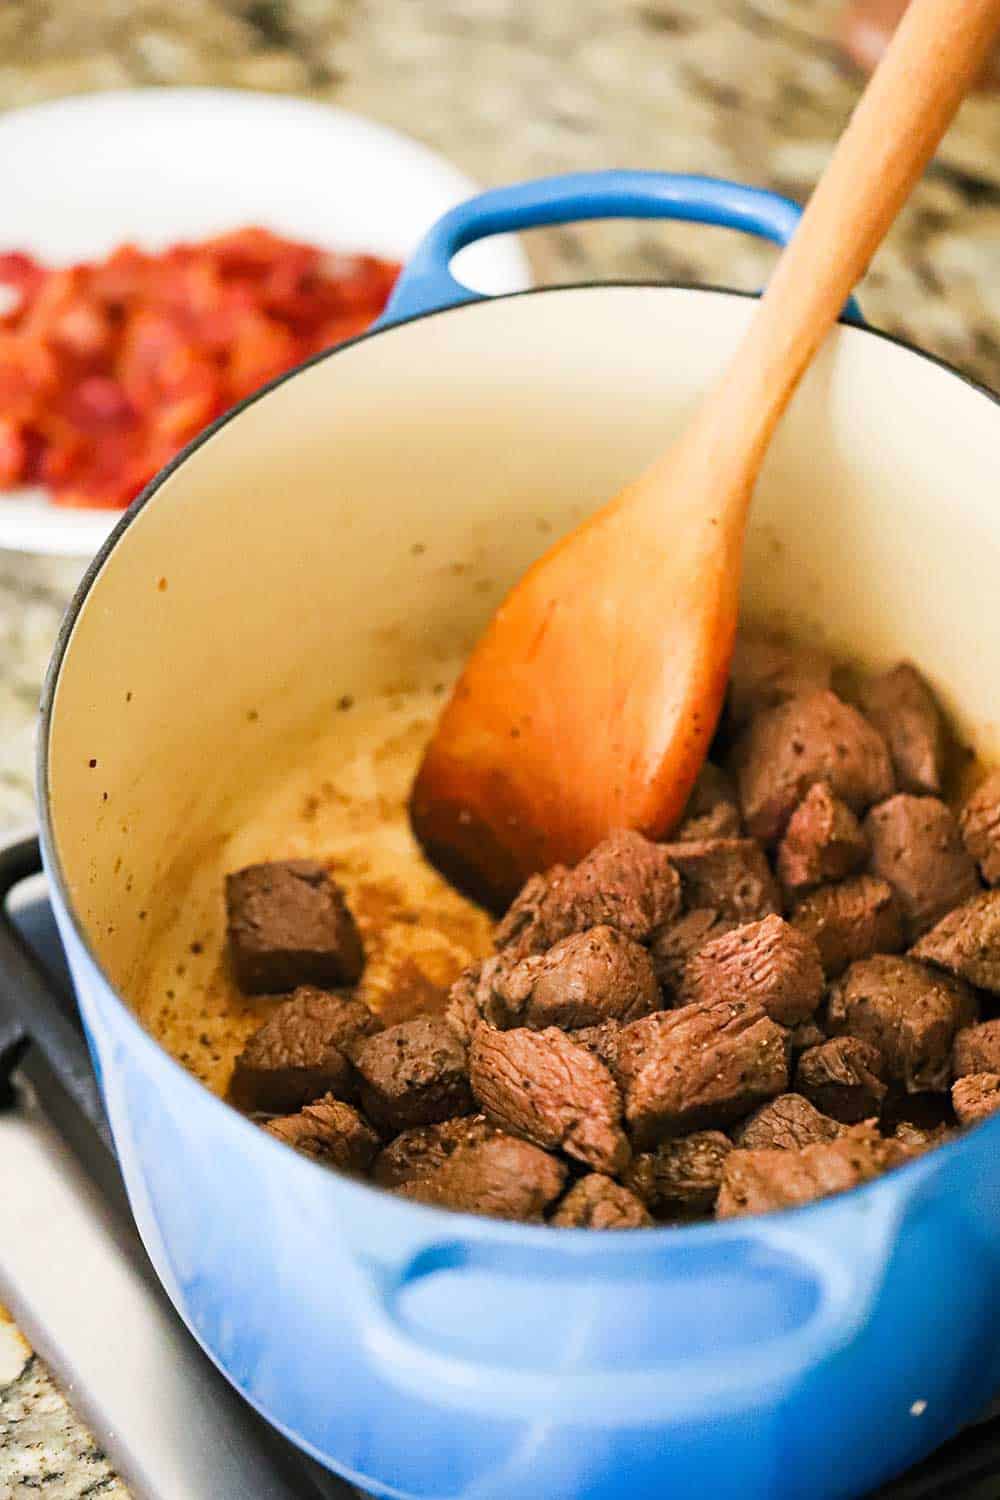
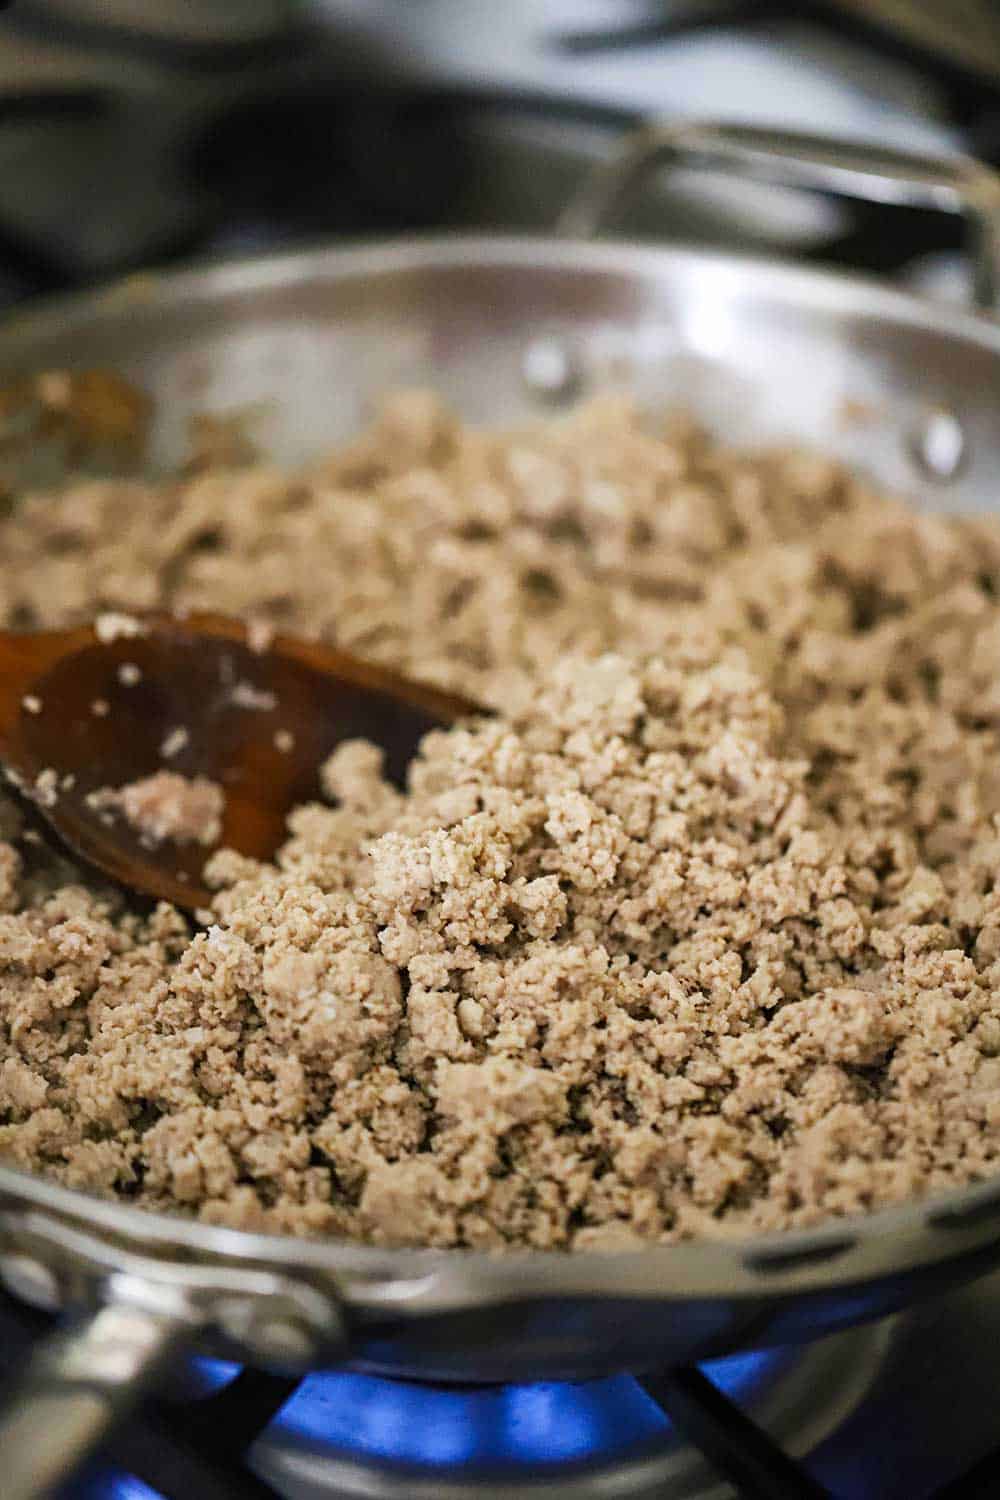
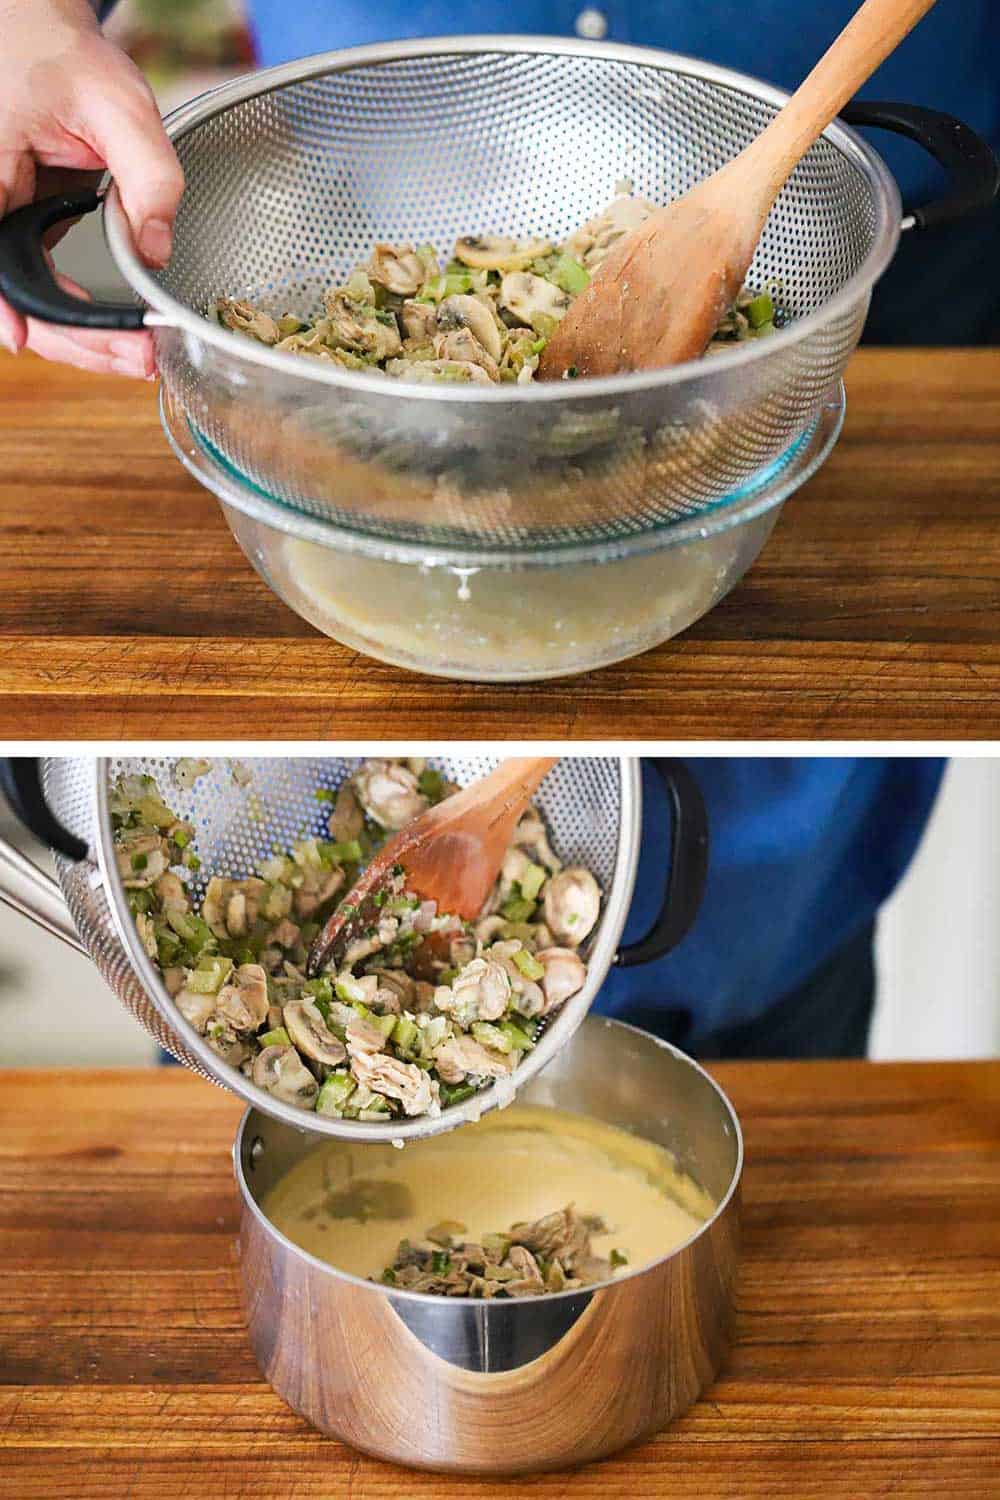
- Add the lamb to the skillet, breaking it up with the back of a wooden spoon. Cook until just no longer pink. If too much fat has rendered, carefully tip the skillet to one side and use a large spoon to scoop out most of the grease.
- Season with salt (1 tsp) and pepper (½ tsp).
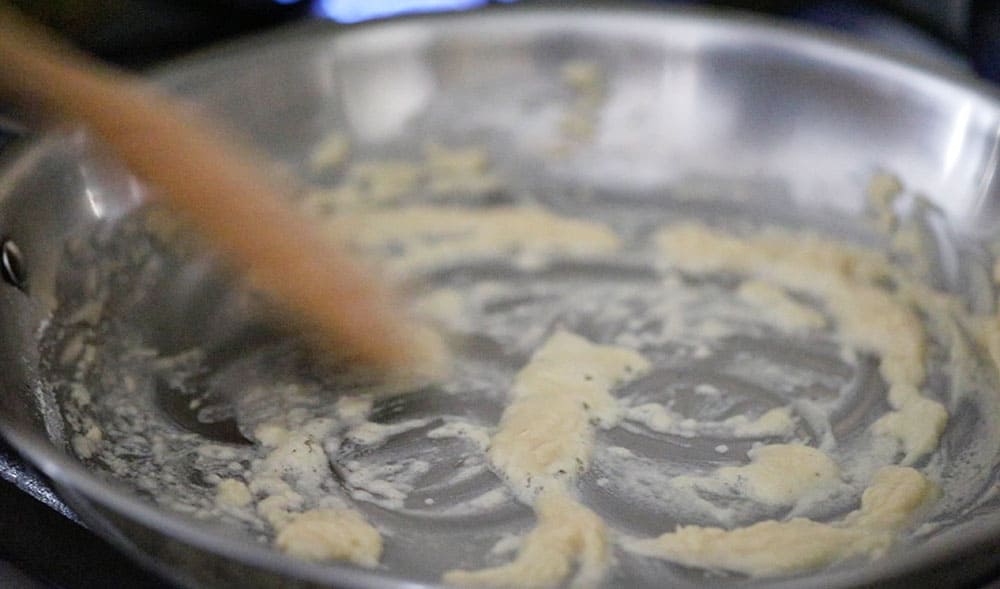
- Sprinkle the flour over the meat and then add the tomato paste, stirring to incorporate into the meat mixture, about 1 minute.
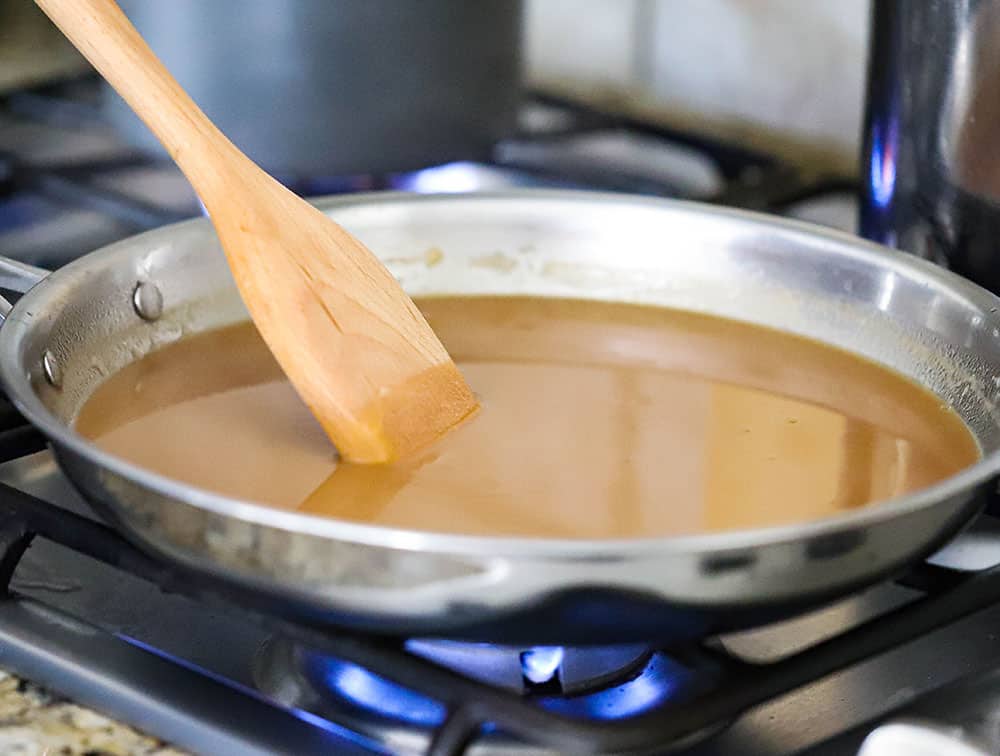
- Whisk in the stock and Worcestershire sauce and then add the thyme, rosemary, and nutmeg.
- Increase heat and bring to a boil. Lower the heat and simmer for 10 minutes, until the sauce has thickened somewhat.
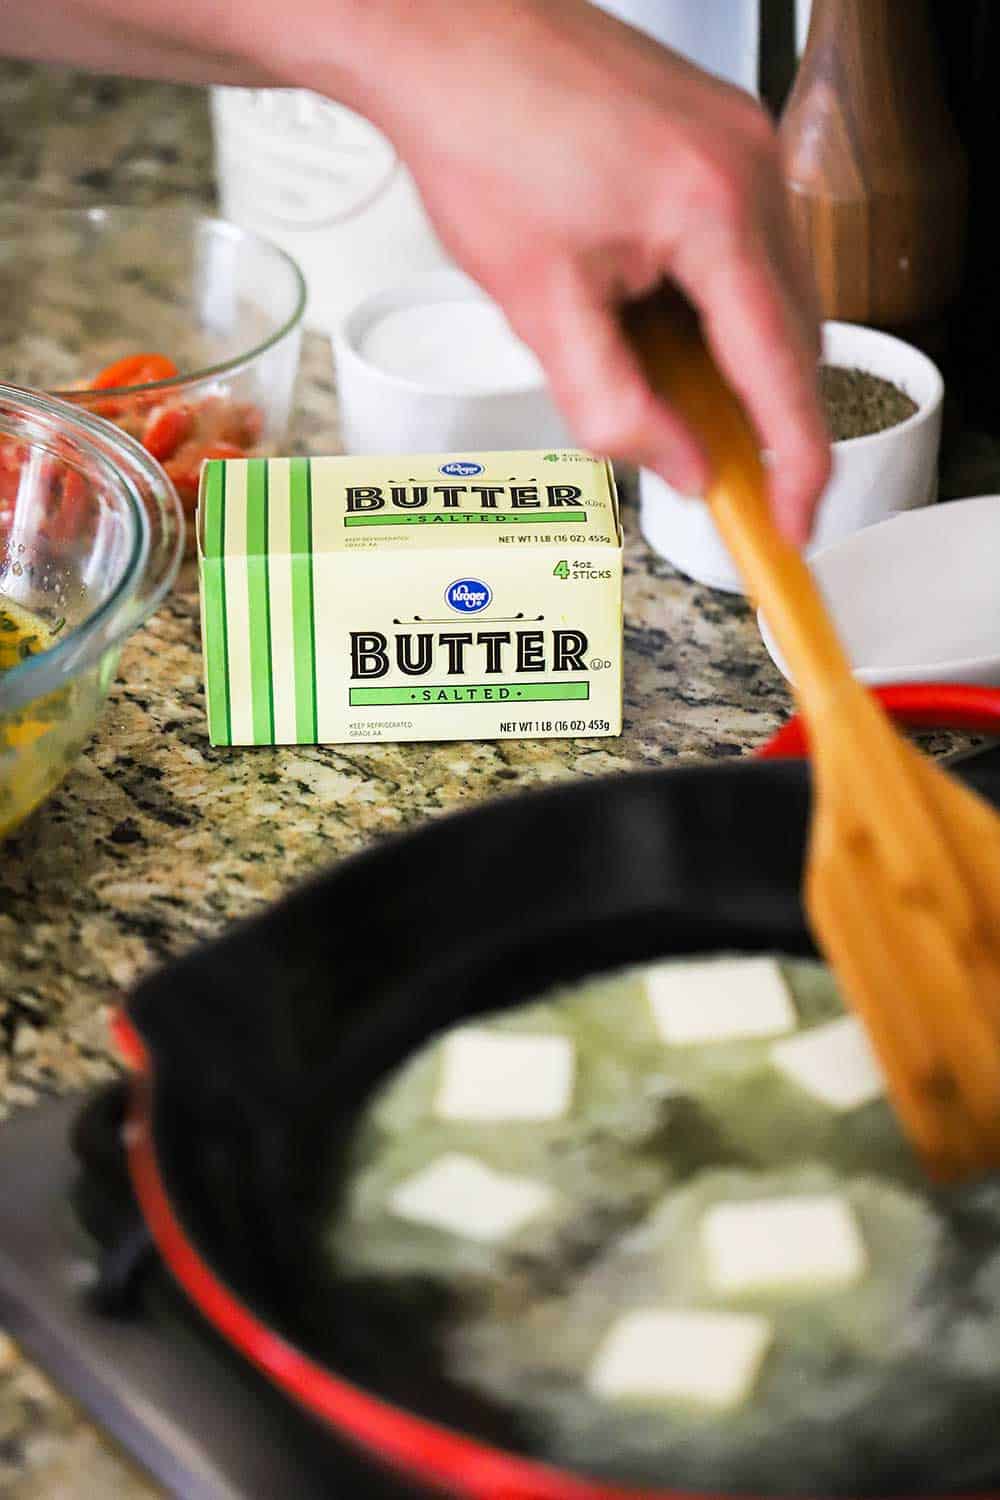
Make the Potato Topping
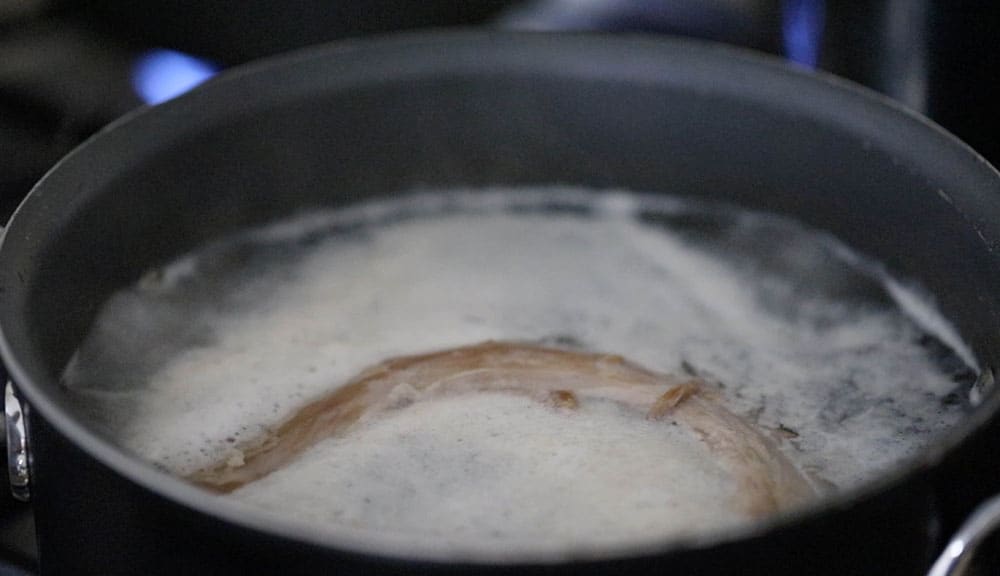
- Meanwhile, place the potatoes into a large pot and cover them with salted water (about 2 tablespoon of salt). Bring to a boil over high heat.
- Simmer for 20 minutes, or until potatoes are cooked and easily pierced with the tip of a sharp knife.
- Drain and add the potatoes to a large bowl. Add the half-and-half, butter (6 tbsp), salt, and pepper, and mash with a hand mixer, or potato masher until smooth. Taste and add more salt, if necessary.
Assemble and Bake the Dish
- Preheat oven to 375°F.
- Stir in the corn and peas into the meat mixture.
- Layer the meat mixture into a 2-quart baking dish (11"x7" works well).
- Top with the potatoes, spreading them so they touch (and seal) the sides of the dish and are even all over. Use the back of a spoon to smooth and create swirls and little wisps.
- Bake for 30 minutes, or until bubbling and the wisps have slightly browned. If you desire the potatoes to brown a little more, place the dish under the broiler (on high) for about 1 to 2 minutes. (Keep an eye on them as broilers vary).
- Remove from oven and let rest for 10 minutes on a rack. Garnish with chopped parsley on top, if desired.
Video
Notes
Nutrition
POST UPDATE: This recipe was originally published in March 2018, but was updated with improved tweaks to the recipe and a fabulous new video in March 2021!