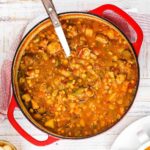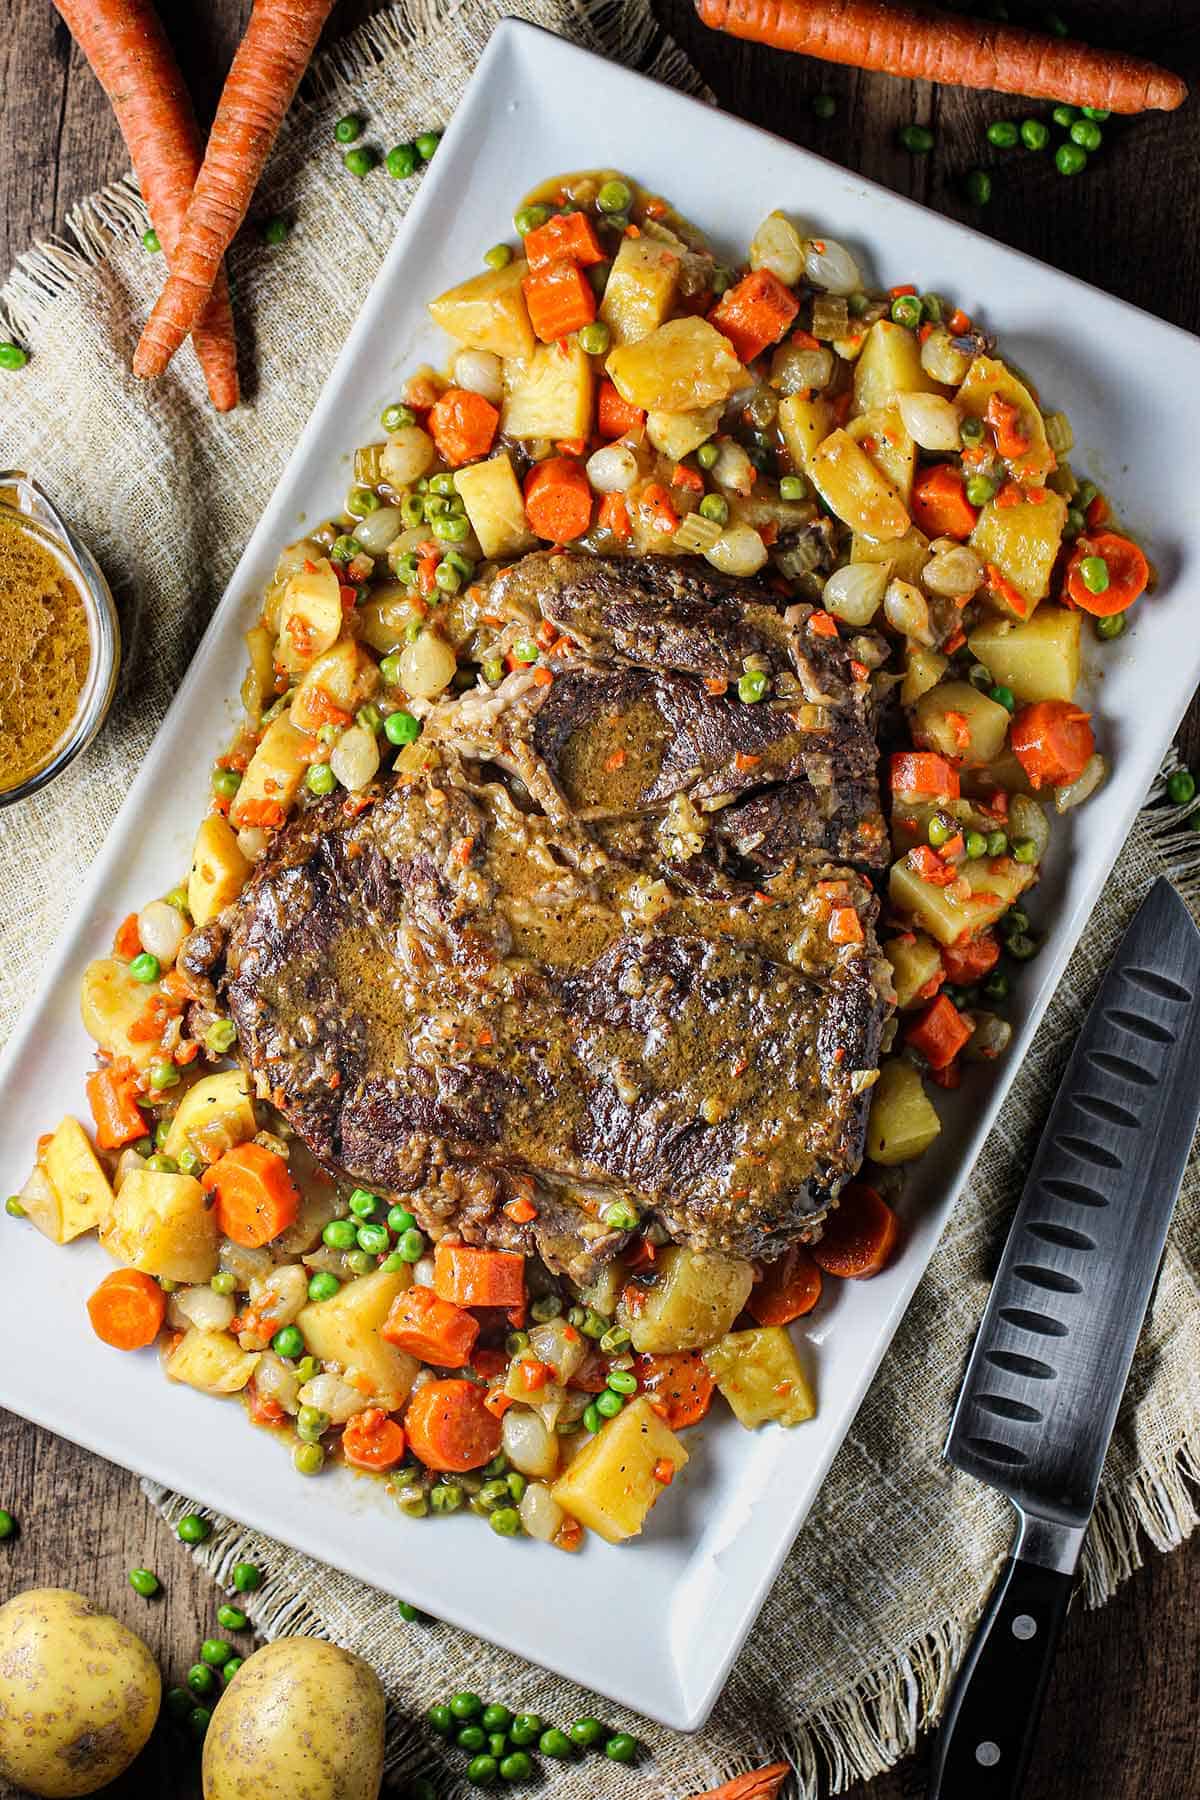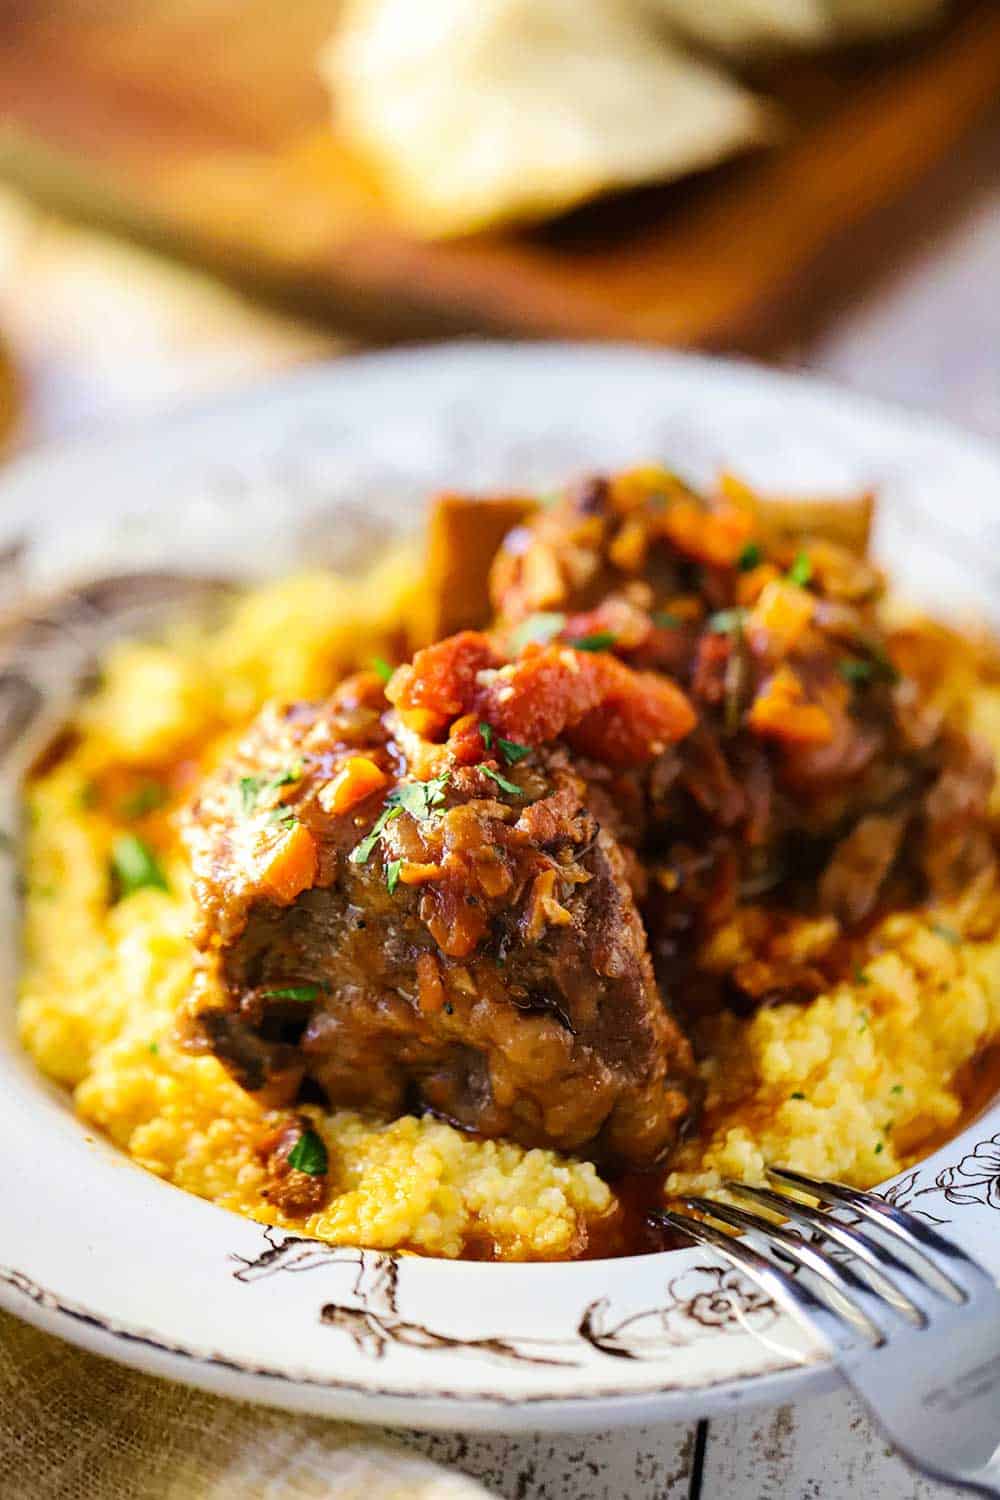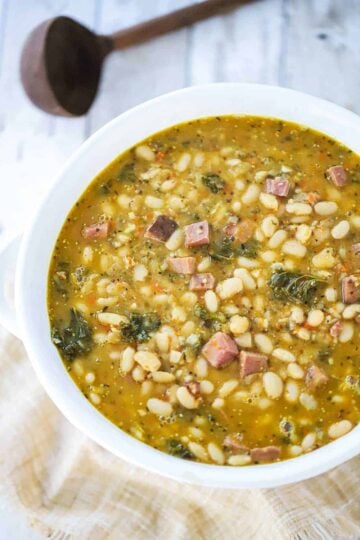
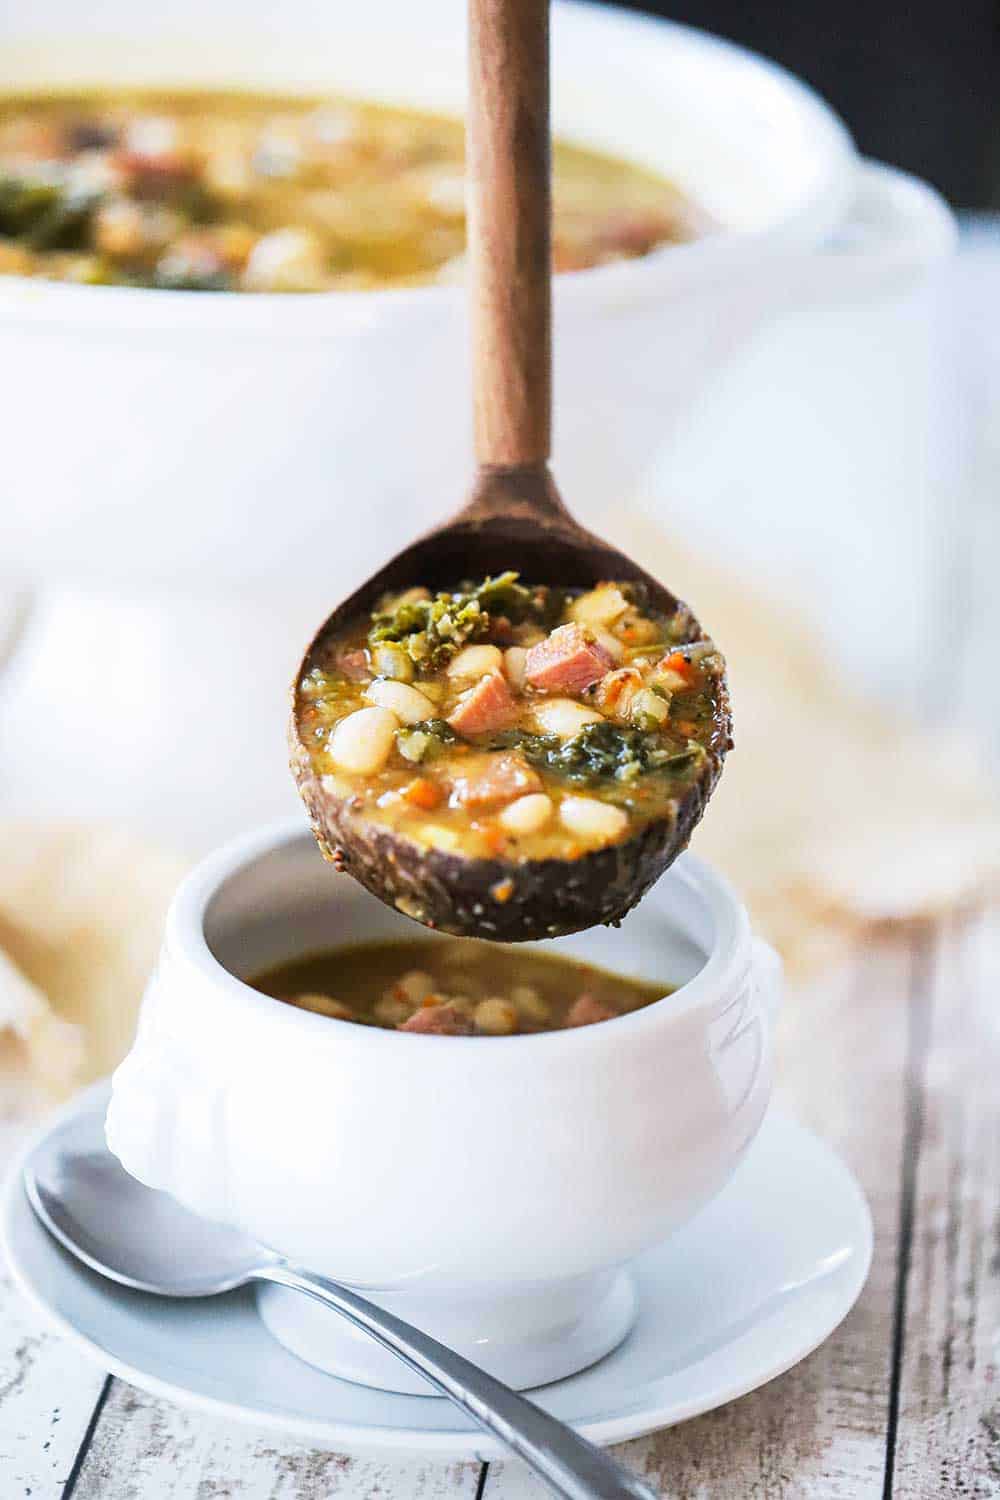
This is truly one of the most heart-warming and comforting stews that we’ve ever made and served.
The flavors are deep and it all comes together in less than 2 hours. We show you the tips for keeping it slightly thinner and more like a soup, or how to thicken it enough to stick to your ribs. We love this served with our Homemade Country White Bread. Pure comfort!
VIDEO ALERT: Be sure to check out the video for this recipe in the recipe card. If you like the video, subscribe to our YouTube Channel!

How To Make Smoked Ham and White Bean Stew
There is no doubt about it, this stew has been a classic in our home for quite some time now.
And it really quite easy to prepare!
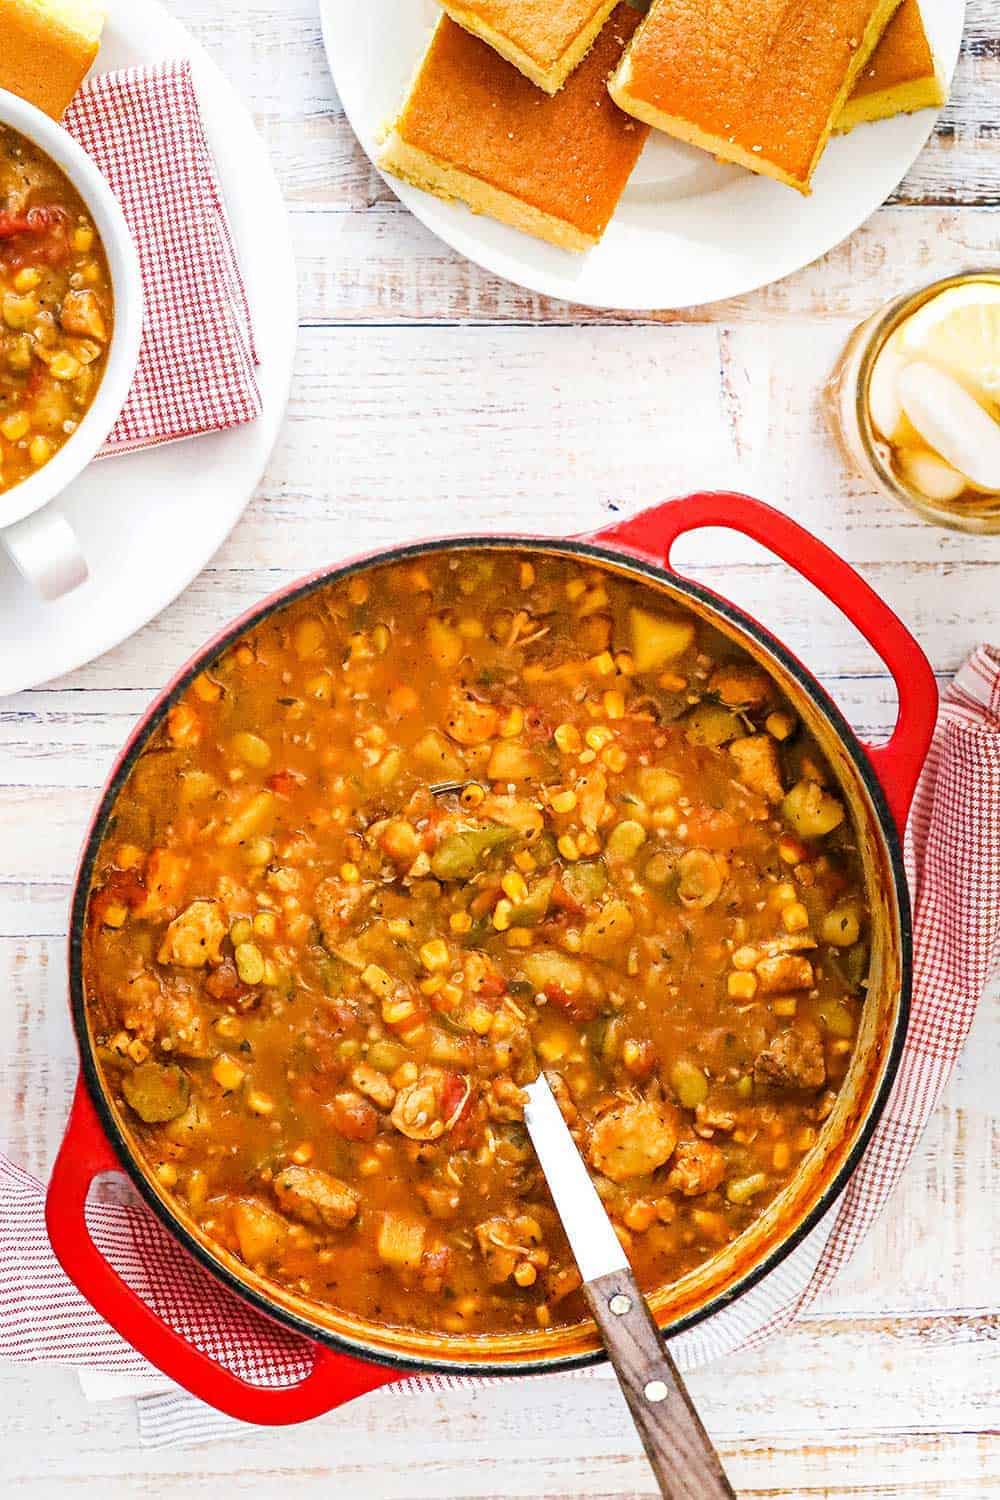
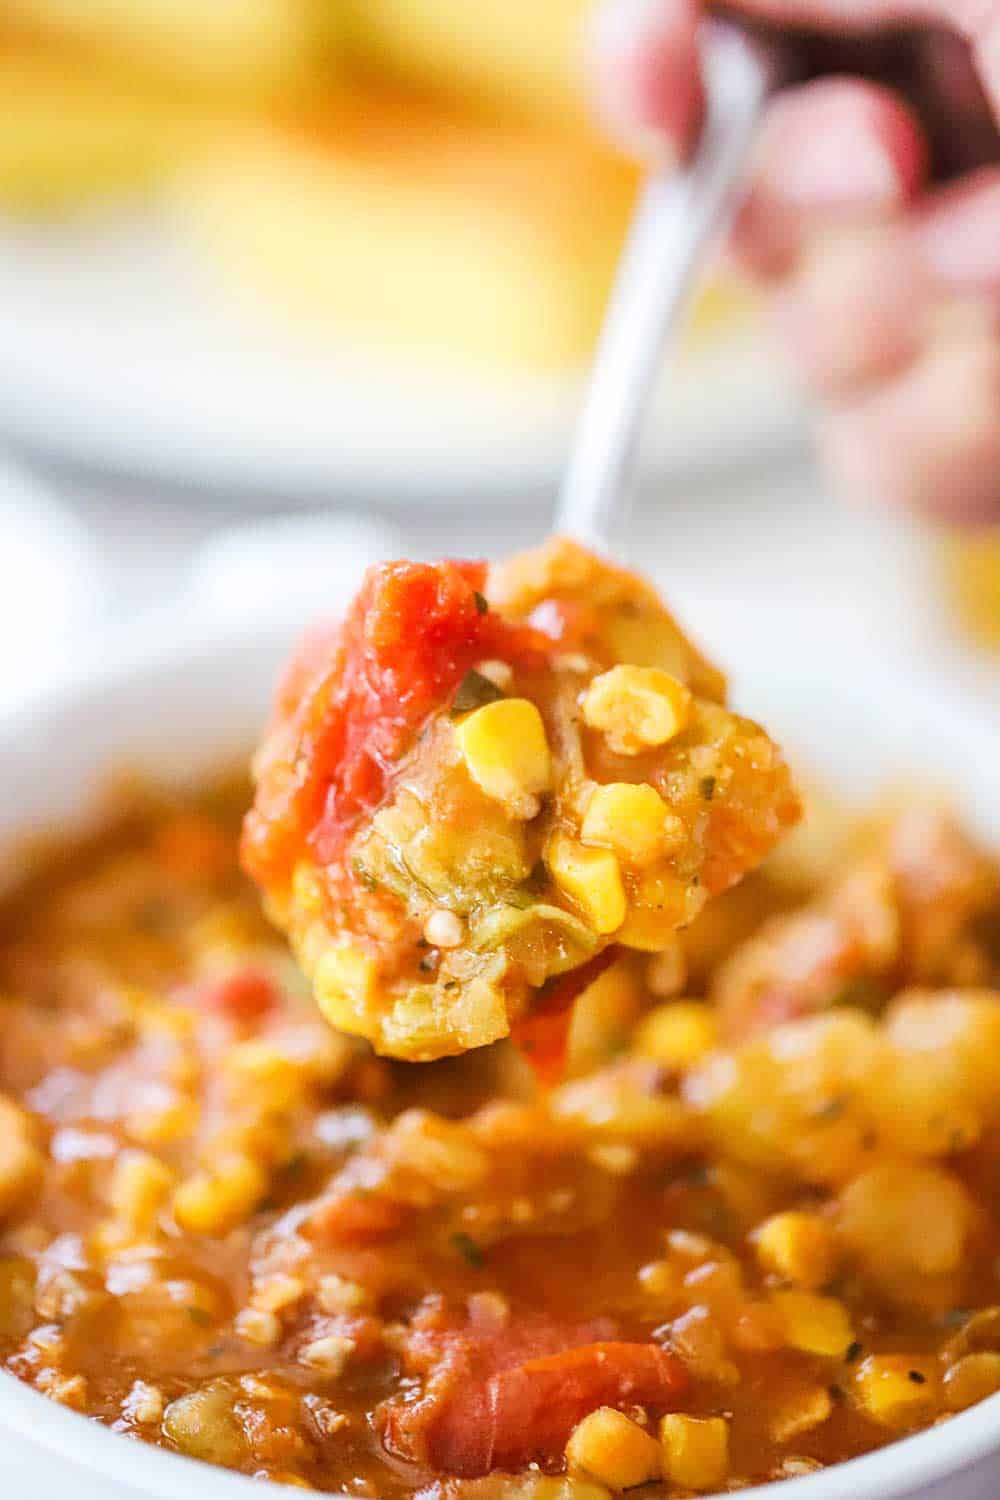
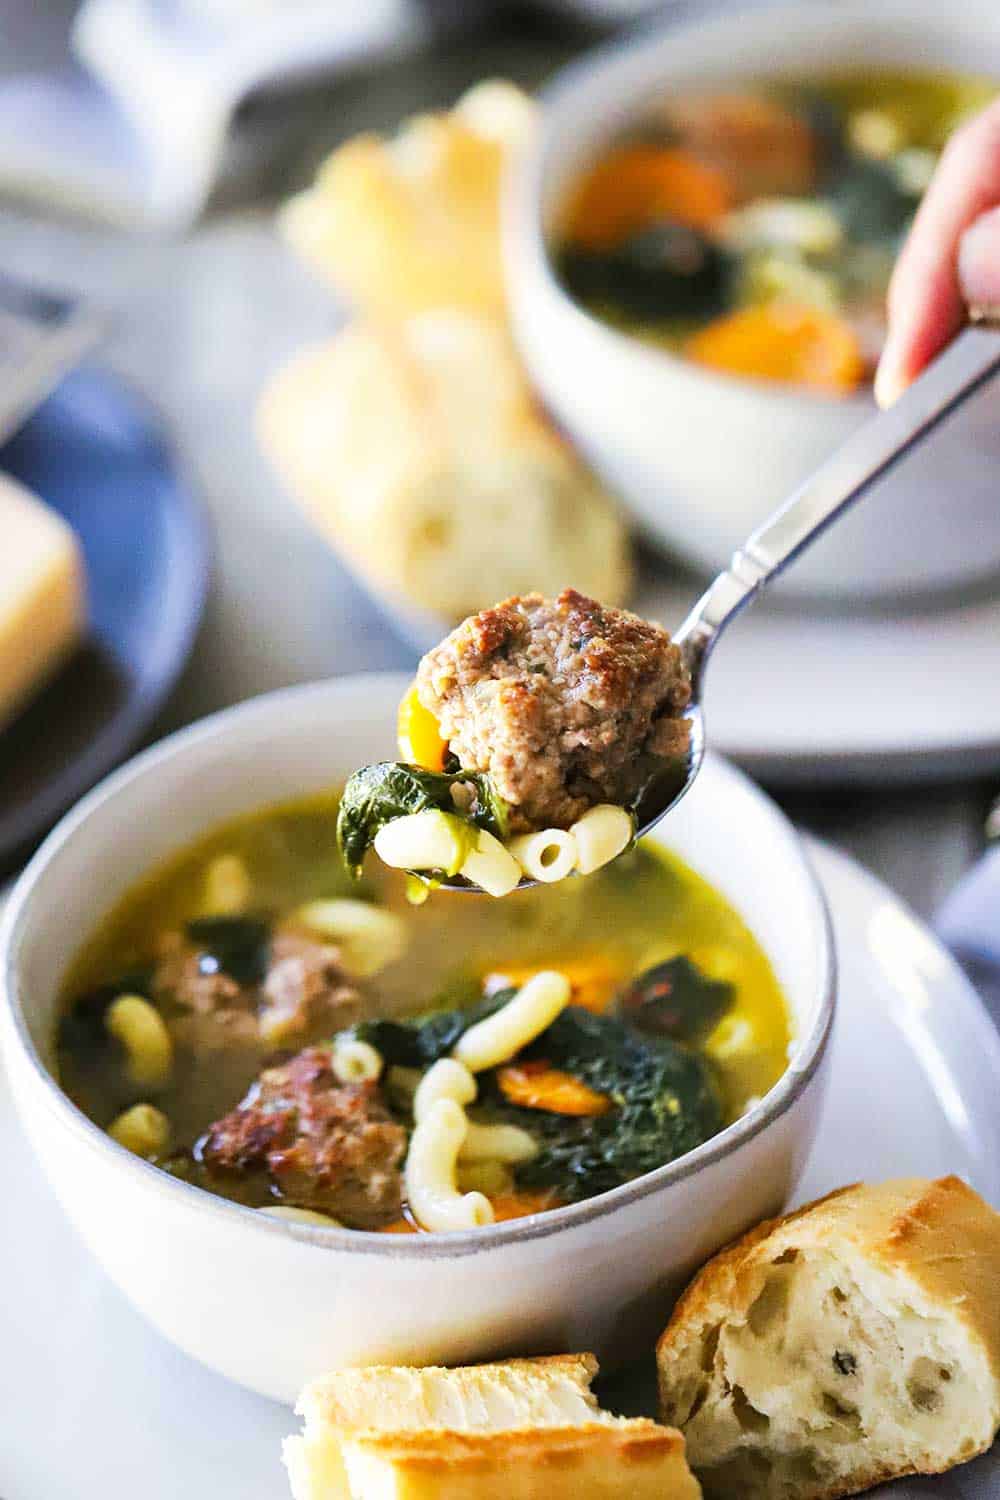
This stew is a wonderful combination of vegetables, ham, beans, broth, and amazing herbs.
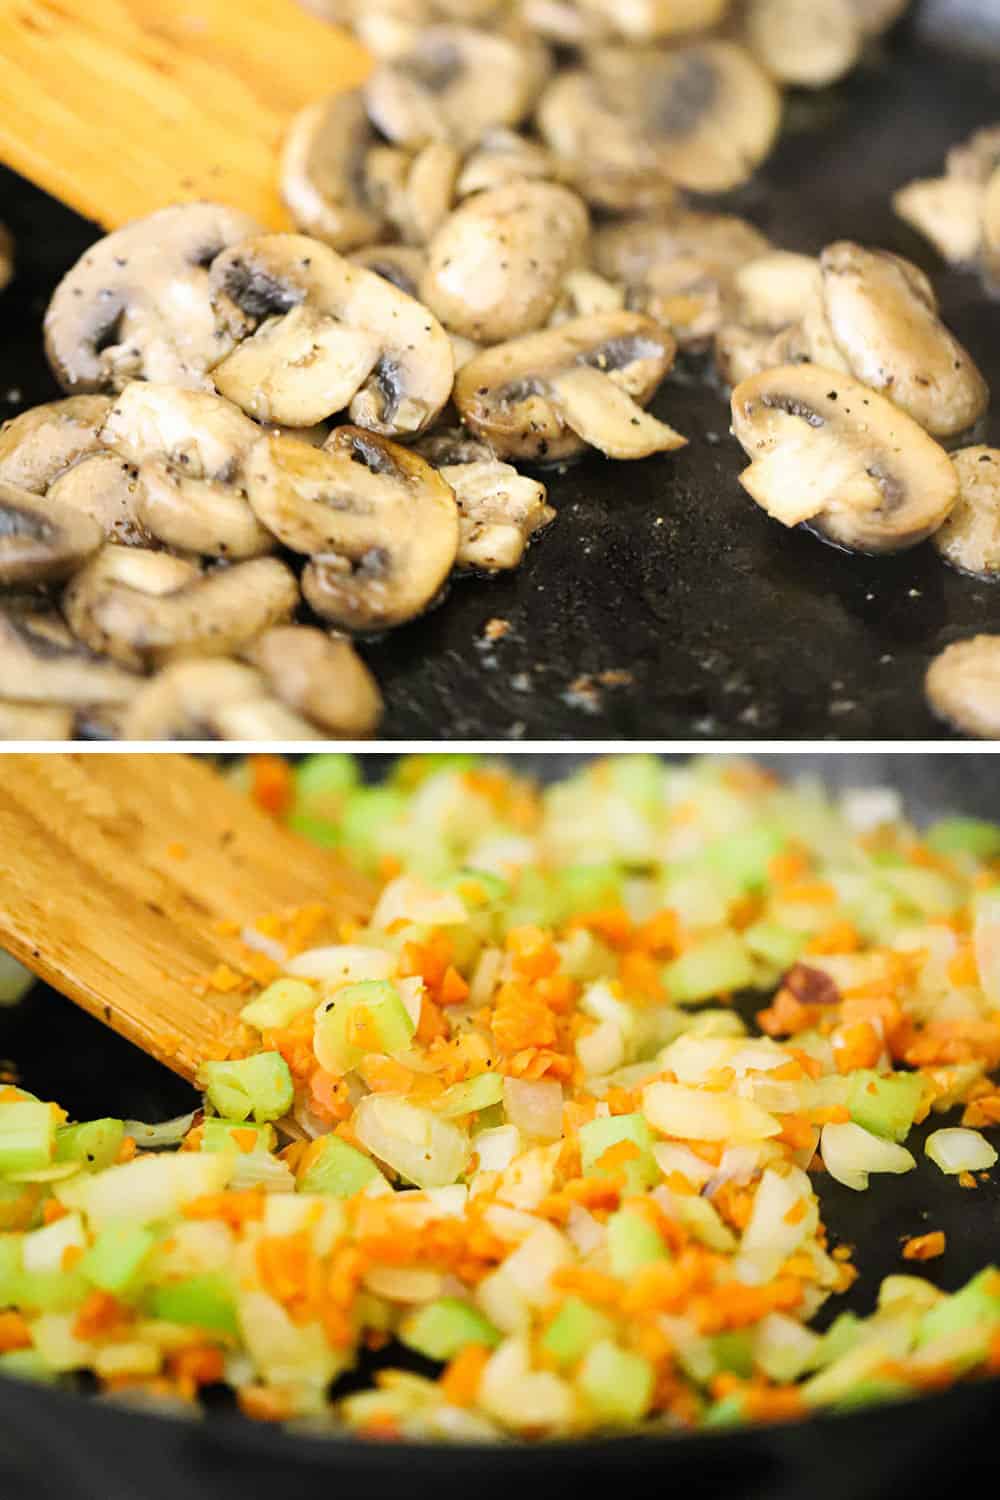
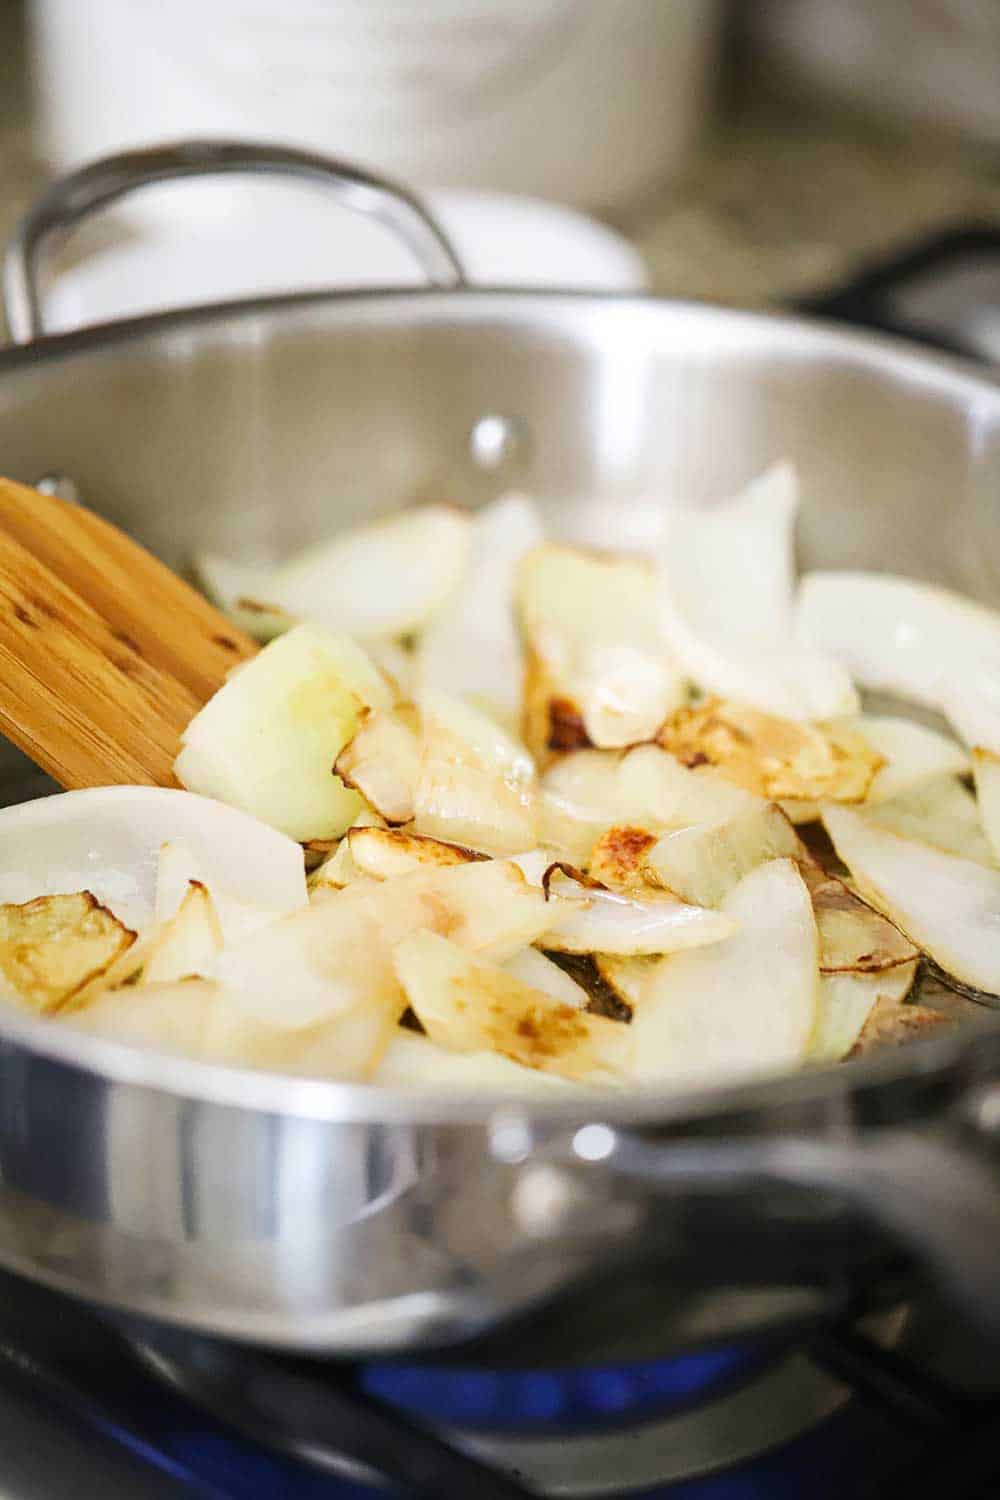
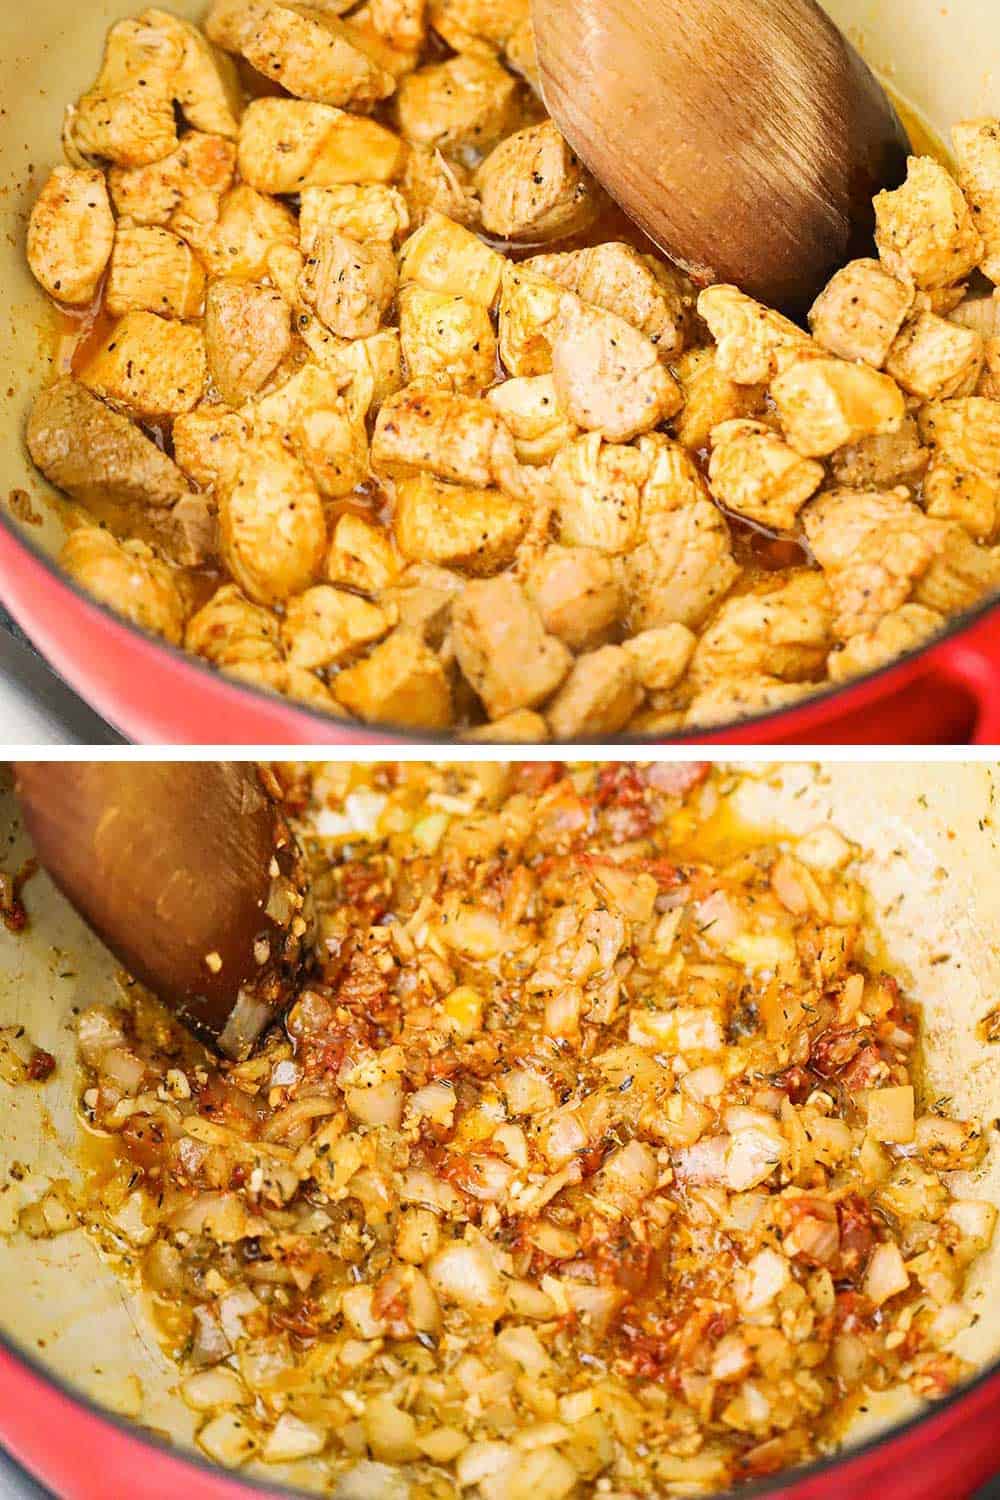
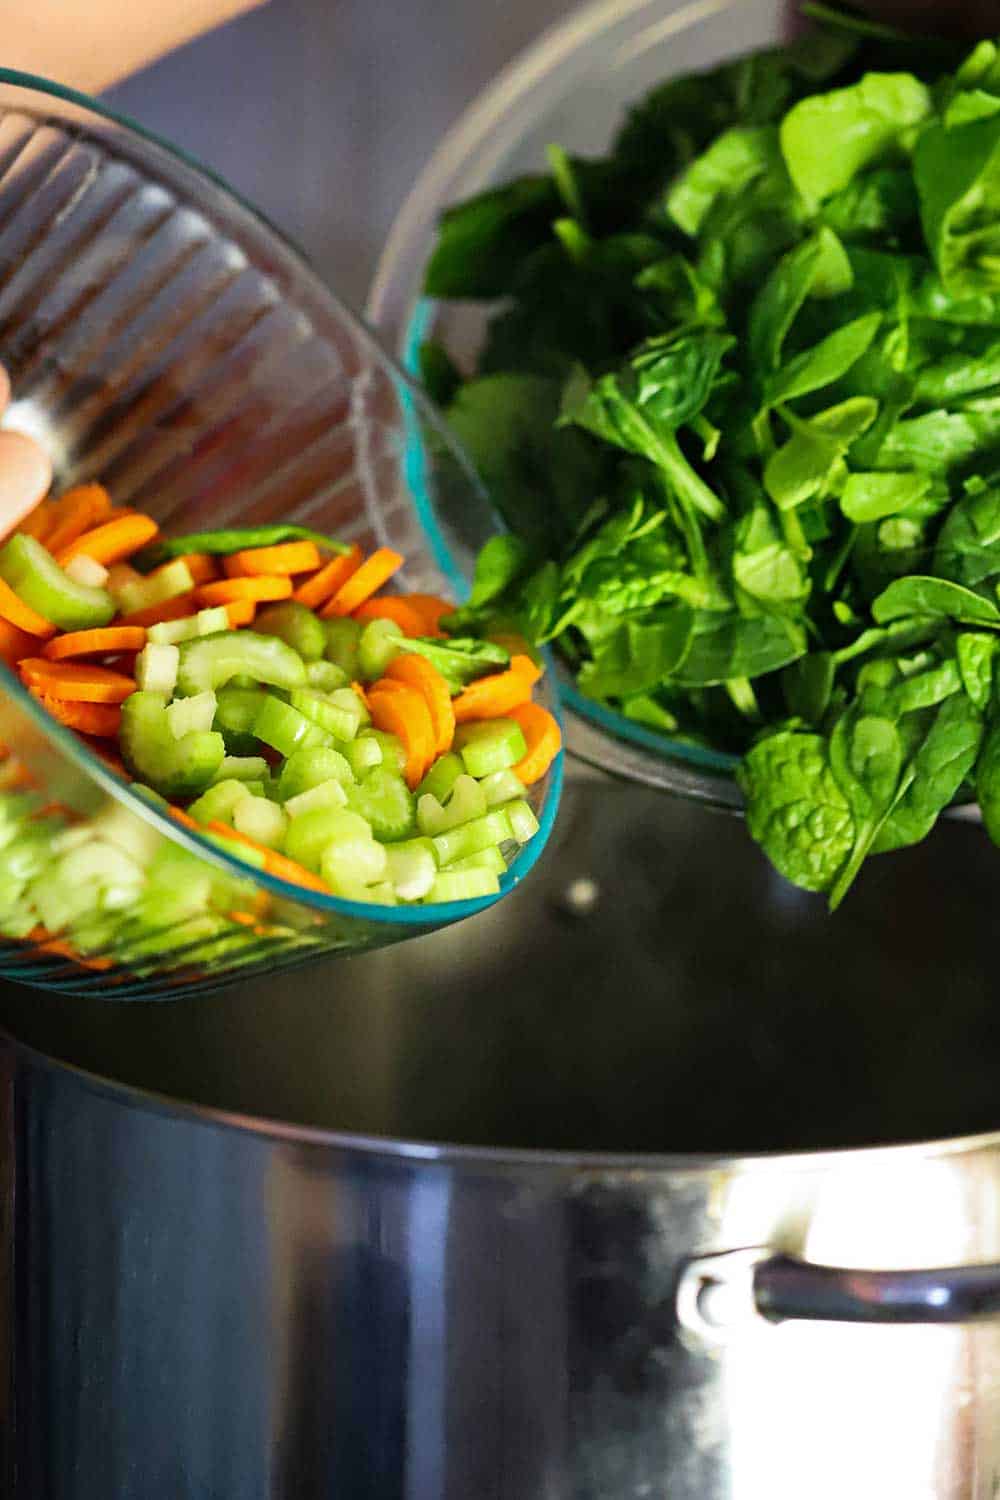
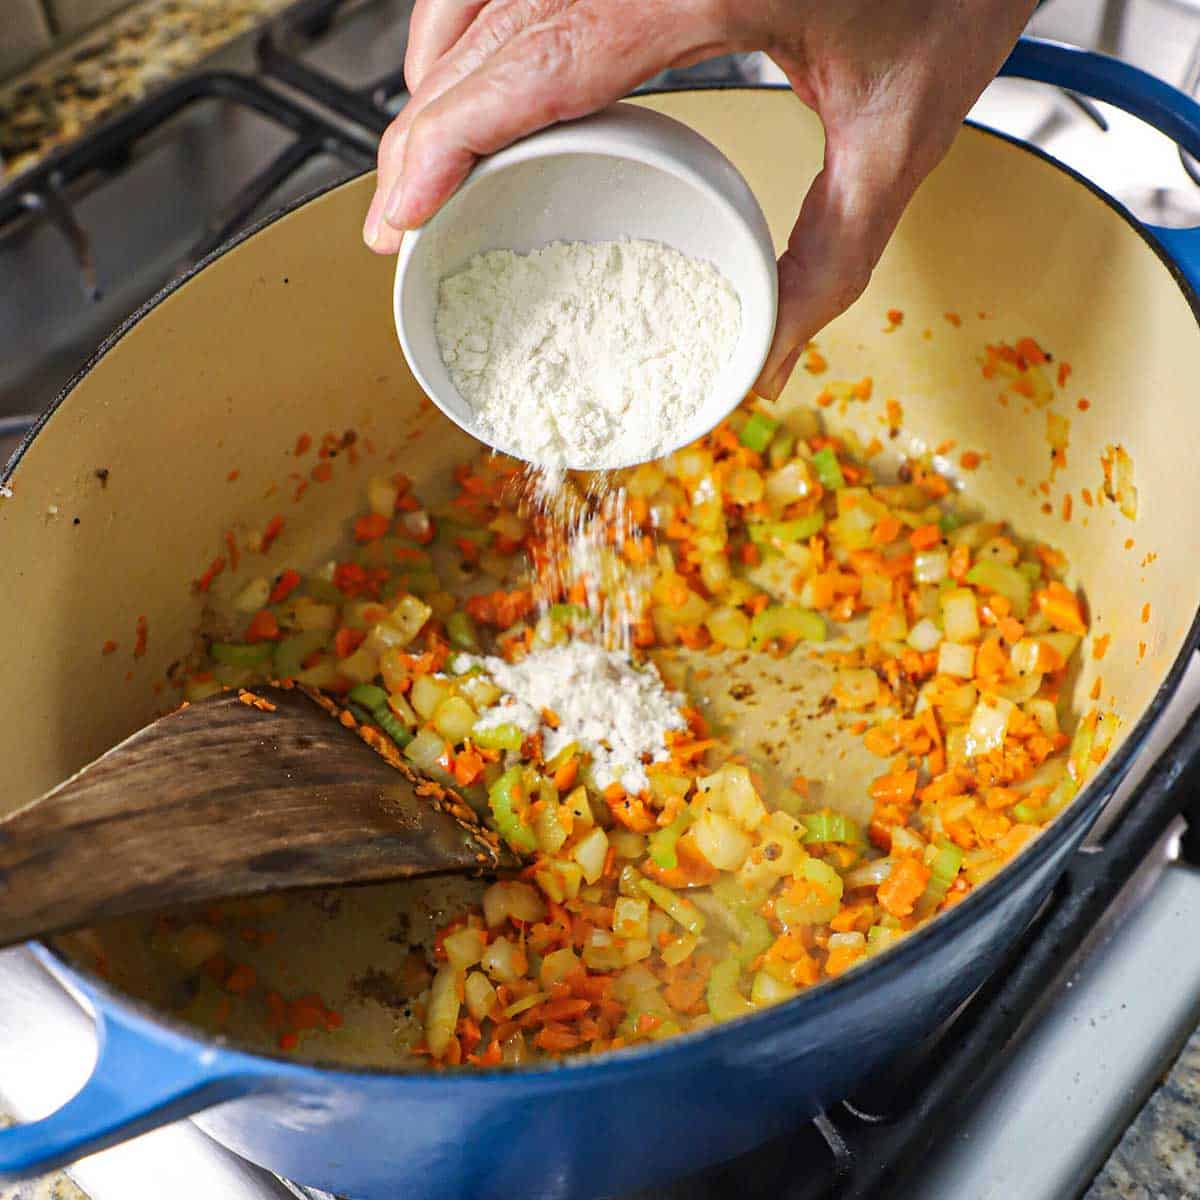
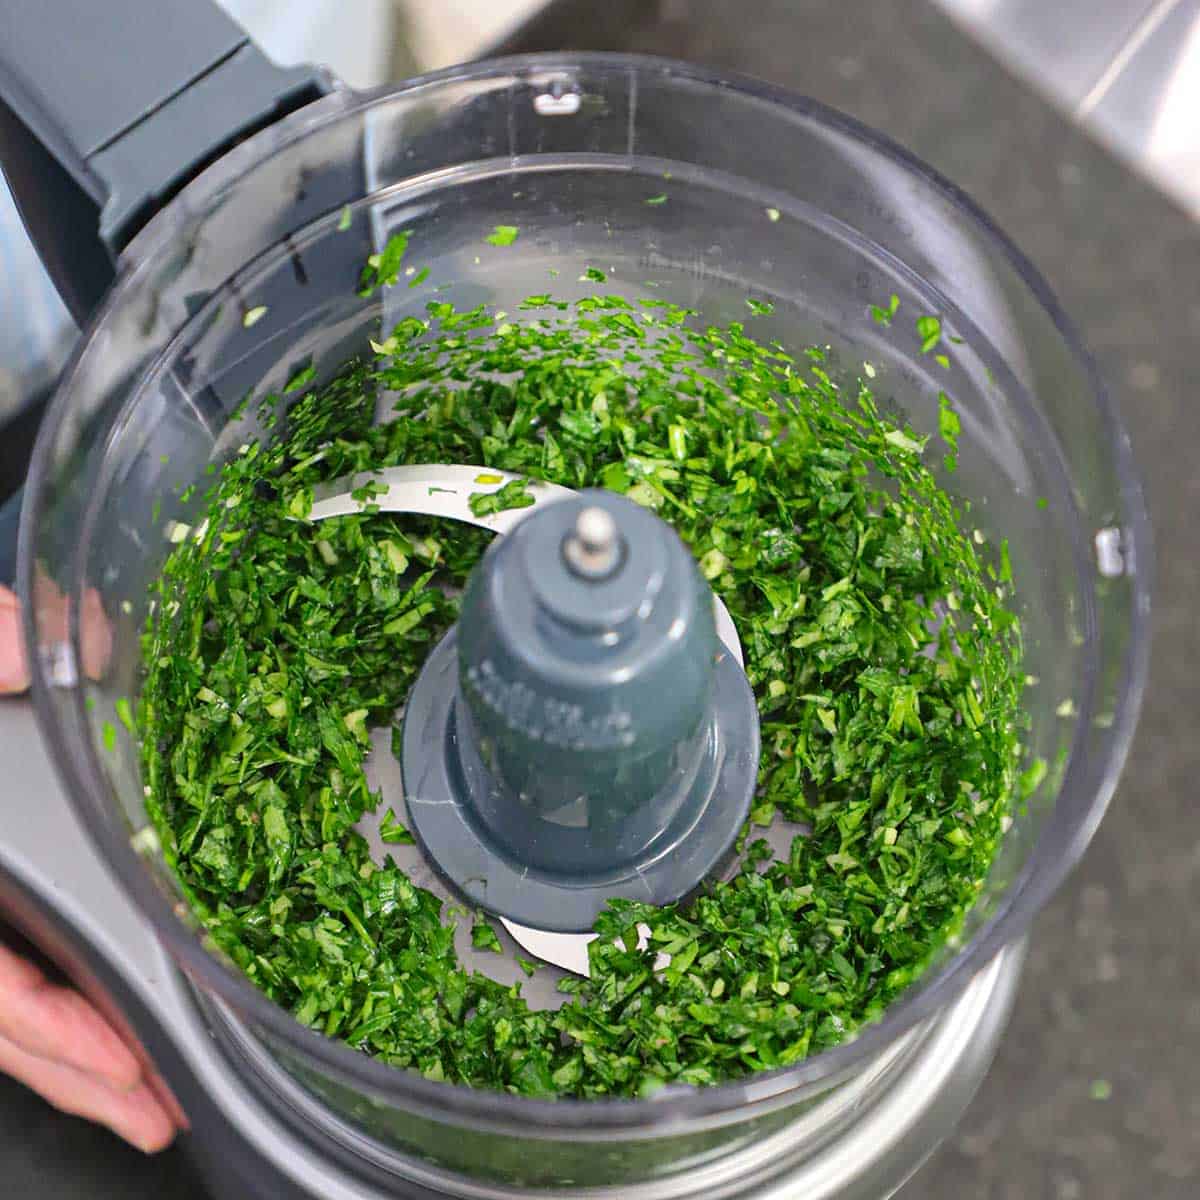
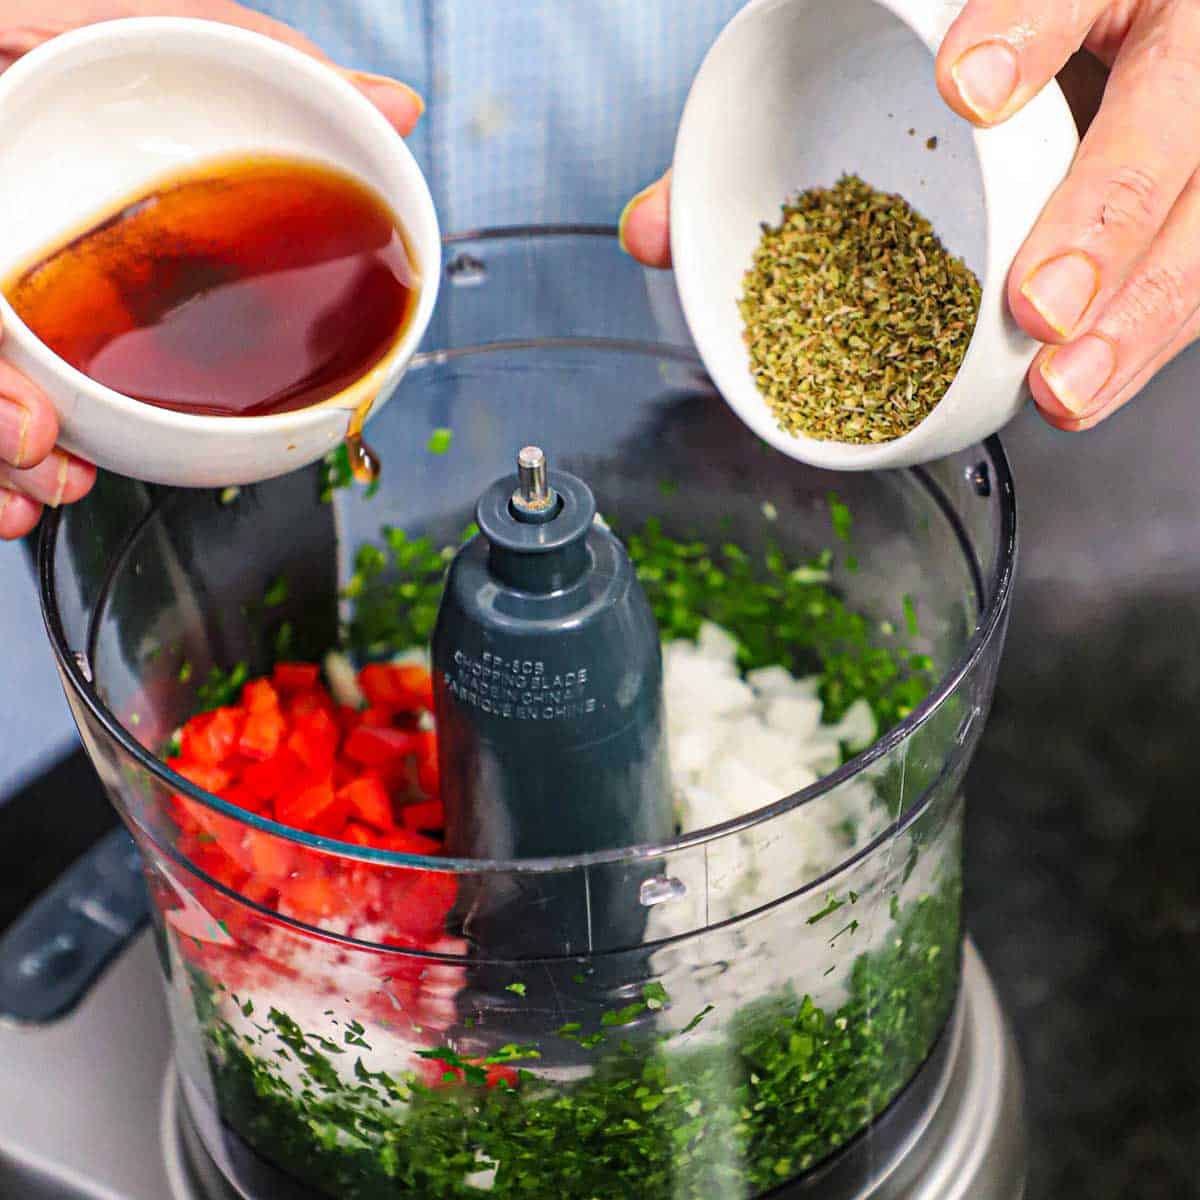
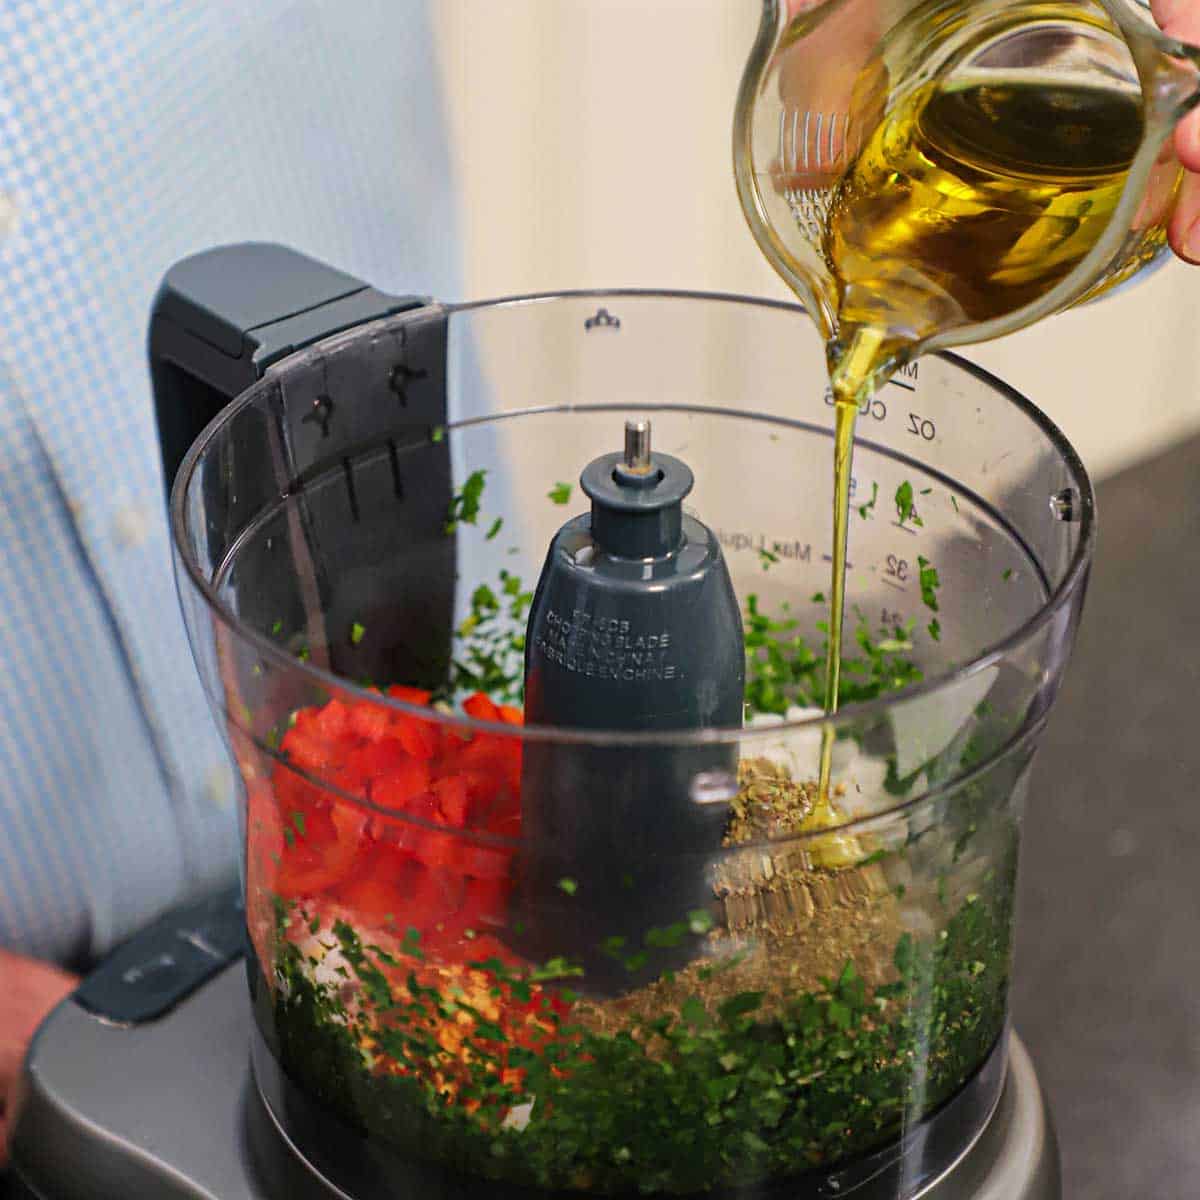
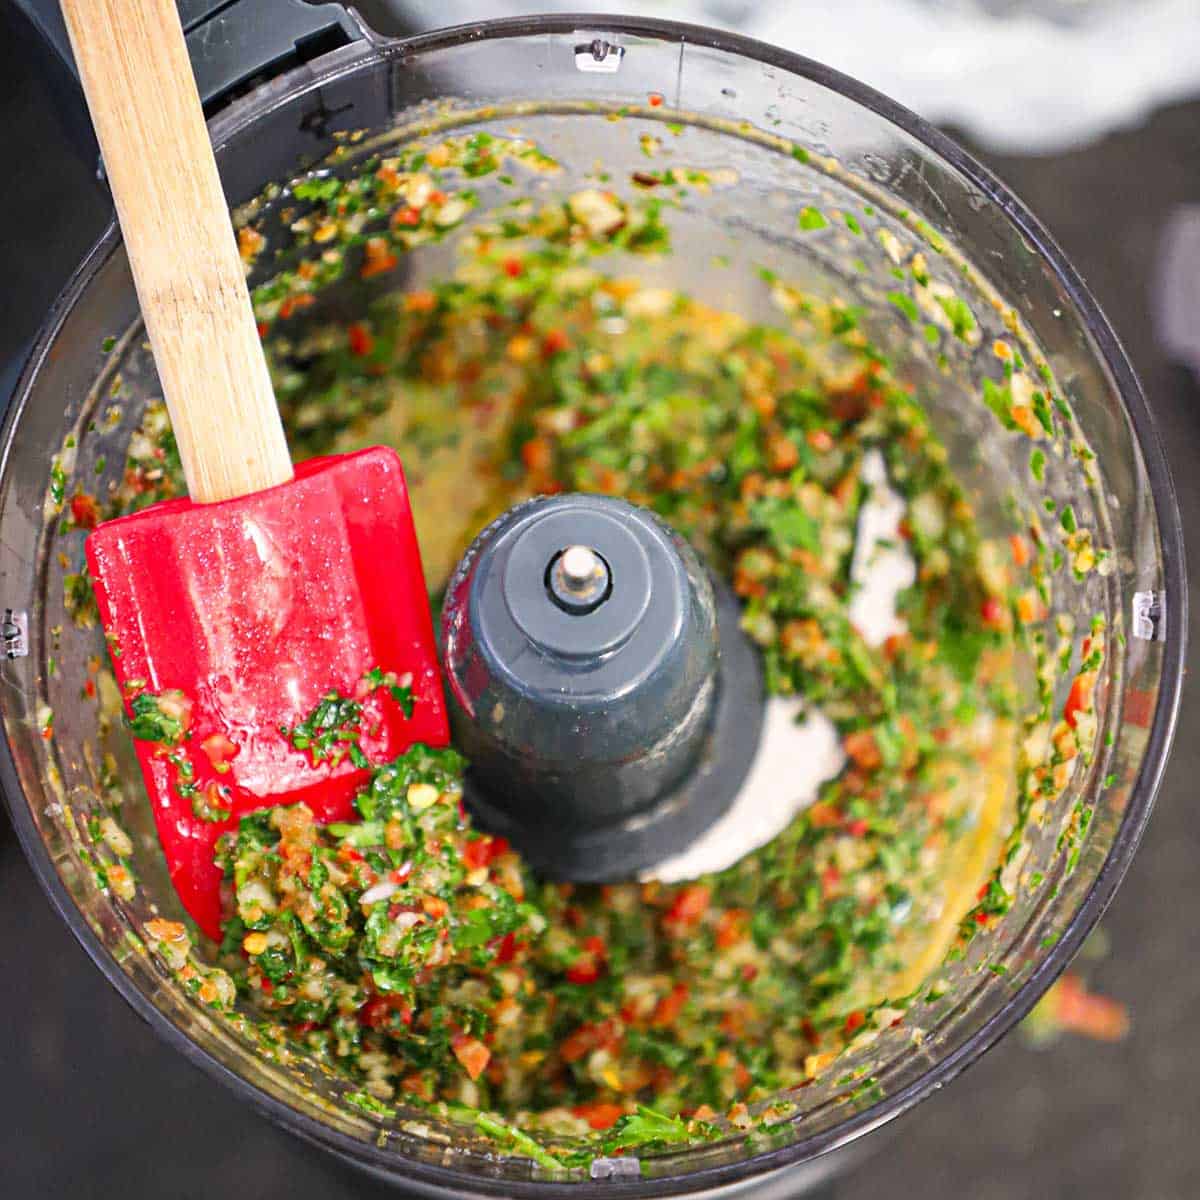
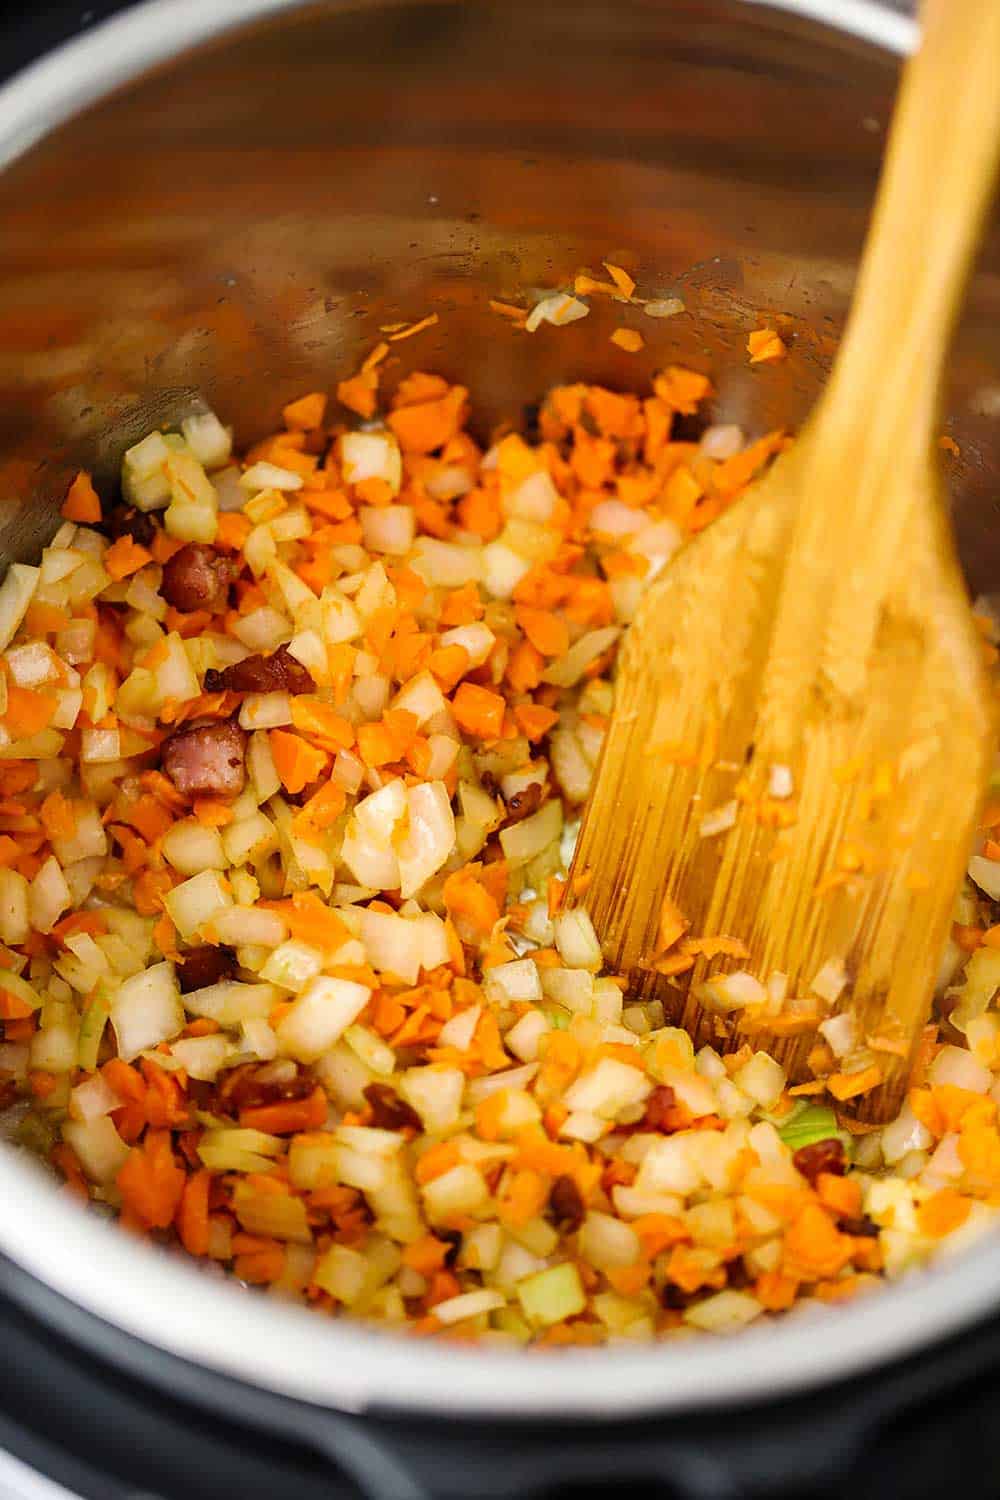
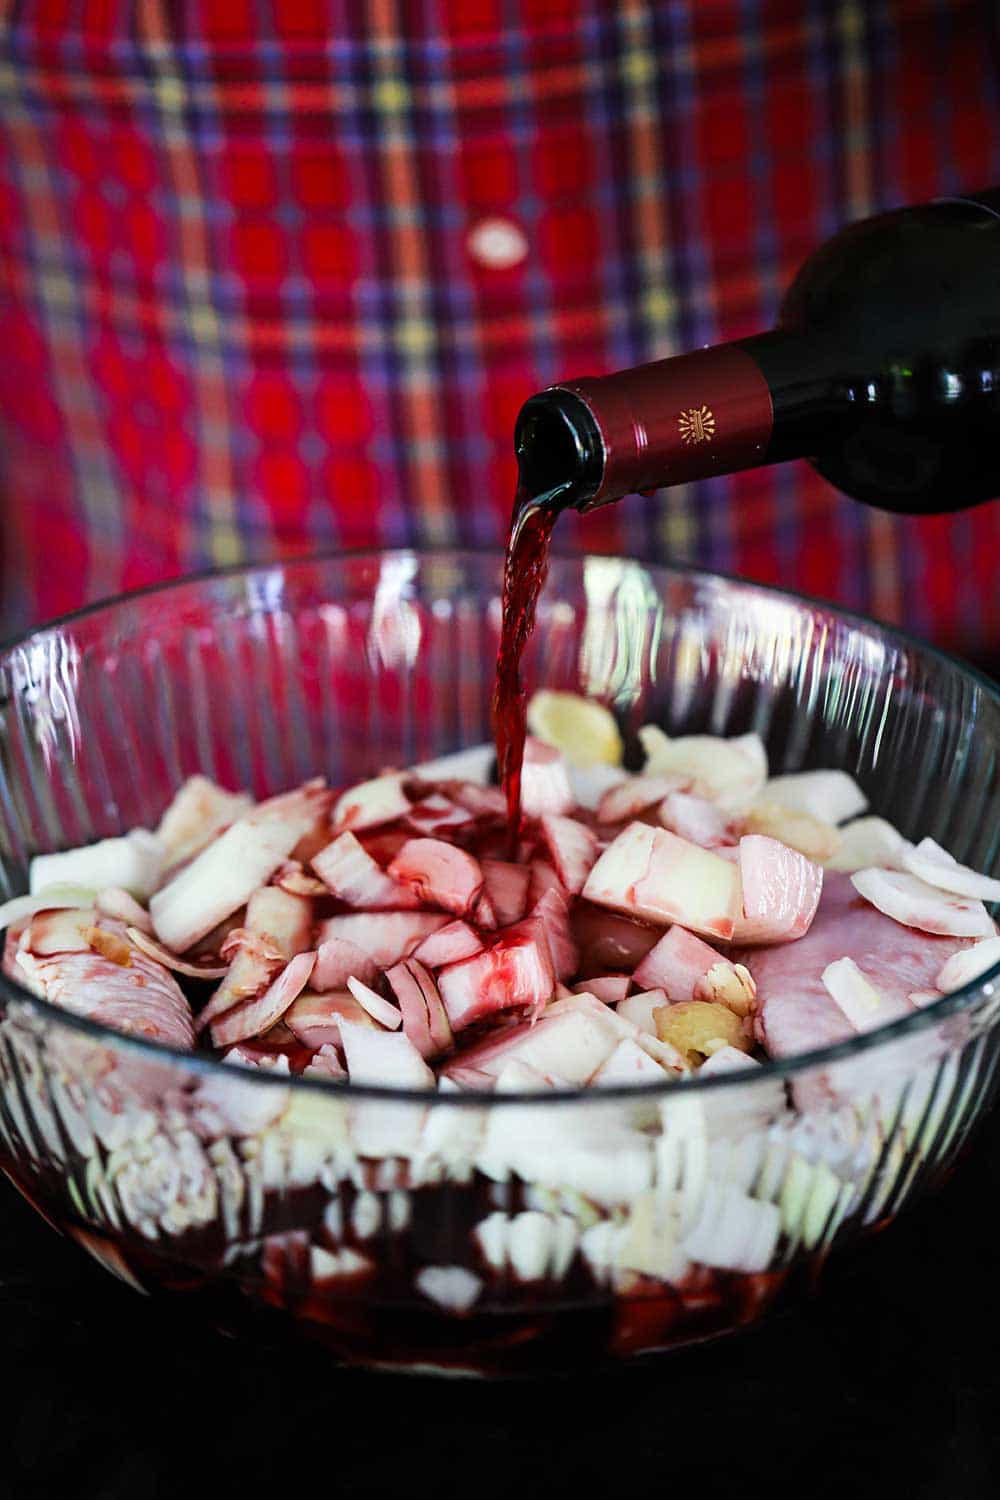
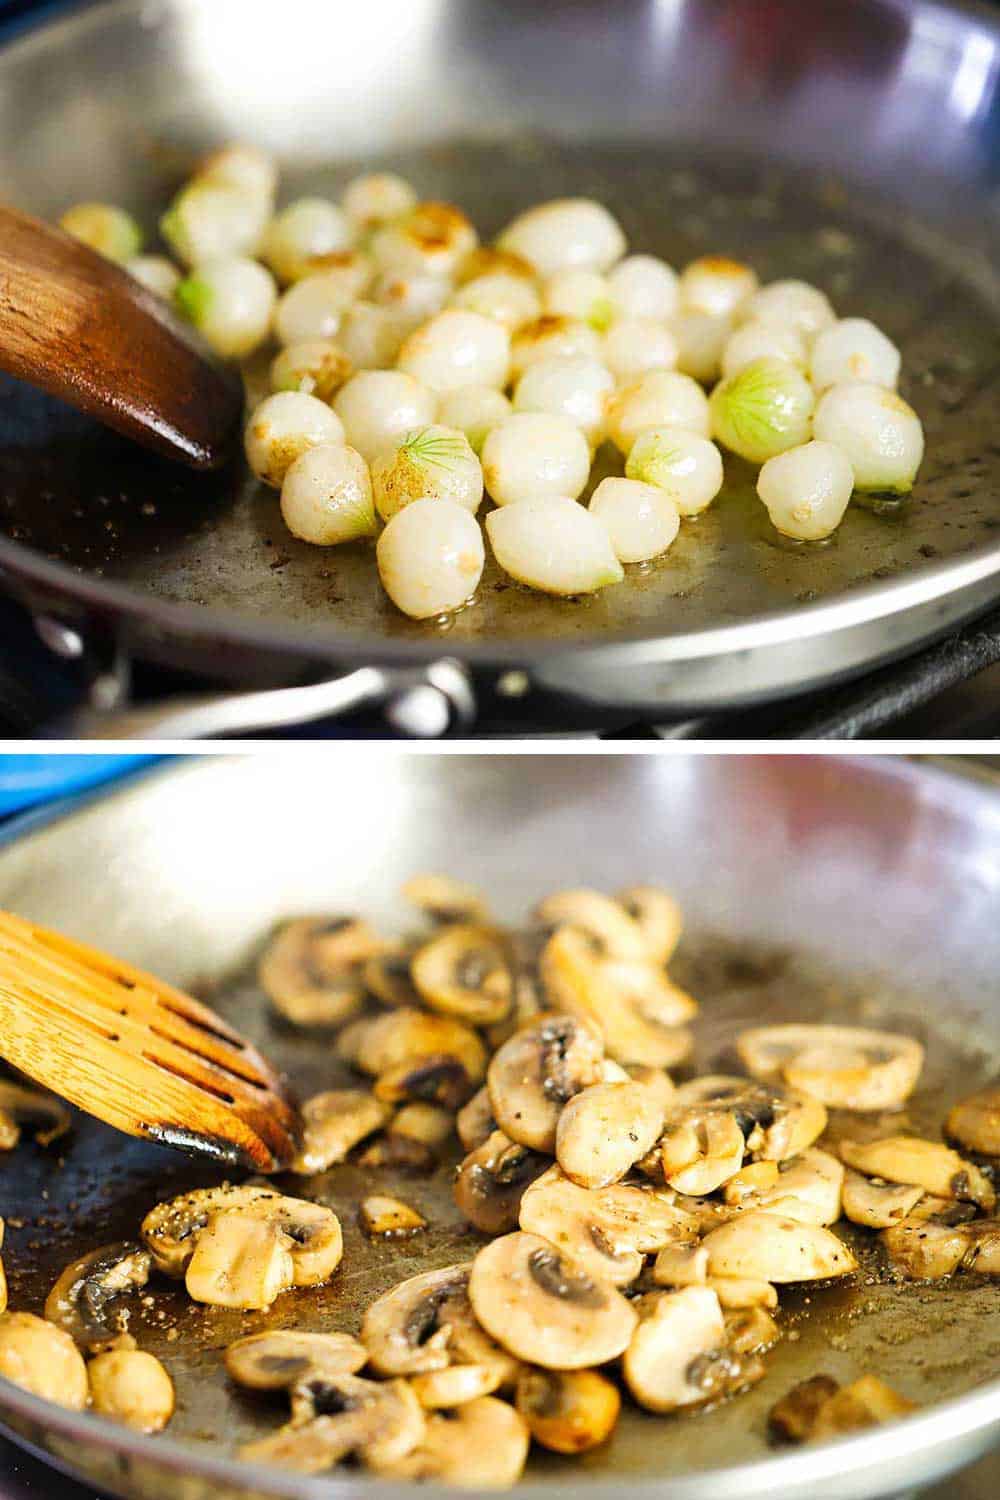
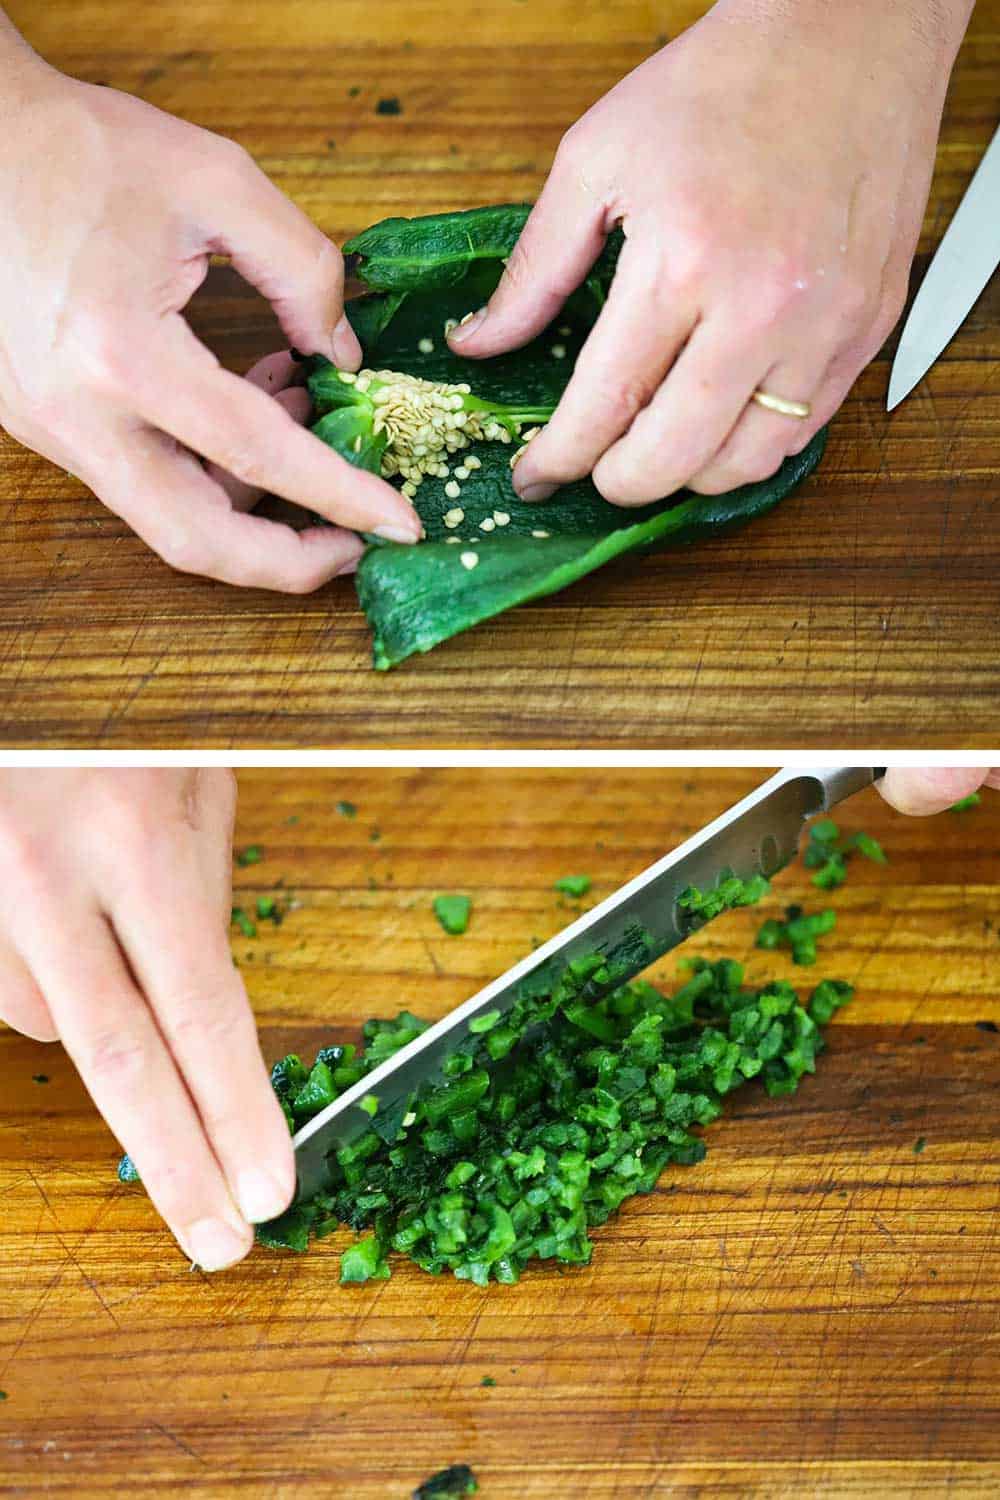
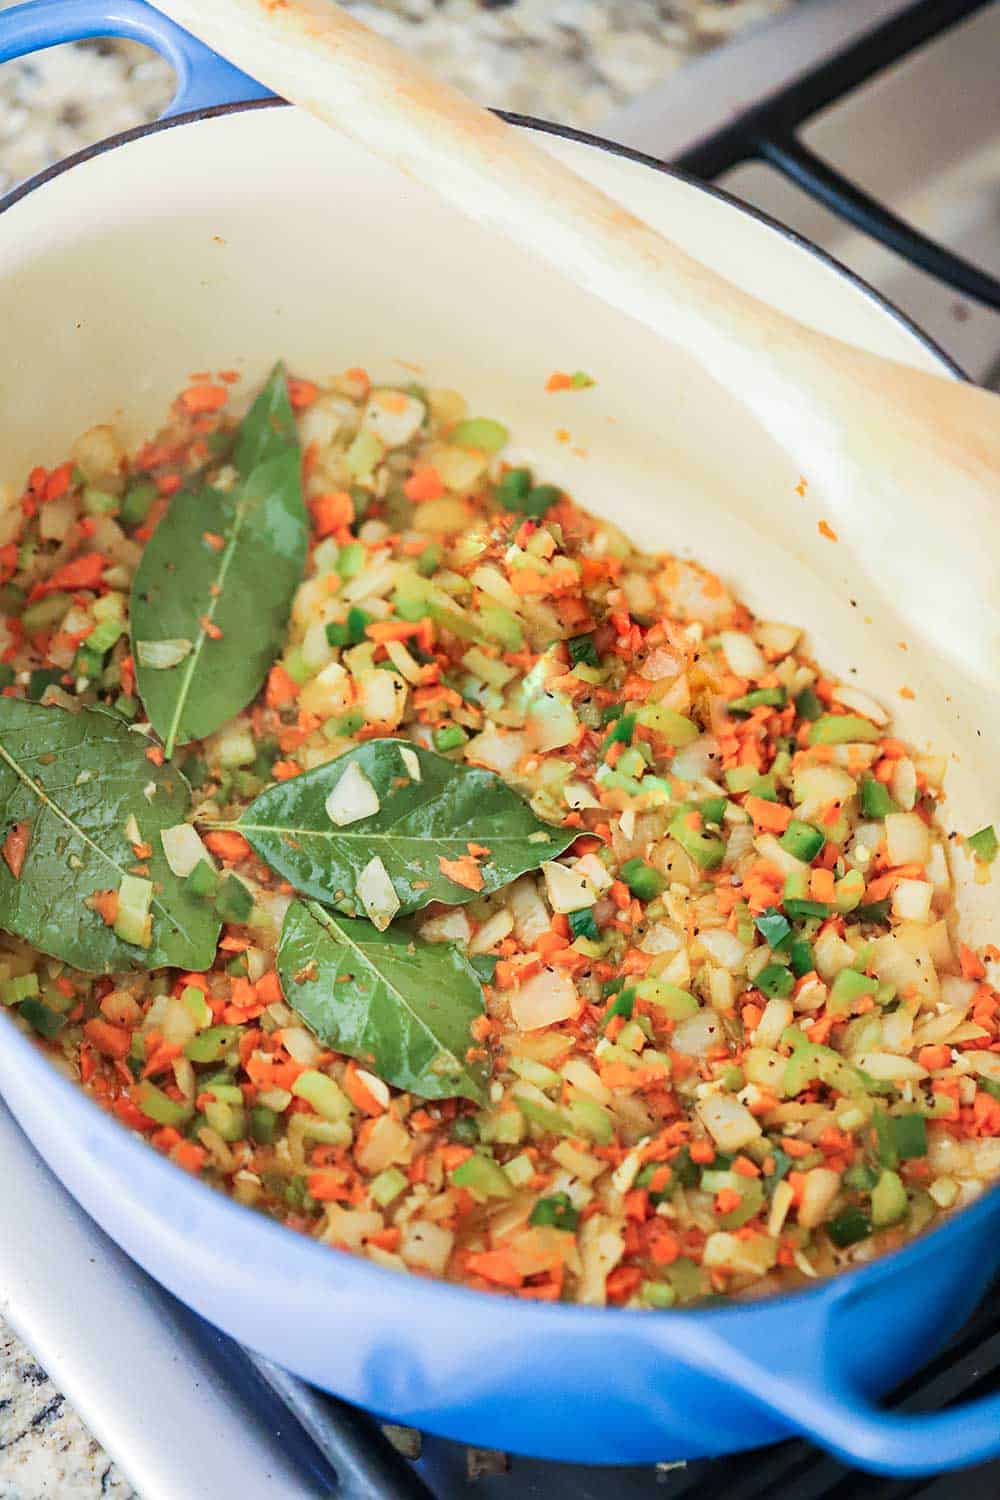
We start off by sautéing a standard mirepoix (chopped, onion, celery) along with finely chopped (and seeded) jalapeno, fresh garlic, bay leaves, and a pinch of cayenne.
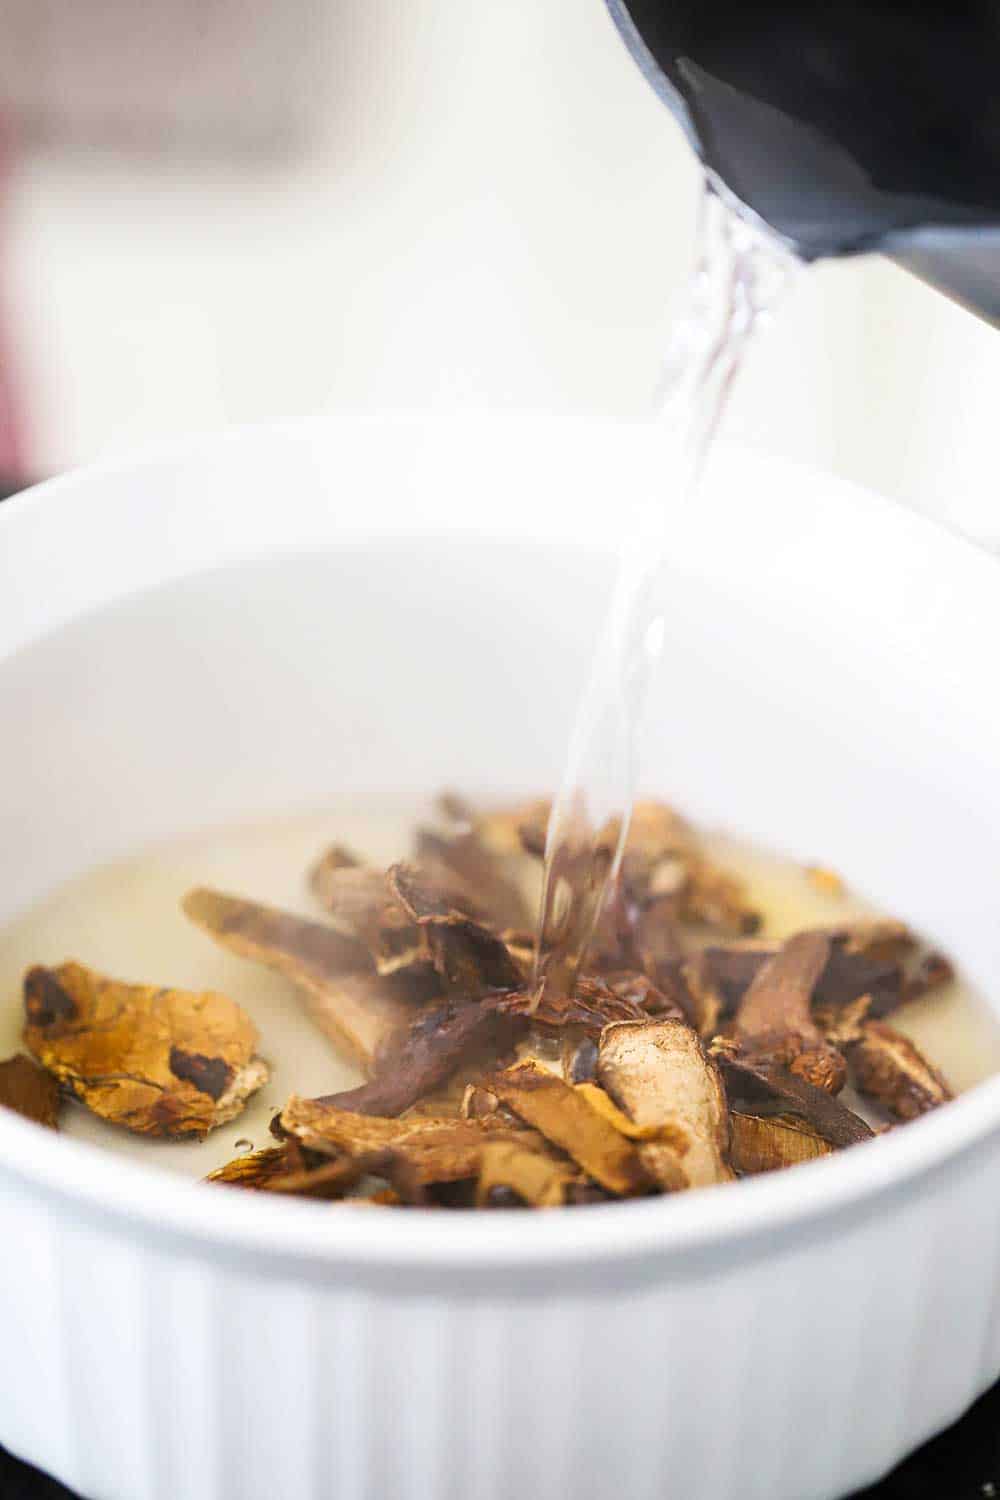
EXPERT TIP: A little later on, we’ll add the beans. The easiest method for preparing the beans is to allow them to soak overnight. If you’re in a pinch for time, check out the NOTES section of the recipe card for faster methods.
Choosing the Best Ham
When perusing the ham section in your local supermarket, it may seem confusing on which is the best choice for this stew, and beyond.
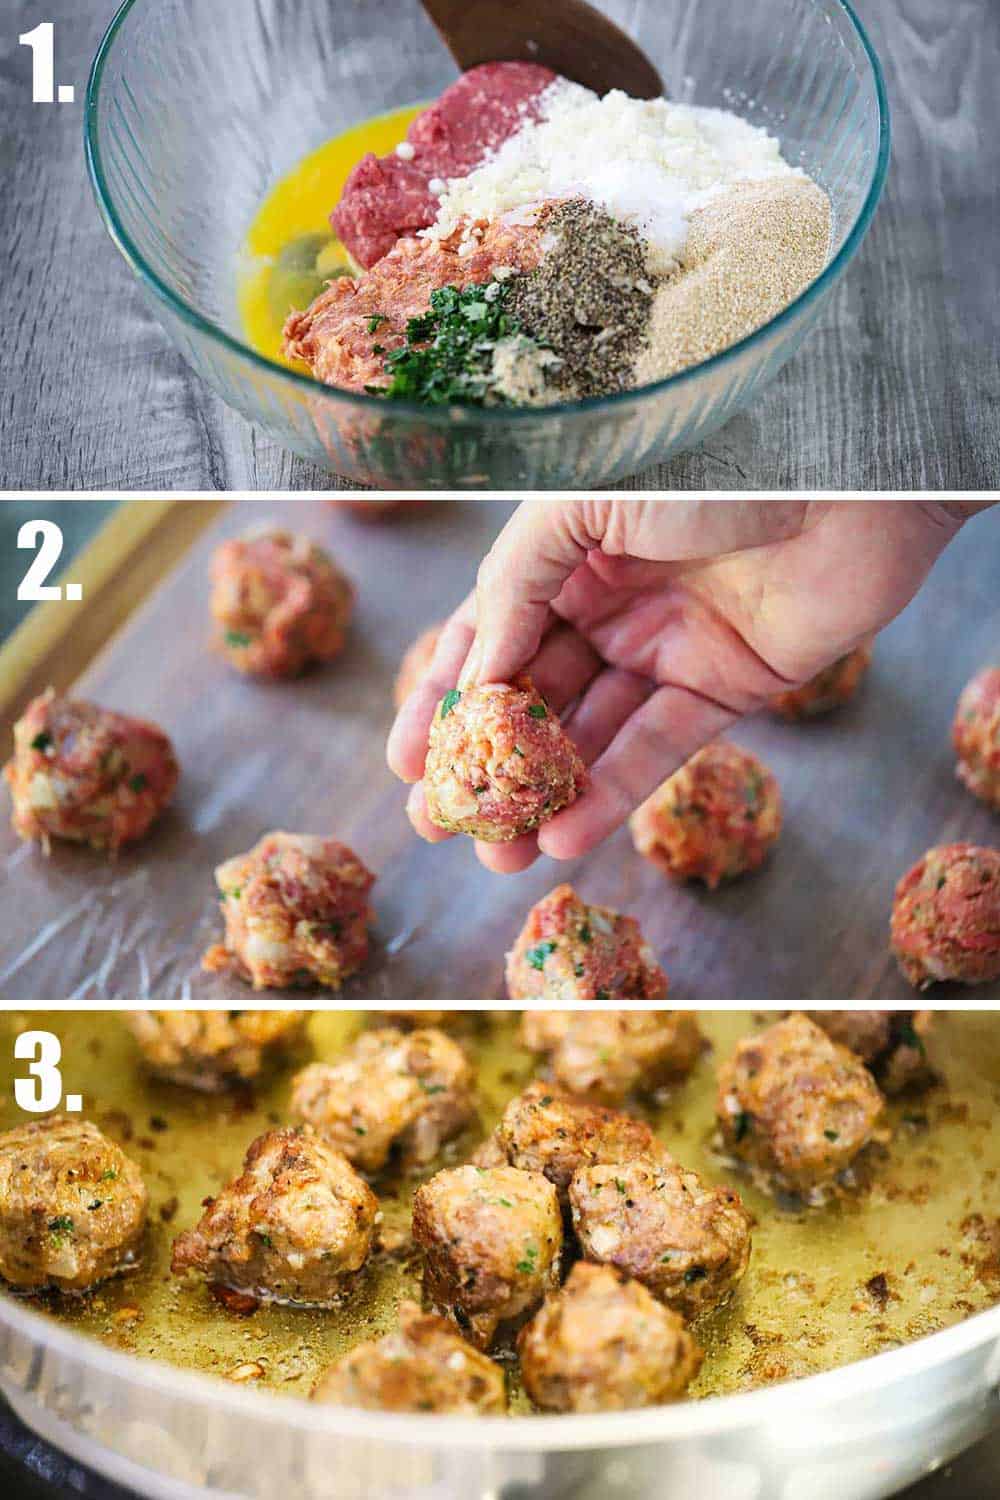
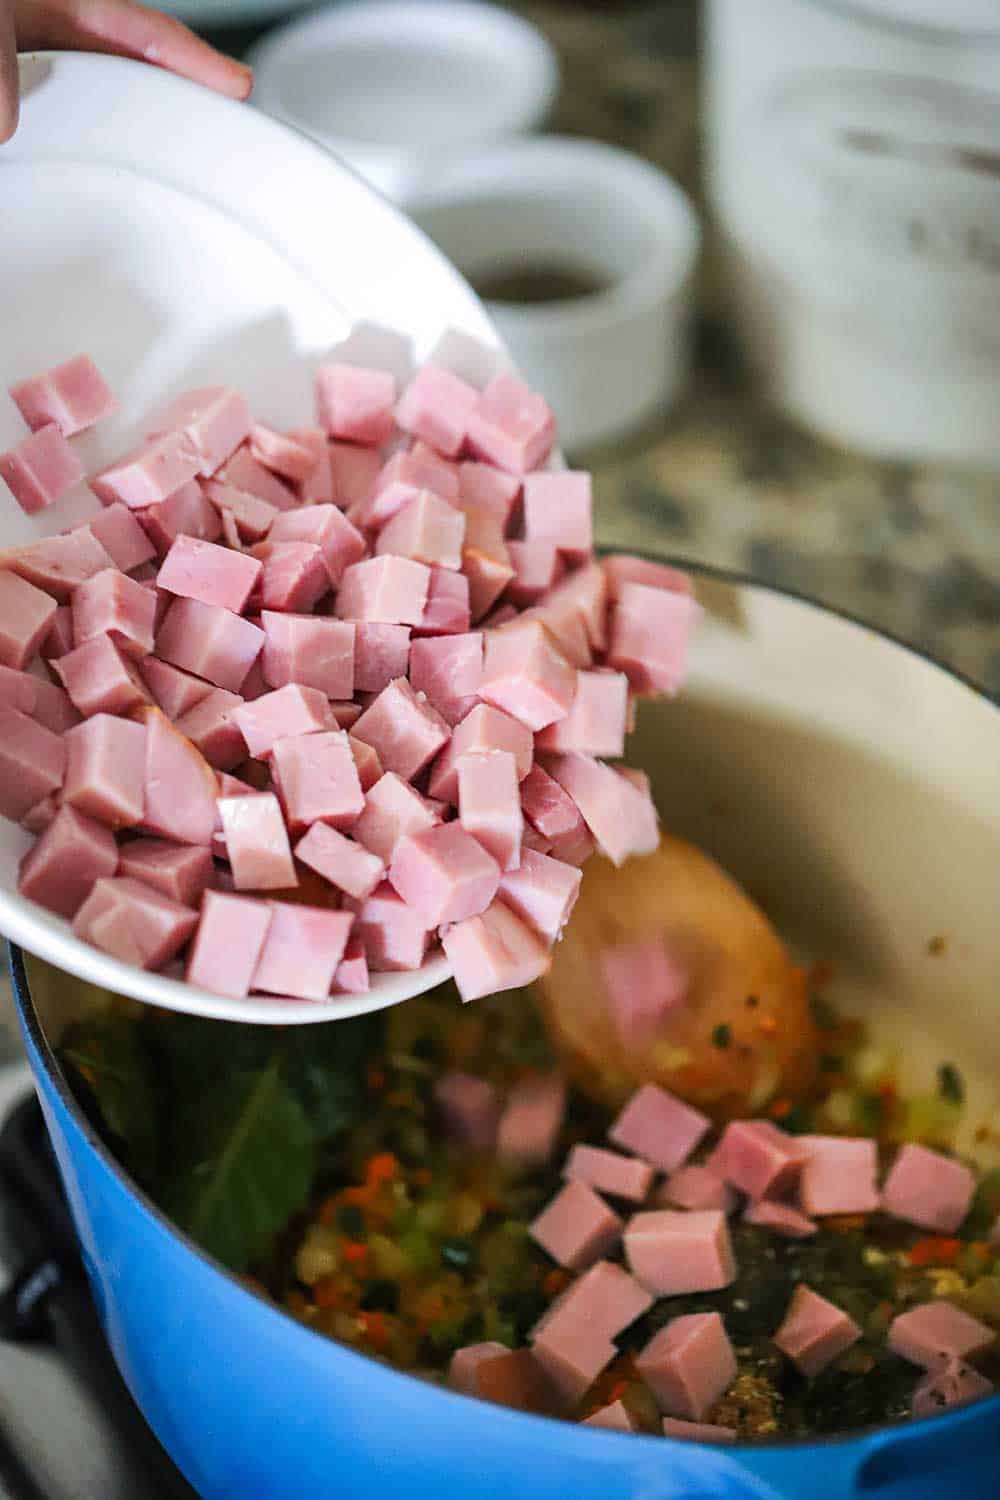
We recommend picking up a cured and smoked ham that is not sliced. It’s already fully cooked and the smoking process adds a depth of flavor that works perfectly in the stew.
EXPERT TIP: If you can’t find unsliced smoked ham in the ham section of the meat section of your supermarket, just head over to the deli area. They are used to slicing all types of ham, but if you ask, they’ll be more than happy to cut you a 2 lb slab of meat. Whatever you do, don’t select the canned ham variety. It’s pumped with things you don’t really want in your stew. Learn more about types of ham here.
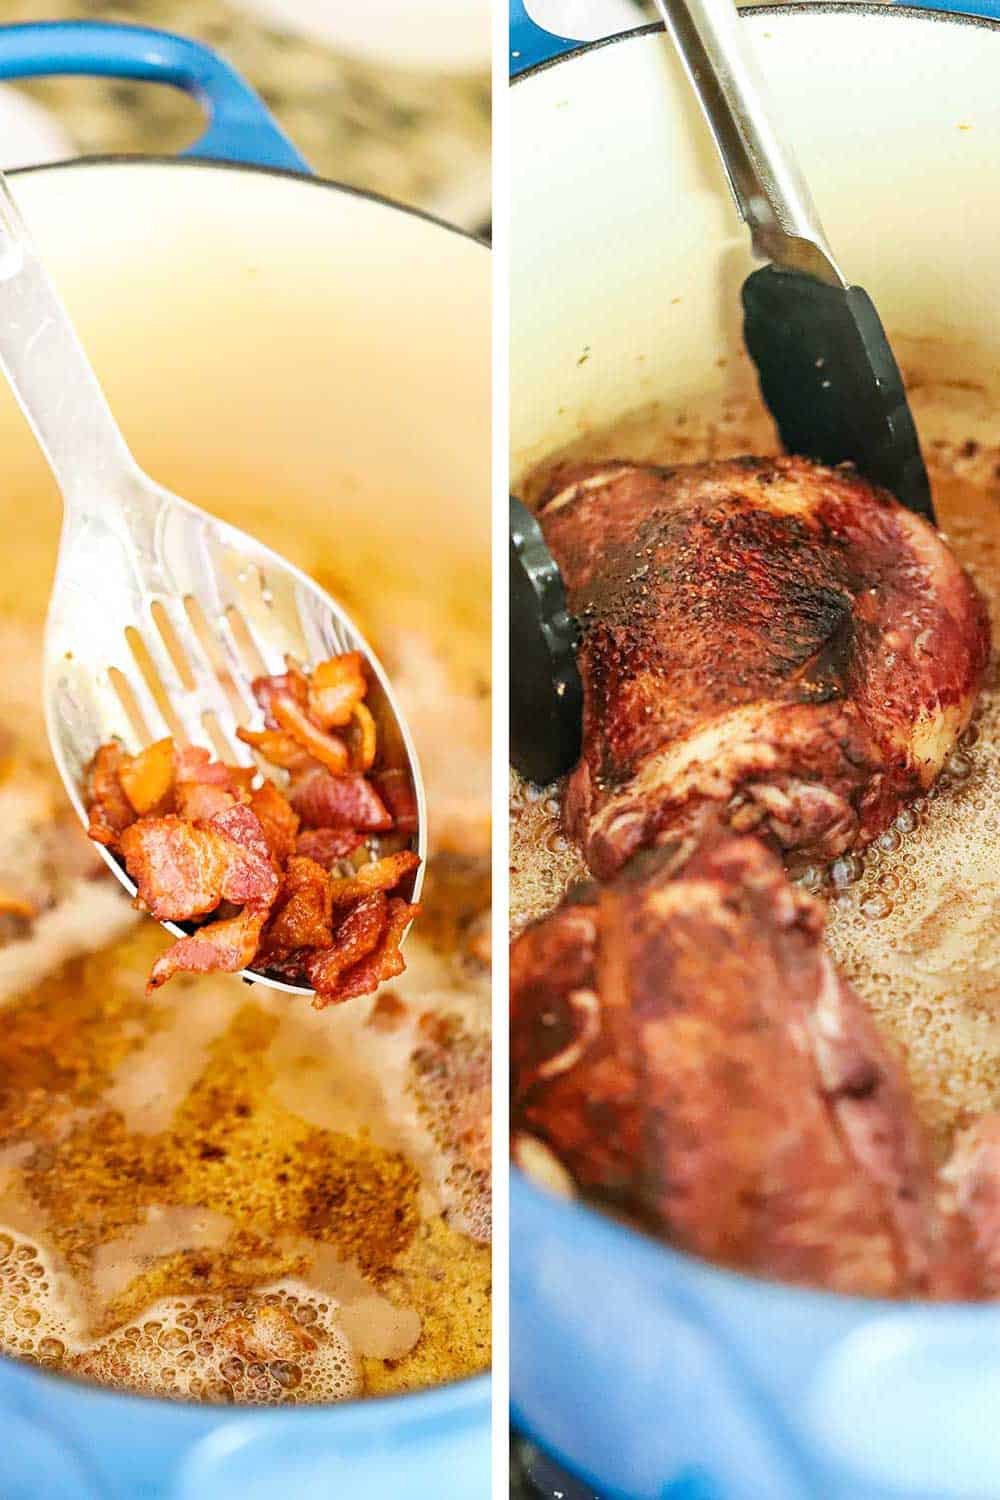
We usually use a knife to cut away the exterior rind of the ham before we cubed the meat. The rind is completely edible but can be a bit chewy in the stew. We save it for future use when simmering beans.
What Type of Bean To Use for Smoked Ham and Bean Stew?
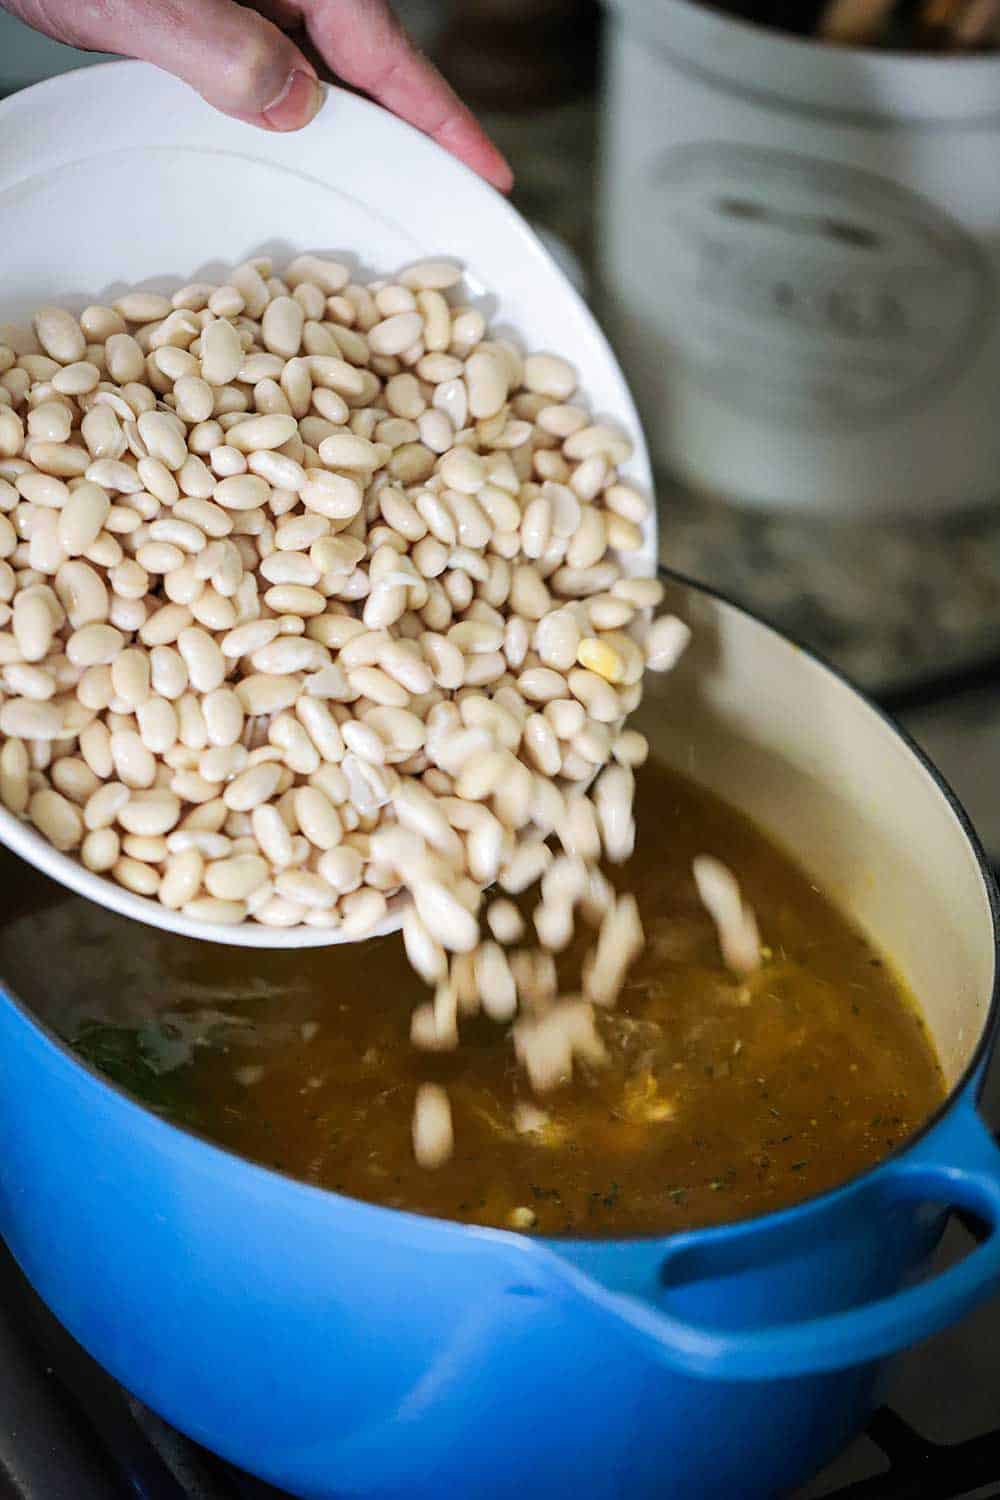
Now, hopefully, your beans at this point are ready to be added to the party. (See NOTES for more info about how to prepare the beans).
We love going with any kind of white bean for this stew. Our favorites include:
- Great Northern White
- Navy
- Cannellini
- Baby Lima
EXPERT TIP: Navy beans are slightly smaller beans than Great Northern White or Cannellini. Either is a great option. If you really love lots of beans in your stew, then go with the larger variety. The smaller allows for a more even distribution of tastes throughout the stew, but again, it’s a matter of taste.
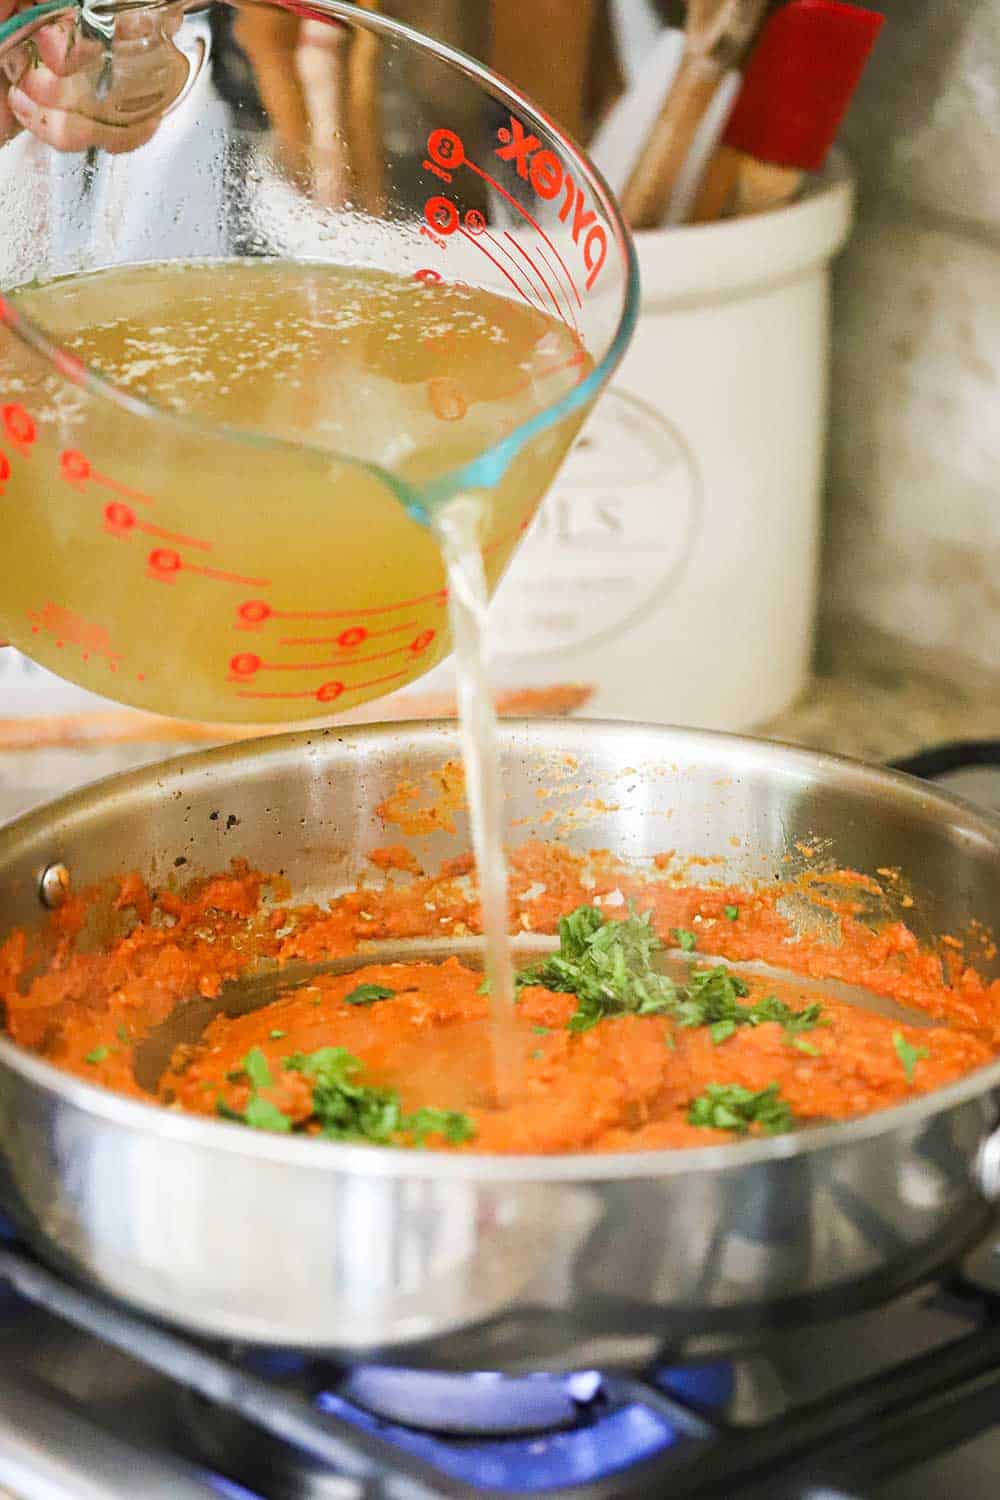
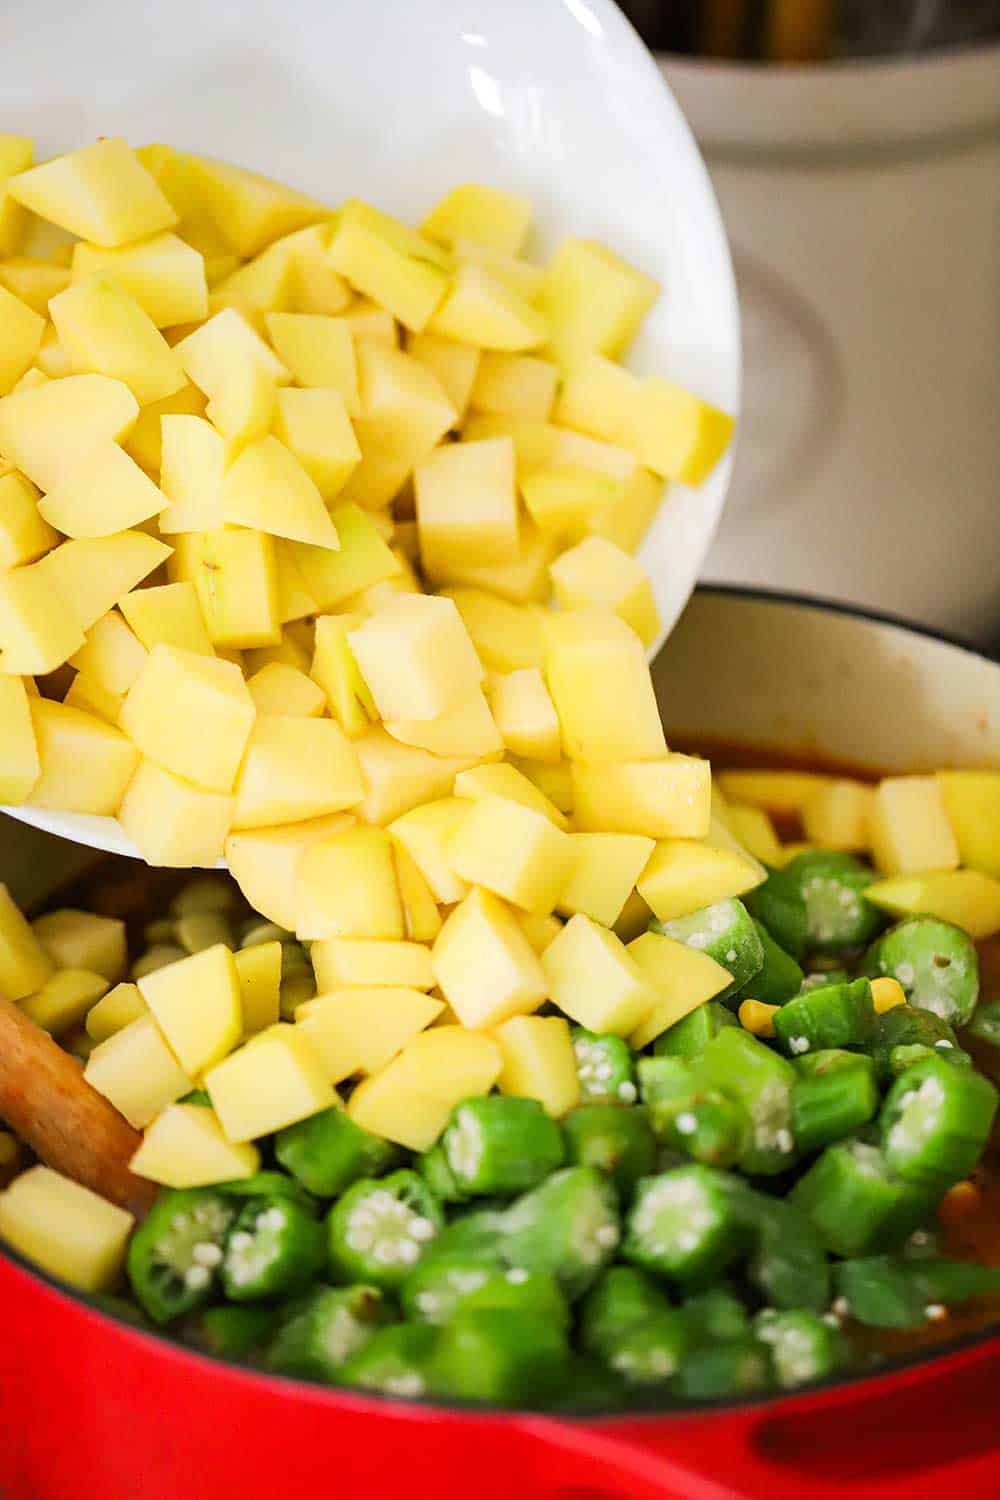
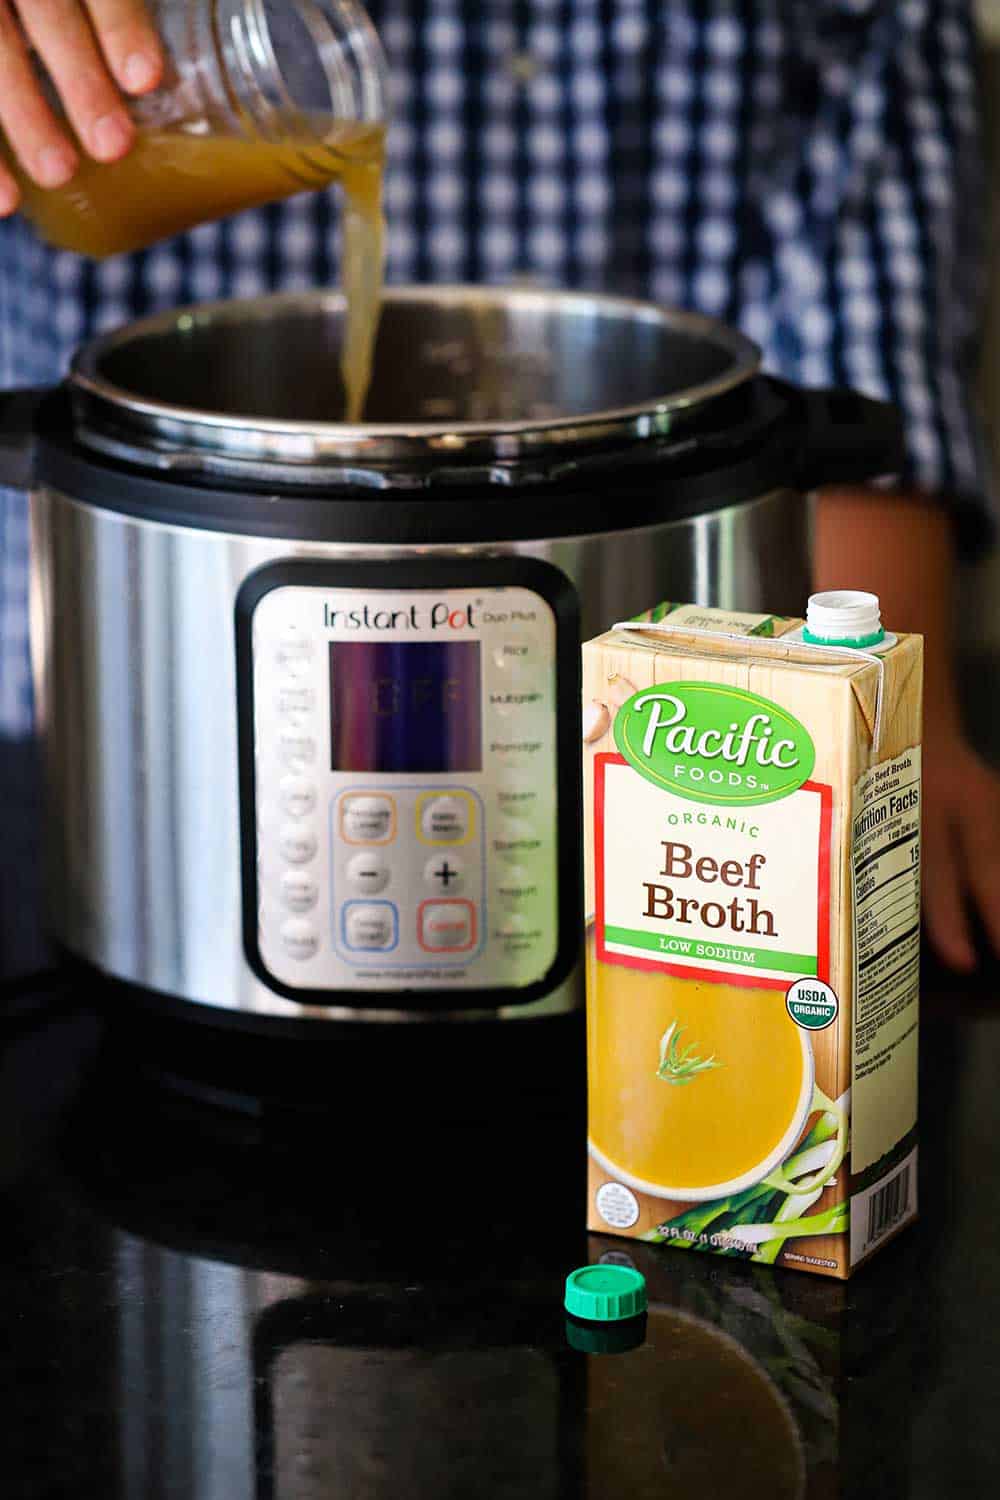
Transfer the softened beans into the pot after you’ve added the chicken broth. Now it’s time to simmer for about an hour!
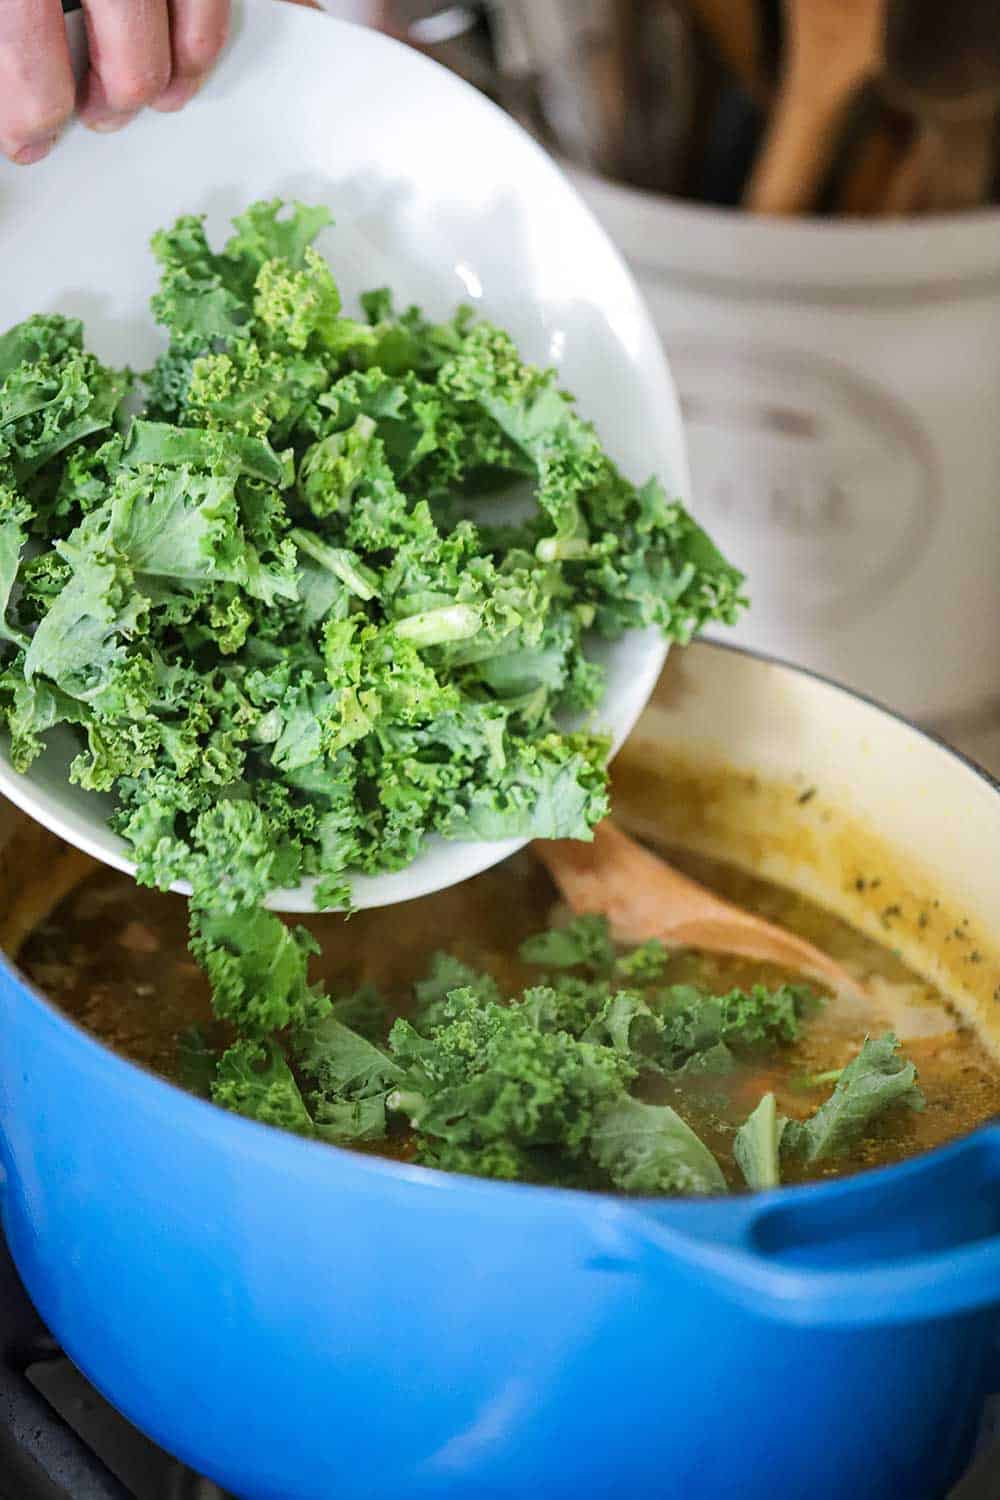
After you’ve simmered the broth on low for 1 hour, it’s time to add the kale.
Kale is one of the most nutritious vegetables on the planet. Really, it is seriously loaded with healthy attributes.
And besides that, it is really, really delicious!
EXPERT TIP: The closest substitution for kale is collard greens, in fact, they are really interchangeable. Other perfectly suitable alternatives include baby spinach, Swiss chard, mustard greens, and broccoli rabe.
Just like other greens, once the kale is dropped into the simmering stew, the leaves wilt and reduce in size. You’ll just need to simmer for another 30 minutes to get the right texture and taste.
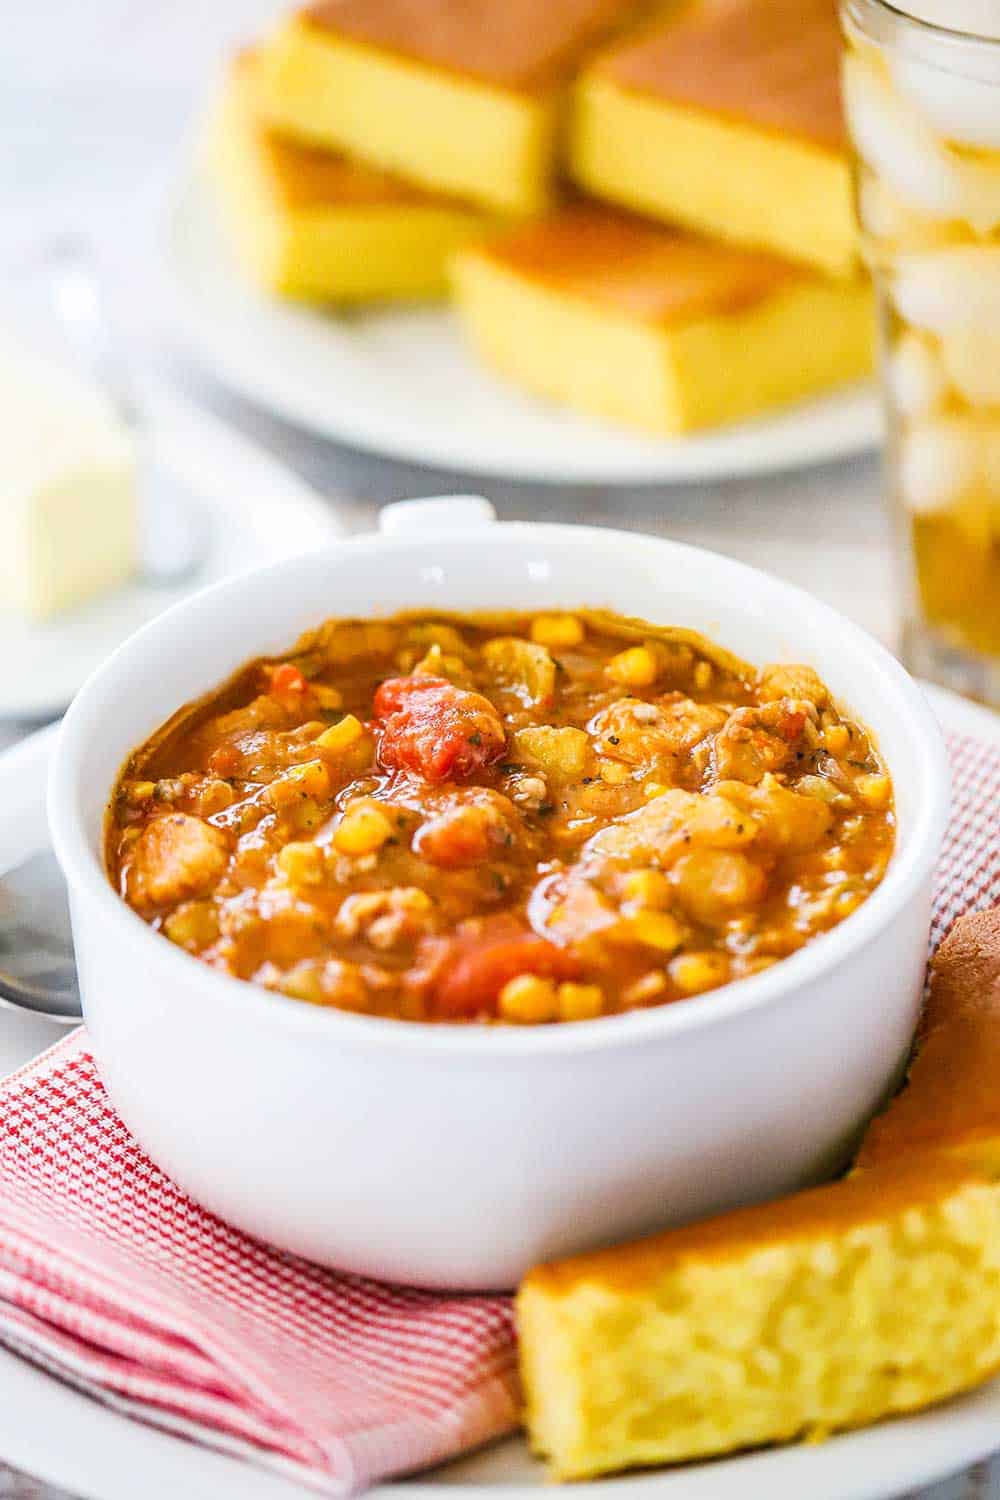
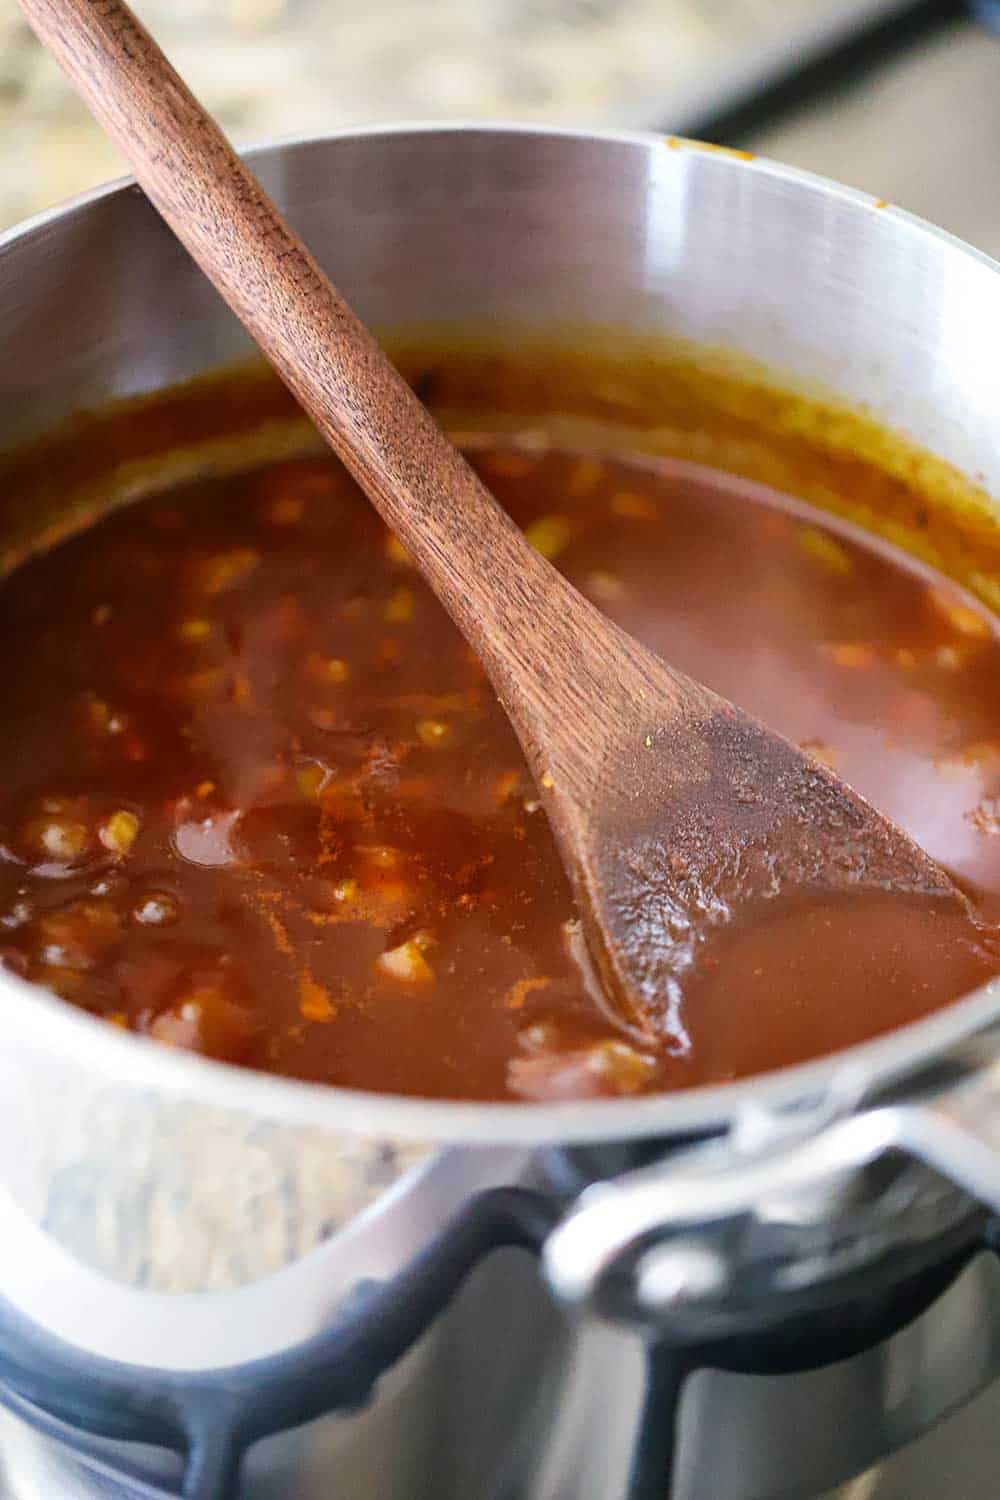
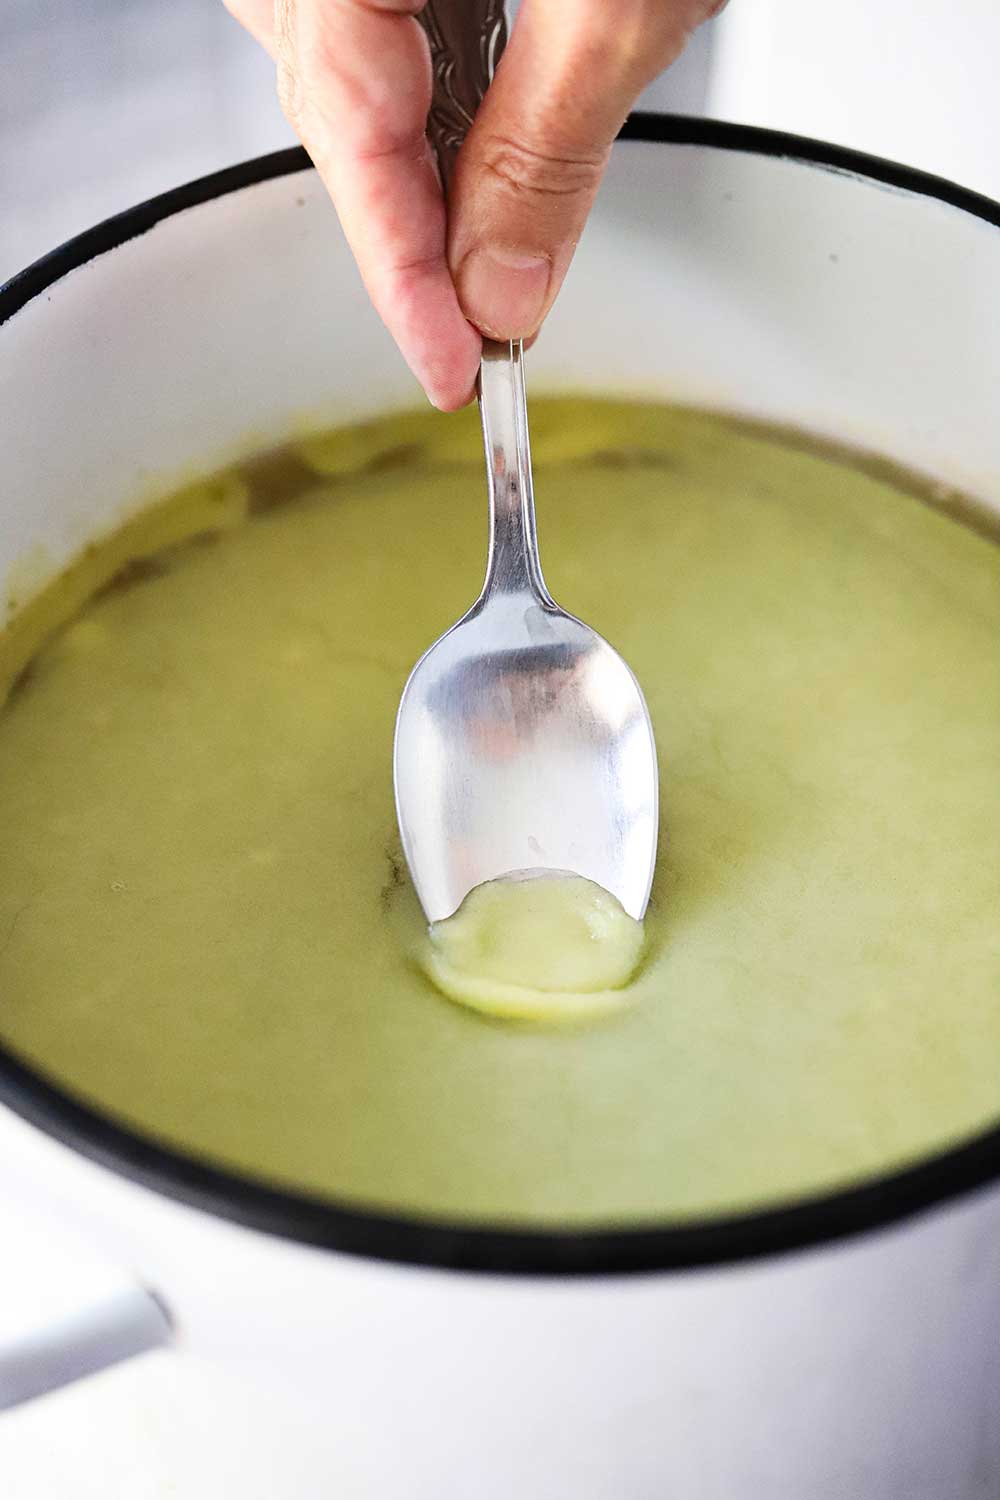
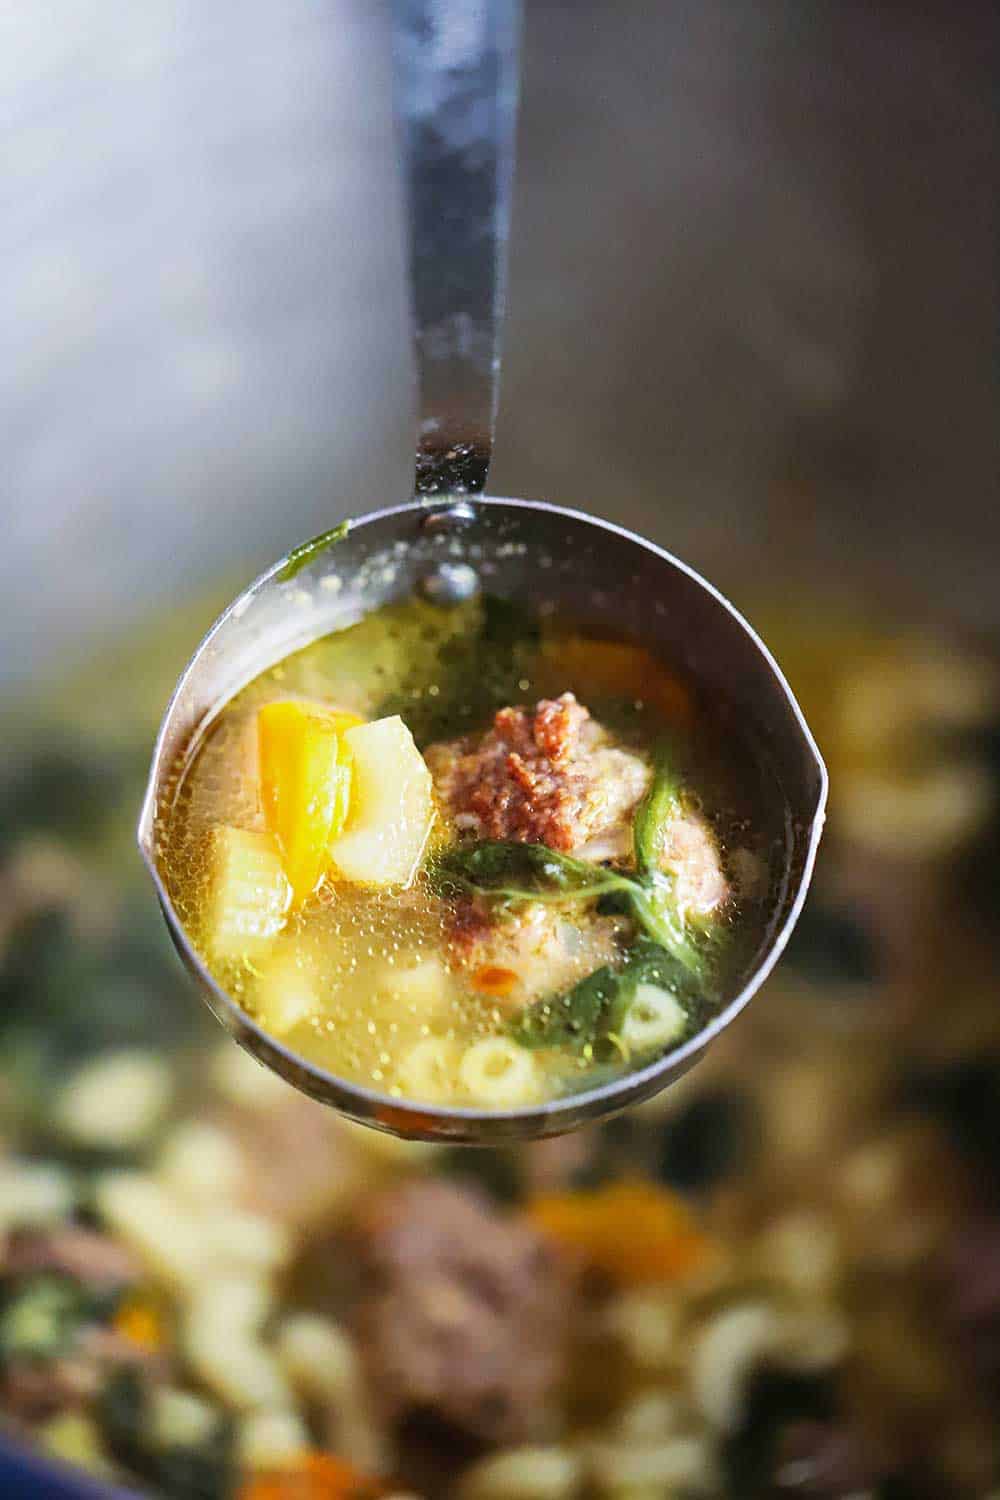
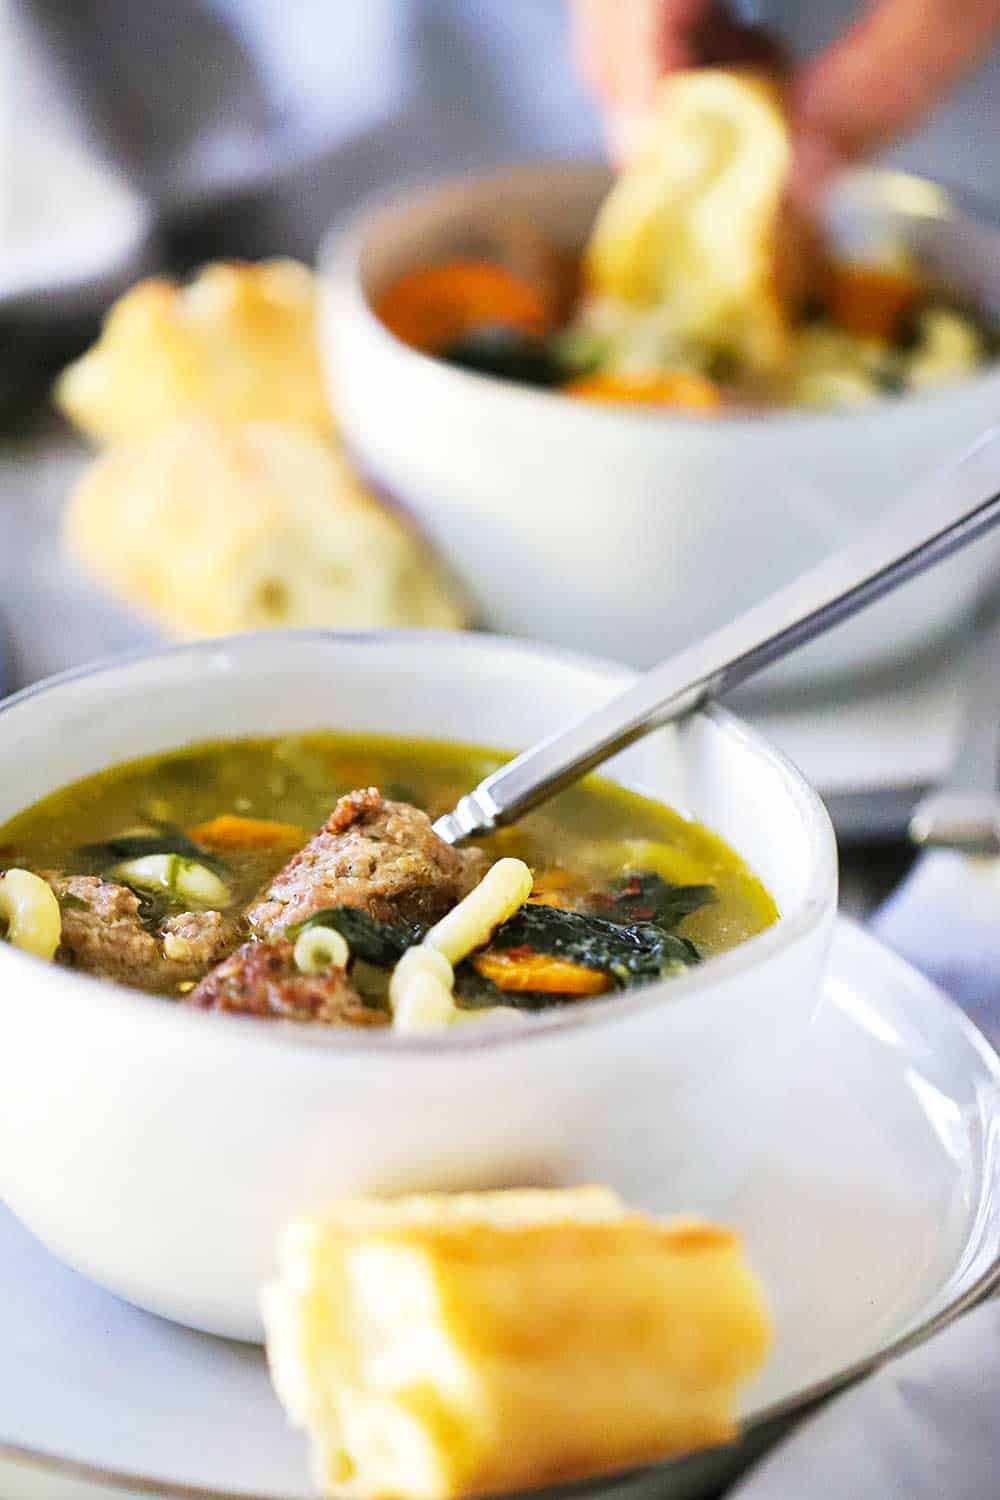
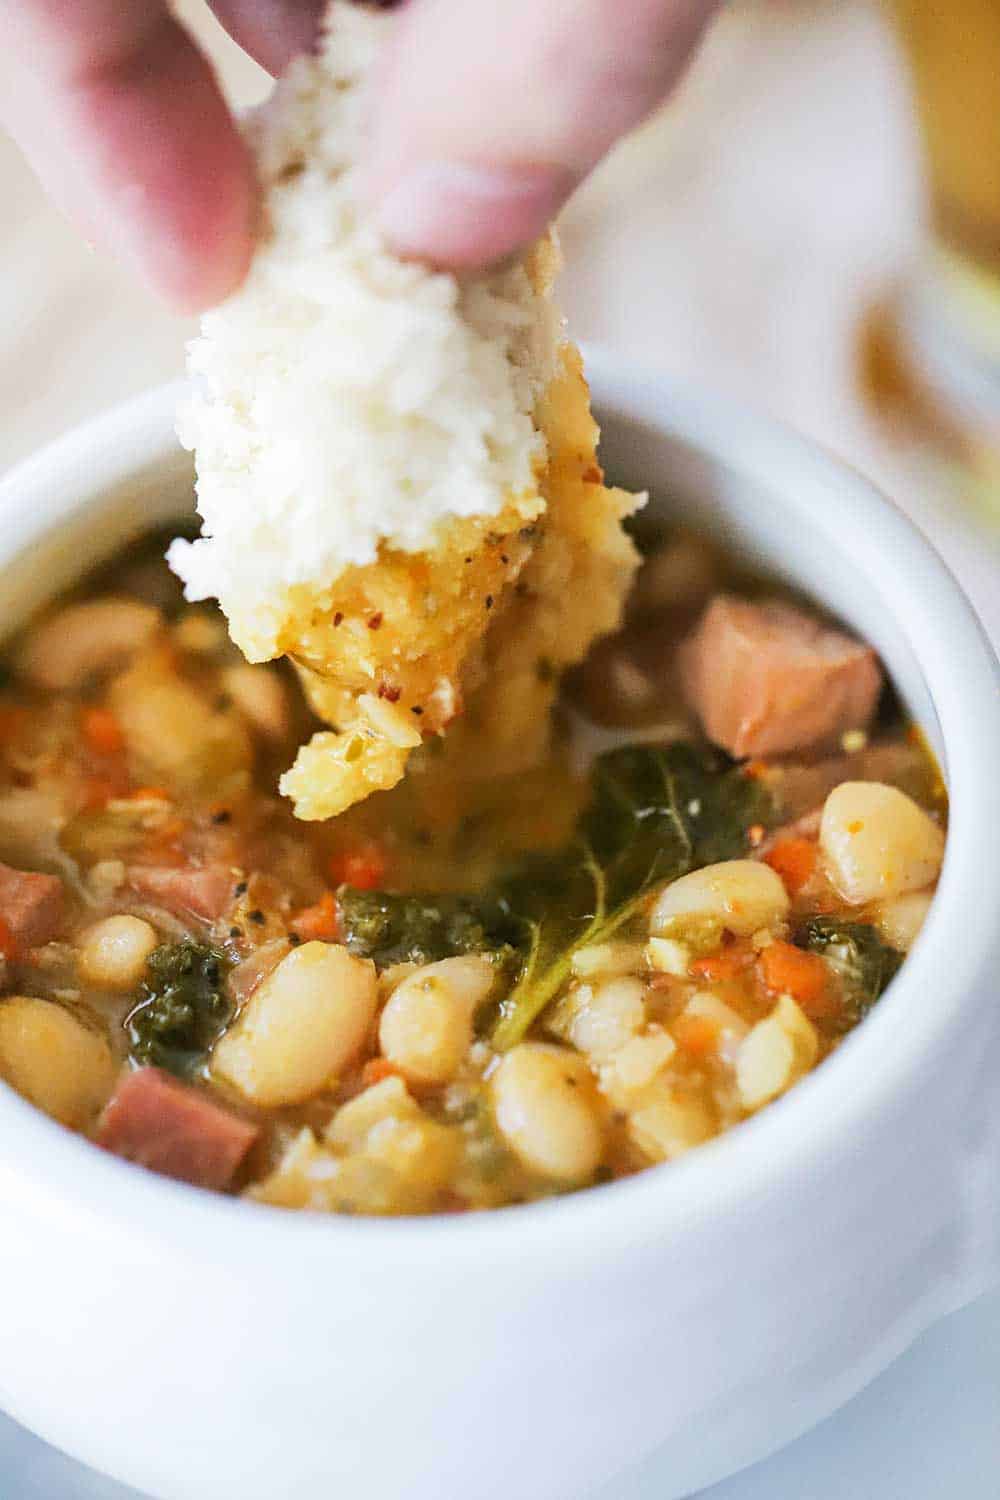
At this point, the stew is good enough to eat, although it’s more of a soup than a stew…and there’s nothing wrong with that!
However, we love an almost creamy texture (without cream!).
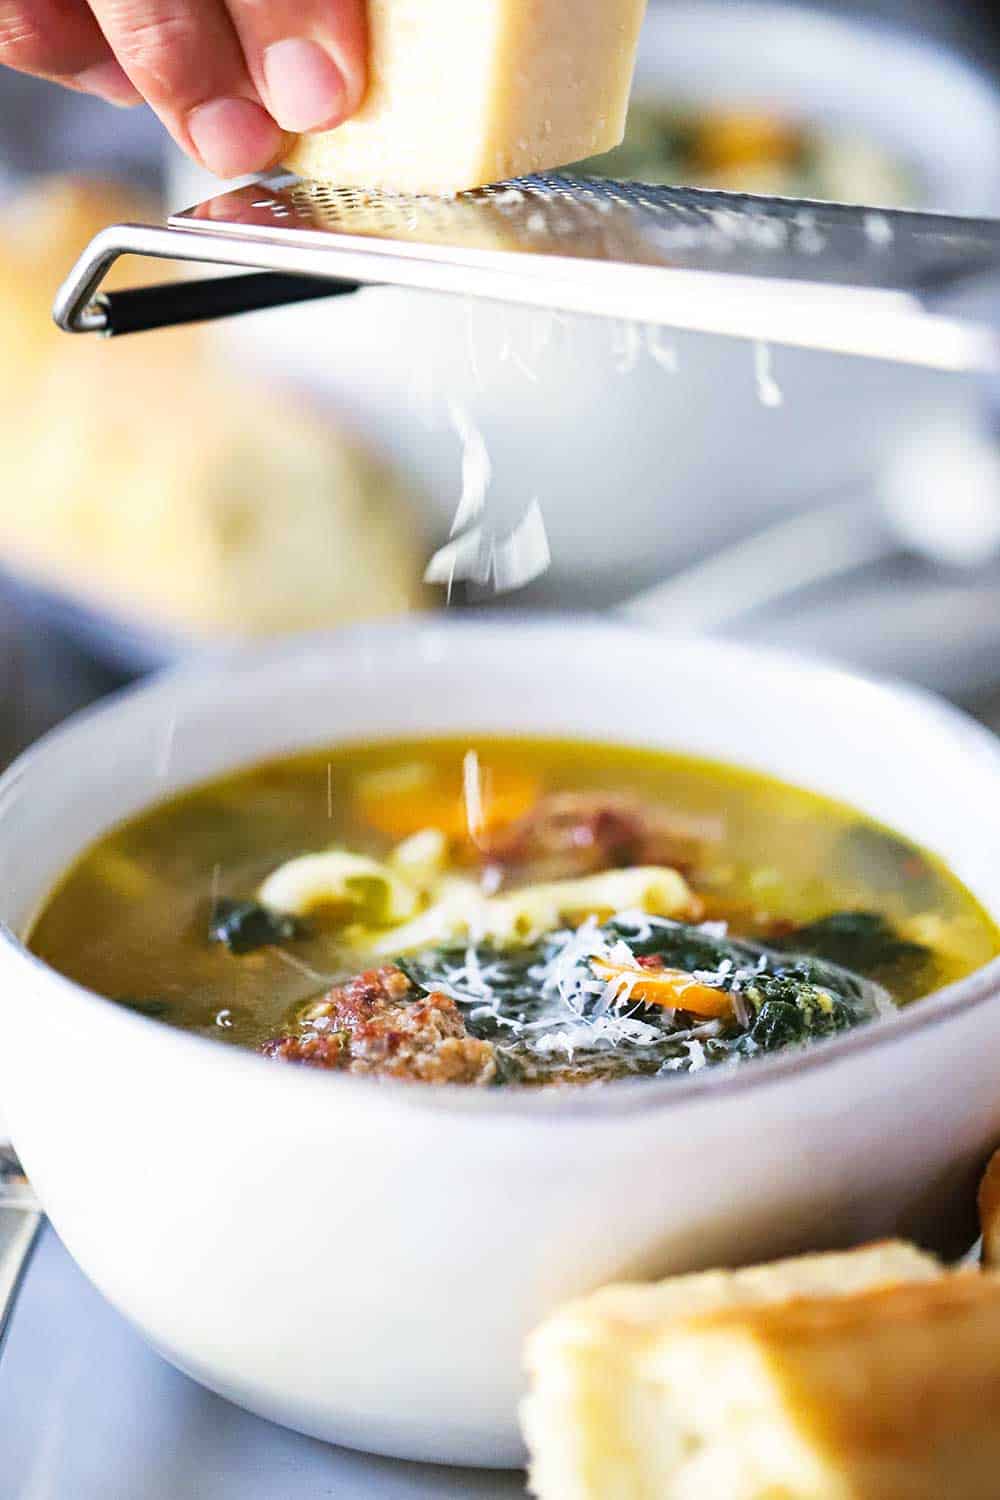
EXPERT TIP: A trick to thicken up the stew is to get a small sieve and grab a couple of cups of the mixture. Throw it into your food processor or blender and pureé. Add the mixture back to the stew and stir until well combined.
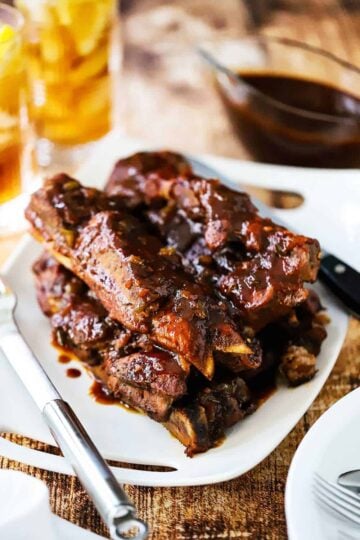
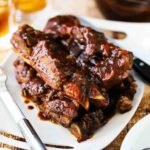
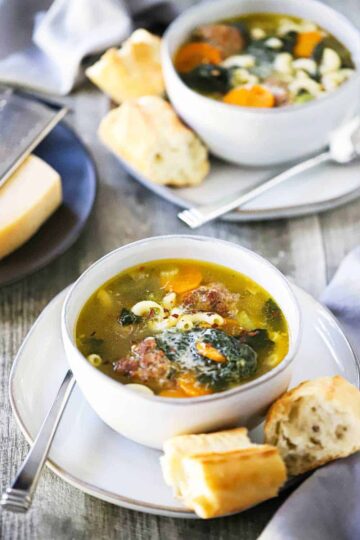
Ready to eat!
When to Serve Smoked Ham and White Bean Stew
Is cold weather on the way? Are friends and family coming for a visit? There is nothing much more inviting and comforting than this wonderful stew. Seriously, this will be one you’ll make over and over again.
Perfect for a game-day meal, or for pre-holiday feast, or just a lovely Sunday dinner.
And if you like this as much as we think you will, you’ll also love our Instant Pot Smoked Sausage Stew or our Slow-Cooker Provençal Chicken Stew!
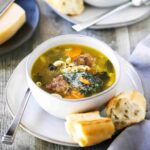
In the meantime, make this amazing stew! Be sure to have plenty of bread for soaking up the amazing broth!
Ready to make the best stew in town? Go for it!
And when you do, be sure to take a photo, post it on Instagram, and tag @HowToFeedaLoon and hashtag #HowToFeedaLoon!
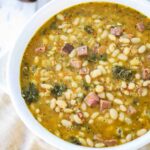
Smoked Ham and White Bean Stew
Equipment
- 8 Qt Dutch Oven, or any large pot
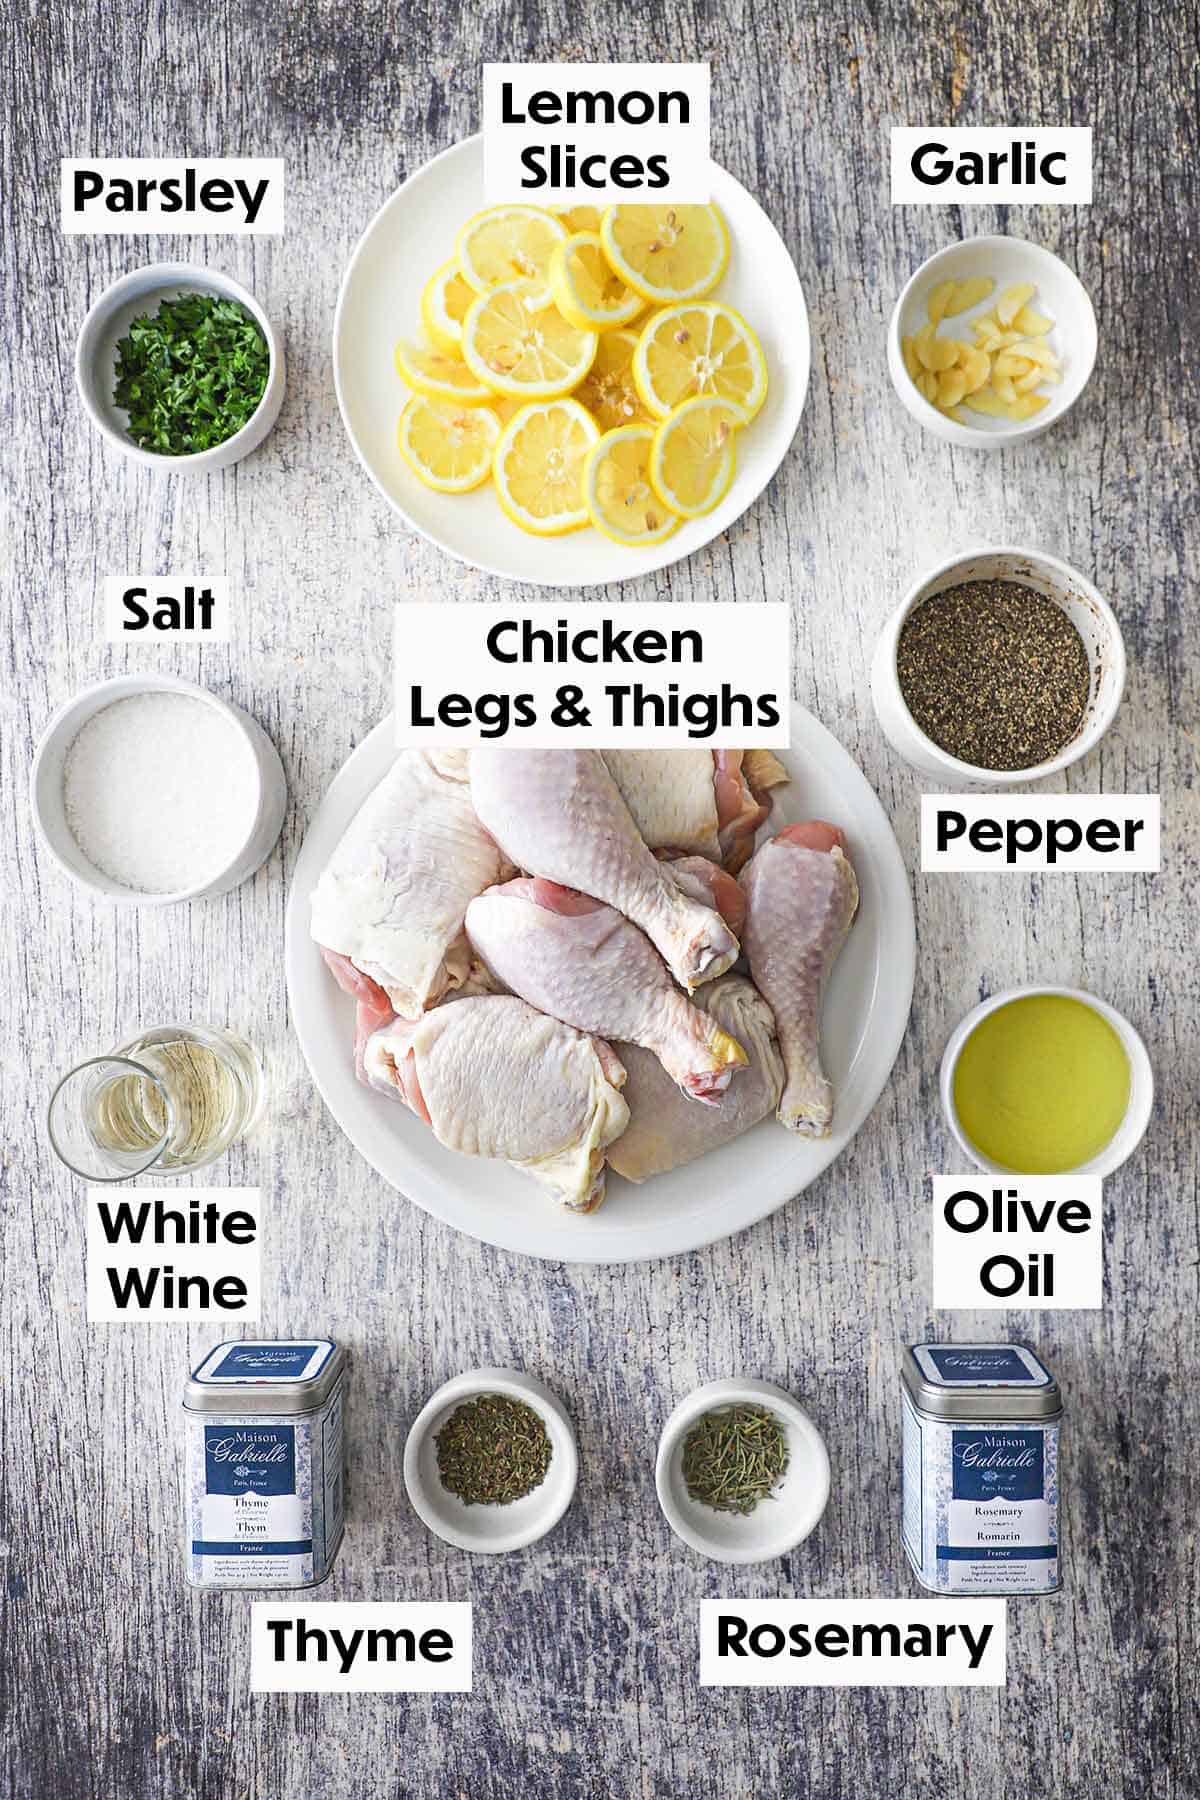
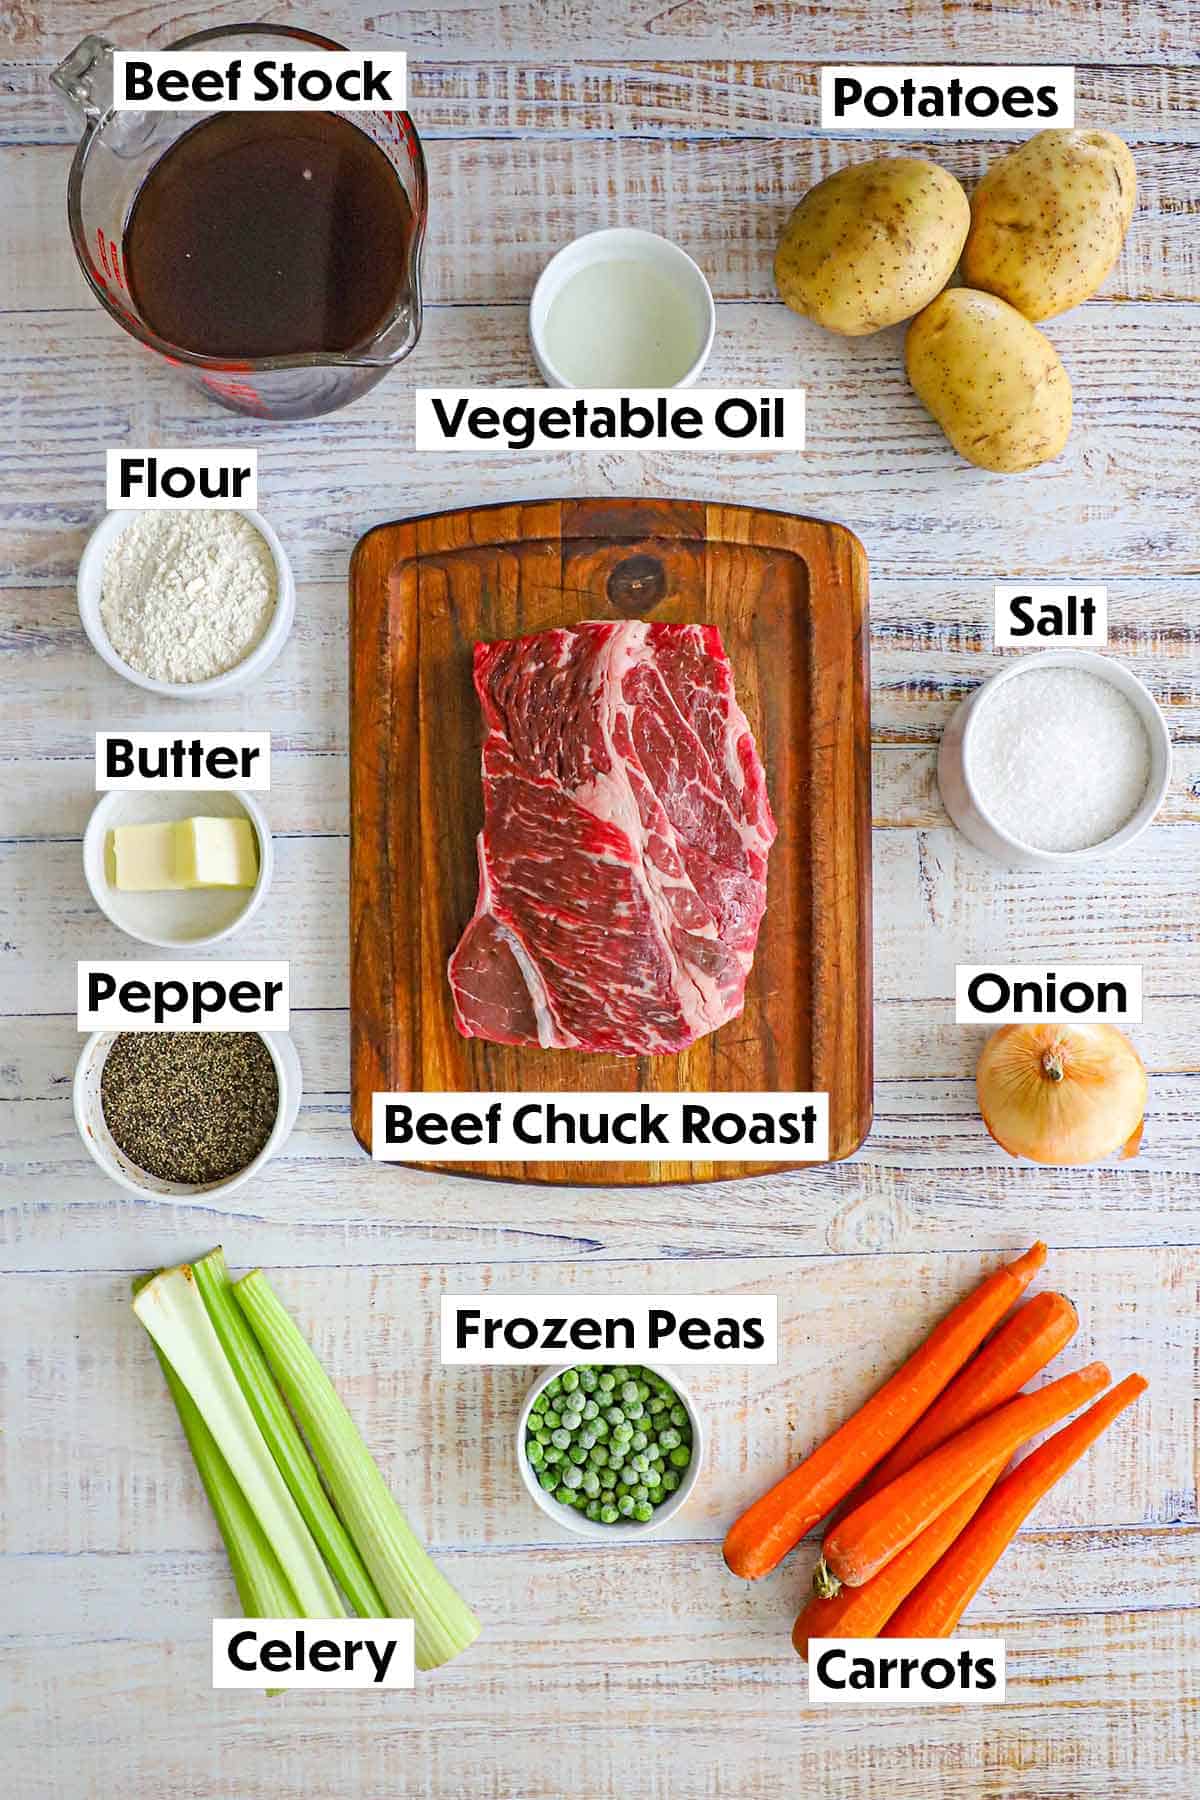
Ingredients
- 2 cups white beans dried
- 2 tablespoon bacon fat or unsalted butter, olive oil
- 1 cup onion chopped
- 1 cup celery chopped
- 1 cup carrot chopped
- 5 garlic cloves minced
- 1 jalapeno pepper stemmed, seeded, and chopped
- 2 bay leaves
- 1½ teaspoon Kosher salt or more to taste
- 1 teaspoon ground black pepper or more to taste
- ¼ teaspoon cayenne pepper
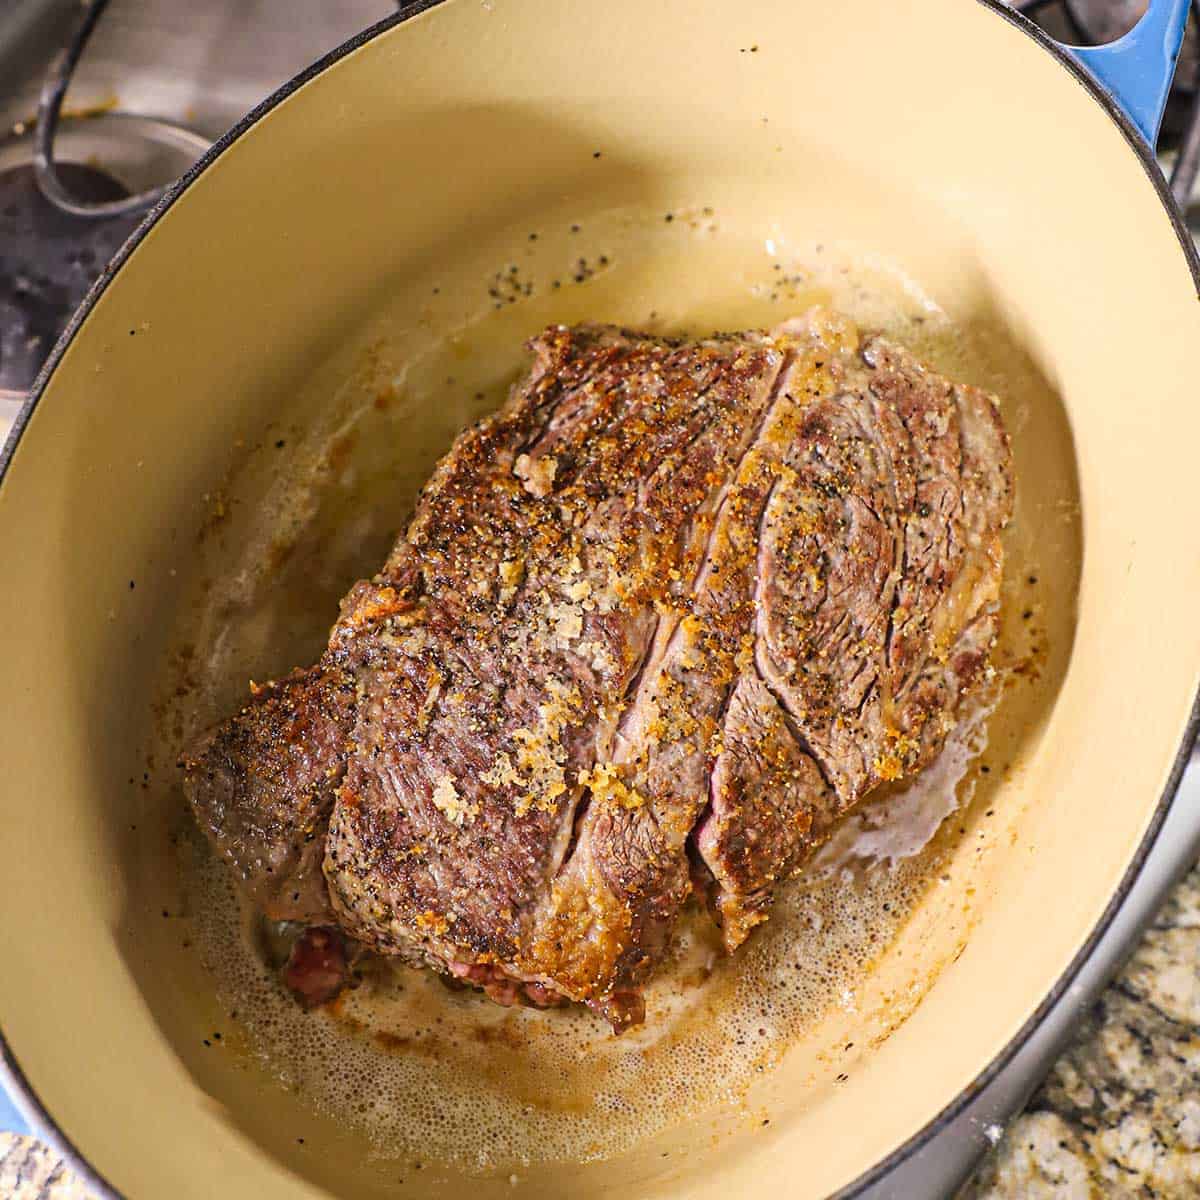
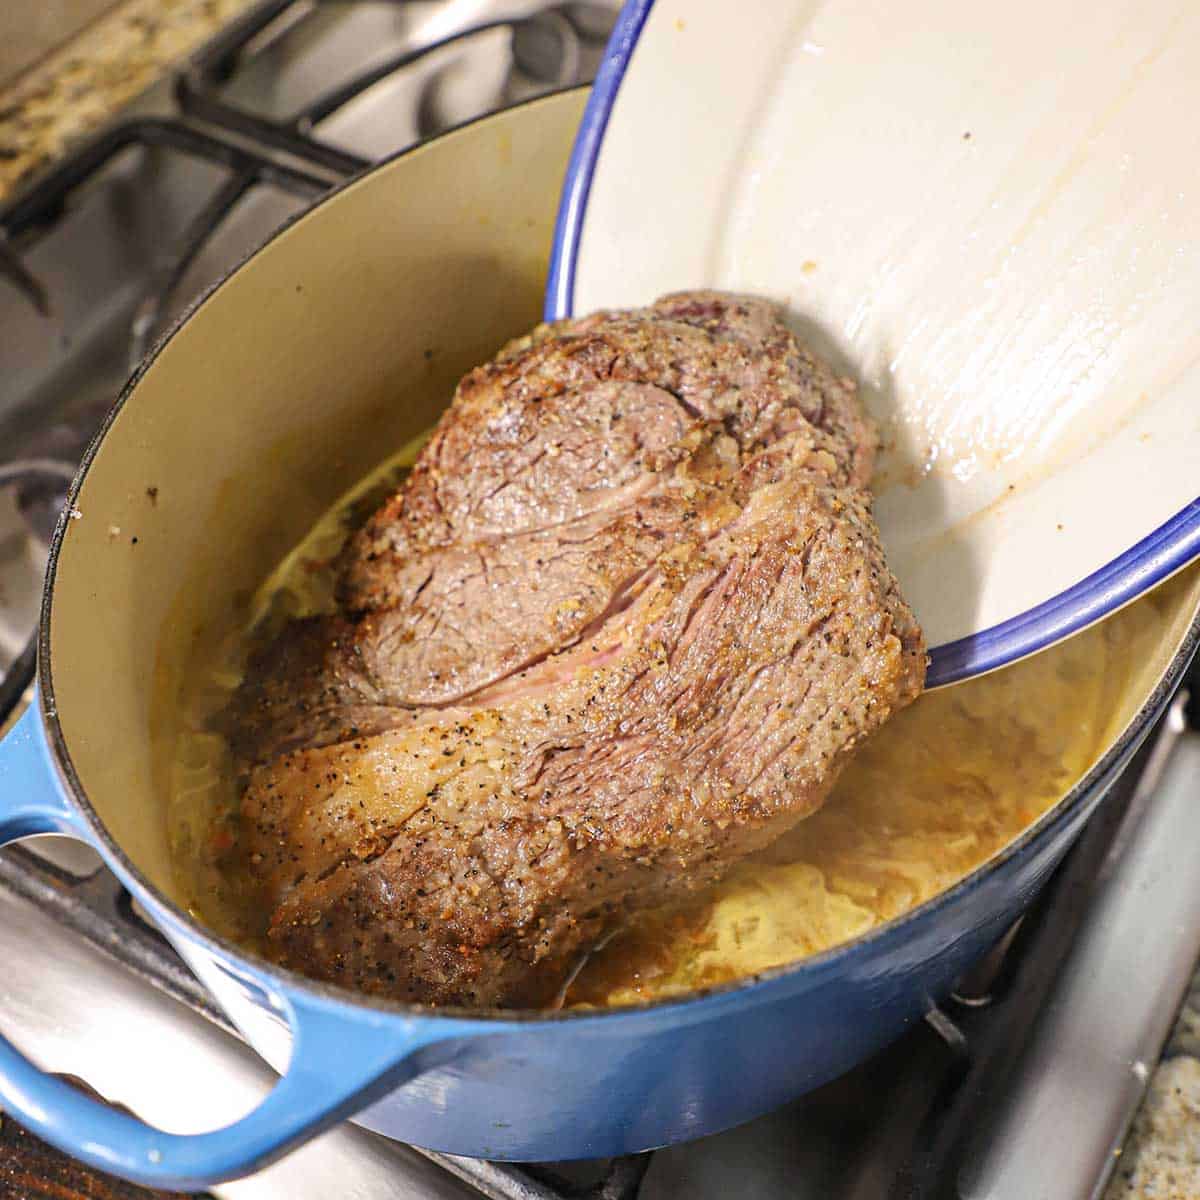
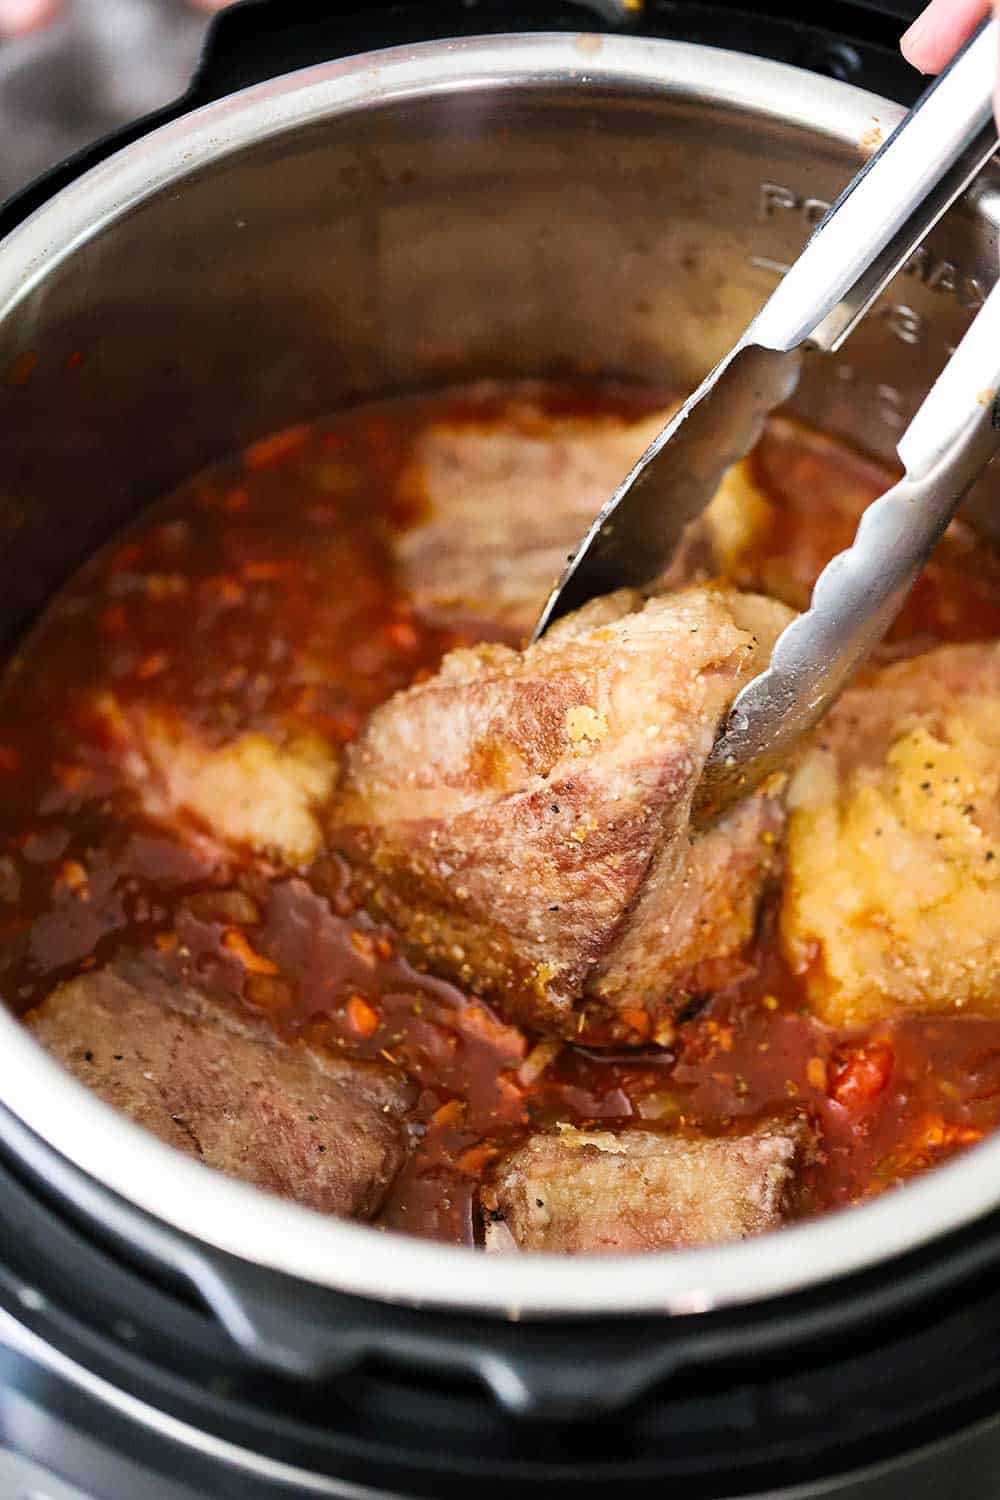
- 2 lbs smoked ham cut into ½-inch dice
- 2 tablespoon whole-grain mustard
- 1 tablespoon rosemary fresh, chopped
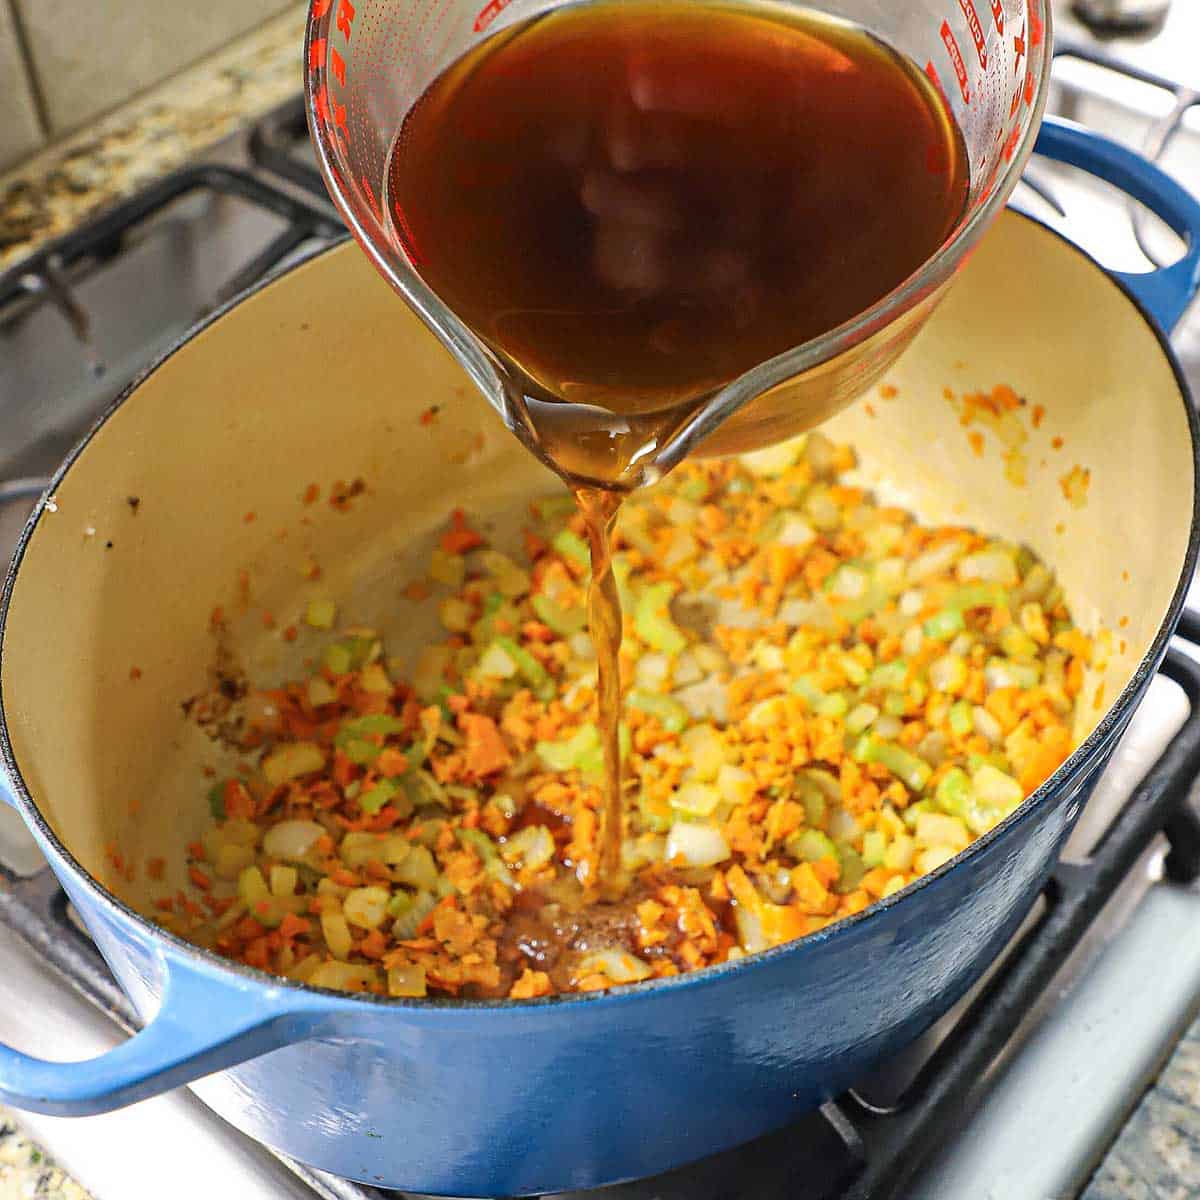
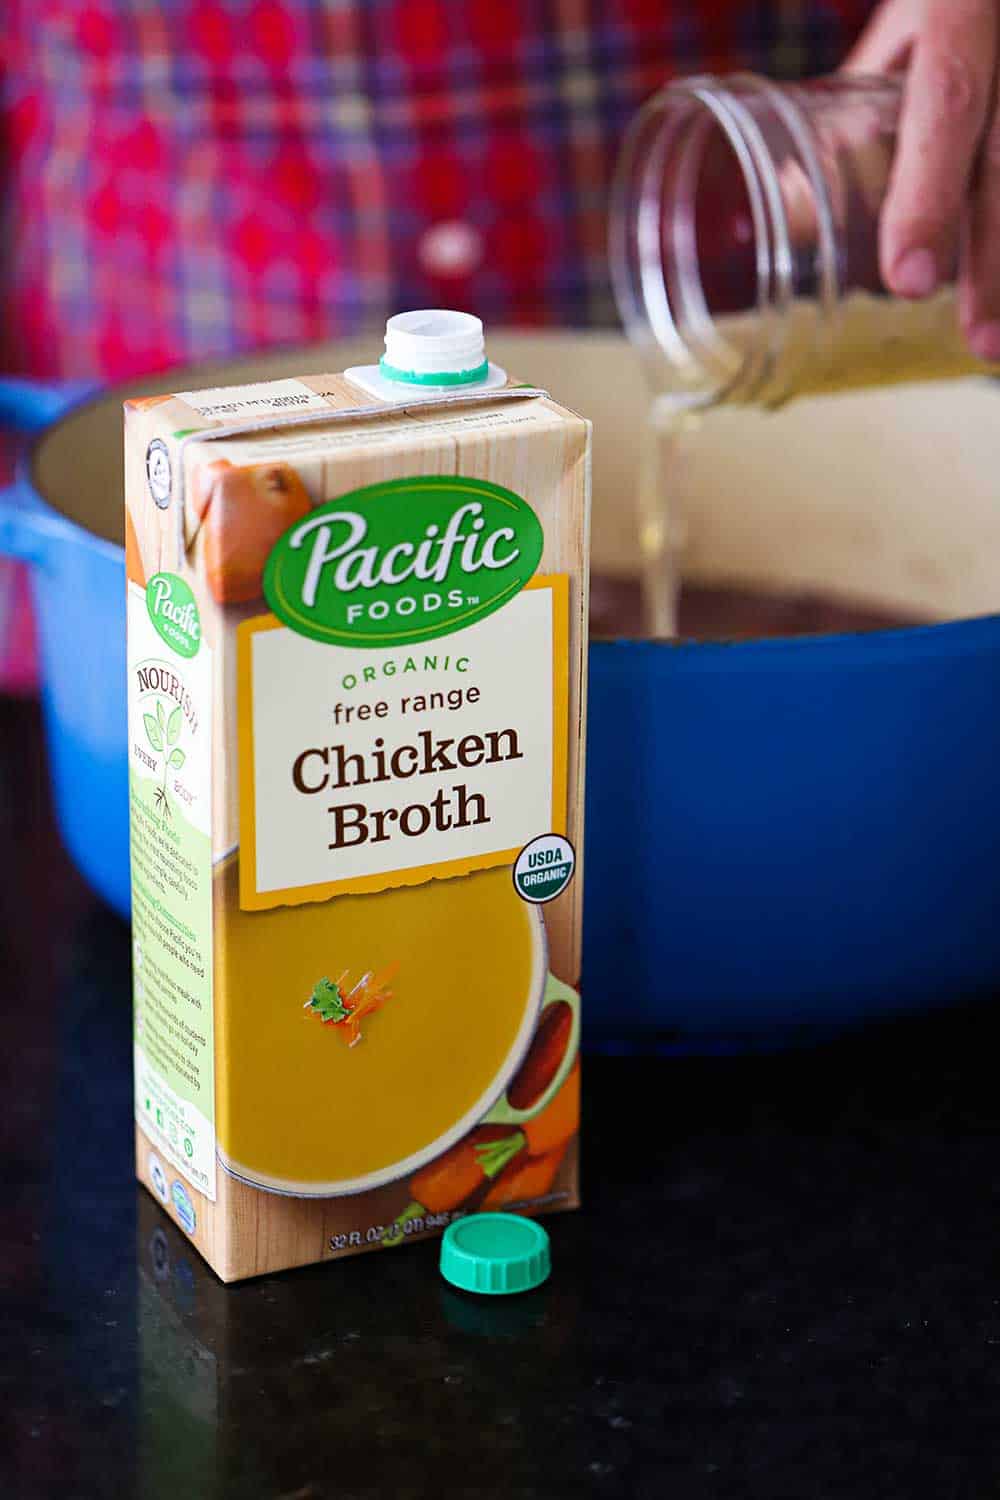
- 9 cups chicken stock
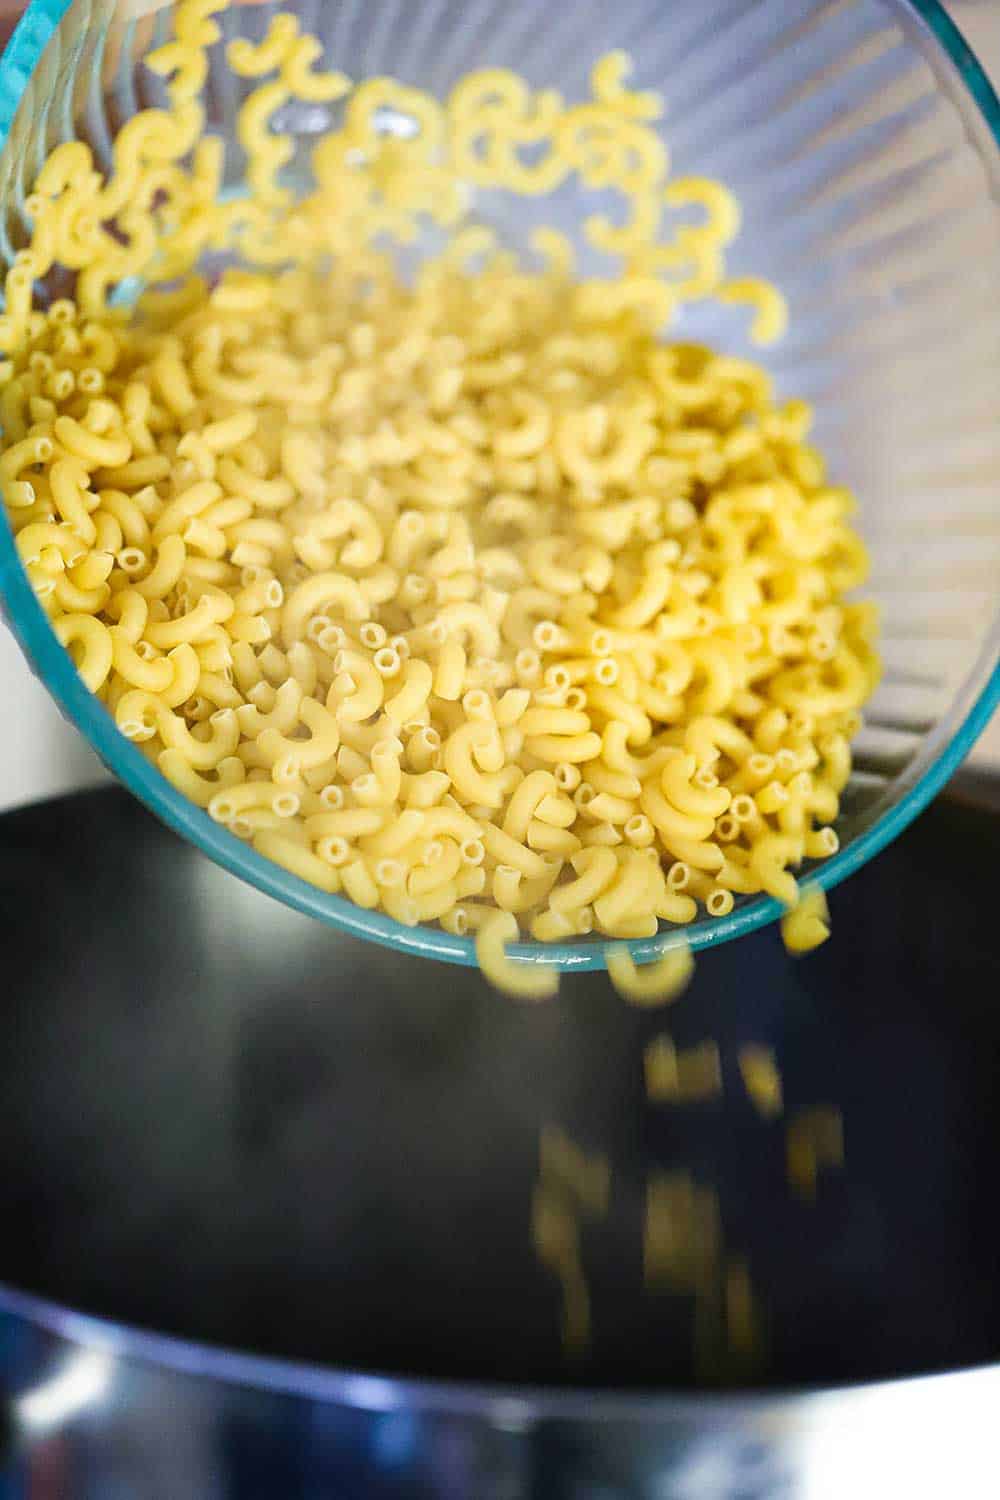
- 3 cups kale
Instructions
Do Ahead
- Place the beans in a large pot with enough water to cover them by 2 inches. Soak overnight.
Make the Stew
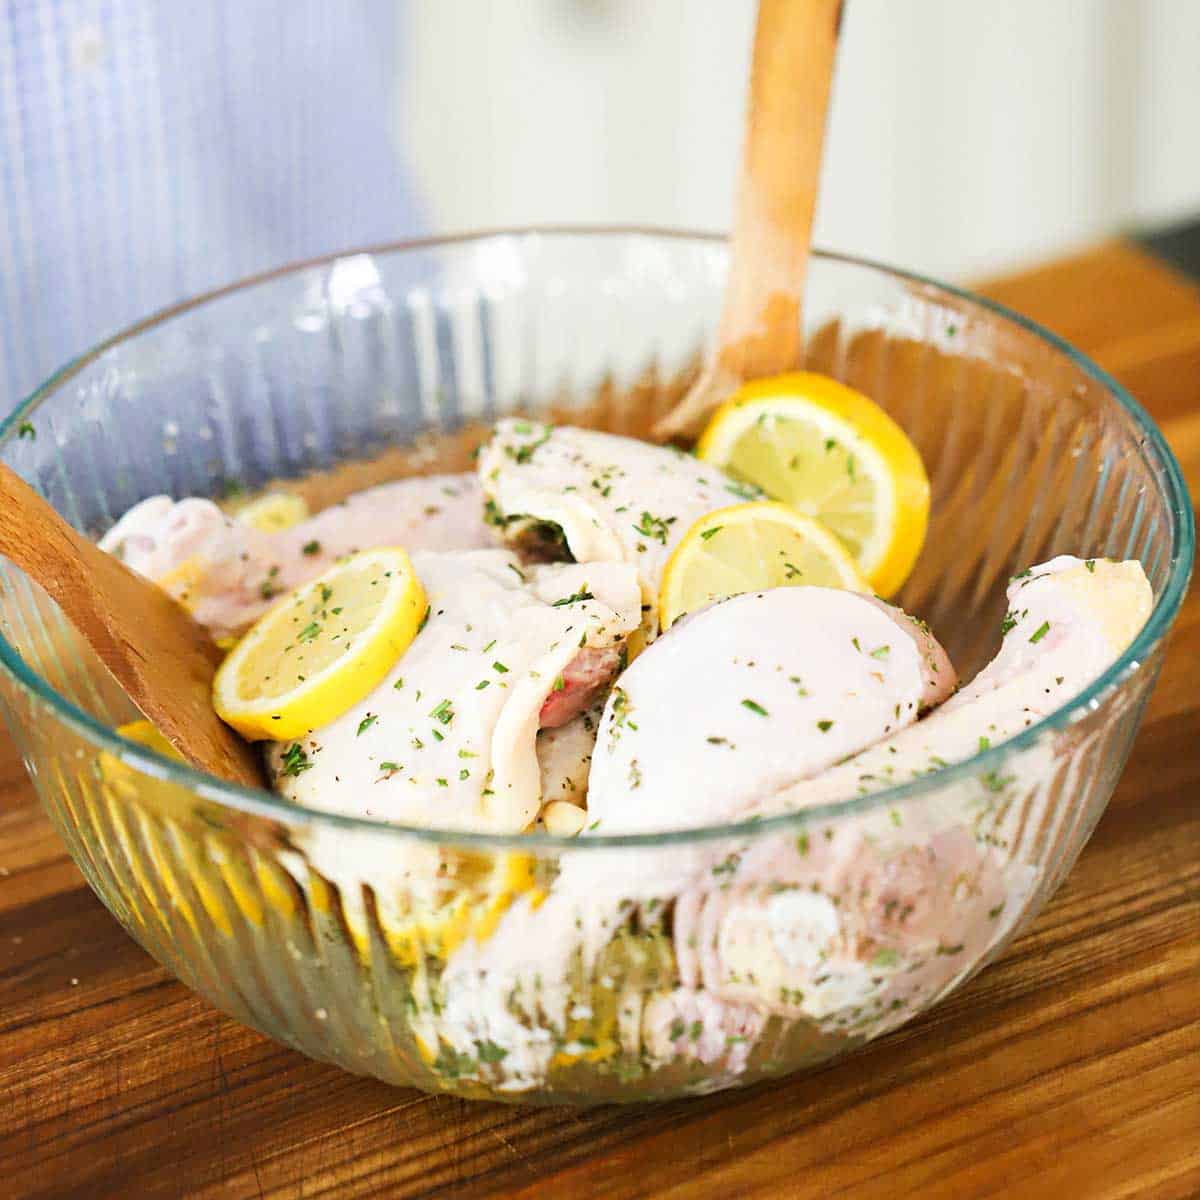
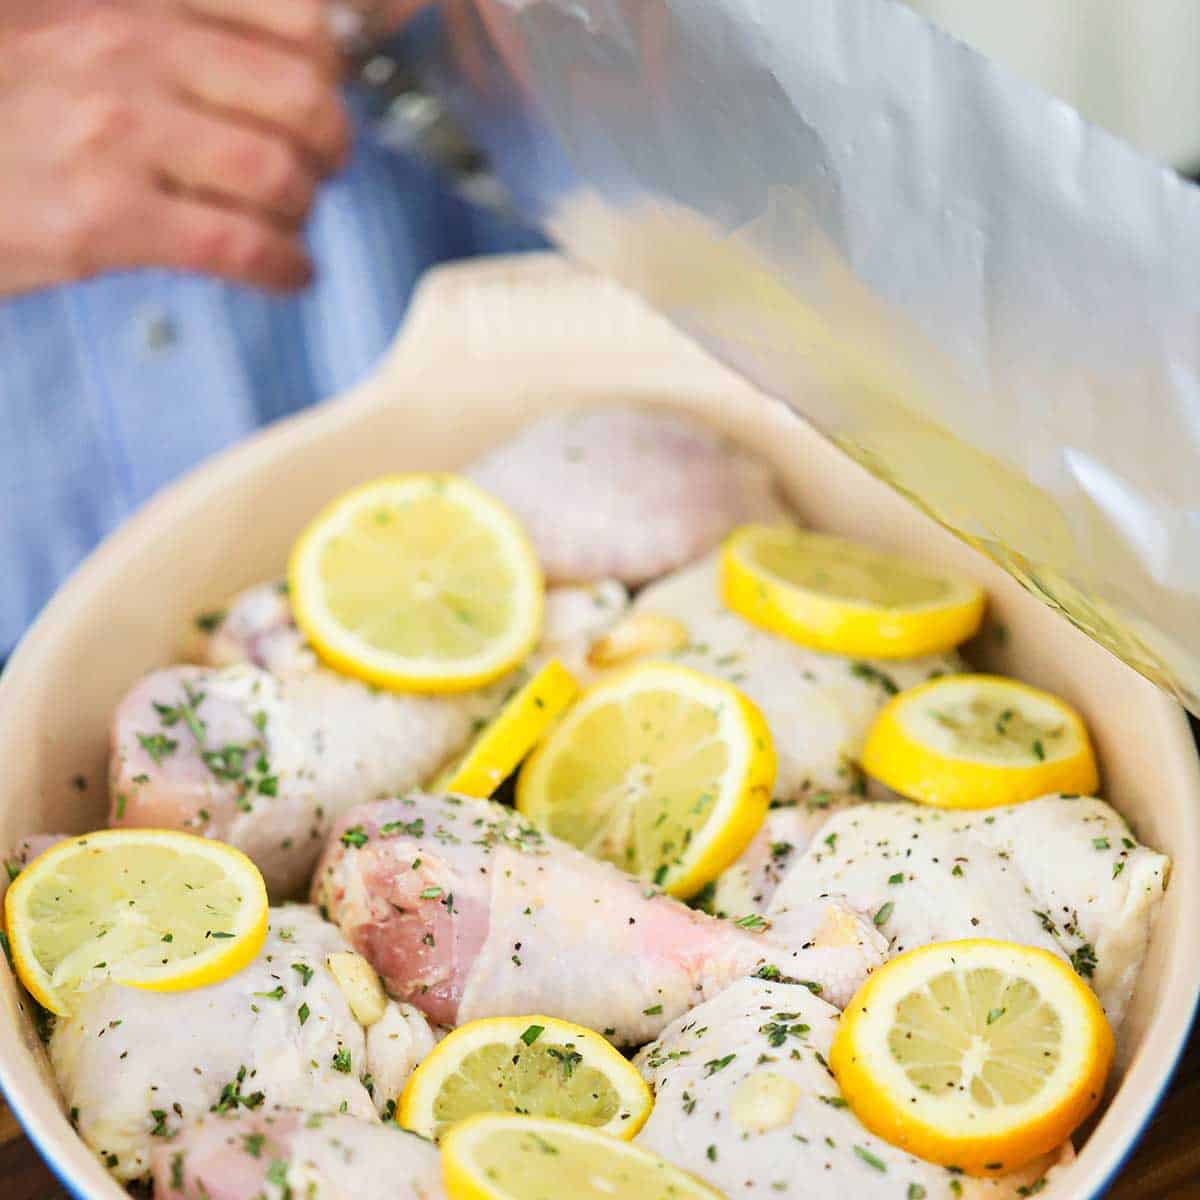
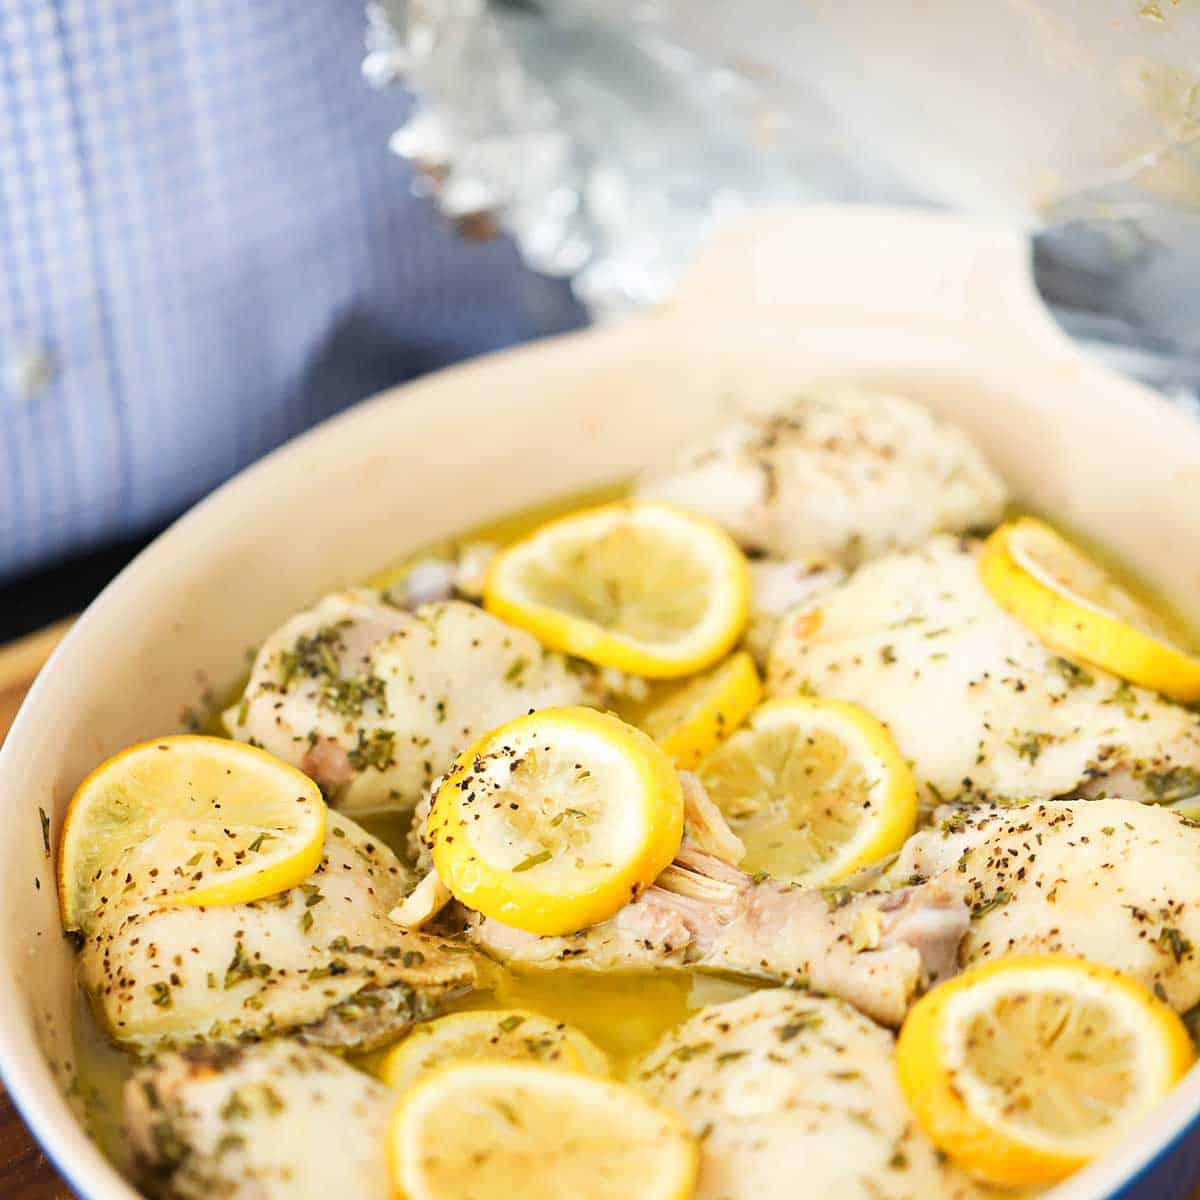
- Heat the bacon grease (or butter or oil) in a heavy pot (preferably a Dutch oven) over medium-high heat. Add the onion, celery, carrot, garlic, jalapeno, bay leaves, salt, pepper, and cayenne and cook, stirring until the veggies have softened, about 10 minutes.
- Add the ham, mustard, and rosemary, cook for 3 minutes more, stirring occasionally.
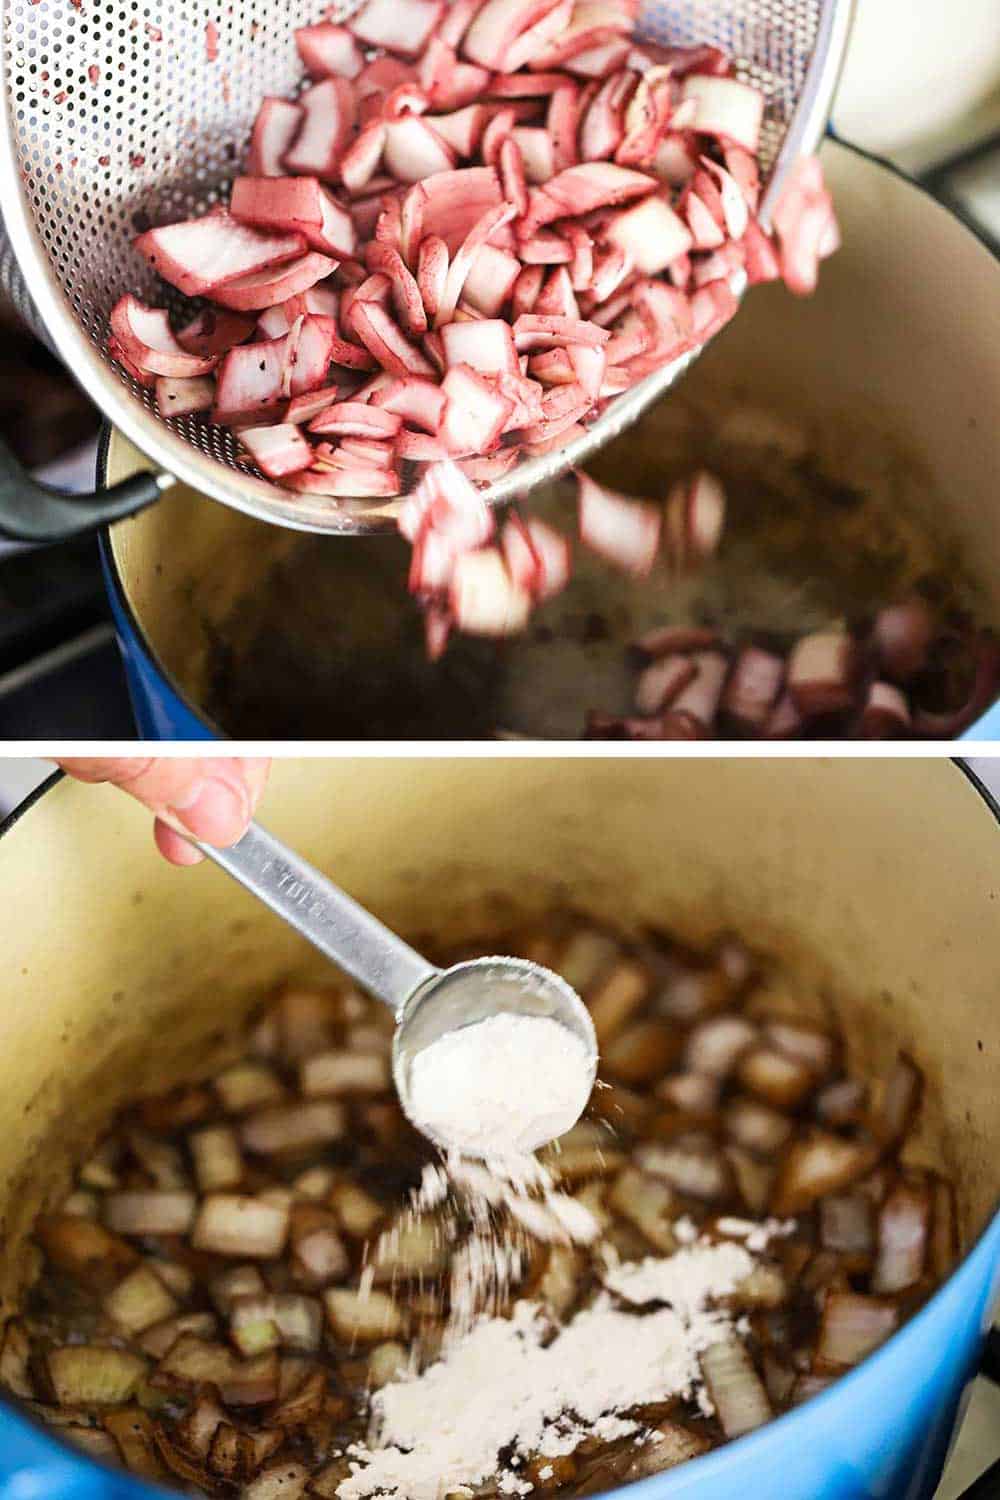
- Remove any beans from the pot that have floated to the top. Drain and pick over any skins that have come loose. Add the beans to the sautéed vegetables along with the chicken stock. Bring to a boil, then reduce the heat to low and cook the stew at a simmer for 1 hour.
- Add the kale and cook for 30 minutes more.
- Turn off the heat and let sit for 15 minutes, discard the bay leaves.
- You can serve the soup as is at this point, but, to make it creamier...puree 2 cups of the stew in a food processor or blender and return to the stew. Stir until fully incorporated.
- Taste for more seasonings, adding more salt and pepper if desired.
Video
Notes
- Hot Soak. In a large pot, add 10 cups of water for each pound (2 cups) of dry beans. Heat to boiling; boil for 2–3 minutes. Remove from heat, cover, and soak for up to 4 hours.
- Quick Soak. This is the fastest method. In a large pot, add 6 cups of water for each pound (2 cups) of dry beans. Heat to boiling; boil for 2–3 minutes. Remove from heat, cover, and soak for at least 1 hour.
- Traditional Overnight Soak. This is the easiest method. Place dry beans in a large container; for each pound (2 cups) of beans, add 10 cups of cold water. Cover and refrigerate 8 hours or overnight. Drain and proceed with the recipe.
Nutrition
POST UPDATE: This recipe was originally published in February 2015, but was updated with improved tweaks to the recipe, new tips and photography, and a fabulous new video in November 2020!
This is a recipe adapted from Robert Cove and re-created by Chef Donald Link.