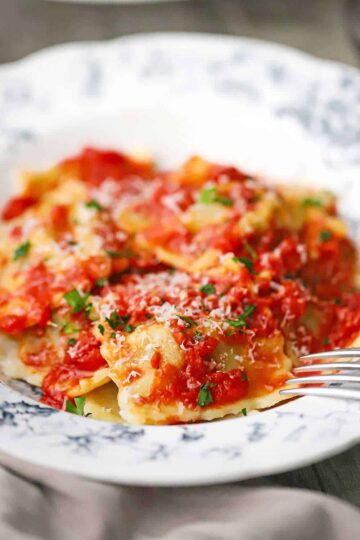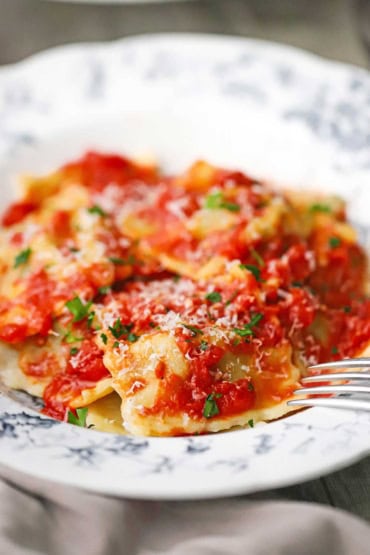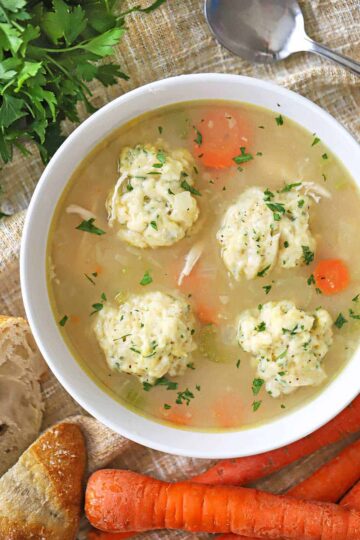
We can safely say this soup is near perfection and is truly the ultimate comfort food.
There are a few critical components that make this soup so stellar. The first is the homemade chicken broth. This can be done far in advance. Roasting the chicken for the soup is key, too. And, then, of course, the dumplings bring it all together. Make the broth and roast the chicken in advance, and then the soup comes together in about 30 to 40 minutes!

How To Make Homemade Chicken and Dumplings.
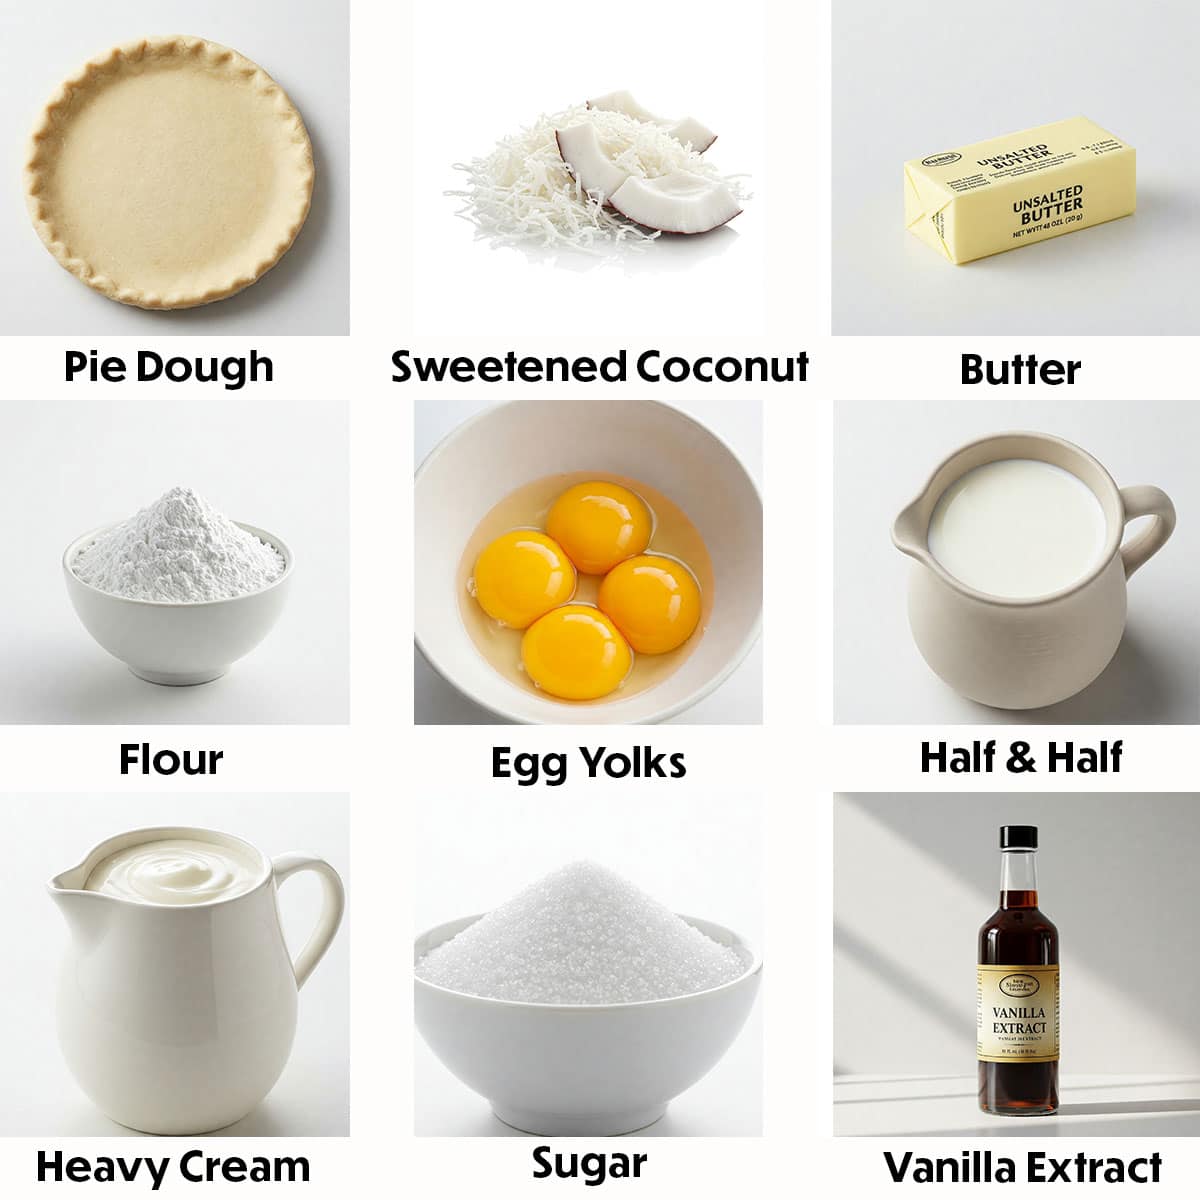
The Ingredients You Will Need
The ingredients for this soup are humble and not hard to come by. This is true for making the broth, too. Here’s what you’ll need to have on hand:
Chicken broth – Homemade chicken broth or stock brings this soup to another level. You can also simmer a whole chicken in water with vegetables and herbs. See NOTES.
Roasted chicken – You can substitute rotisserie chicken from the supermarket and still get excellent results.
Mirepoix – Onion, celery, and carrots chopped (or sliced) into a uniform size. Fresh is definitely best. We don’t recommend canned vegetables.
Butter – Unsalted.
Flour – All-purpose.
Seasonings – Salt and pepper.
For the Dumplings
Flour – All-purpose.
Baking powder – Check the date. Don’t use it if past the ‘best used’ by date.
Parsley – Fresh, chopped. Fresh is recommended.
Butter – Cubed and chilled.
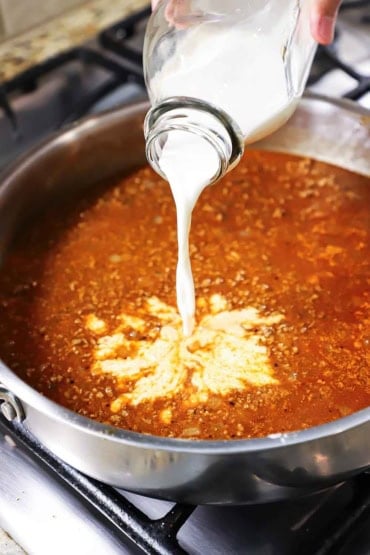
Milk – Whole is best.
Egg – Lightly beaten.
Salt – Kosher is excellent.
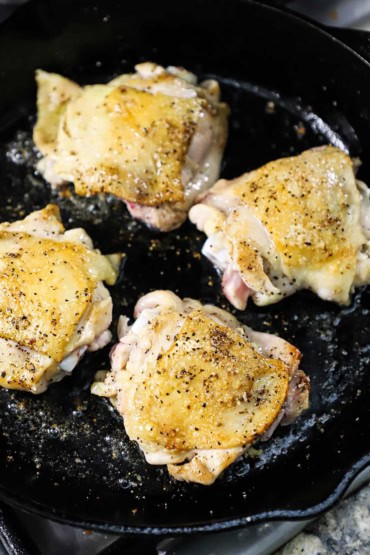
EXPERT TIP: Roasting a couple of bone-in, skin-on chicken breasts with a little olive oil, salt, and pepper will give you very tender and flavorful chicken. This can be done up to several days in advance of preparing the soup.
Tips for Making Perfect Homemade Chicken and Dumplings
Make the Chicken Broth – We can’t stress this enough. The homemade chicken broth is easy to make; it just takes about 4 hours, but requires very little attention. Just stir every now and then. And then allow the broth to cool in the fridge overnight. The results are amazing.
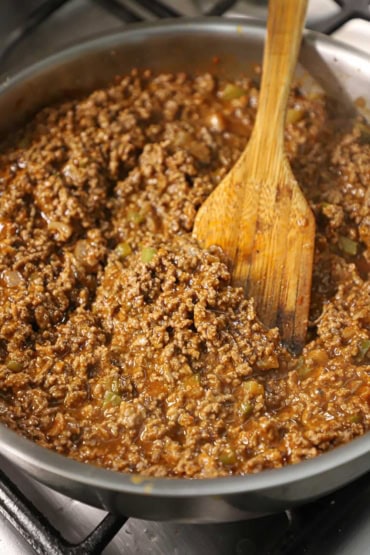
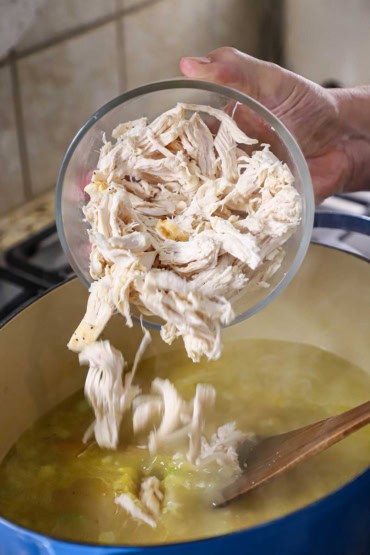
Roast the Chicken for Depth – Roast your chicken until golden brown and juicy, then shred or chop the meat into bite-sized pieces. The roasting process adds a rich flavor that enhances the overall dish, making it more satisfying.
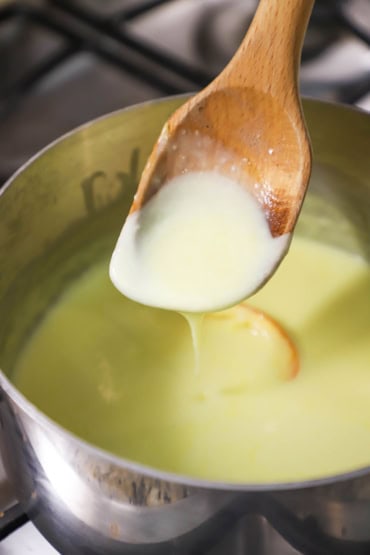
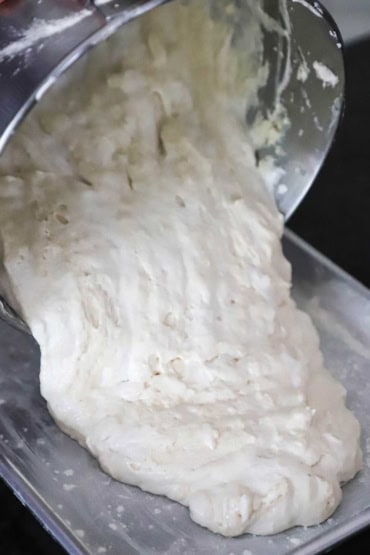
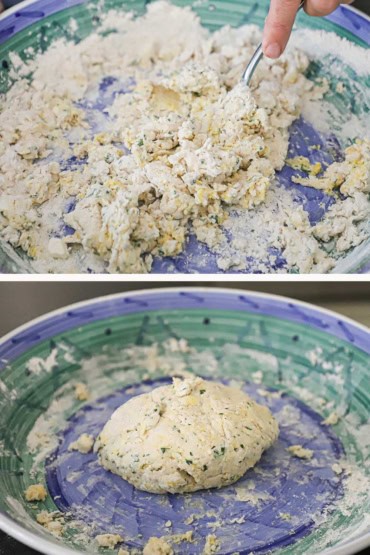
Prepare the Dumpling Dough Properly – For fluffy dumplings, mix until just combined—overmixing can lead to tough dumplings. Right as the dough comes together, knead it a few times until it is a solid (but soft) mass. Allow the dough to rest for a few minutes before dropping it into the simmering broth.
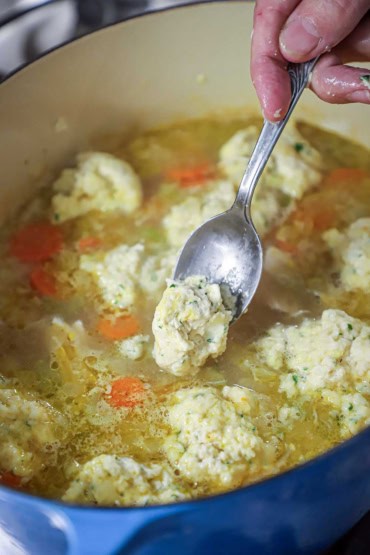
Simmer the Dumplings Gently – Once you add the dumplings to the simmering broth, cover the pot and cook them without lifting the lid for about 15-20 minutes. This steaming method ensures the dumplings cook through while remaining light and fluffy. Avoid stirring during this time to maintain their shape.
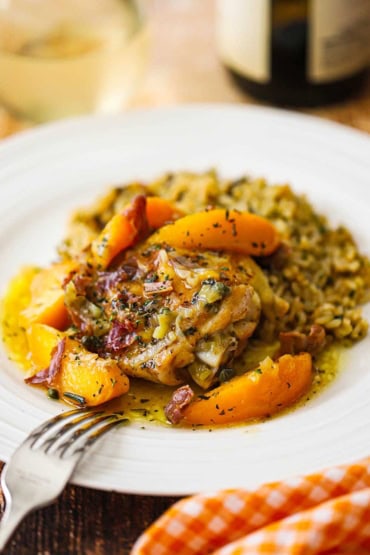
How To Serve
The soup can be served right after the dumplings are plump and fully cooked.
It makes for an amazingly delicious lunch serving. For a wonderful dinner, make grilled cheese sandwiches for everyone to dunk into the broth as they are eating their soup.
Leftovers heat beautifully on the stove. Feel free to add more broth (store-bought is fine) when re-heating.
EXPERT TIP: Remember that the dumpling dough has baking powder, which will make the dumplings increase in size as they cook. Drop the dough in by spoonfuls, but not too big, unless you like extra-large dumplings.
Other Classic Broth-Based Soups to Try
There is something just so comforting about soup with homemade broth or stock as the foundation for the other ingredients. Here are some of our favorite soups with stock or broth that we are certain you and your loved ones will love, too;
- Classic Chicken and Noodle Soup
- White Chicken and Bean Chili with Roasted Tomatillos
- Vietnamese Chicken Pho
- Matzo Ball Soup
- Tortilla Soup with Chicken
- Tortellini Soup with Sausage and Spinach
- Italian Wedding Soup
- Ramen with Spinach and Poached Egg
- Cioppino (San Francisco-Style Seafood Stew)
These are all wonderful soups and are always a huge hit when served to loved ones. But, in the meantime, isn’t the pot of yumminess calling your name?
Every time we prepare this soup, we look at each other after that first bite, and say something along the lines of: “This is the best soup in the world!”
Of course, you would still get yummy results if you didn’t make the stock from scratch, but we promise you, it takes the soup from good to out-of-this-world!
It is just so heart-warming and perfect for the belly and the soul, especially when the temperatures start to drop outside. Soup perfection!

Ready to make one of the most comforting soups of all time, in the comfort of your own kitchen? Go for it!
And when you do, be sure to take a photo of it, post it to Instagram, and tag @HowToFeedaLoon and #HowToFeedaLoon!

Homemade Chicken and Dumplings
Equipment
- Large pot, such as a Dutch oven
Ingredients
Do Ahead - Chicken Stock and Roasted Chicken
- chicken broth
- 2 large chicken breasts bone-in, skin on
- 1 tablespoon olive oil
- salt and pepper
For the Soup
- 7 cups chicken broth
- 4 tablespoon unsalted butter
- 1 medium onion chopped, about 1 cup
- 2 stalks celery sliced, about 1 cup
- 2 medium carrots peeled and thinly sliced, about 1 cup
- ¼ cup all-purpose flour
- 1½ teaspoon salt
- ½ teaspoon black pepper
For the Dumplings
- 1½ cups all-purpose flour
- 3 teaspoon baking powder
- 2 tablespoon flat-leaf parsley chopped, plus extra for garnish (if desired)
- ½ teaspoon salt
- 2 tablespoon butter unsalted, cut into small pieces and chilled
- ½ cup milk whole
- 1 egg lightly beaten
Instructions
Do Ahead
- Prepare the chicken broth (link in Ingredients). Chill in the fridge, preferably overnight. The next morning, use a spoon to remove the congealed fat on the surface of the broth.chicken broth
- To roast the chicken, preheat your oven to 350°F.
- Brush the breasts with olive oil, and then liberally season with salt and pepper. Place the chicken on a baking sheet lined with a baking rack. Roast in the oven until an internal temperature of 165°F is reached. Remove from oven and let rest until cool enough to handle.2 large chicken breasts, 1 tablespoon olive oil, salt and pepper
- Remove the skin from the breasts and then use your fingers to pull the meat from the bones. Roughly chop the chicken and set aside until ready to use.
Prepare the Soup
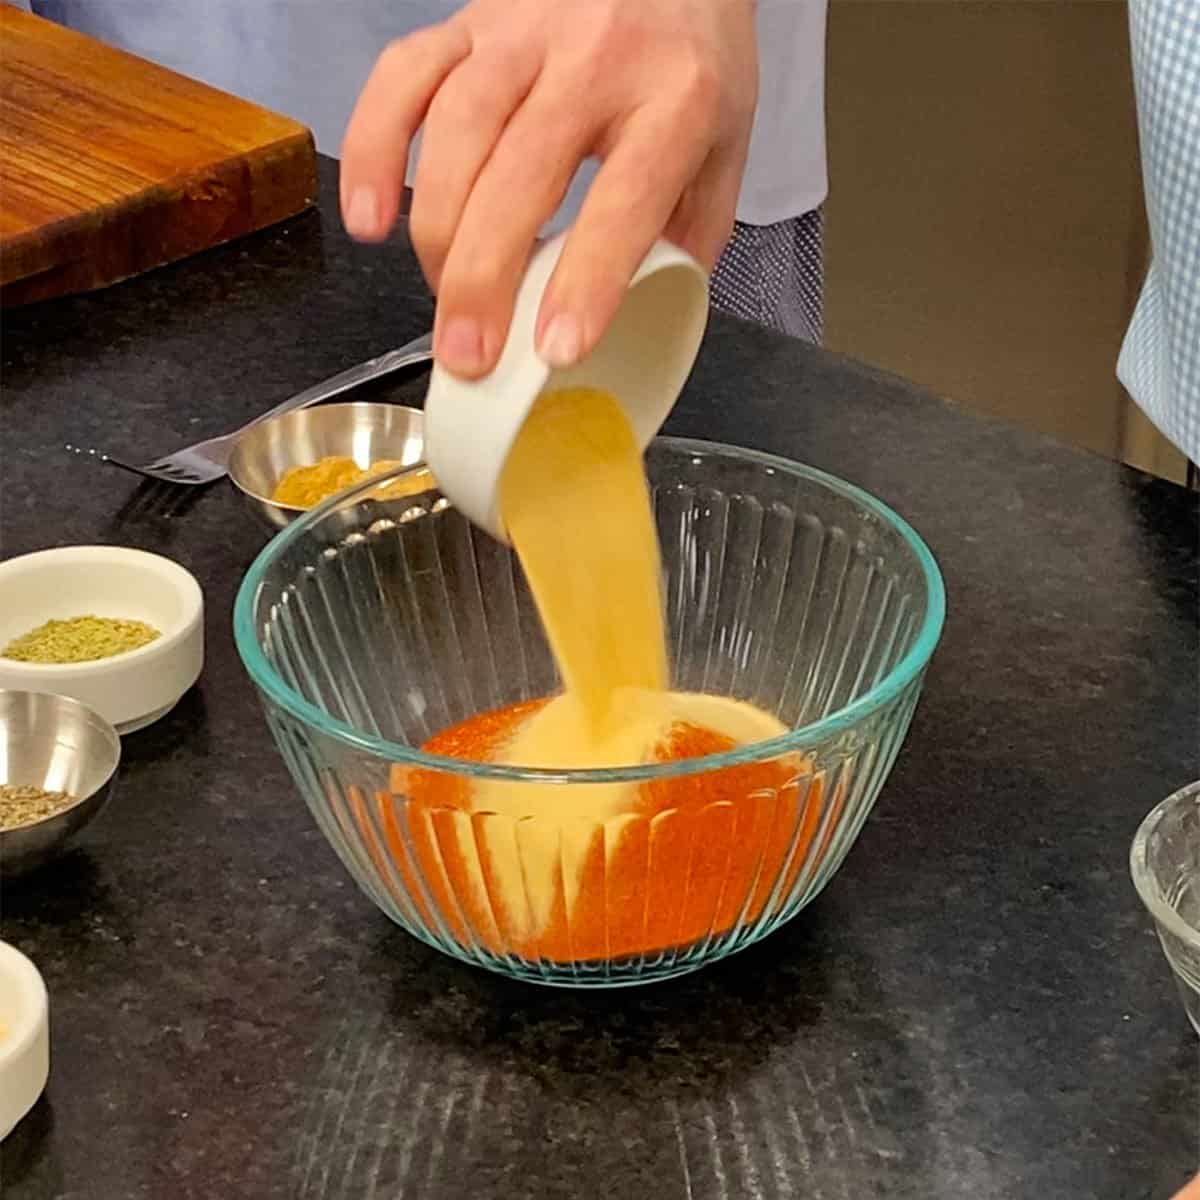
- Heat the chicken broth in a pot (or stock pan) until heated through.7 cups chicken broth
- Melt the butter over medium heat in a Dutch oven or pot.4 tablespoon unsalted butter
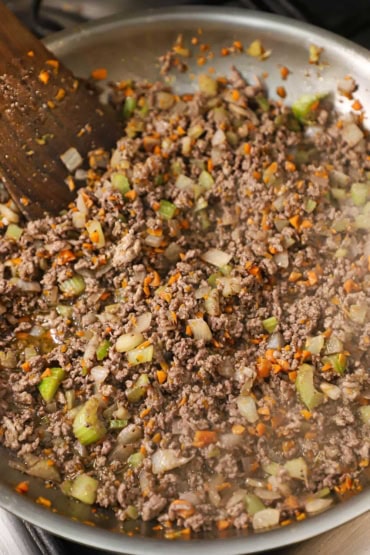
- Add the onion, celery, and carrots. Cook, stirring often until tender, about 6 to 8 minutes.1 medium onion, 2 stalks celery, 2 medium carrots
- Add the flour and stir for 1 to 2 minutes.¼ cup all-purpose flour
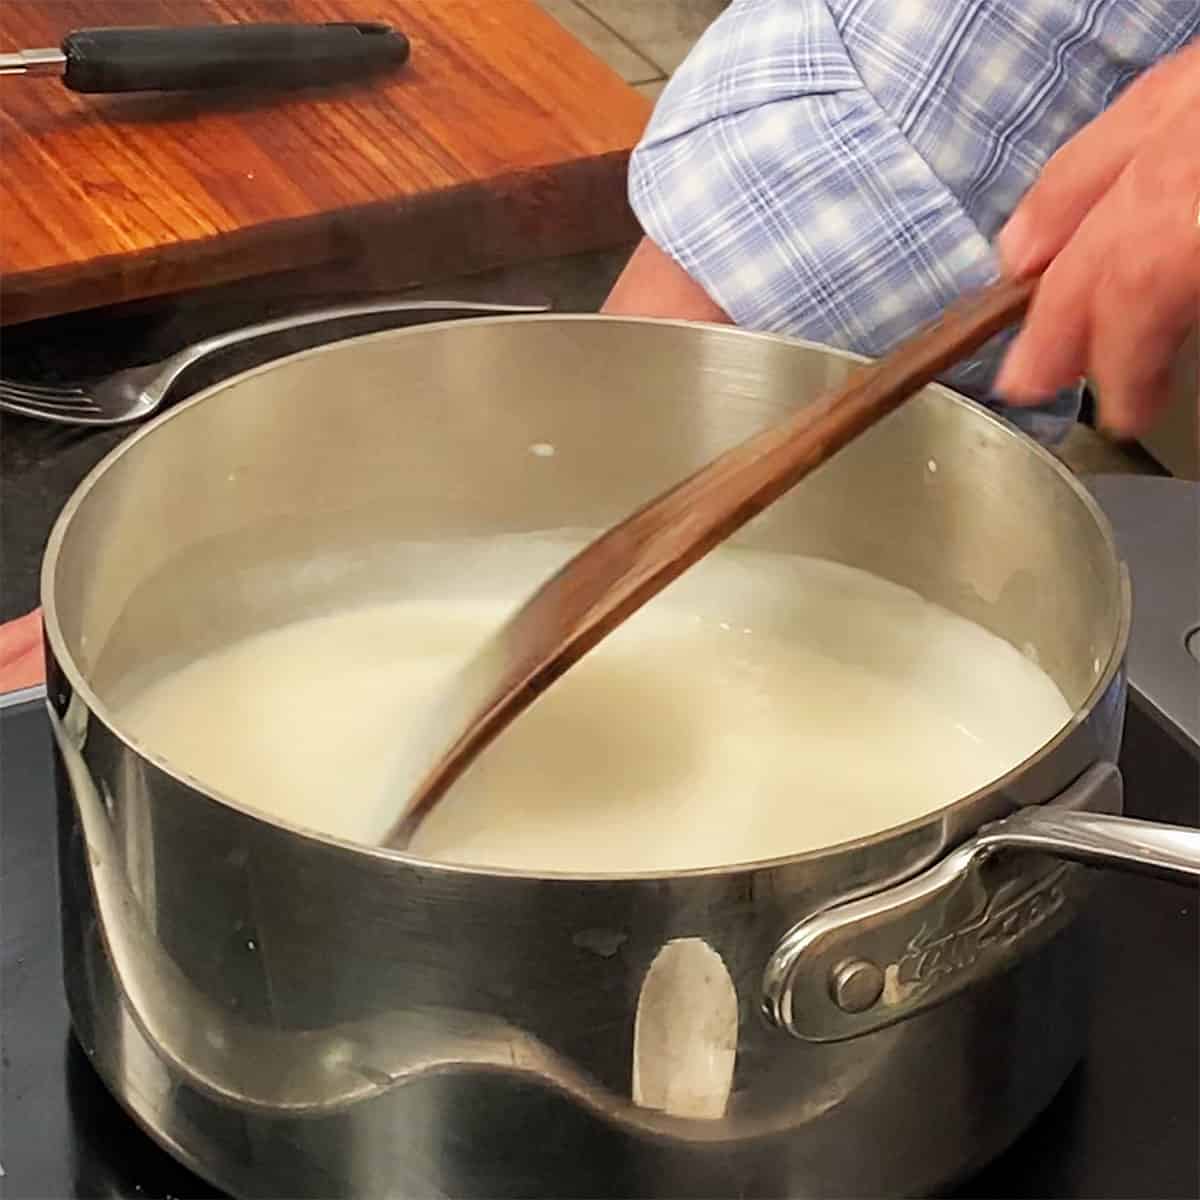
- Add the heated chicken broth and stir until slightly thickened, about 5 minutes. Add the roasted chicken and season with salt (1½ tsp) and pepper (½ tsp).1½ teaspoon salt, ½ teaspoon black pepper
- Let simmer gently as you make the dumplings.
Make the Dumplings
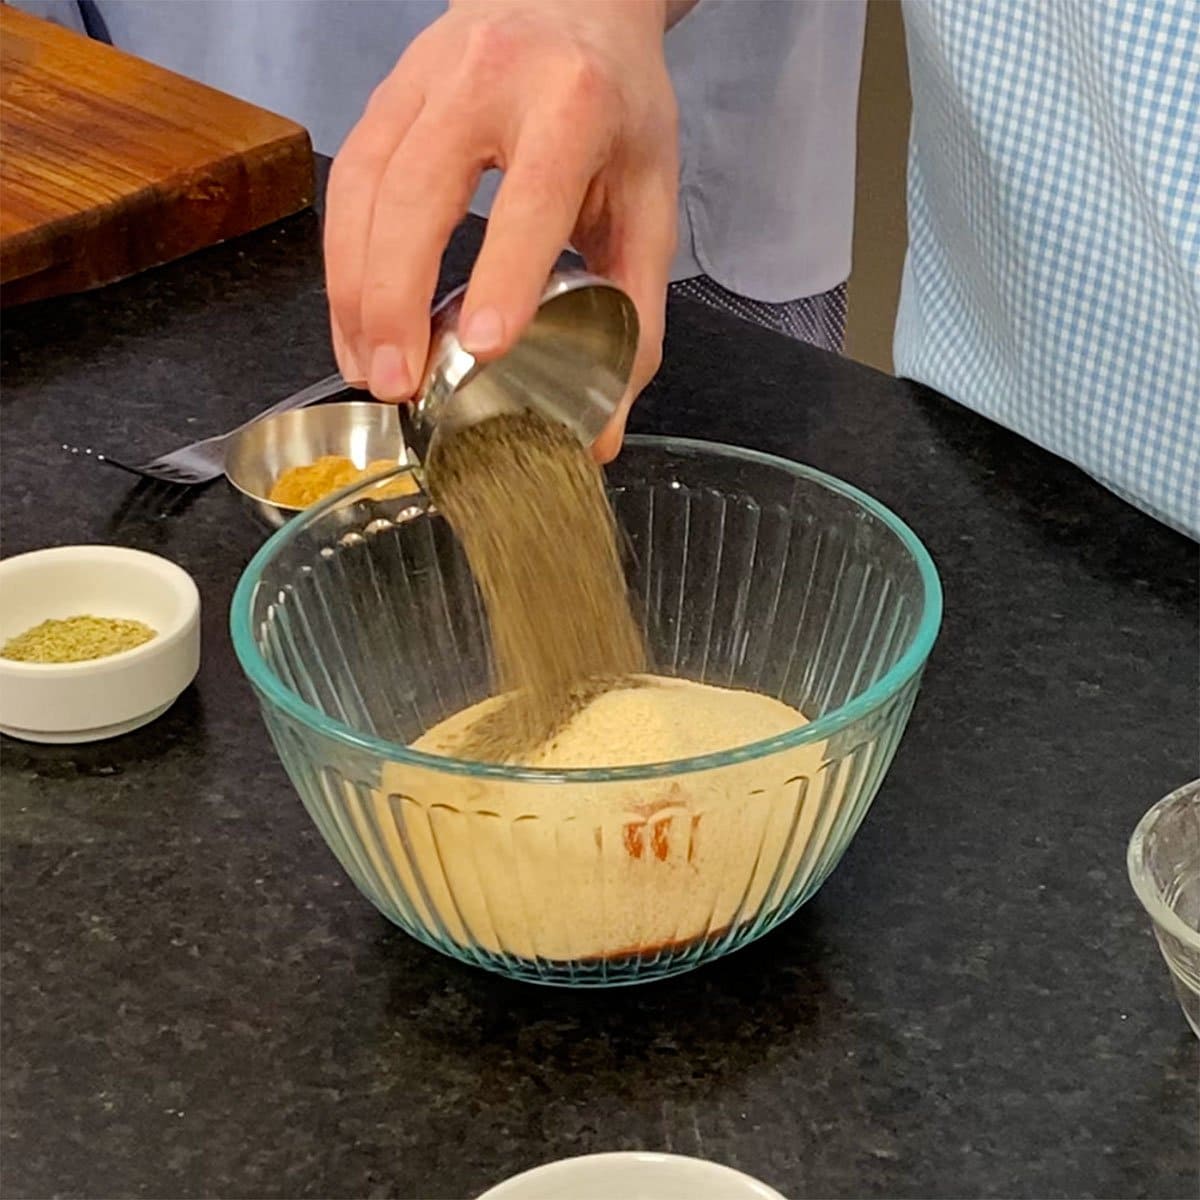
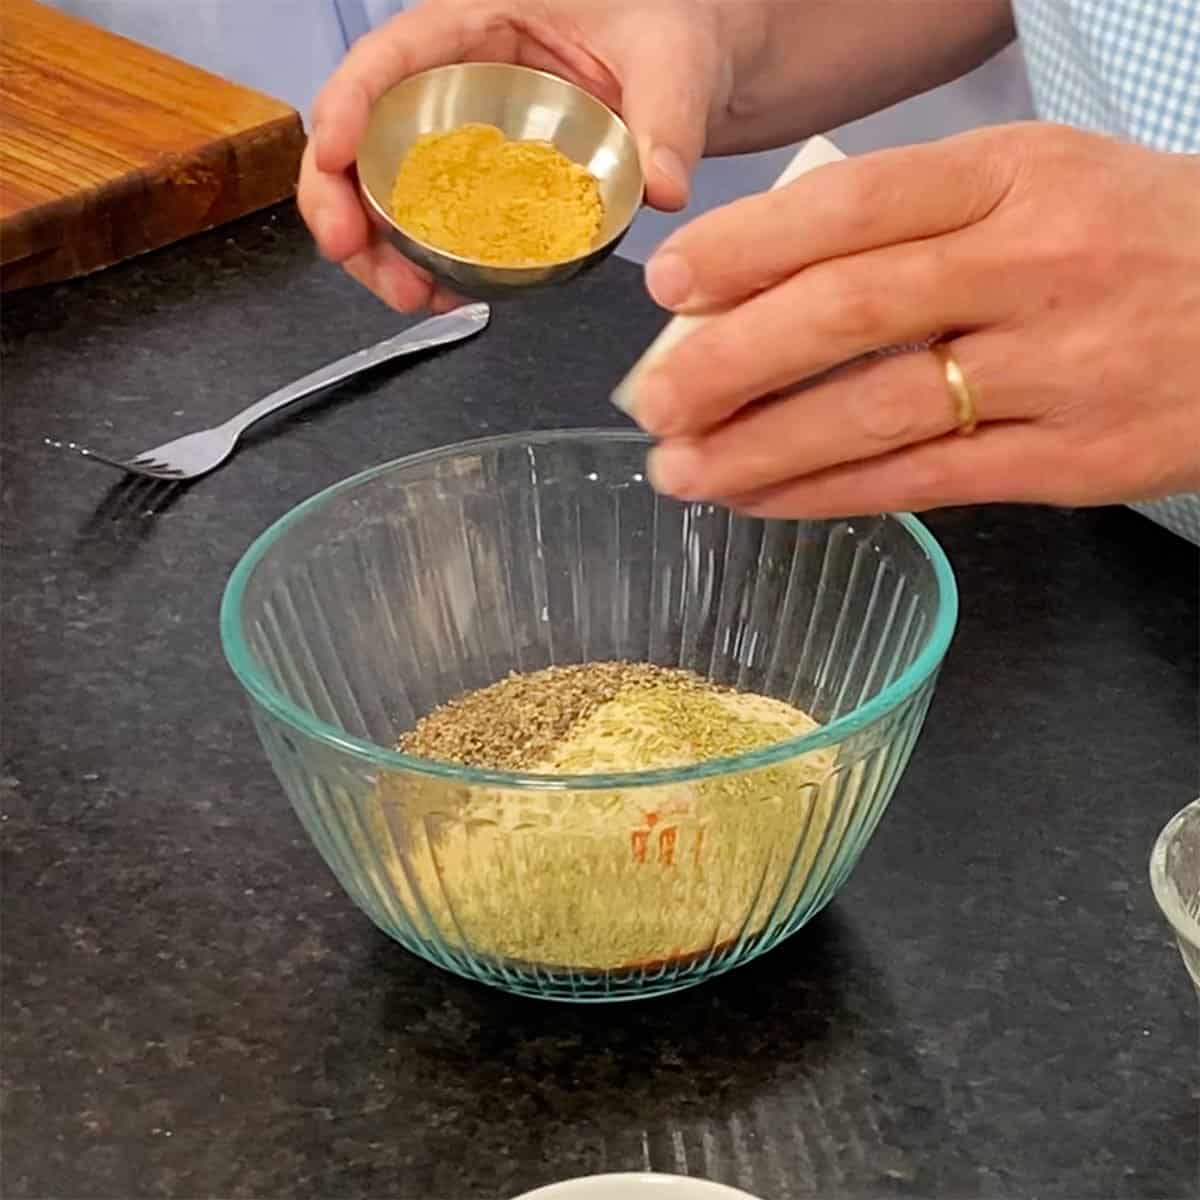
- In a large bowl, whisk together the flour, baking powder, parsley, and ½ teaspoon of salt.1½ cups all-purpose flour, 3 teaspoon baking powder, 2 tablespoon flat-leaf parsley, ½ teaspoon salt
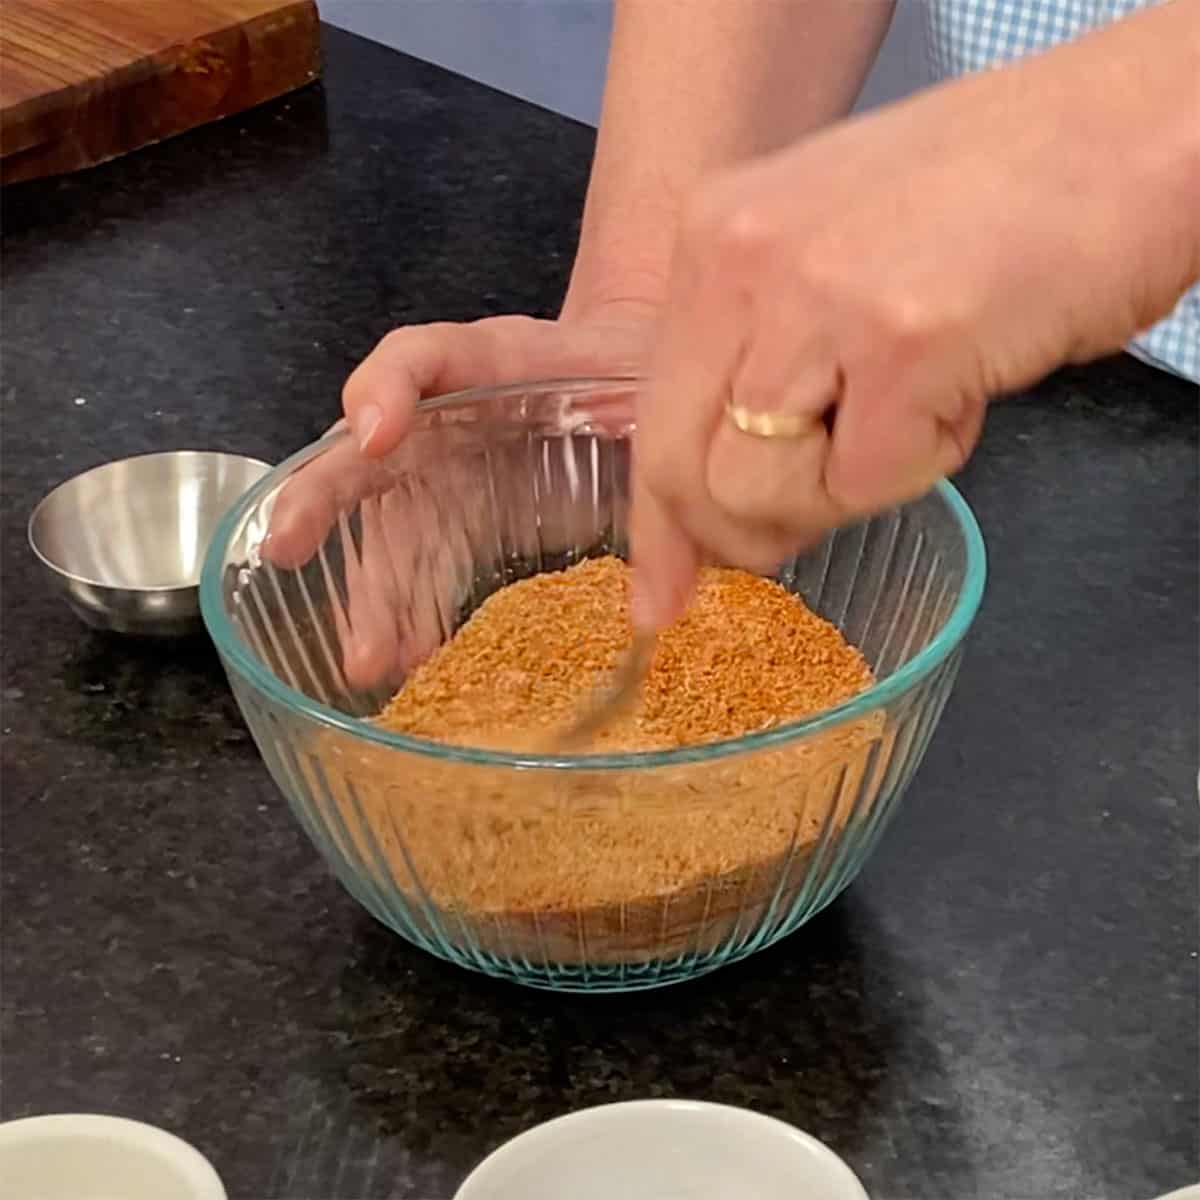
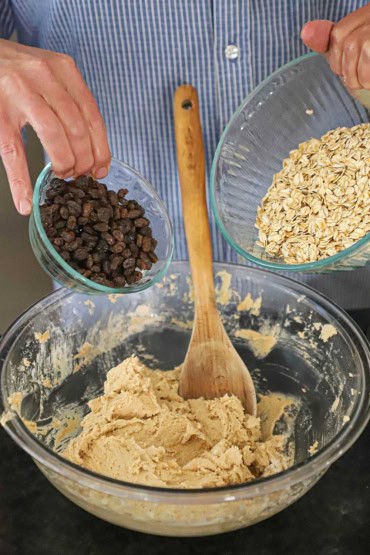
- Add the cubed butter, and, using a pastry cutter, or the ends of two forks, work the butter into the dry ingredients until the mixture has the texture of small peas.2 tablespoon butter
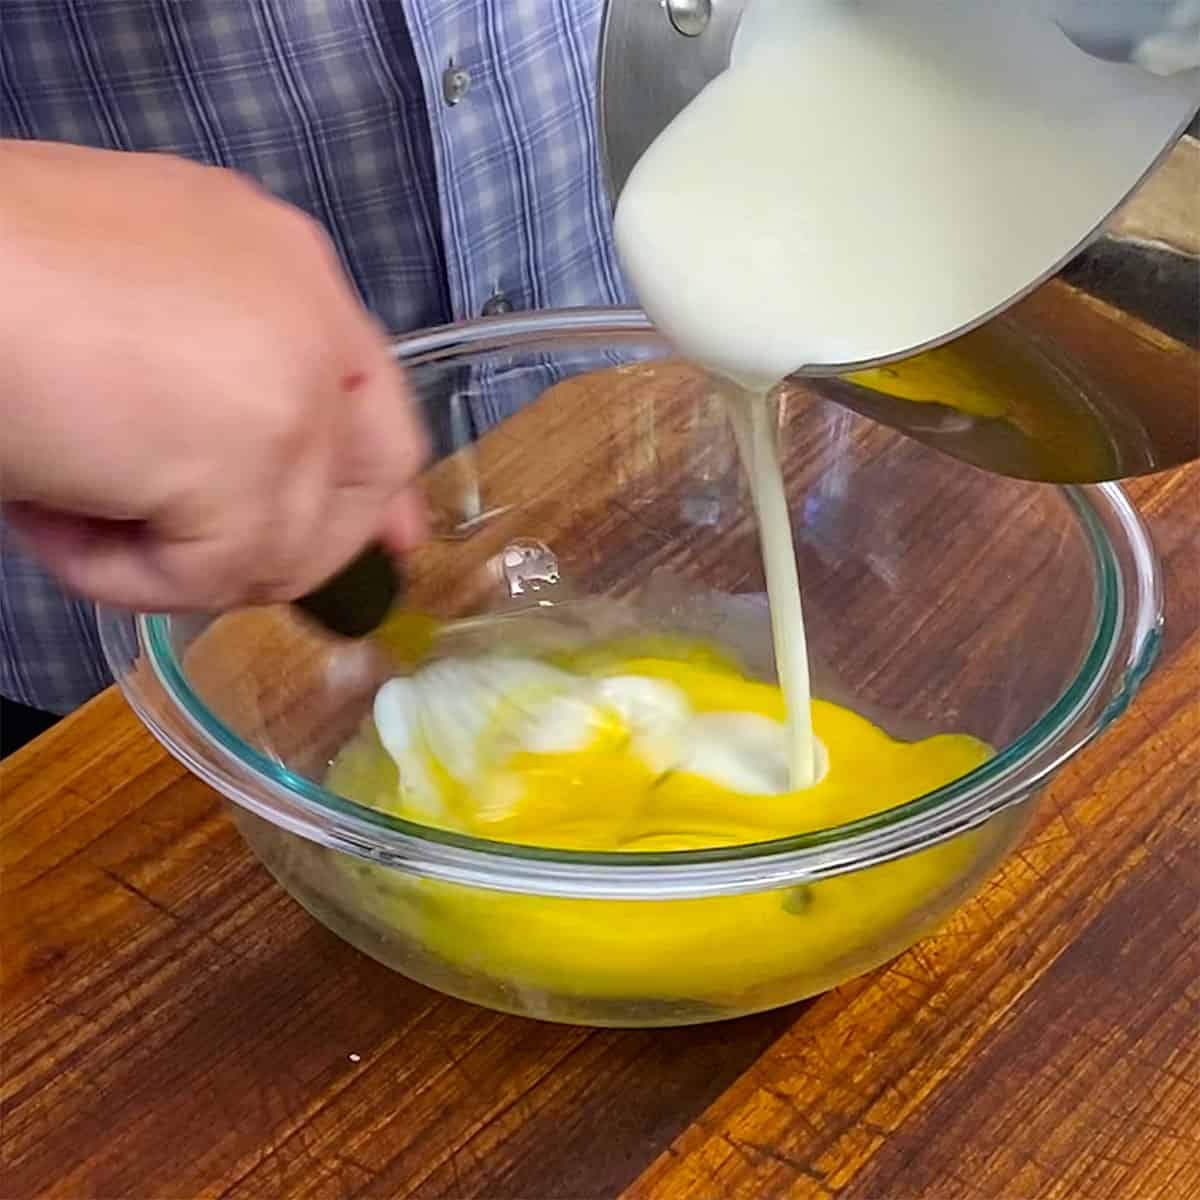
- Add the milk and egg, and then use a fork to incorporate until a batter just comes together. Use the heel of your hands to gently knead the dough until a soft ball is formed.½ cup milk, 1 egg
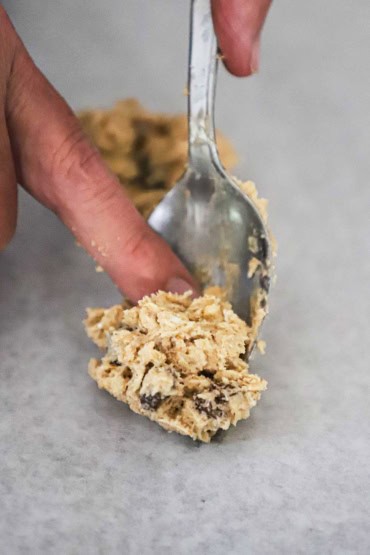
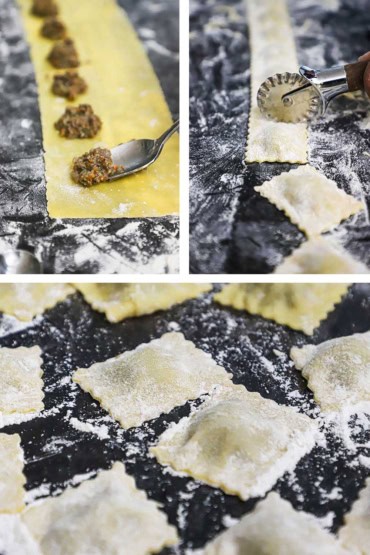
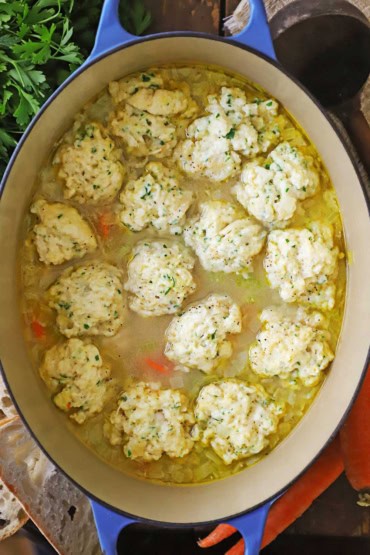
- Drop heaping spoonfuls (roughly the size of a golf ball) of the dough into the simmering soup.
- Reduce the heat to low, cover, and cook until the dumplings are fluffy...about 15 minutes. Serve at once, or cover, and serve within 30 minutes. Garnish with additional chopped parsley, if desired.
Video
Notes
Nutrition
POST UPDATE NOTE: This recipe was originally published March, 2014, but has been updated with improvements to the recipe, new tips and photography, and a fabulouse new video in October, 2024!