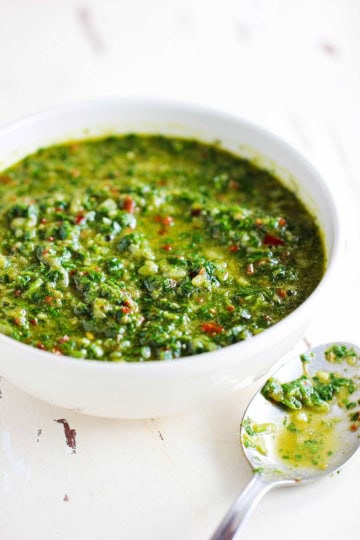
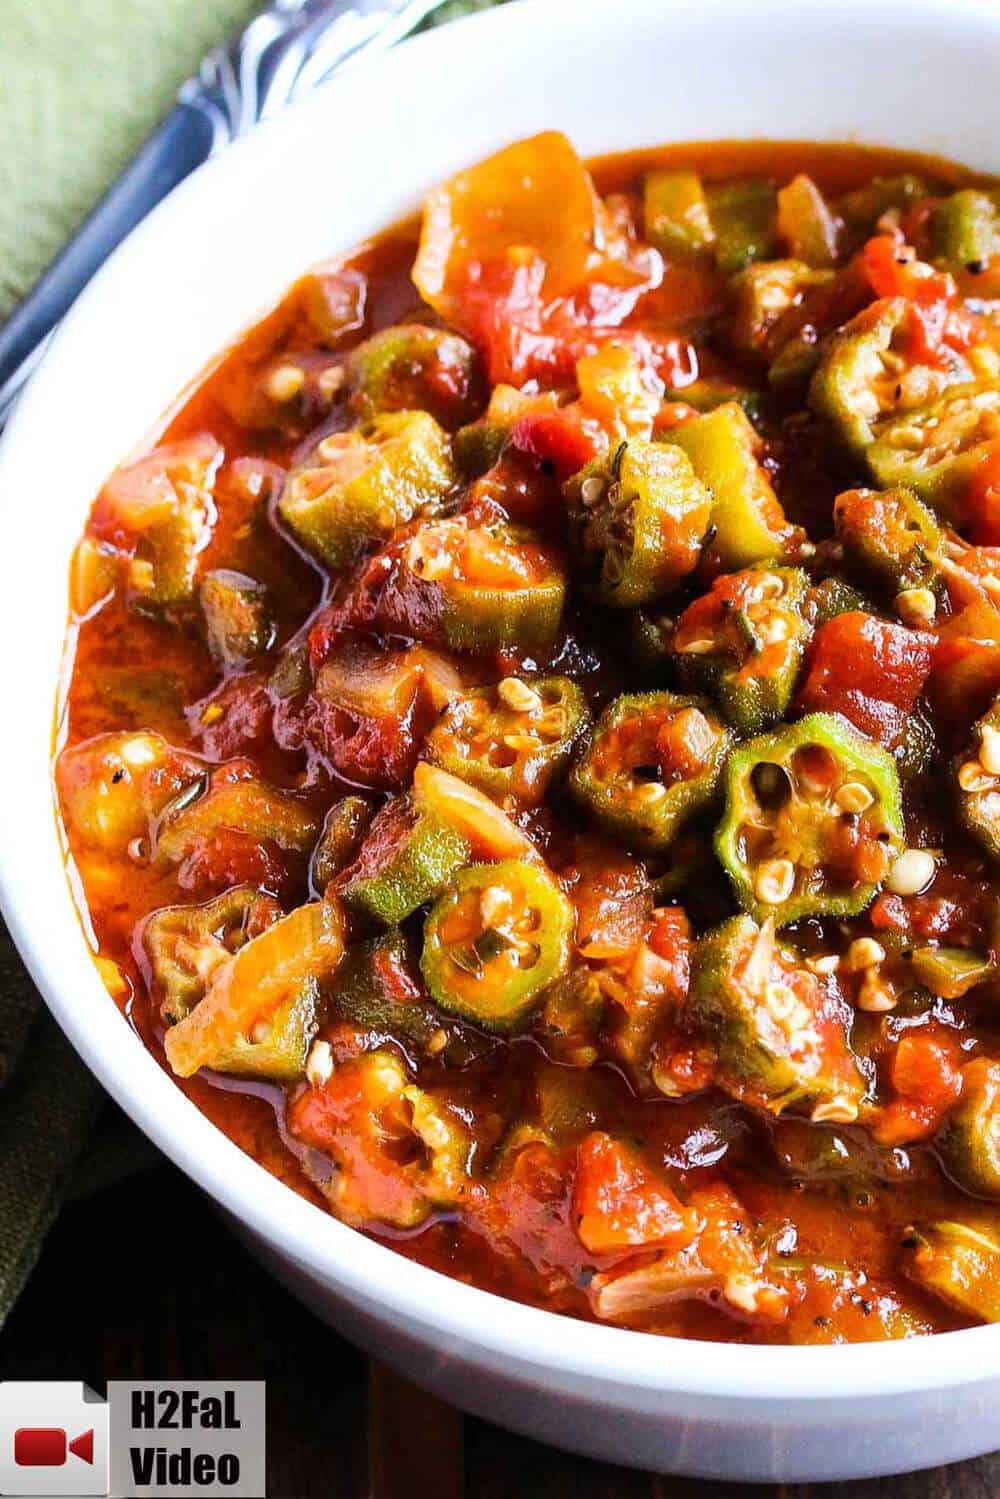
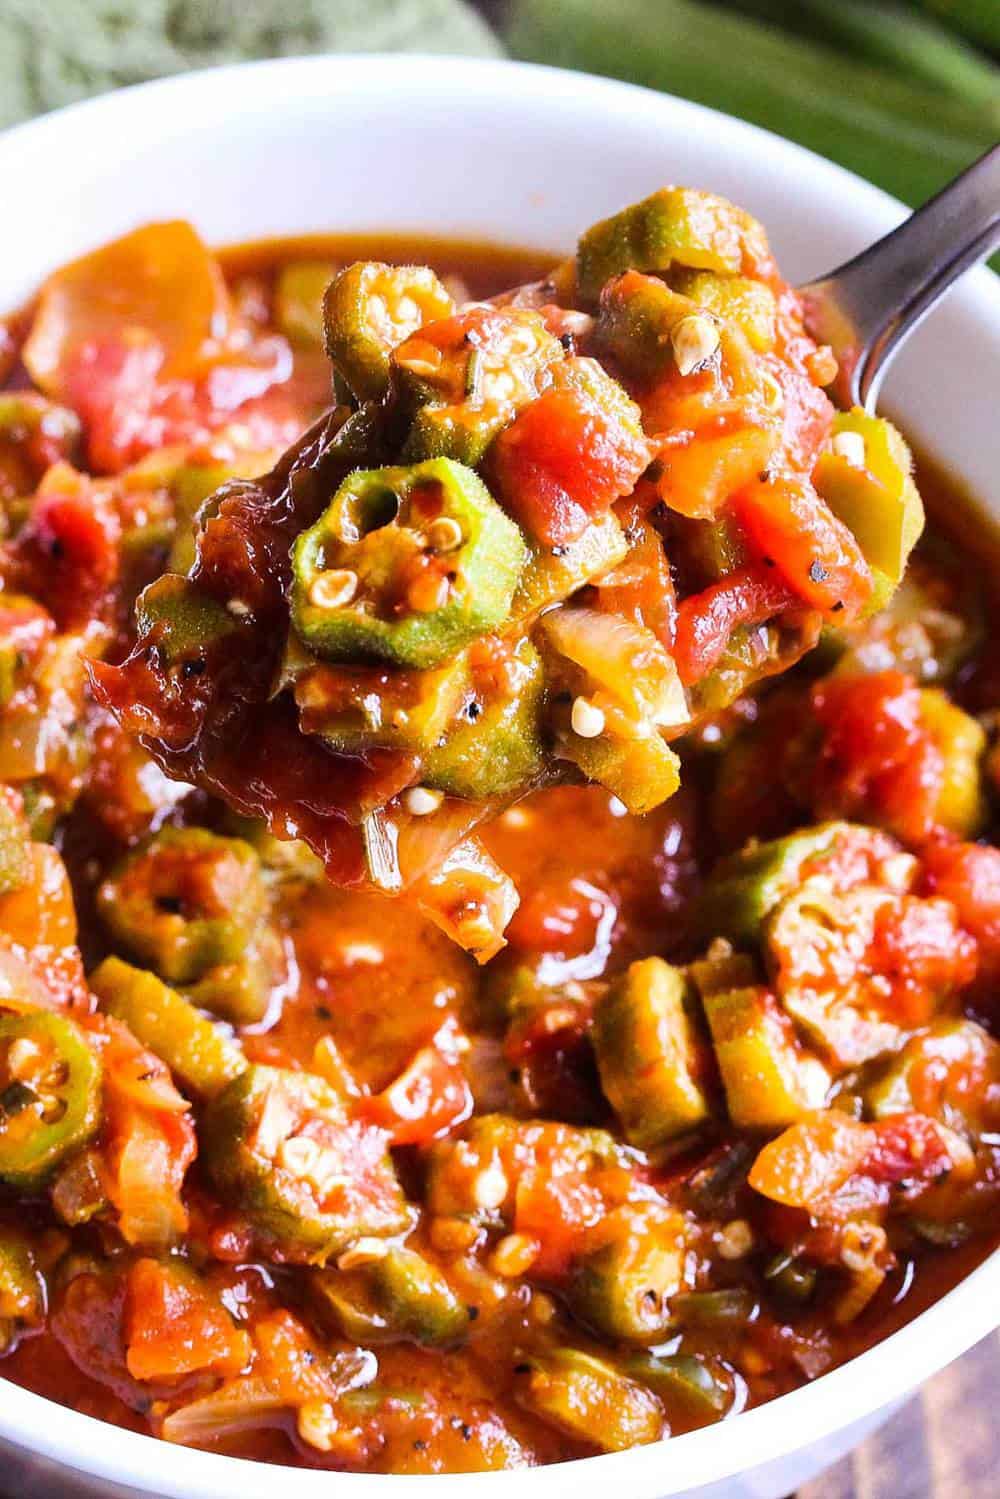
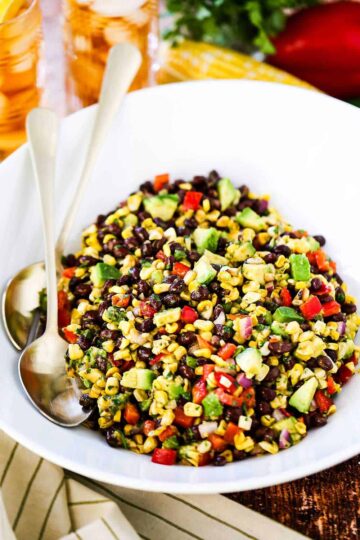
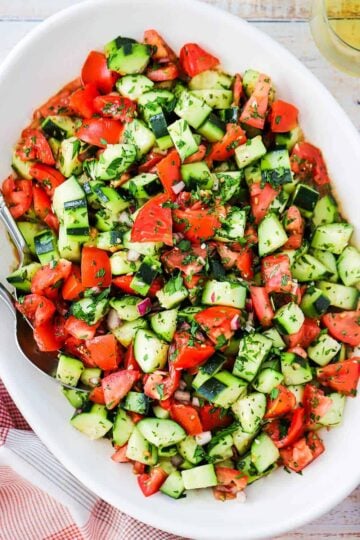
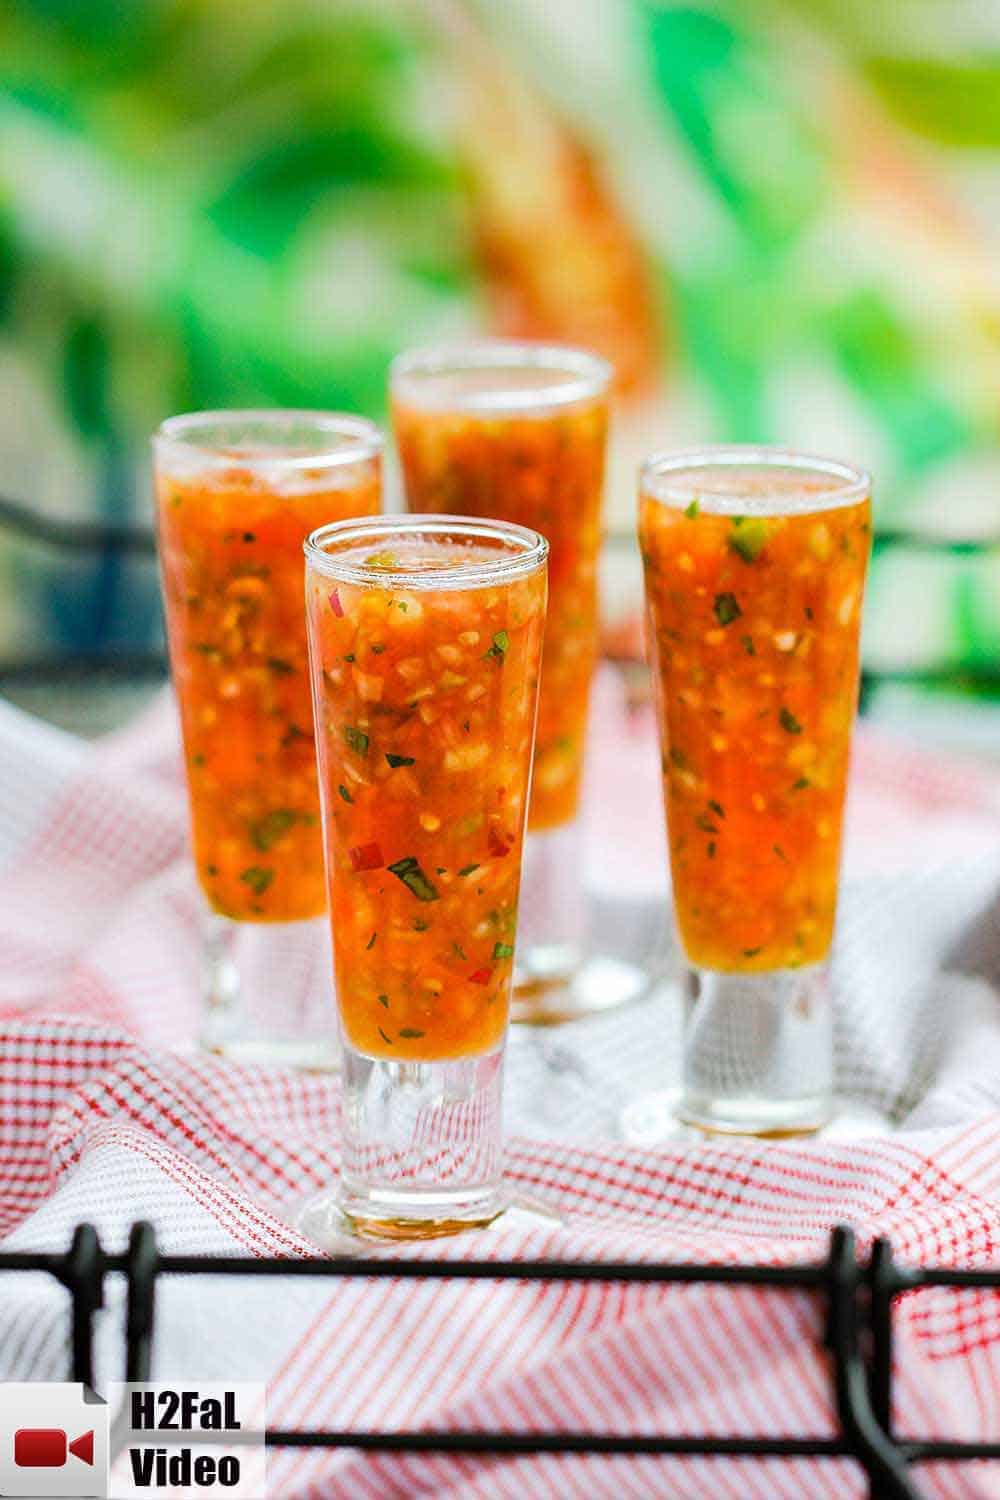
Classic Gazpacho is just that: Classic.
It is the quintessential summer culinary creation.
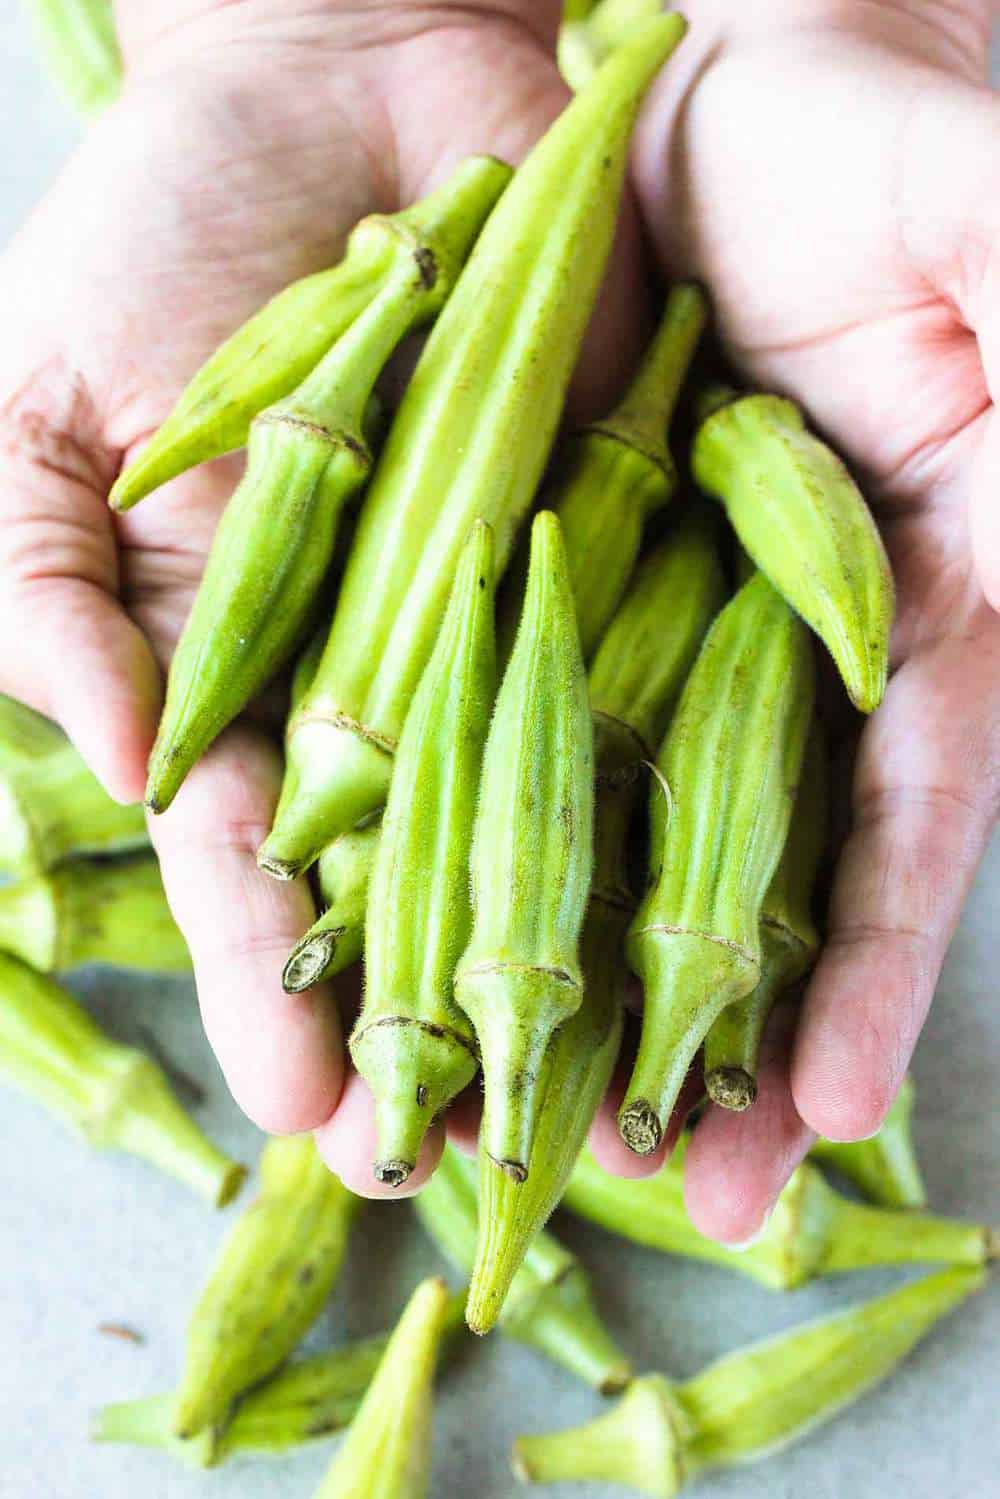
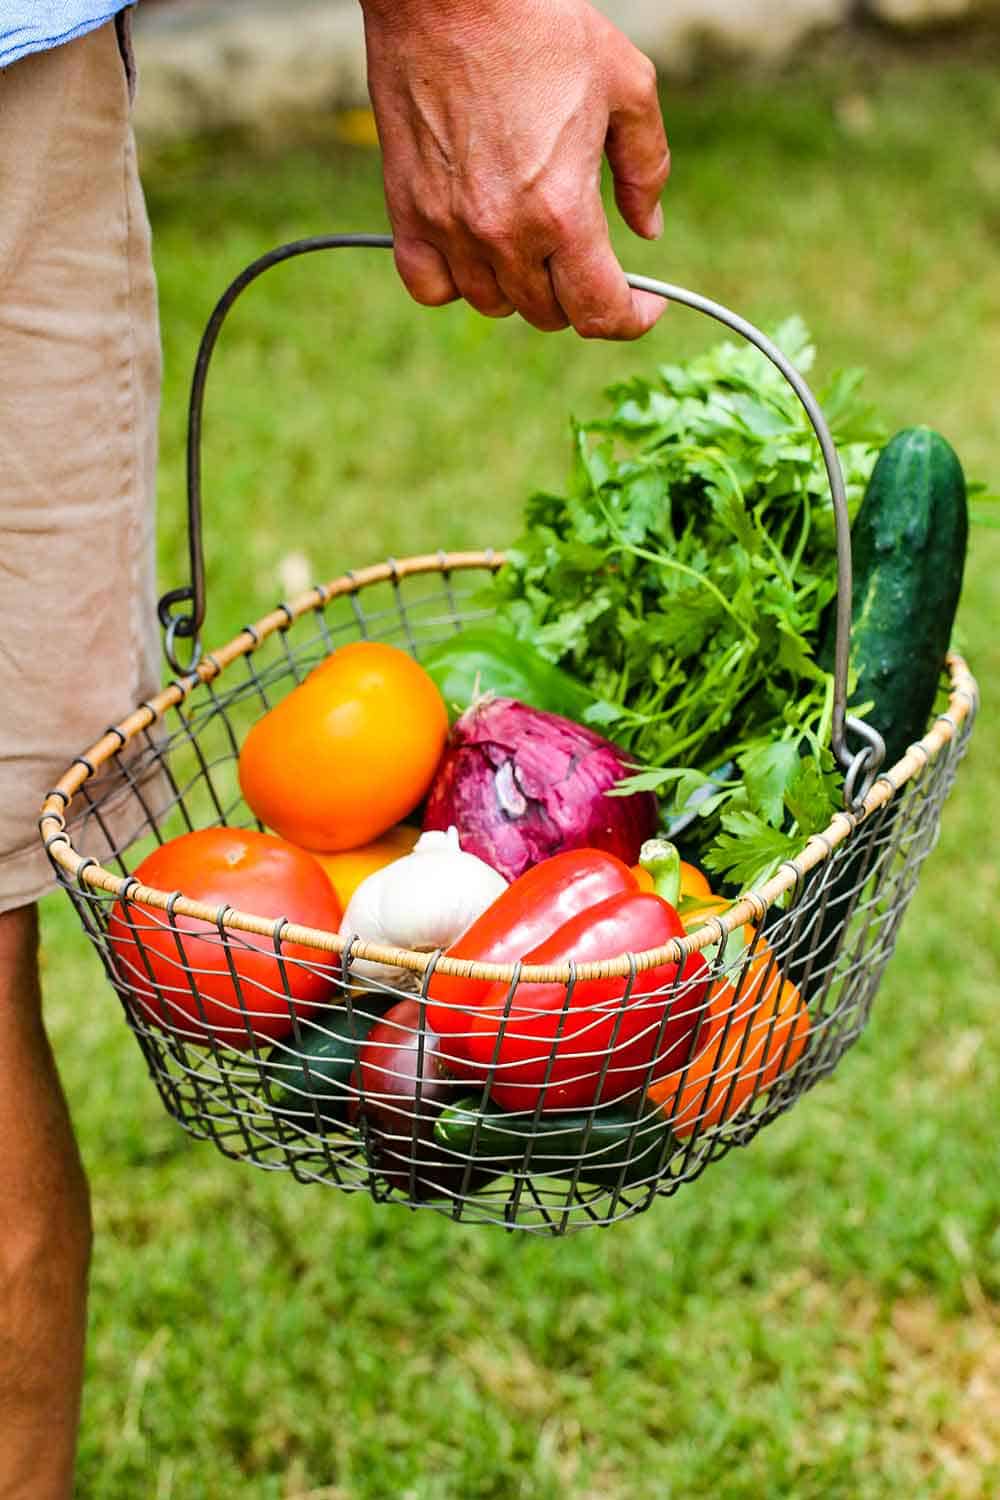
Go with the freshest produce from your farmer’s market and let Mother Nature deliver the goods. And wow, oh wow…does she ever!
CLASSIC GAZPACHO IS EASY TO MAKE AT HOME
Once you gather up the beautiful produce for gazpacho, the work is almost done.
A medium-sized food processor makes this iconic soup come together in minutes!
Watch us show you how to make Classic Gazpacho at home!
SEEK OUT A FARMER’S MARKET FOR MAKING GAZPACHO
We just love hitting our local farmer’s market during the spring and summer months to make classic warm weather dishes, such as gazpacho.
This is one dish you won’t want to skimp on freshness, that’s why seeking out the freshest produce around is worth the effort.
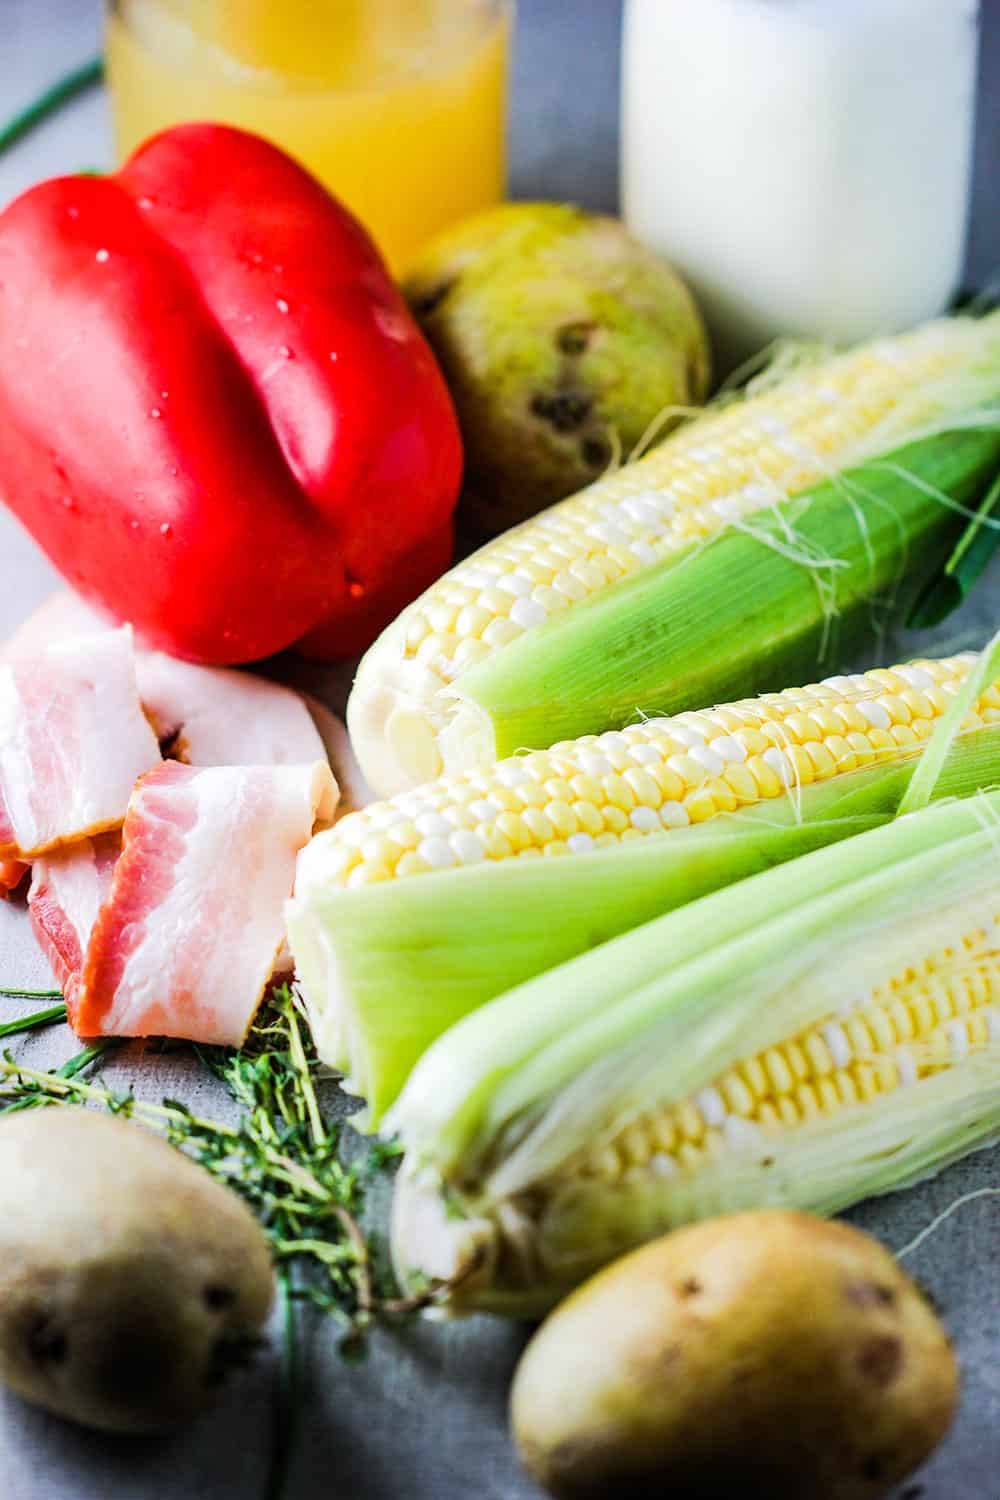
WHAT PRODUCE TO LOOK FOR
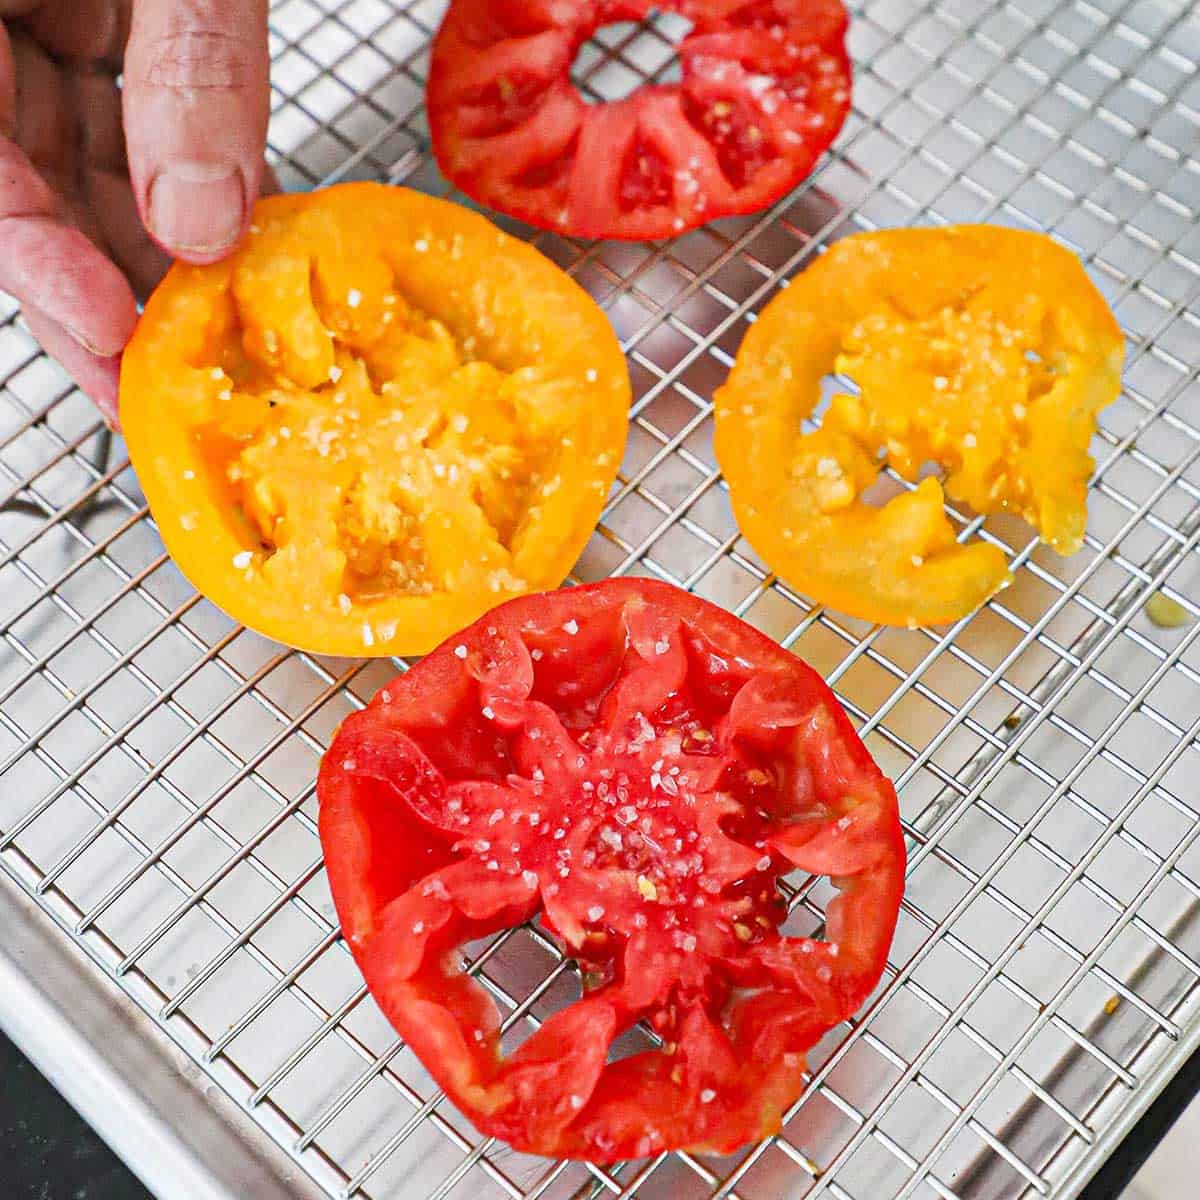
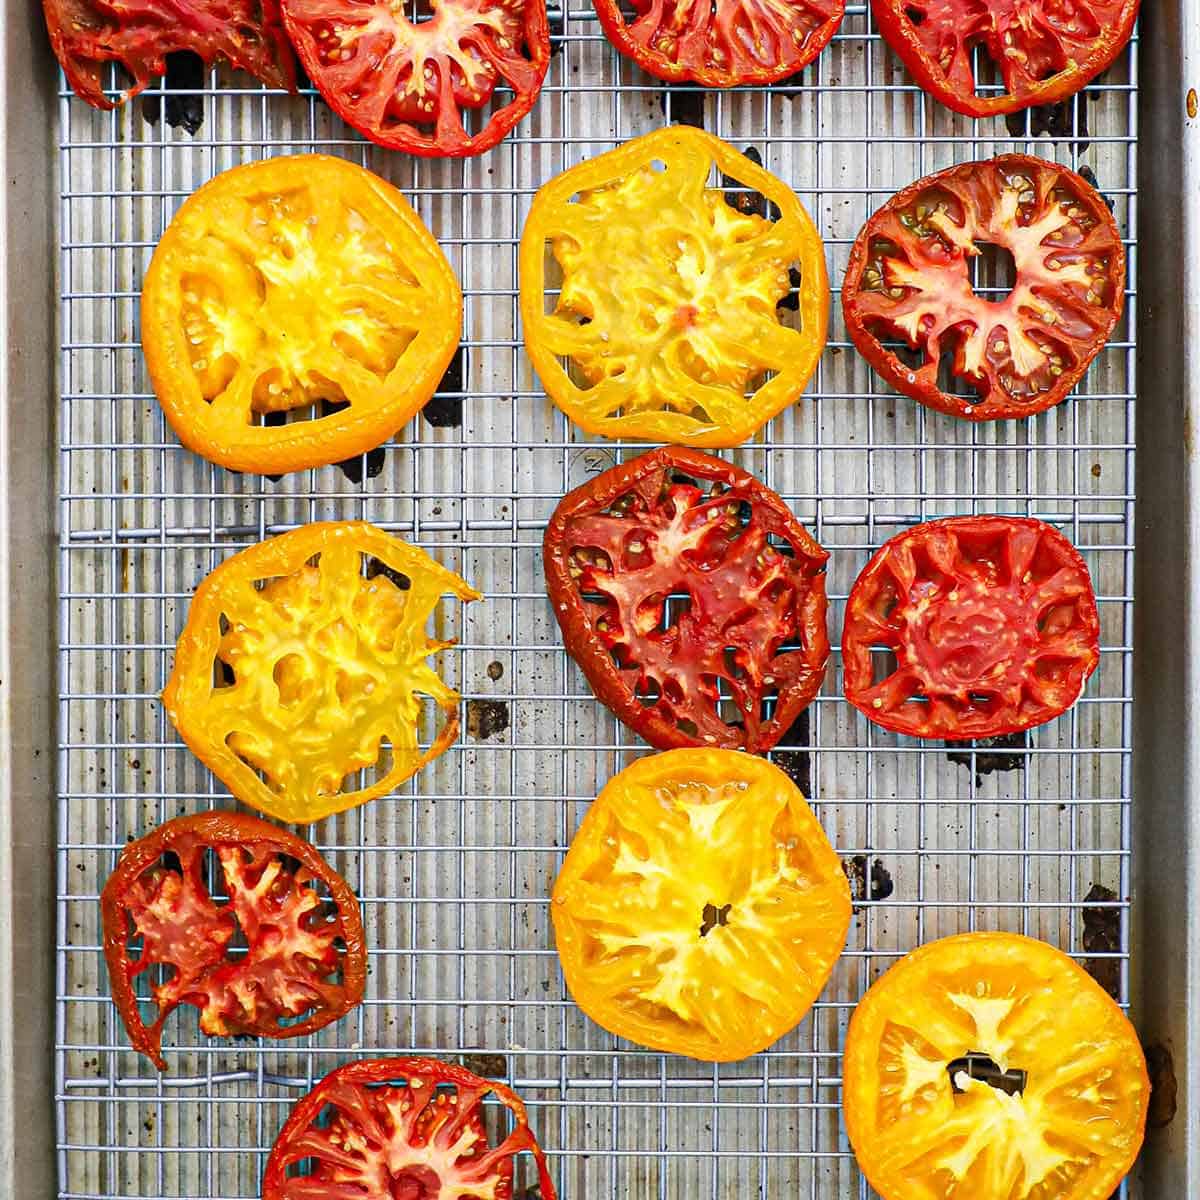
- Tomatoes: We love Heirloom tomatoes
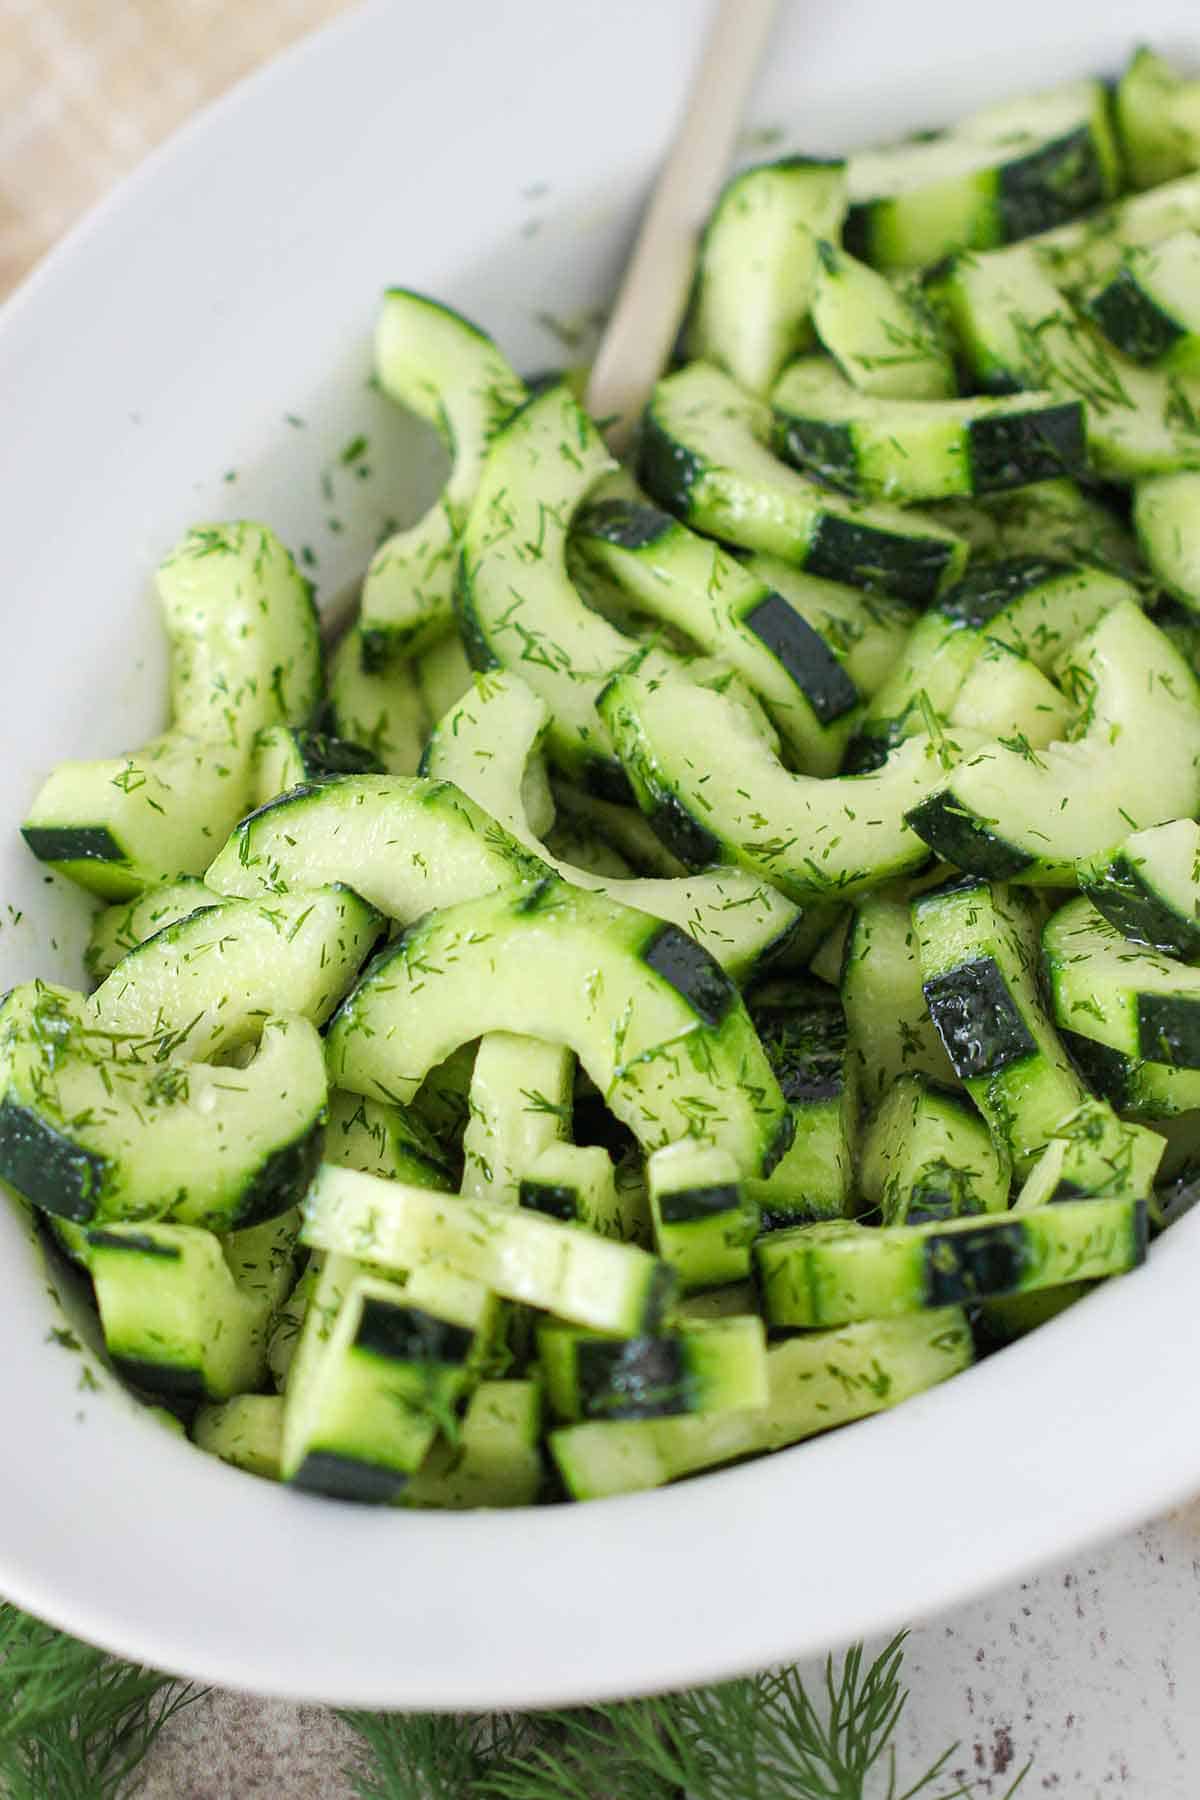
- Cucumbers: We go with the large variety and not English cukes, though they would work, too.
- Bell peppers: We love selecting multiple colors: Green, Red, Yellow and Oranage
- Onion: Yellow or red is just fine!
- Fresh aarsley: Always go with fresh herbs!
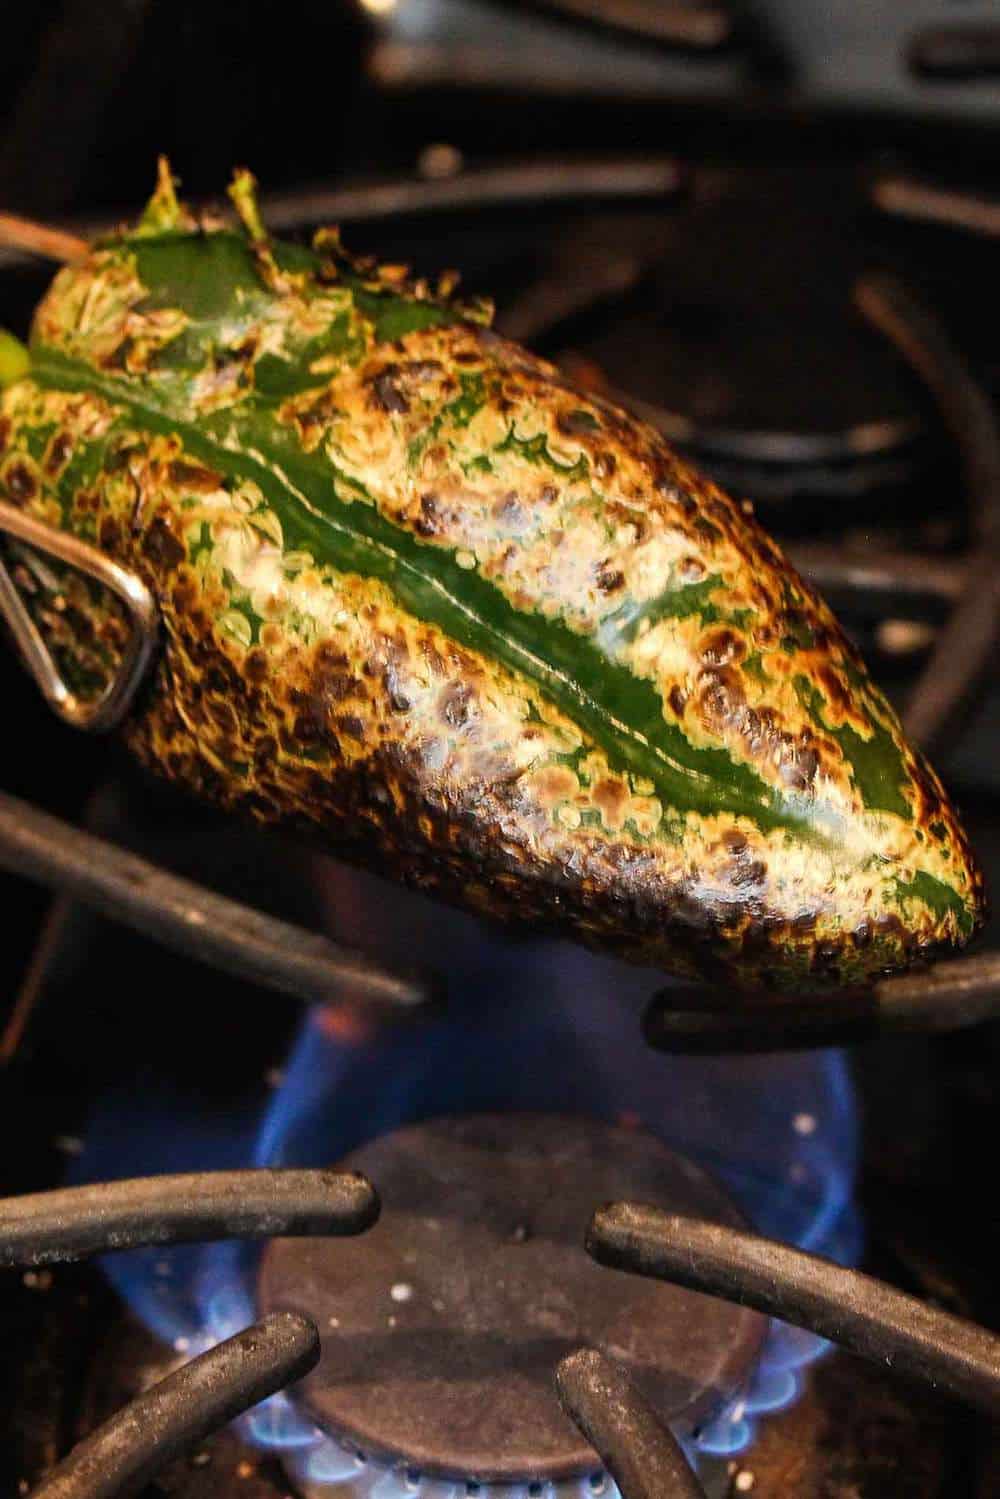
- Fresh jalapeño: Remove the seeds and ribs to eliminate extra heat
- Garlic: Minced!
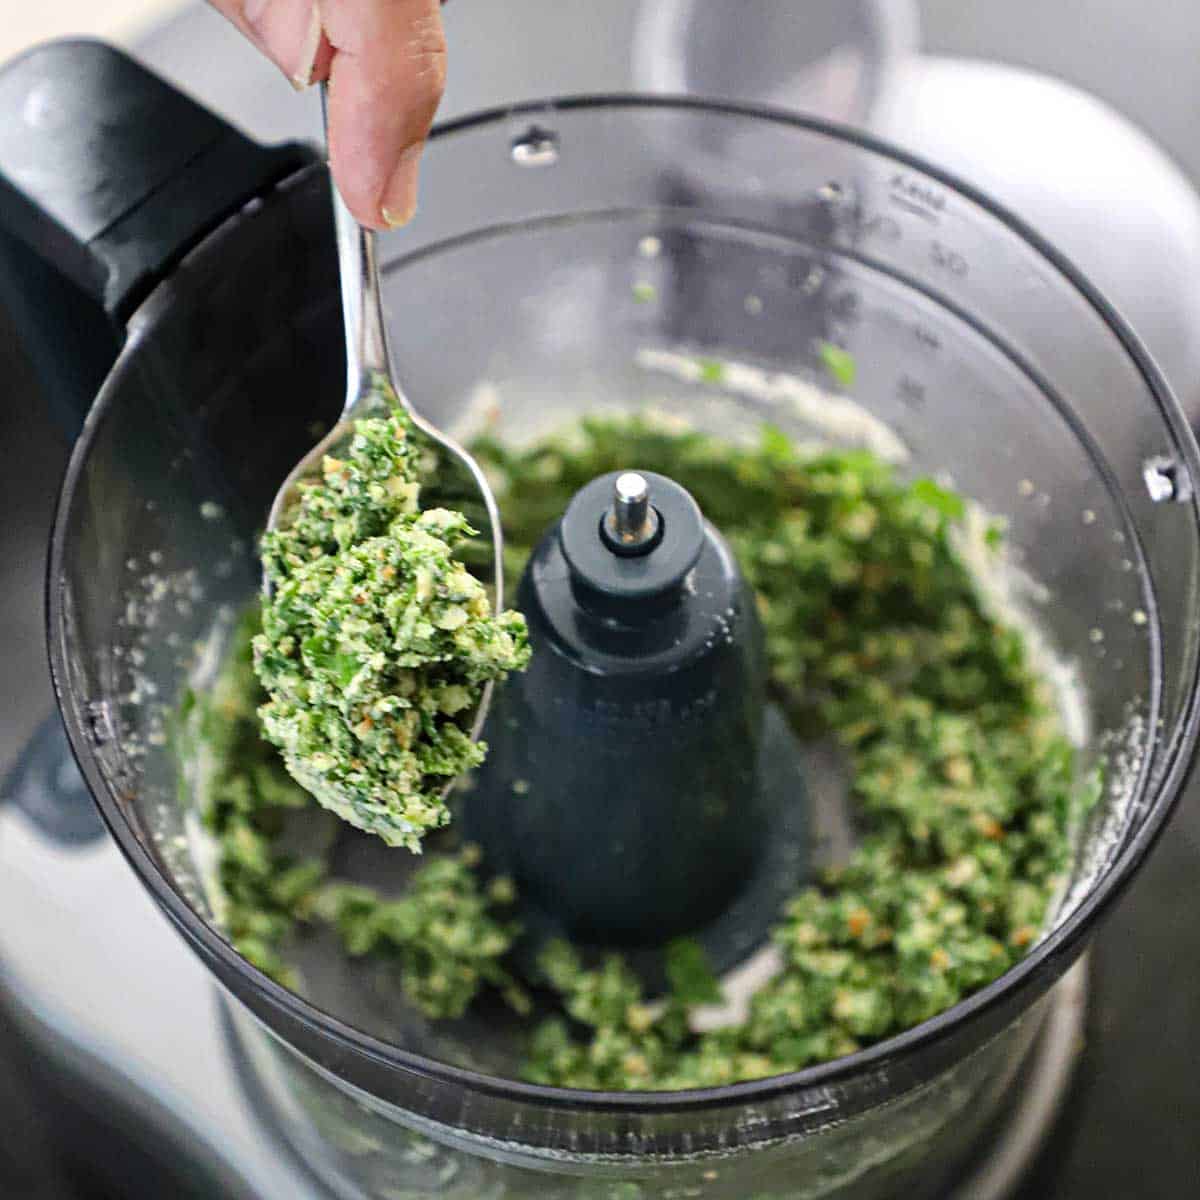
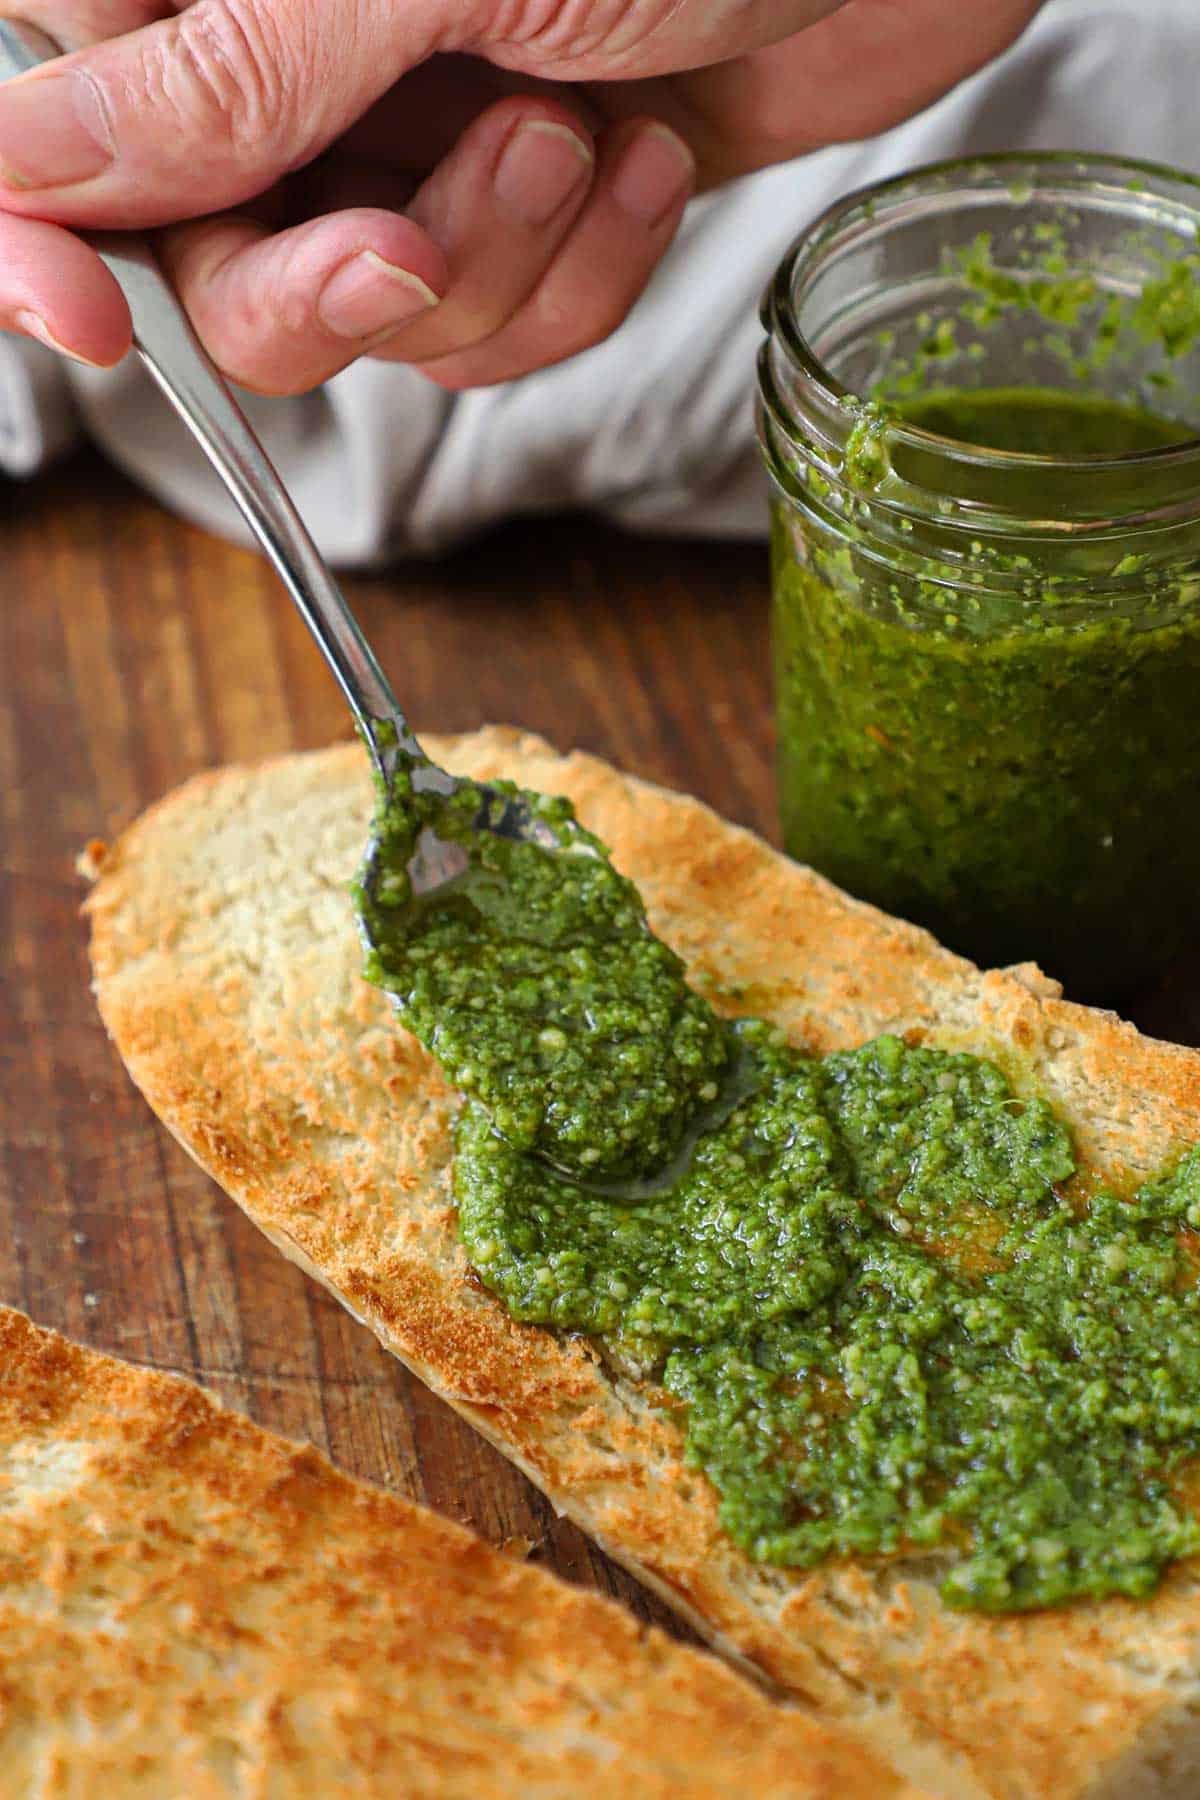
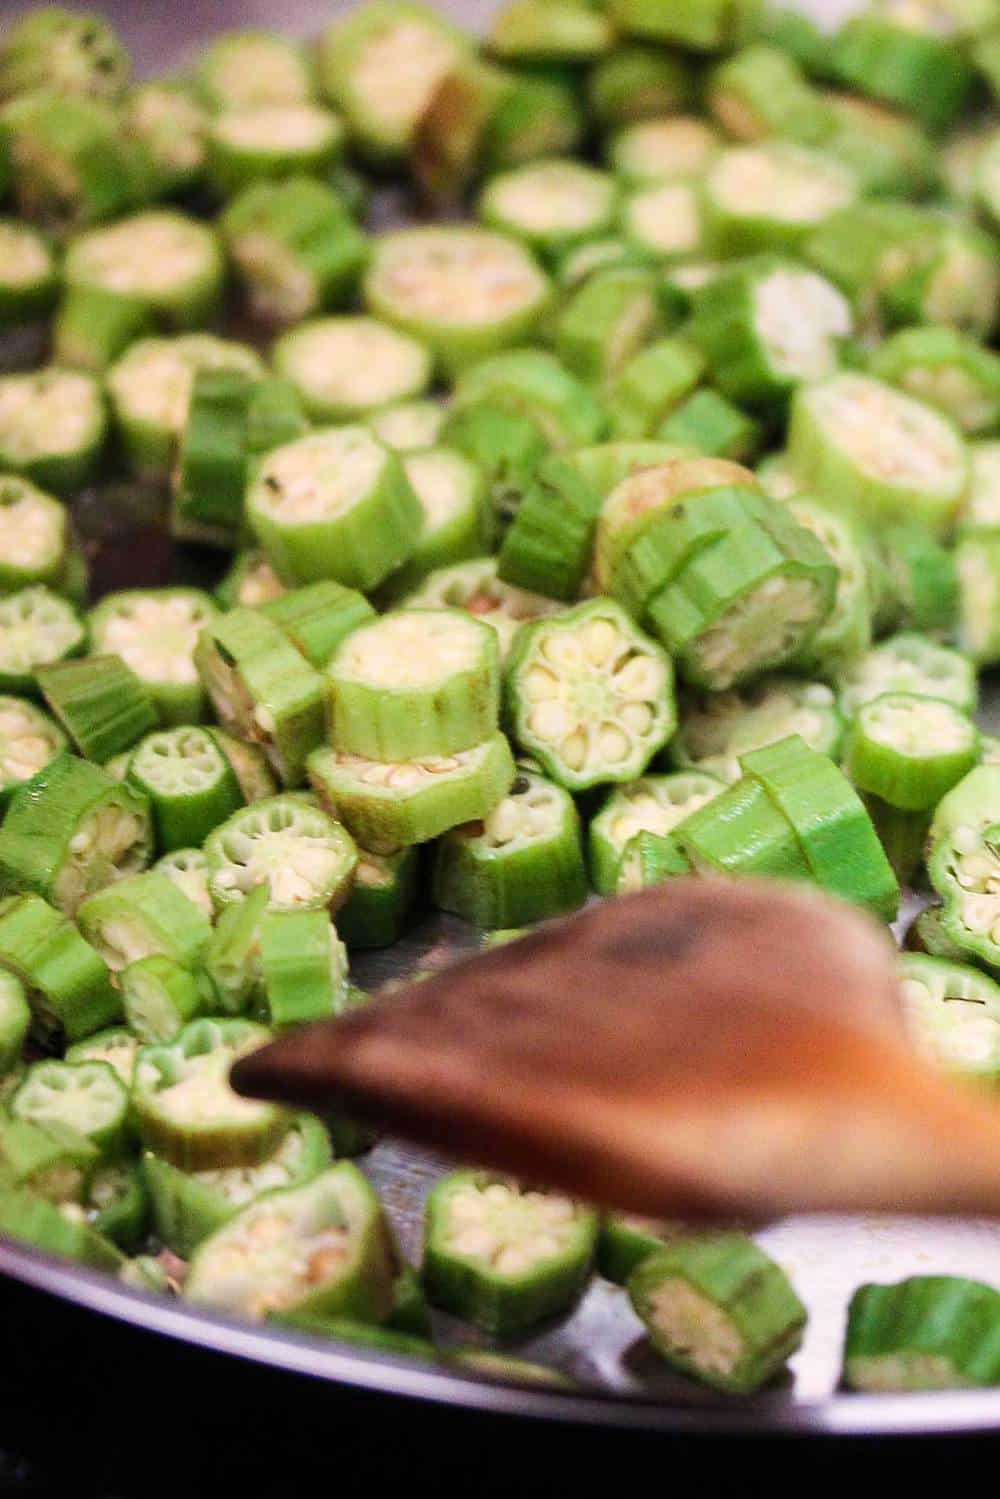
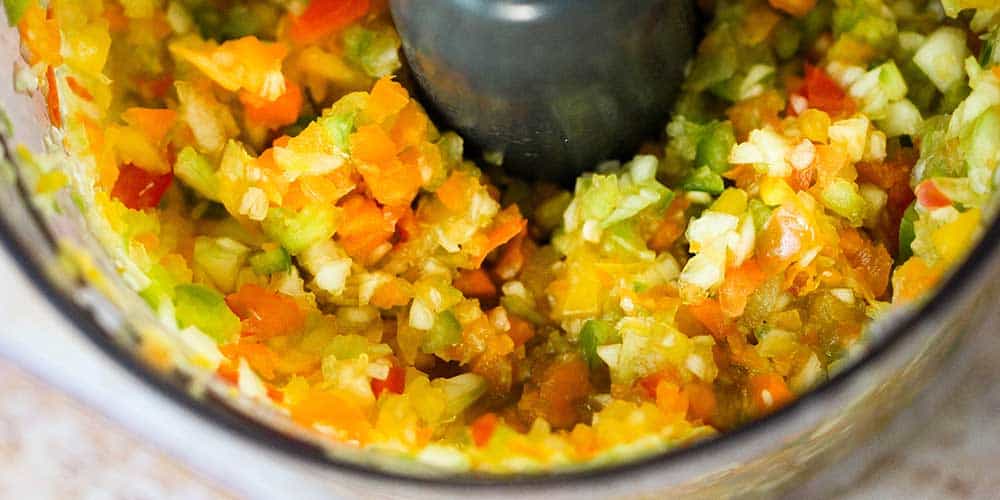
FINELY CHOP, BUT DON’T PUREE
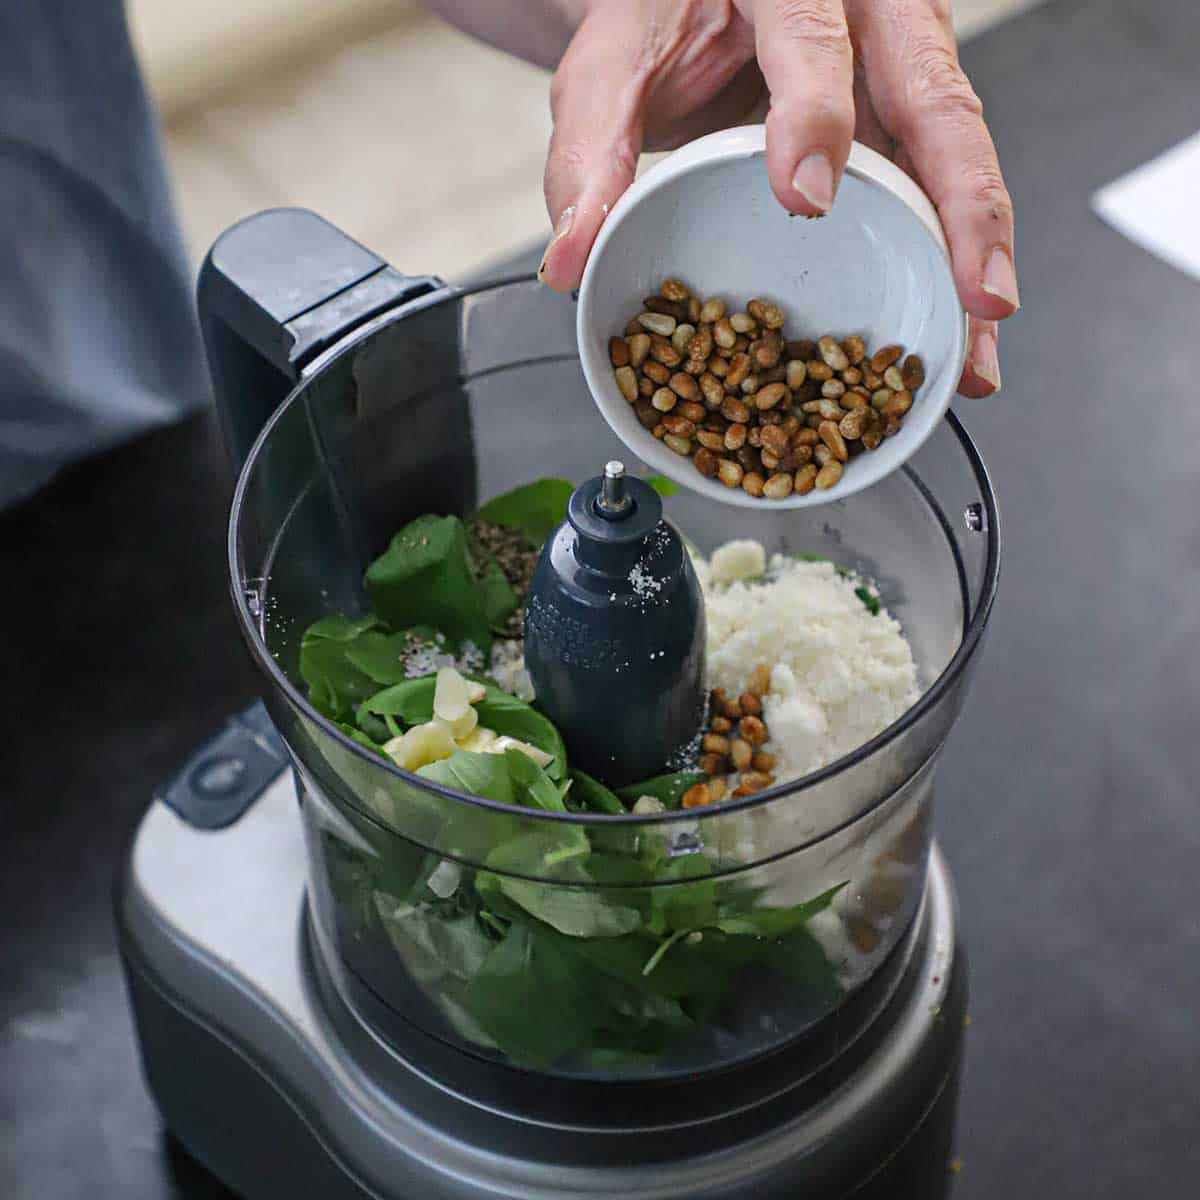
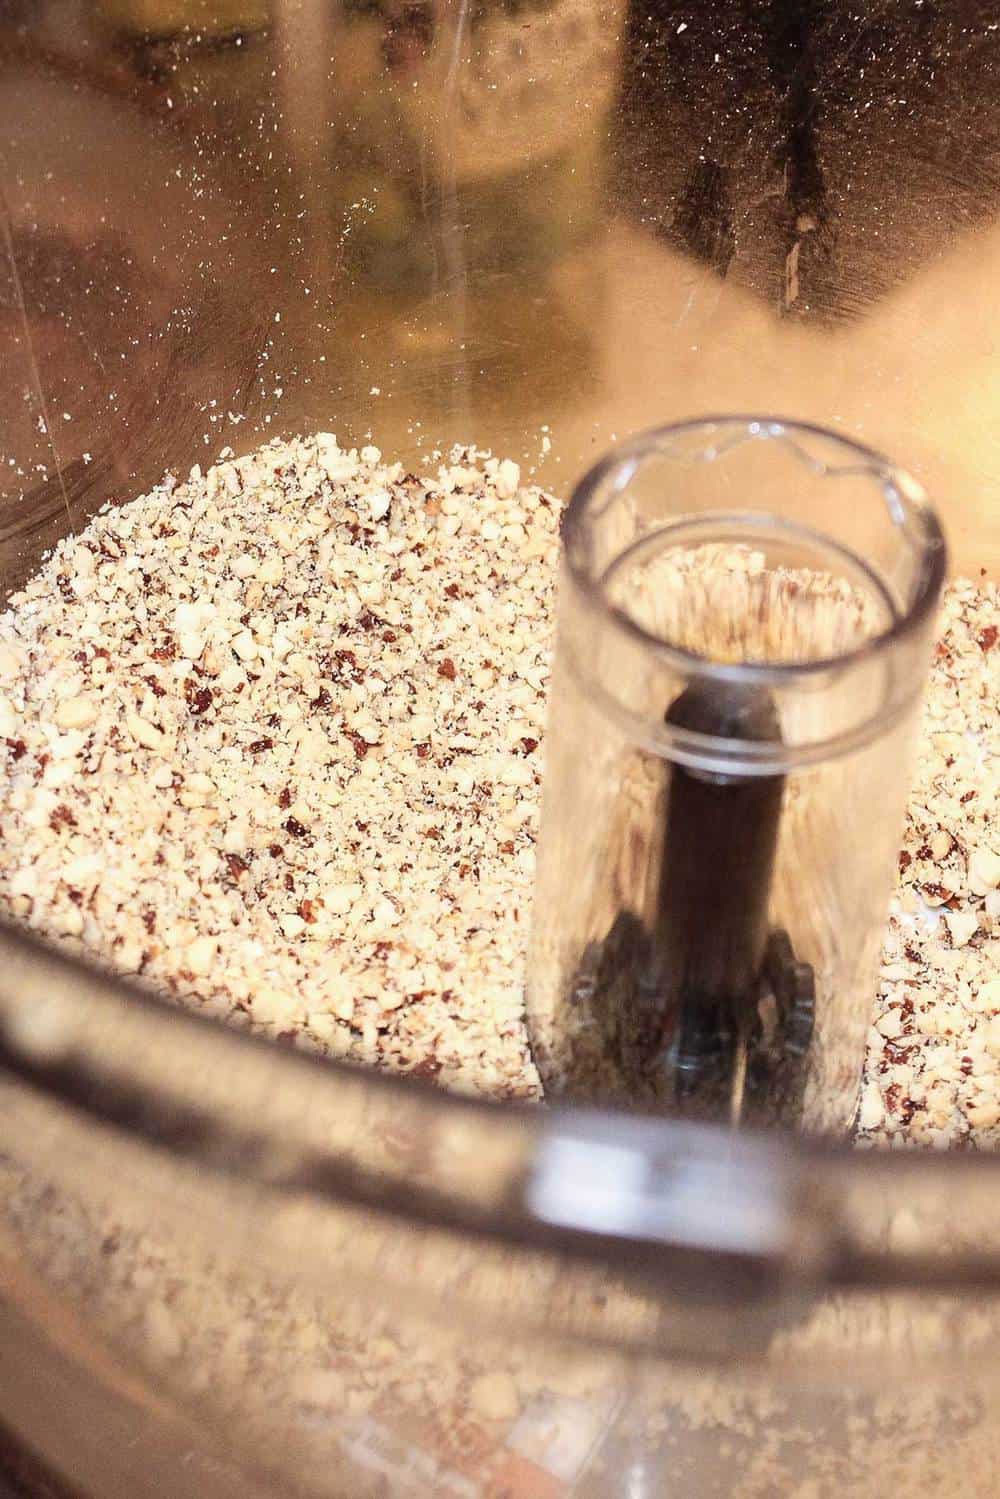
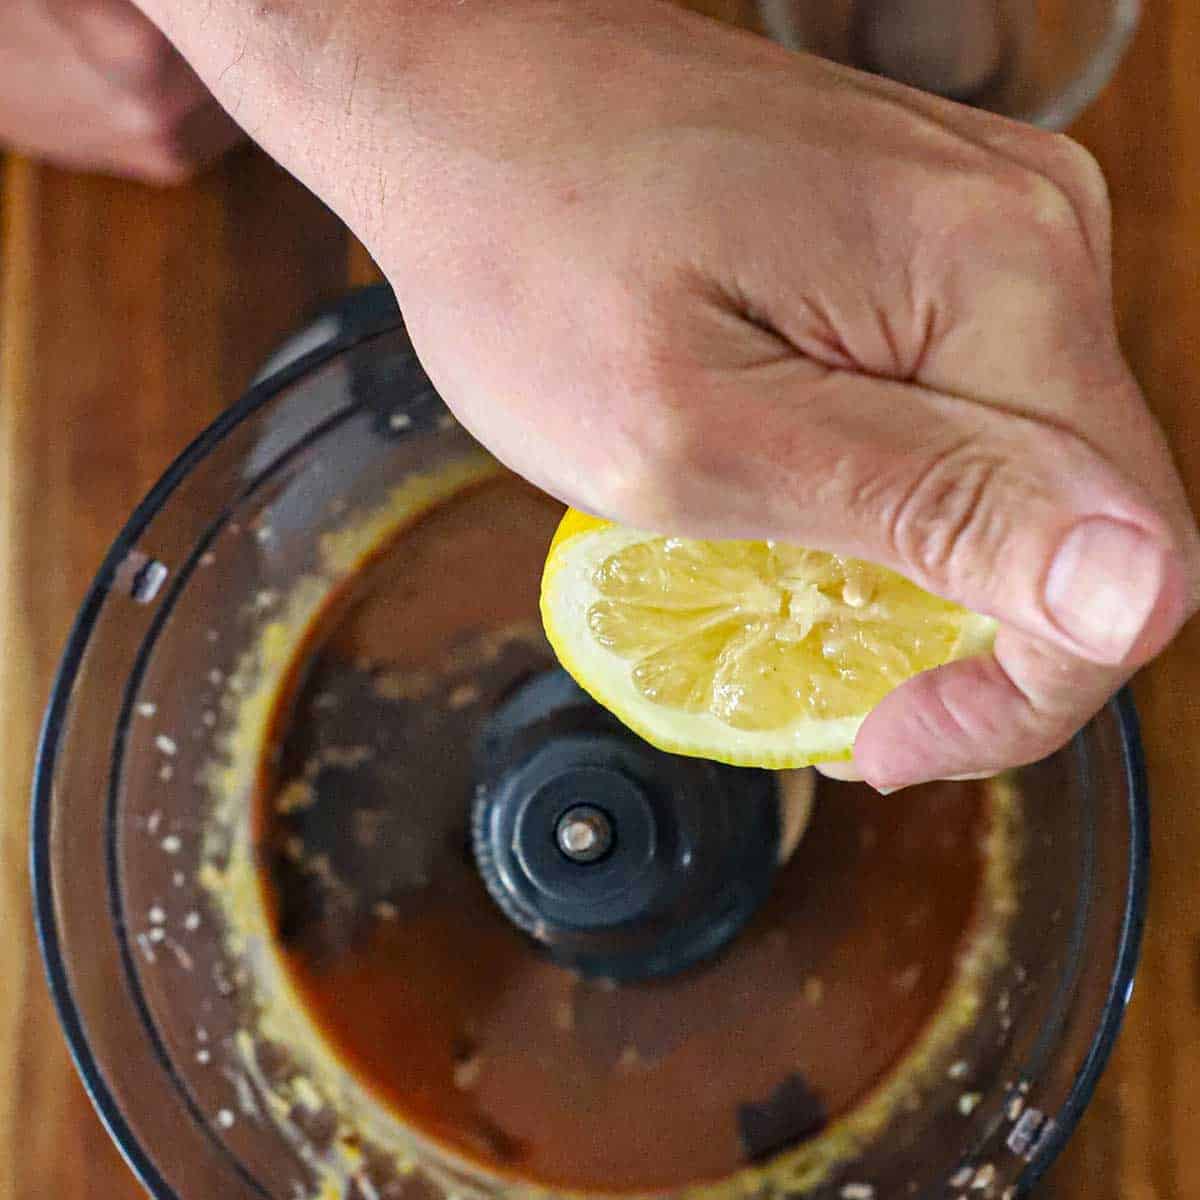
We prep the ingredients in stages for our Classic Gazpacho and we use a food-processor to help us get just the perfect texture.
When you place the various ingredients in the food processor, be sure to pulse until you reach the desired consistency.
We think the perfect gazpacho is still a little chunky, and not completely liquefied. But, that’s a matter of taste and completely up to you and your preferences!
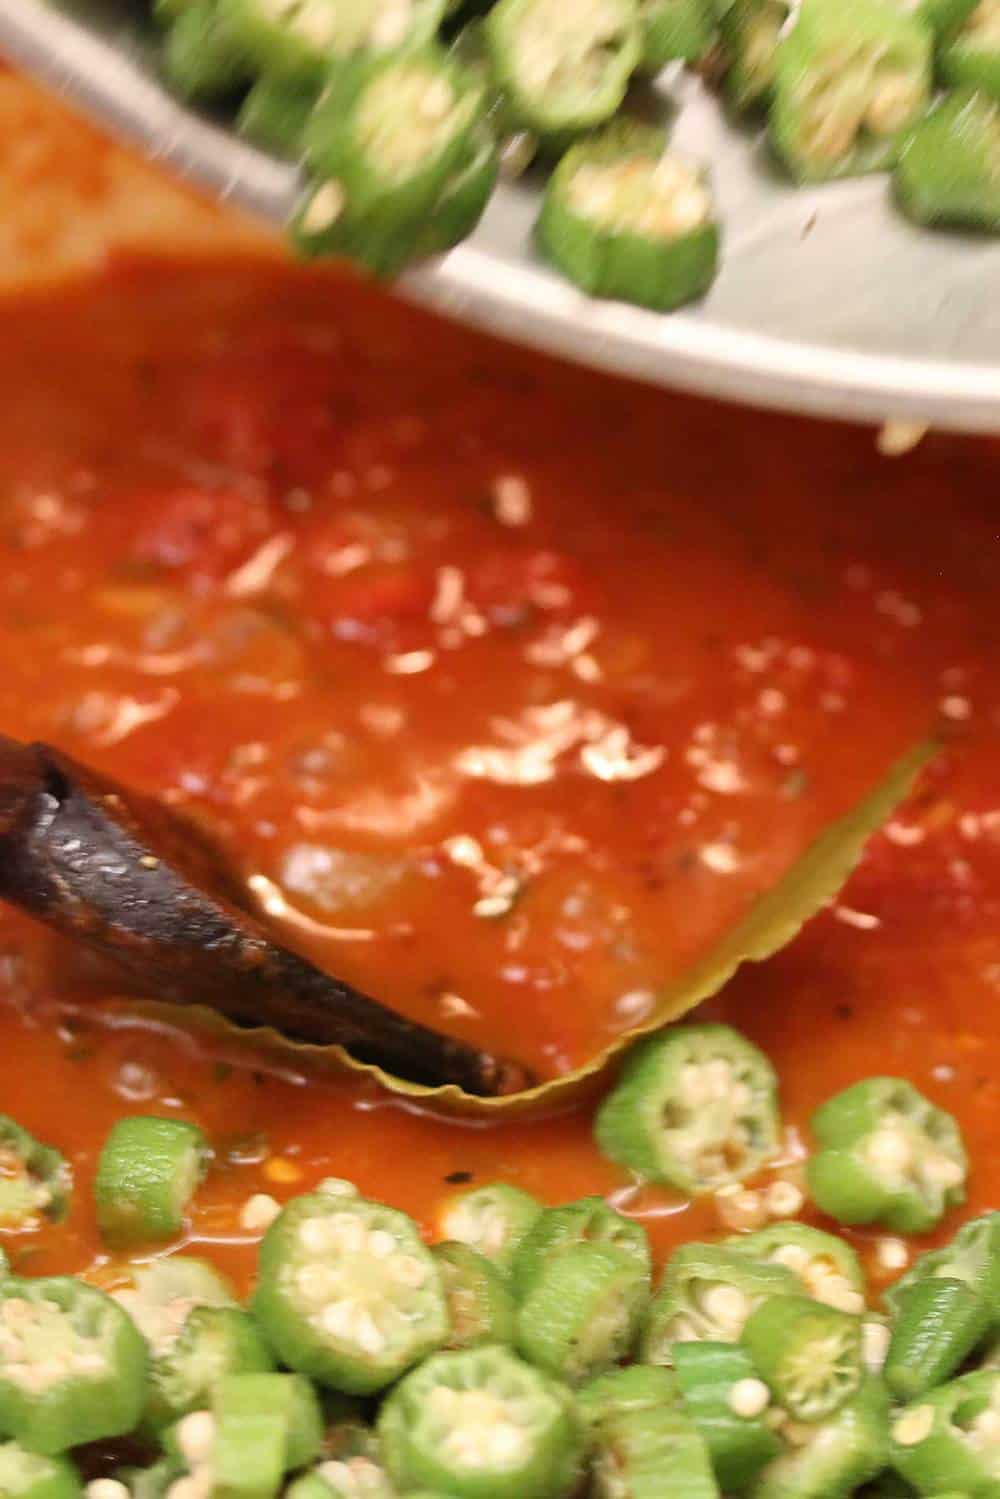
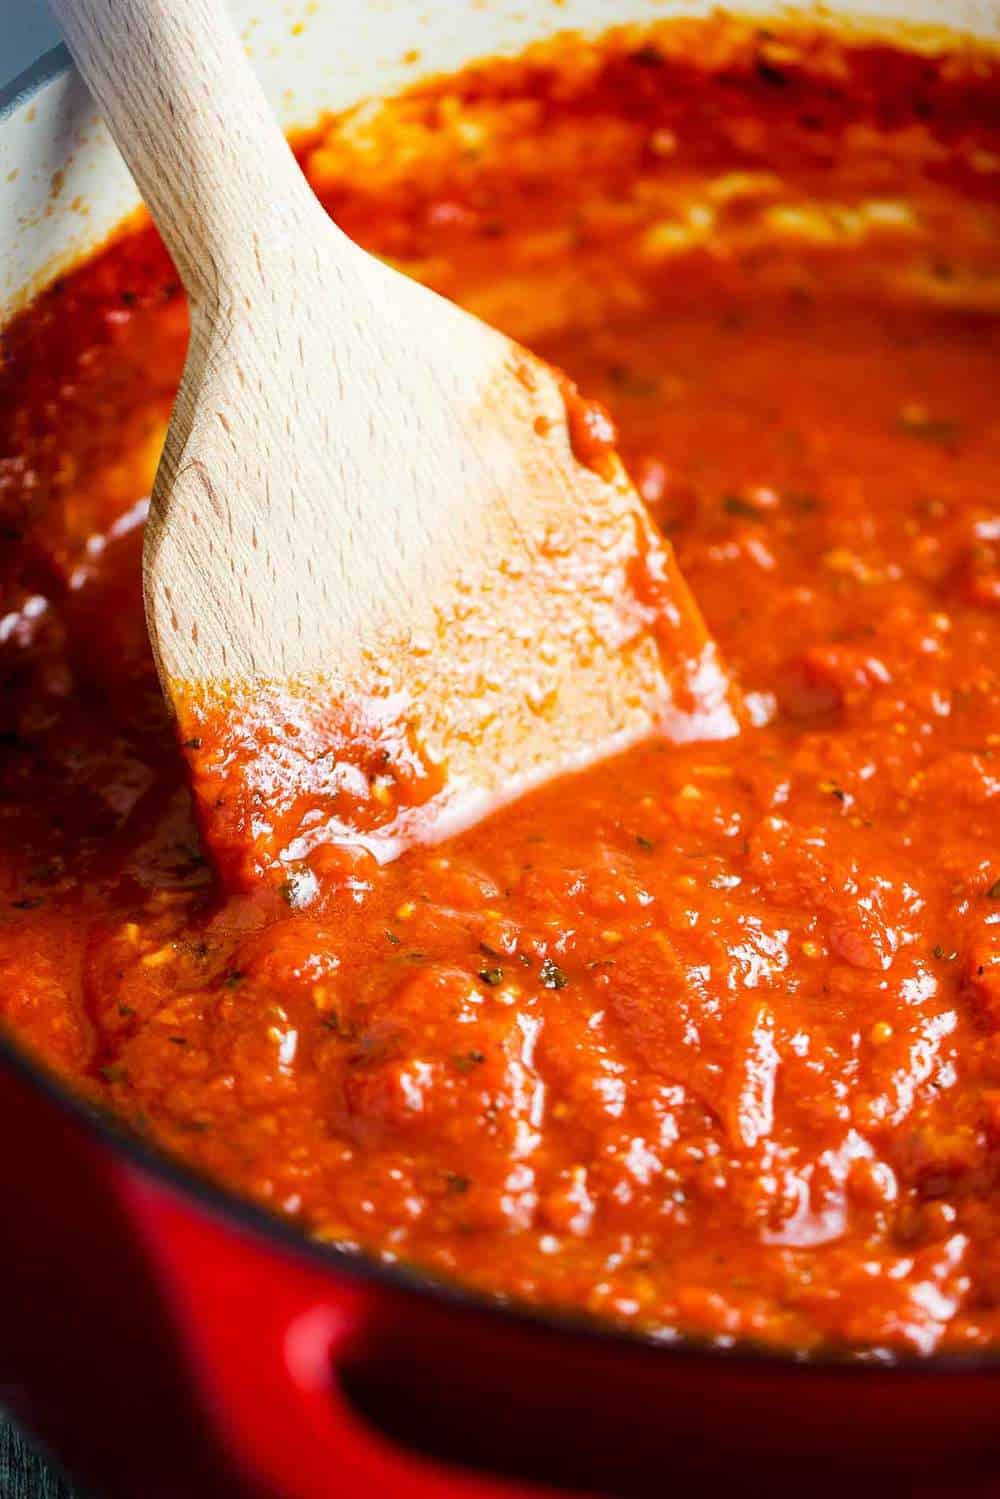
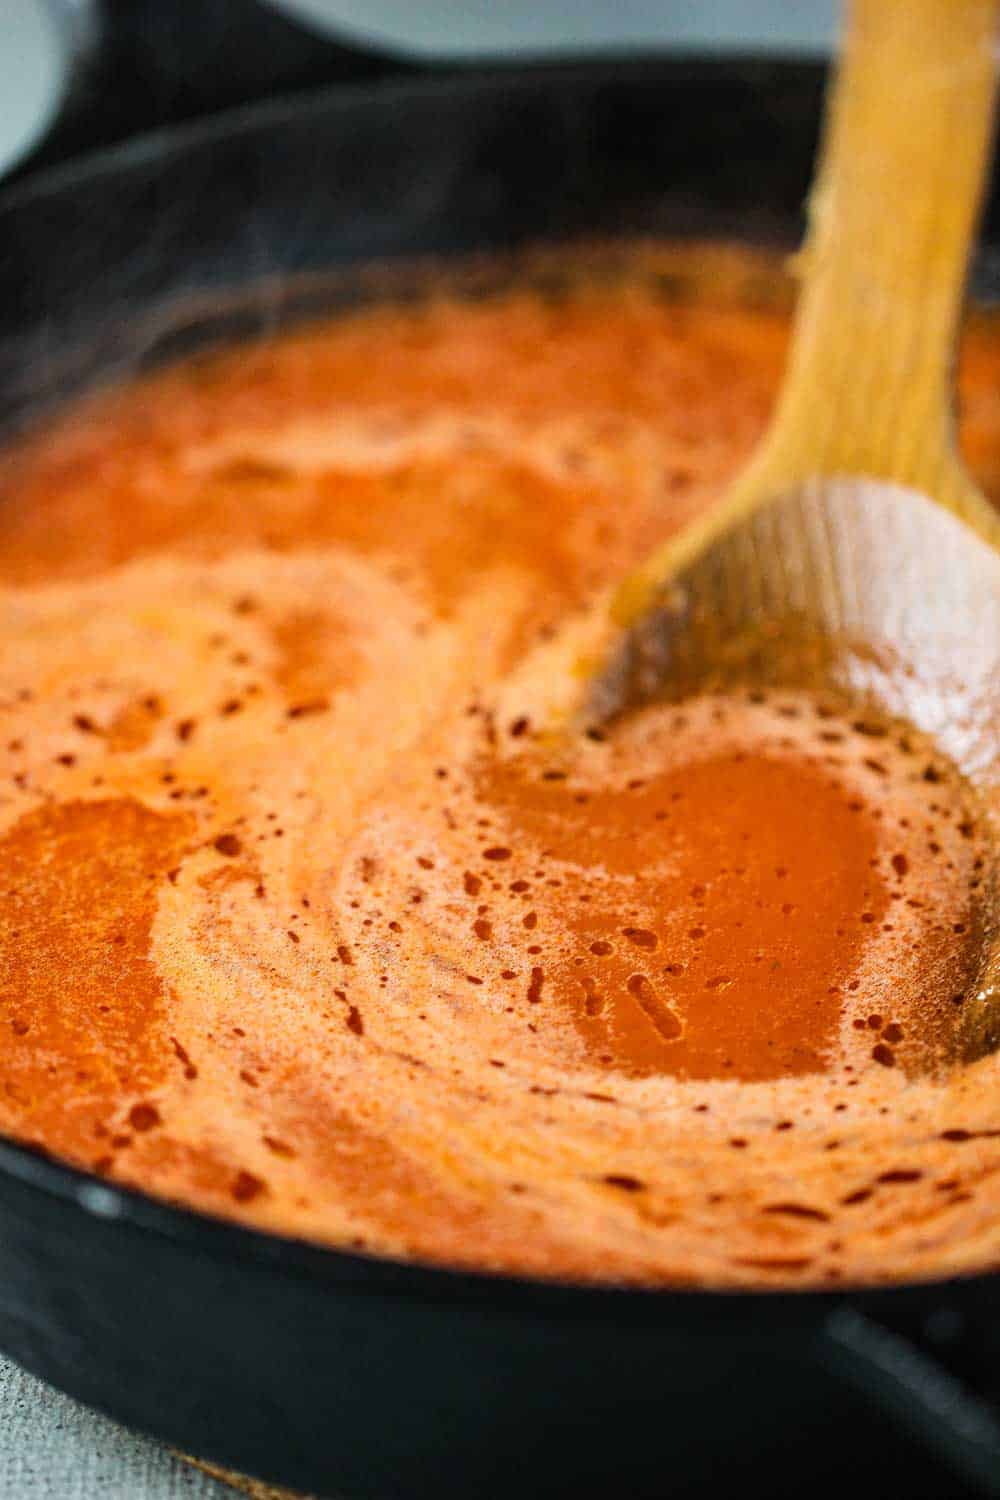
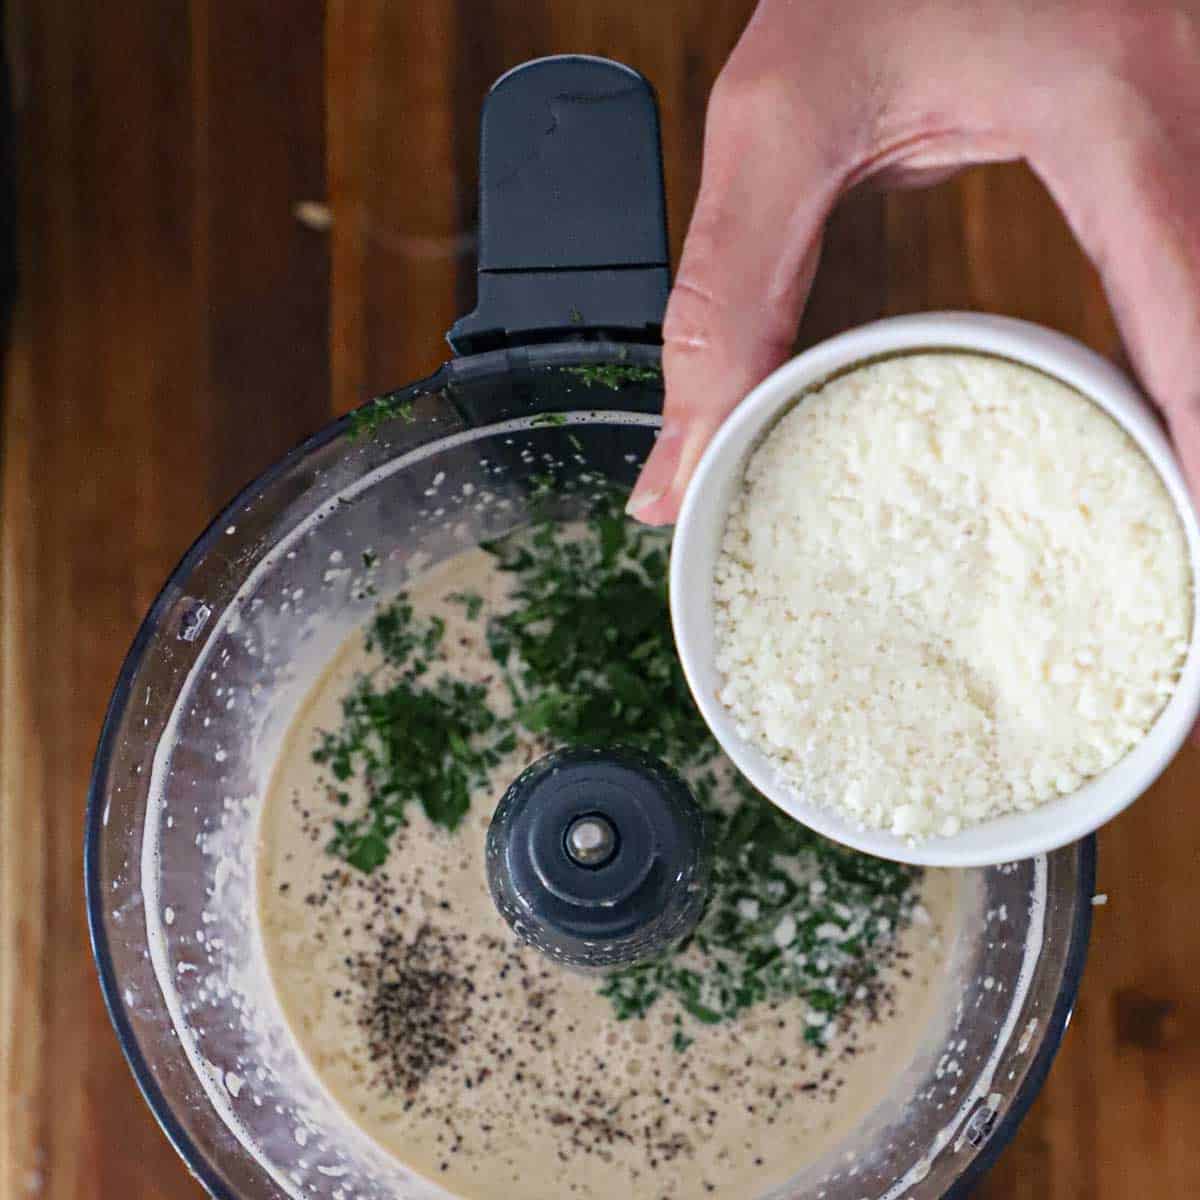
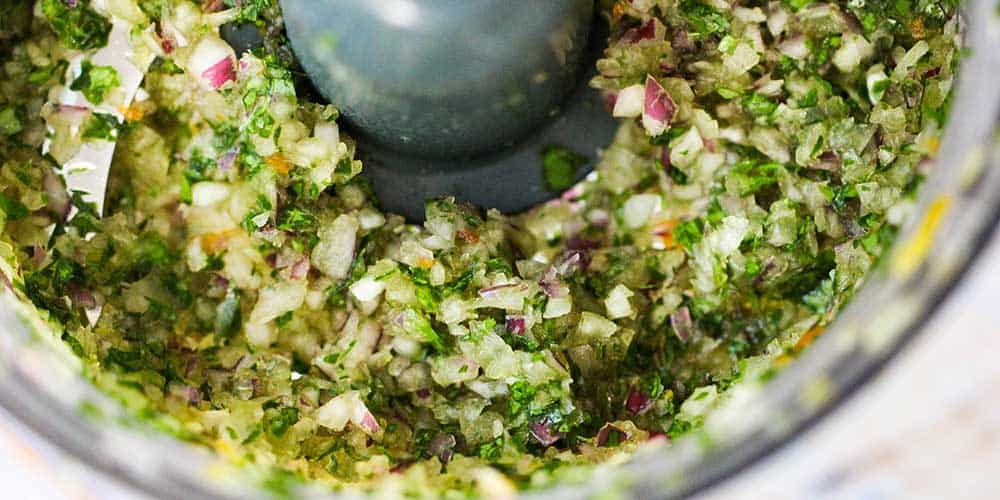
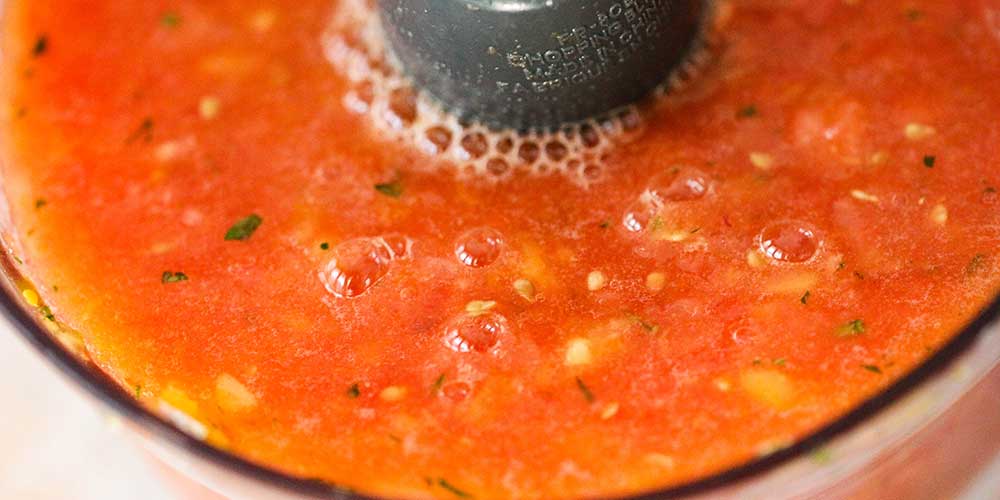
Process the cucumber and bell peppers first. Remove, and then process the onion and the parsley. Remove, and the pulse the tomatoes for about 15 seconds. It’s okay if the tomatoes become almost all liquid…that’s good for gazpacho.
SERVE CLASSIC GAZPACHO CHILLED OR AT ROOM TEMP
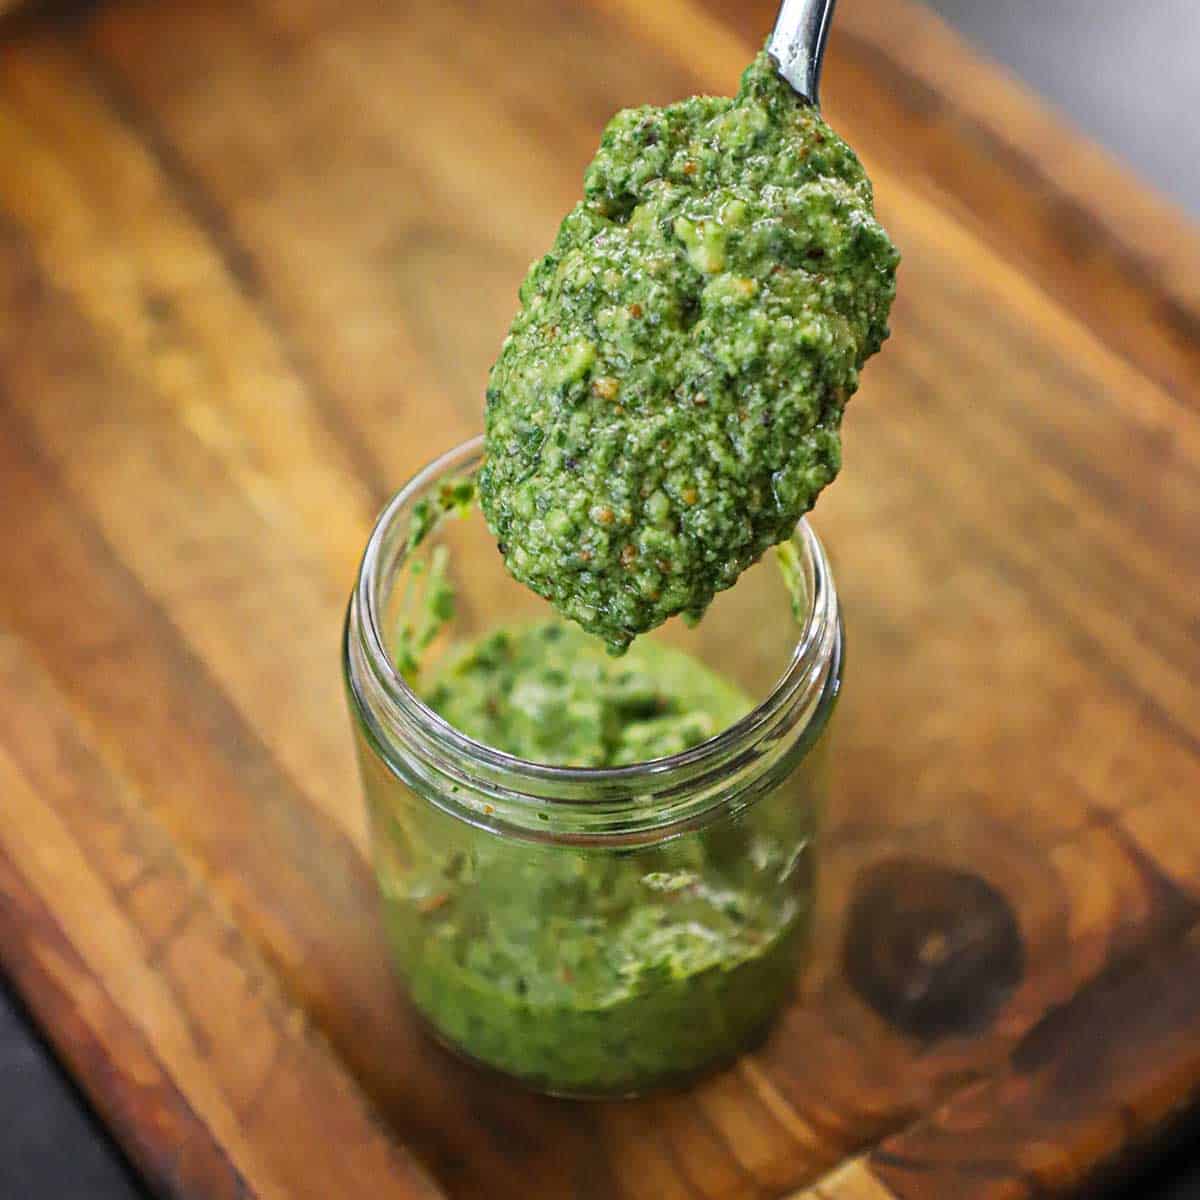
We find that after mixing all the components together for the gazpacho, the flavors are so amazing, it’s really good to serve as is.
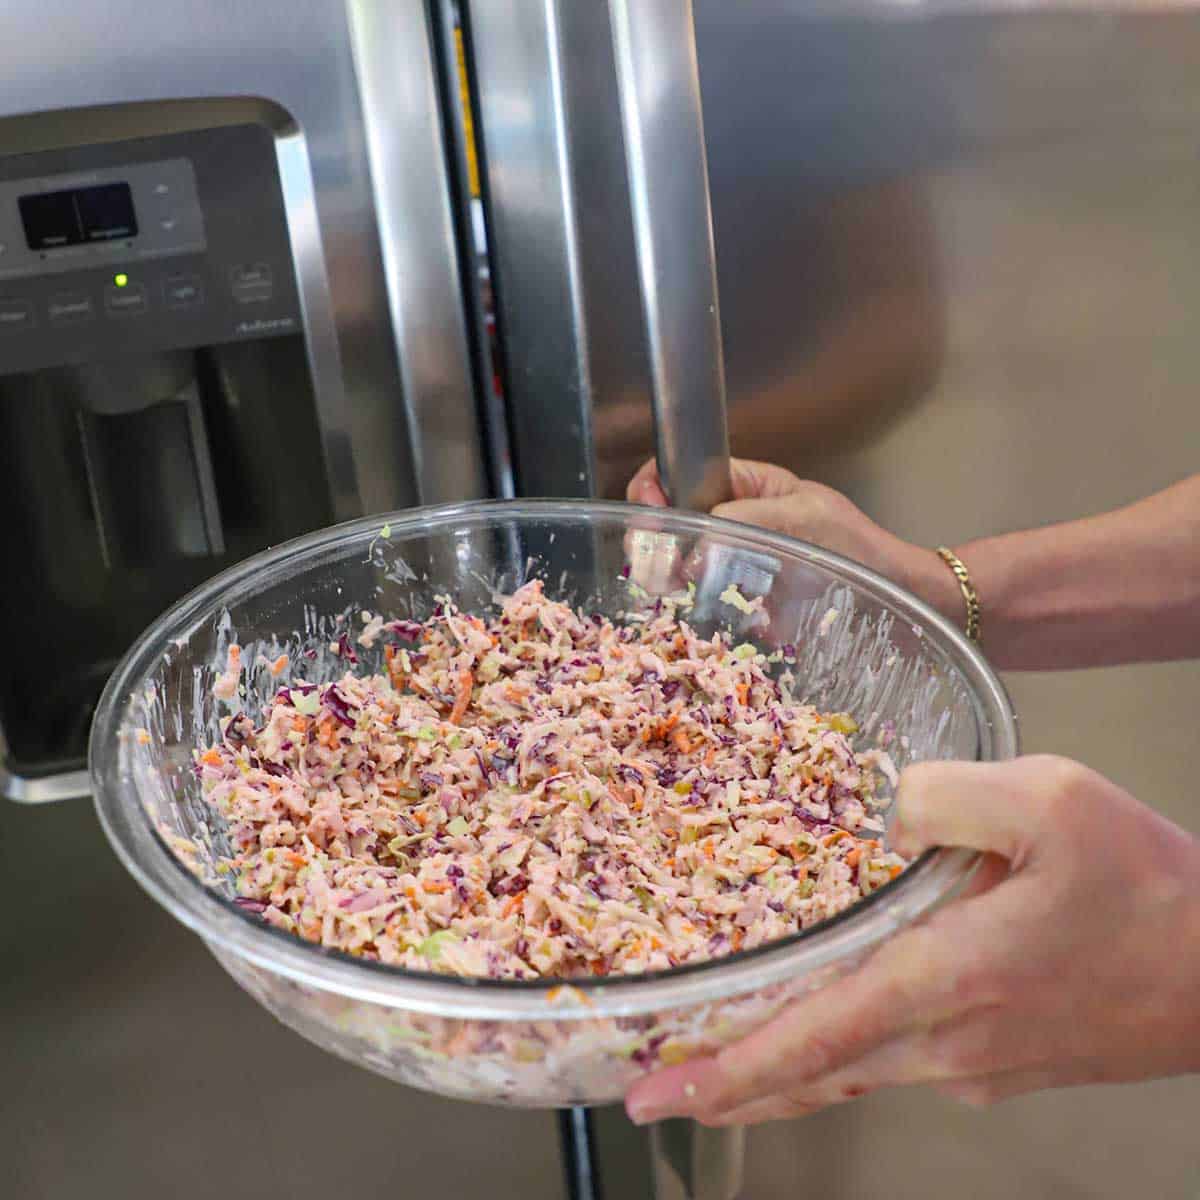
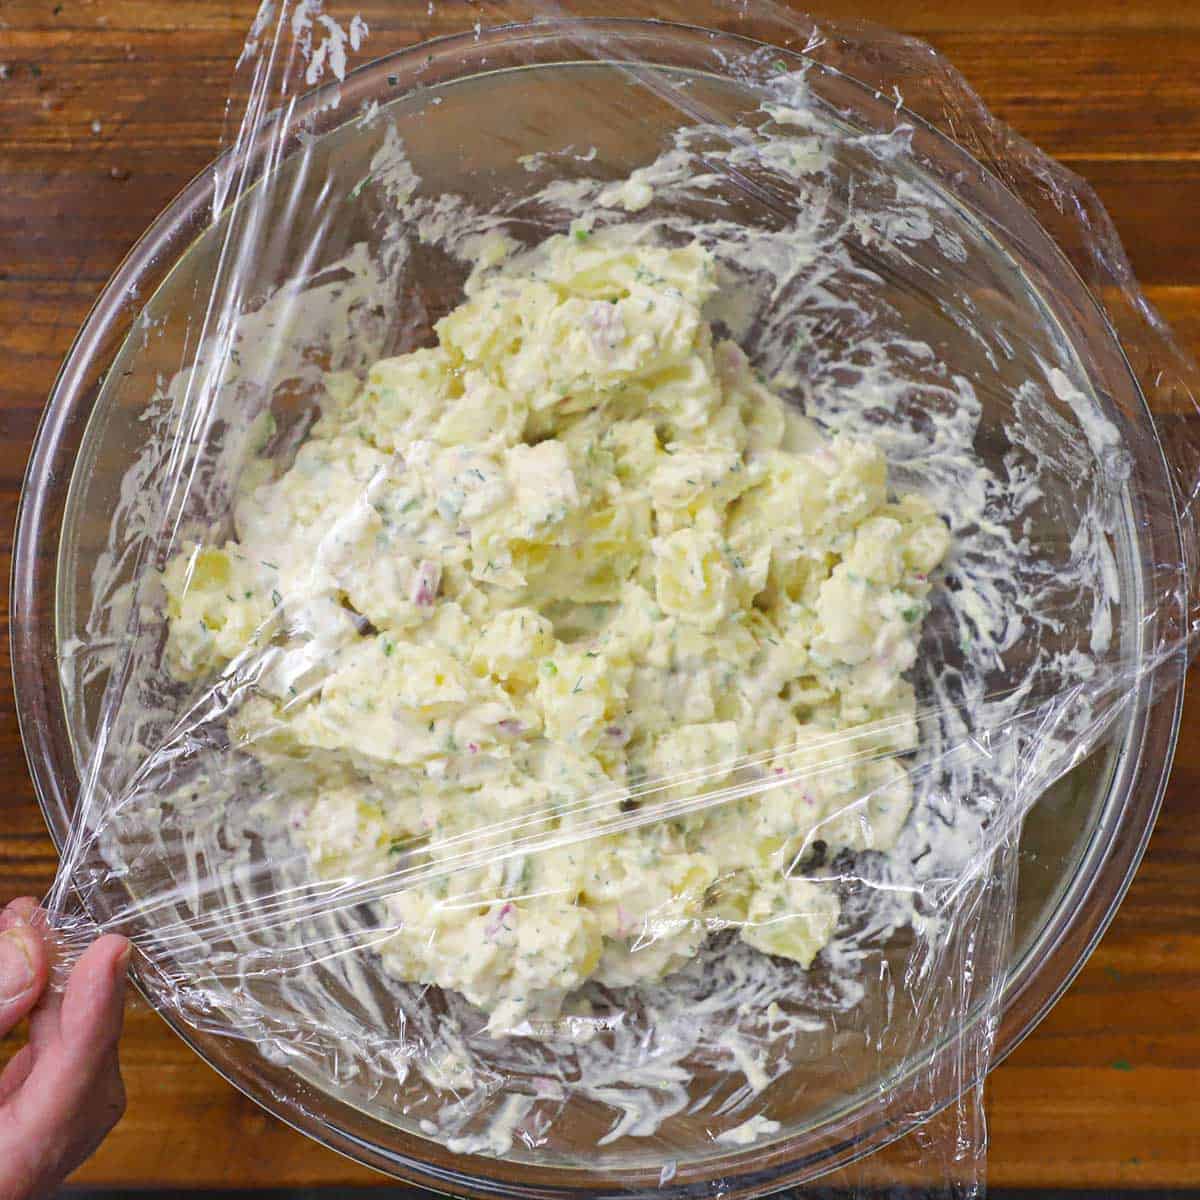
We do suggest, however, that you chill the soup for a couple hours, covered, in the refrigerator.
Even if you want to serve at room temperature, chilling the gazpacho for a couple hours will just help all the flavors meld together and heighten the taste even more. Just remove after chilled, place on the kitchen counter until it’s room temperature, usually a couple hours.

The fresh produce are the true stars of Classic Gazpacho. Although you can make this anytime of the year that you can get your hands on the produce, but summertime, when the produce is at it’s peak, is when this soup is off-the-charts delicious.
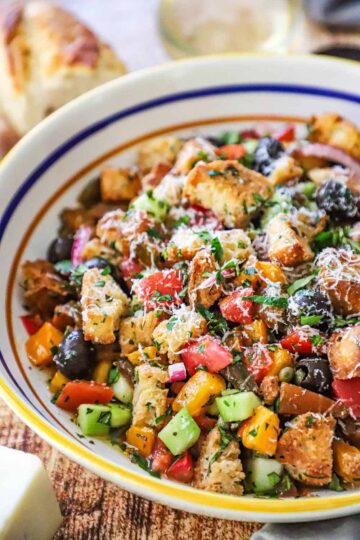
This soup is perfect for brunch, a baby or wedding shower, or easy-breezy Sunday on the patio. Another amazing chilled soup recipe is our Watermelon Gazpacho with Jalapeño and Mint!
Gazpacho finds its roots in Spanish and Portuguese kitchens, but after one taste, it will be a soup you’ll want to serve time and time again during those gorgeous warm and sunny months!
WHAT TO SERVE ALONG SIDE GAZPAHCO
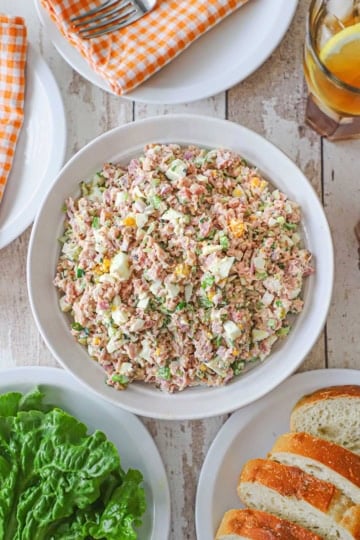
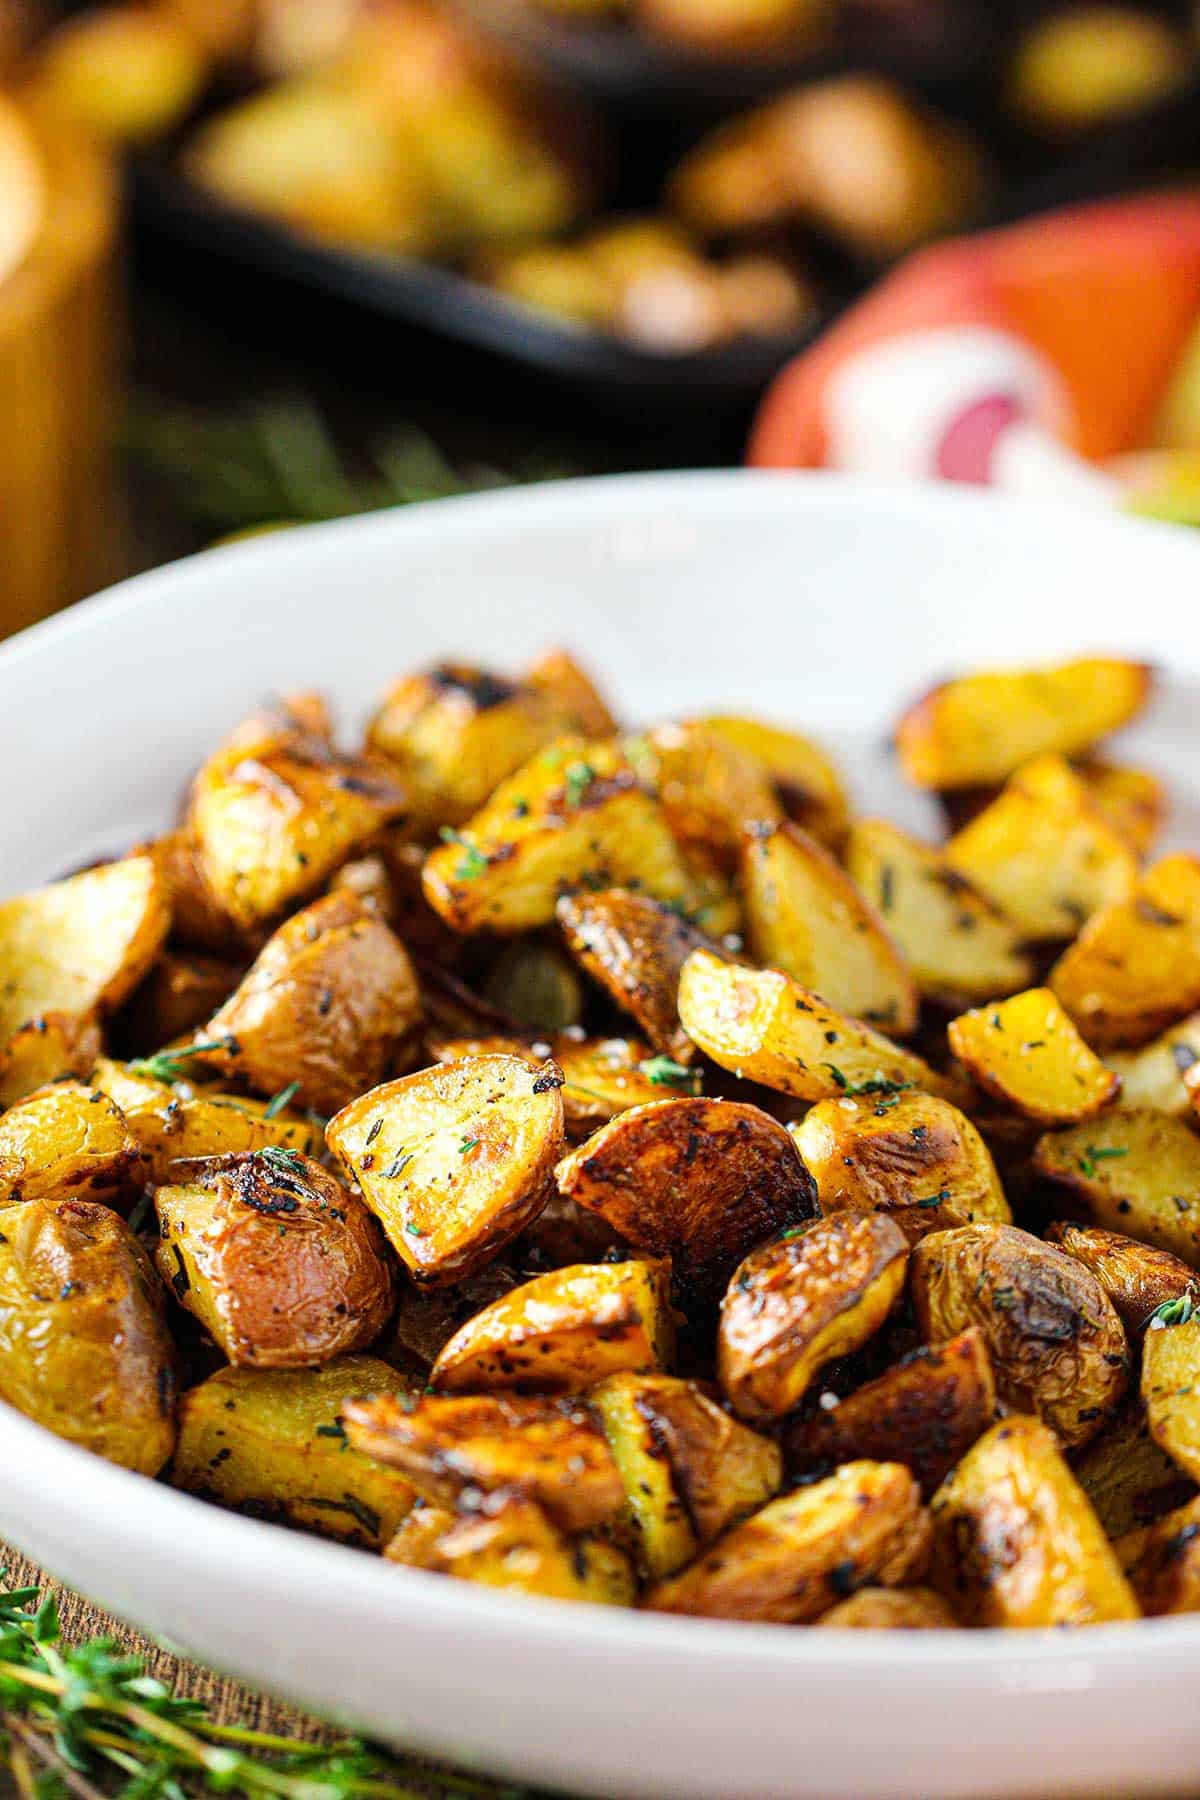
Best-Ever Chicken Salad
Broccoli and Cheddar Quiche
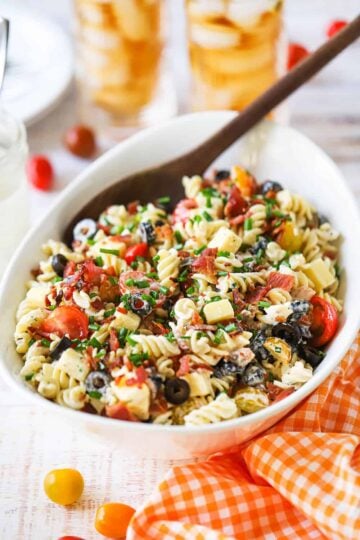
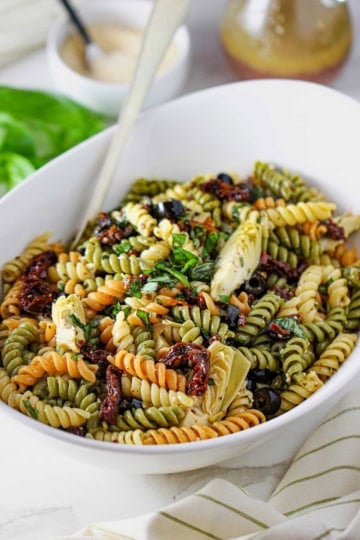
Cajun Pasta Salad
Blue Lagoon Cocktail
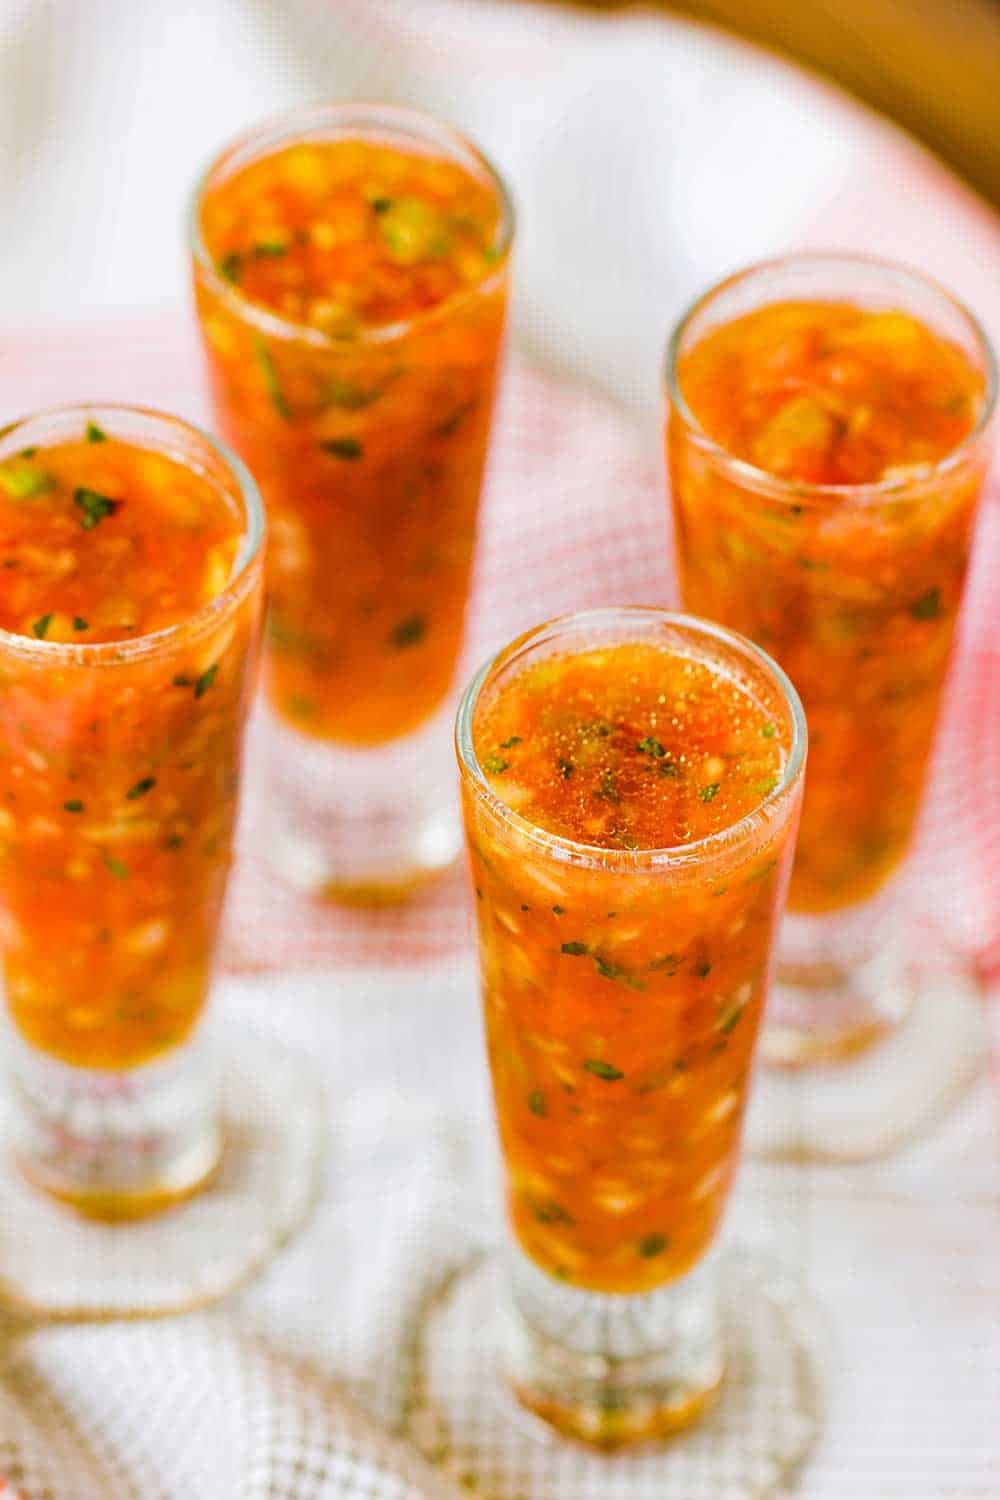
We love to serve our Classic Gazpacho in chilled shot glasses, too. Talk about a shot of pure deliciousness!

Classic Gazpacho
Equipment
- Food processor
Ingredients
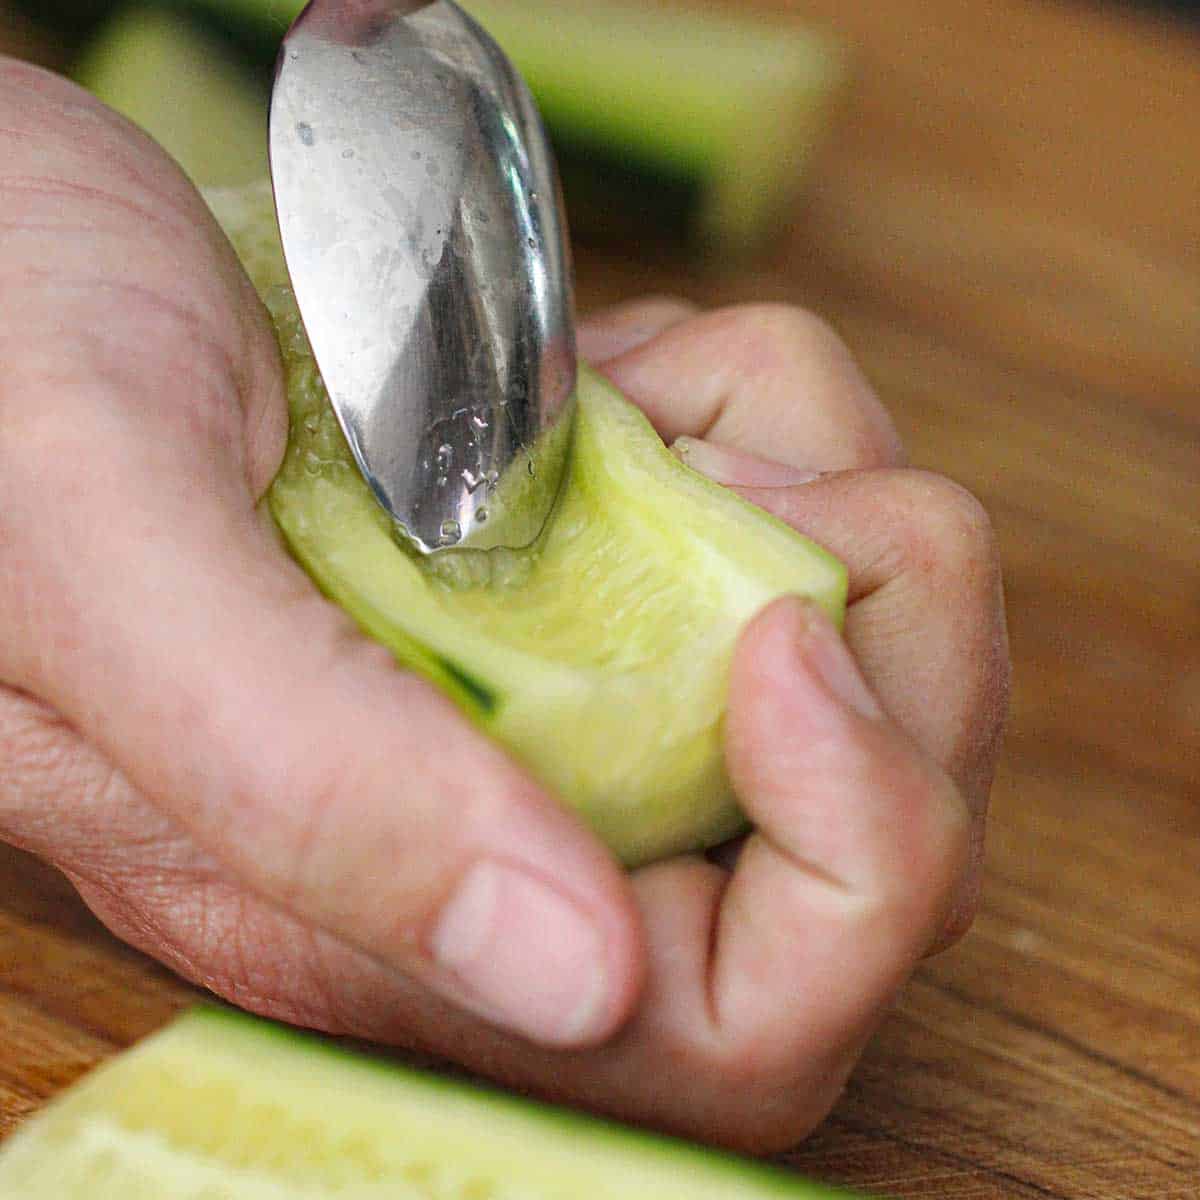
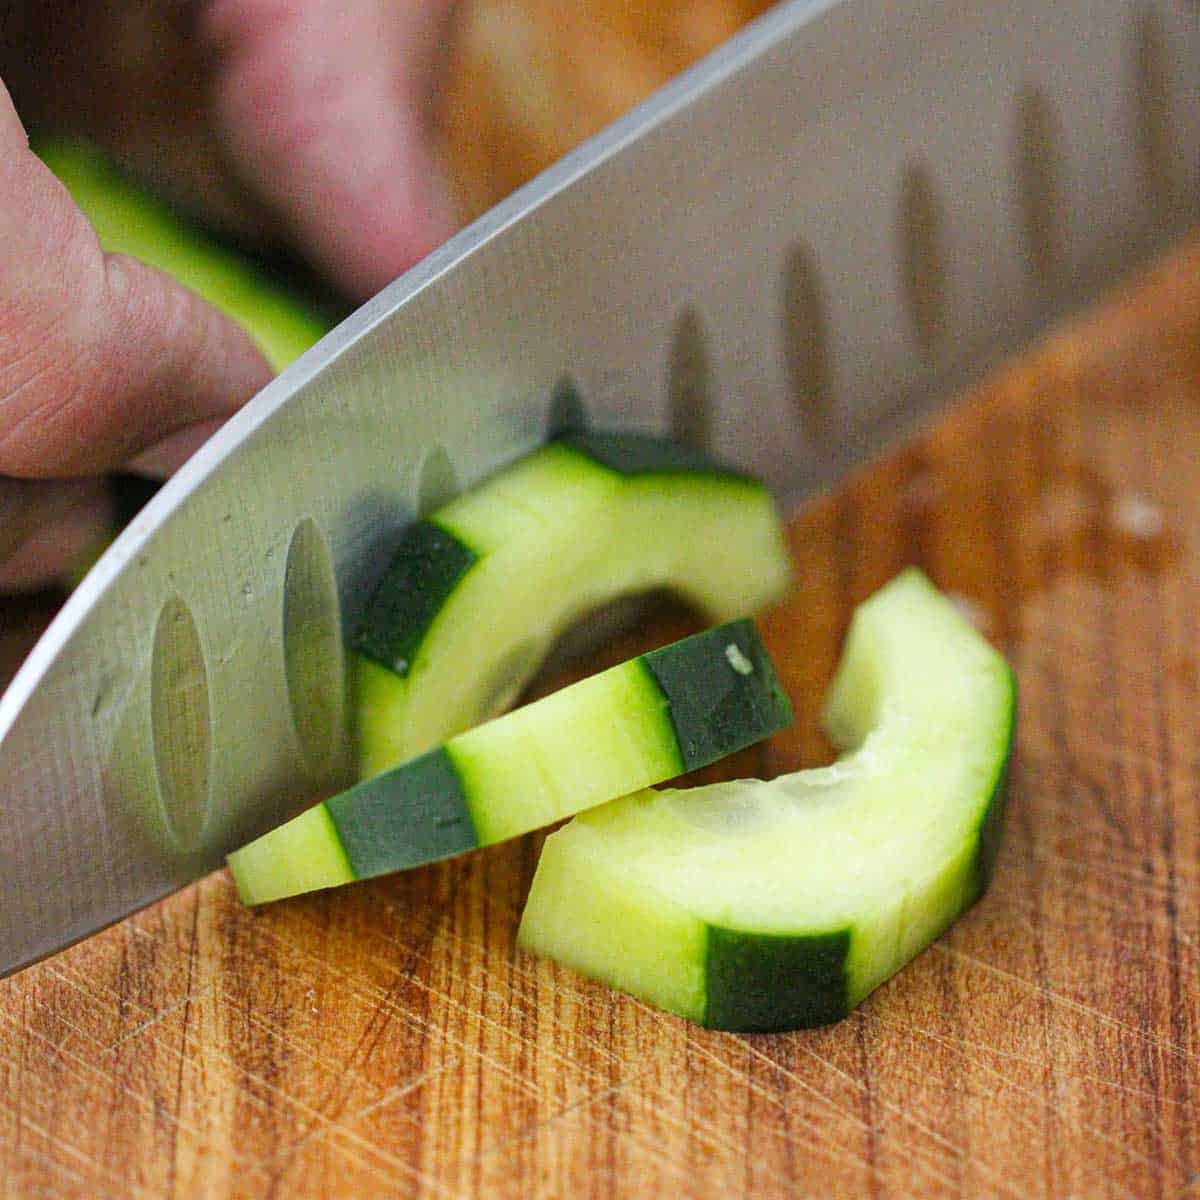
- 1 medium cucumber peeled, seeded, and coarsely chopped
- 1 medium green bell pepper cored, seeded and coarsely chopped
- 1 medium red bell pepper cored, seeded and coarsely chopped
- 1 medium yellow onion coarsely chopped
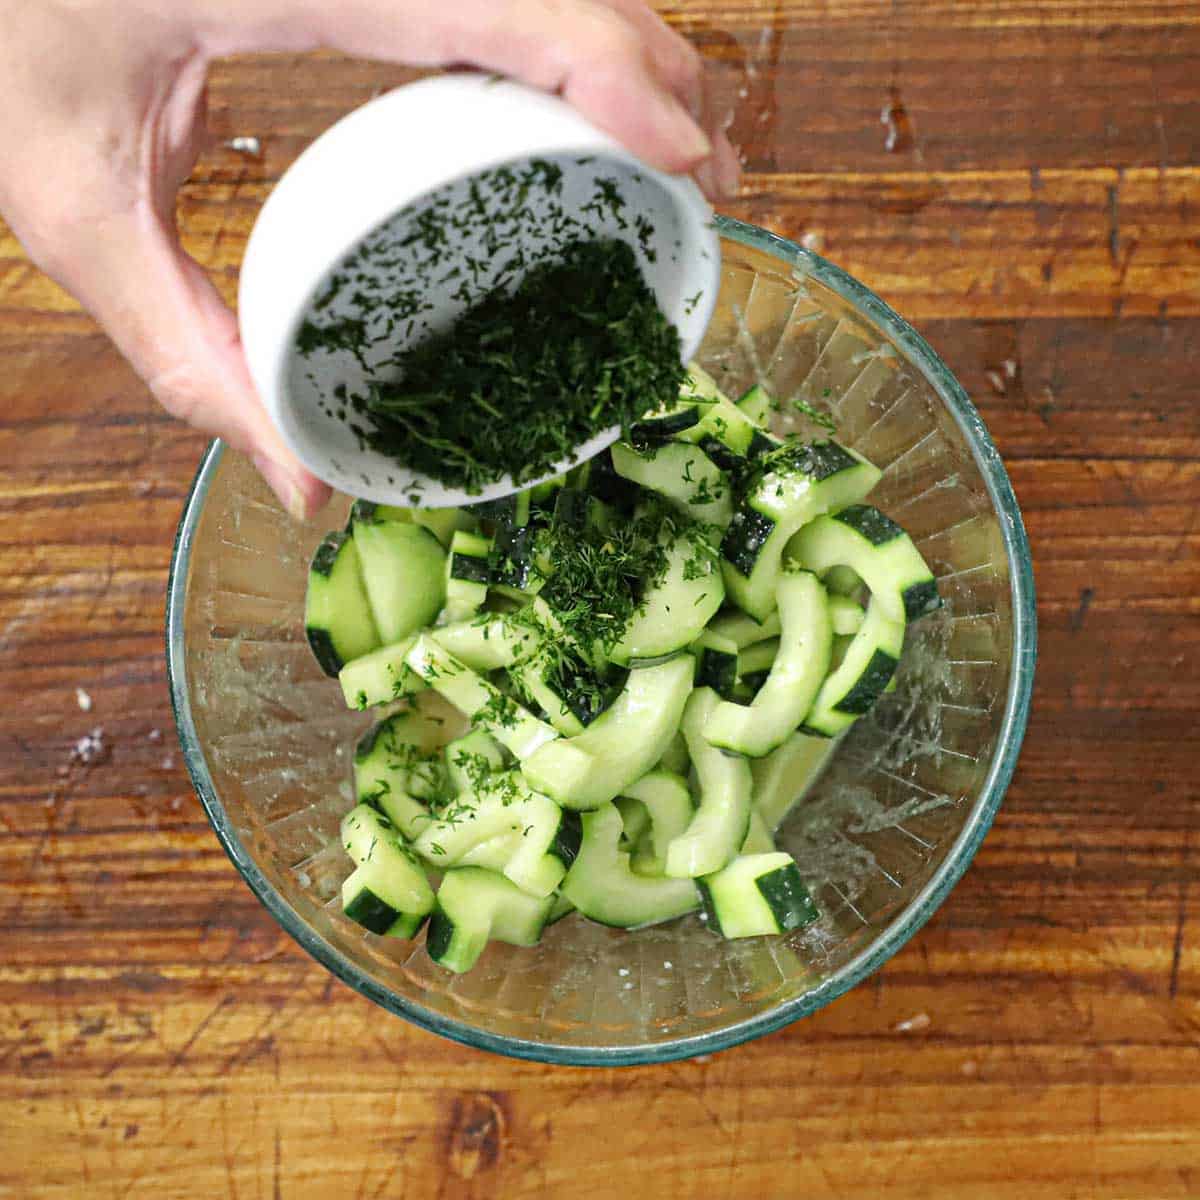
- ⅓ cup fresh parsley chopped
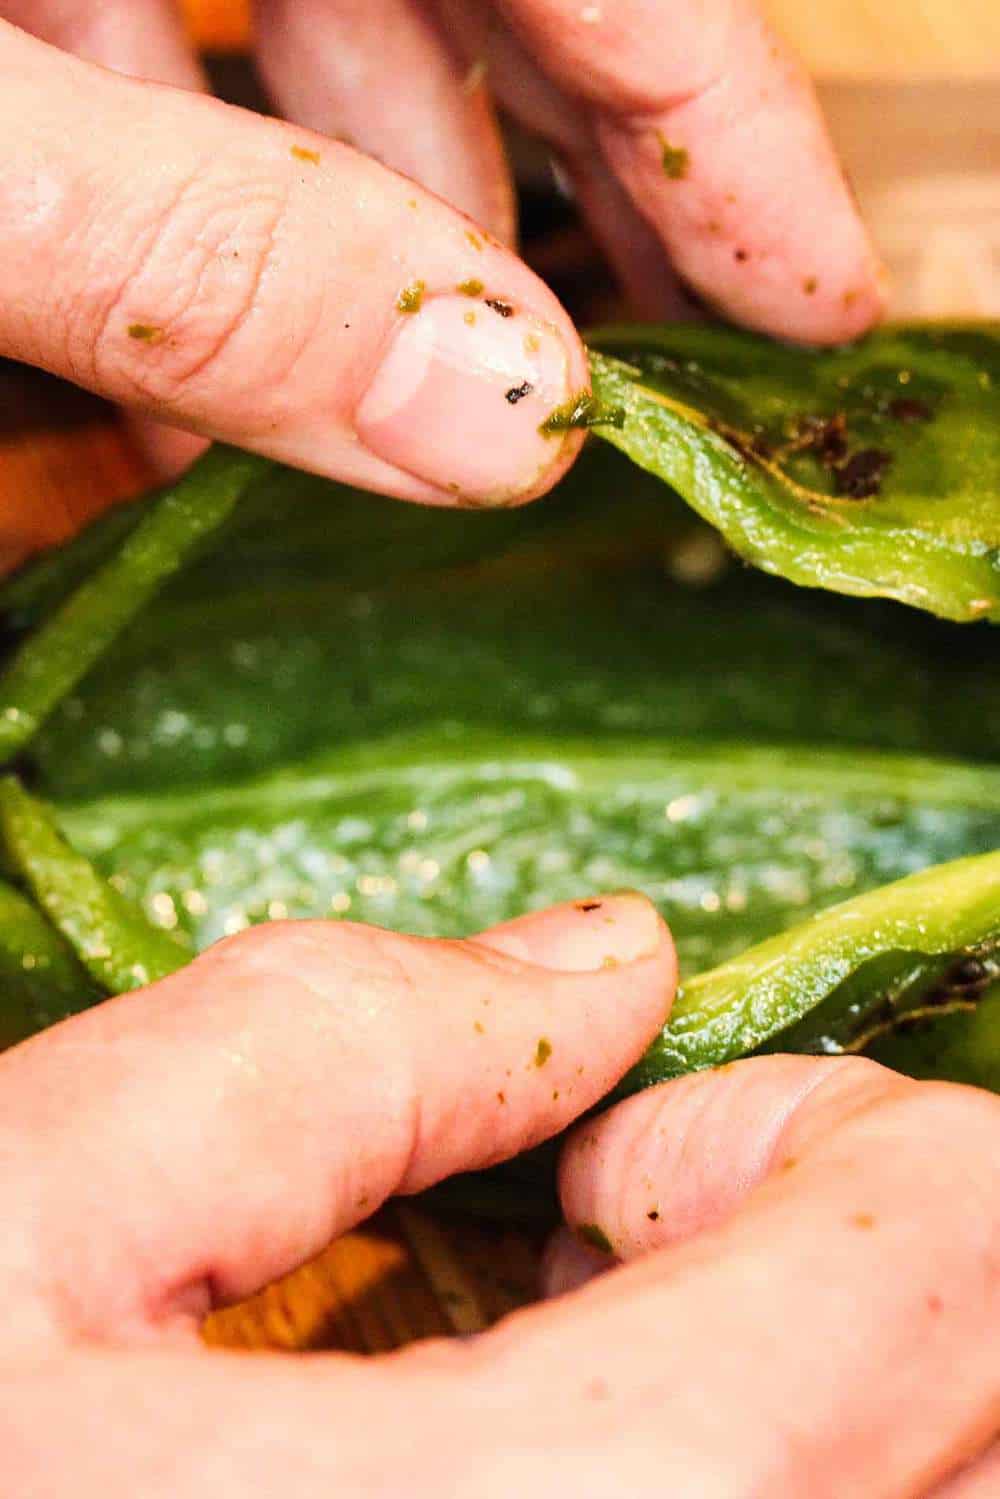
- 2 ½ lb ripe tomatoes peeled (heat in boiling water for about 1 minute, then peel away the skin), and coarsely chopped
- 1 cup tomato juice
- ¼ cup red wine vinegar
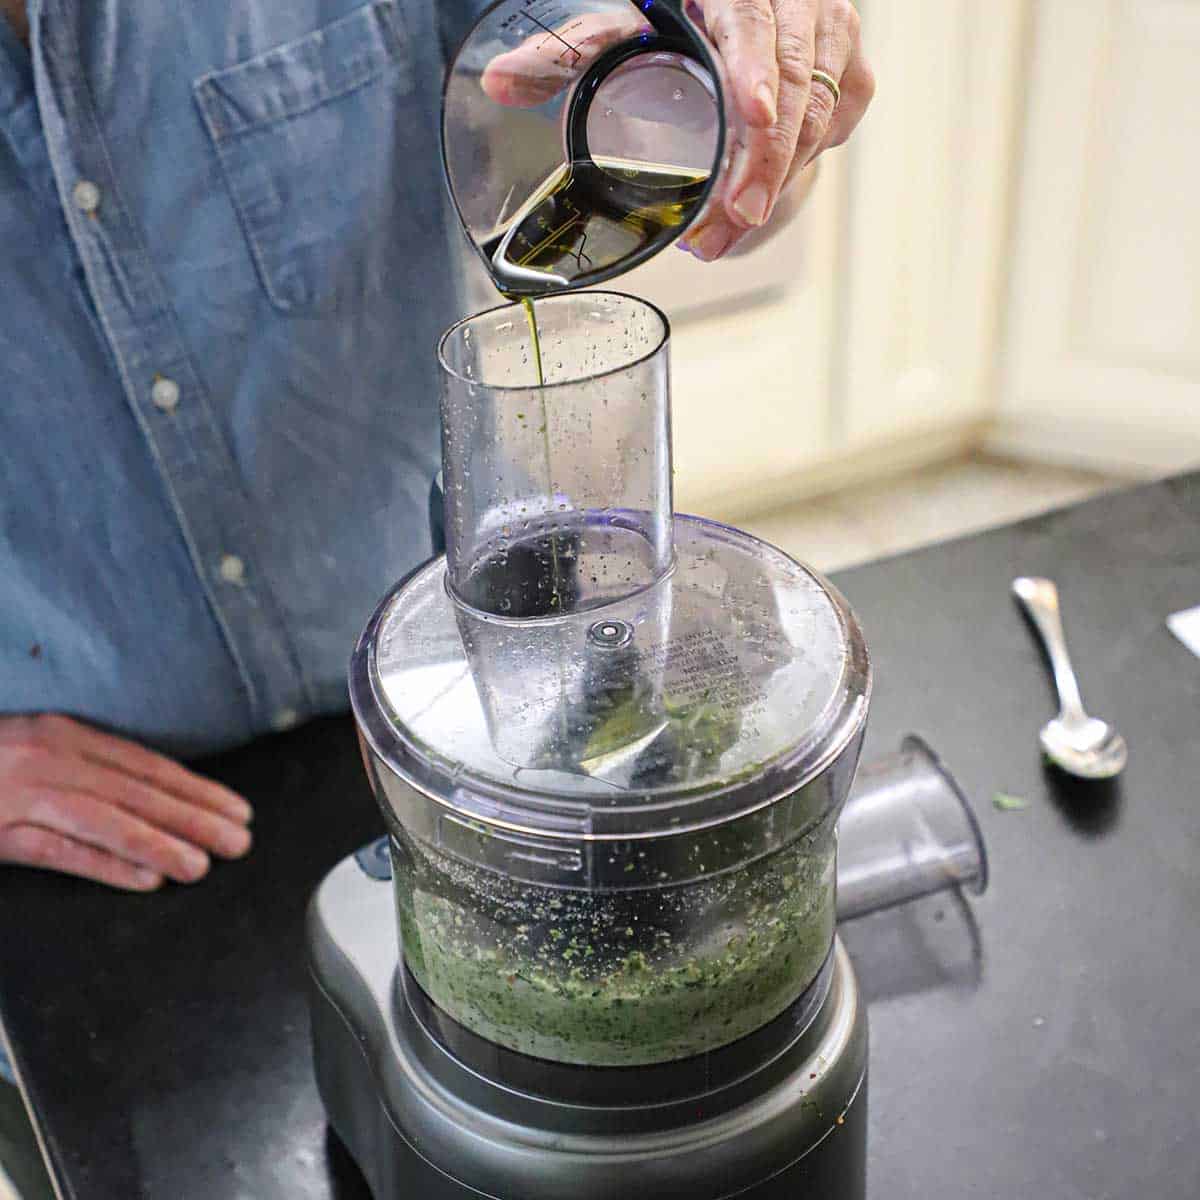
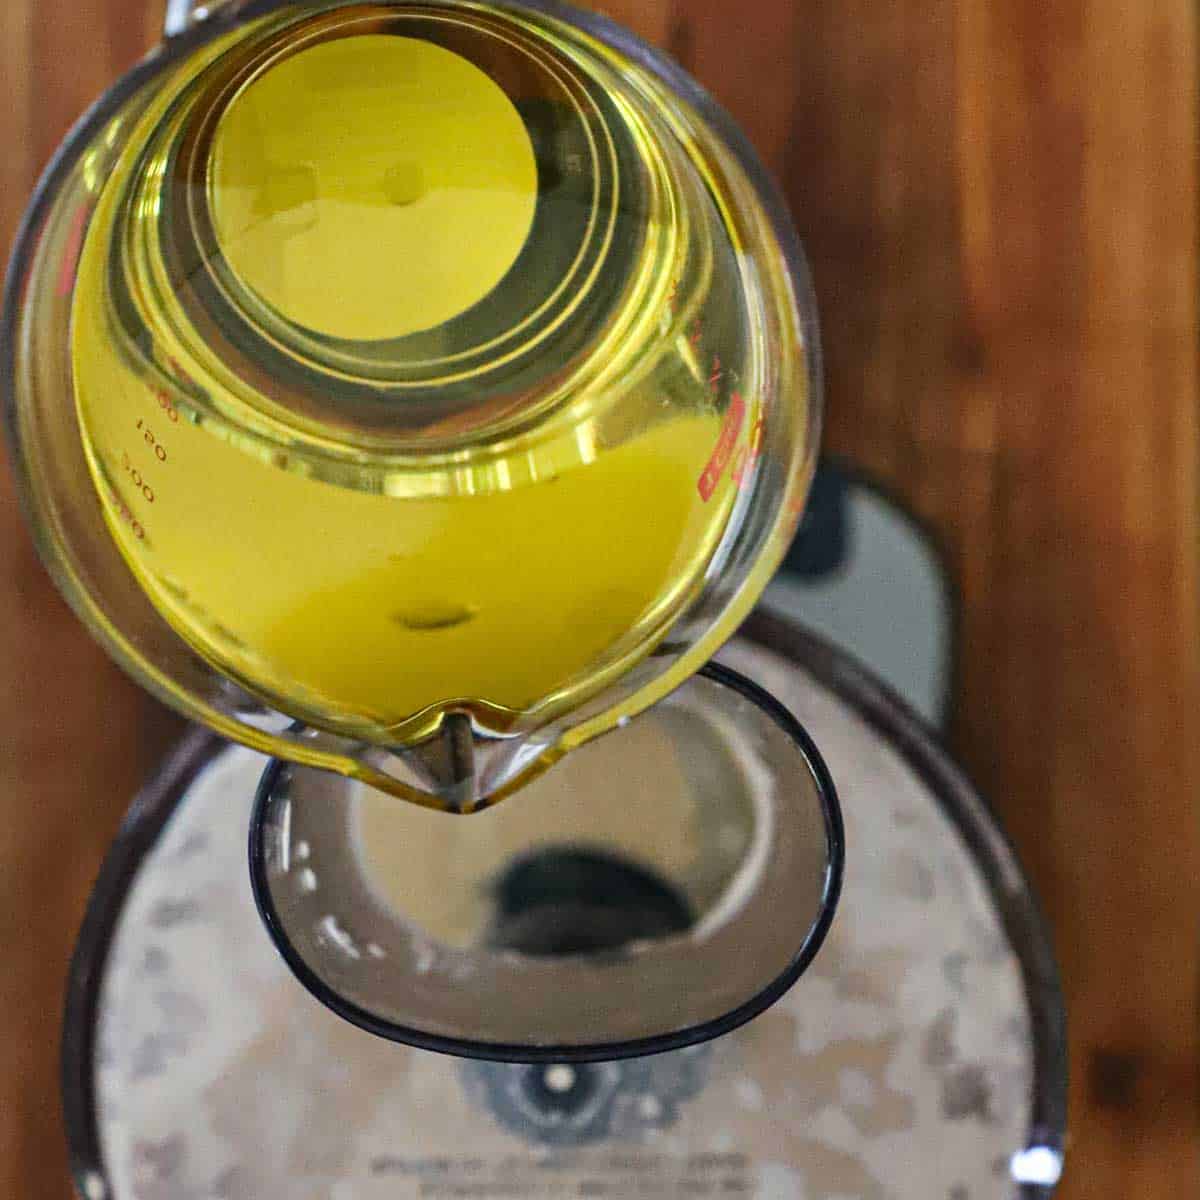
- 3 tablespoon extra-virgin olive oil
- 3 garlic cloves minced
- 1 jalapeno seeded and minced
- 2 teaspoon salt
Instructions
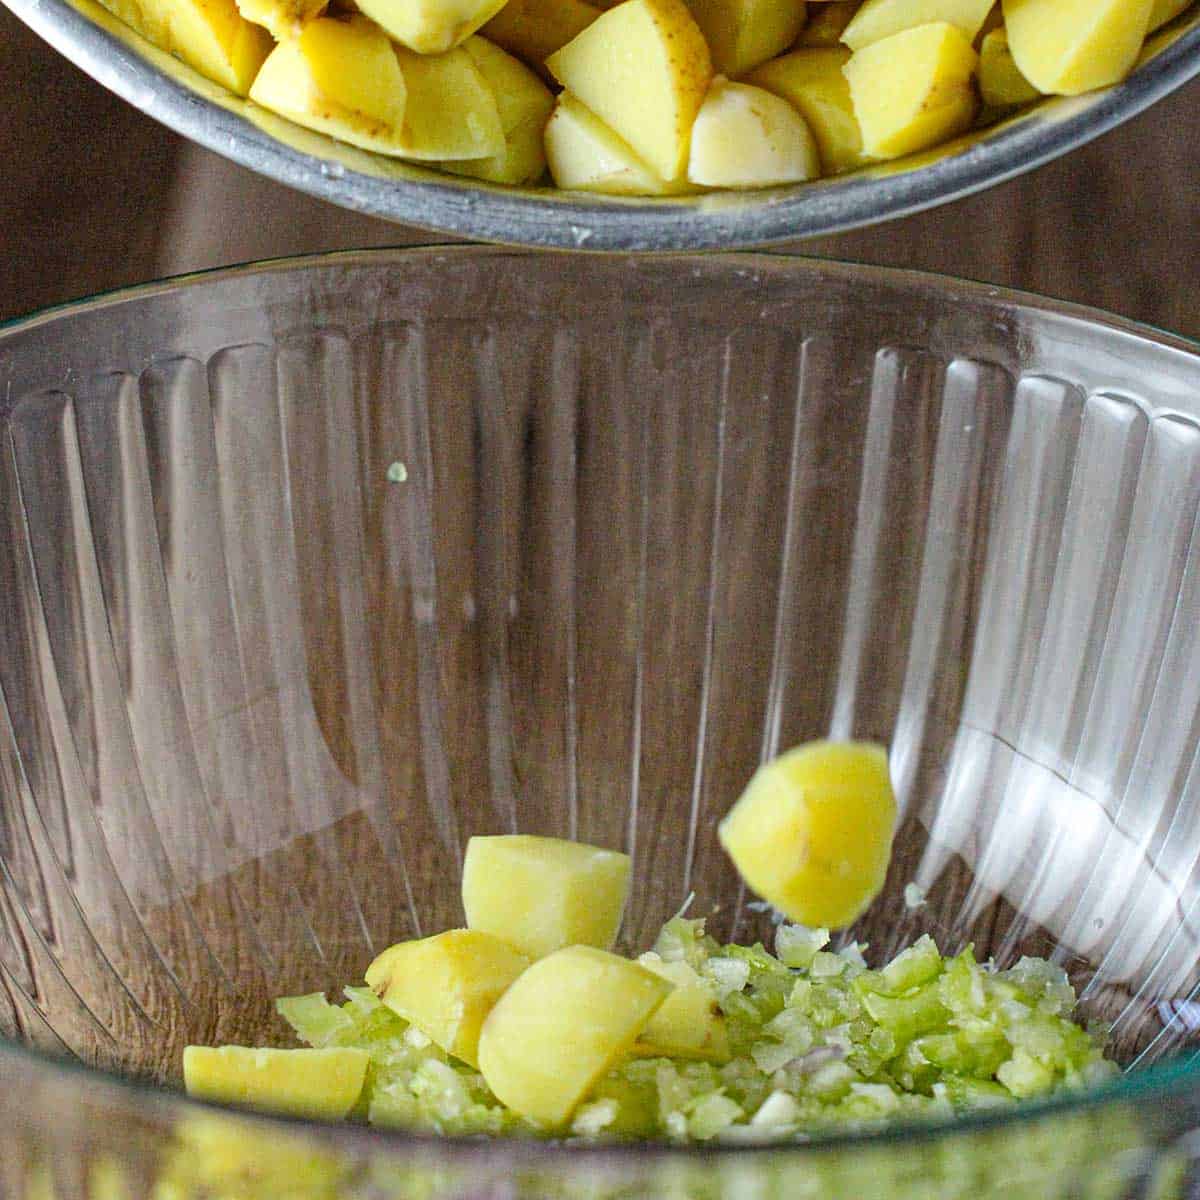
- In a food processor, finely chop (but don't puree) the cucumber and bell peppers.
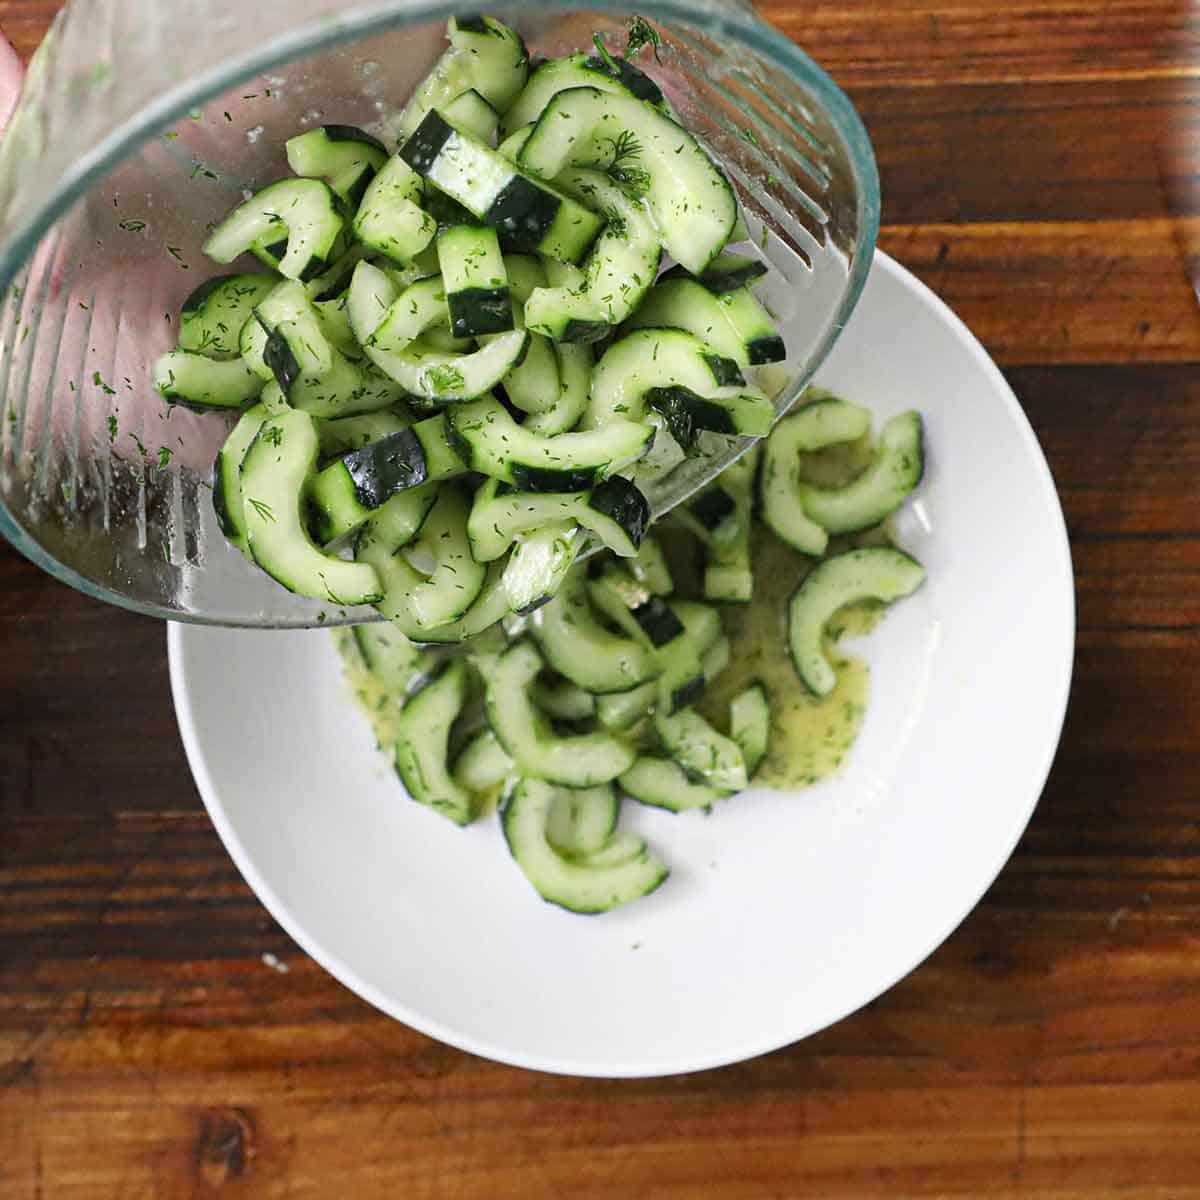
- Add to a large mixing bowl.
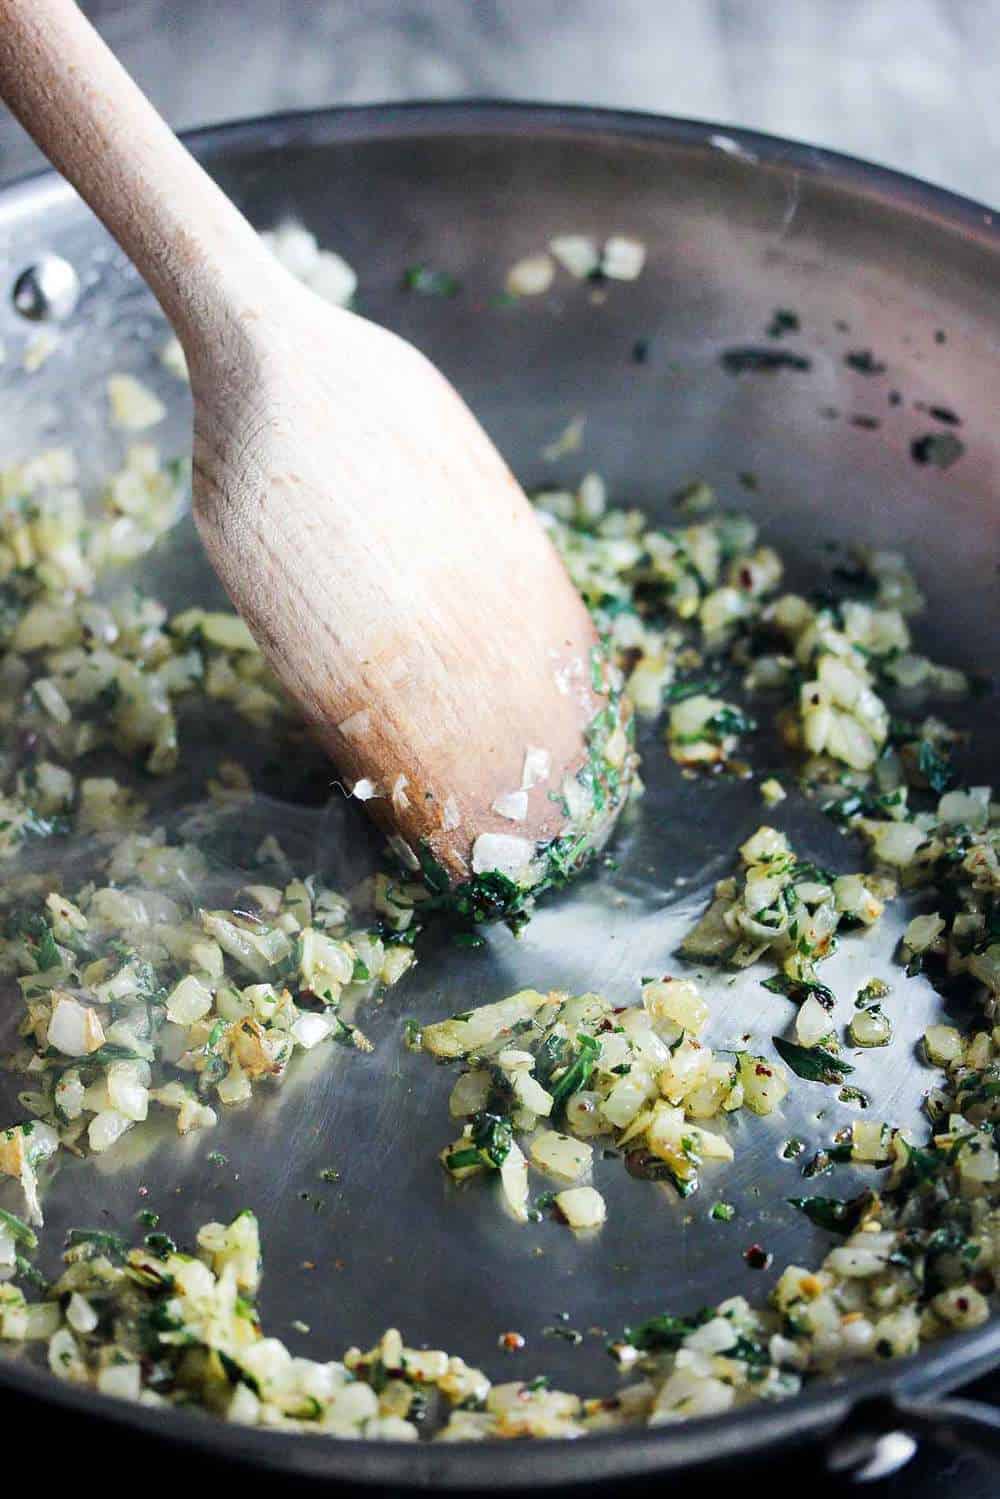
- Add to food processor the onion and parsley. Chop, but don't puree.
- Add the onion/parsley mixture to the cucumber/pepper mixture.
- Add to food processor the tomatoes and pulse for about 15 to 30 seconds. (They will be very liquidy).
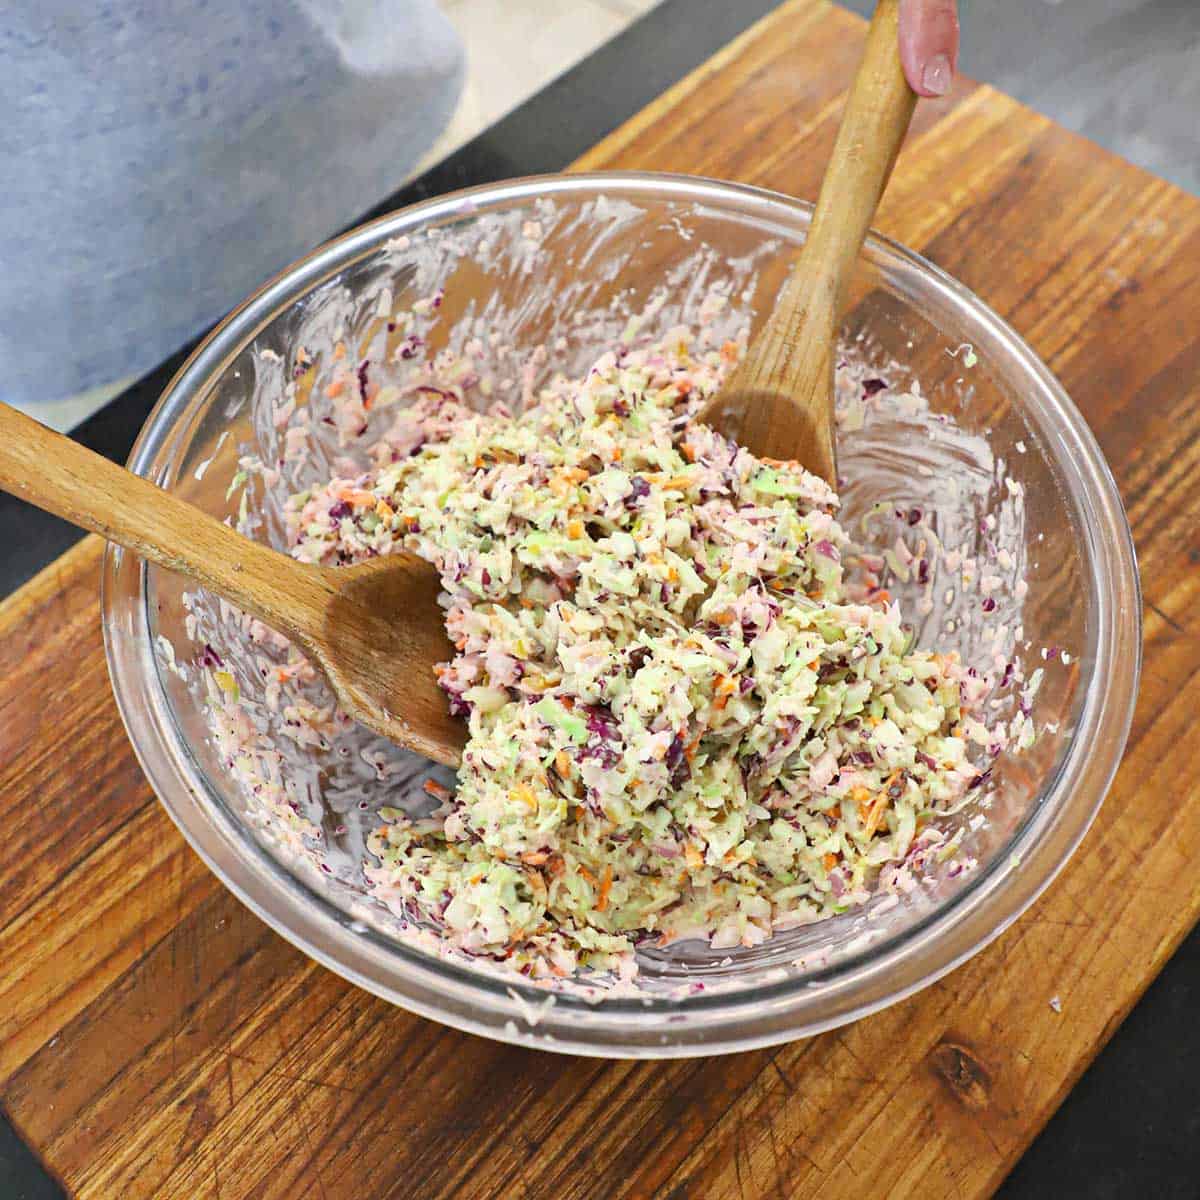
- Add tomatoes to the veggies in the bowl.
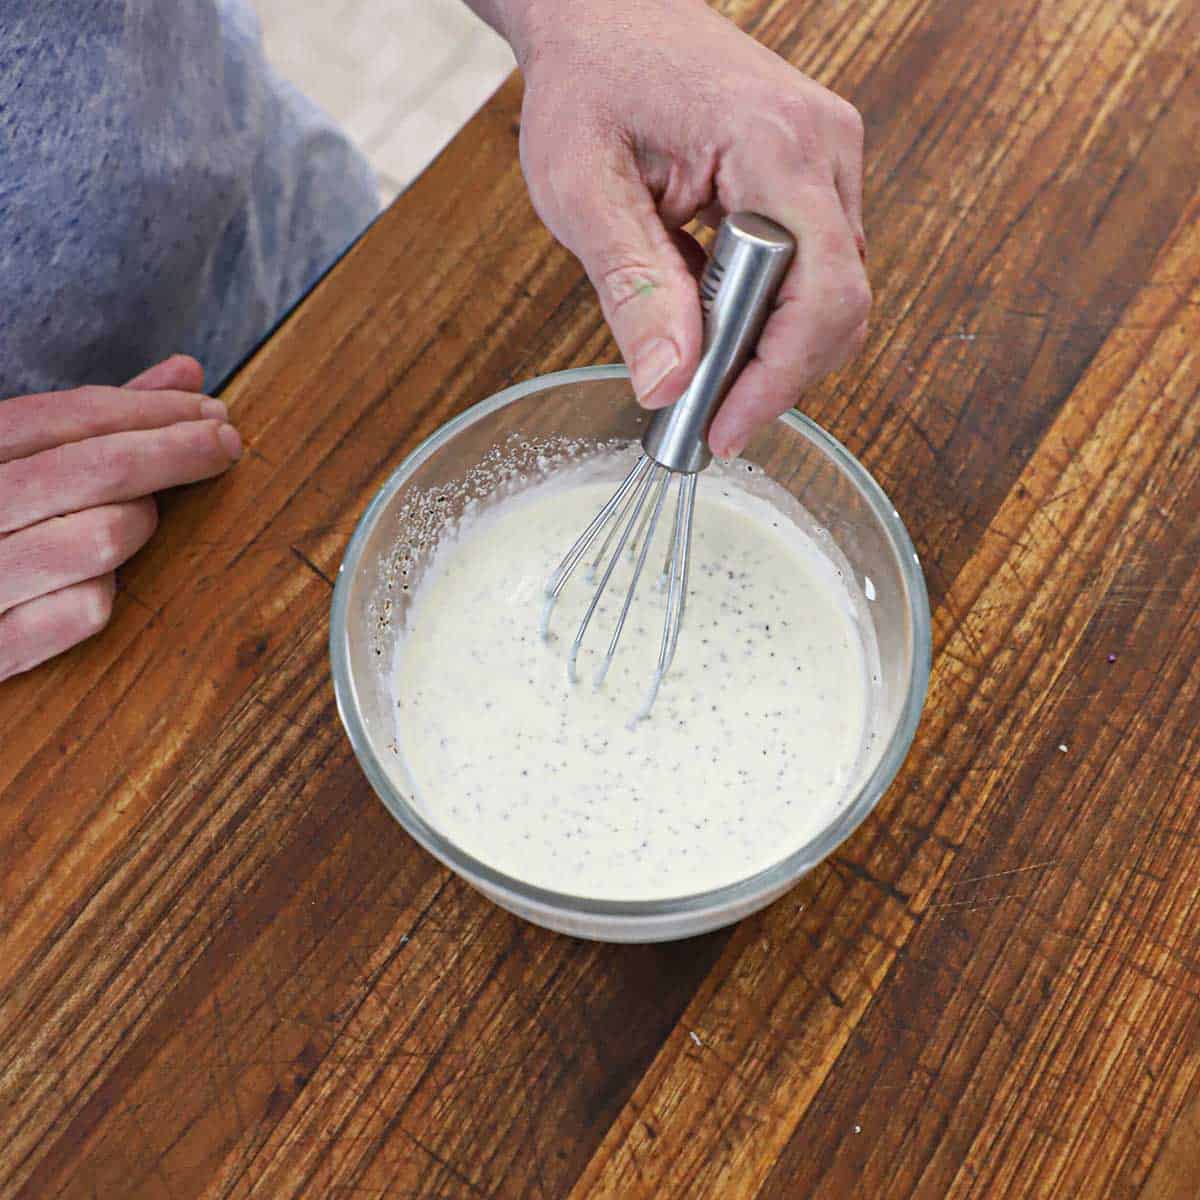
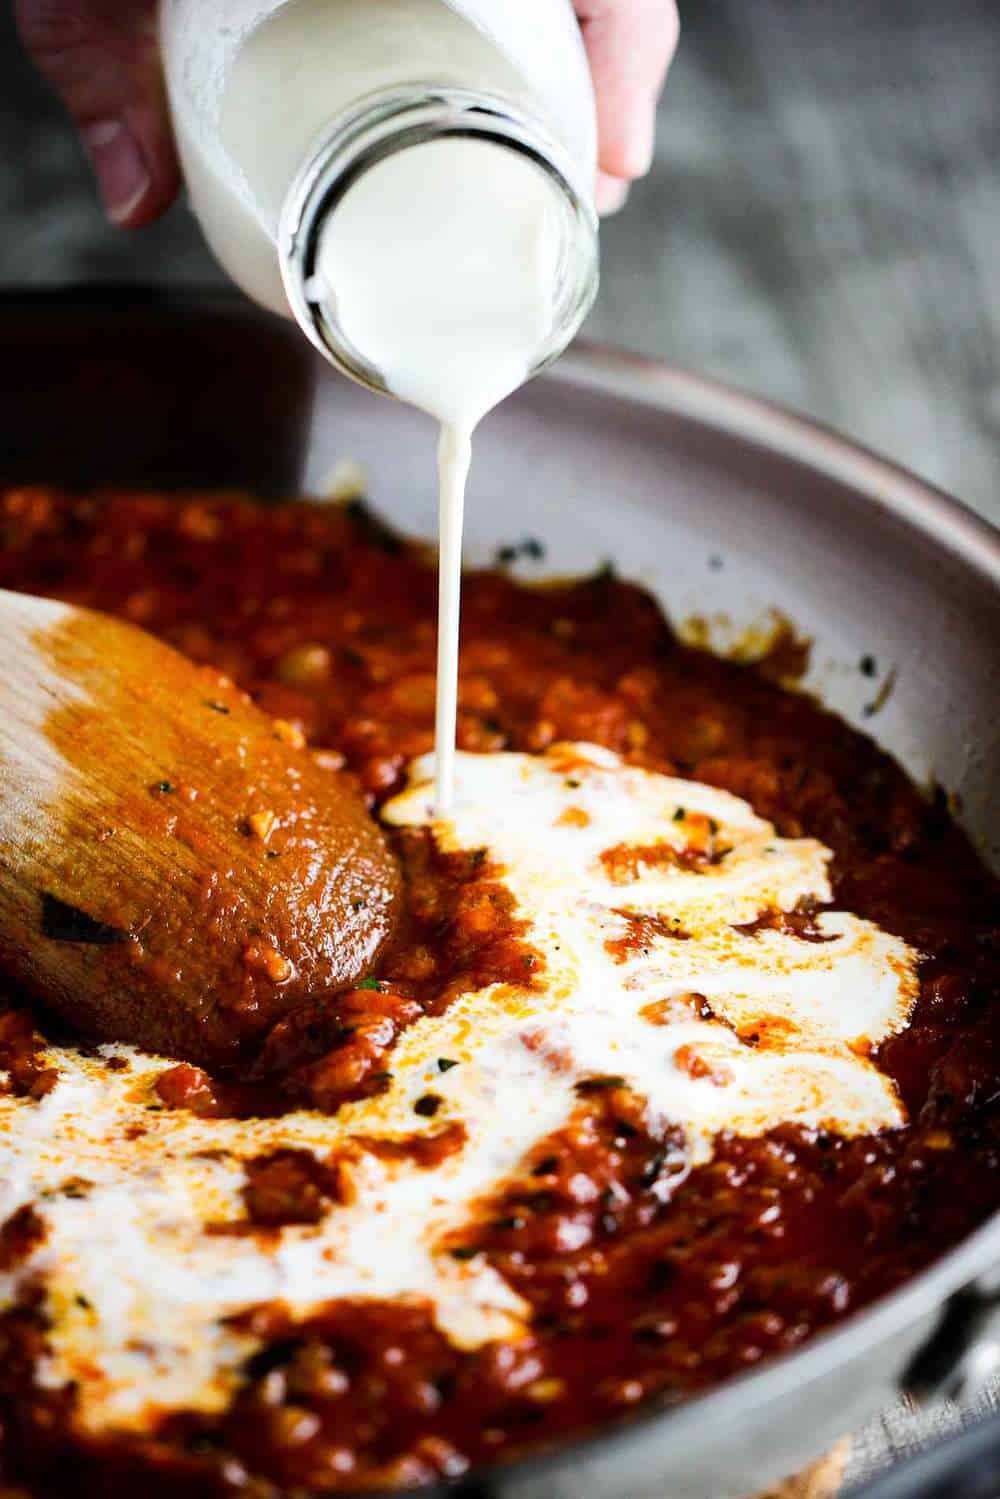
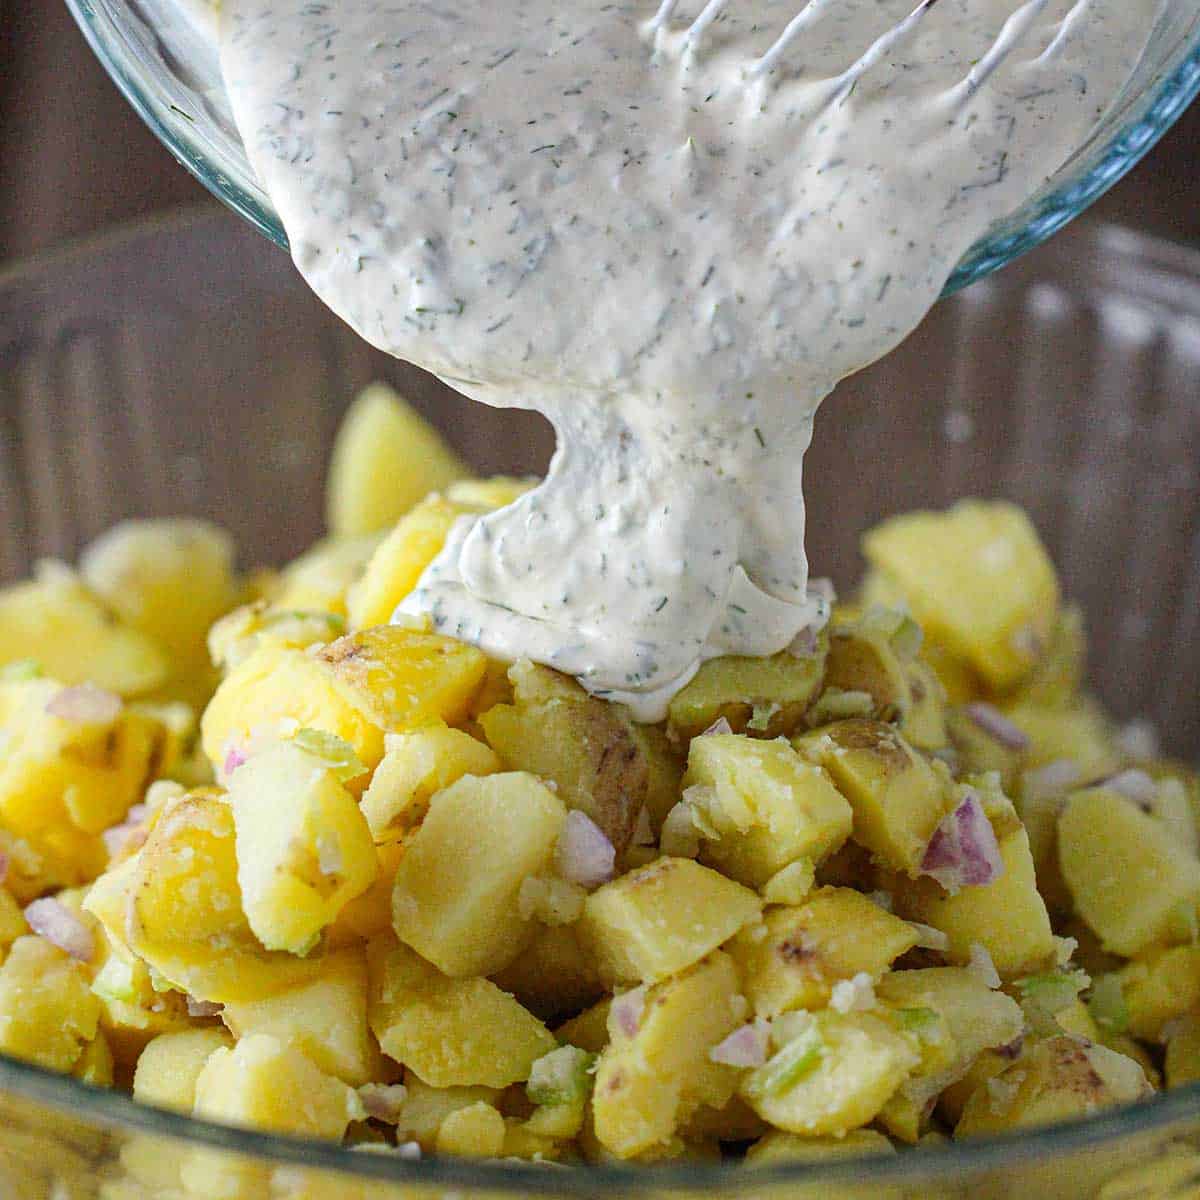
- Add to the bowl the tomato juice, red wine vinegar, olive oil, garlic, jalapeno and salt.
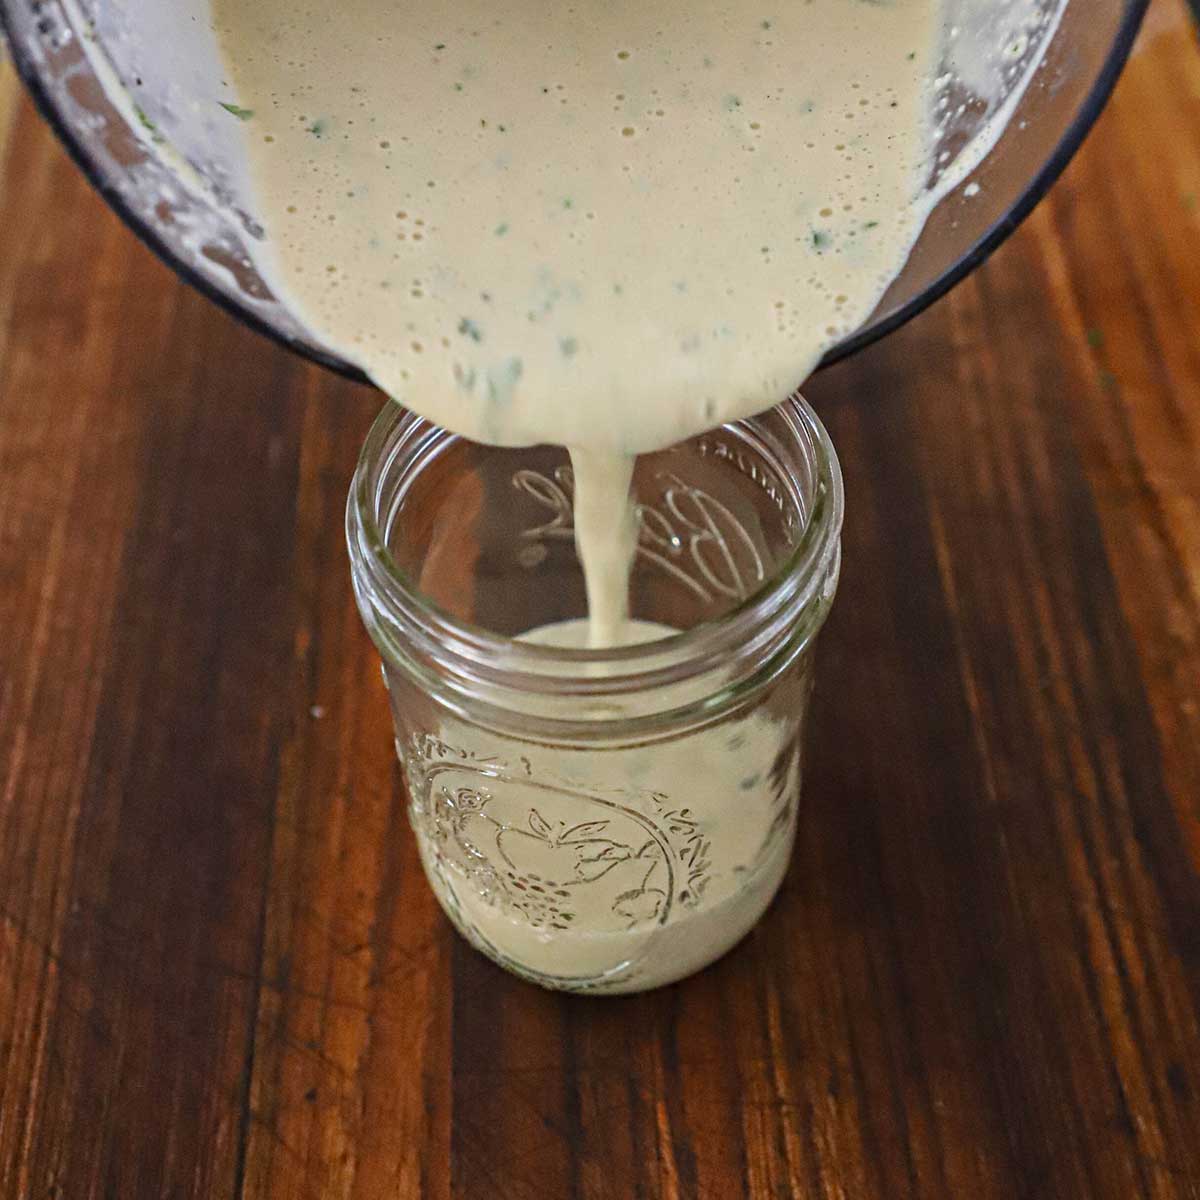
- Stir well and refrigerate for at least 2 hours.
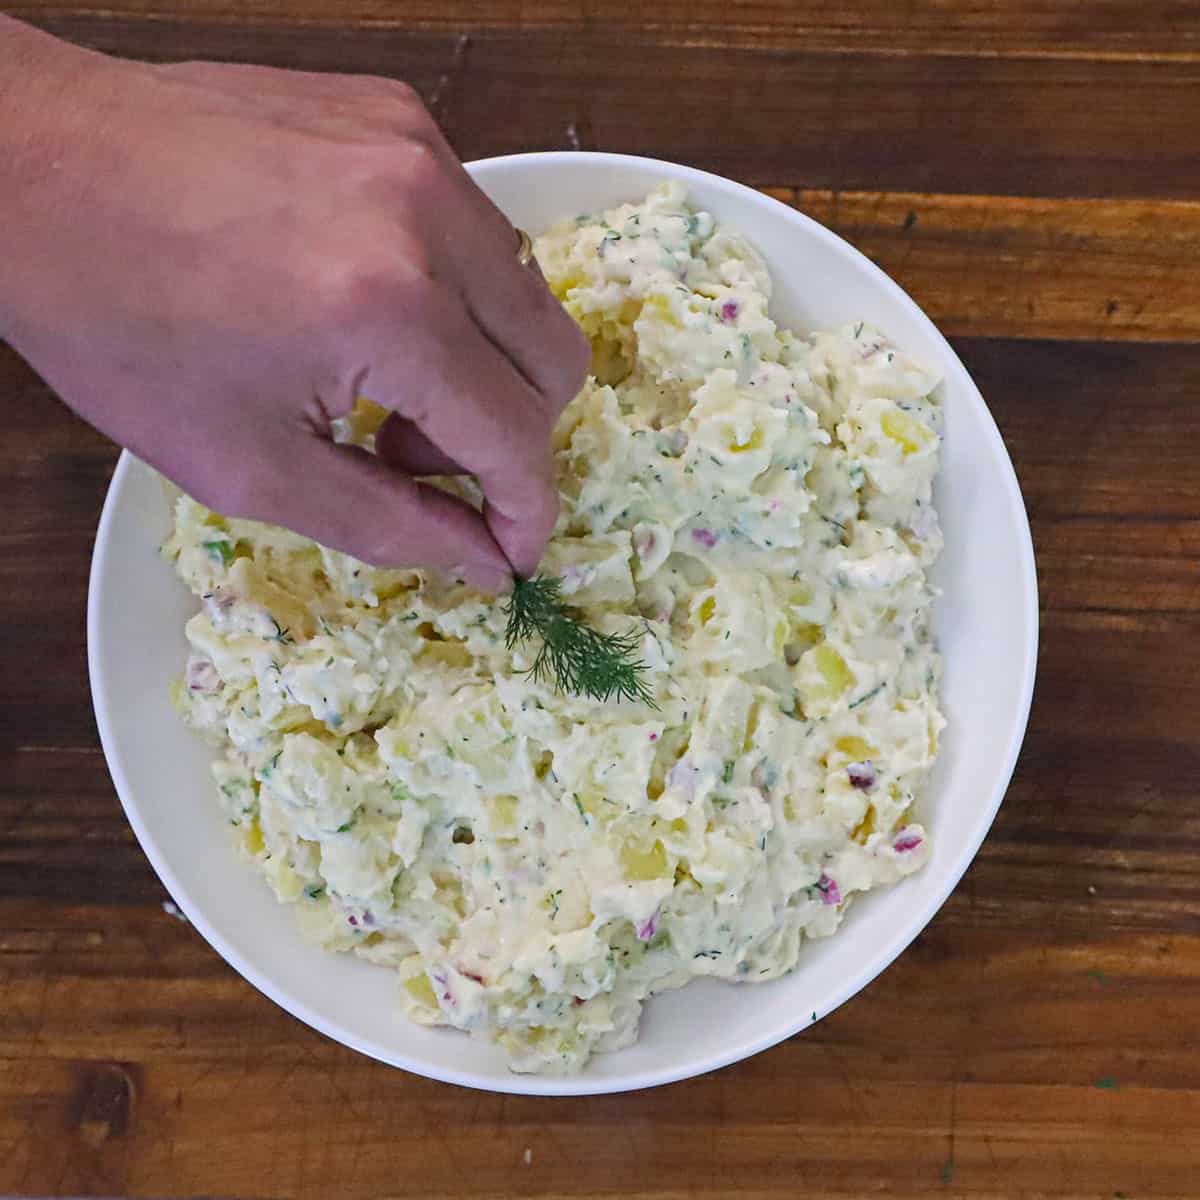
- Serve in chilled vessels.
Video
Notes
Nutrition