There is just something so satisfying about this iconic dessert. And making them at home is easy, fun, and over-the-top delicious!
Even though this sweet treat has its origins in Spain and Portugal, you will find it on the dessert menu of most TexMex and Mexican restaurants. Whip up a feast of tacos, enchiladas, beans, and rice, and then finish the celebration with this scrumptious dessert. The easy homemade chocolate sauce is a must.

How To Make Homemade Churros
NOTE: If you liked this video, please subscribe to our YouTube channel. Remember to click the little ‘bell’ icon so you’ll never miss a new video. Thank you!
The Ingredients You Will Need
There are just a handful of ingredients needed to make this delicious dessert. A sturdy pastry bag and a ⅜″ star tip will allow you to make the classic churros shape. Here’s what you’ll need to have on hand:
Butter – Unsalted.
Salt – Kosher or table salt.
Vanilla extract – We love Nielsen Massey.
Cinnamon – 1 stick is all you need.
Flour – All-purpose.
Egg – Preferably cage-free.
Sugar – Granulated.
Oil – Vegetable or canola, enough for frying.
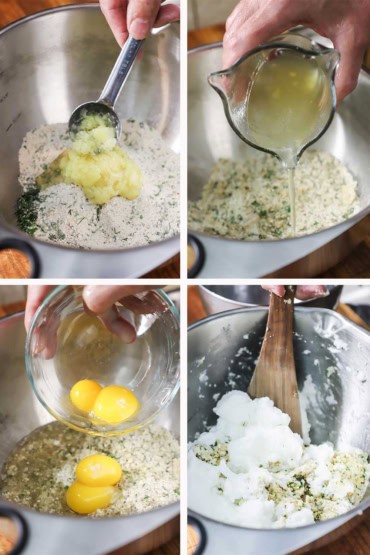
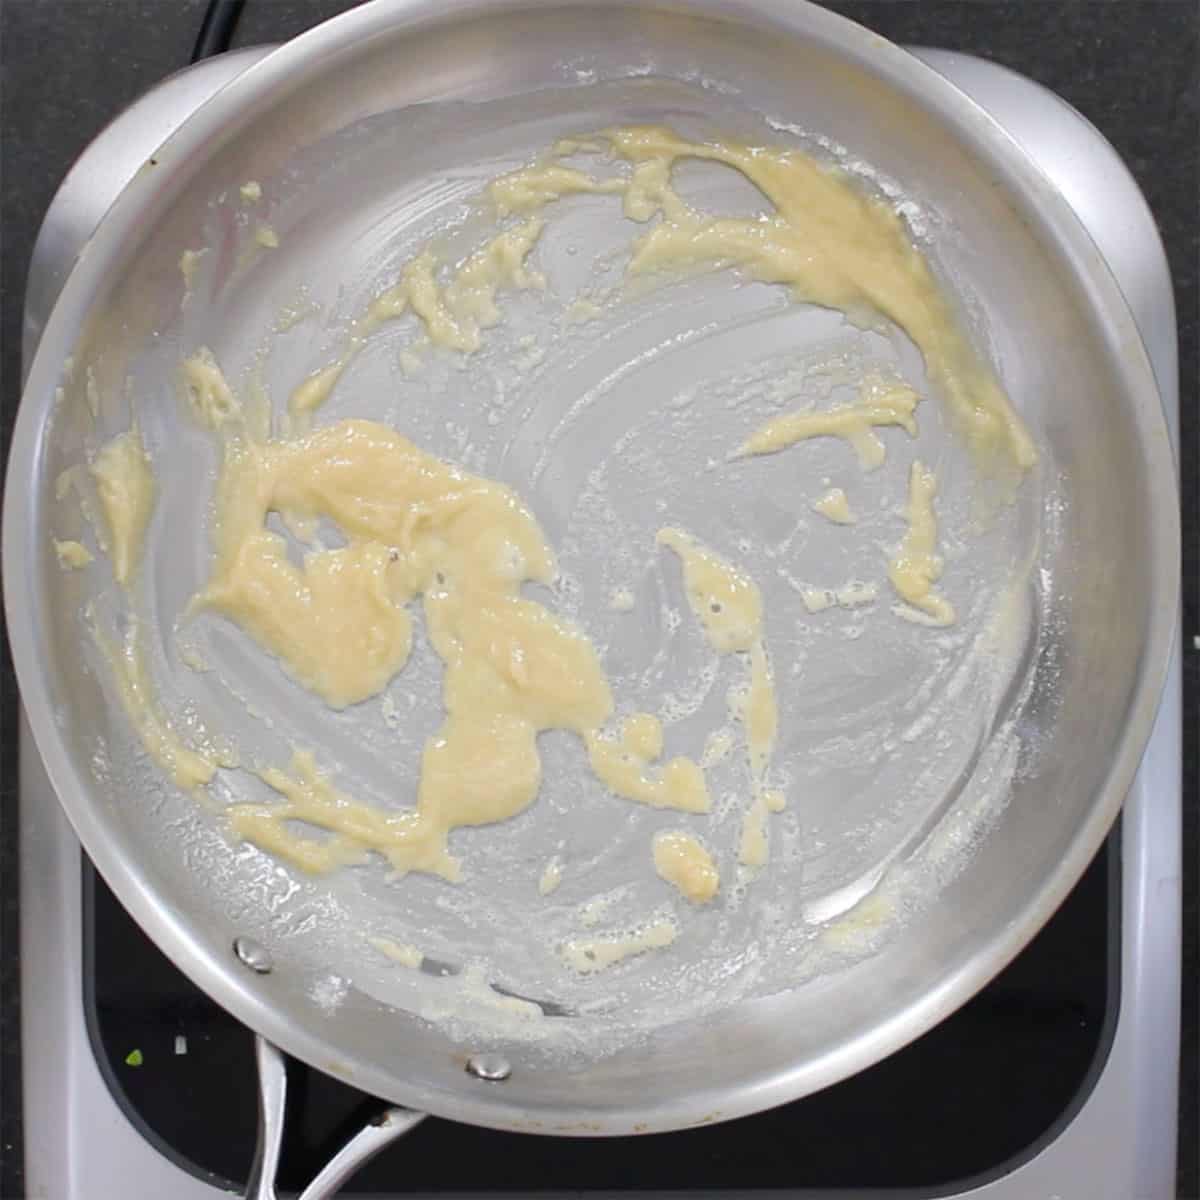
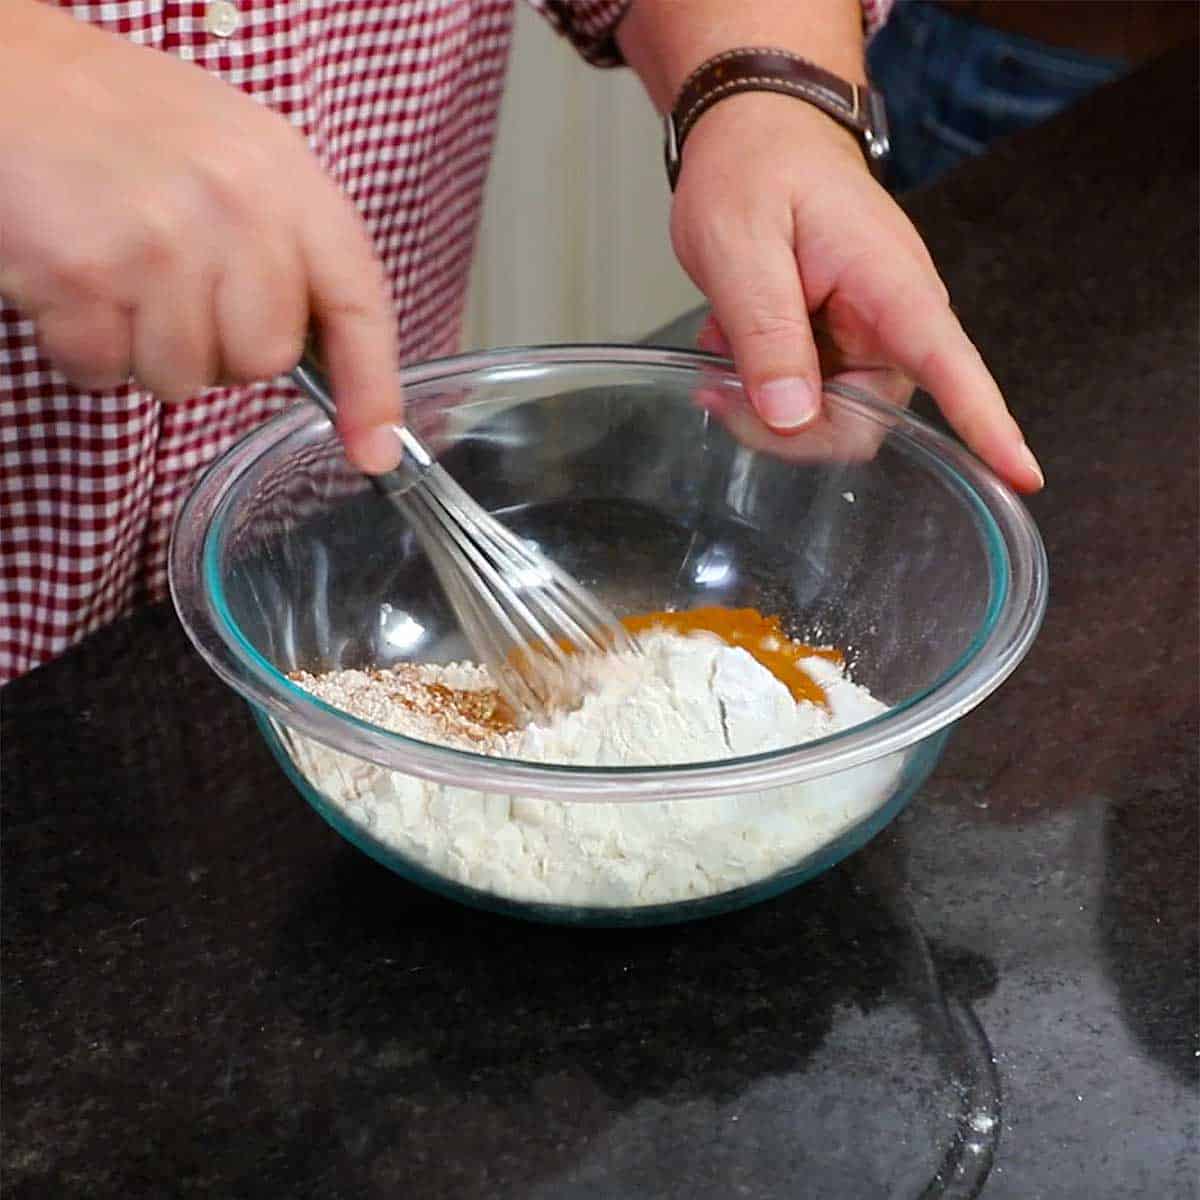
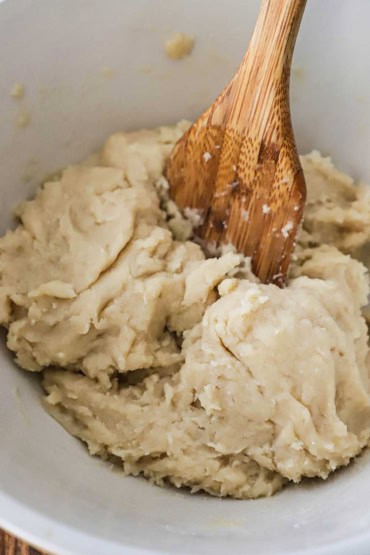
EXPERT TIP: Be sure to work the flour completely into the hot liquid in the skillet. There will be little balls of flour. Don’t worry if you don’t dissolve every one of them. But a large wooden spatula helps get most of them. Be sure to let the dough cool for a few minutes before incorporating in the egg.
Tips for Making Perfect Homemade Churros
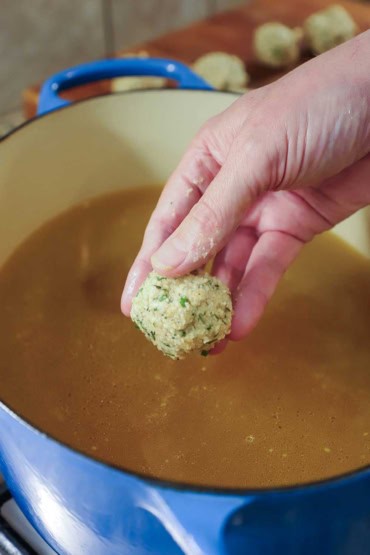
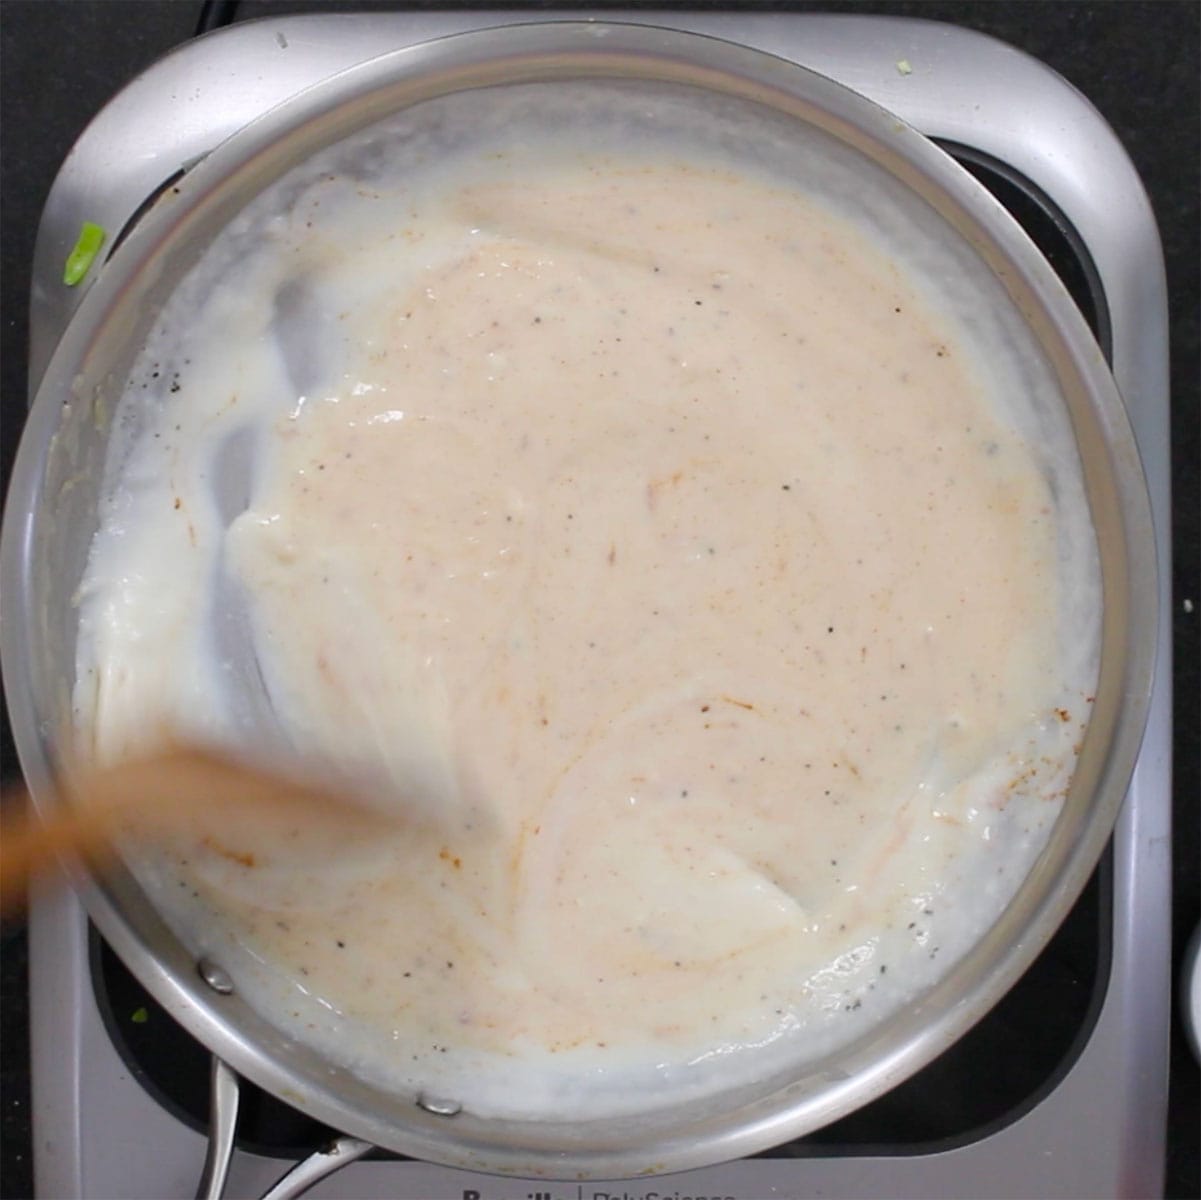
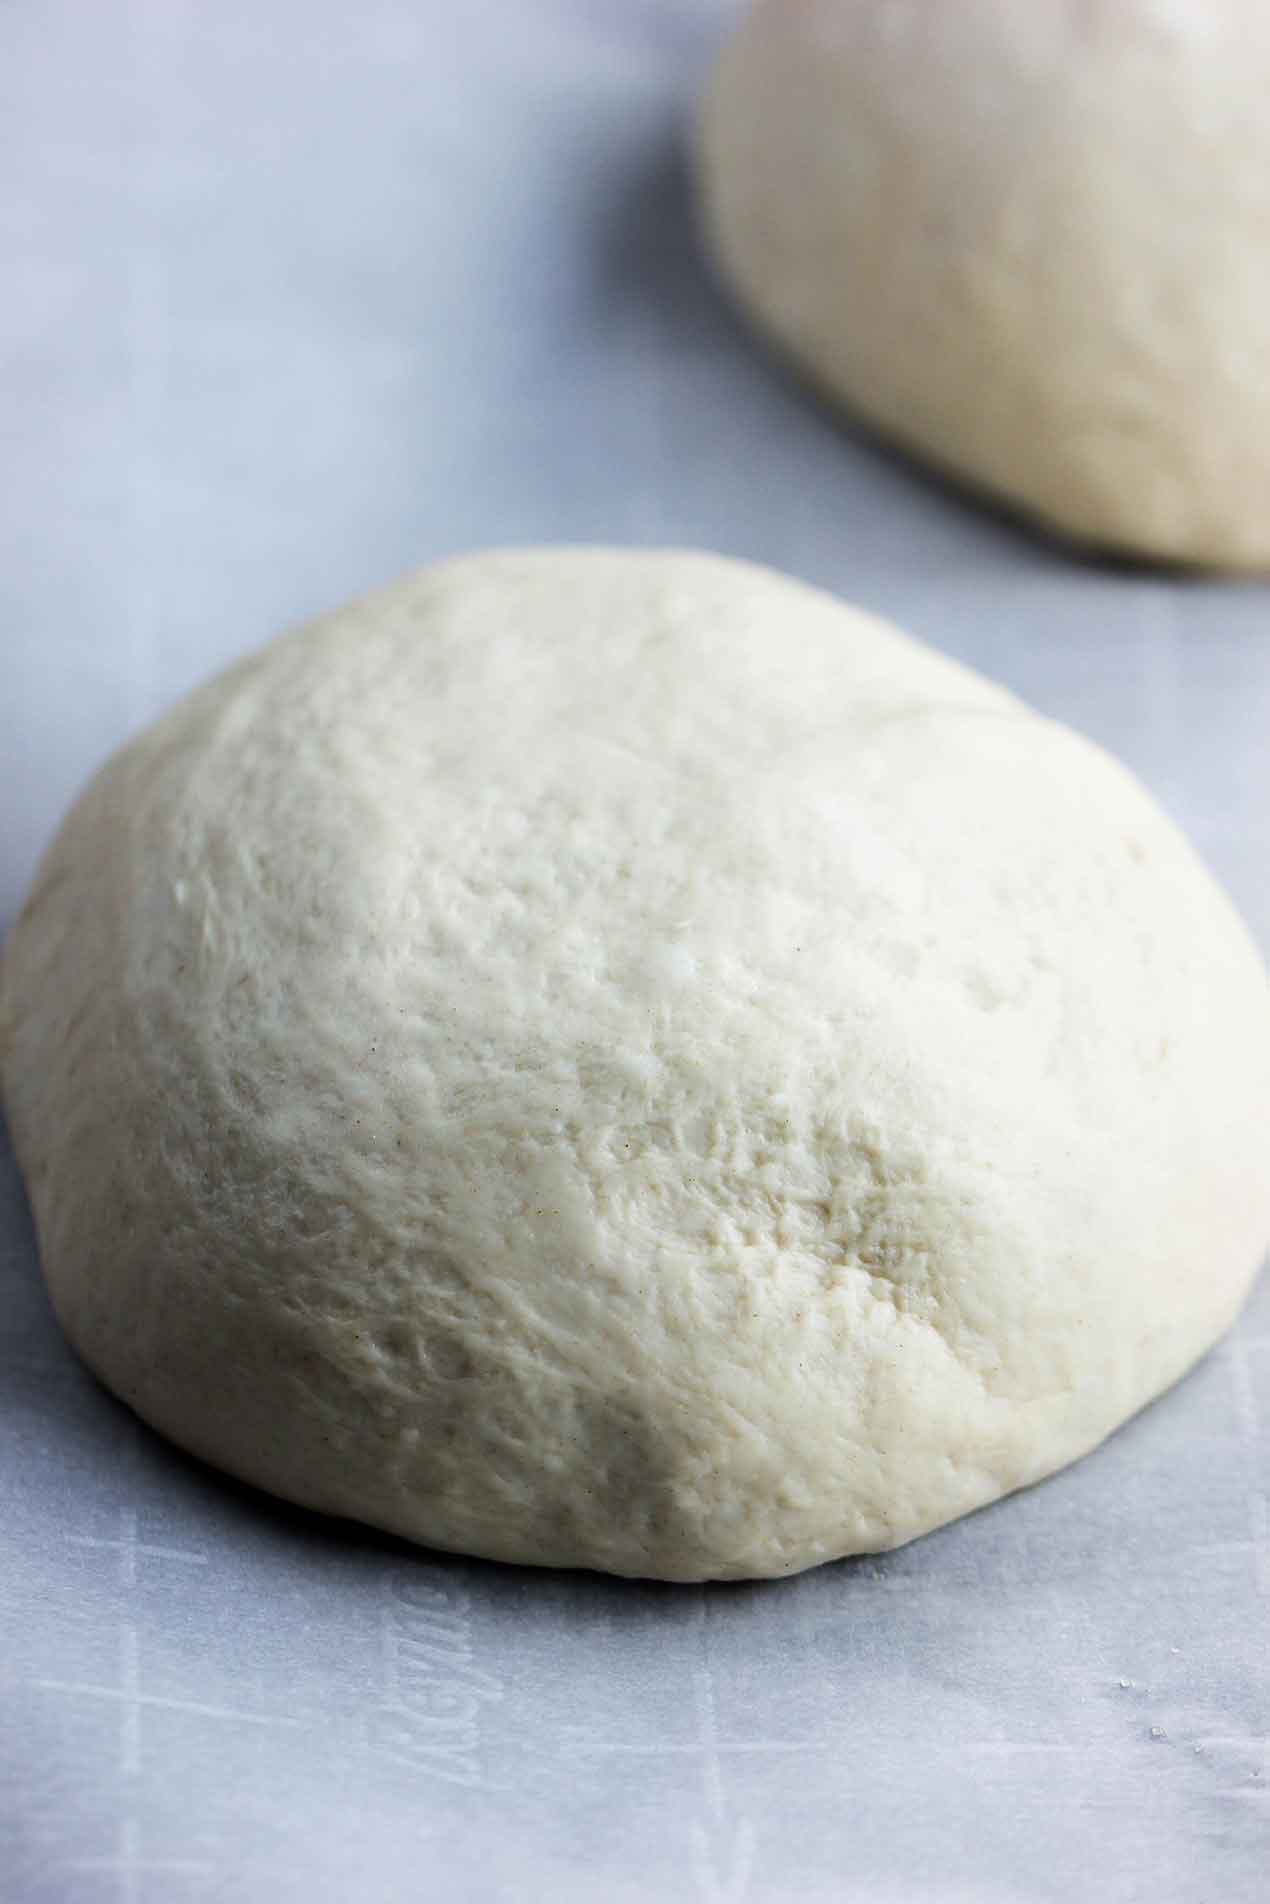
It’s All About the Dough – It’s critical to start with a thick choux pastry dough. It is essential for achieving the crispy exterior and soft interior that churros are known for. It should be stiff, but still soft enough to squeeze through the pastry bag.
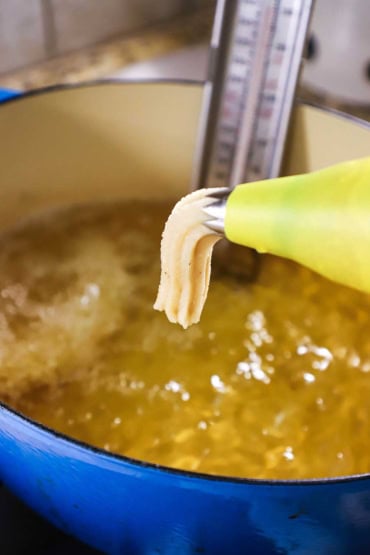
Keep the Oil Hot – Make sure the oil is at the right temperature (around 380 to 400°F) to ensure the churros cook evenly and develop a golden brown color. Fry them in small batches to avoid overcrowding the pan, and use a slotted spoon to carefully turn them for even cooking.
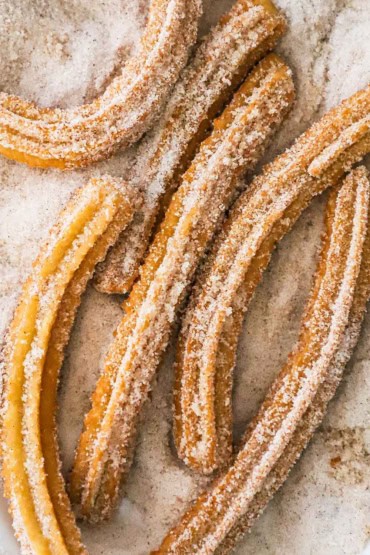
Don’t Overdo It with the Sugar-Cinnamon Mixture – Don’t toss the churros in the sugar-cinnamon mixture while they are still wet with oil. This will make an excess amount of the sugar mixture stick to the churros.
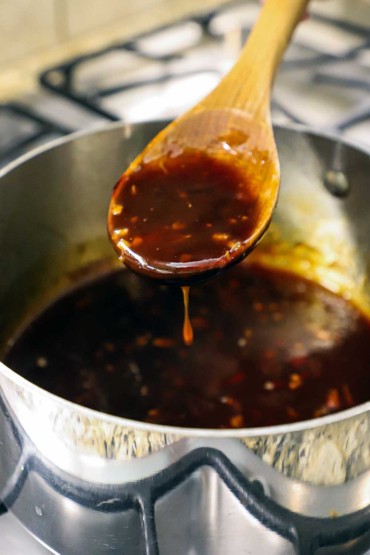
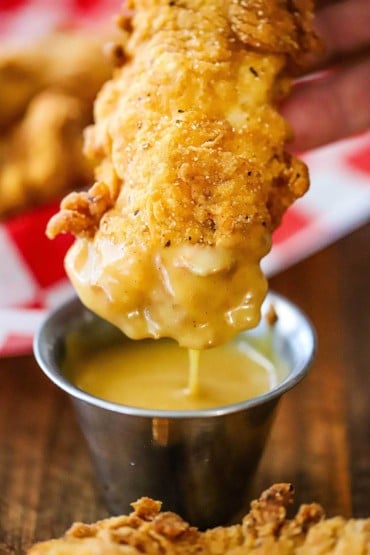
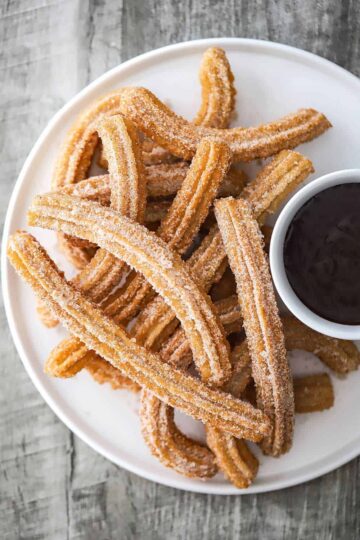
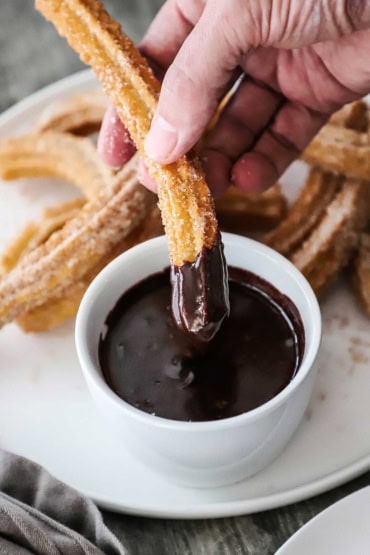
Serve with a Dipping Sauce – The churros are incredibly delicious on their own. But a dipping sauce, such as chocolate sauce or homemade caramel sauce put them over the top. They are also delicious when served with freshly brewed coffee or hot chocolate.
EXPERT TIP: Don’t overfill the pastry bag when piping directly into the hot oil. You’ll need to apply pressure to get the dough through the star tip. However, if you press too hard, the bag may break. If this happens, just switch pastry bags, and try and be forceful, yet gentle.
How To Serve
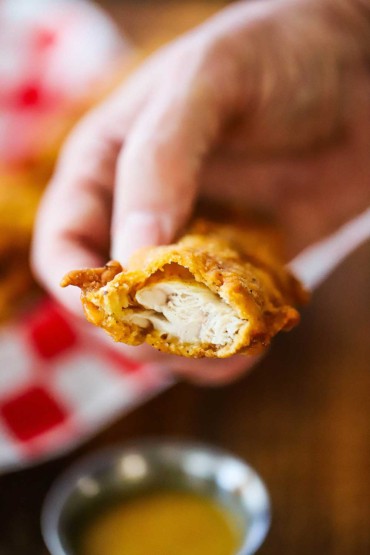
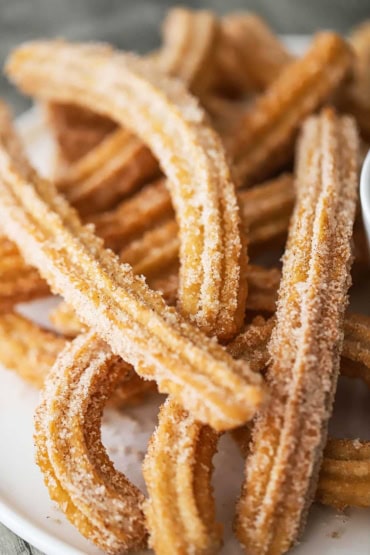
Homemade churros are definitely best when they are served warm. You want them nice and crunch on the exterior and light and chewy in the center.
If not serving soon after frying them, then keep them warm in a low-temperature oven (225°F).
You can make the chocolate sauce up to several days in advance of serving. Simply reheat in the microwave for about 10 to 15 seconds.
EXPERT TIP: We recommend allowing the churros to cool somewhat before tossing the sugar-cinnamon mixture. If the churros are still wet with hot oil, heavy clumps of the sugar mixture will stick to each stick, and the sweetness can be somewhat overpowering.
Other Fried Dough Recipes
There is just something special about homemade pastries. The following collection of pastry recipes is sure to be a hit with your family, friends, and loved ones!
Classic New Orleans Beignets
Apple Cider Doughnuts
Jelly and Custard-Filled Doughnuts
Chocolate Eclairs
Cream Cheese Apple Bars
Classic Fruit Tart
Blueberry Hand Pies
Bacon Parmesan Gougéres
Grandma’s Homemade Cinnamon Rolls
Orange Sweet Rolls
Best-Ever Monkey Bread
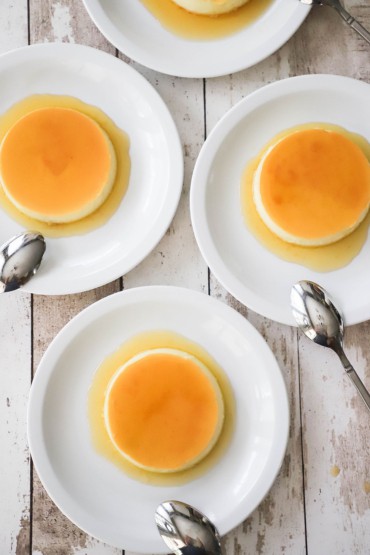
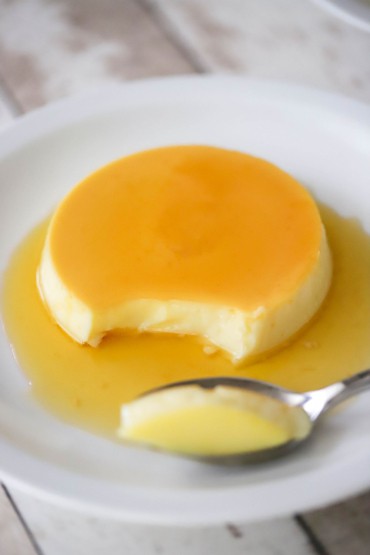
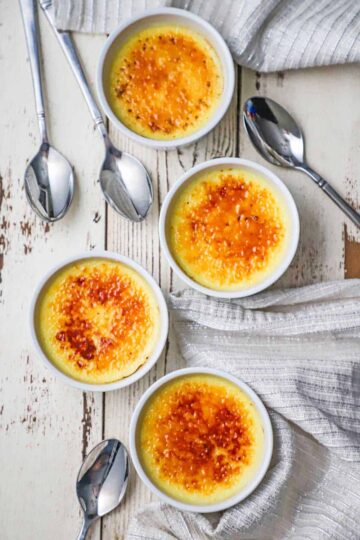
If you’re looking for another amazing Hispanic dessert, how about our Homemade Flan? It’s is incredible!
These are all amazing, without a doubt. But, in the meantime, aren’t these calling your name?
There is just something addictively delicious about these sticks of yumminess.
Be sure to utilize a sturdy pastry bag and pick up a large piping star tip to make the iconic churros shapes.
In the unlikely event that you have some leftovers, place them in a plastic baggie to keep them from drying out.
These are always a guaranteed hit with kids and adults alike. And whatever you do, don’t forget the easy homemade chocolate sauce for dunking!
Ready to make the best fried pastry in town? Go for it!
And when you do, be sure to take a photo of them, post it on Instagram, and tag @HowToFeedaLoon and hashtag #HowToFeedaLoon!

Homemade Churros
Equipment
- Pastry bags
- ⅜" star tip (for piping)
- Deep-fryer thermometer
Ingredients
- 6 tablespoon unsalted butter
- 1 teaspoon Kosher salt
- 1 teaspoon vanilla extract
- 1 stick cinnamon
- 2¼ cups water
- 2¼ cups all-purpose flour
- 1 large egg lightly beaten
- vegetable oil for frying
- 1¼ cup granulated sugar
- 2 teaspoon ground cinnamon
- chocolate sauce for serving, optional
Instructions
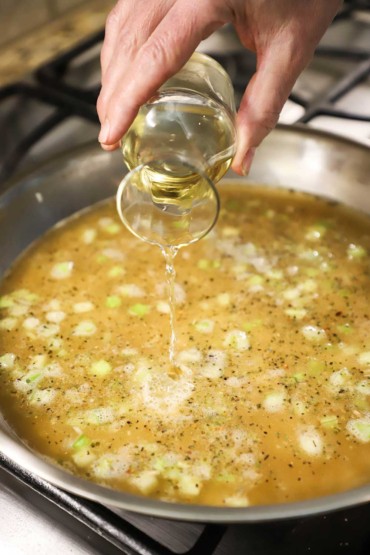
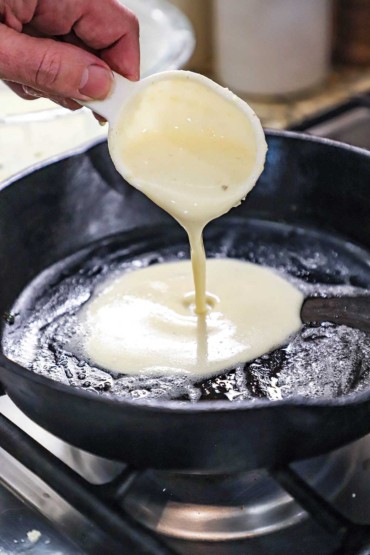
- In a large saucepan (12"), bring the butter, salt, vanilla, cinnamon, and water to a boil. Let simmer for 3 to 4 minutes.6 tablespoon unsalted butter, 1 teaspoon Kosher salt, 1 teaspoon vanilla extract, 1 stick cinnamon, 2¼ cups water
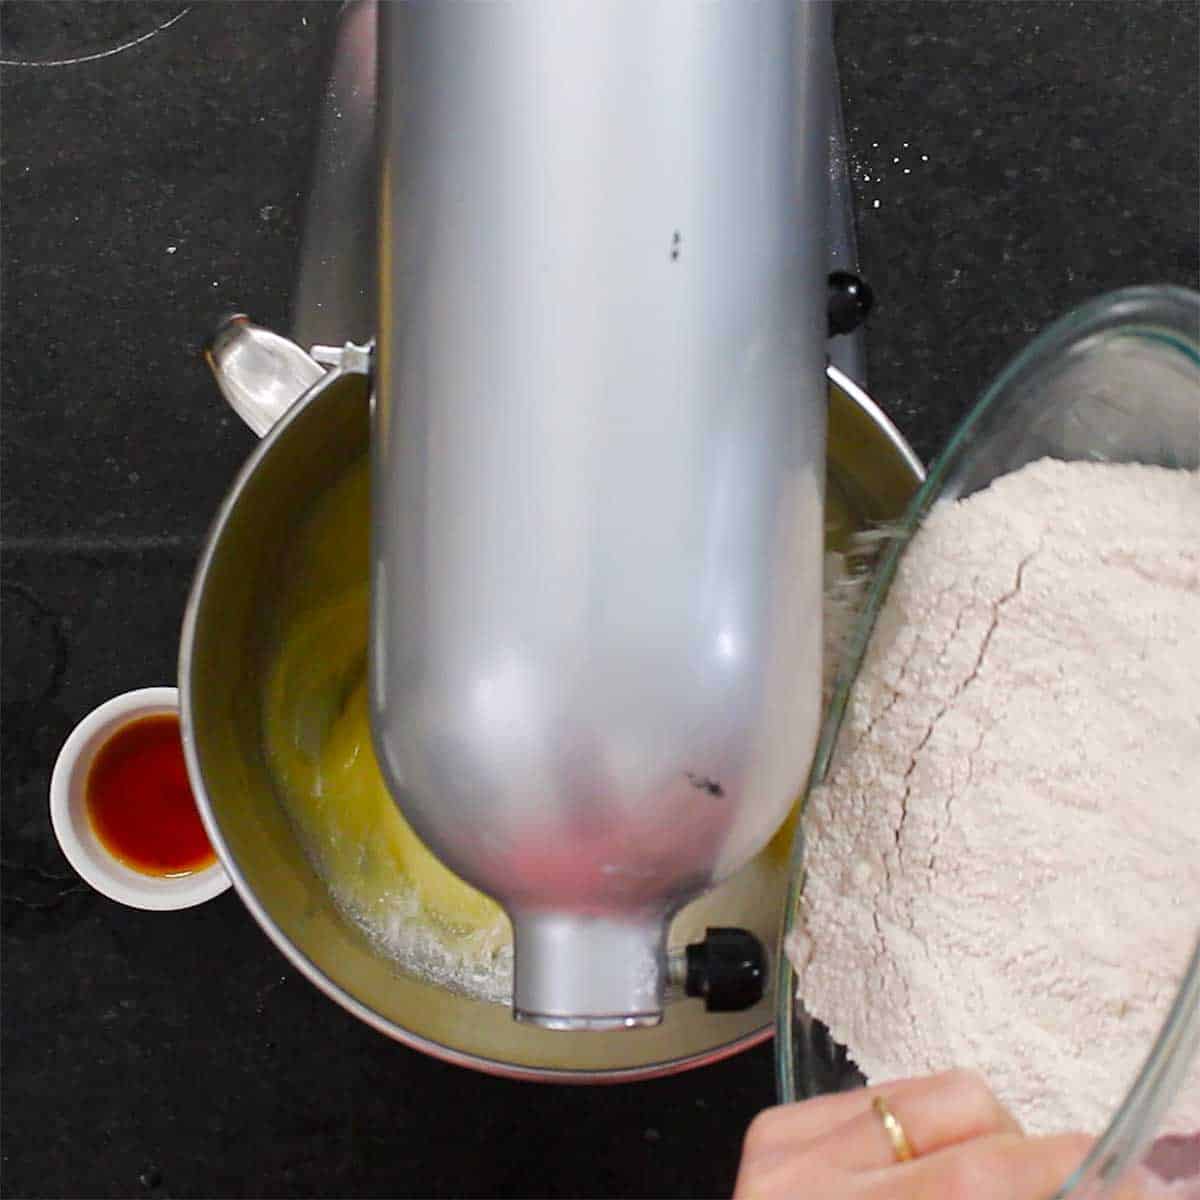
- Use a pair of tongs to remove the cinnamon stick and discard. Turn the heat to low and slowly stir in the flour. Use a wooden spatula or spoon to work the flour in the liquid, working to dissolve any clumps of flour. Cook for about 2 minutes.2¼ cups all-purpose flour
- Remove from the heat and transfer to a heat-proof bowl. Allow to cool for a few minutes.
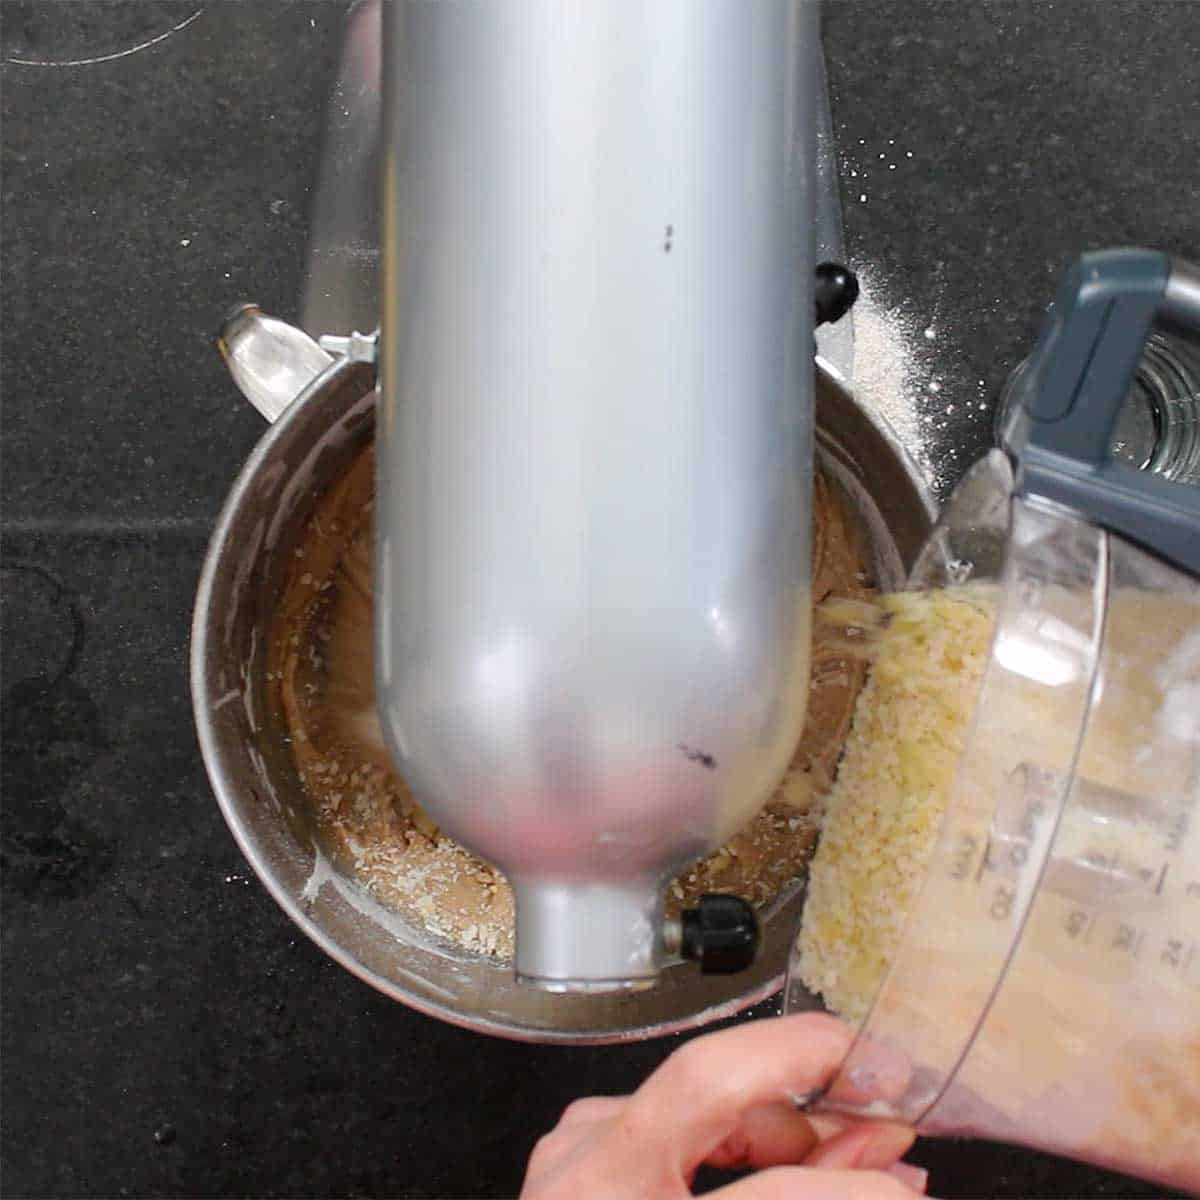
- Stir in the lightly beaten egg until completely combined and the dough is smooth. This takes a little elbow grease.1 large egg
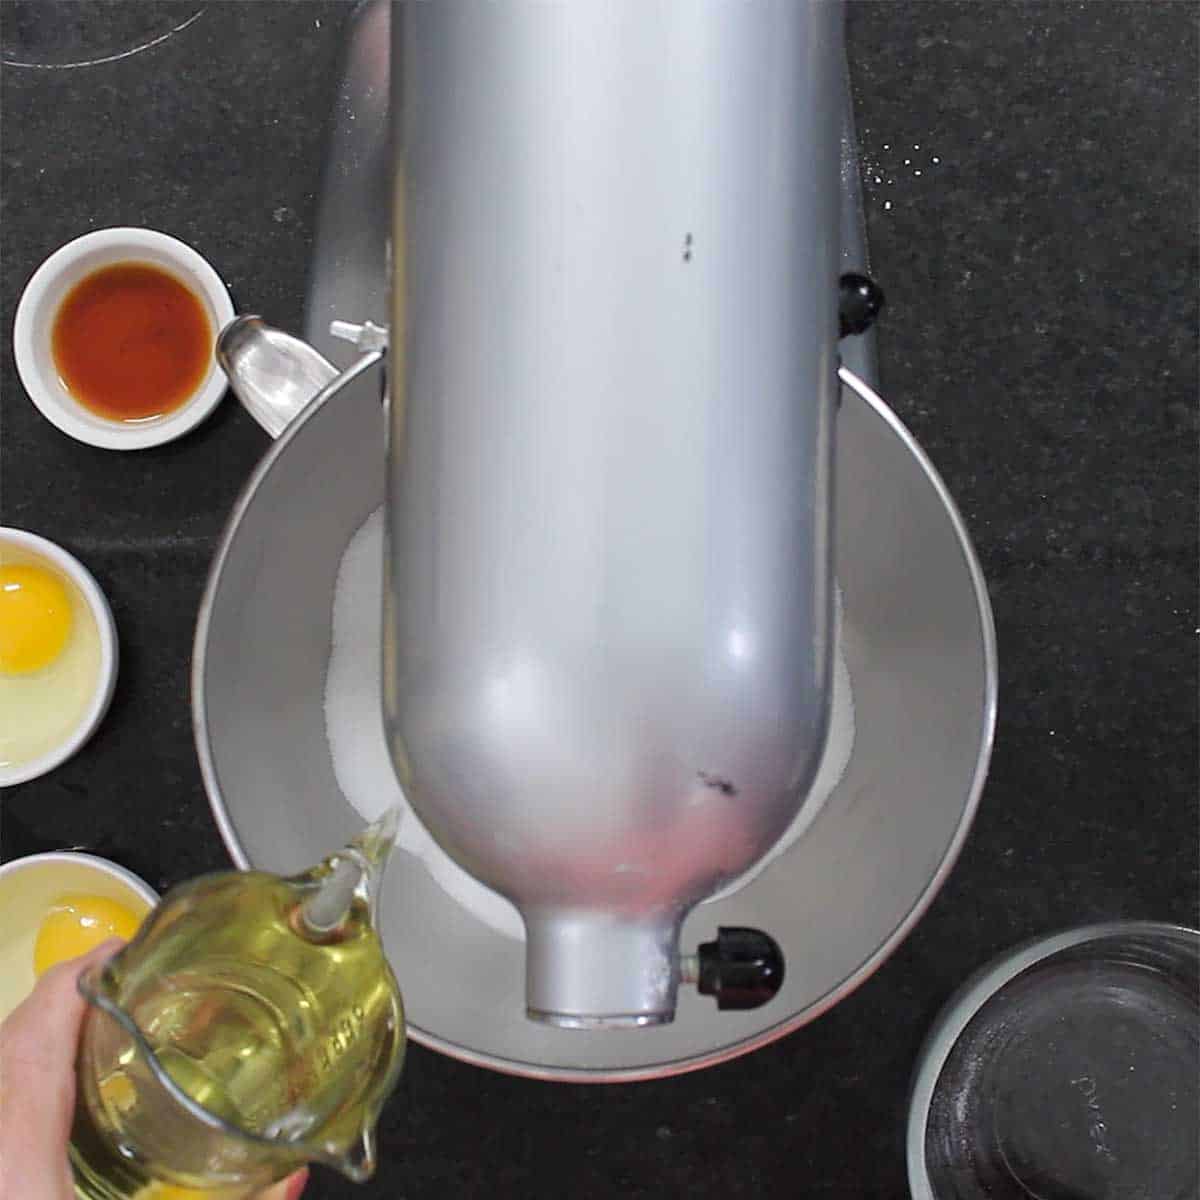
- Meanwhile, add enough oil to a cast-iron skillet or Dutch oven to about 1-inch deep. Heat the oil to 380 to 400°F.vegetable oil
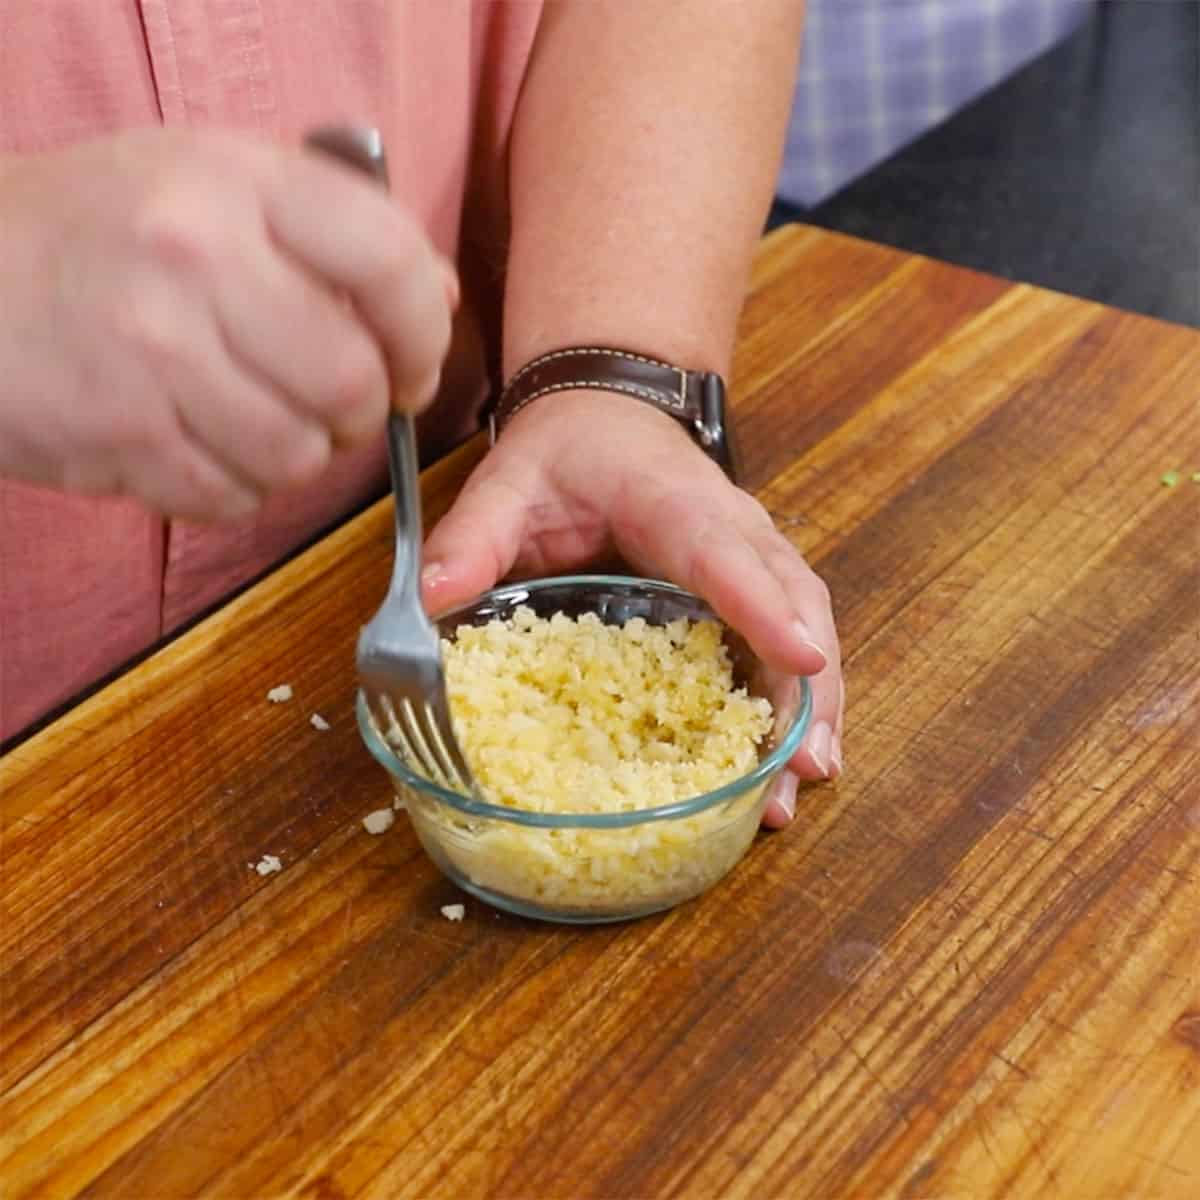
- On a large platter or plate, mix together the sugar and ground cinnamon. Set aside.1¼ cup granulated sugar, 2 teaspoon ground cinnamon
- Add the dough to a pastry bag fitted with a star tip.
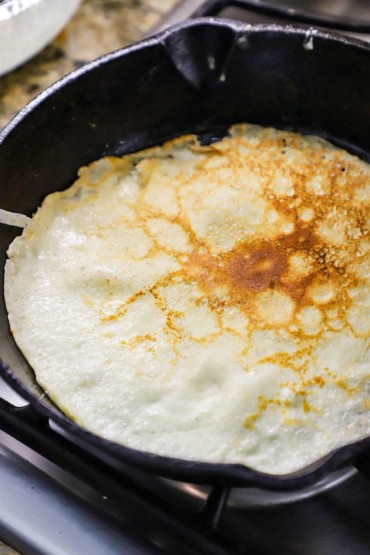
- Working in batches, pipe about 6 inches of the dough into the hot oil. Use metal tongs or a slotted spoon to move the churros around in the oil. Try to keep the churros from sticking to each other. Fry them for 2 to 3 minutes, or until golden brown, flipping occasionally. Remove from the oil onto a plate or cutting board lined with paper towels. Repeat with the remaining dough.
- Toss the churros in the sugar-cinnamon mixture and serve at once with the chocolate dipping sauce on the side.chocolate sauce