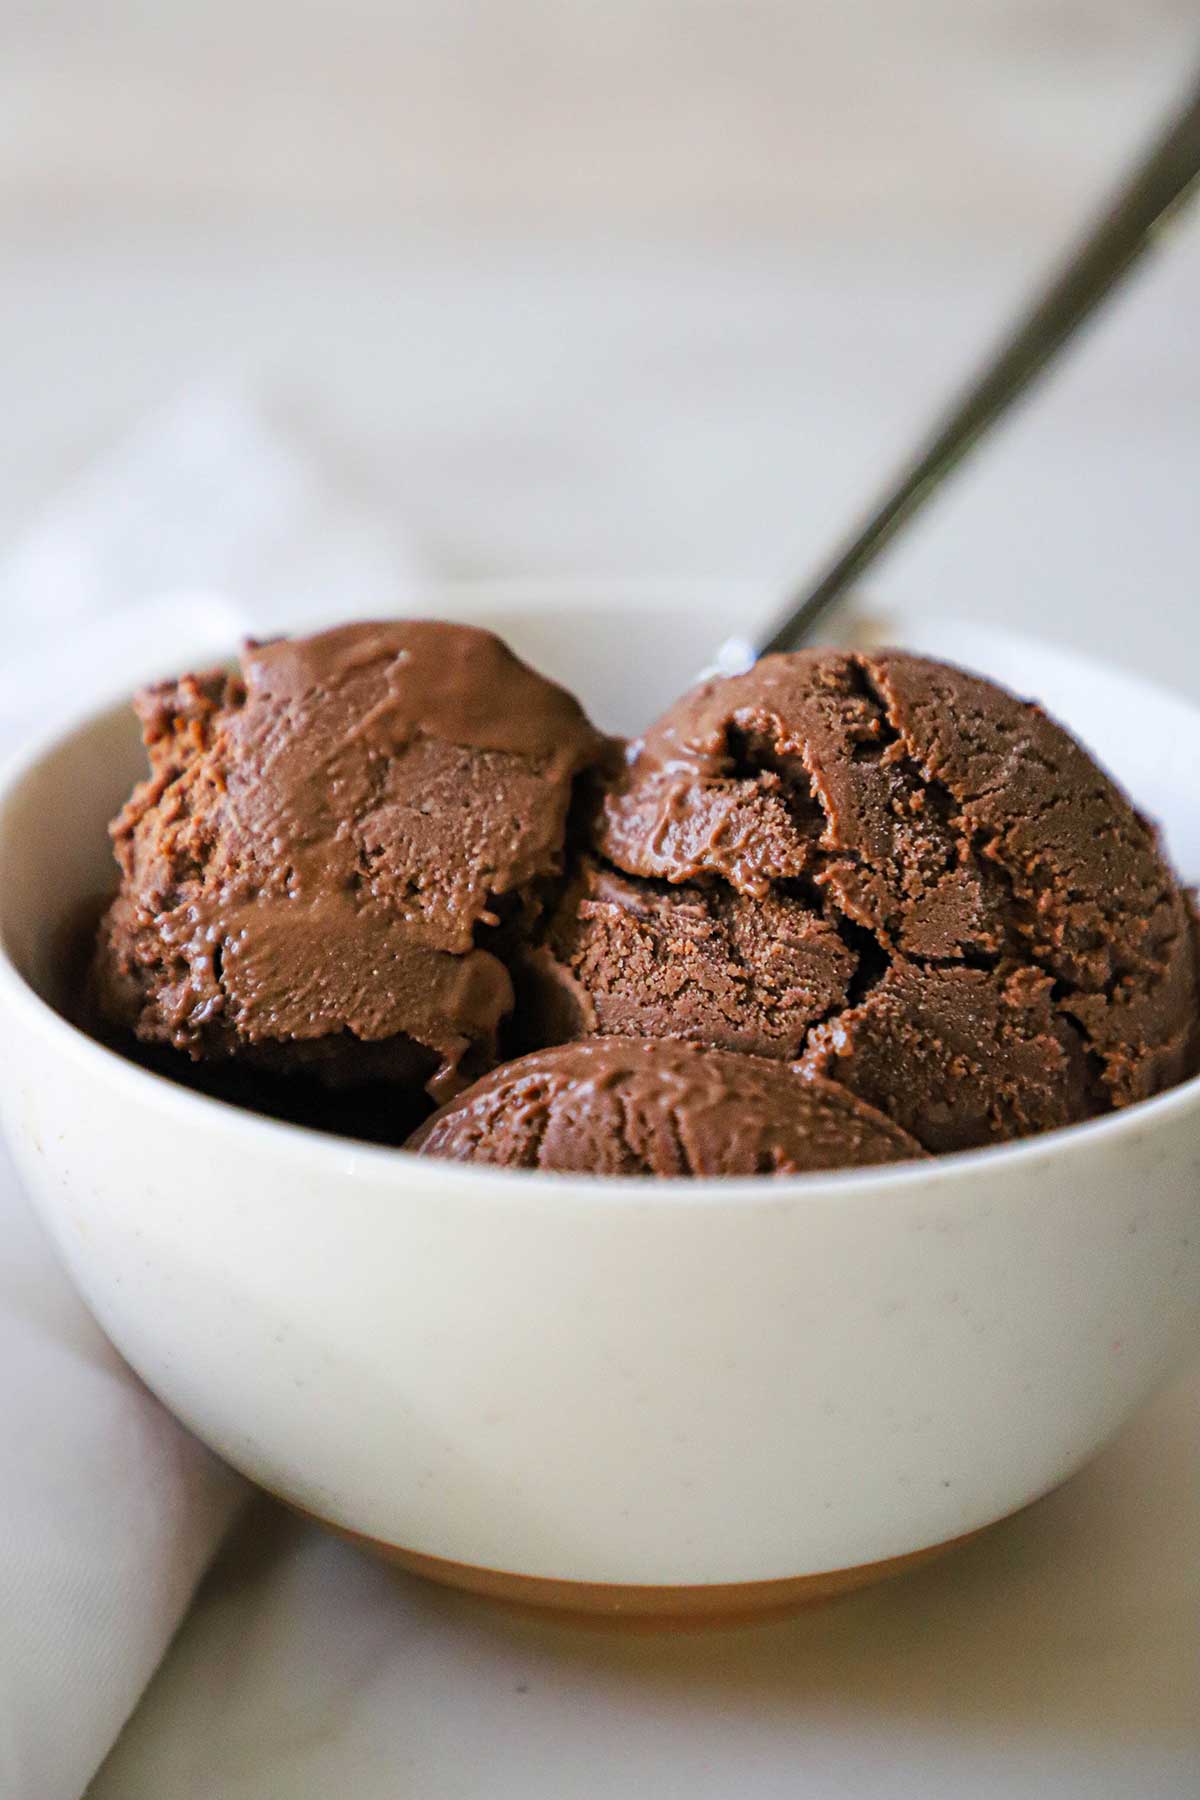
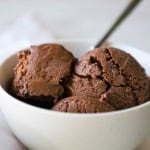
Homemade Chocolate Ice Cream is a rich and creamy treat that’s perfect for chocolate lovers craving something indulgent. Made with simple ingredients and a smooth texture, it’s even more decadent when topped with an easy, homemade chocolate sauce that intensifies the chocolate flavor with every bite.
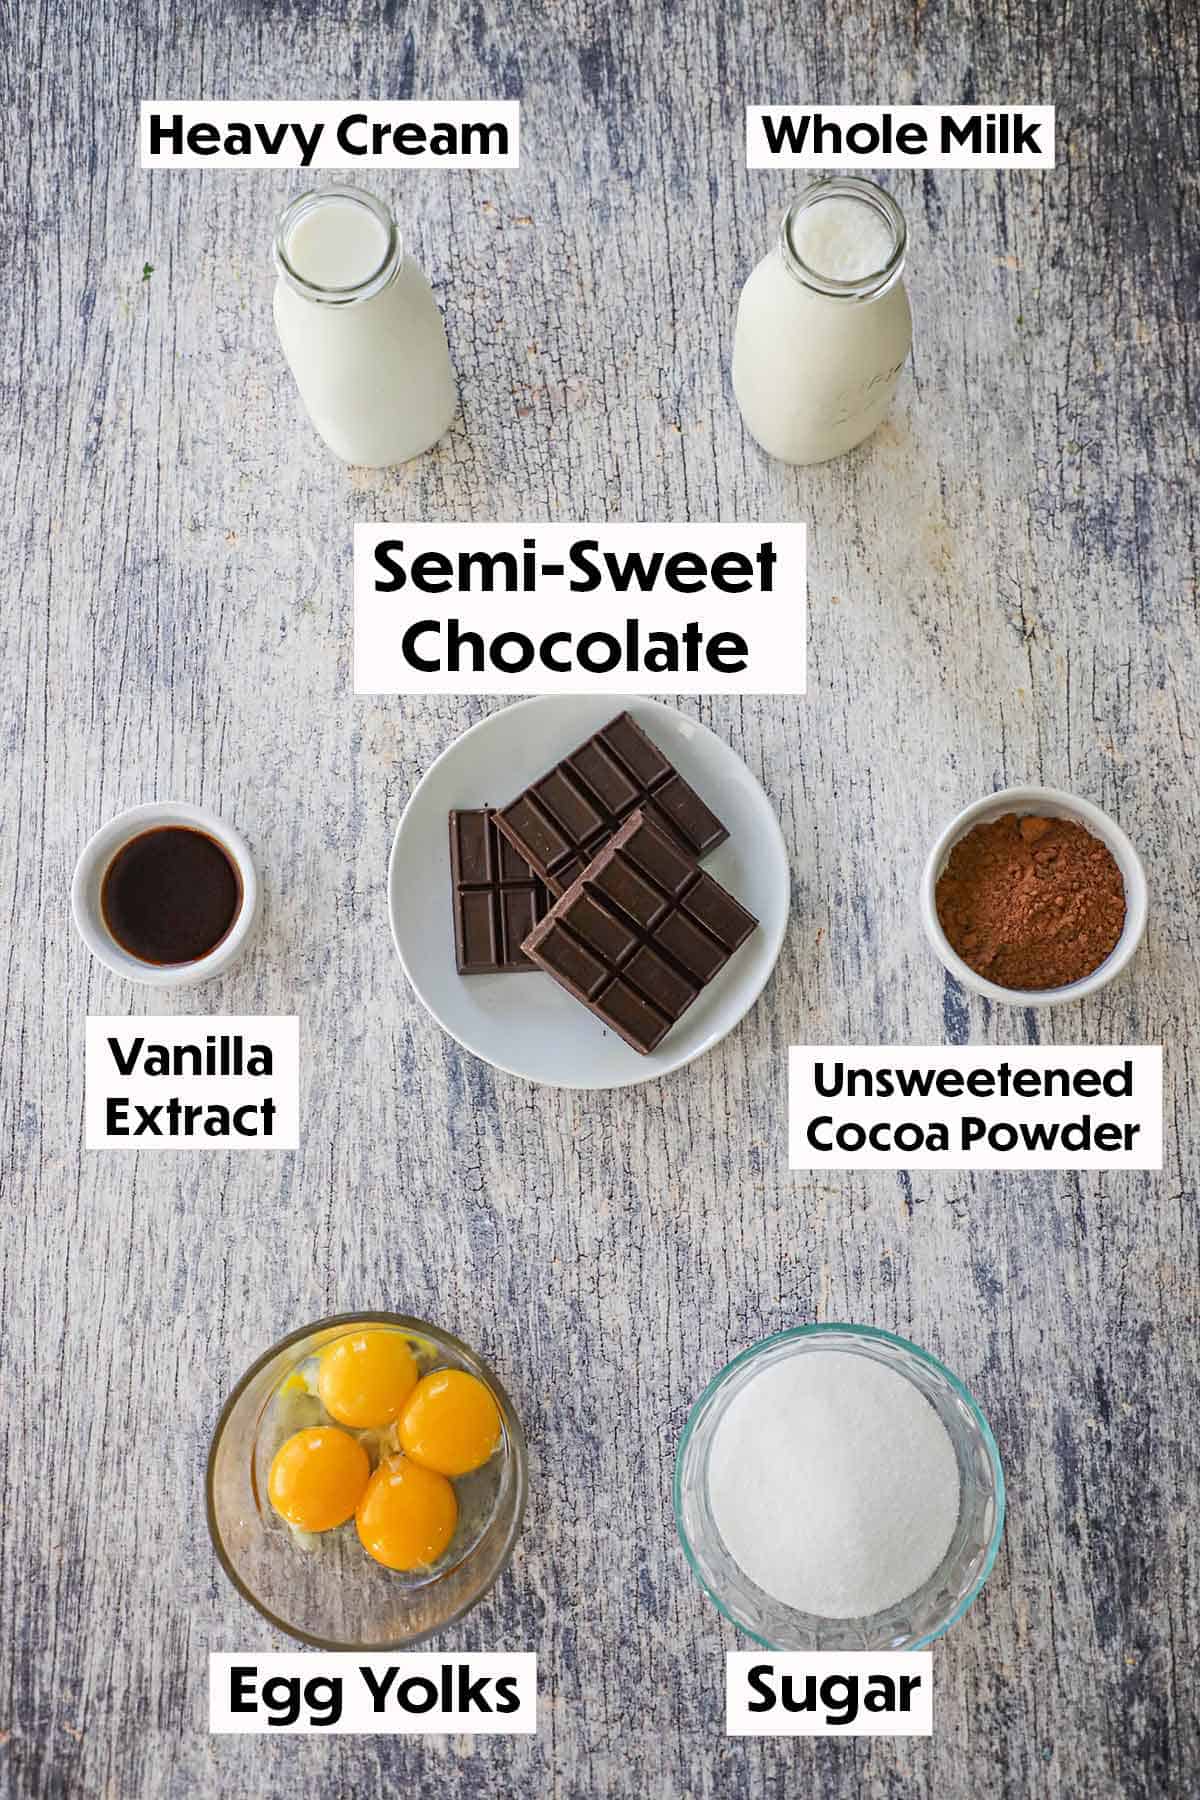
🍫 The Ingredients
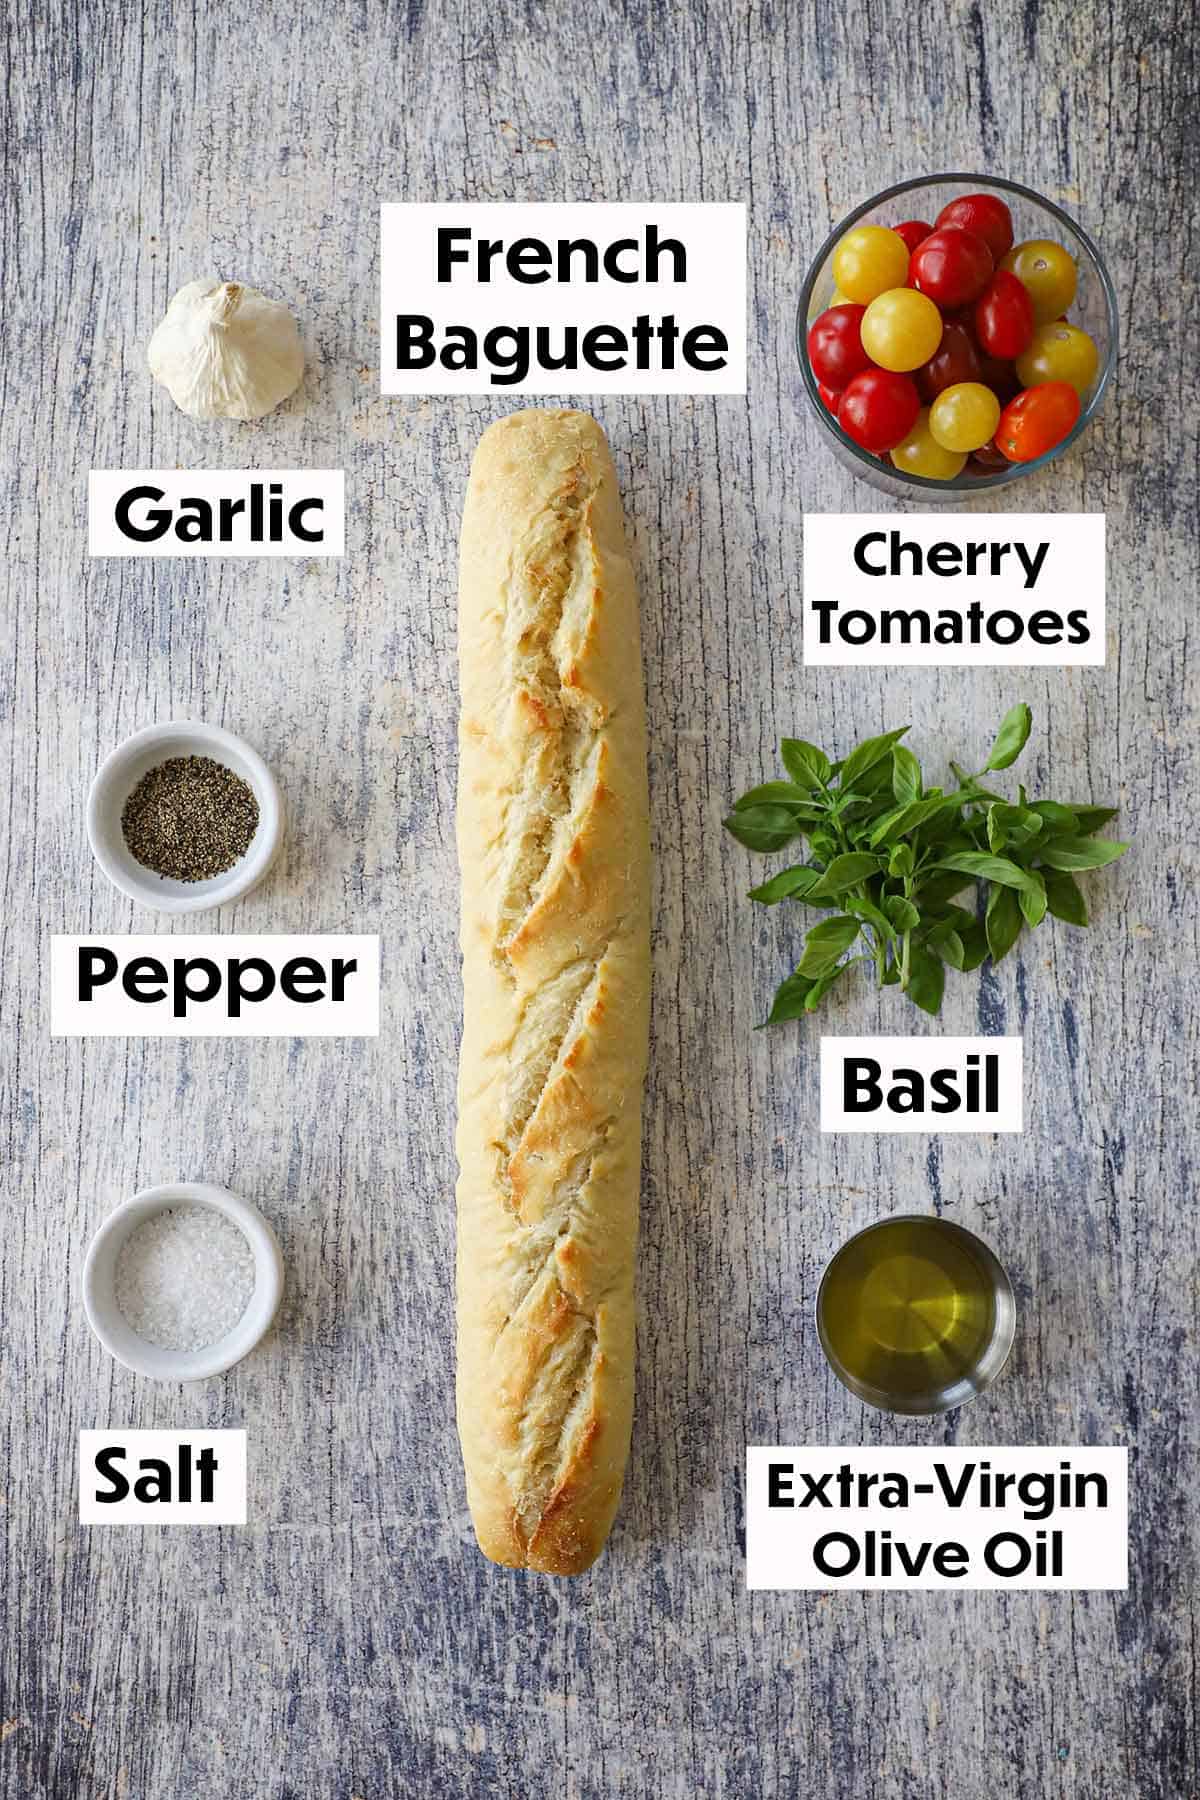
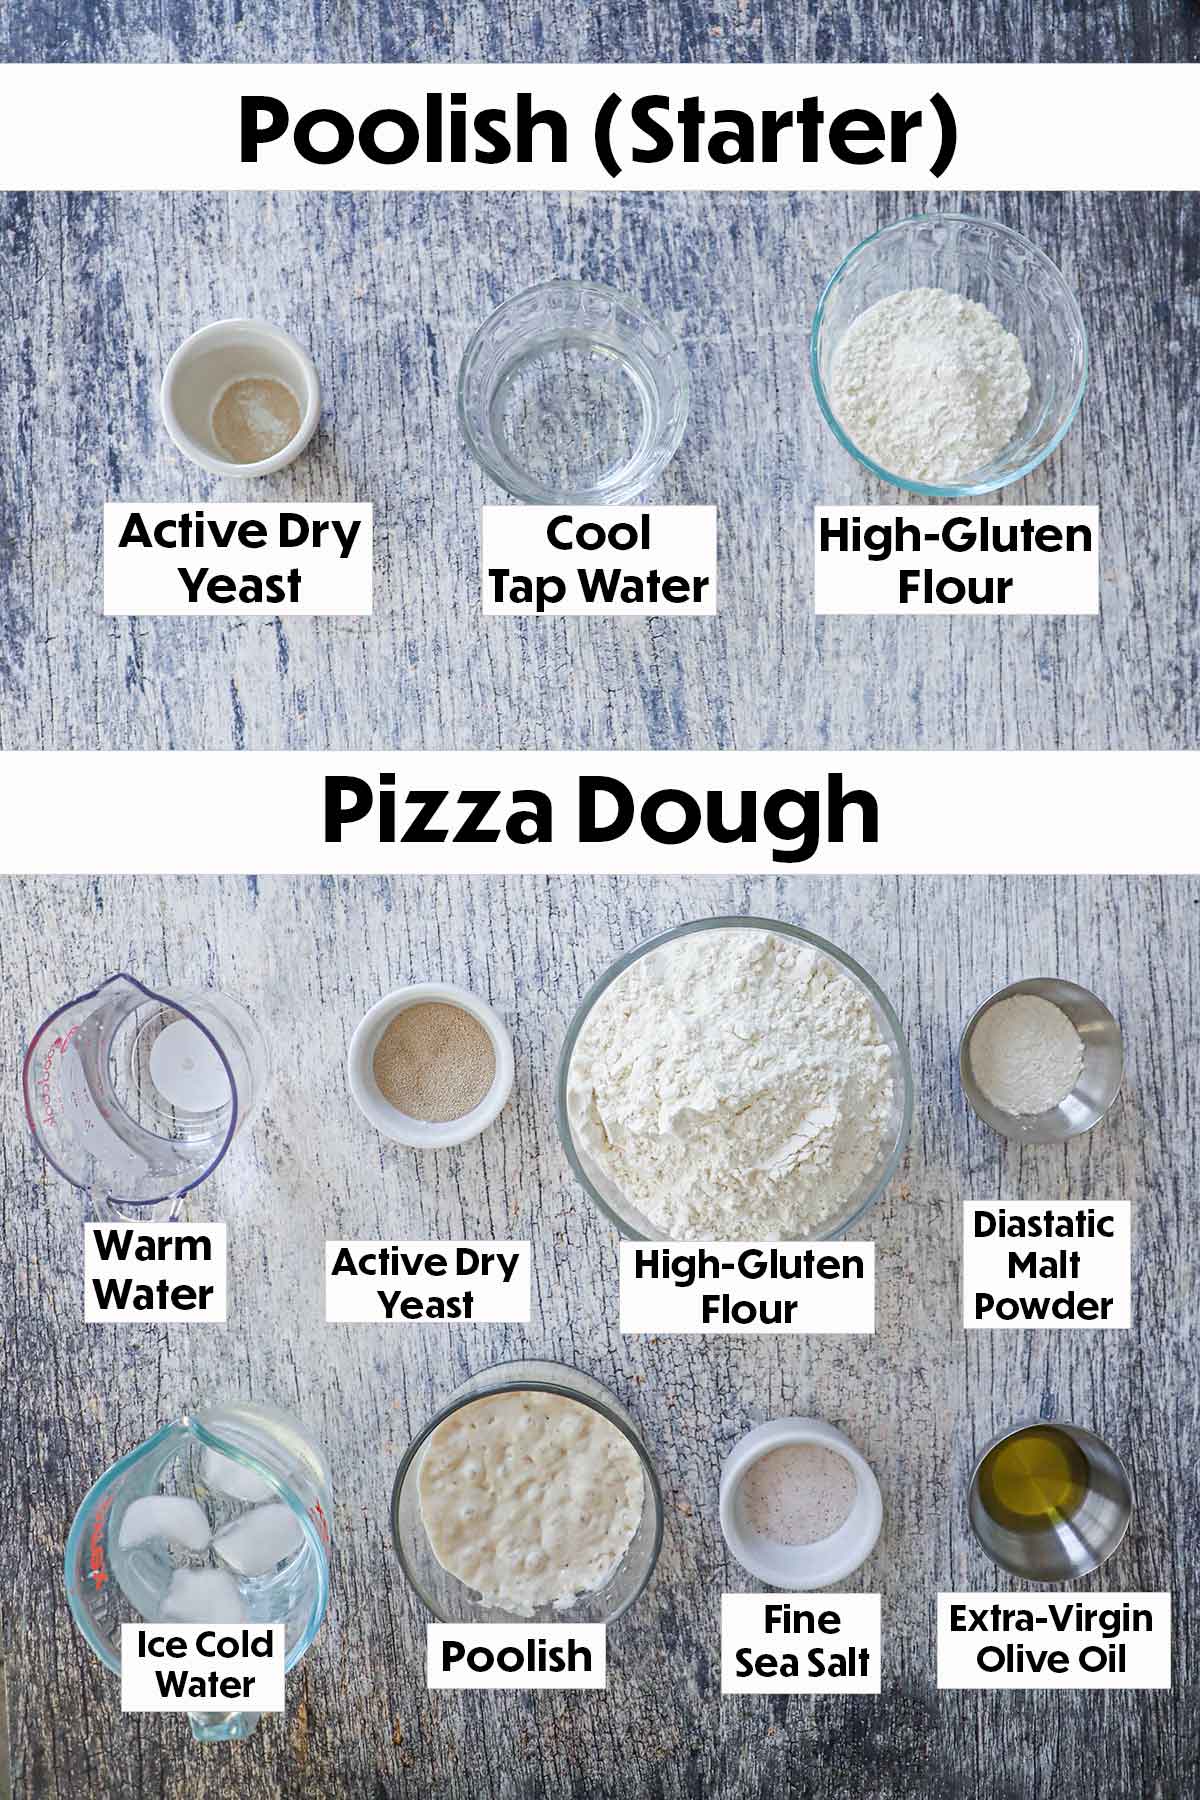
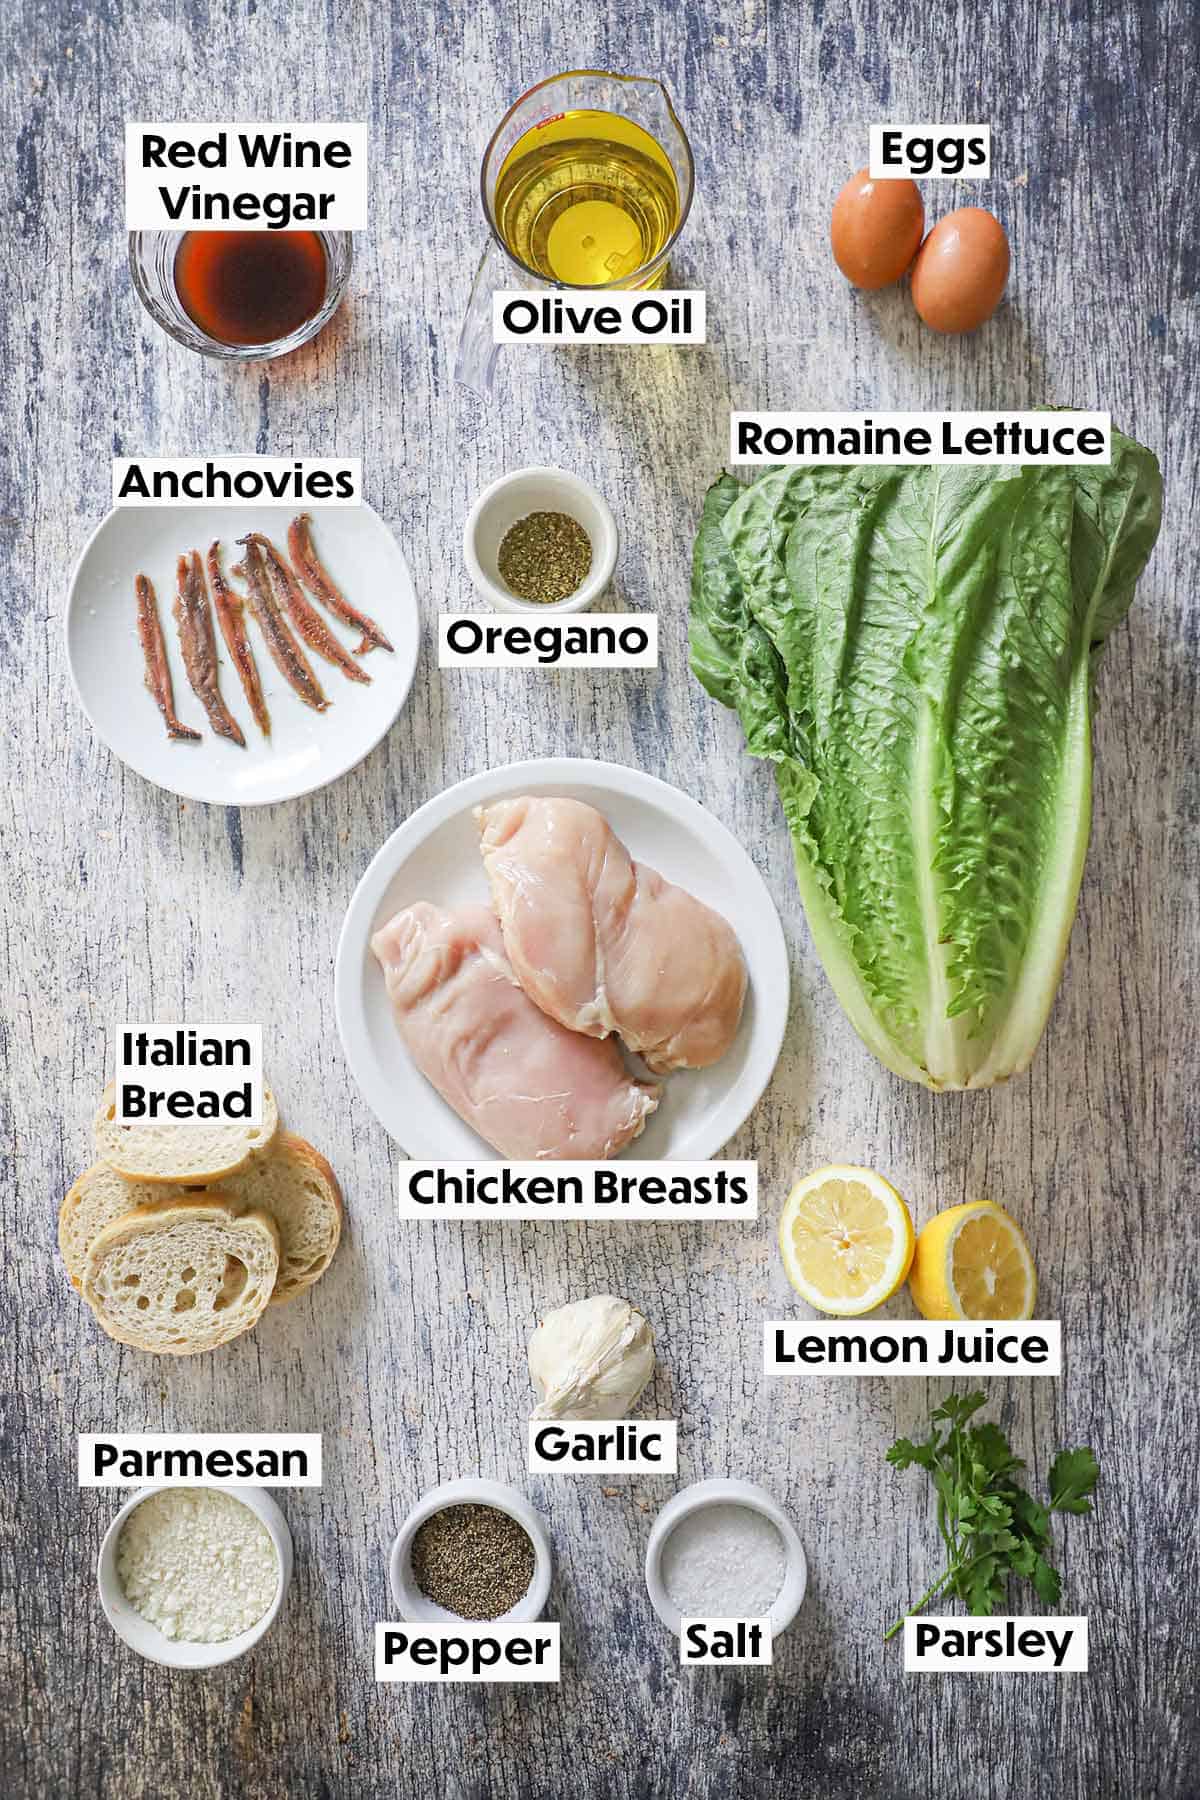
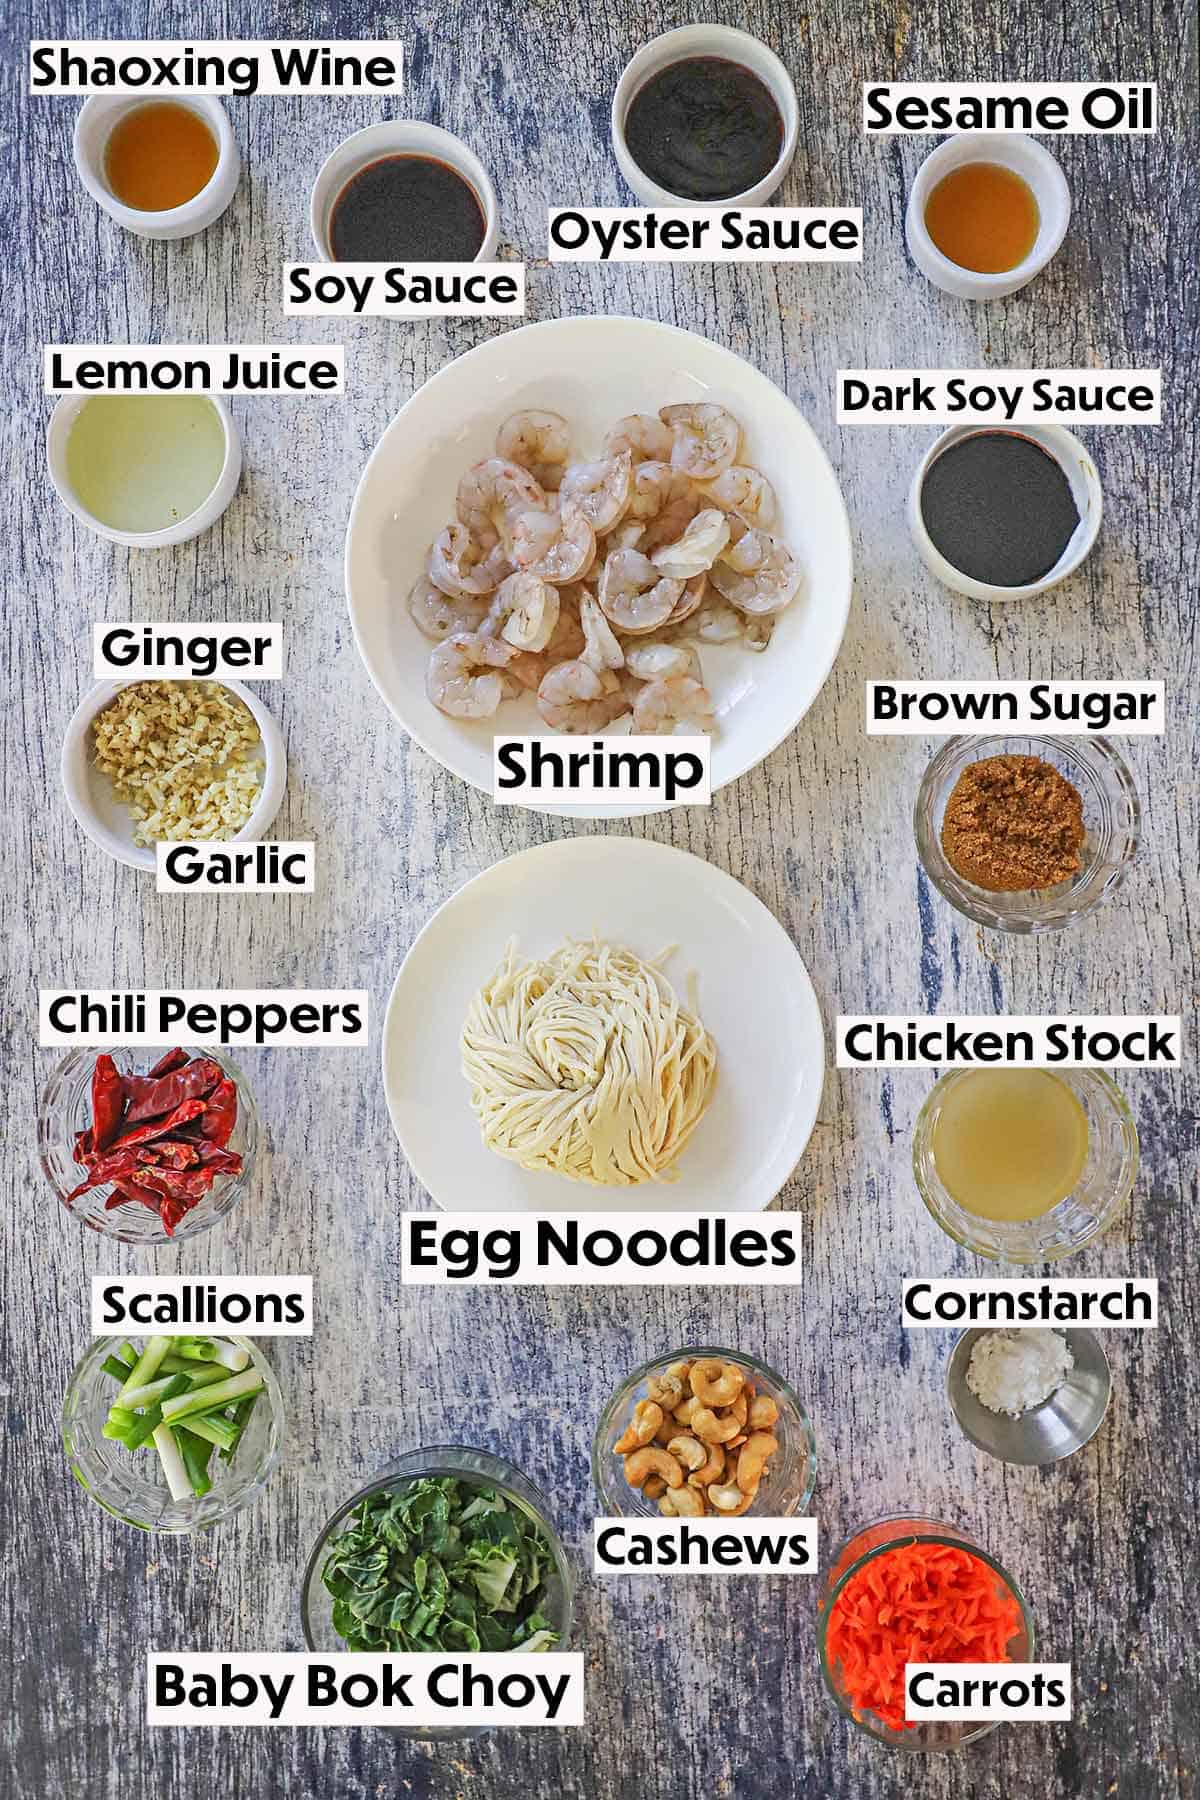
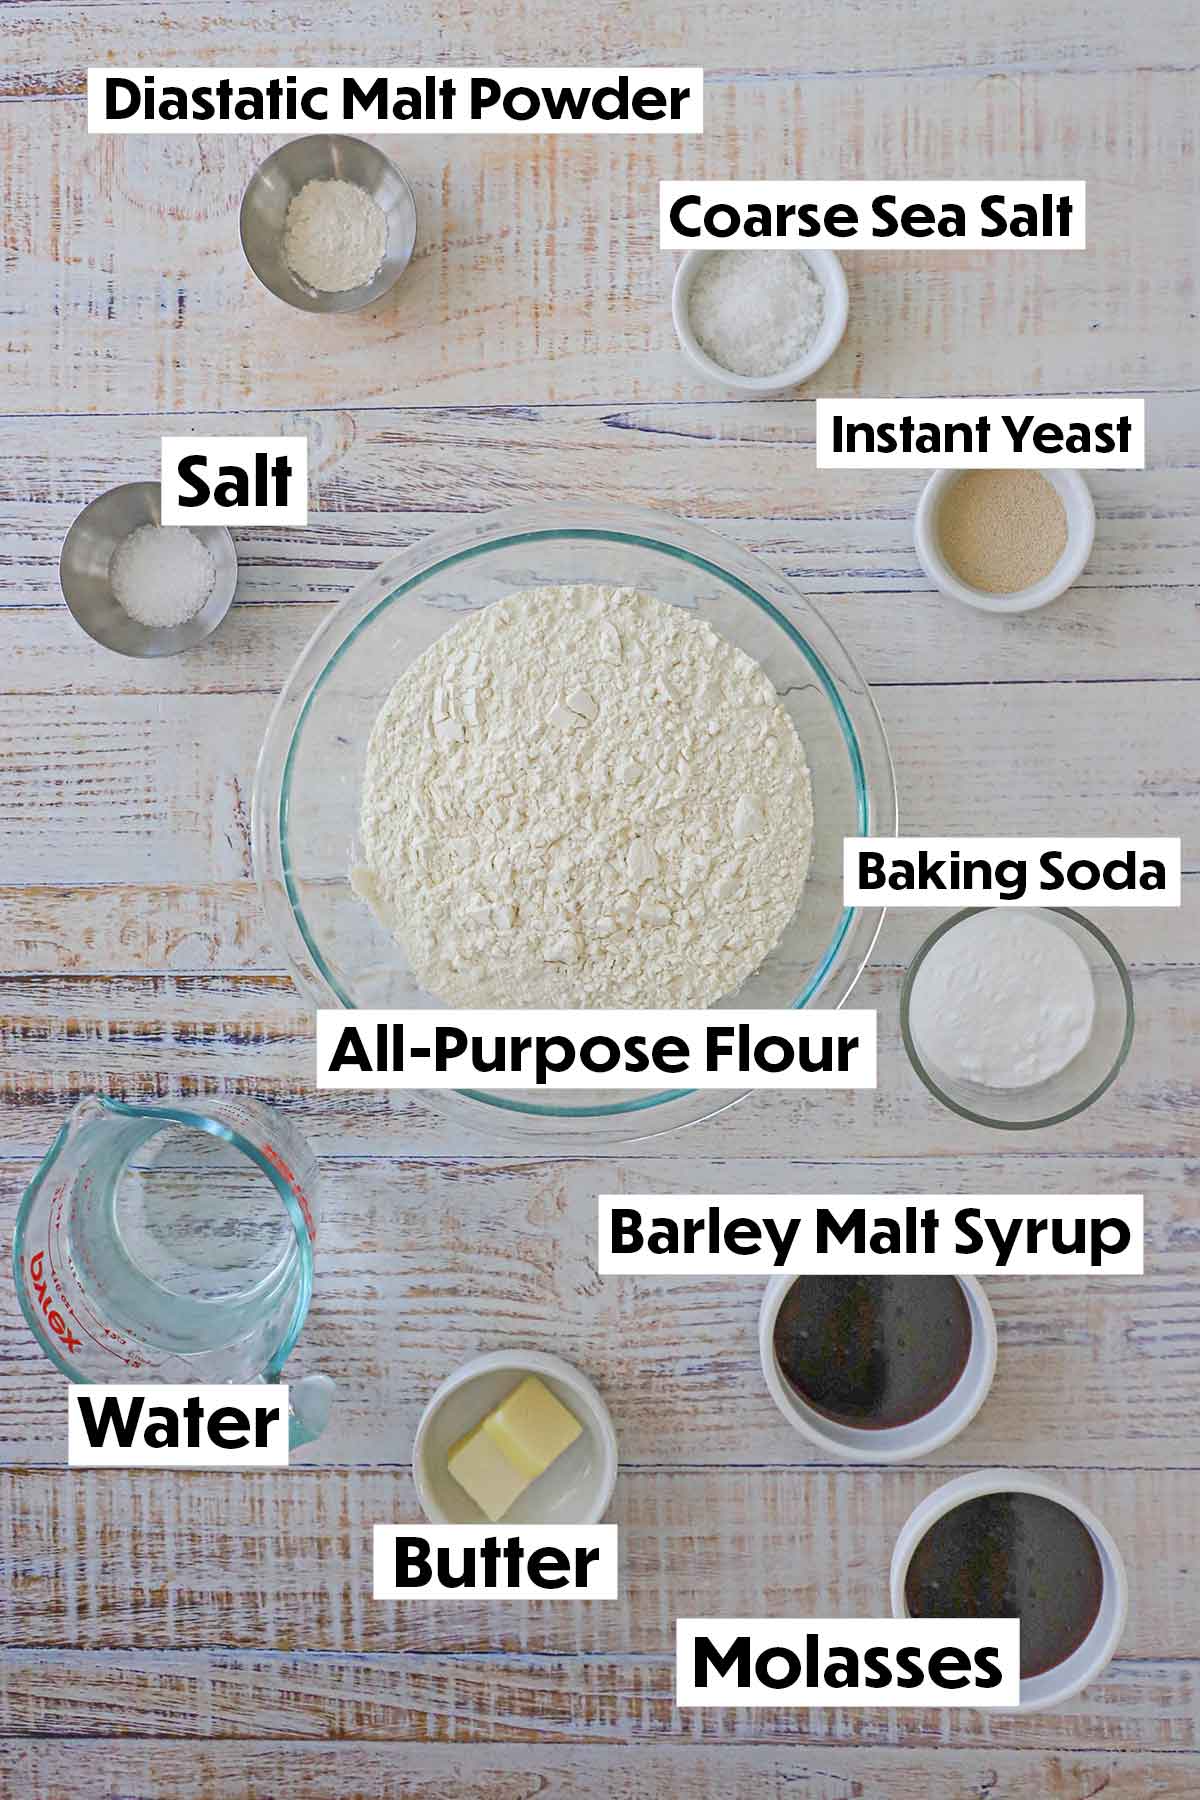
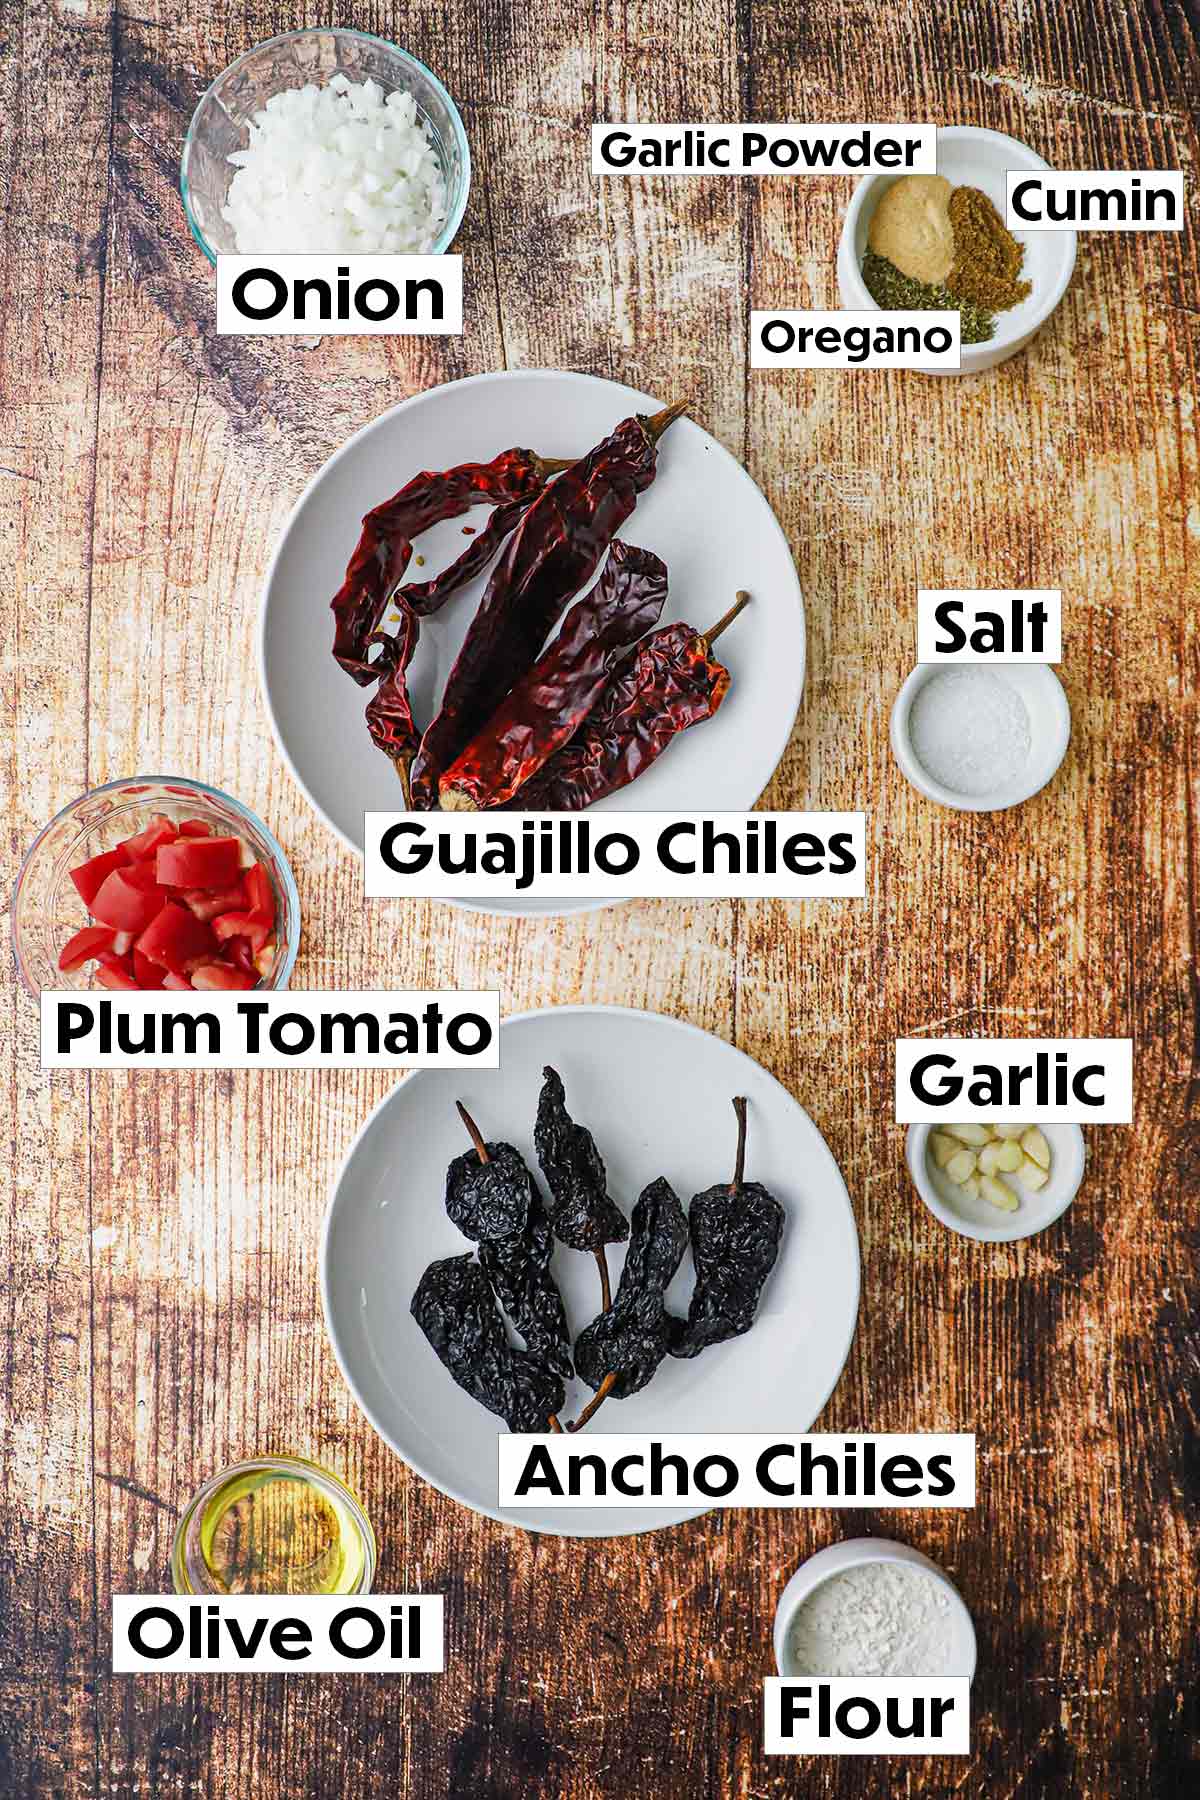
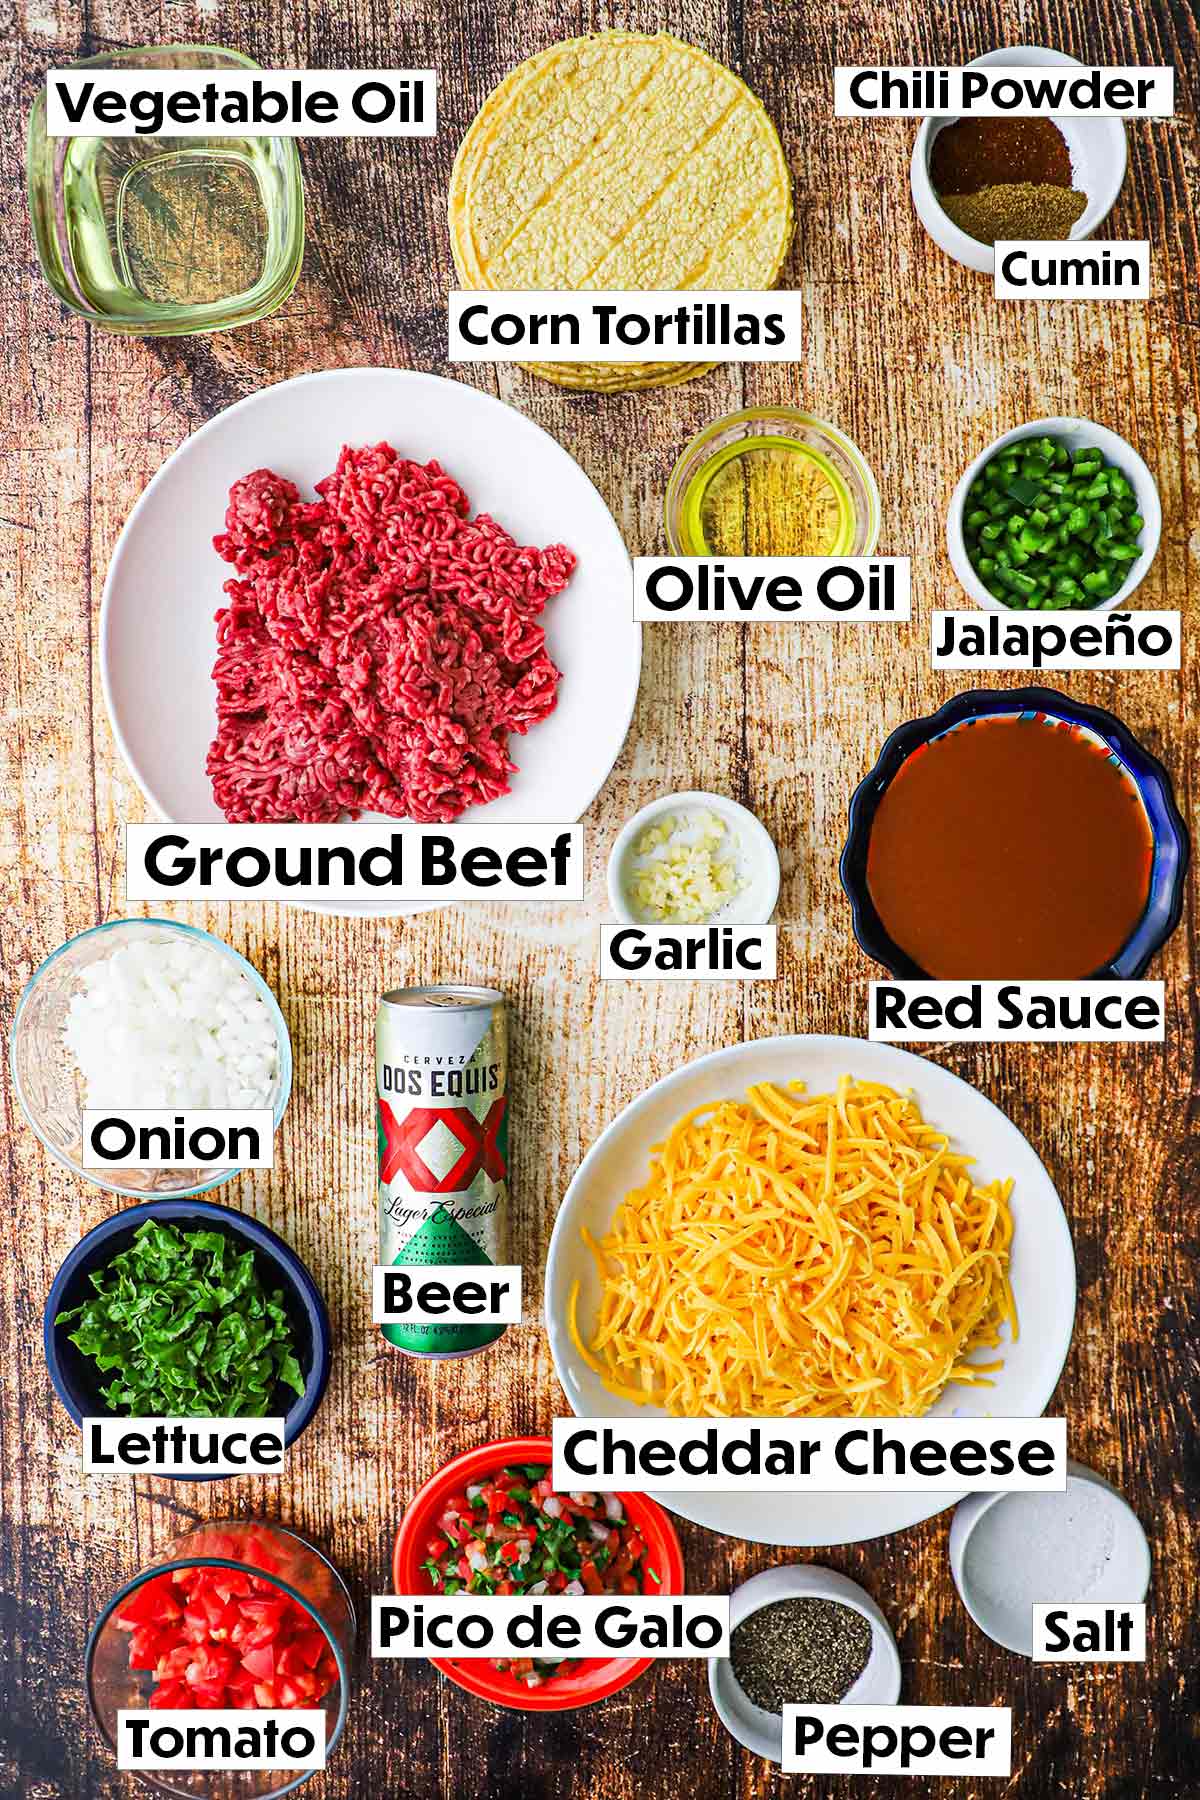
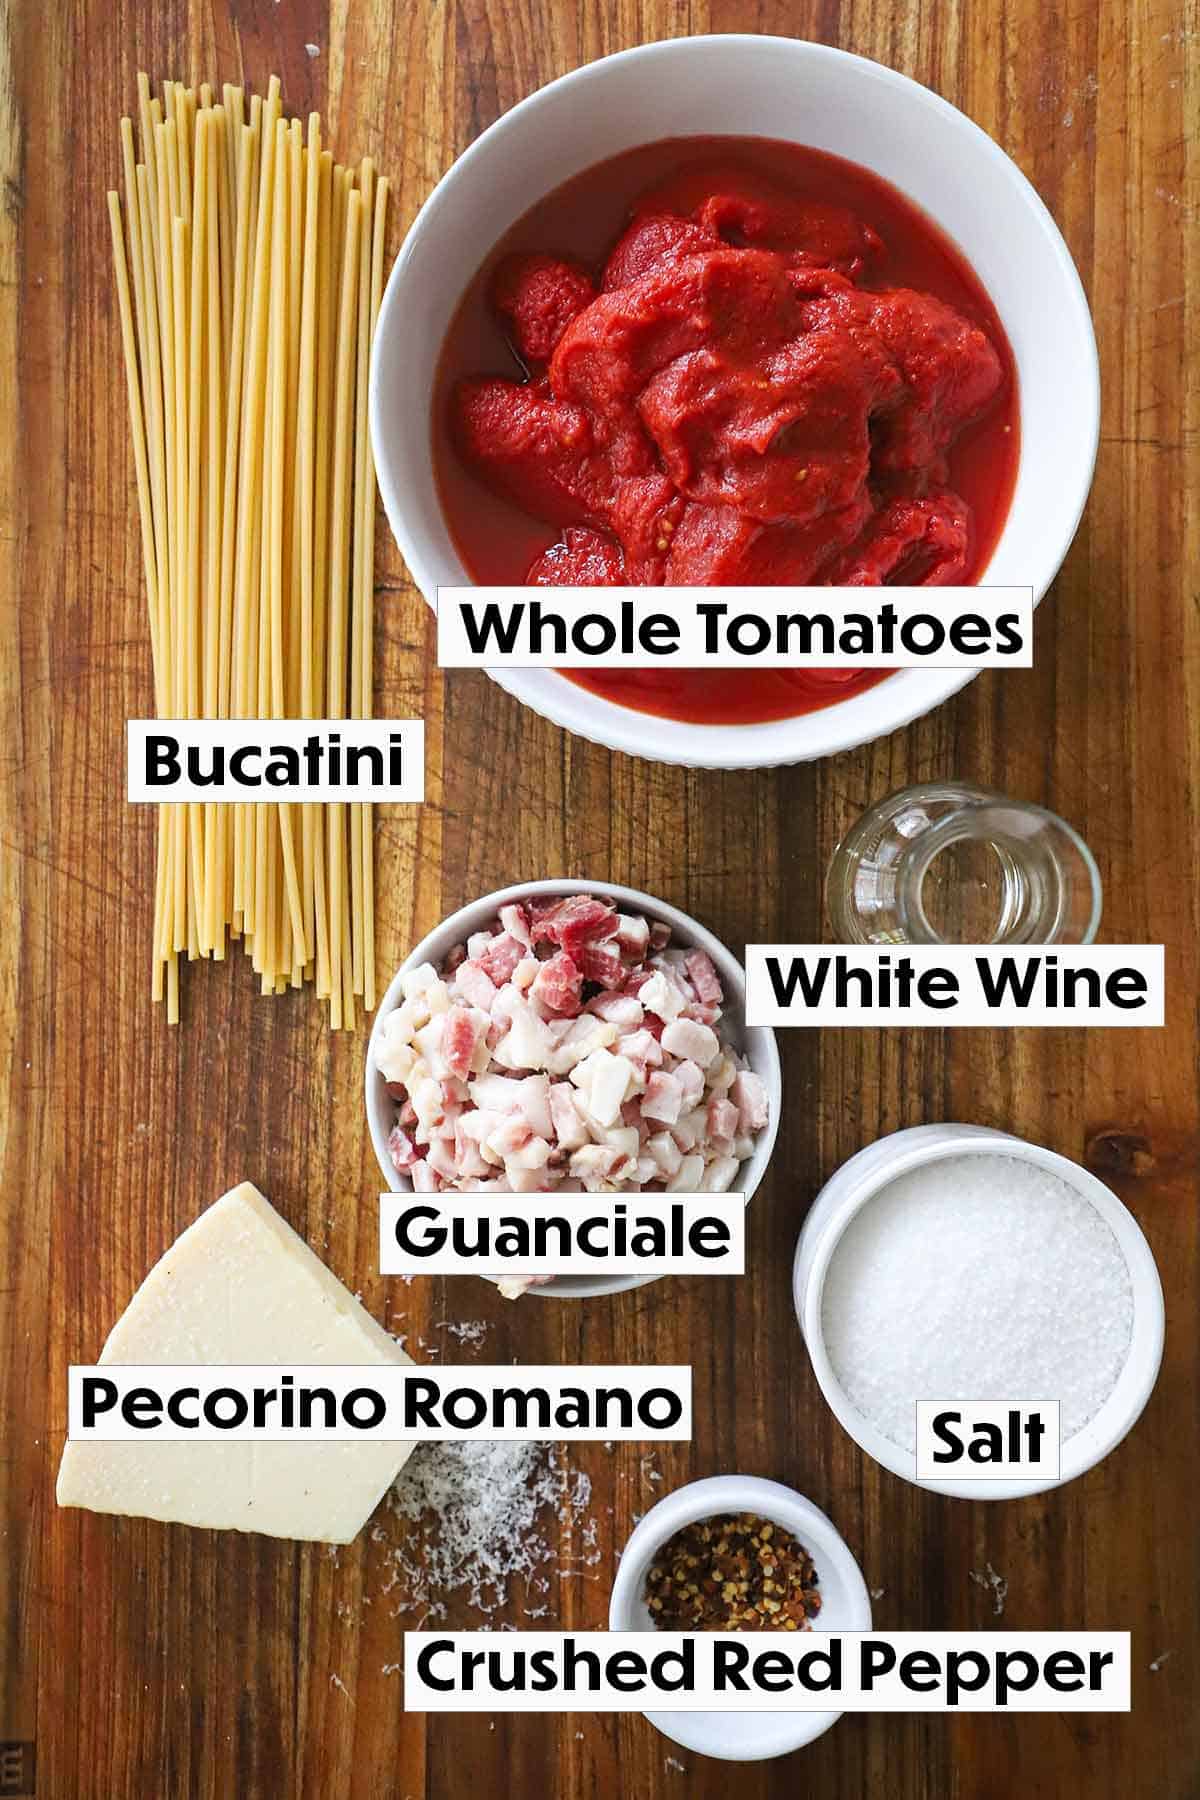
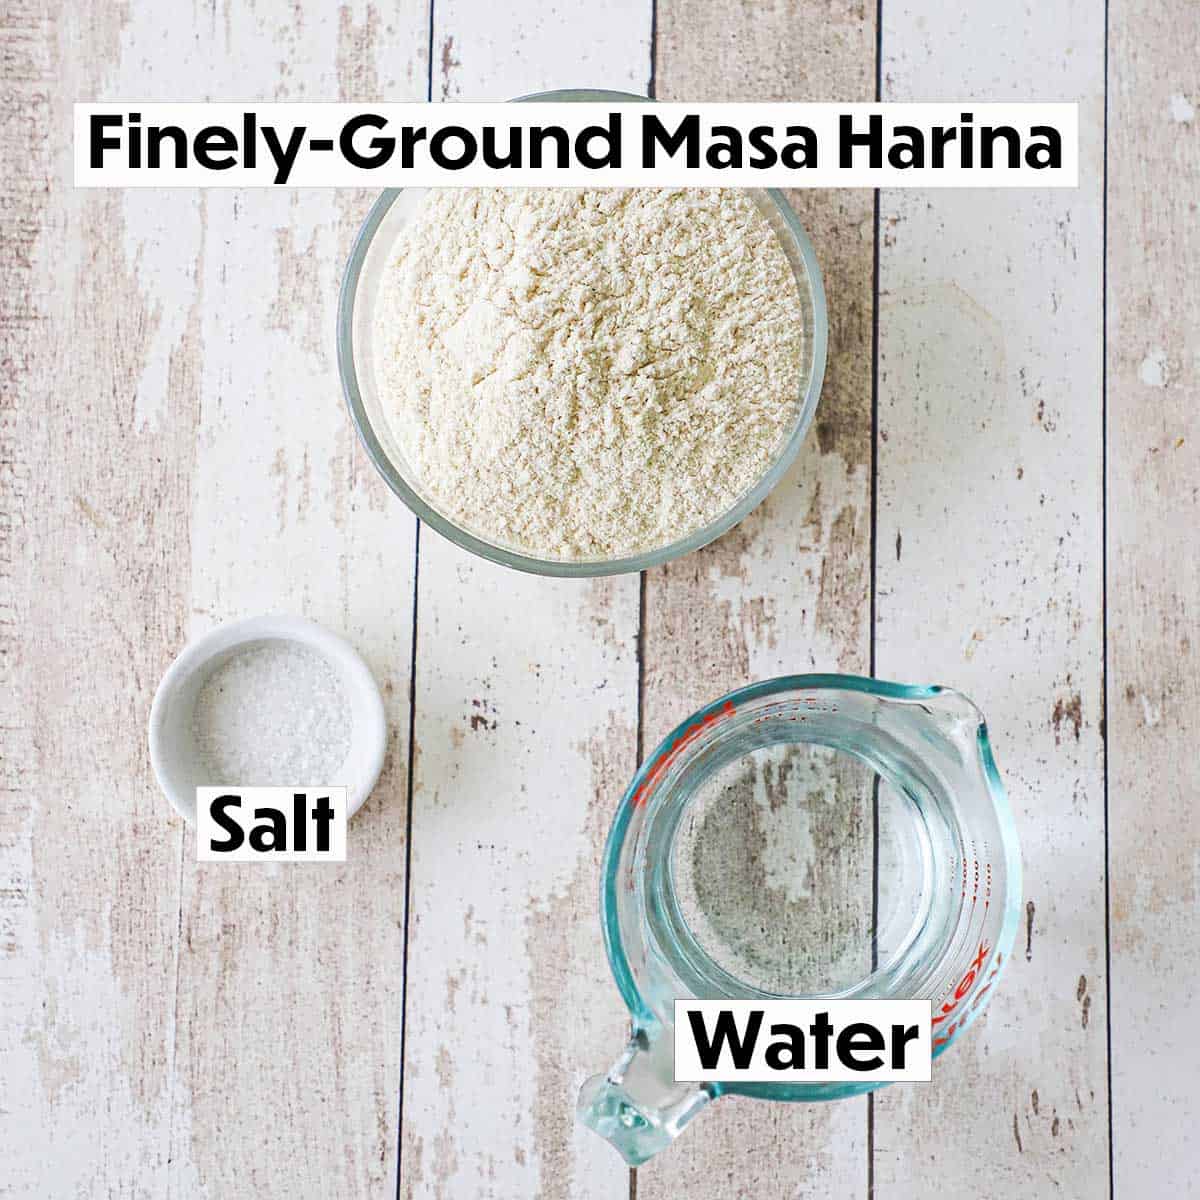
A handful of quality ingredients come together to create a delicious chocolate ice cream with rich flavor and a smooth, creamy texture. Find ingredient notes (including substitutions and variations) below.
🥛 Substitutions and Variations
- Cream – Whole milk and heavy cream work well with this ice cream. However, you can substitute half and half for either of them. We don’t recommend low-fat or skim milk.
- Chocolate – Go with either unsweetened regular cocoa powder or Dutch-process cocoa powder. For the chocolate, use either bittersweet chocolate or semisweet chocolate.
- Additional ingredients – For even more chocolate flavor, add milk chocolate, dark chocolate, or white chocolate chips during the last few minutes of churning. You could also swirl in the homemade chocolate sauce as the cream is churning.
See the recipe card (with video) below for a full list of ingredients and measurements.
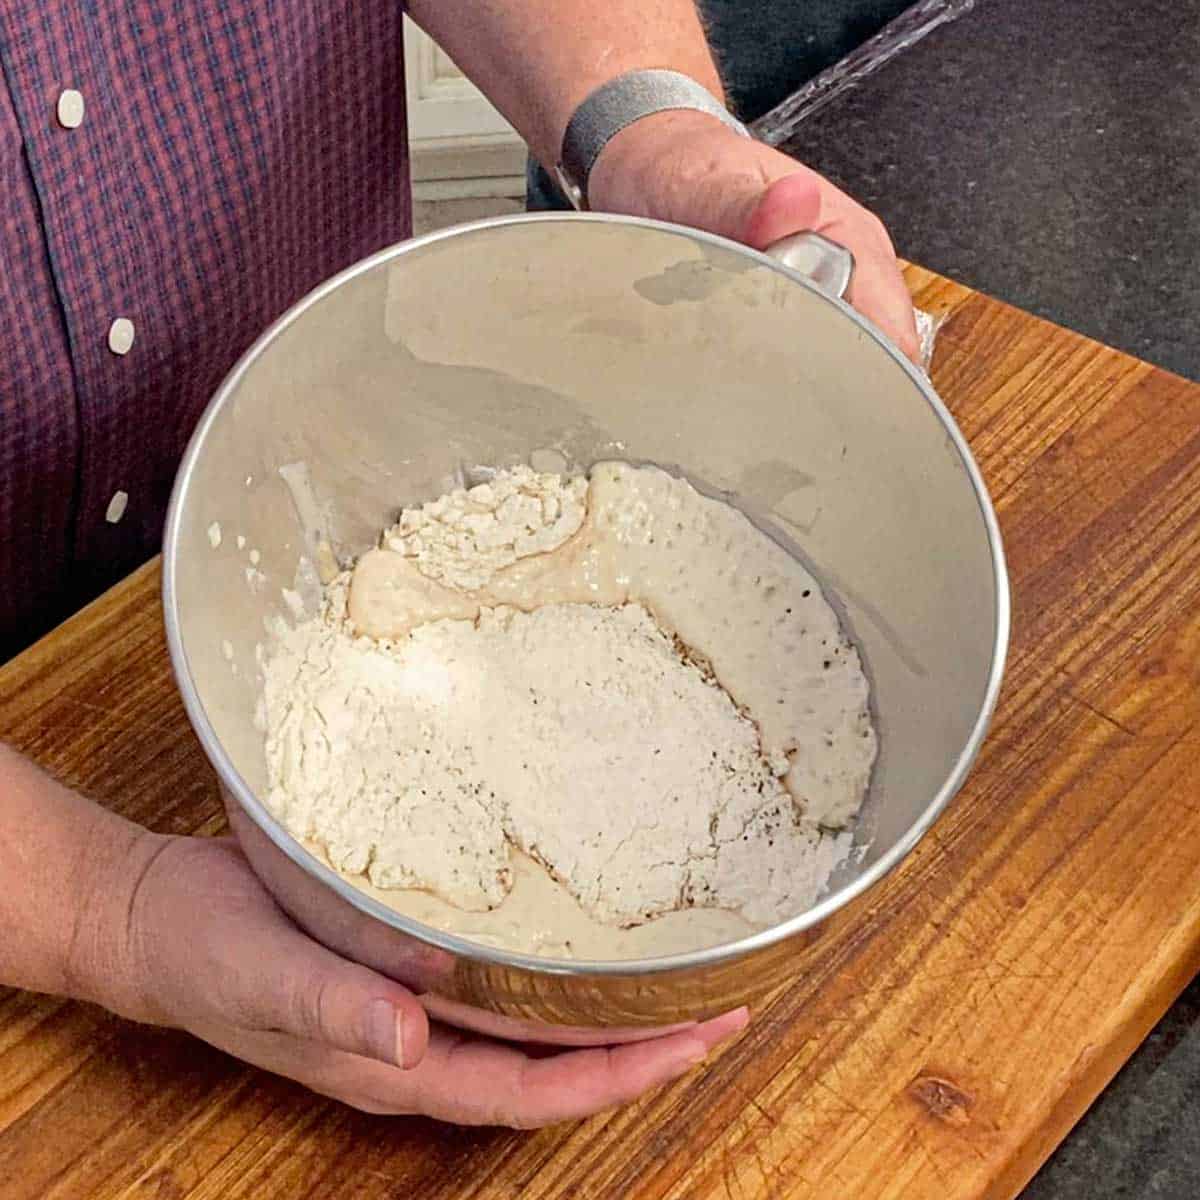
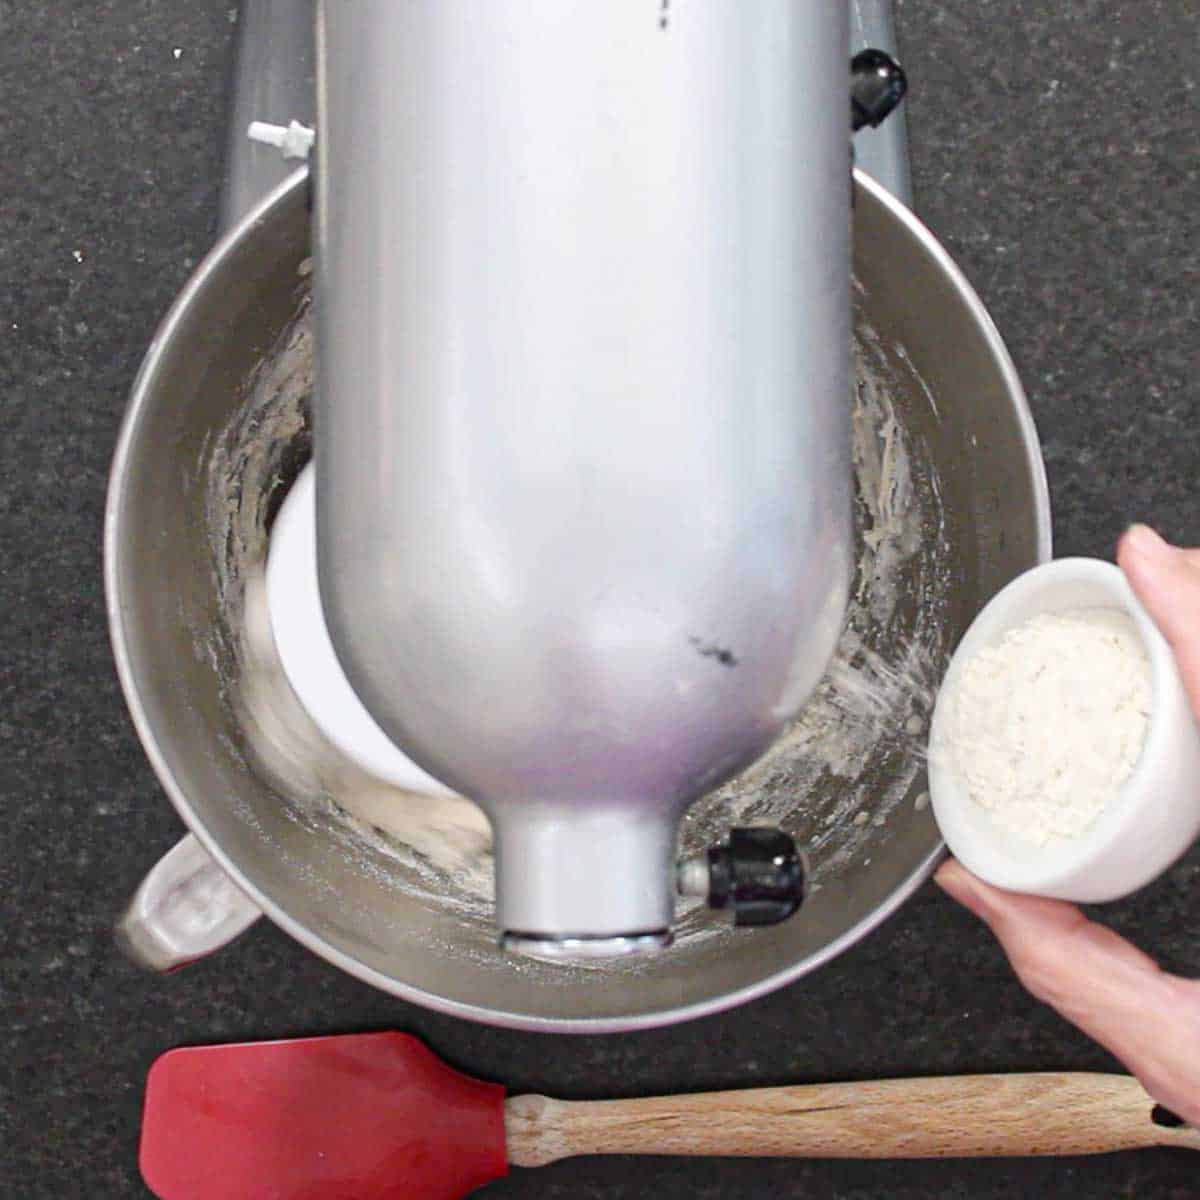
👩🏼🍳 How To Make Chocolate Ice Cream Custard
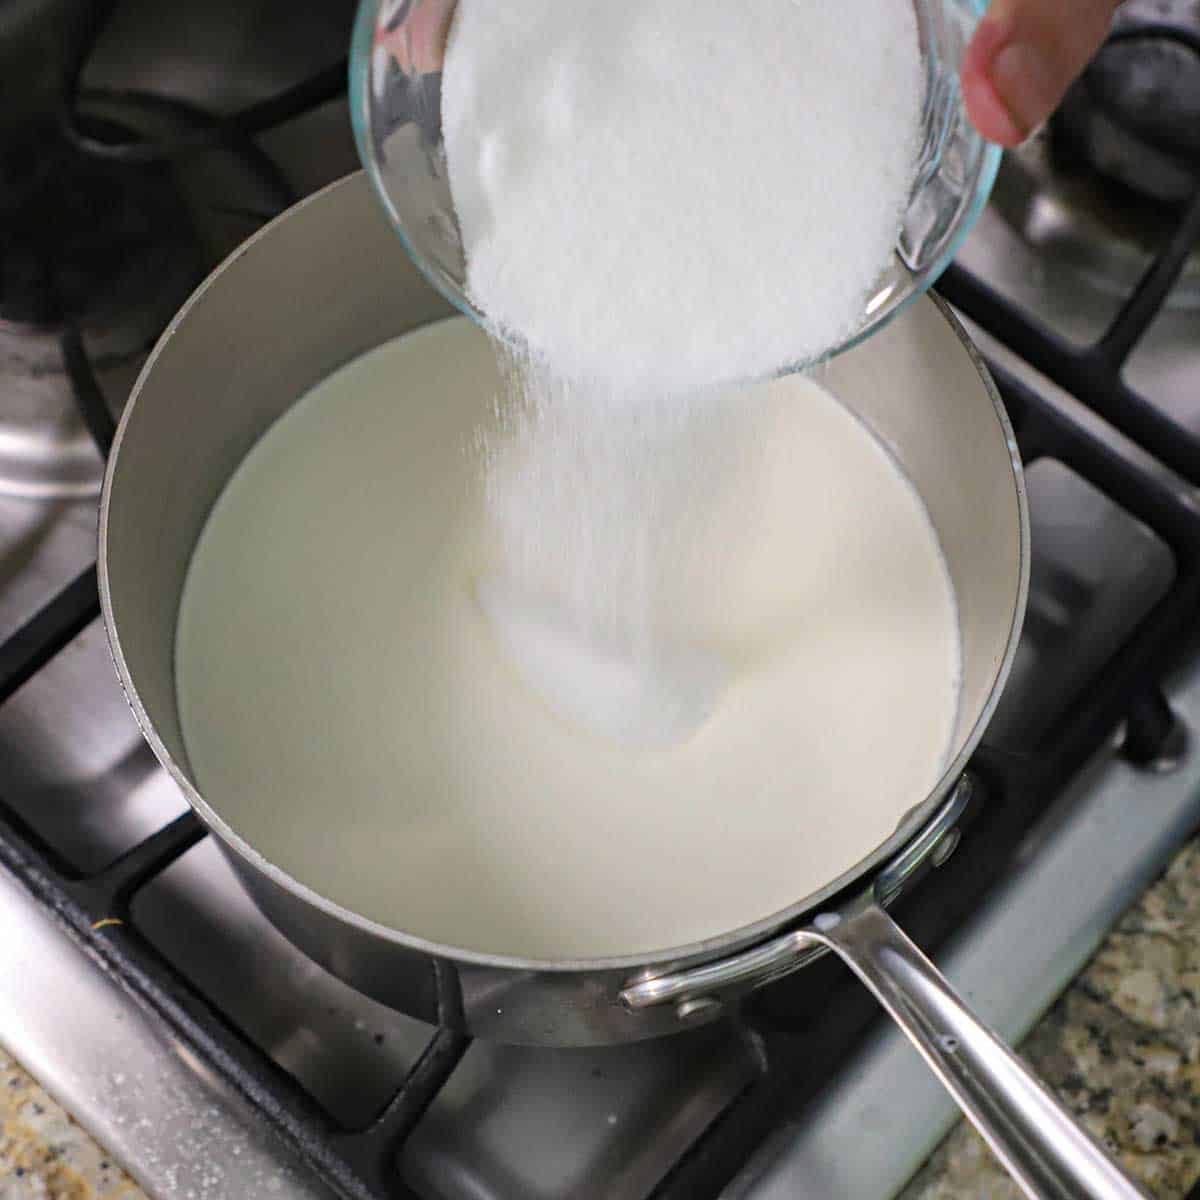
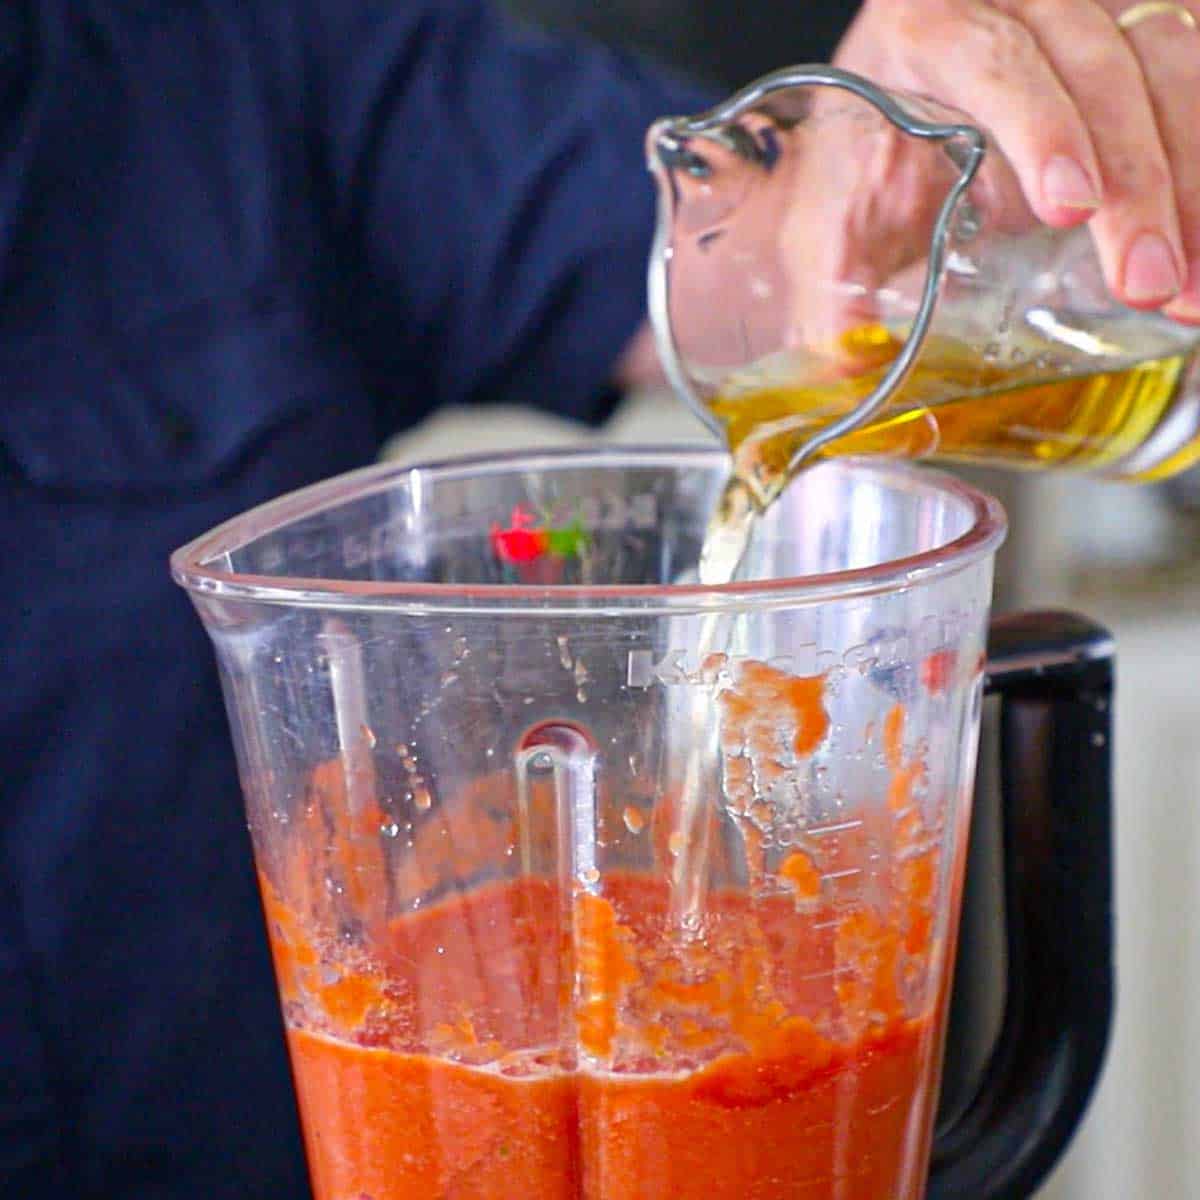
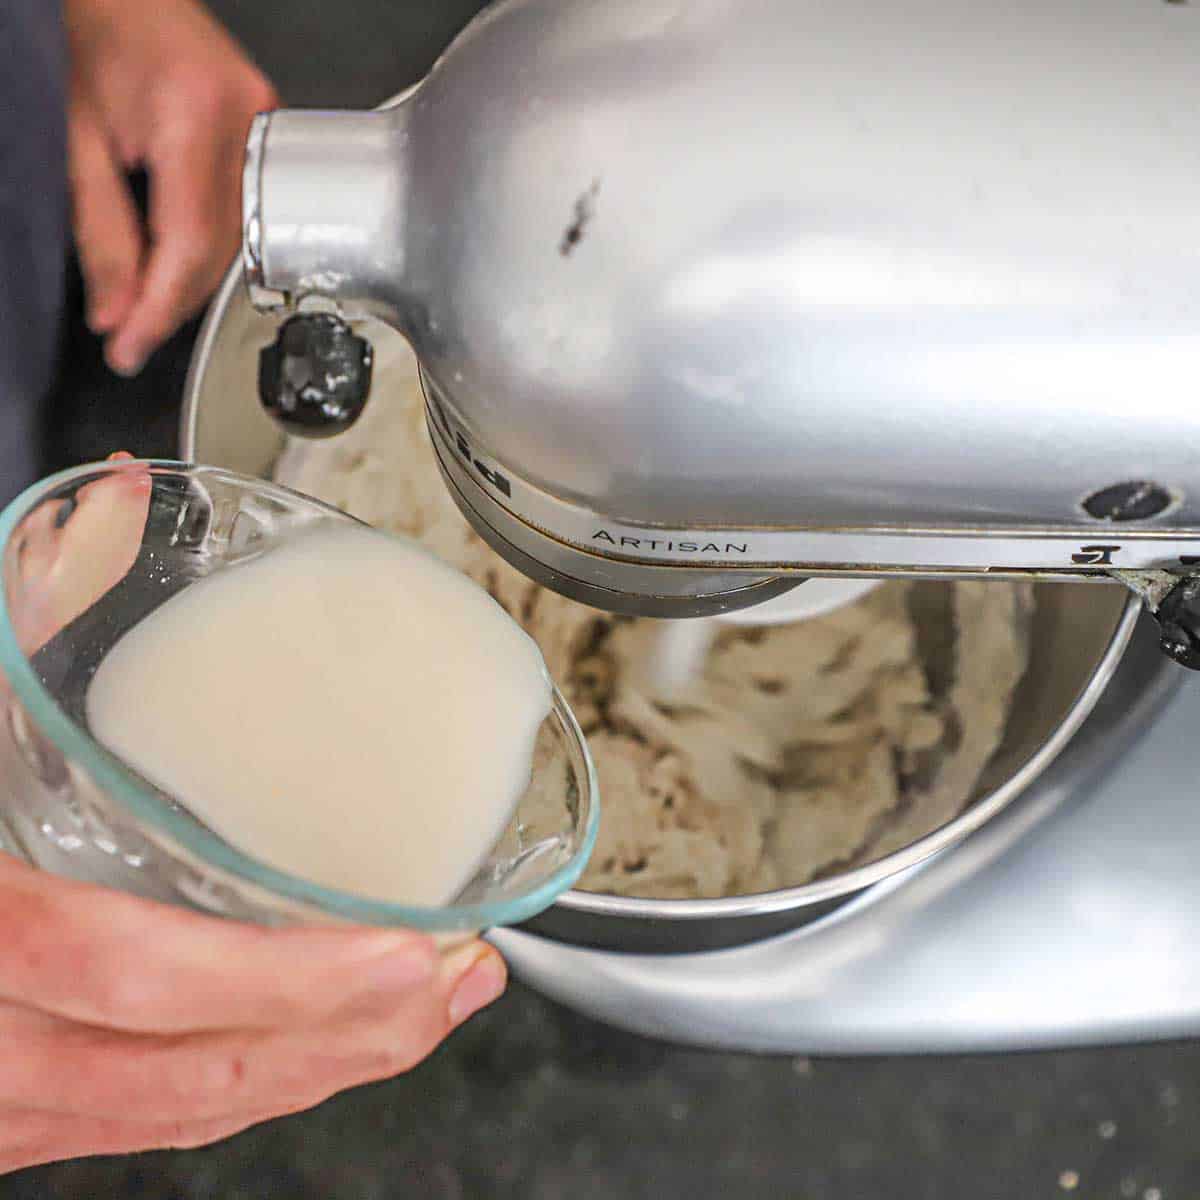
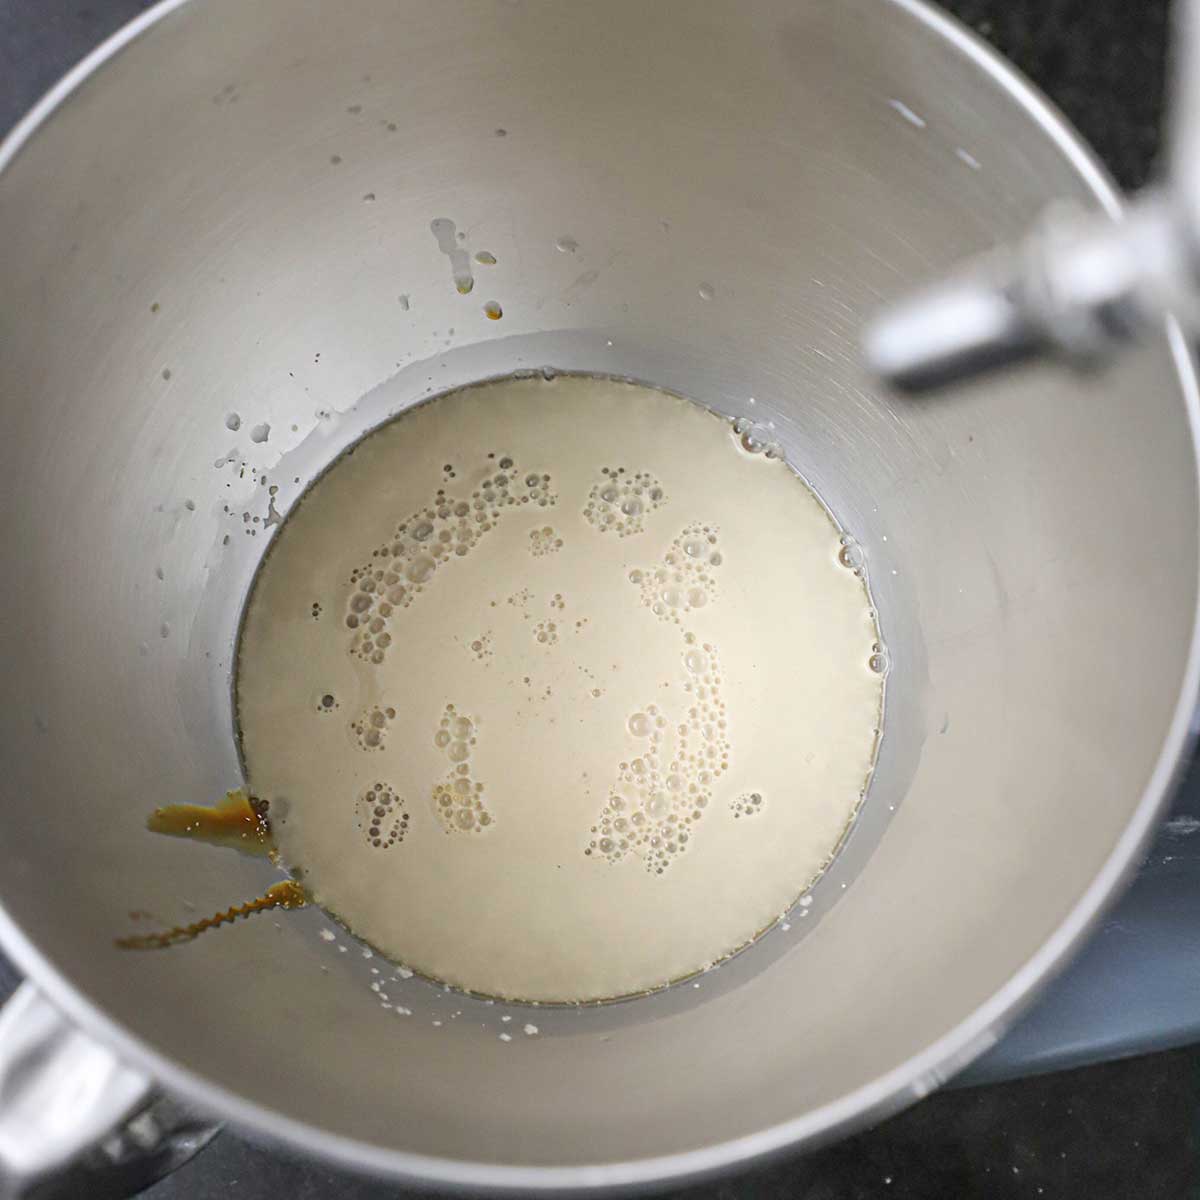
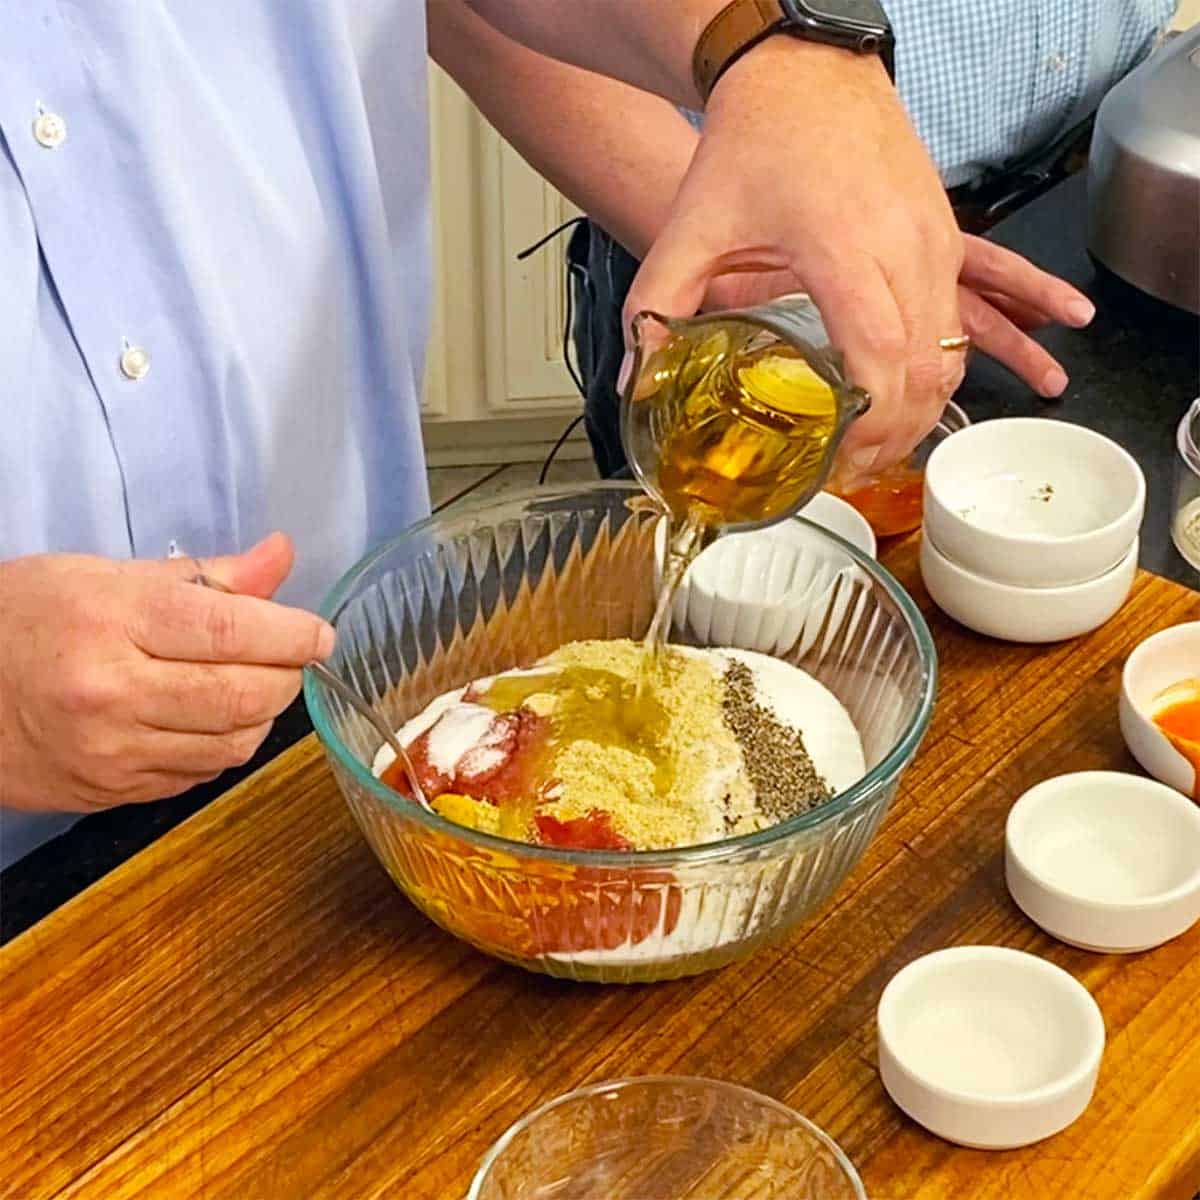
- Step 1: In a saucepan, combine the milk, 1 cup of cream, and the sugar.
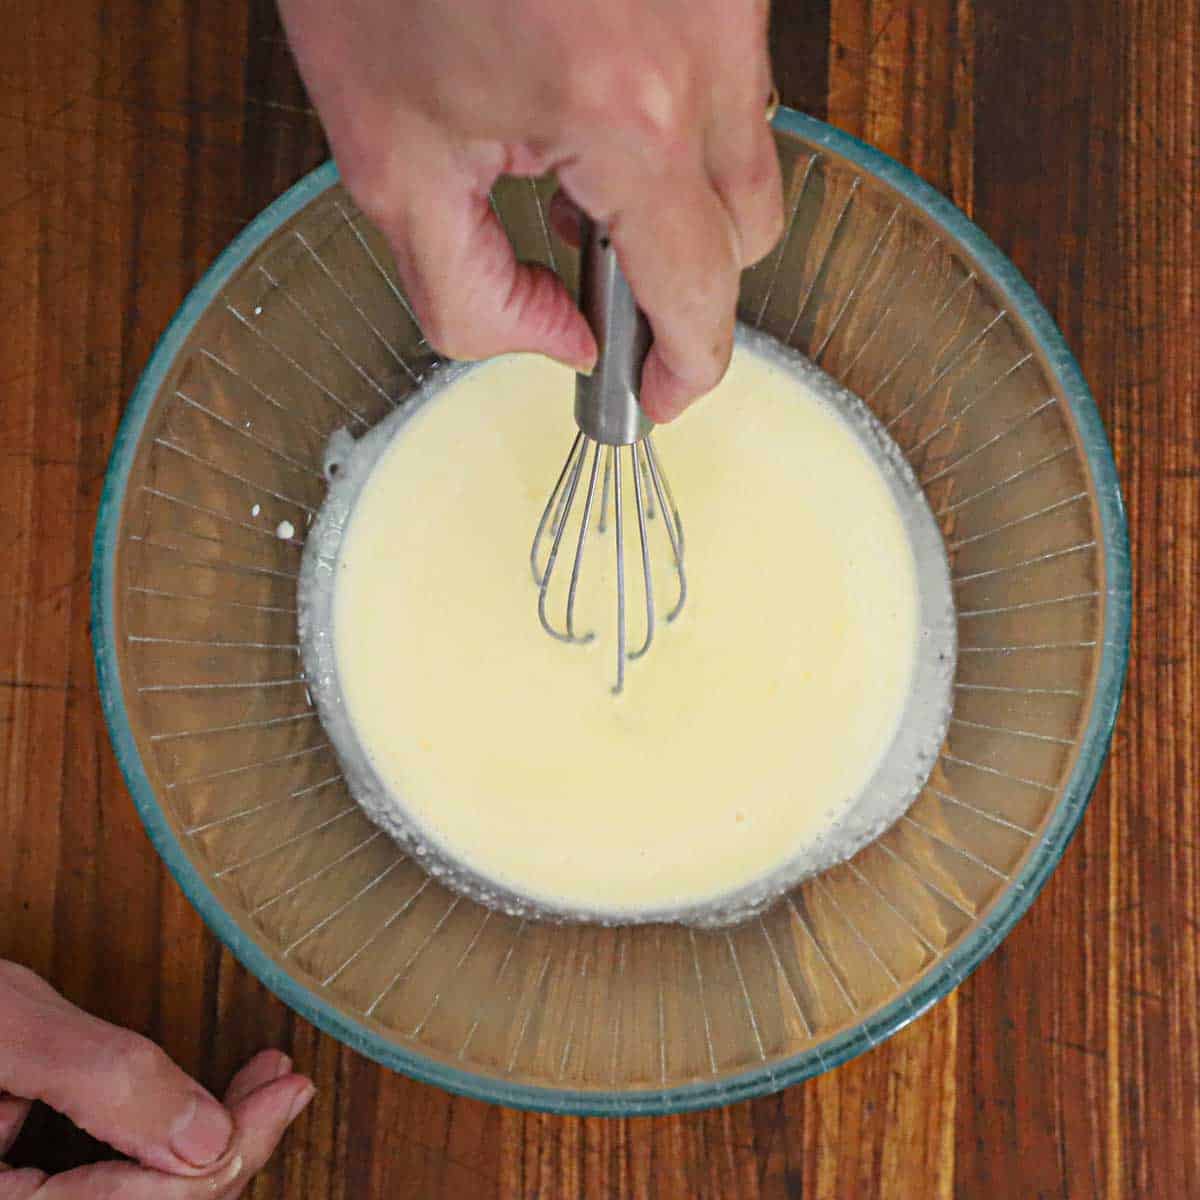
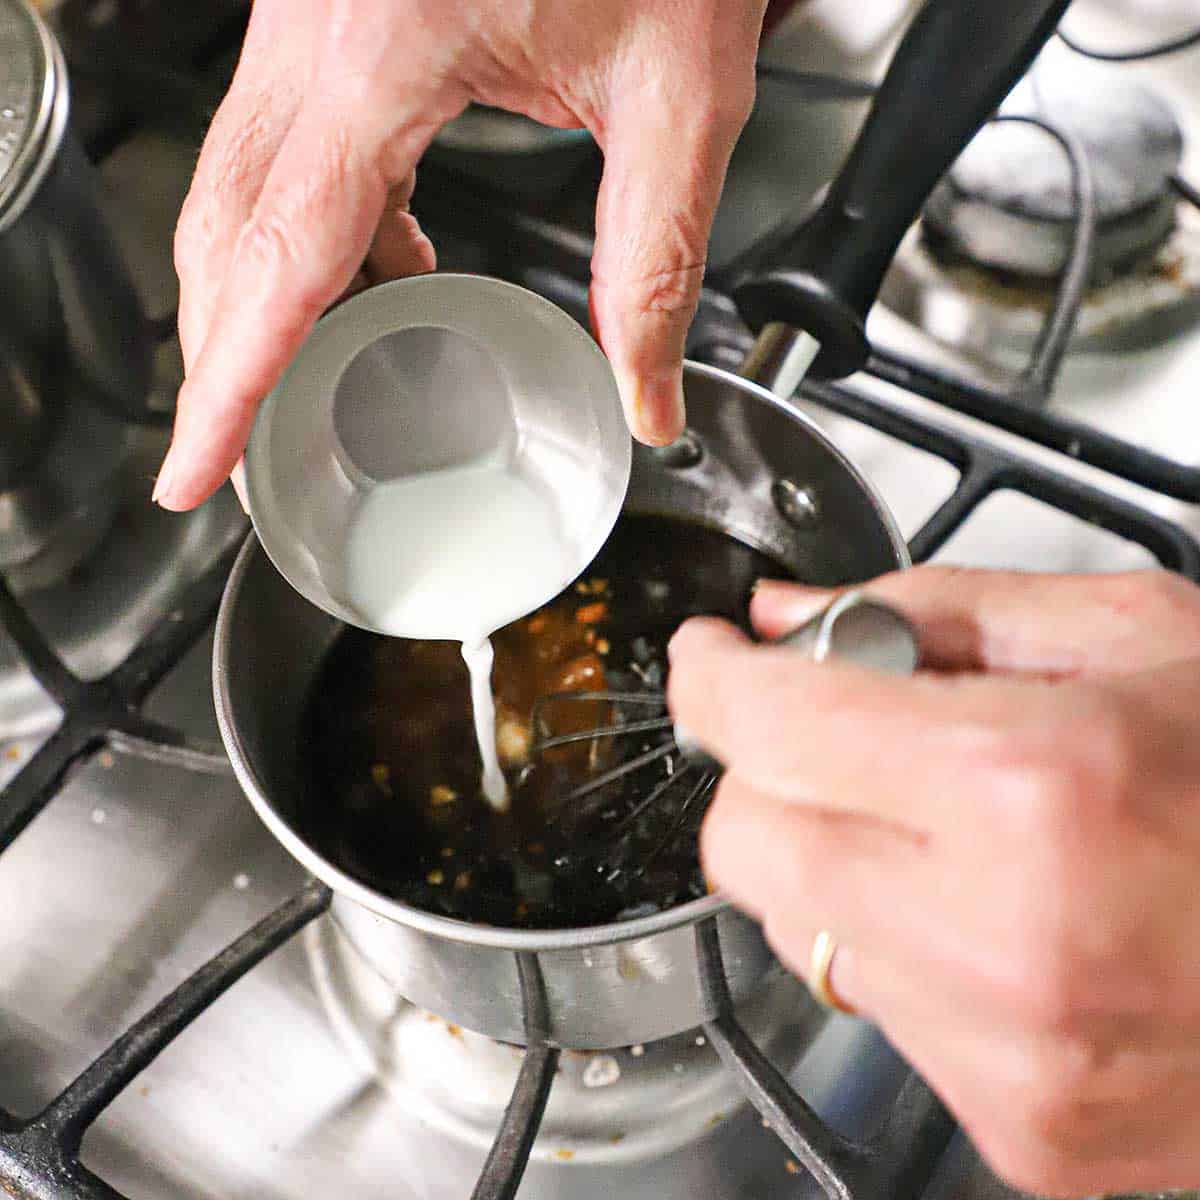
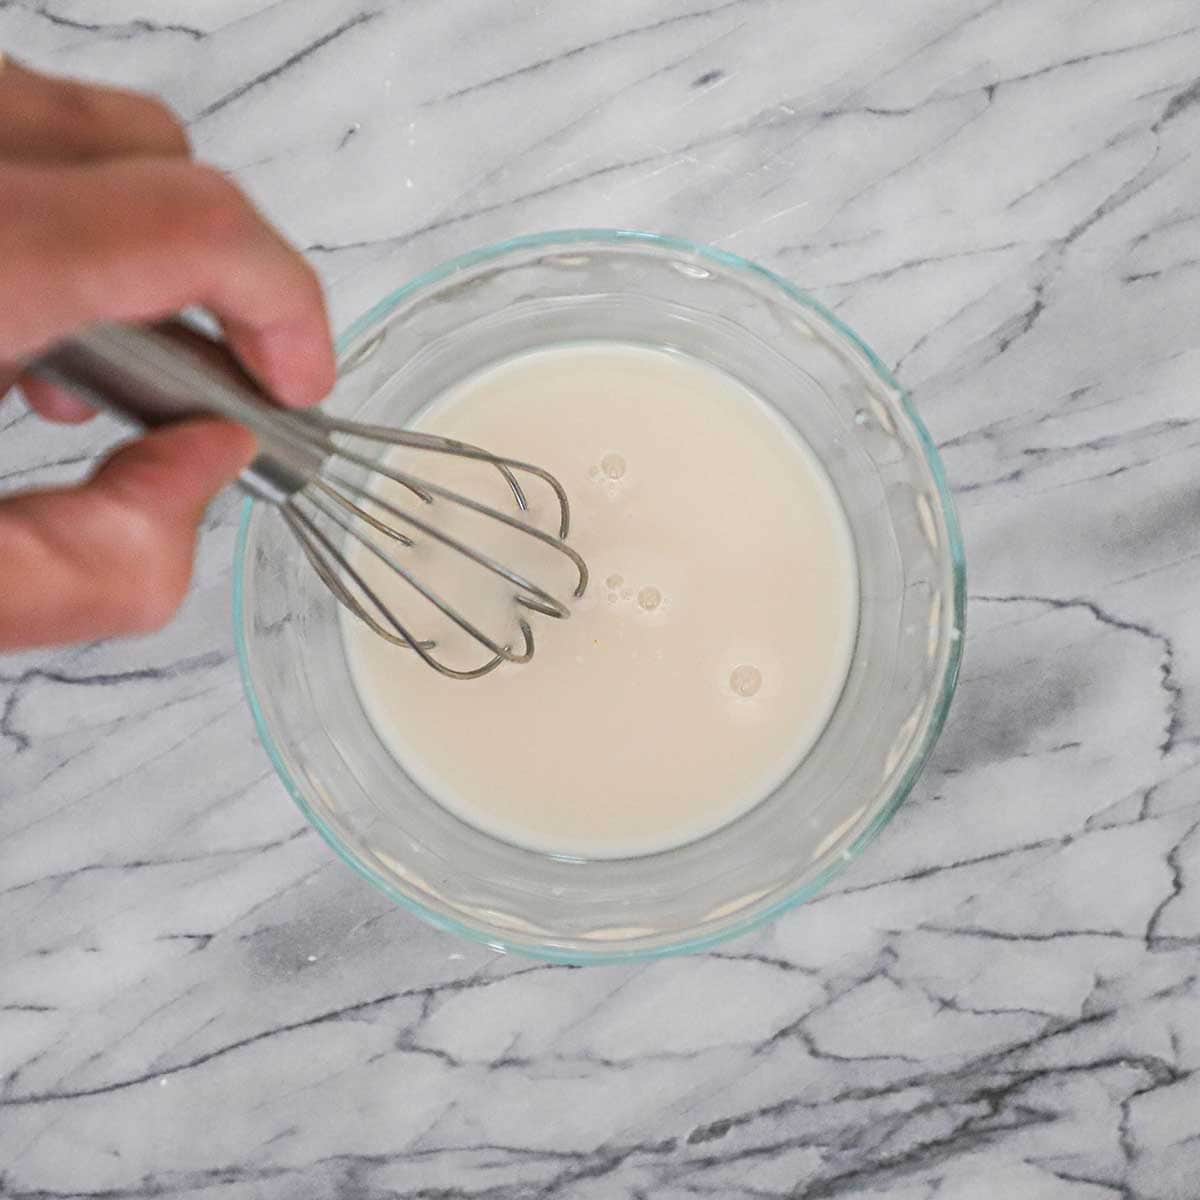
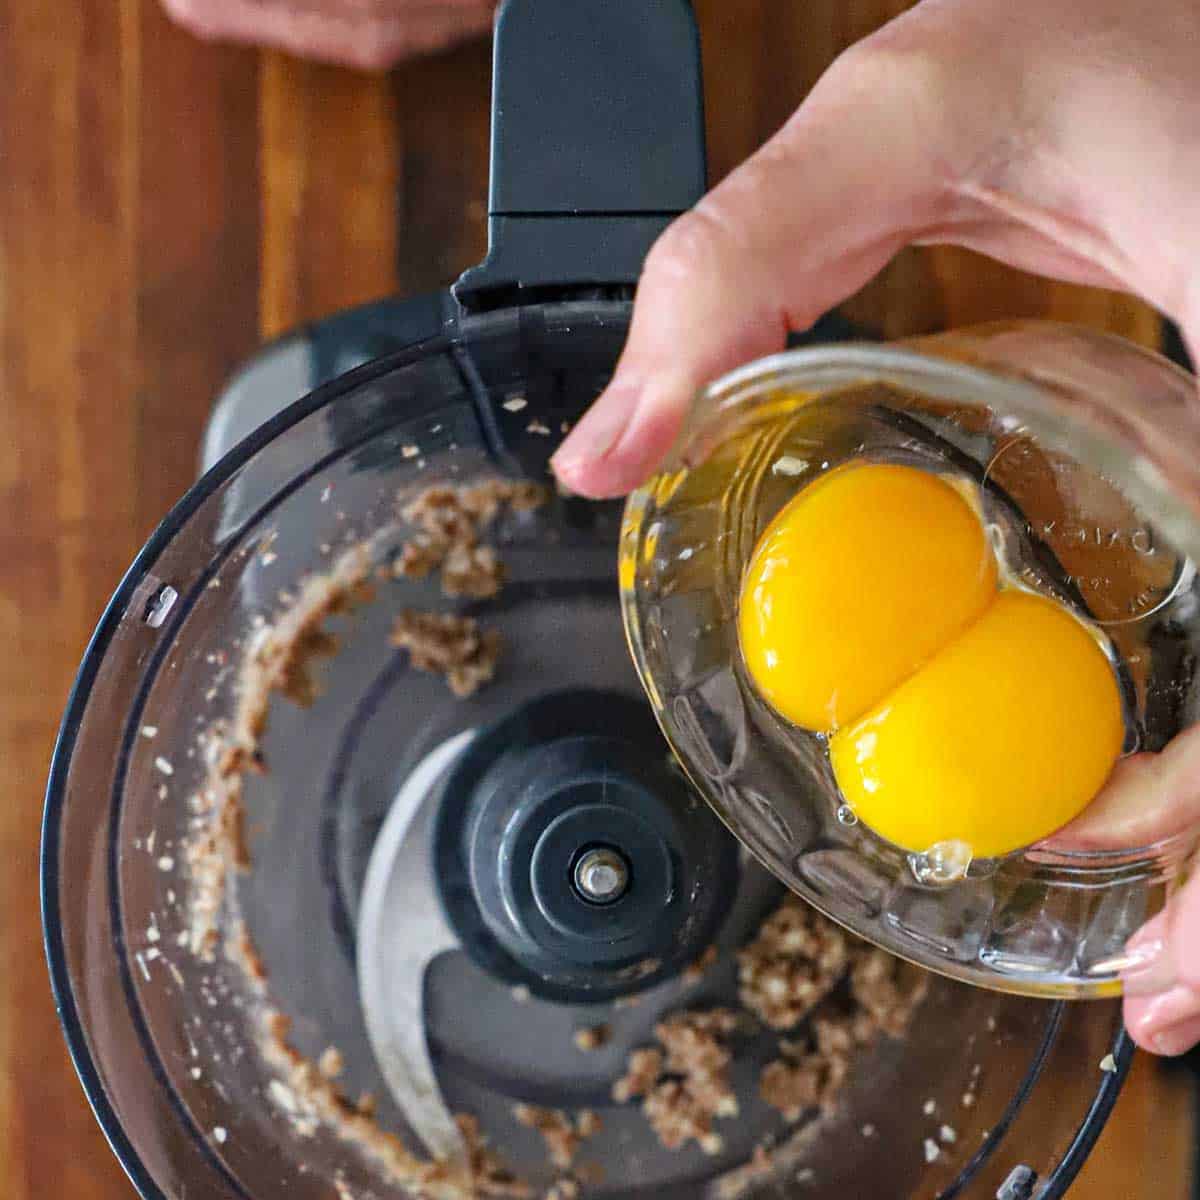
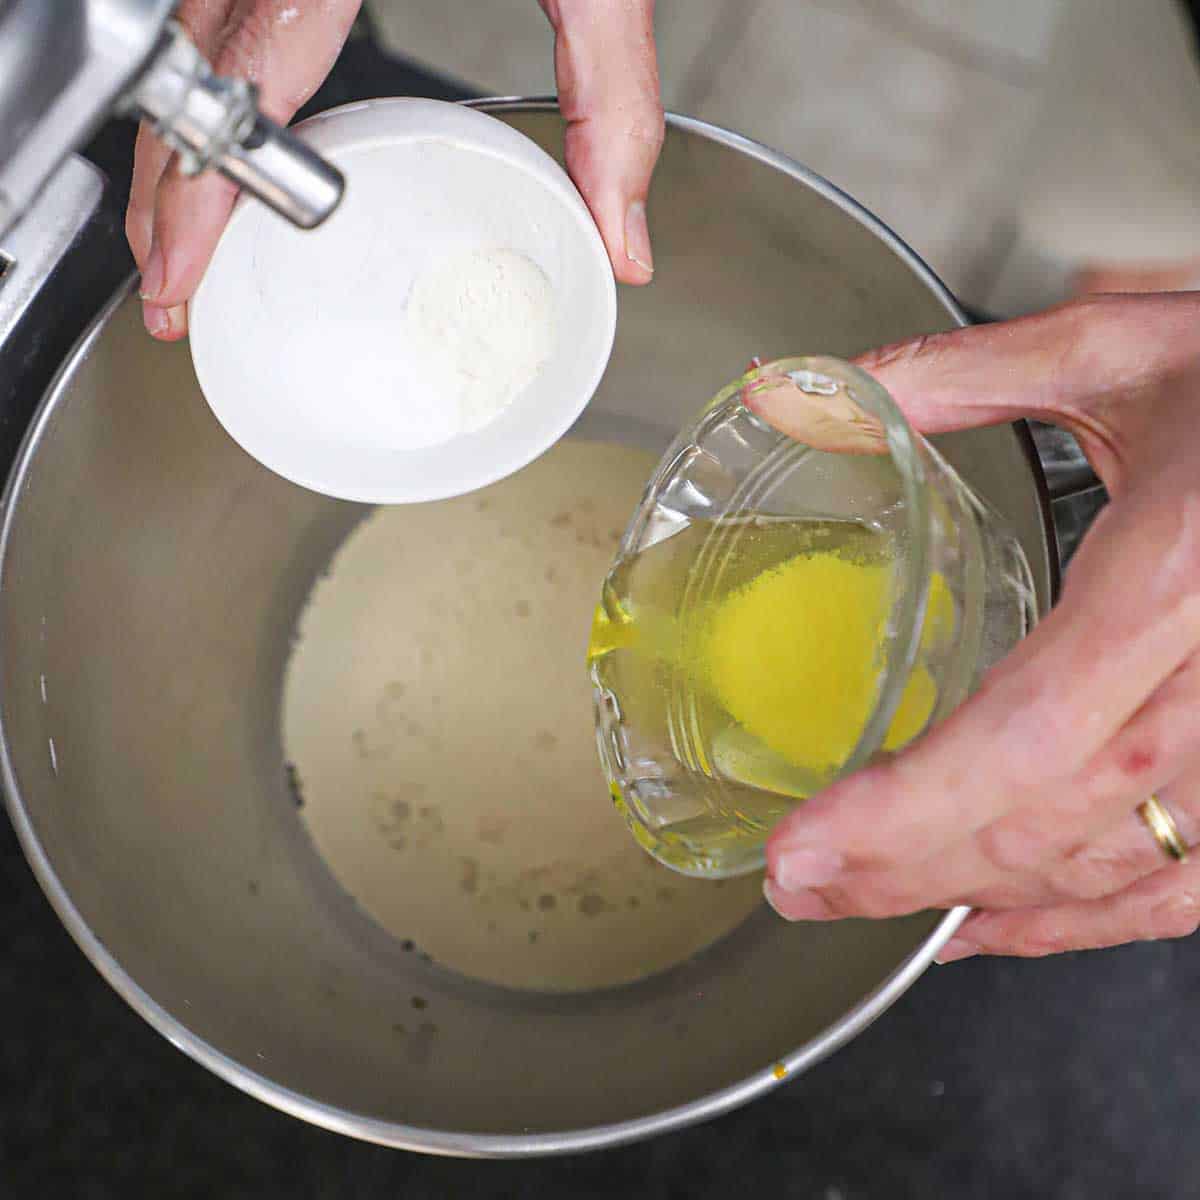
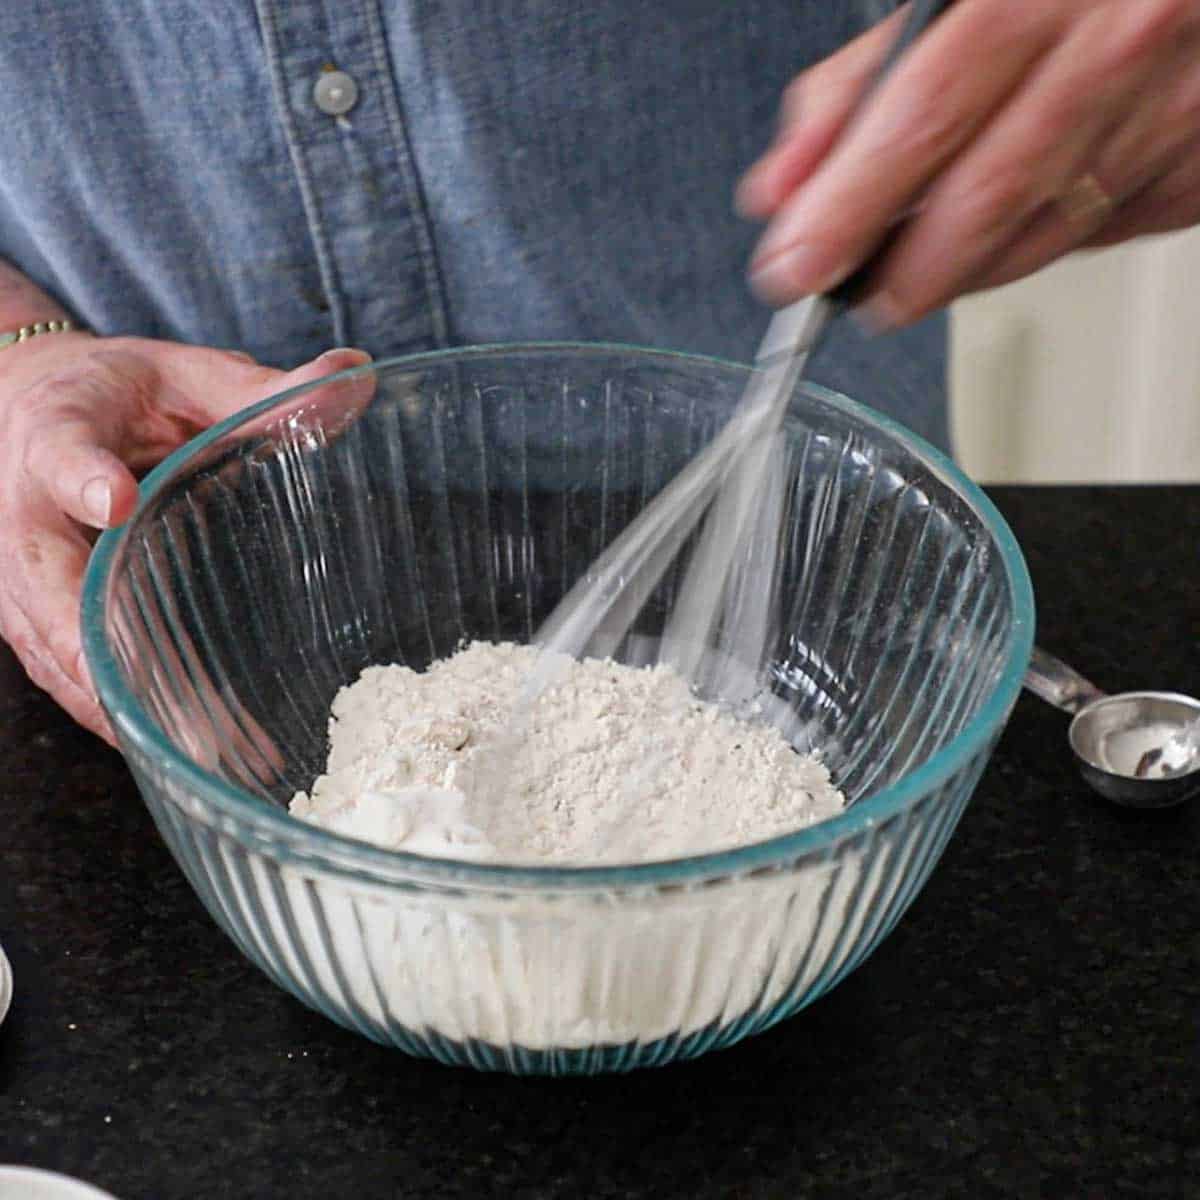
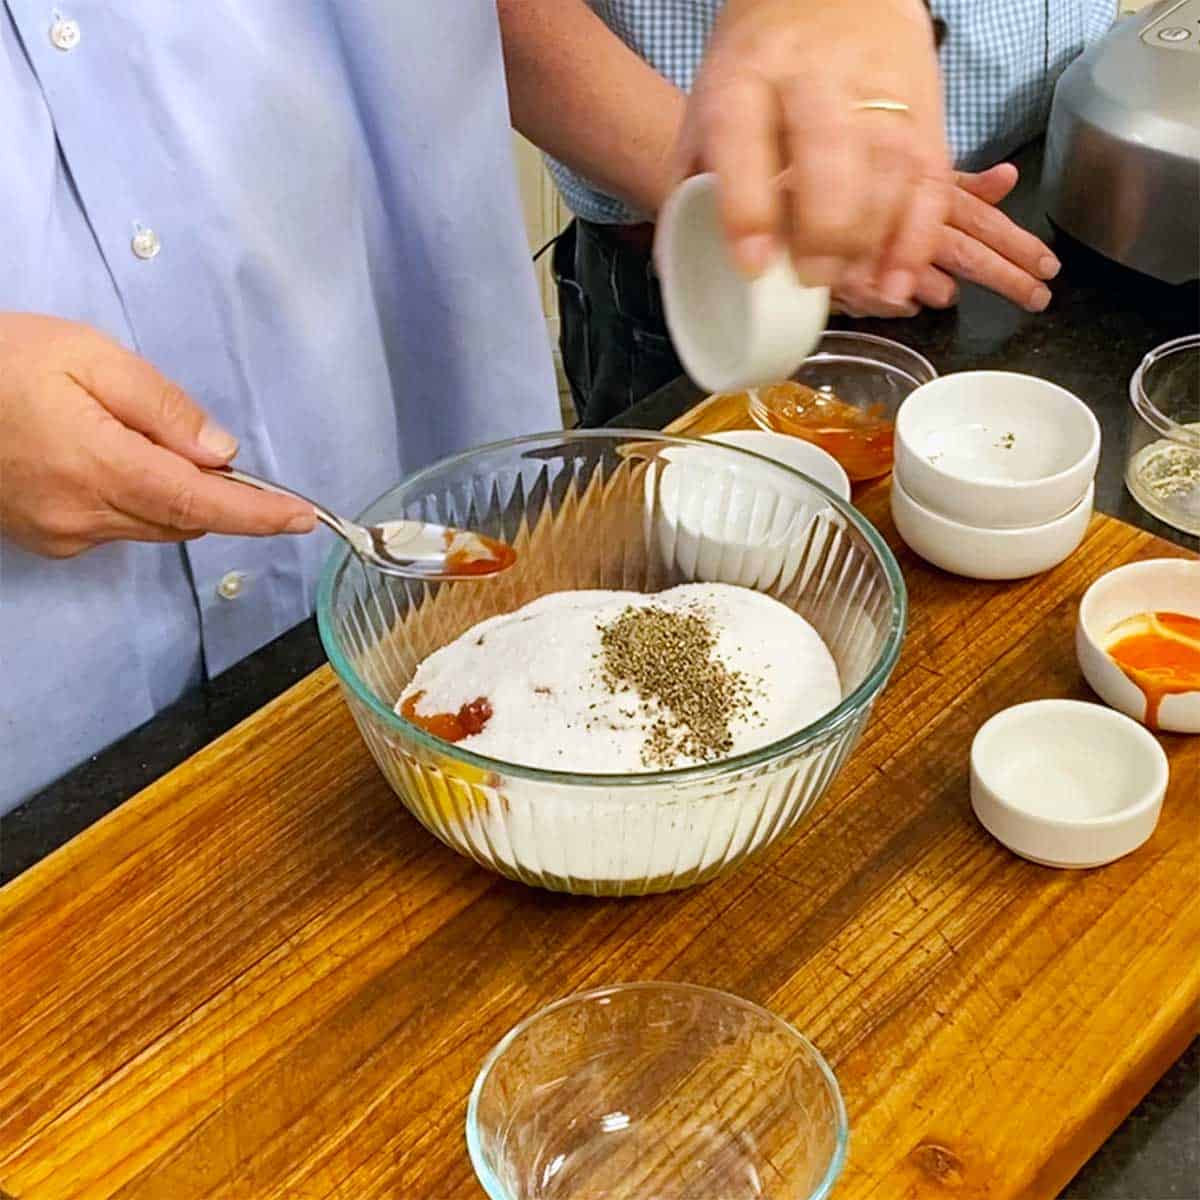
- Step 2: Whisk together the egg yolks and remaining cream.
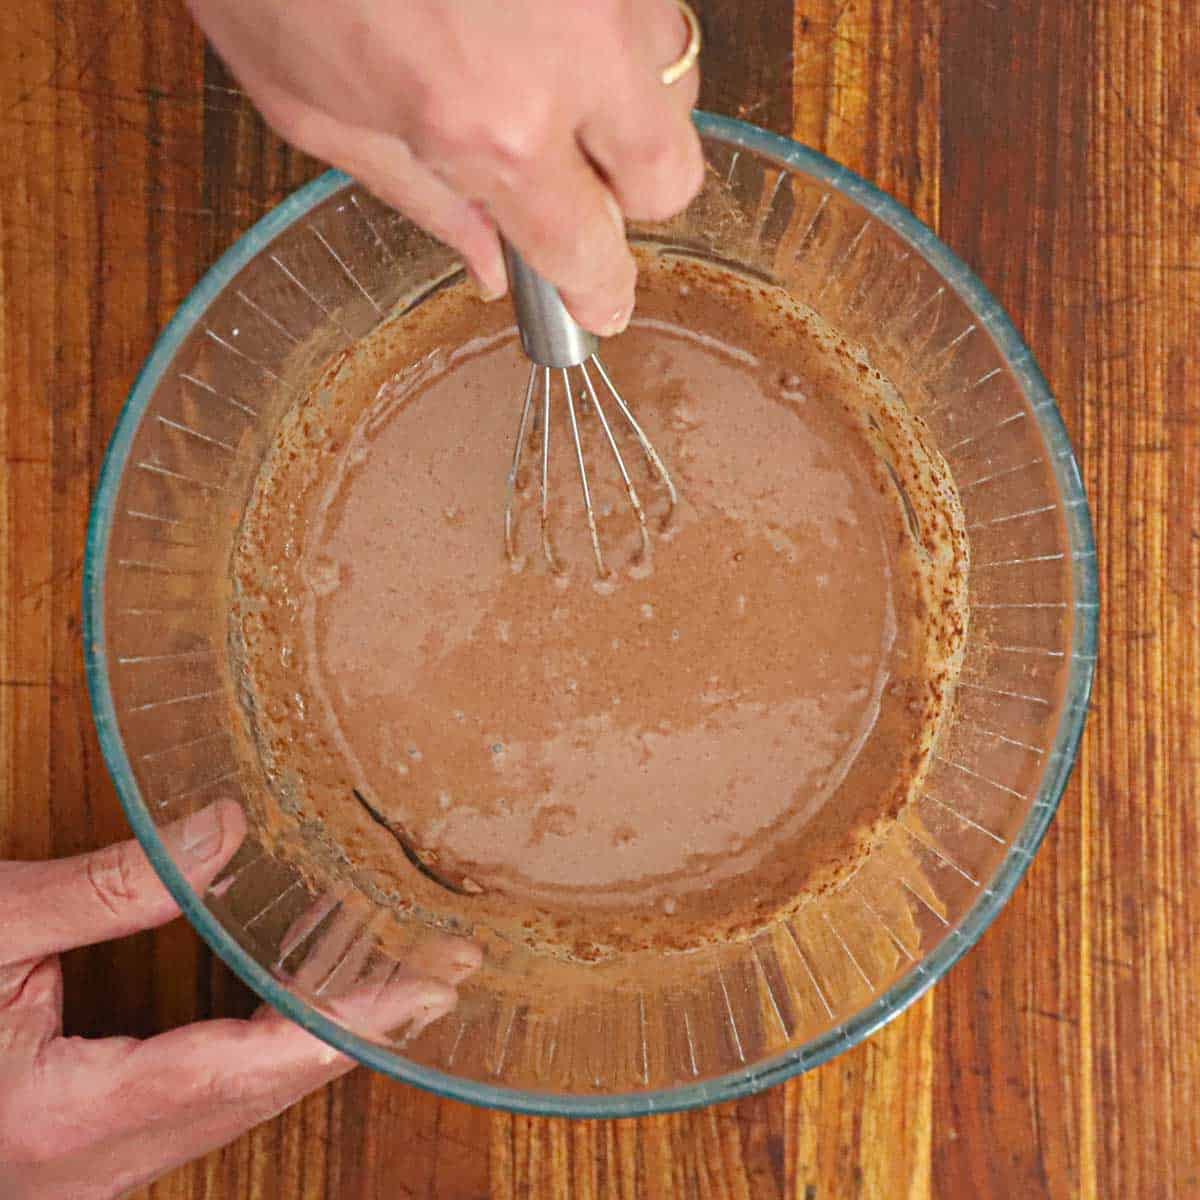
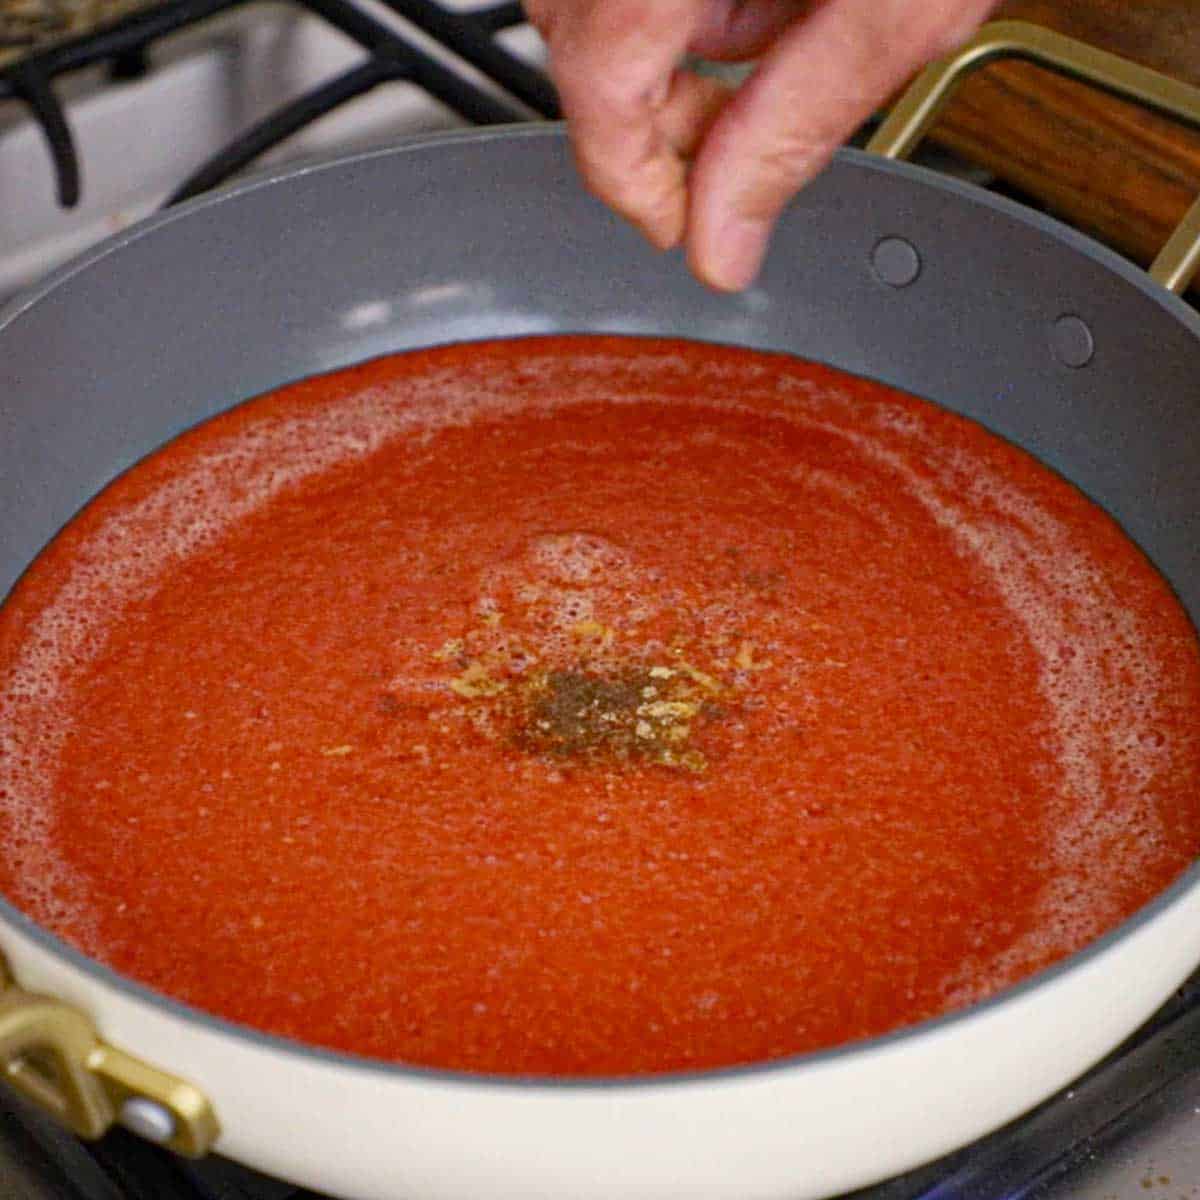
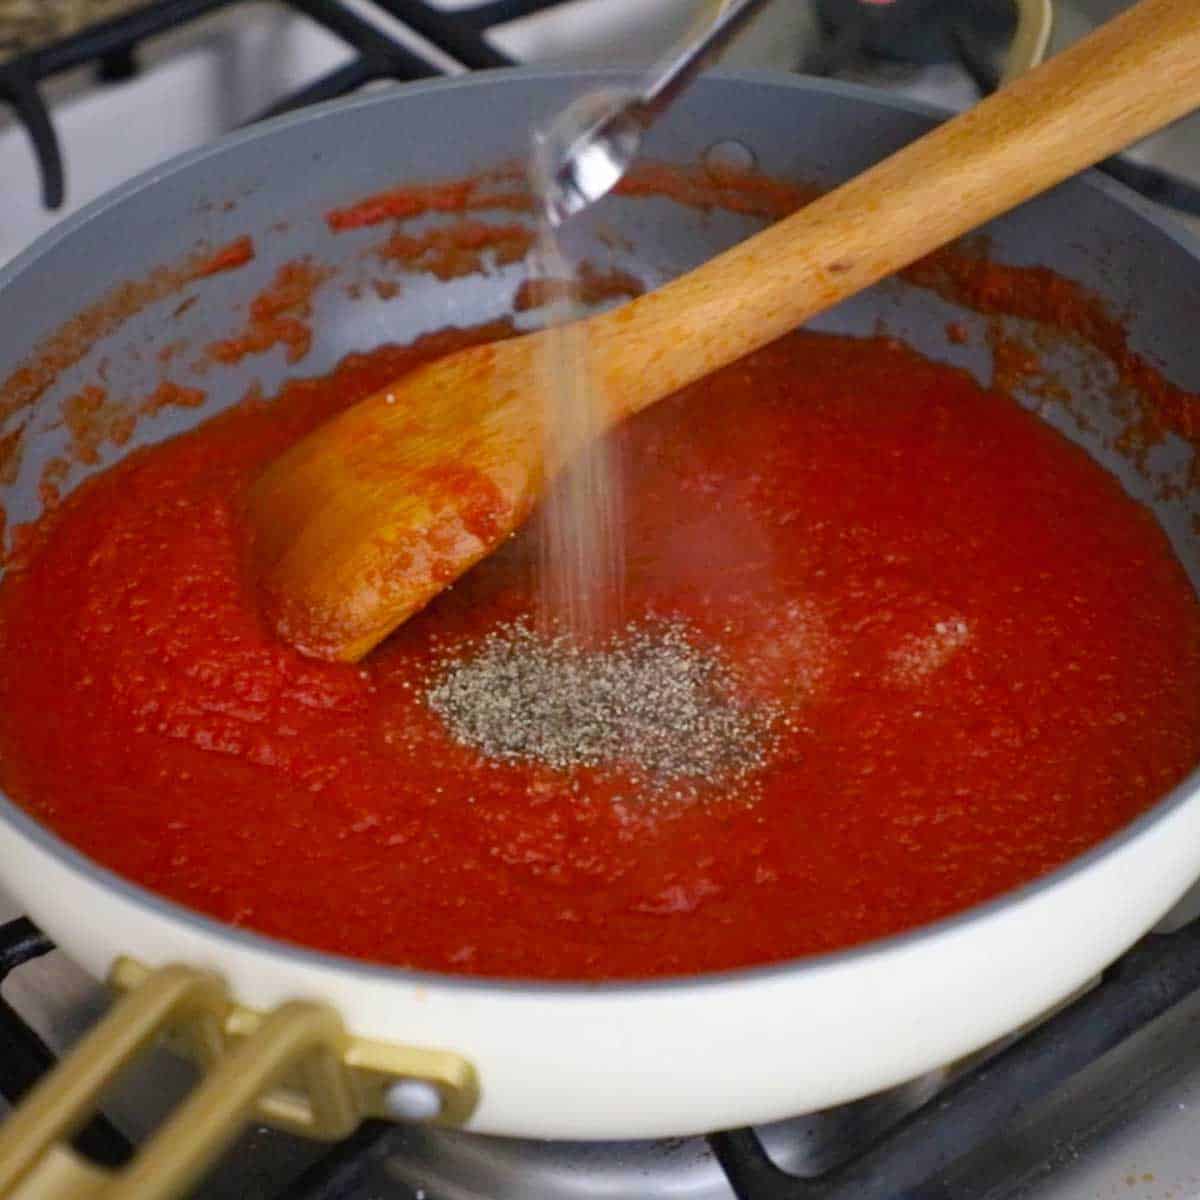
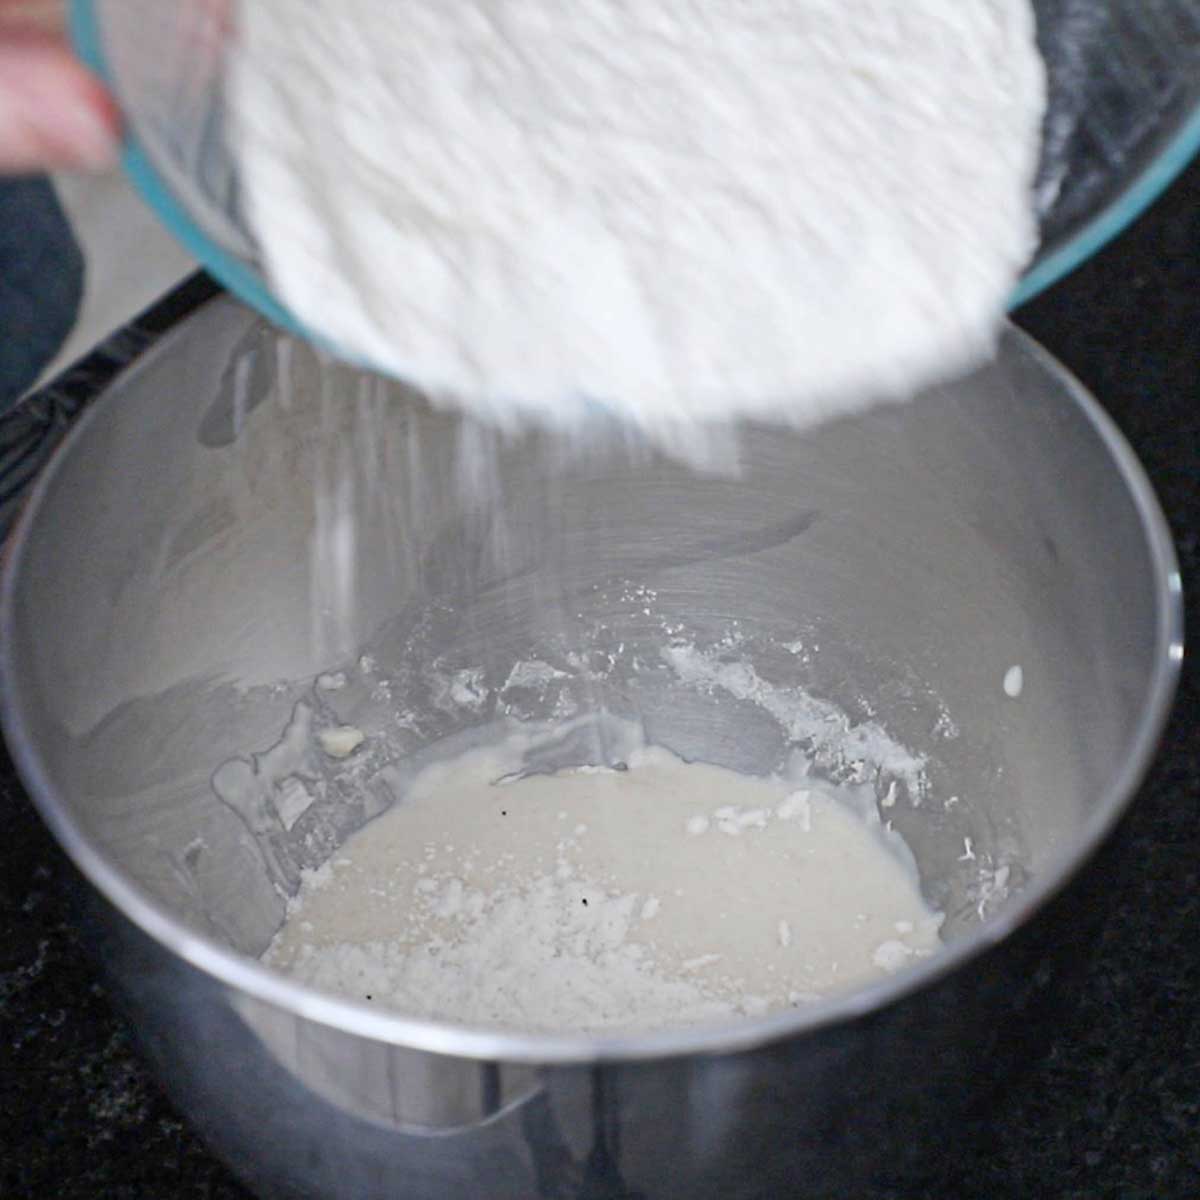
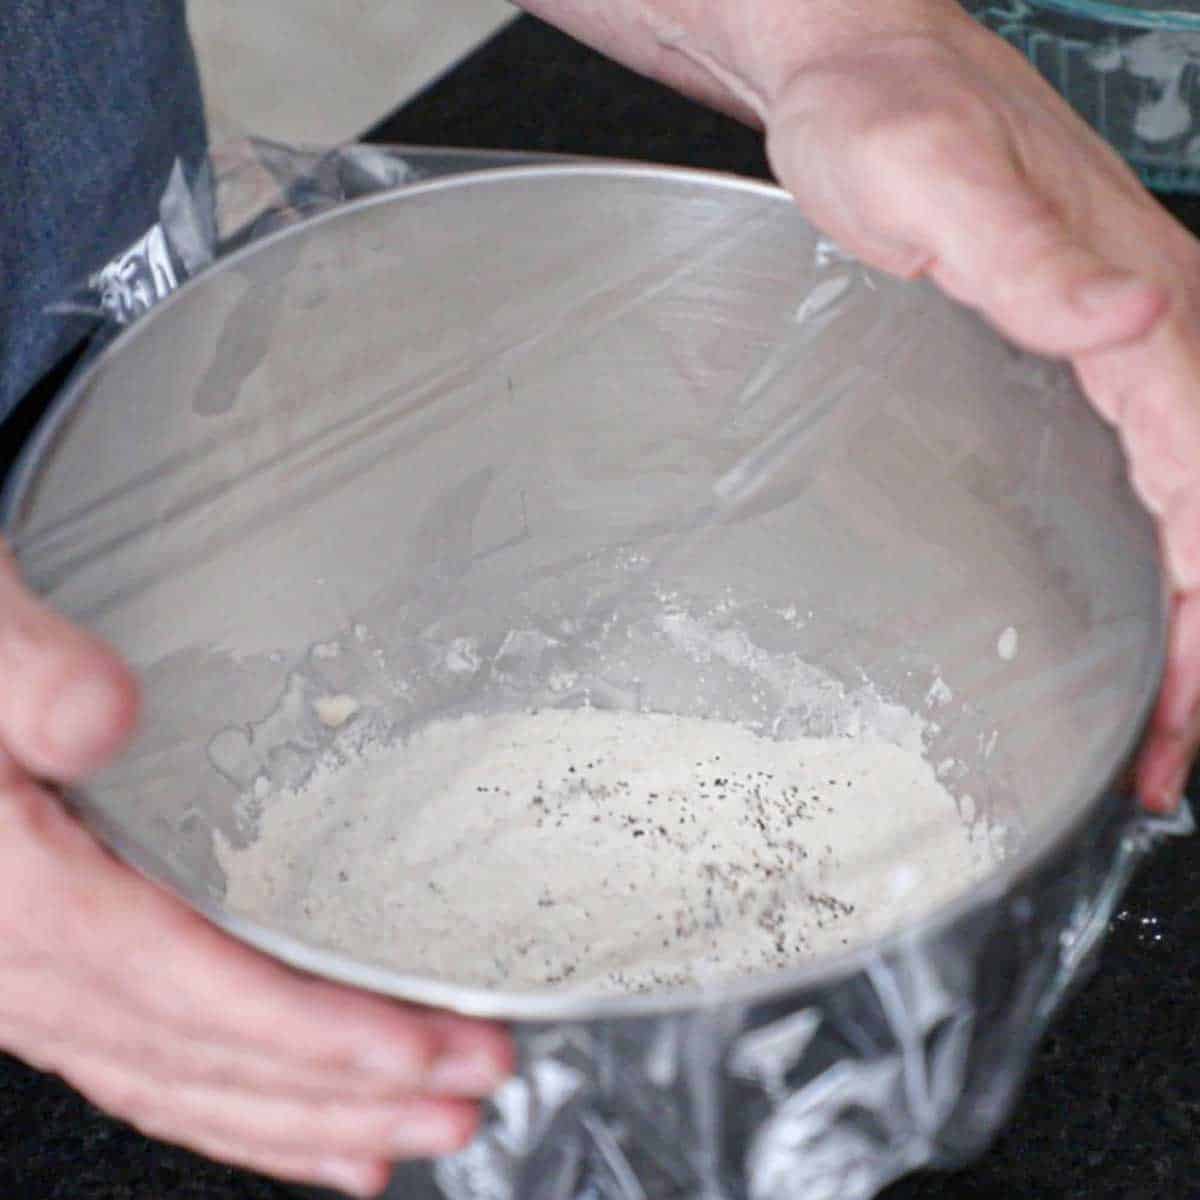
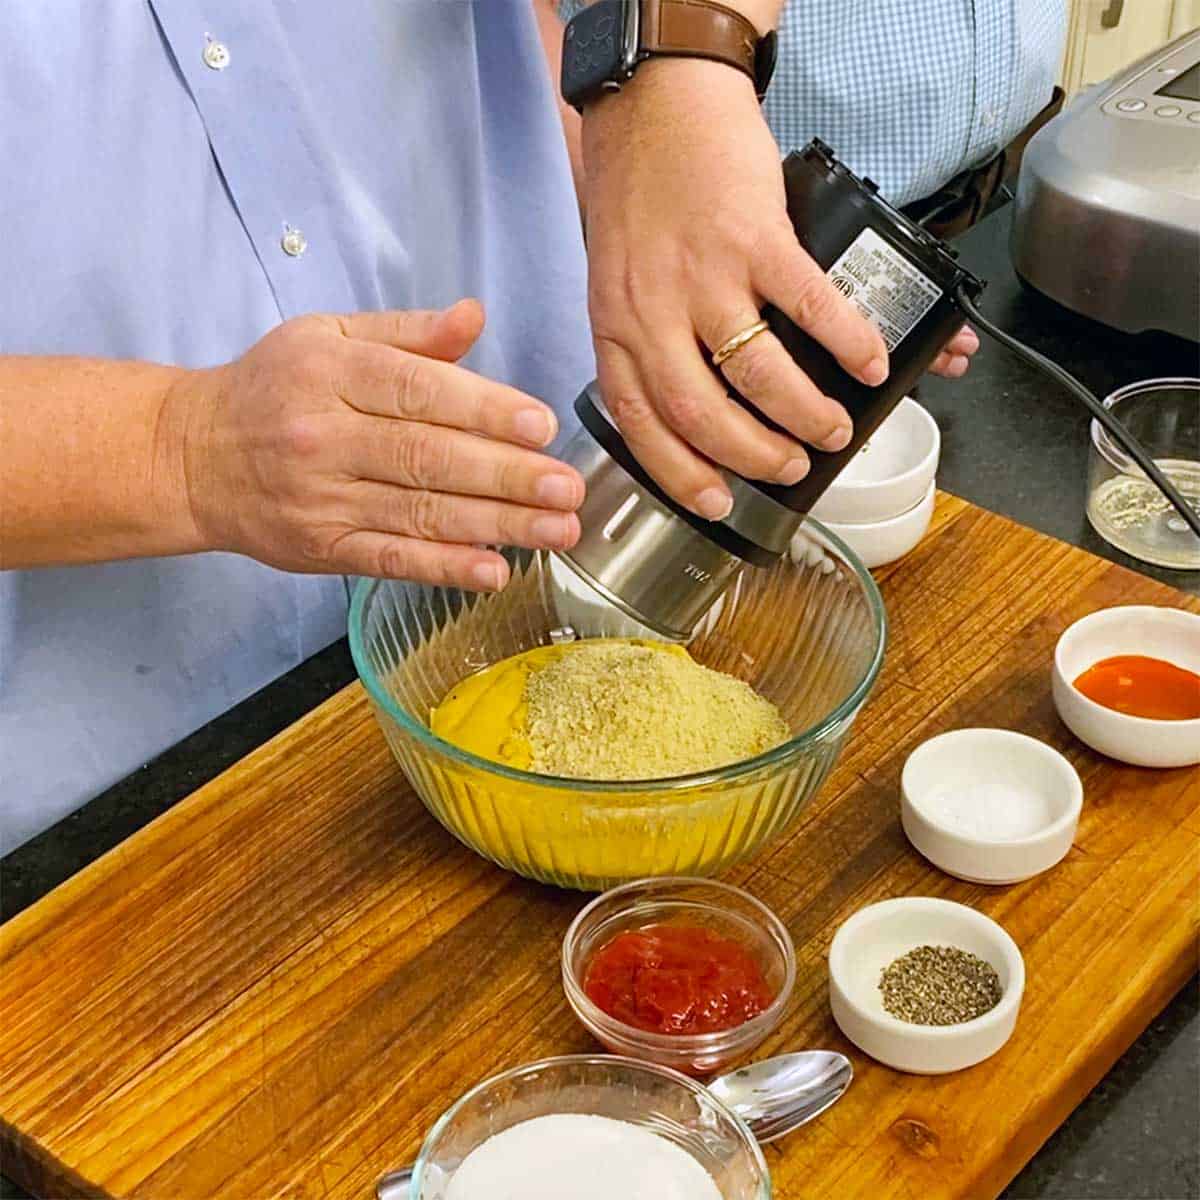
- Step 3: Sprinkle the cocoa over the top and then mix until no lumps remain.
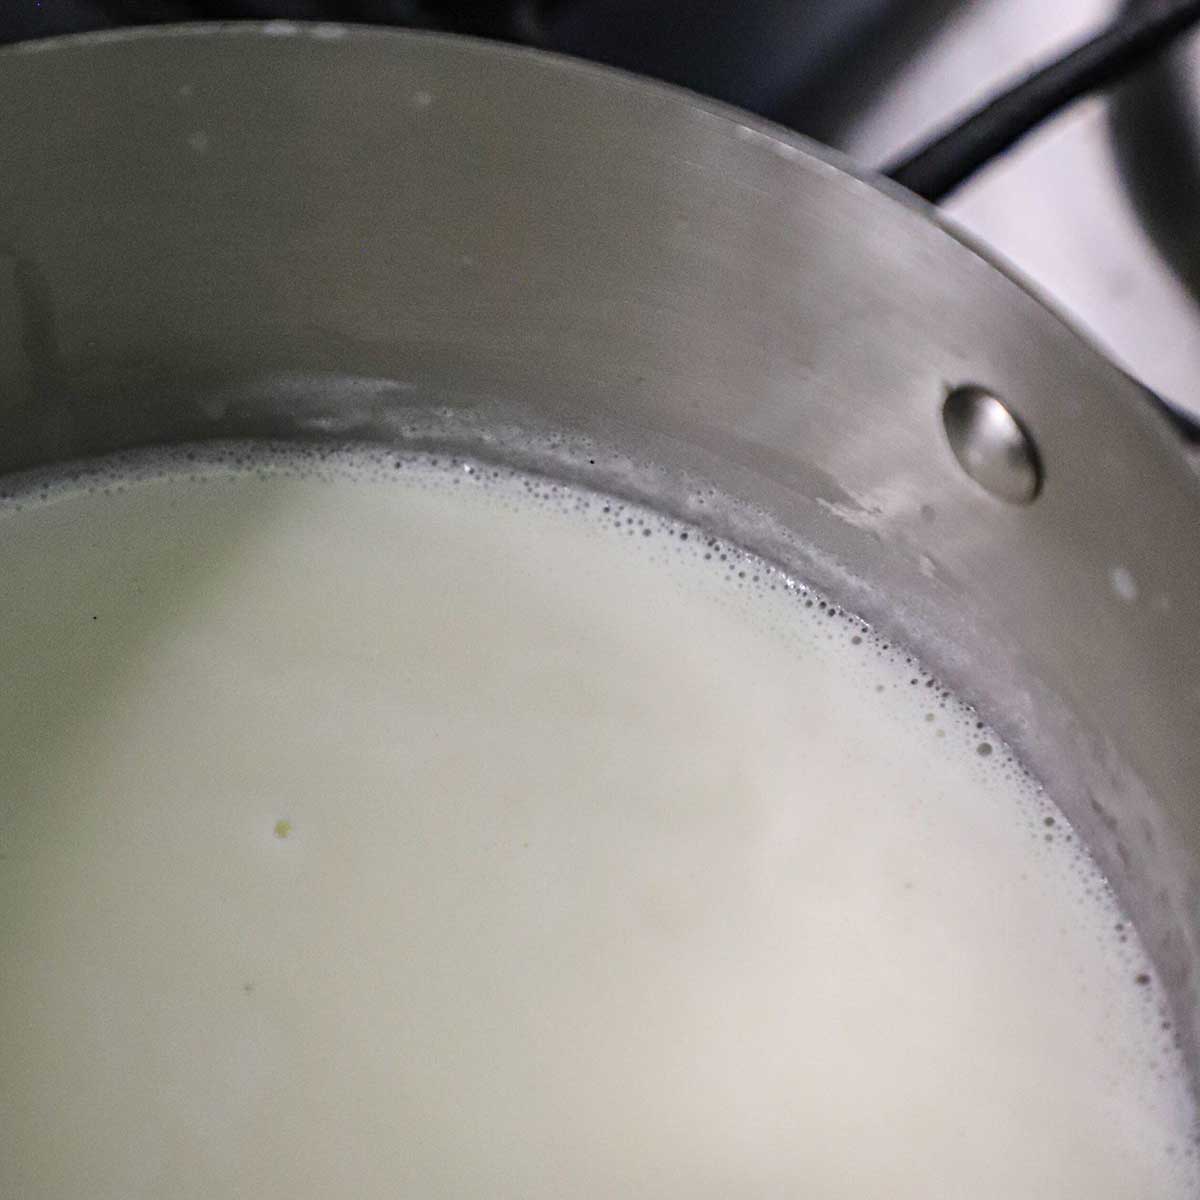
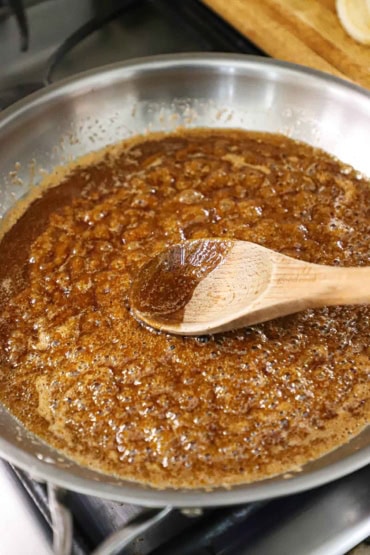
- Step 4: Heat the cream/sugar mixture until bubbles form along the edge of the pan and the sugar is dissolved.
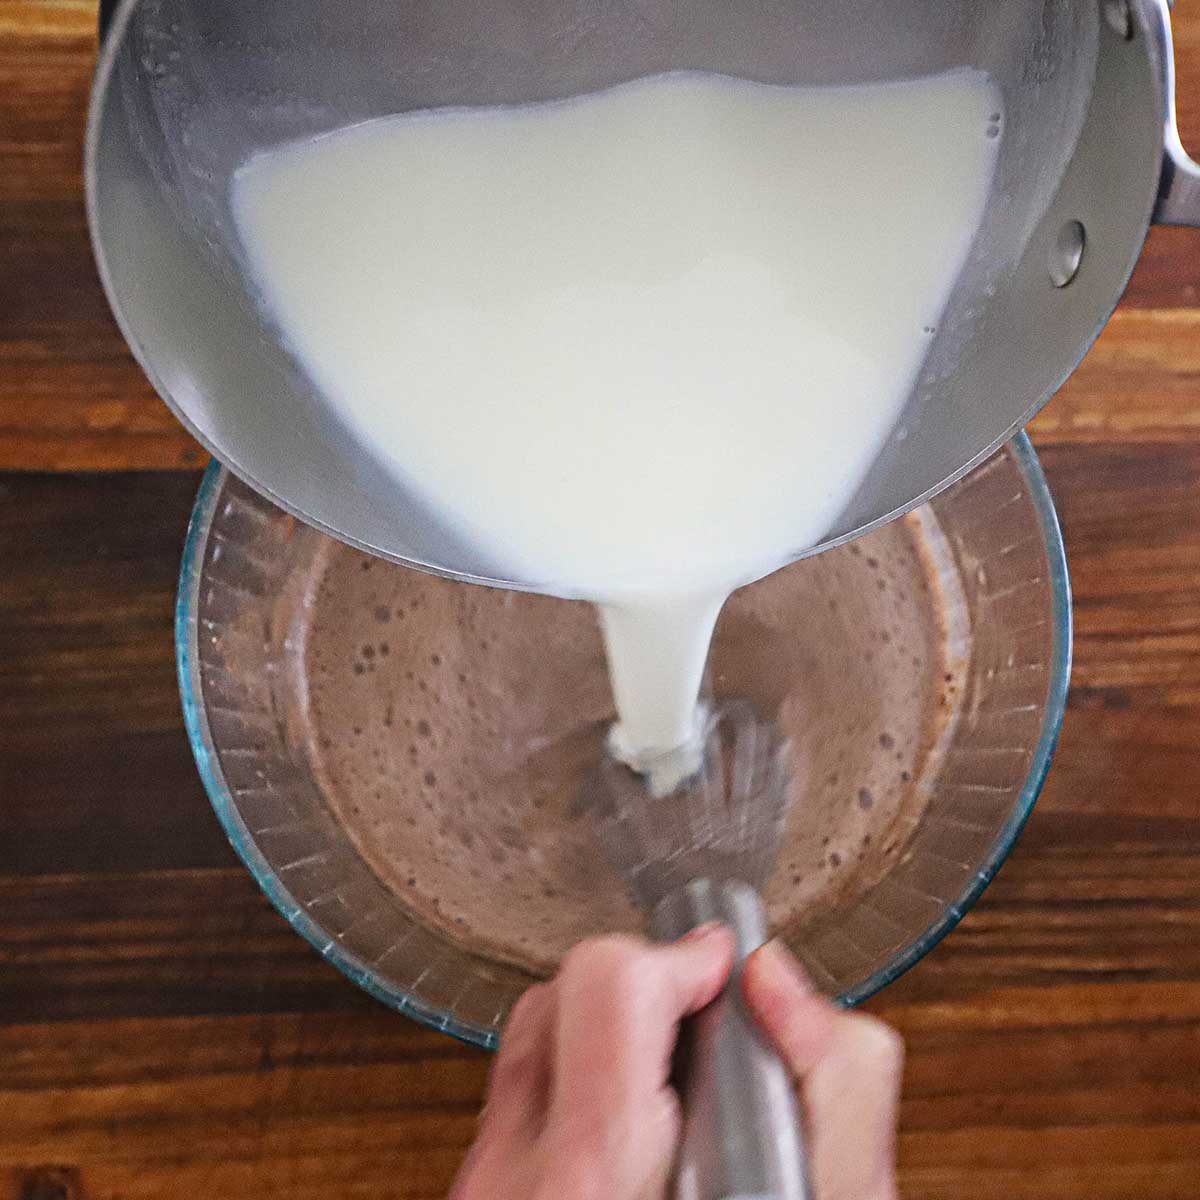
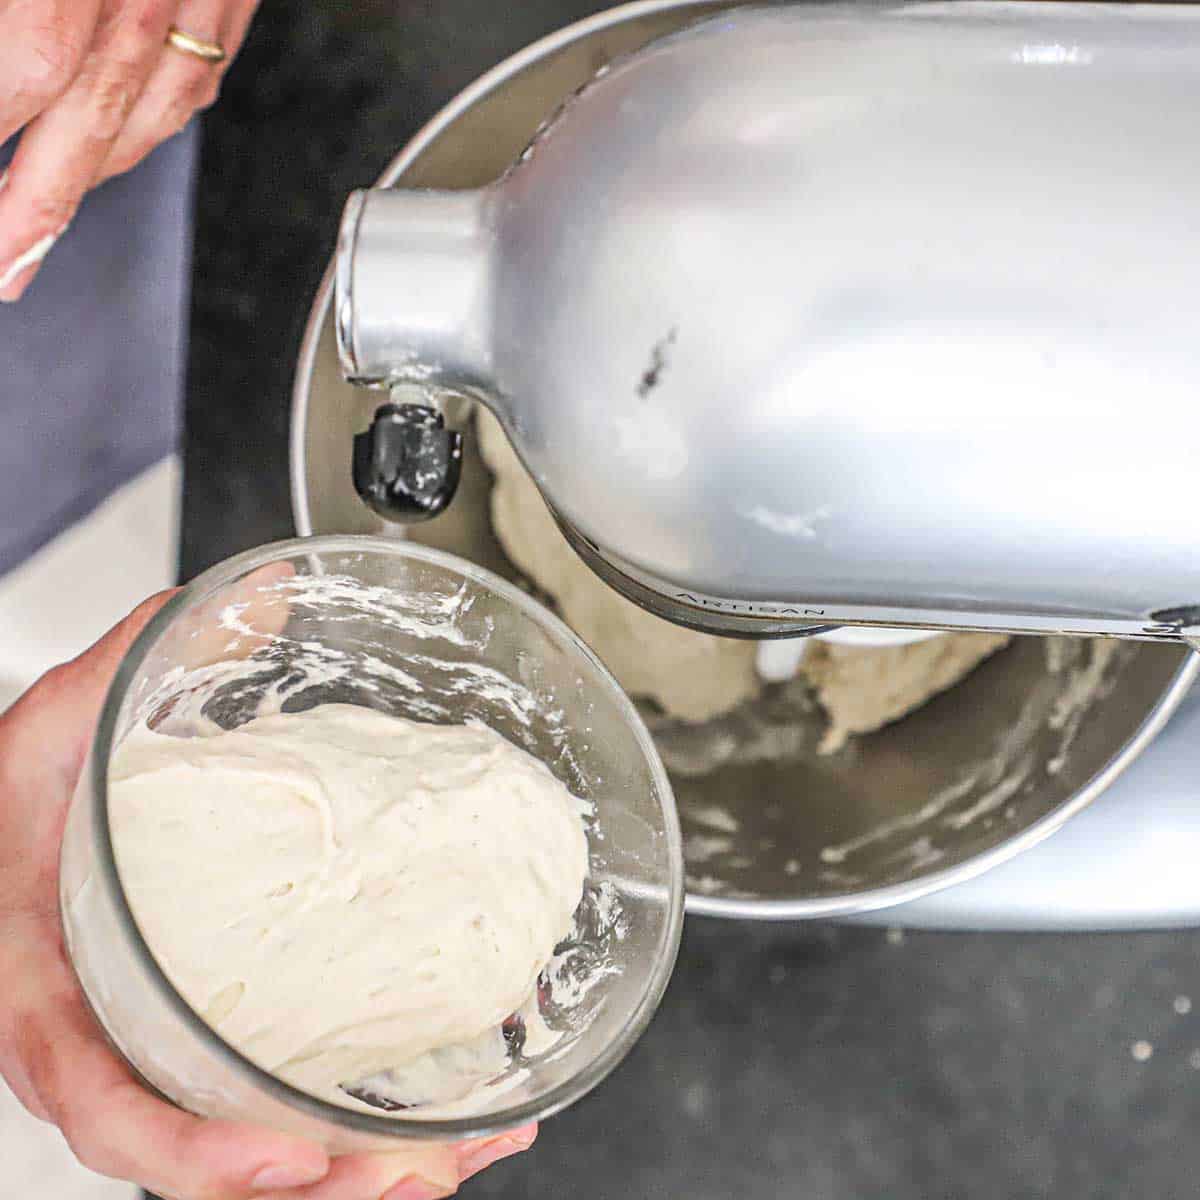
- Step 5: Remove the pan from the heat and add most of the hot liquid into the egg yolks, whisking constantly.

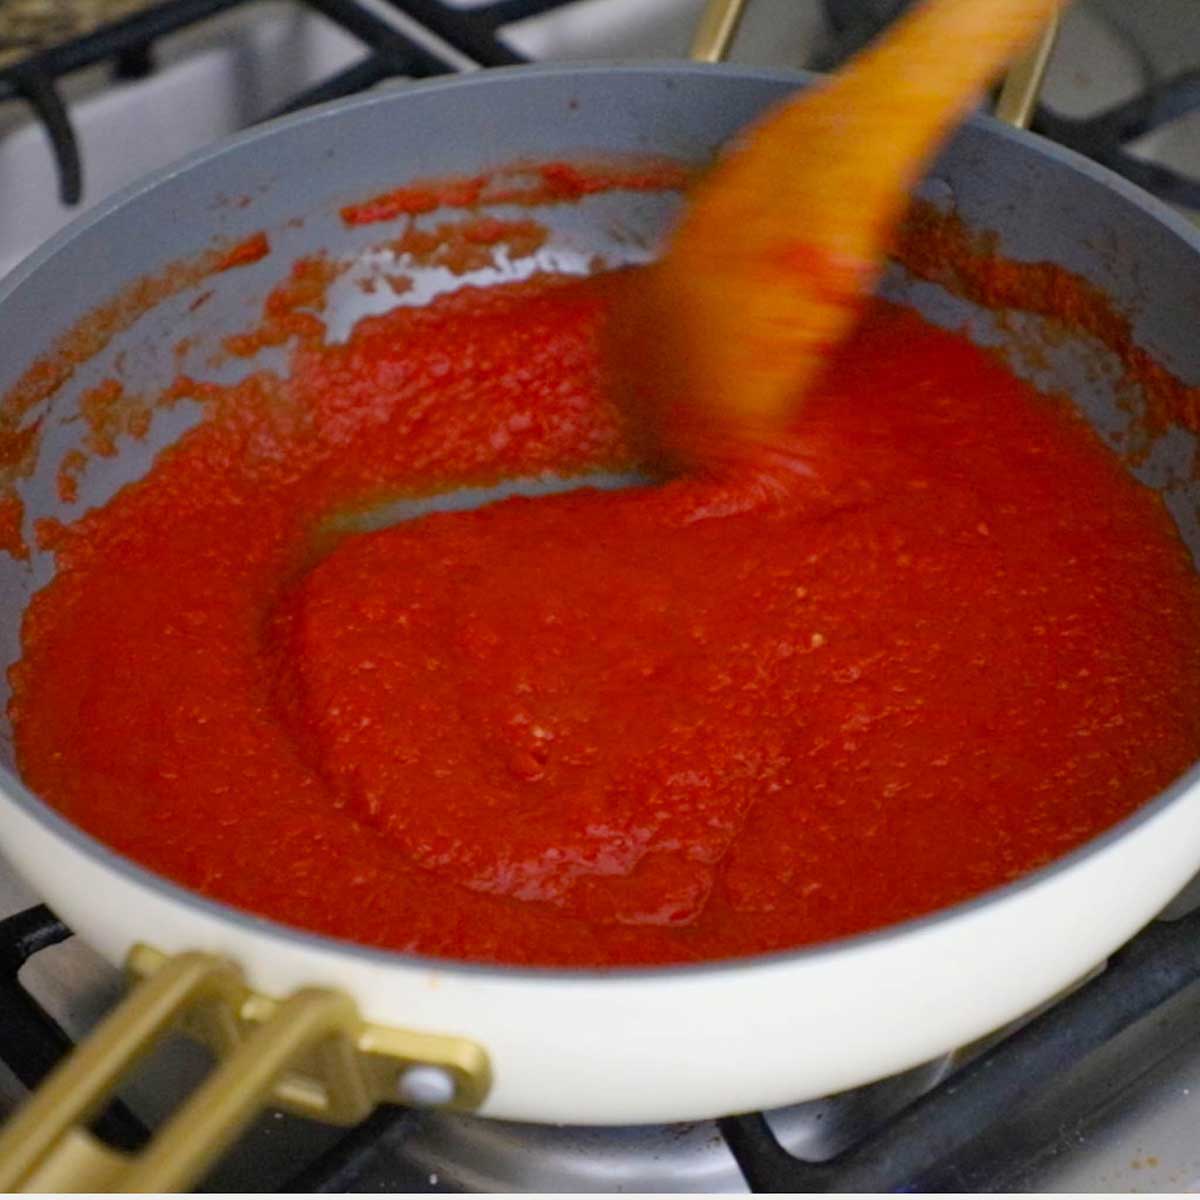
- Step 6: Pour the warm yolk mixture back into the saucepan and cook, whisking constantly, until thickened
Expert Tip
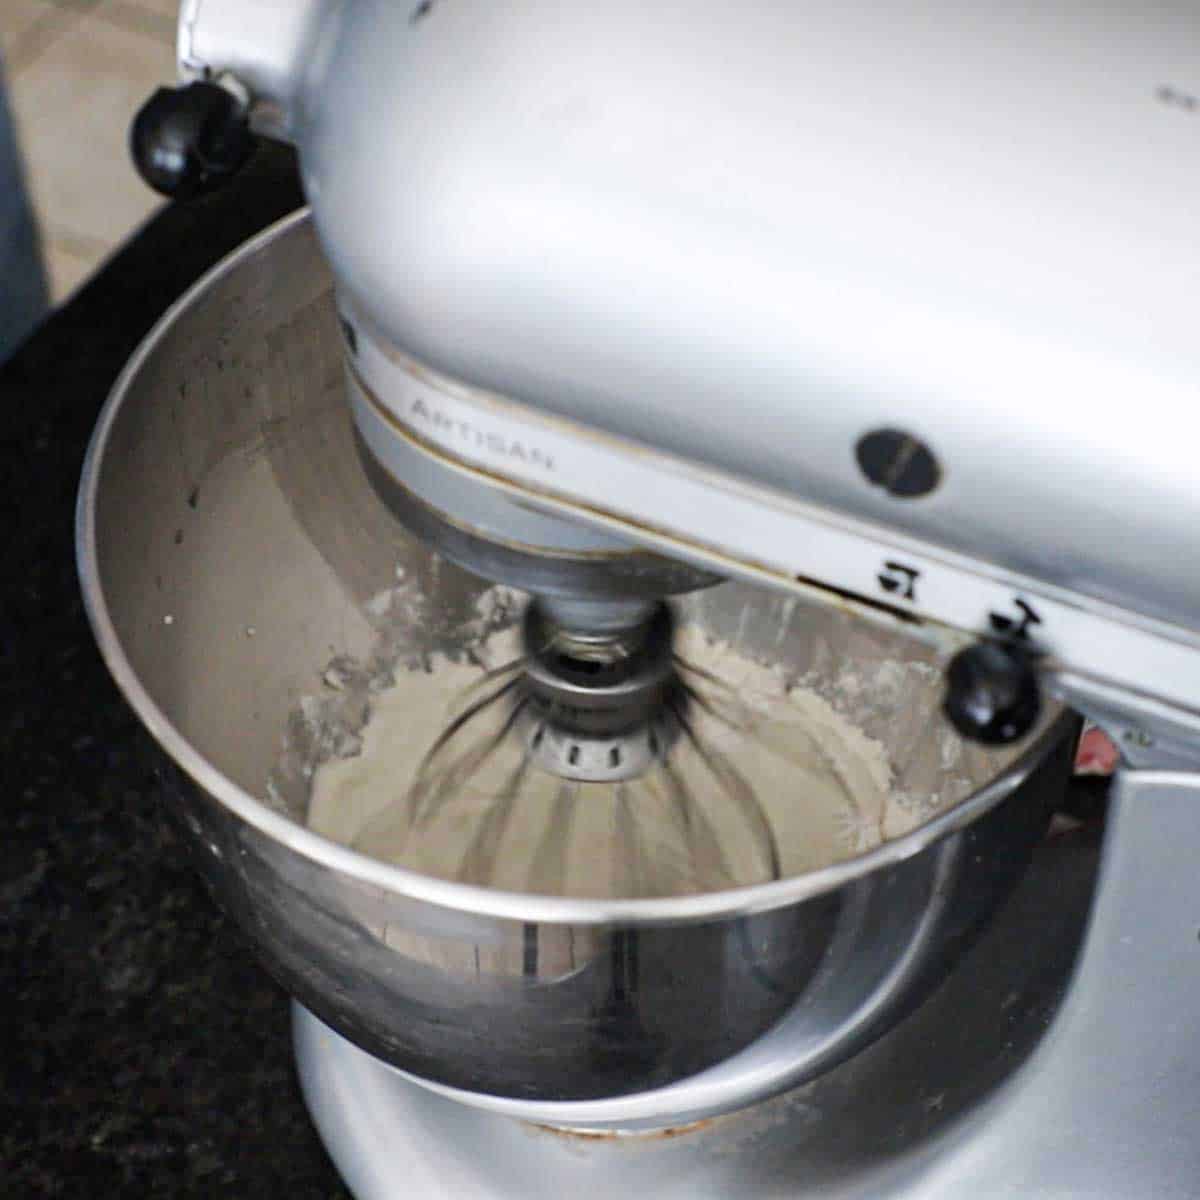
We used our electric Cuisinart 1½-quart ice cream maker in the video. You can double the recipe and churn this in an old-fashioned churn ice cream maker. Follow your manufacturer’s instructions before churning. Remember that you’ll need to allow time for the churned ice cream to freeze in the freezer for at least 3 hours before serving.
👨🍳 How To Make Churn Chocolate Ice Cream
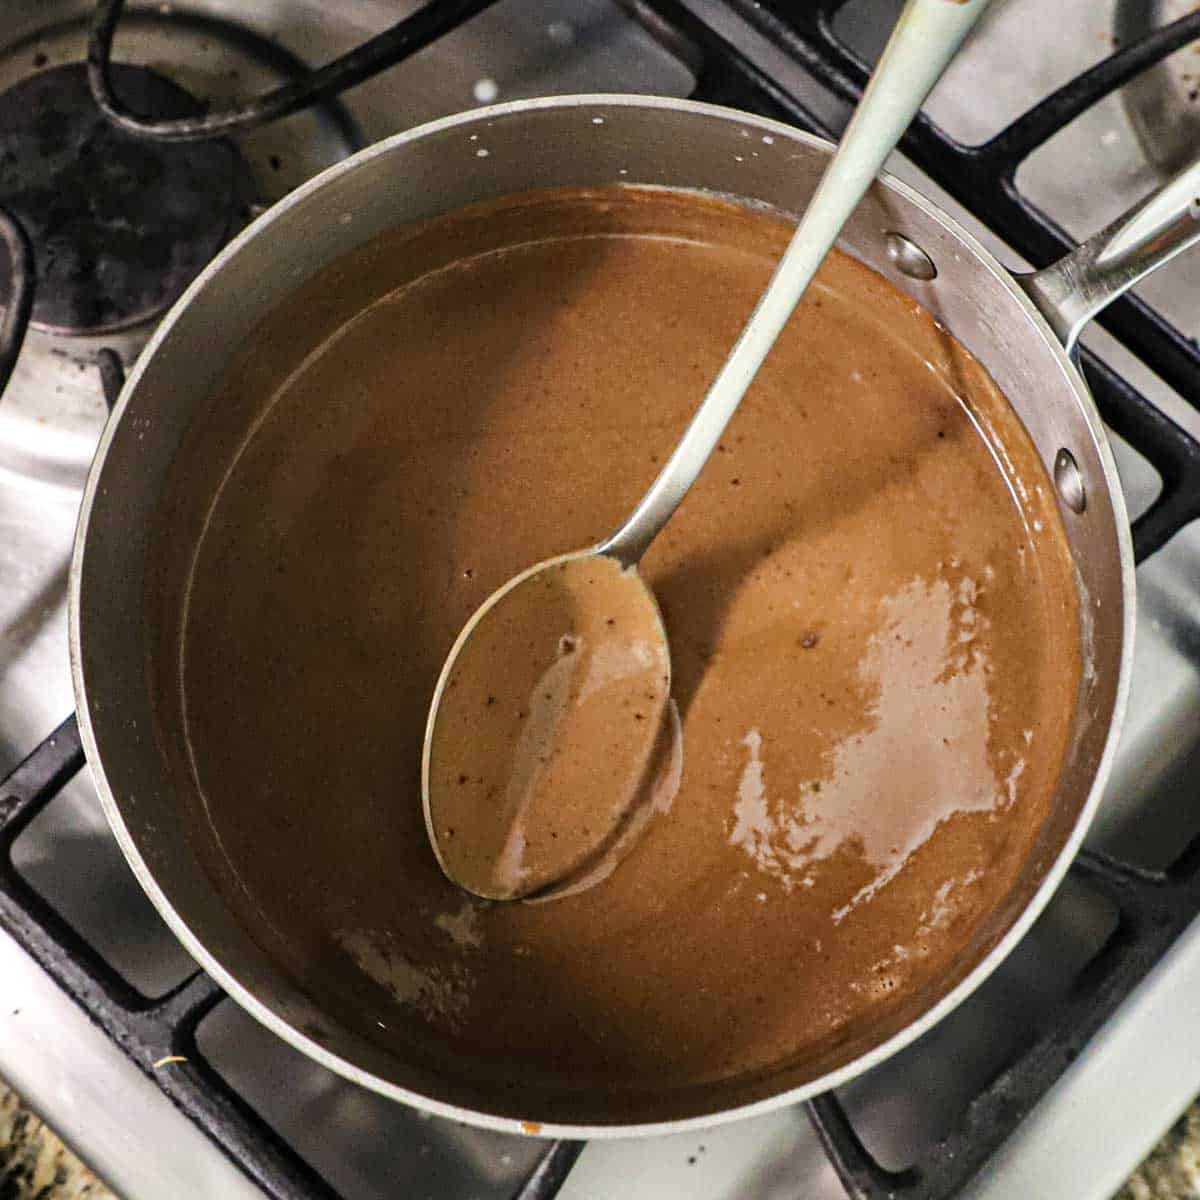
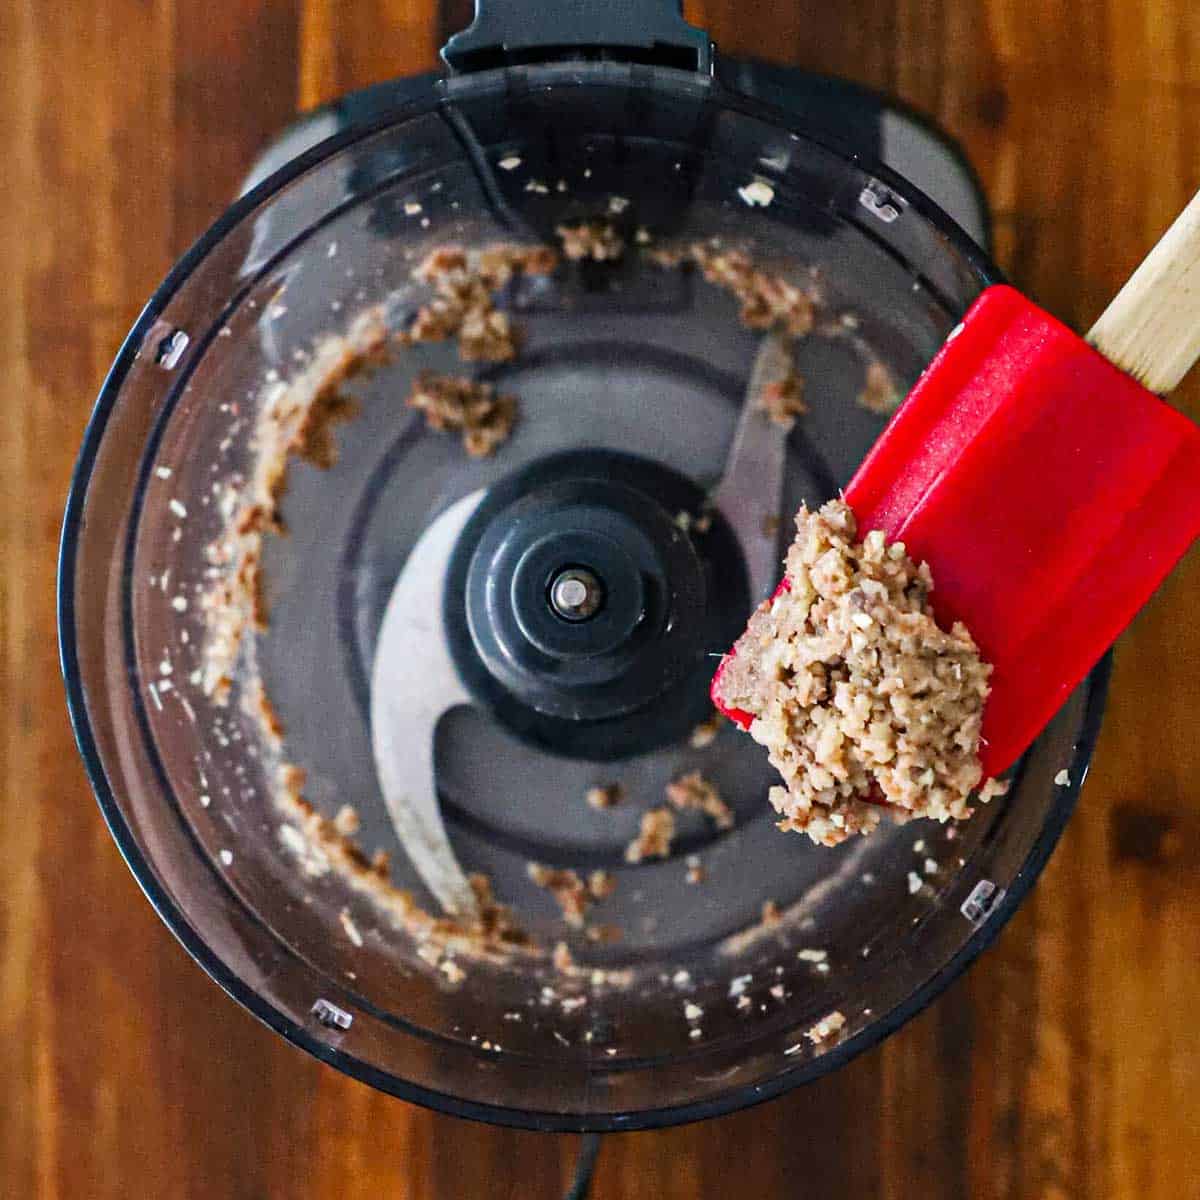
- Step 1: Simmer and stir until the custard coats the spoon.
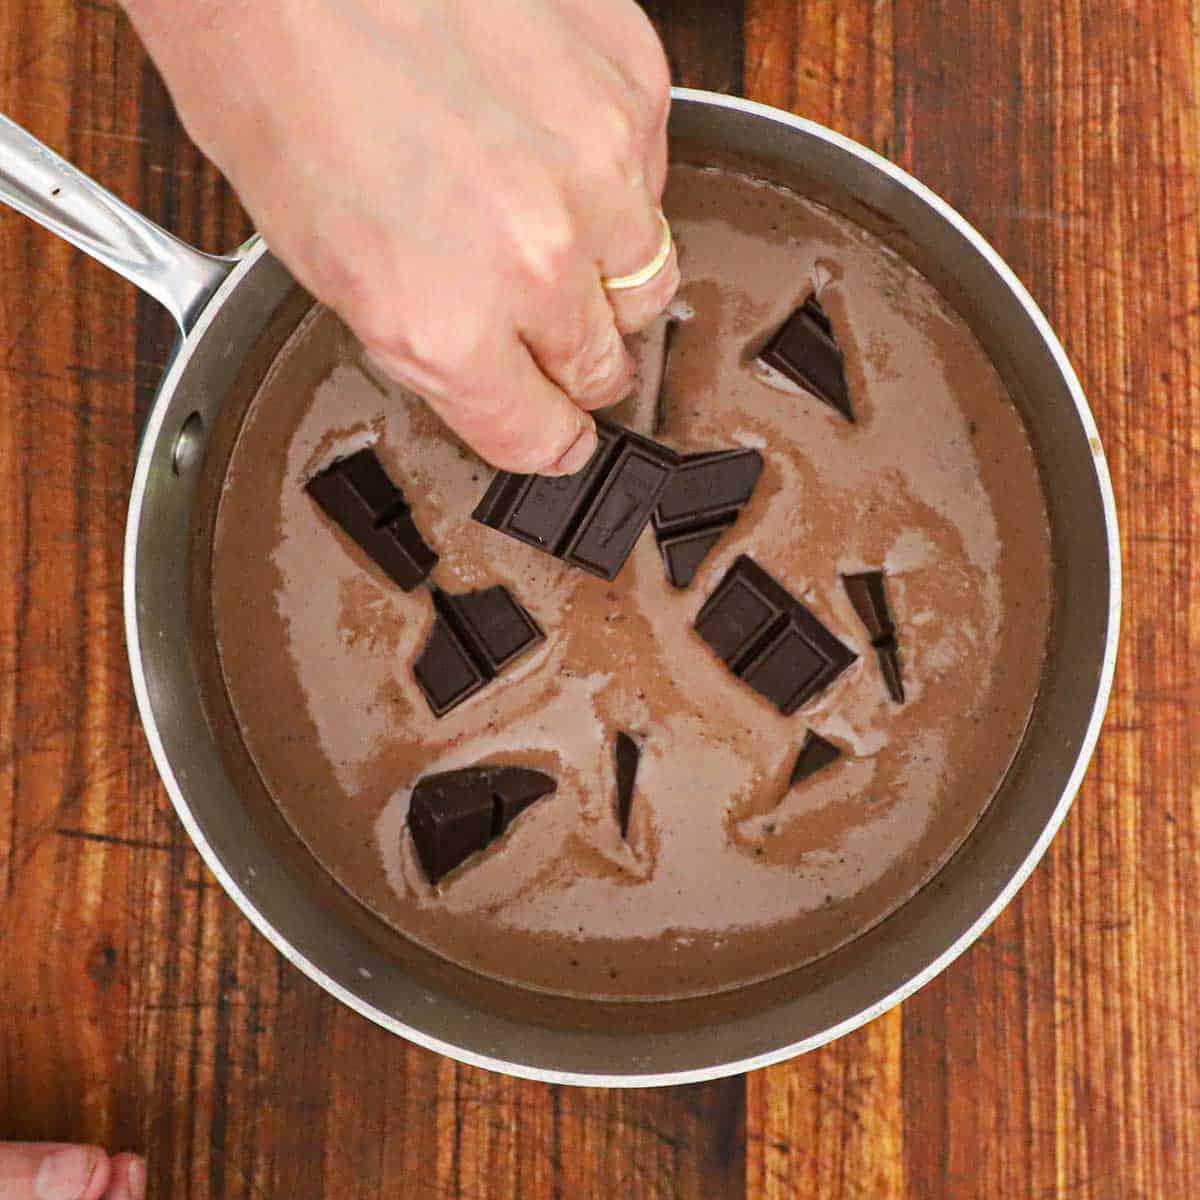
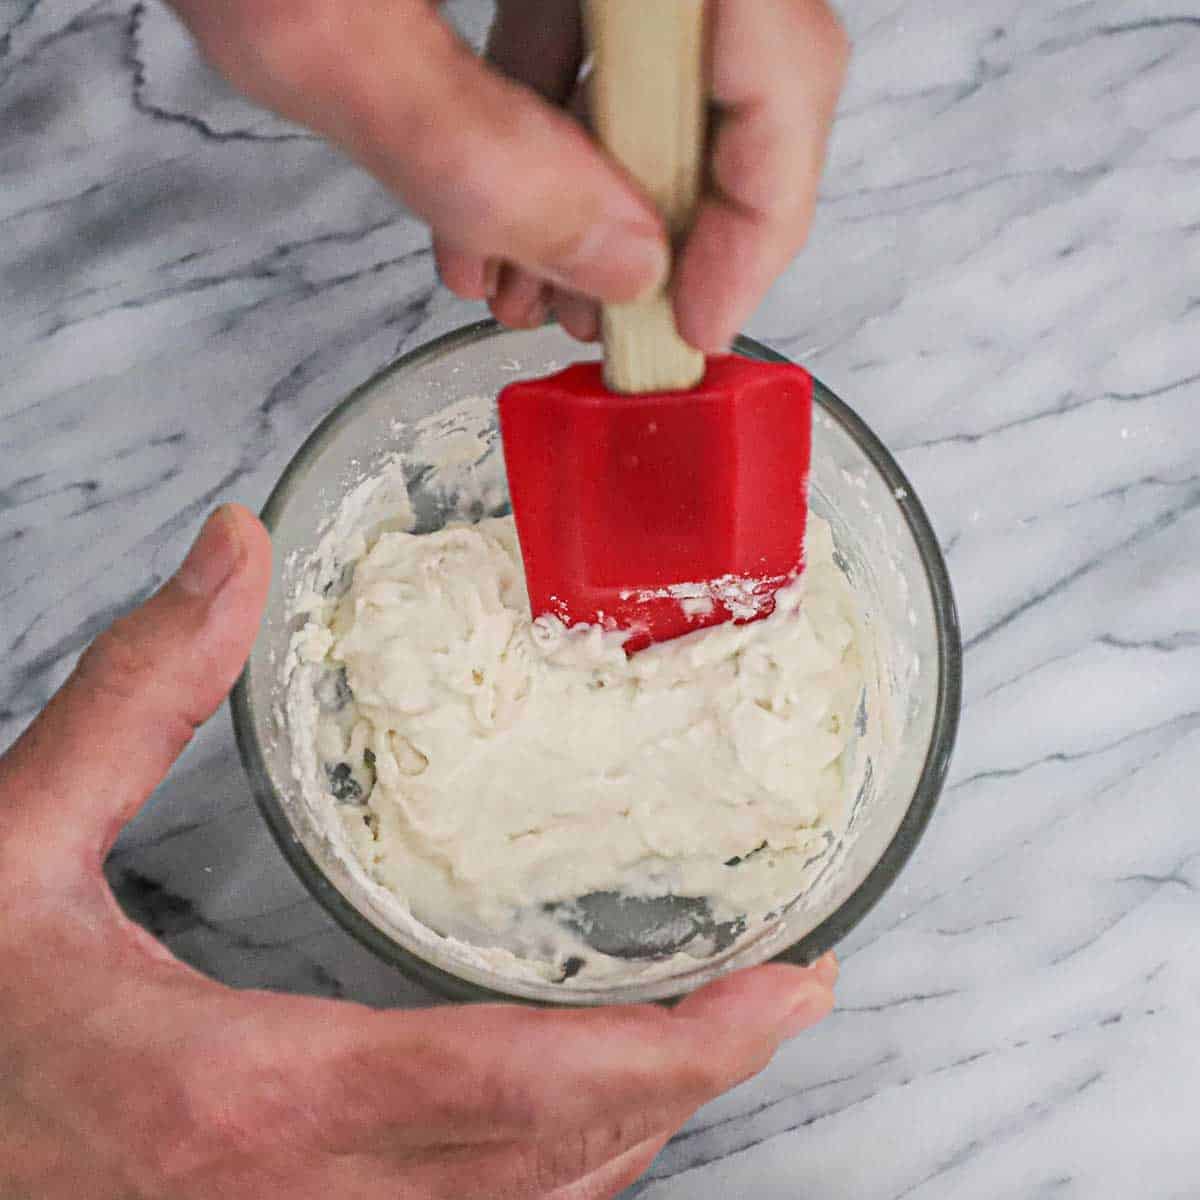
- Step 2: Add the chocolate and stir until smooth and completely melted.
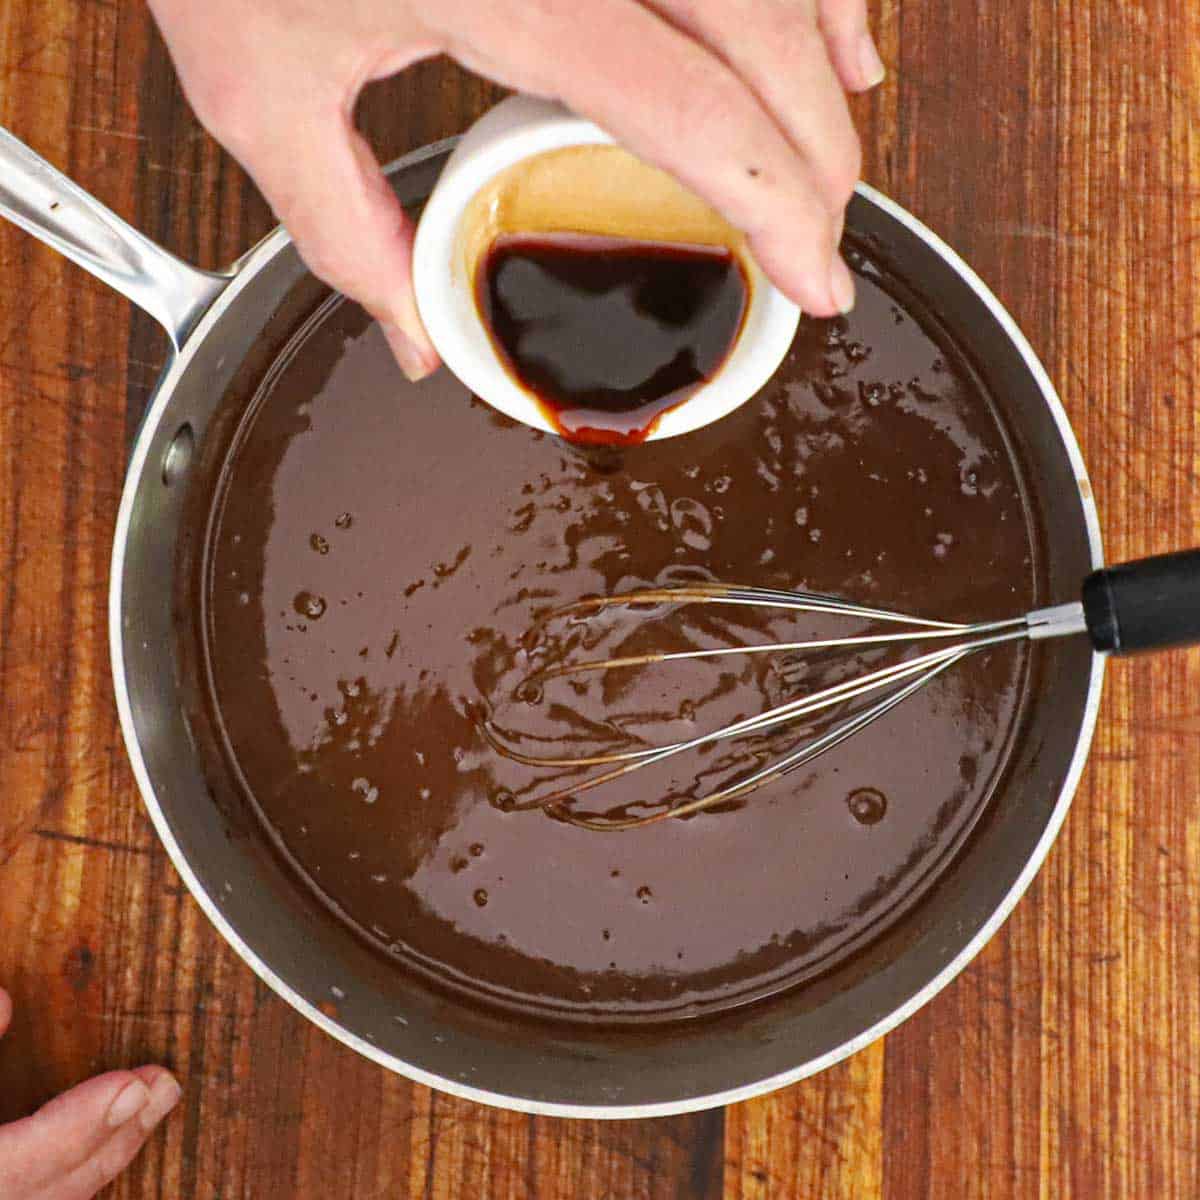
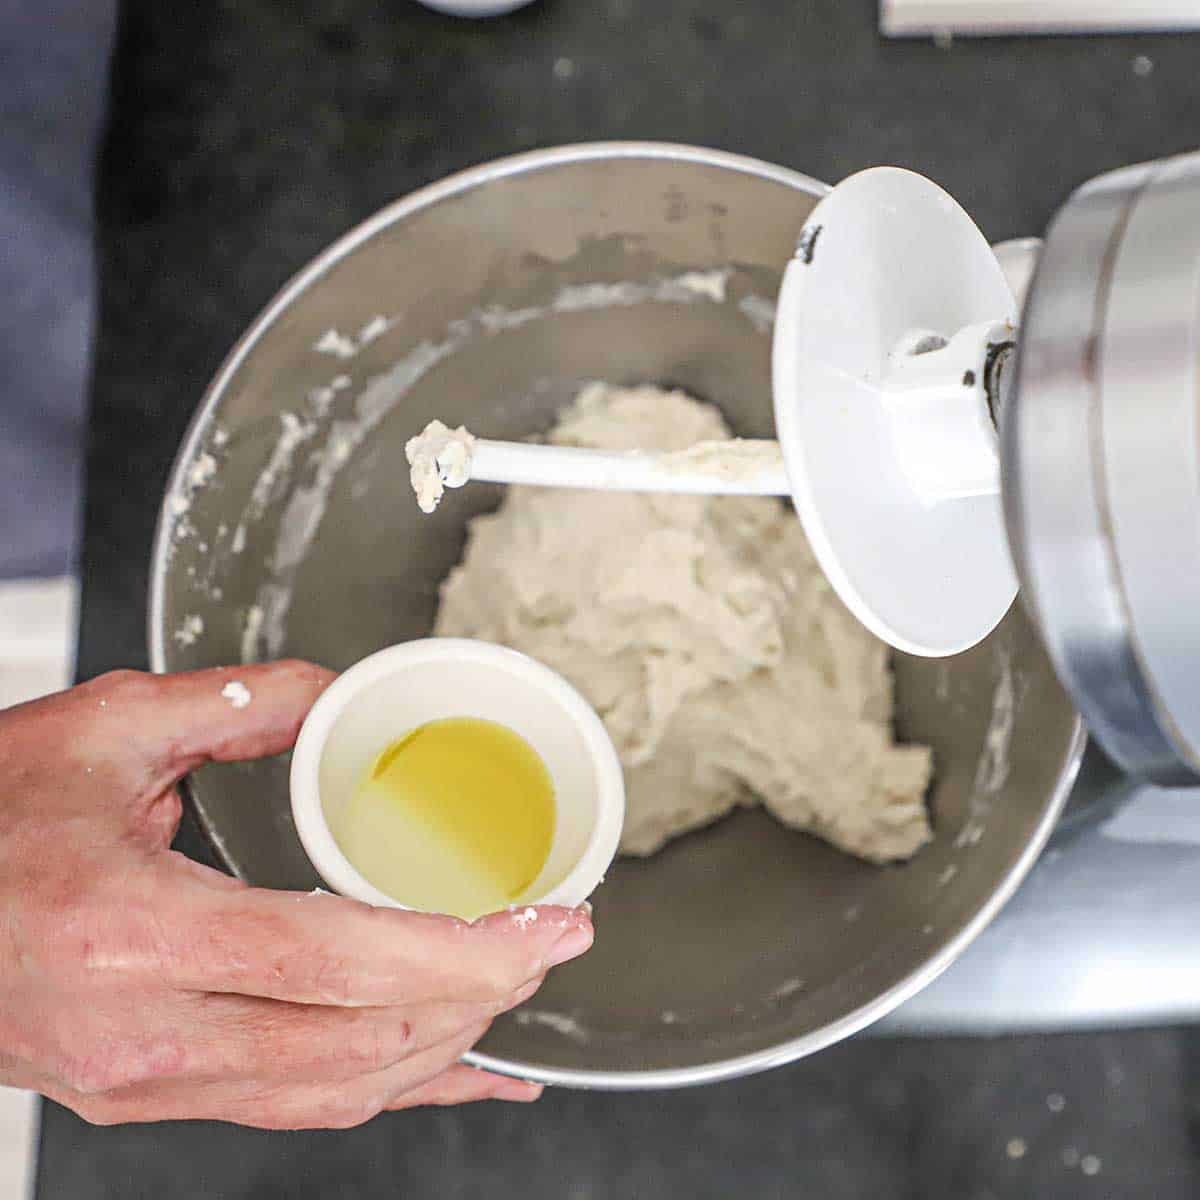
- Step 3: Stir in the vanilla.
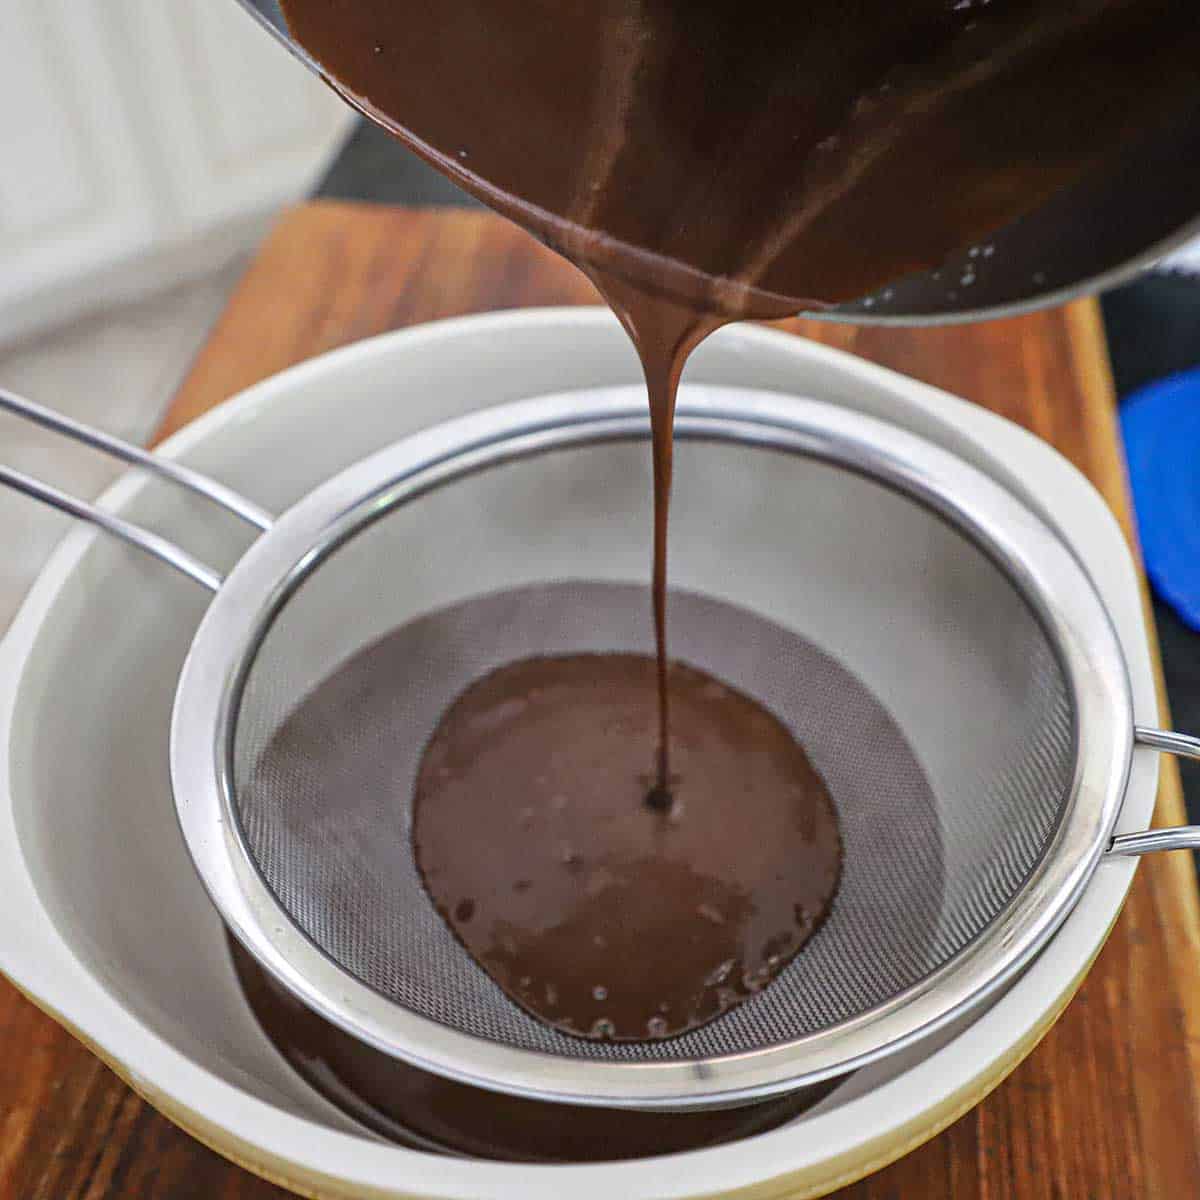
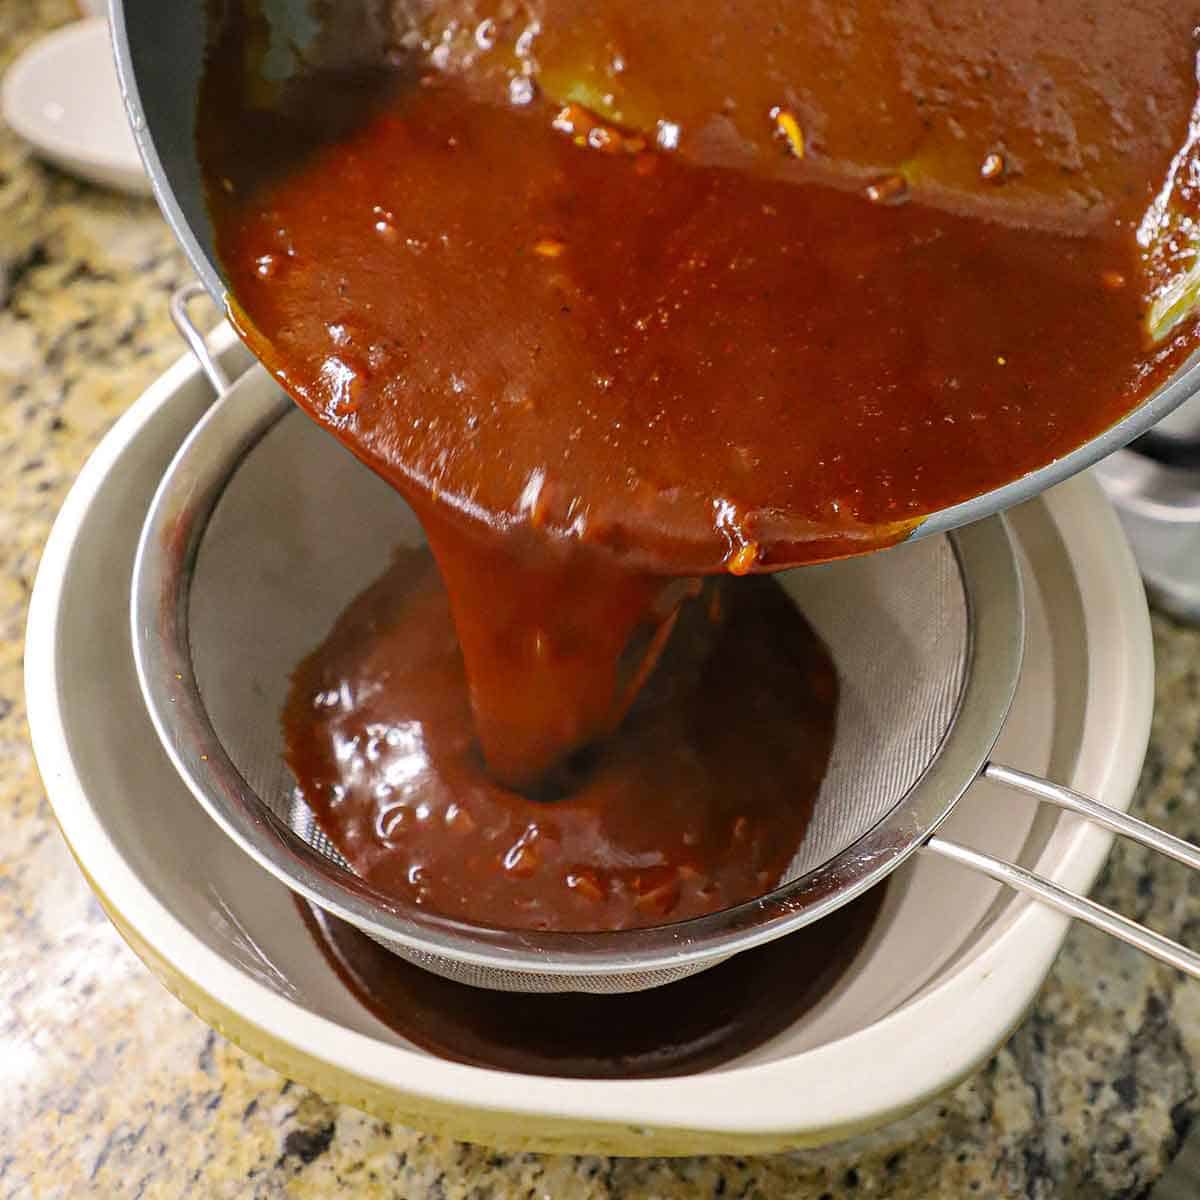
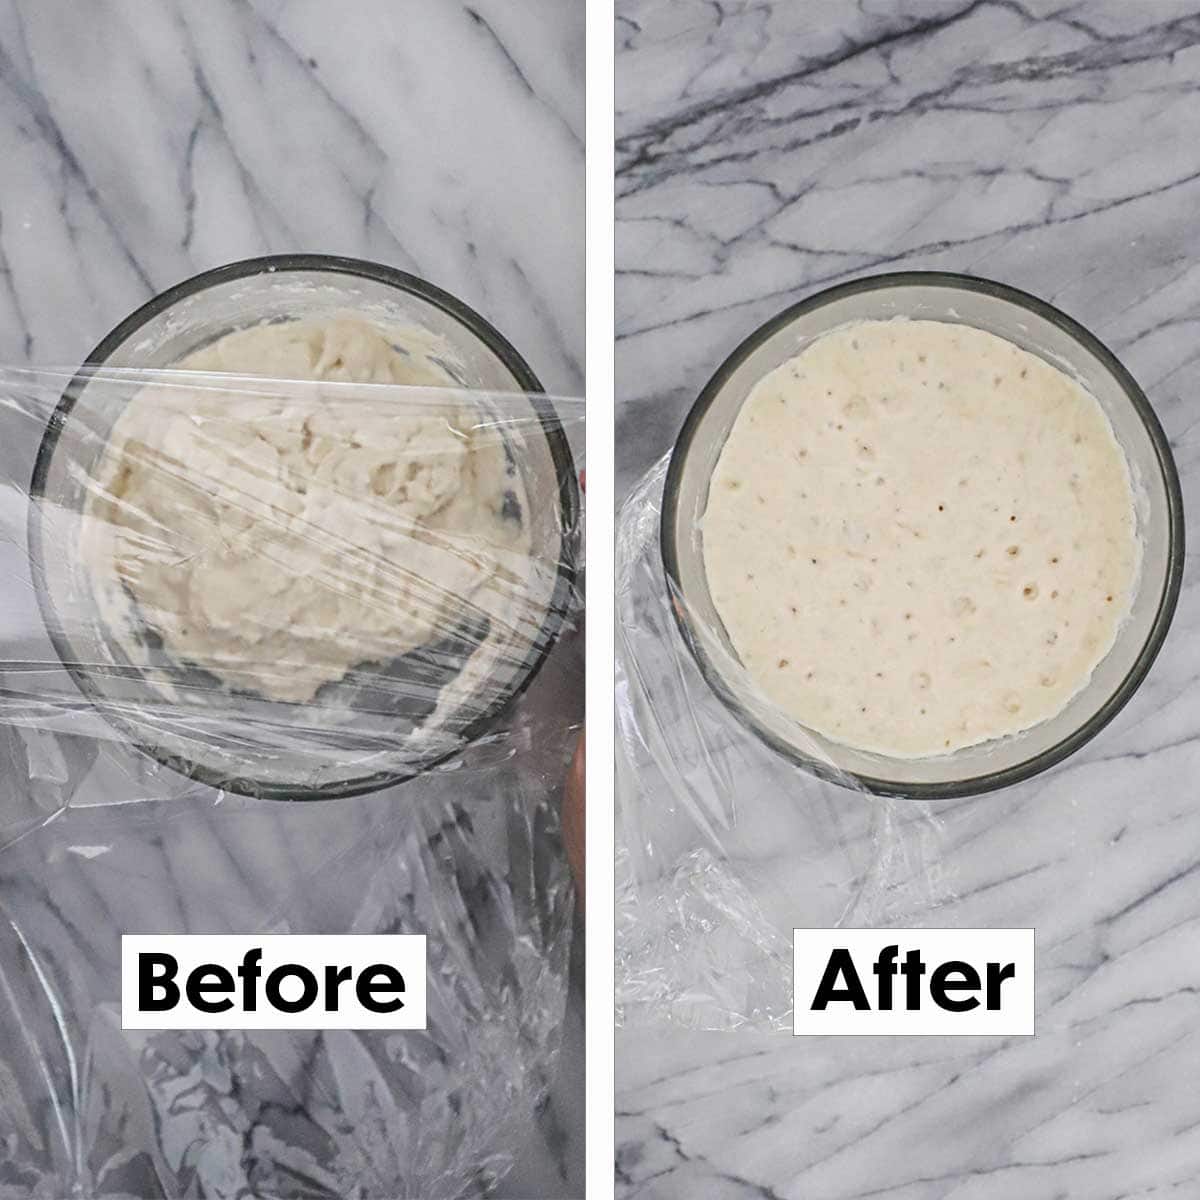
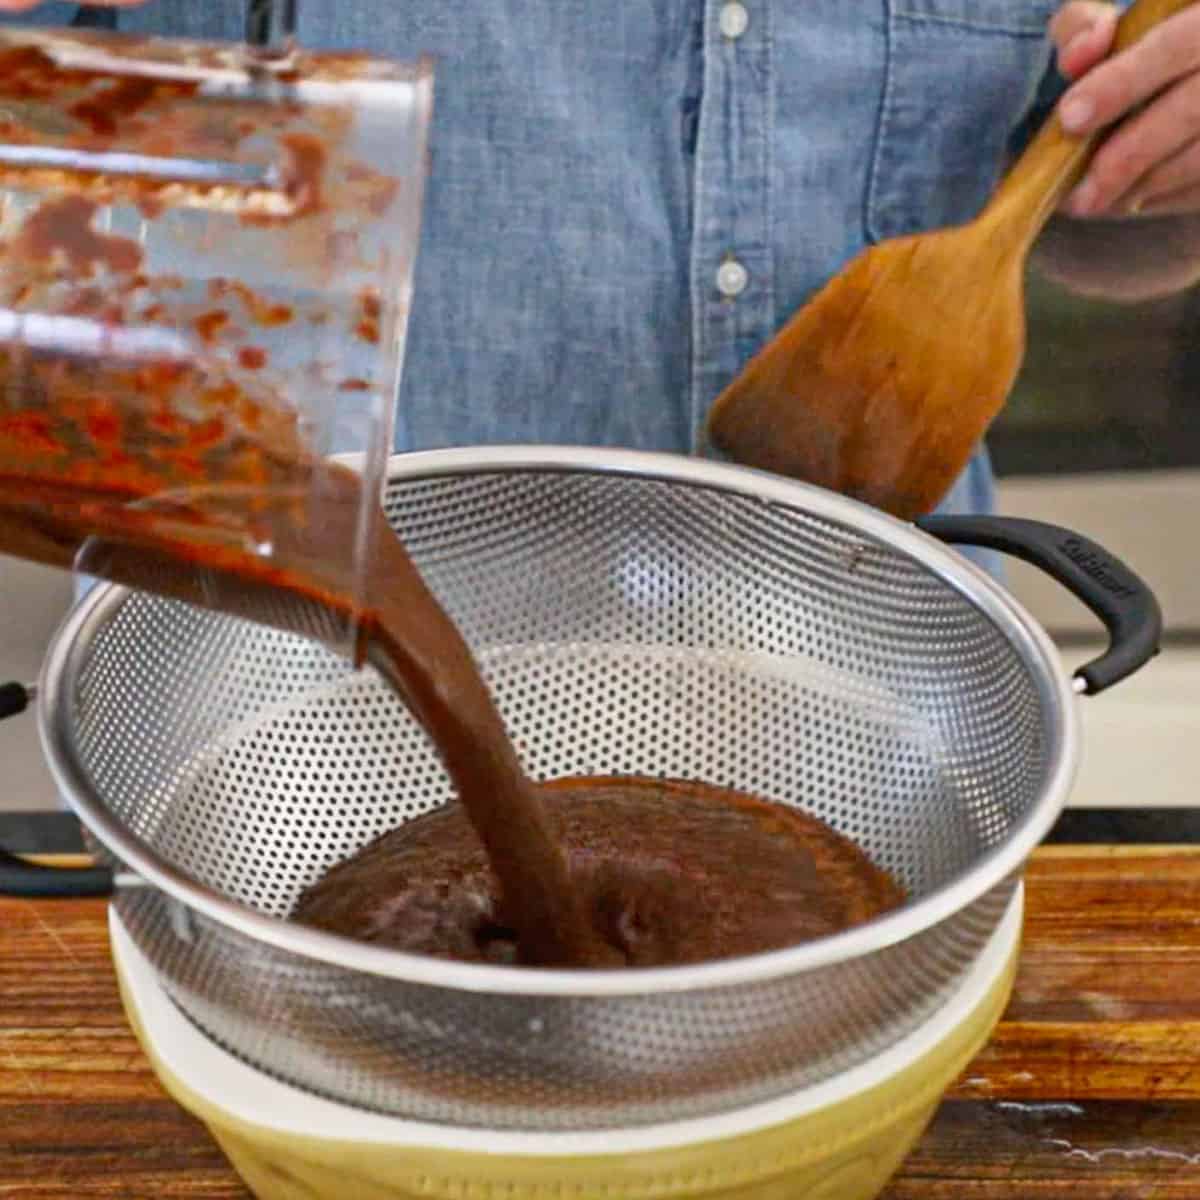
- Step 4: Pour the custard through a sieve into a bowl, chill in an ice bath, cover with plastic, and chill in fridge for 3 hours.
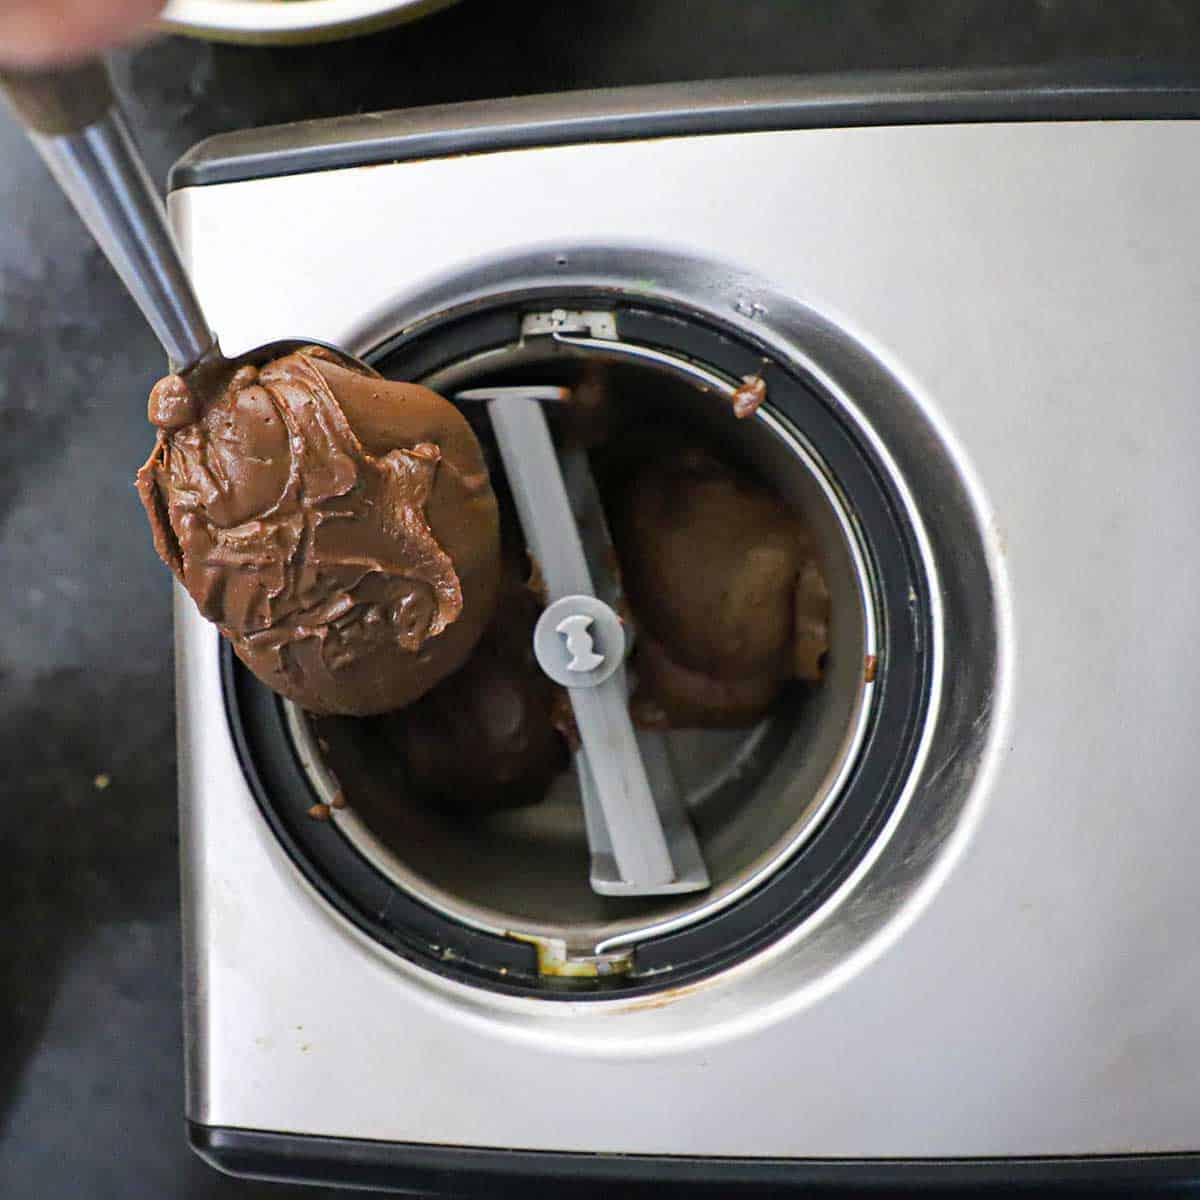
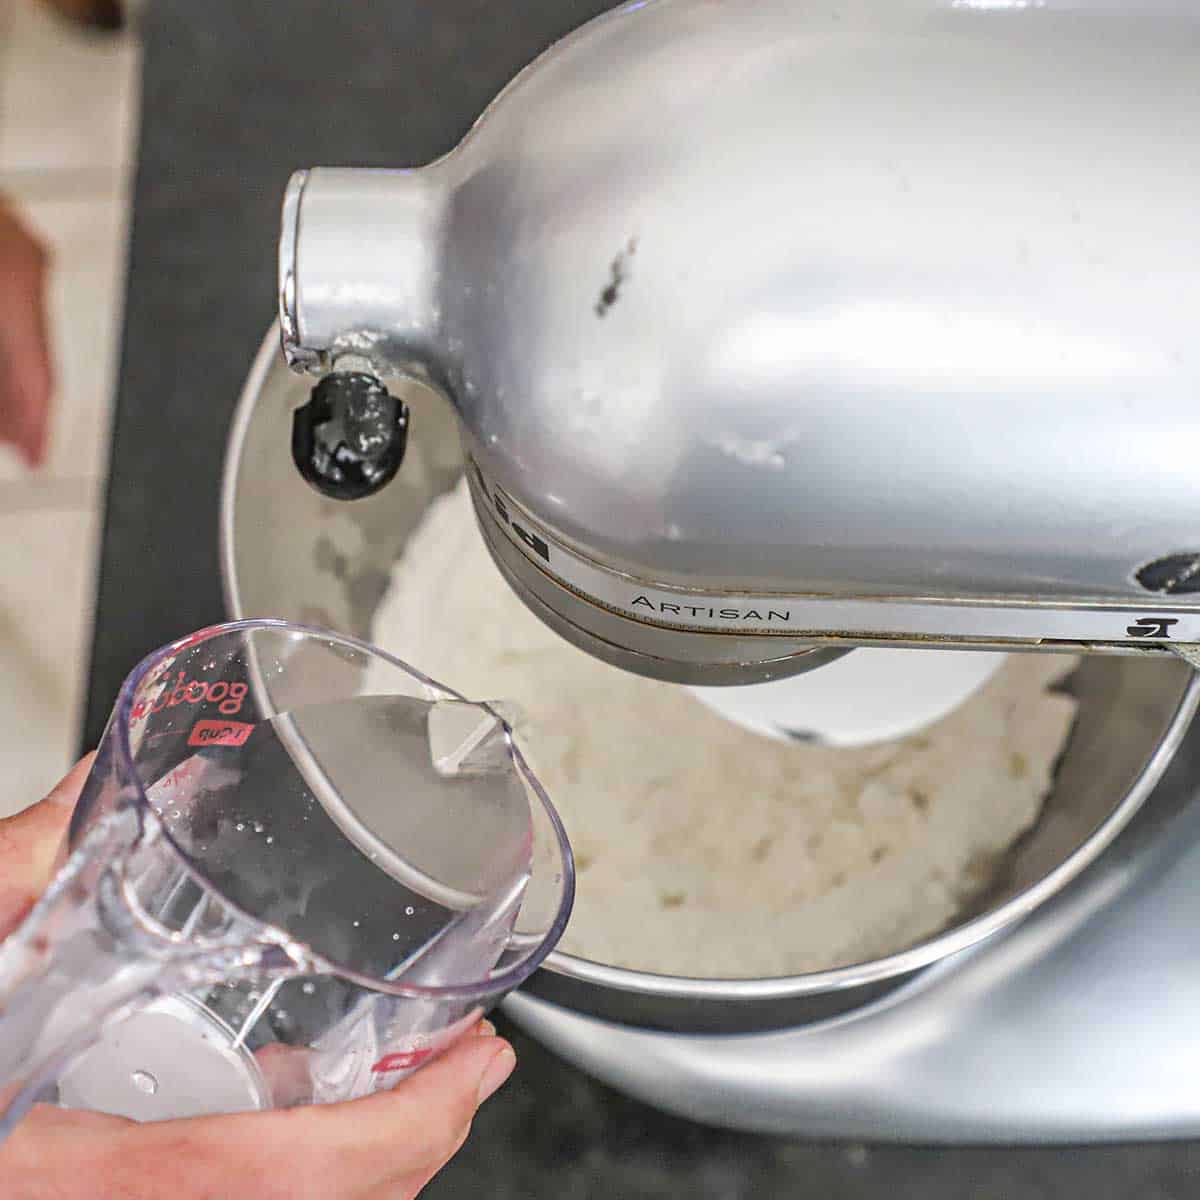
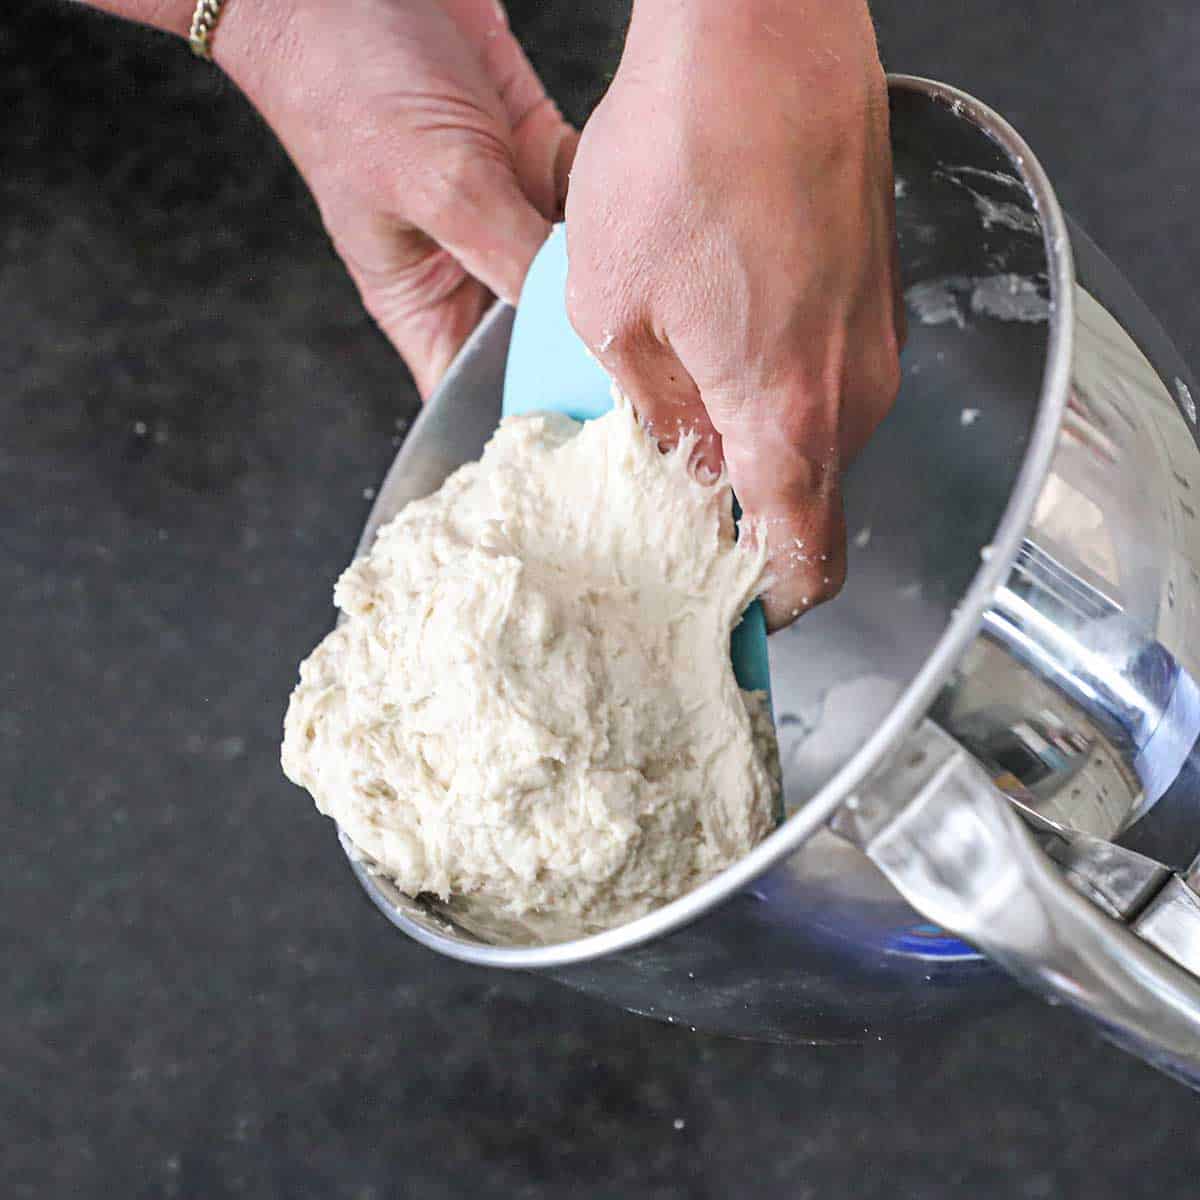
- Step 5: Churn according to manufacturers’ instructions.
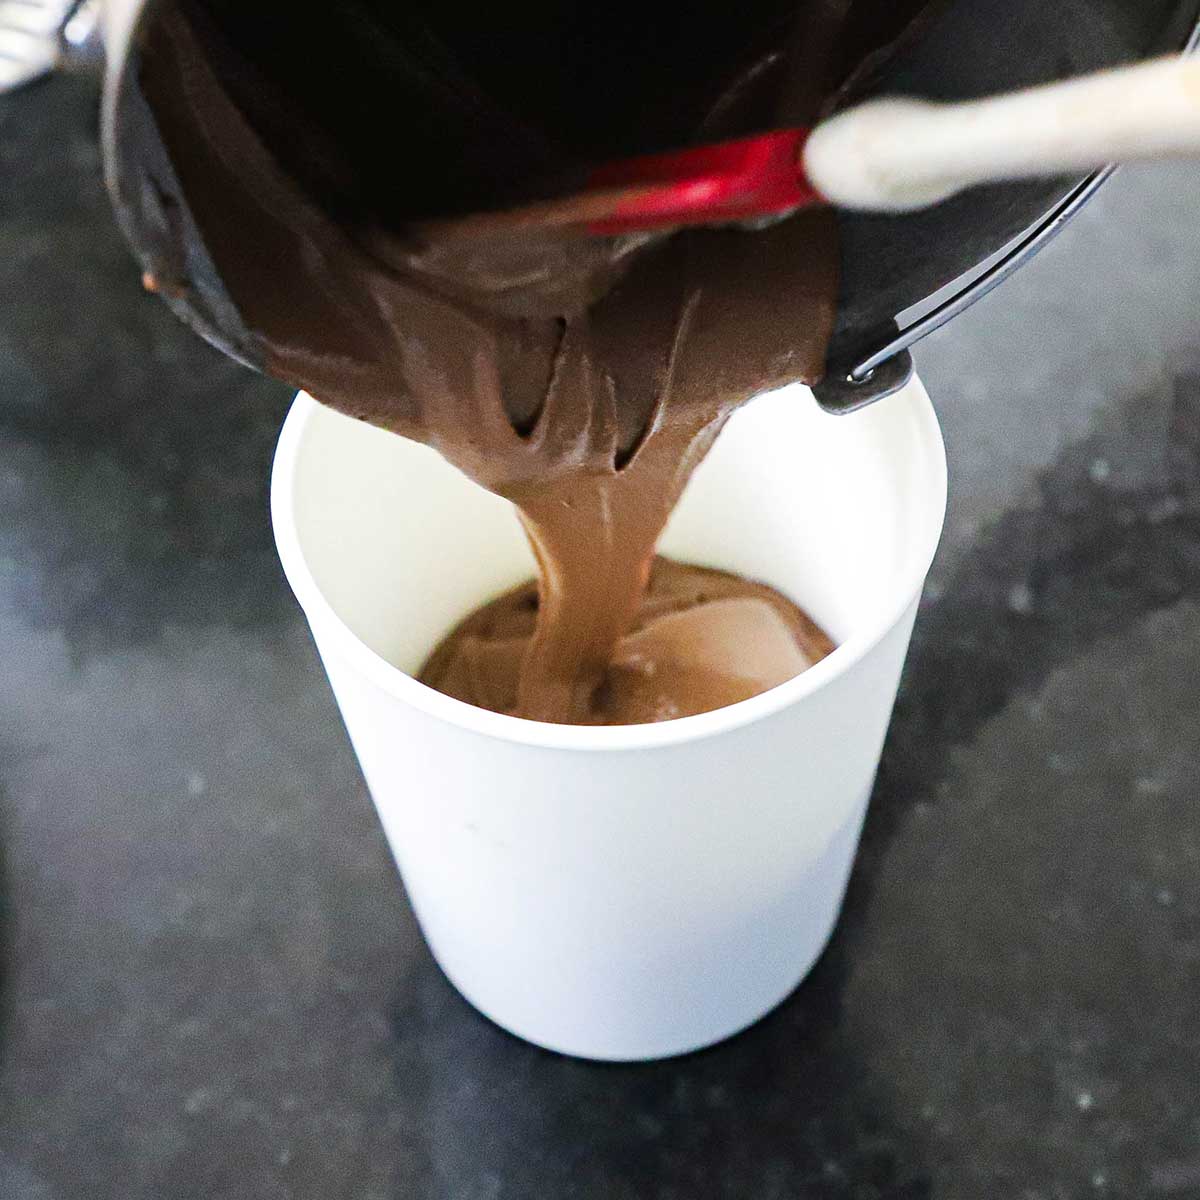
- Step 6: Add to a plastic container and freeze for 3 hours or overnight.
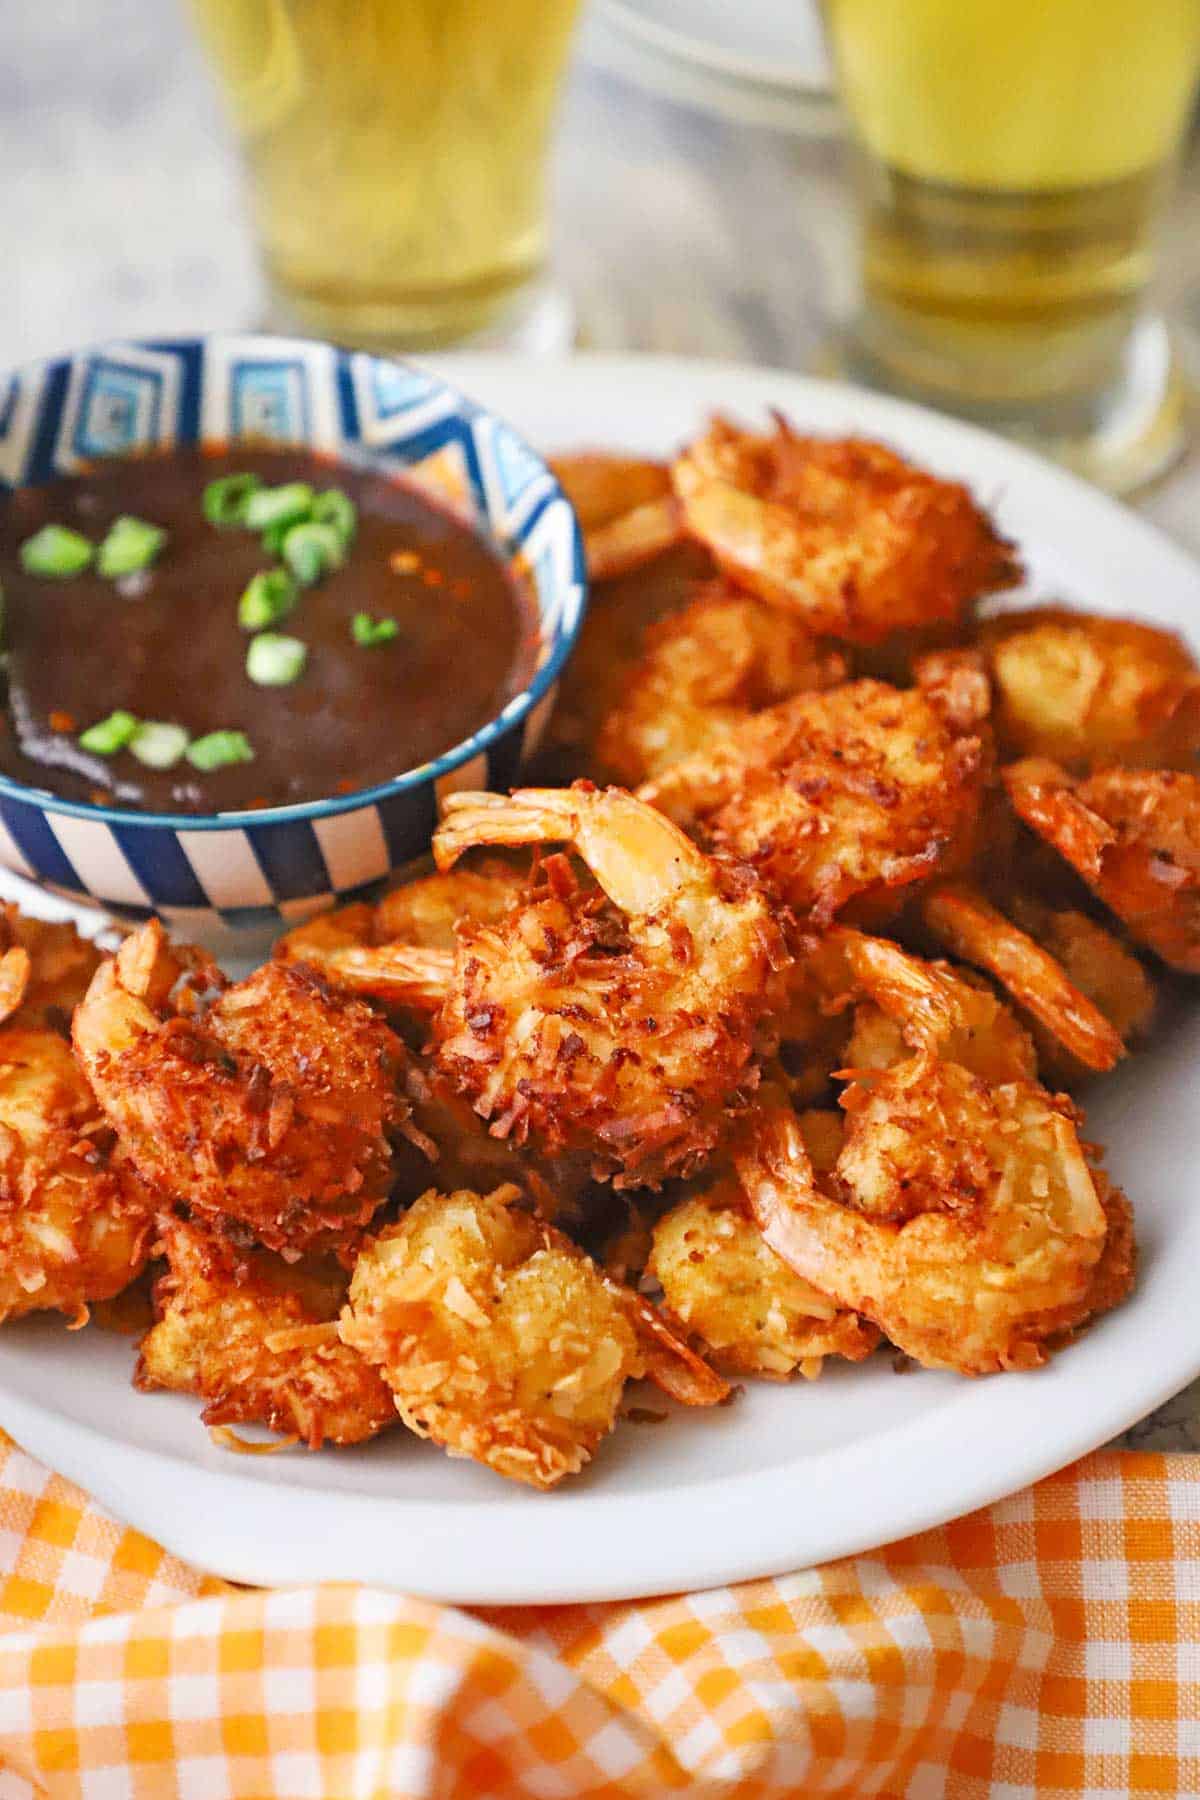
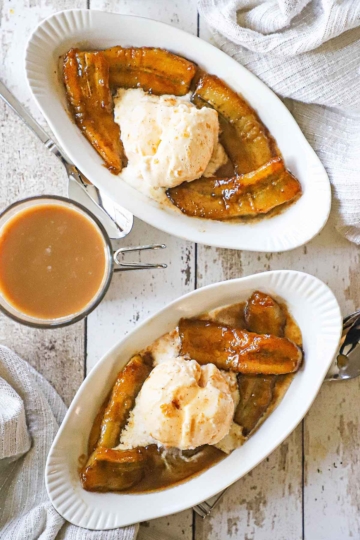
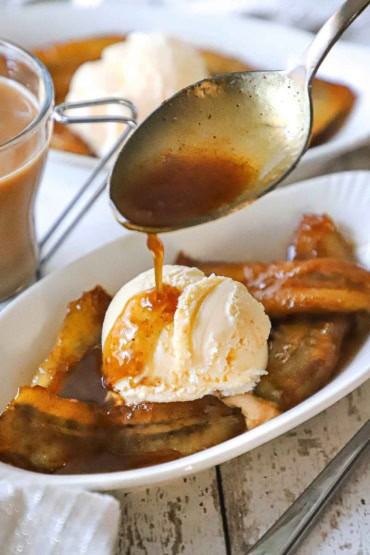
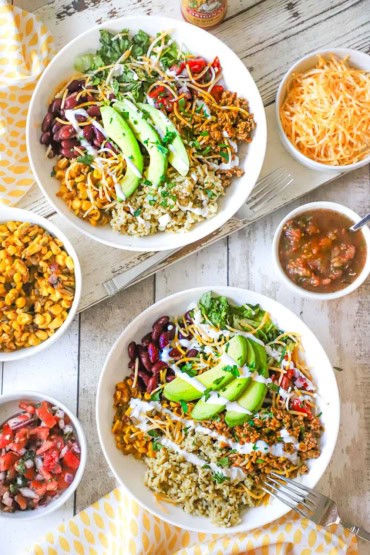
🍦 How To Serve
- We recommend transferring the churned cream into ice cream containers before placing them in the freezer. They are ideal for freezing and are fun to serve the ice cream from.
- The ice cream will be quite hard after it fully freezes. Allowing the ice cream container to sit out at room temperature for 15 to 20 minutes makes scooping much easier.
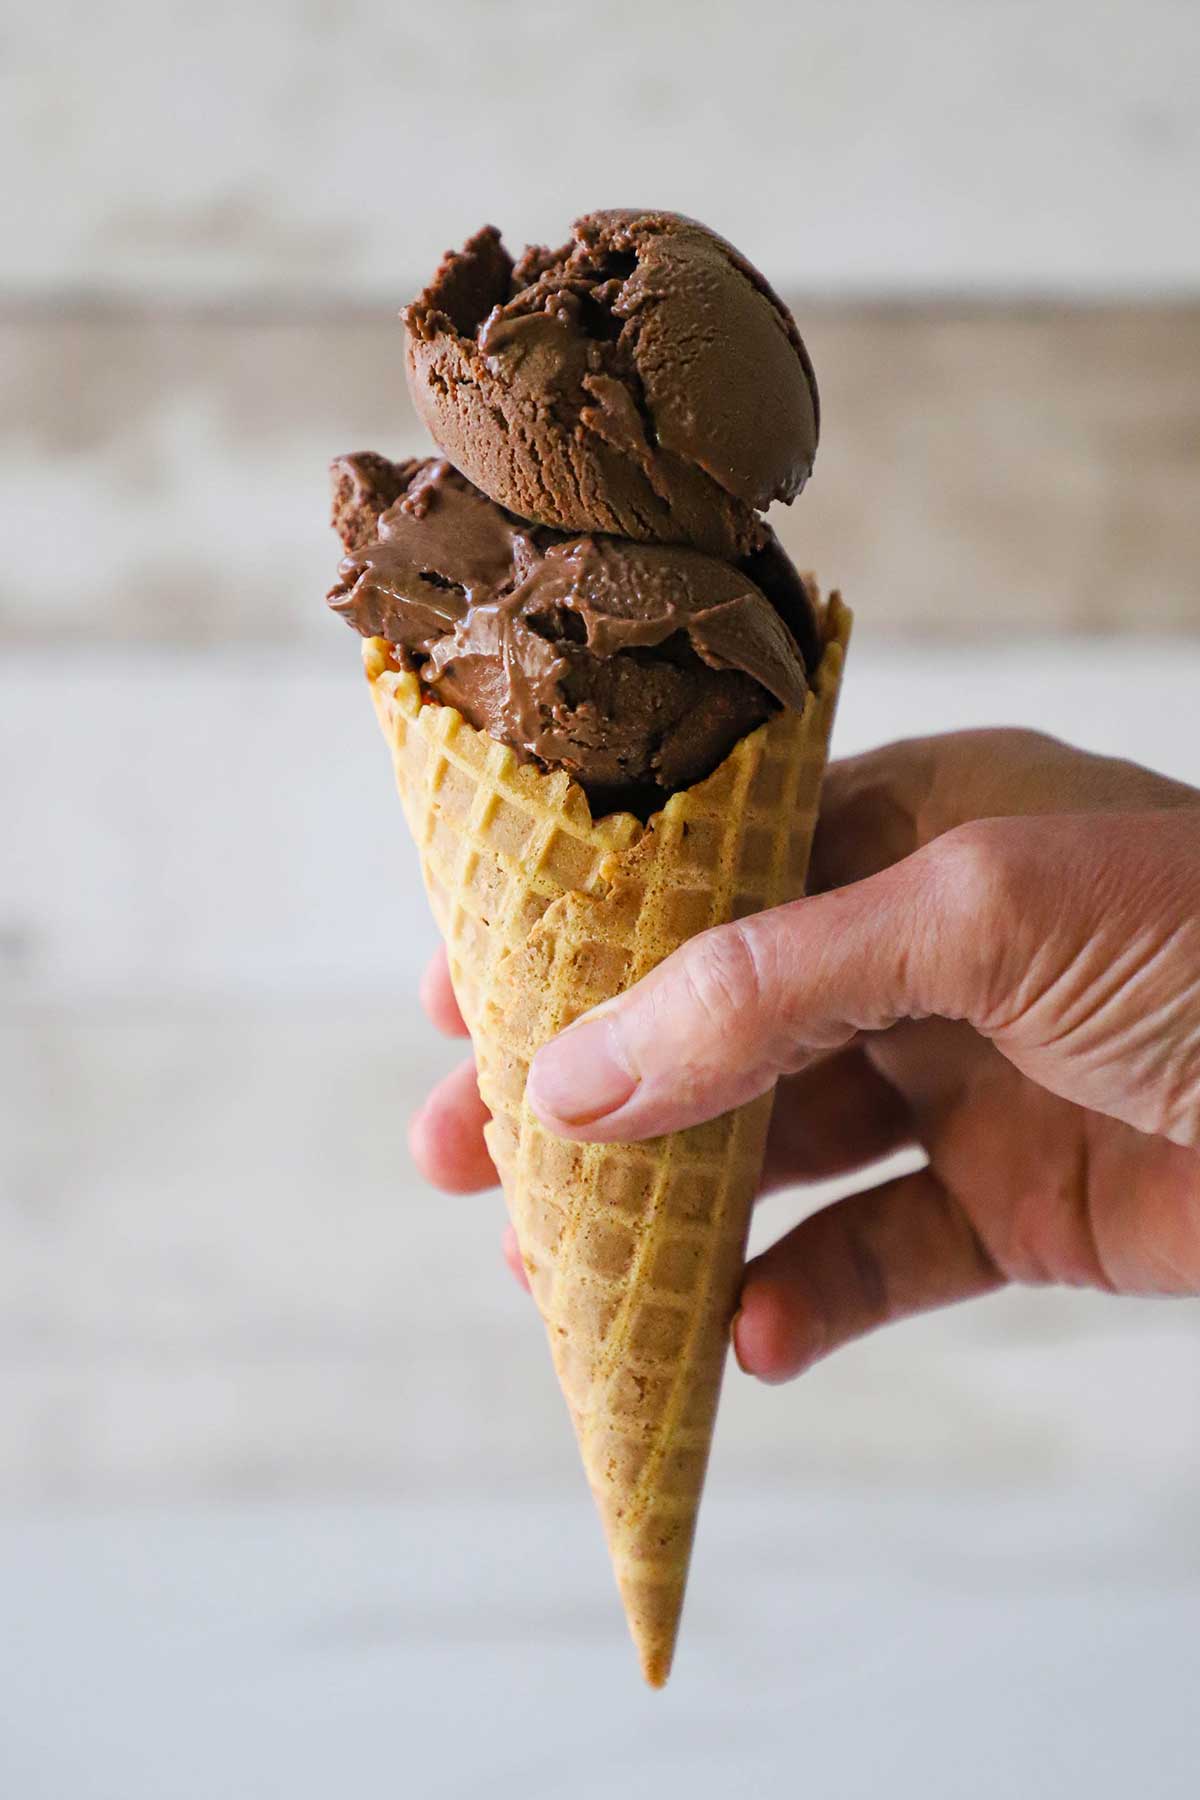
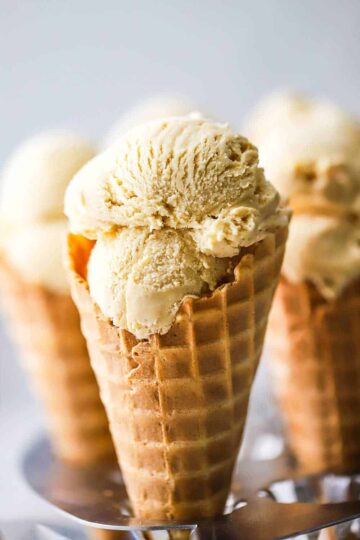
- The ice cream is scrumptious, served in a bowl or in a festive cone, which can be found in the ice cream section of most supermarkets.
🙋🏽♂️ Frequently Asked Questions
Using high-quality cocoa powder, heavy cream, and adding a bit of melted chocolate or an easy chocolate sauce can enhance the richness and creaminess.
When stored properly in an airtight container, homemade chocolate ice cream can last up to 2 weeks in the freezer without losing its flavor or texture.
To reduce calories, try using low-fat milk or yogurt instead of heavy cream, opt for a sugar substitute, and use unsweetened cocoa powder for rich chocolate flavor without added fat or sugar.
🍨 Other Classic Ice Cream Recipes
Ready to make the best homemade ice cream on the block? Go for it!
And when you do, be sure to take a photo of it, post it on Instagram, and tag @HowToFeedaLoon and hashtag #HowToFeedaLoon!
Homemade Chocolate Ice Cream
Equipment
Ingredients
- 1½ cups whole milk
- 1½ cups heavy cream
- ⅔ cup sugar
- 4 large egg yolks
- 3 tablespoon unsweetened cocoa powder
- 6 oz semisweet chocolate roughly chopped
- 2 teaspoon vanilla extract
Instructions
- In a medium saucepan, over no heat, combine the milk (1½ cups), 1 cup of the cream, and the sugar.1½ cups whole milk, 1½ cups heavy cream, ⅔ cup sugar
- In a large bowl, whisk together the egg yolks and the remaining ½ cup of cream until blended. Add the cocoa powder and whisk until fully mixed and no lumps are visible.4 large egg yolks, 3 tablespoon unsweetened cocoa powder
- Place the saucepan over medium heat and cook, stirring often, until bubbles form around the edges of the pan and the sugar dissolves, about 4 to 5 minutes. Do not allow it to boil. Remove from heat.
- Slowly pour about ¾ of the warm cream mixture into the bowl with the egg yolks, whisking constantly. Now, slowly pour the yolk mixture into the saucepan with the remaining warm cream, still whisking. Place the saucepan back over medium heat and cook, stirring constantly, until the custard is thick enough to coat the back of the spoon, about 4 to 5 minutes. Do not boil.
- Remove the saucepan from the heat. Add the chocolate to the custard and let it rest for 1 to 2 minutes. Then, gently stir until the chocolate is melted and the custard is smooth. Stir in the vanilla until blended.6 oz semisweet chocolate, 2 teaspoon vanilla extract
- Pour the warm custard through a sieve into a clean bowl, gently pressing the liquid through the sieve, leaving any grainy solids in the sieve.
- Place the bowl of custard in an ice bath in a large bowl for 30 to 45 minutes. Place a piece of plastic wrap directly onto the surface of the custard and over the sides of the bowl. Refrigerate for at least 3 hours, or preferably overnight.
- Prepare your ice cream maker with at least a 1-quart capacity according to the manufacturer's directions. Pour the custard into the ice cream maker and churn until the custard reaches the consistency of thick cream.
- Transfer to a plastic freezer container with a lid and freeze until frim, at least 3 hours, or preferably overnight.