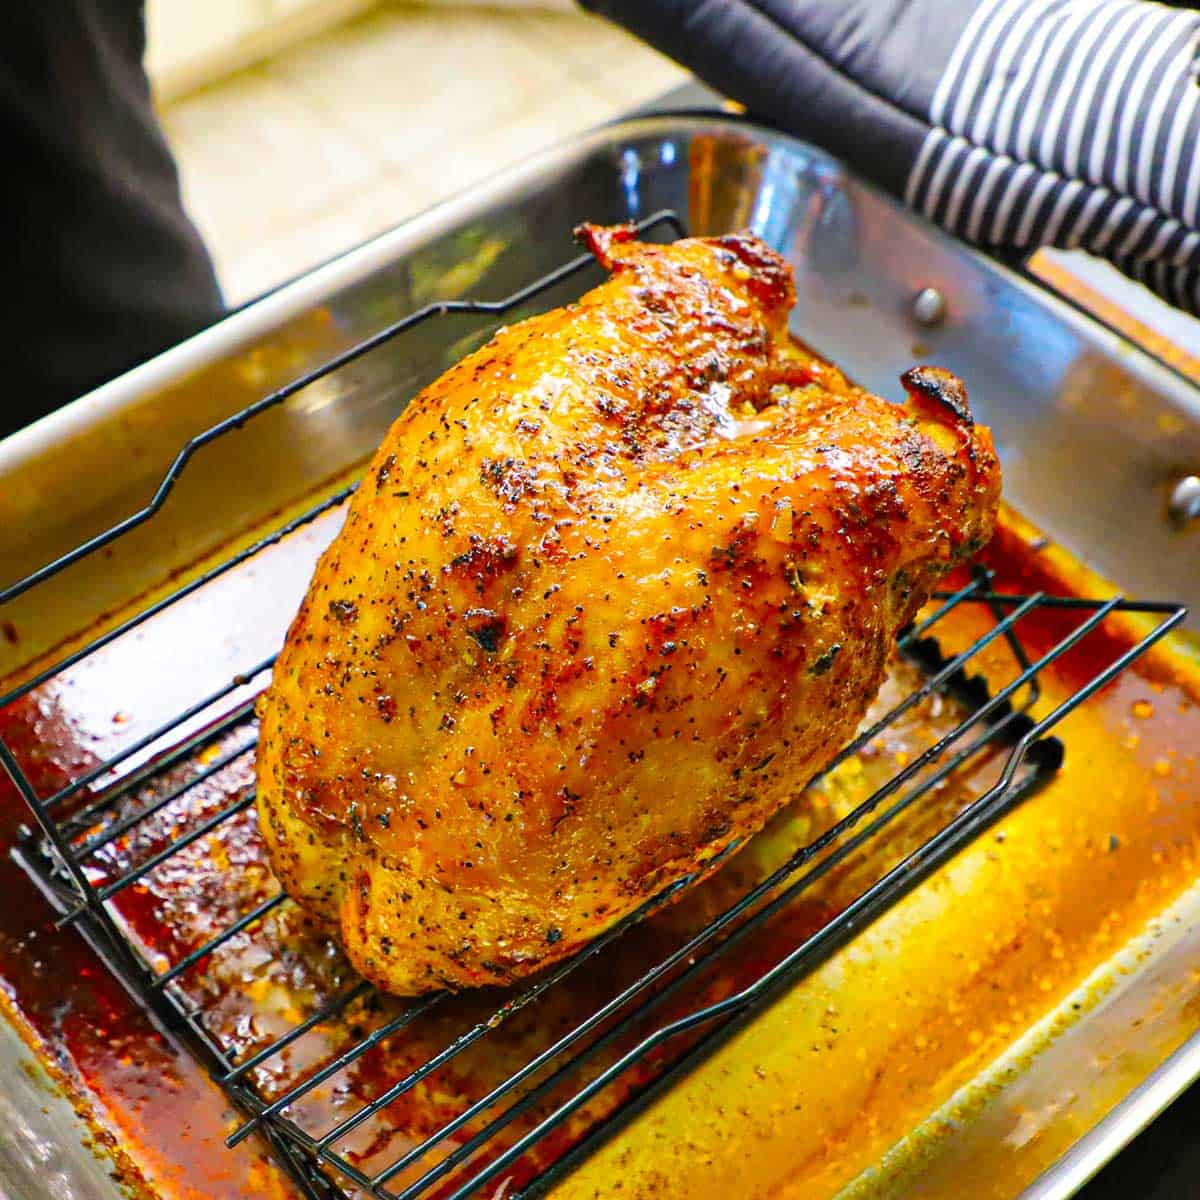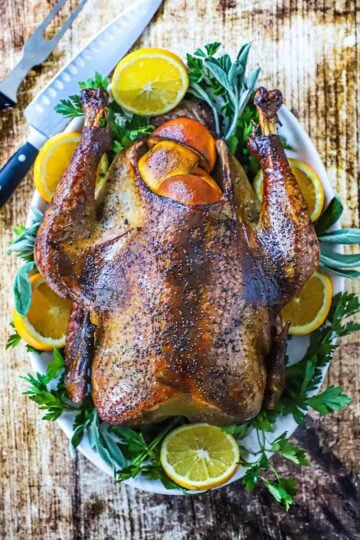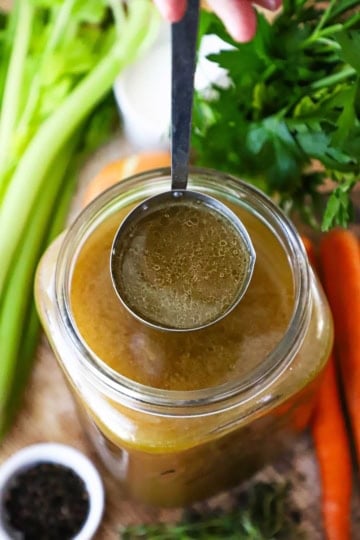
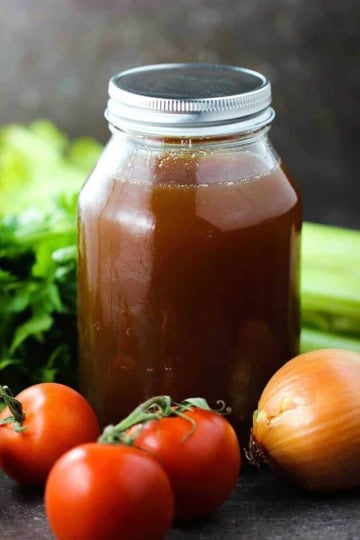
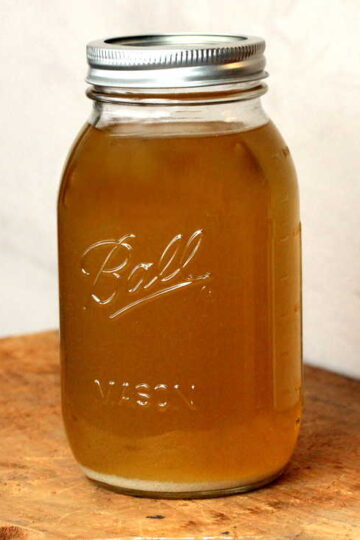
Rich, aromatic, and deeply flavorful, this homemade roasted turkey stock is the ultimate way to make the most of your holiday leftovers. Roasting the turkey bones first brings out a deep, golden flavor that transforms soups, gravies, and sauces. It’s a simple, satisfying process that turns what might be waste into liquid gold for your kitchen.

🦃 The Ingredients
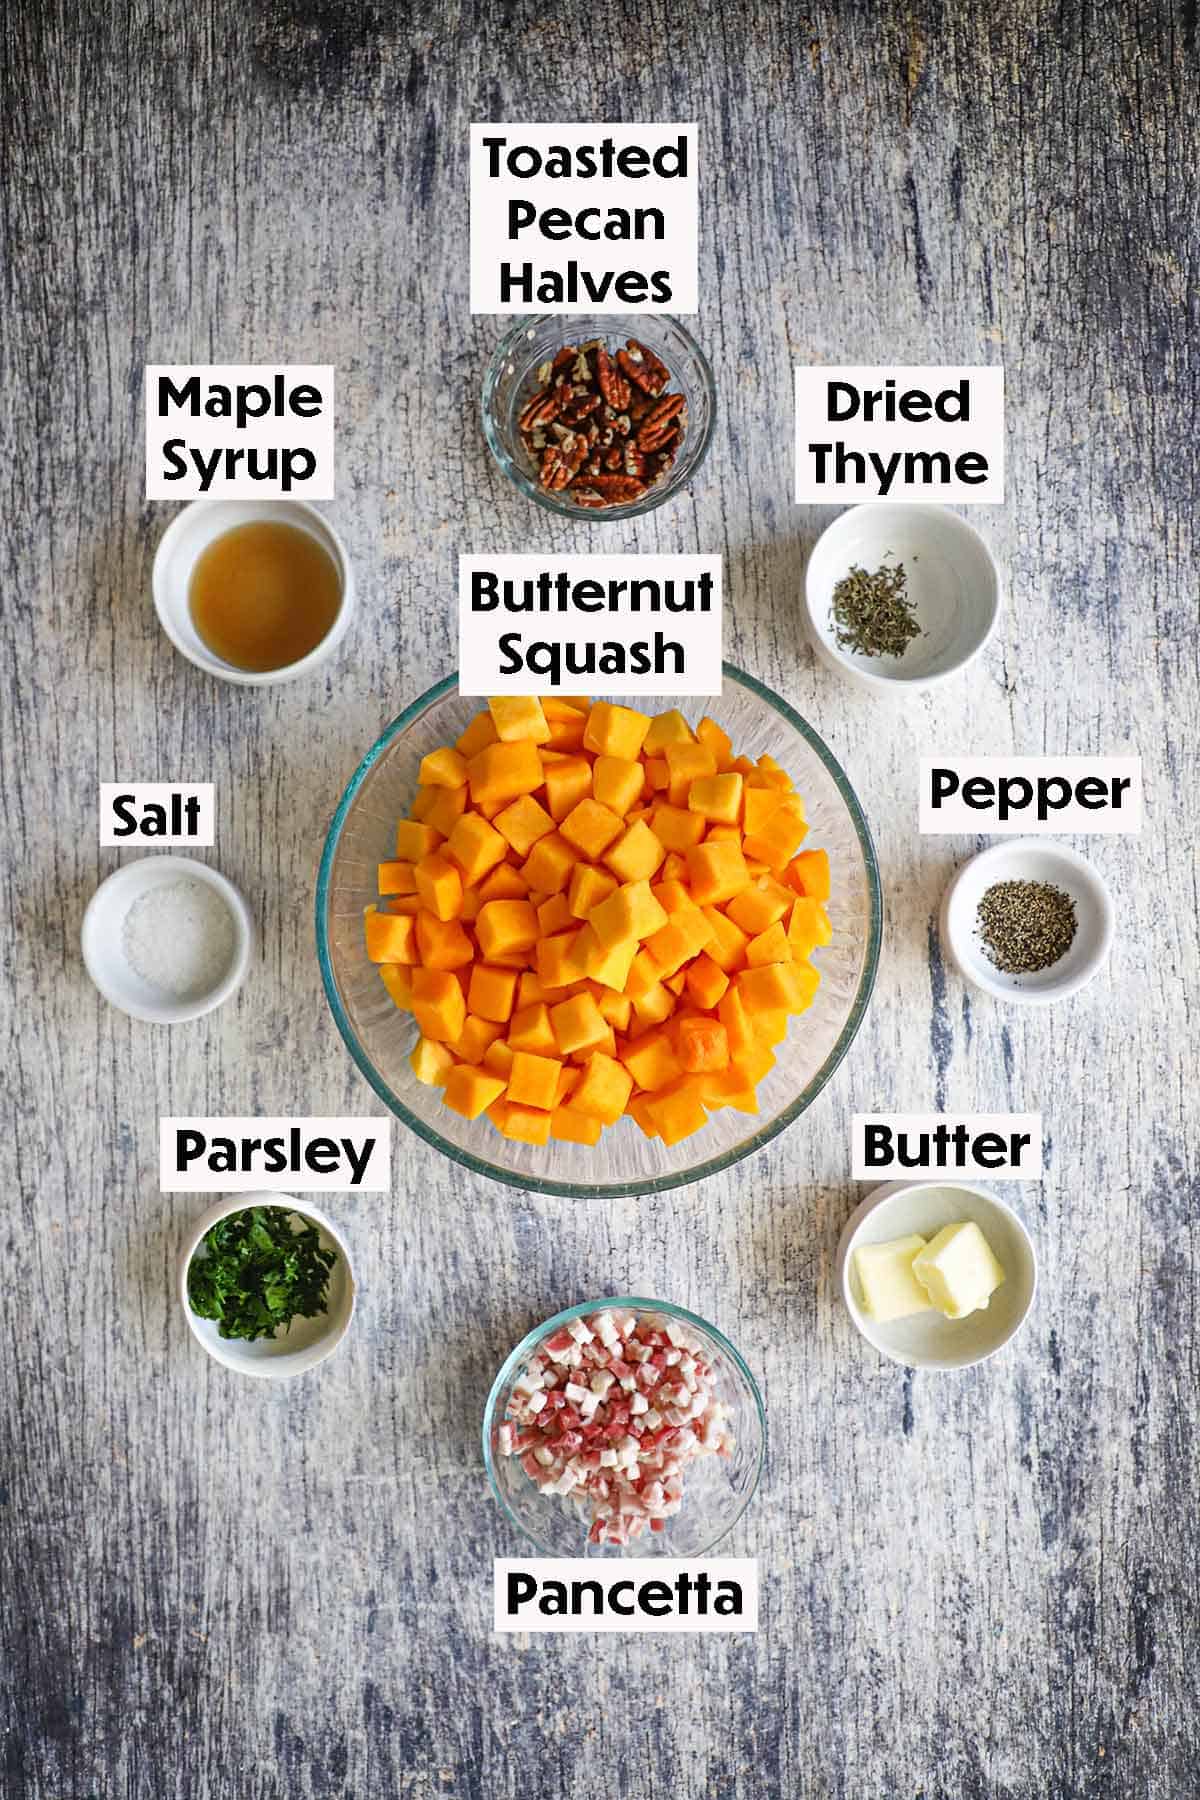
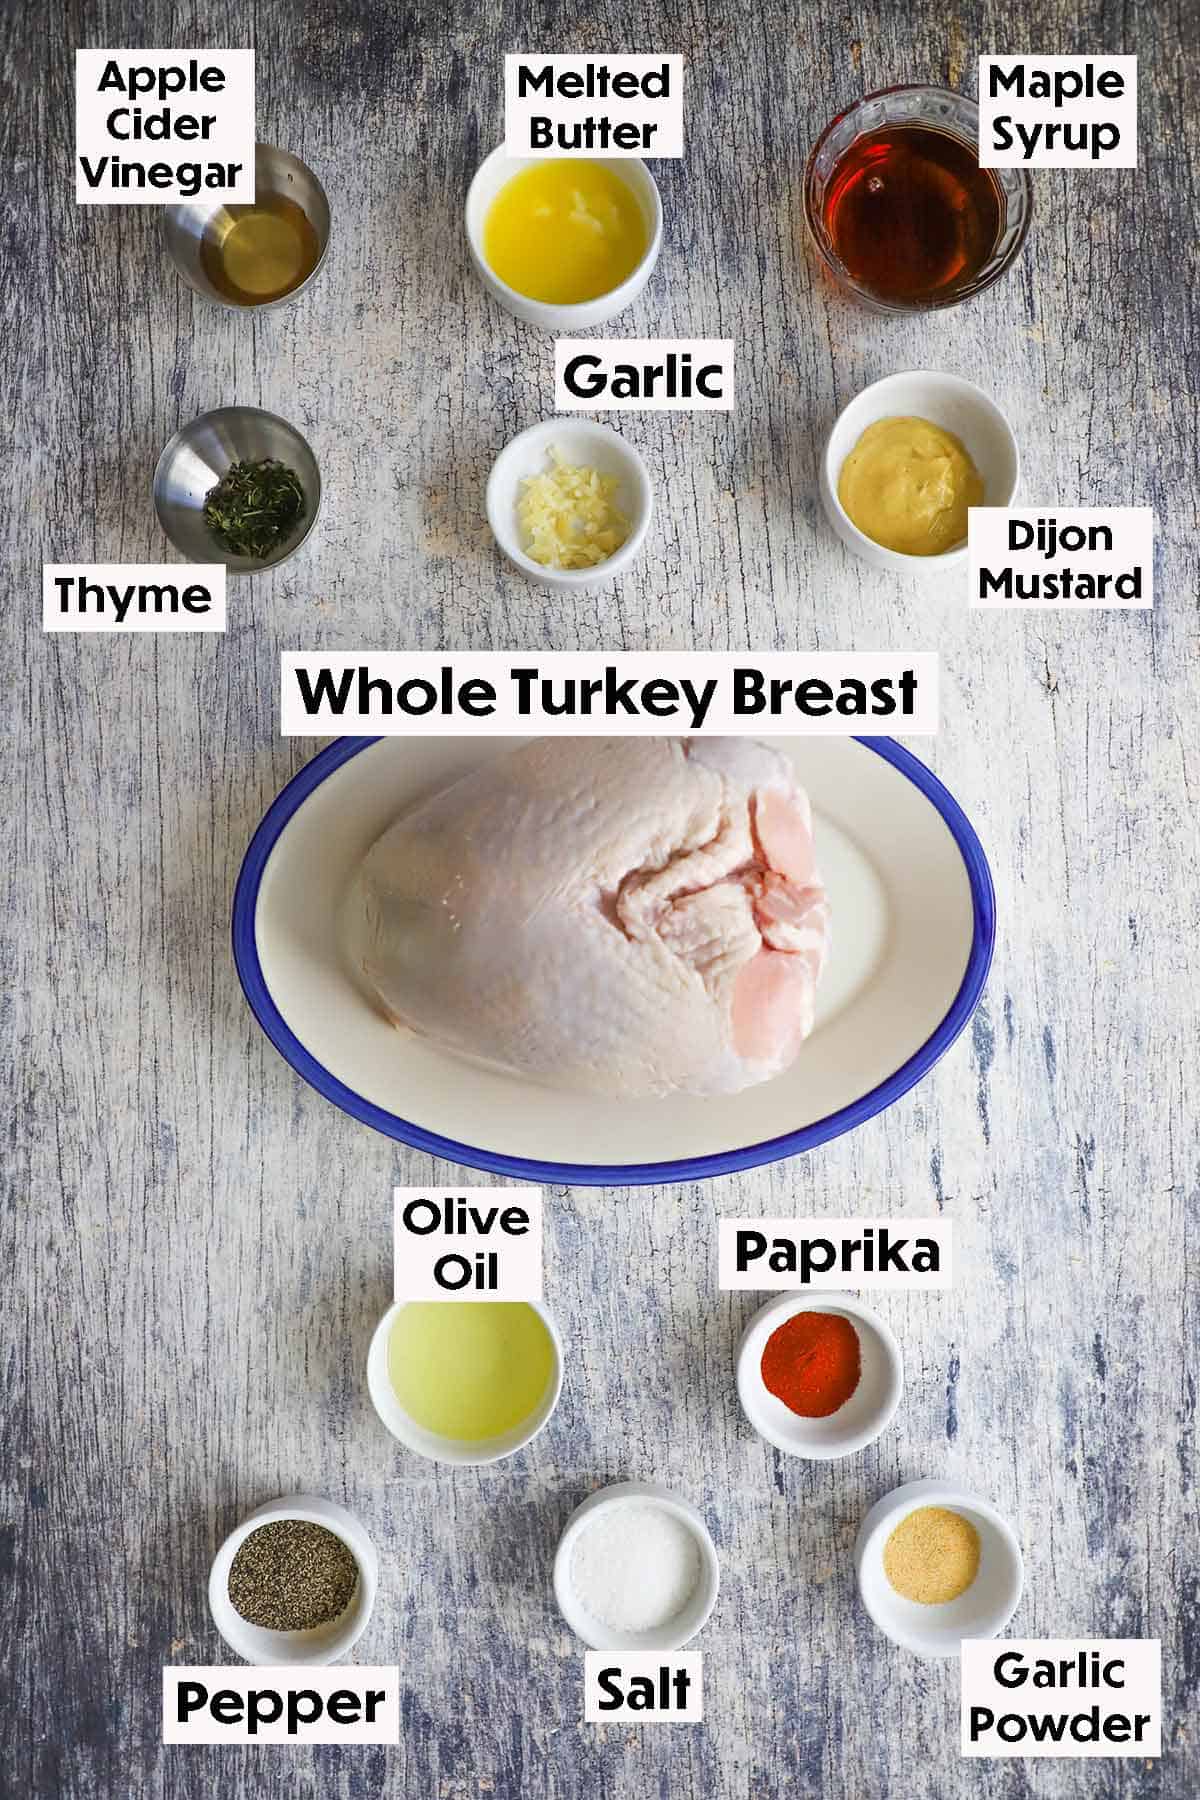
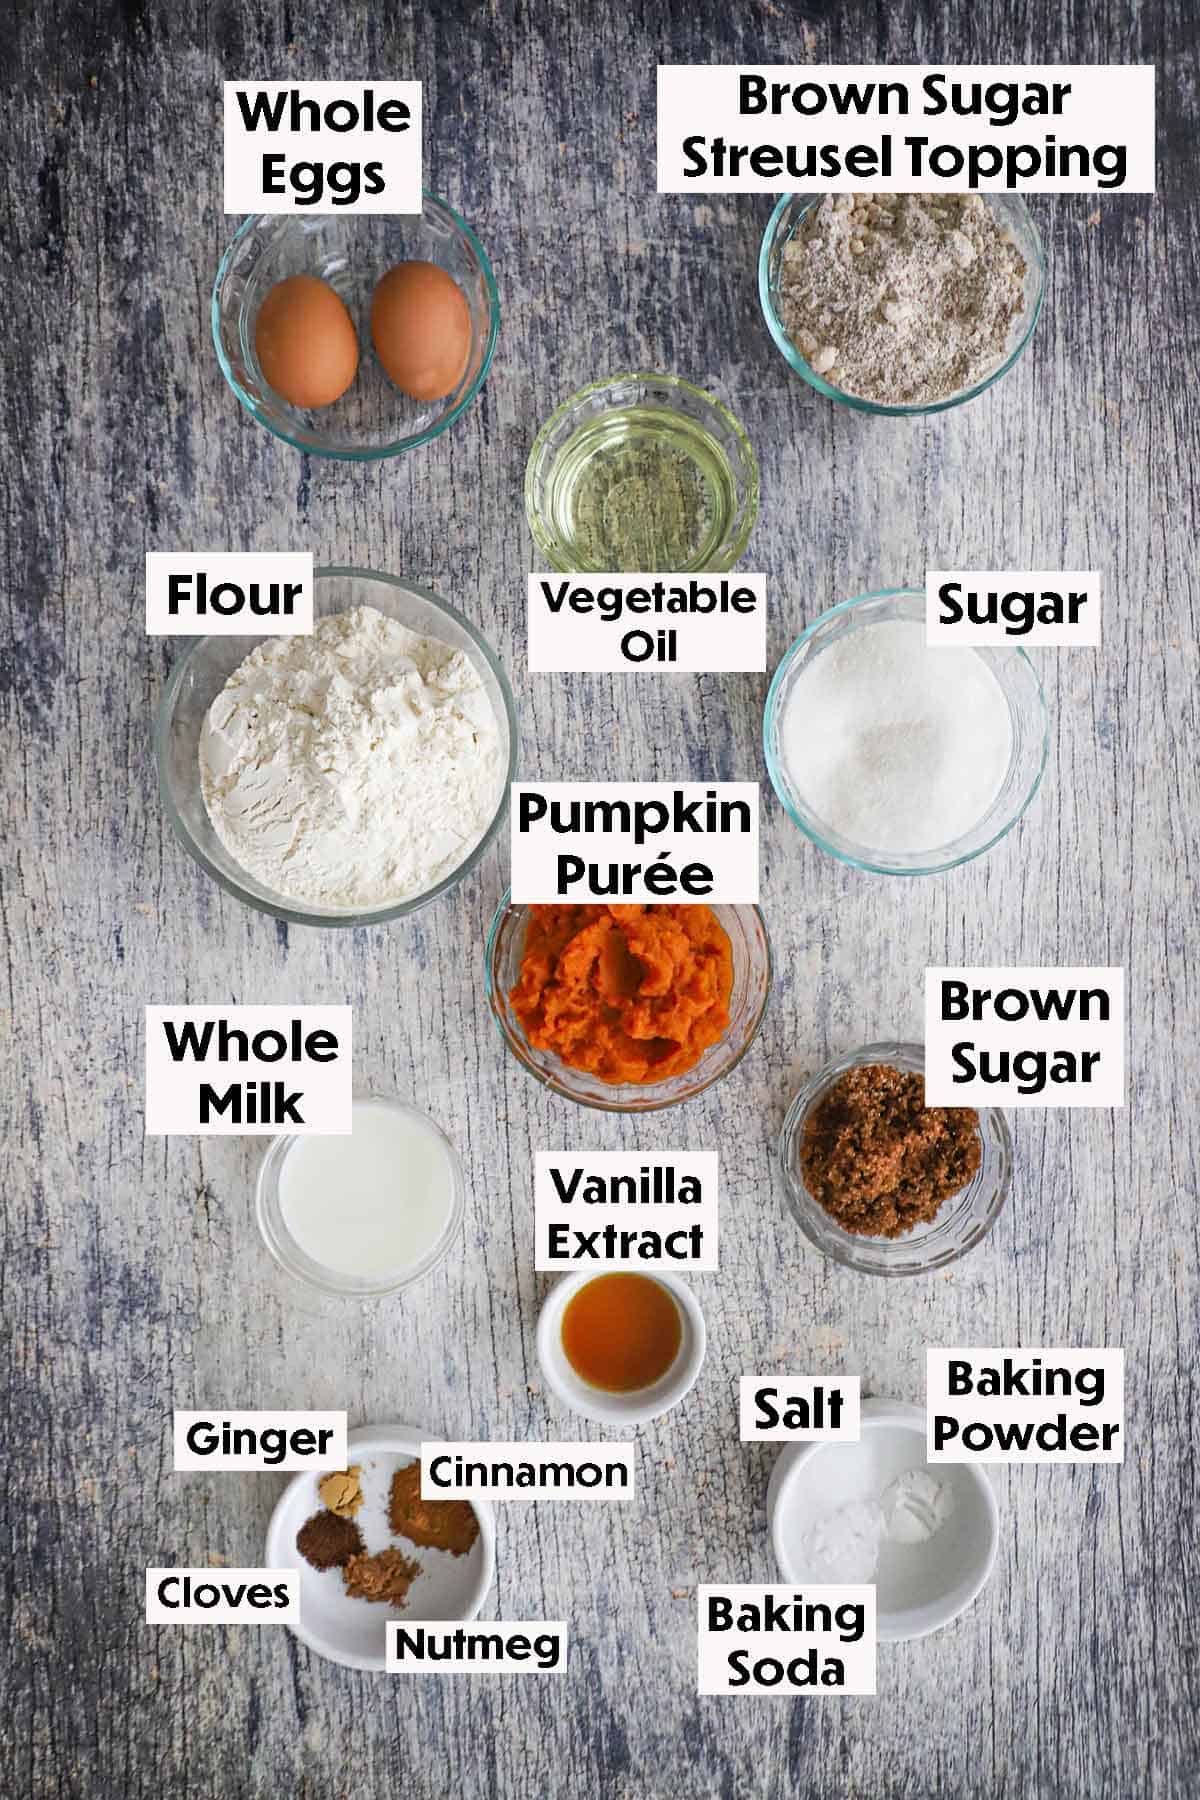
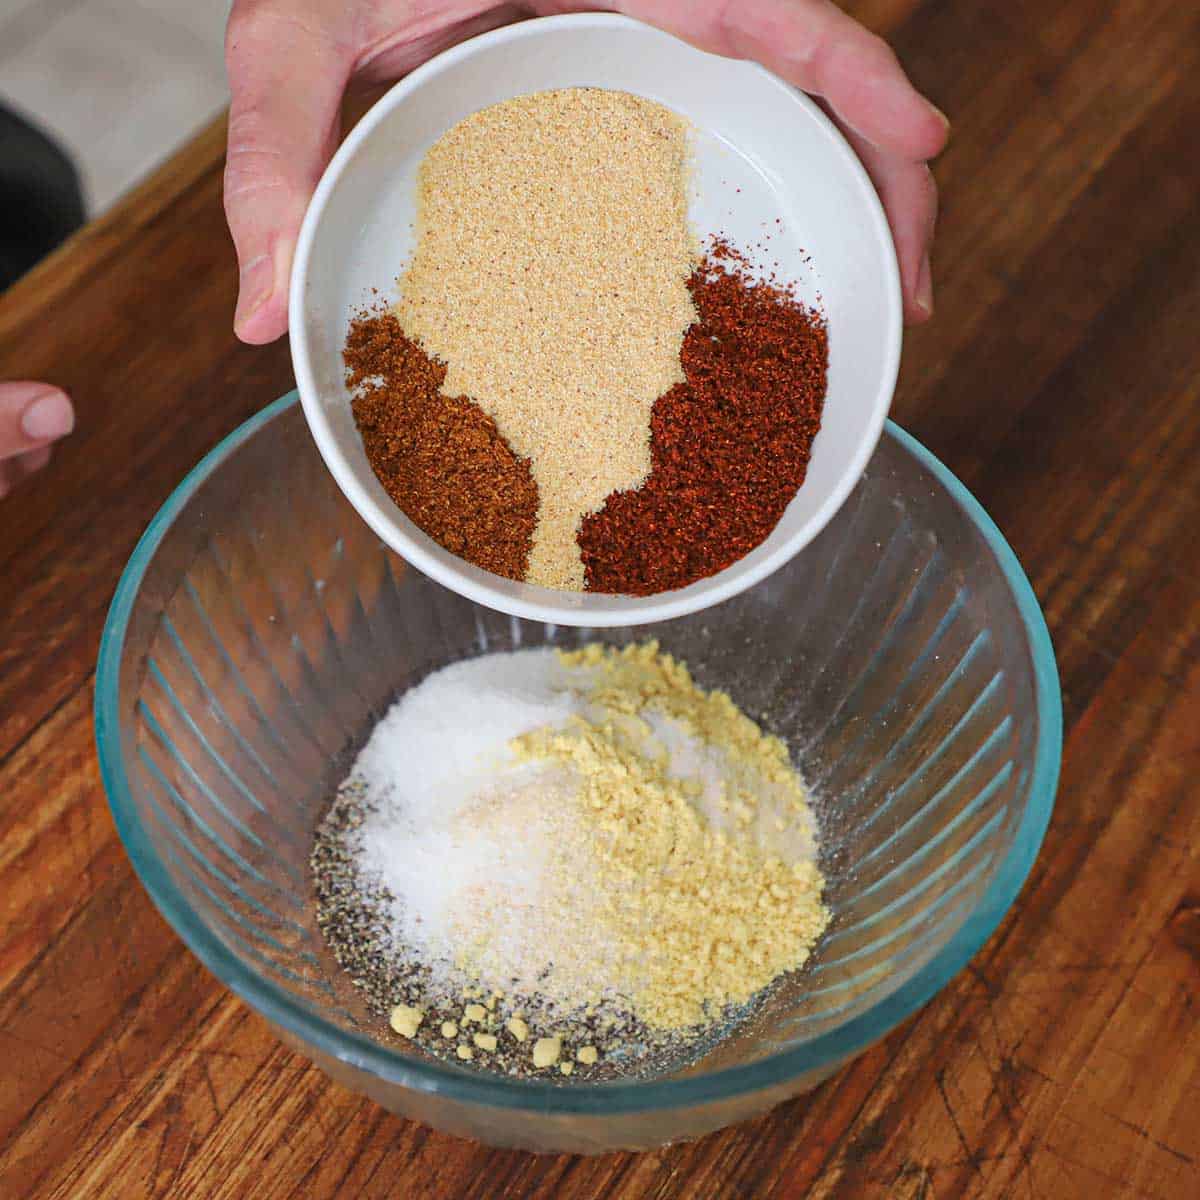
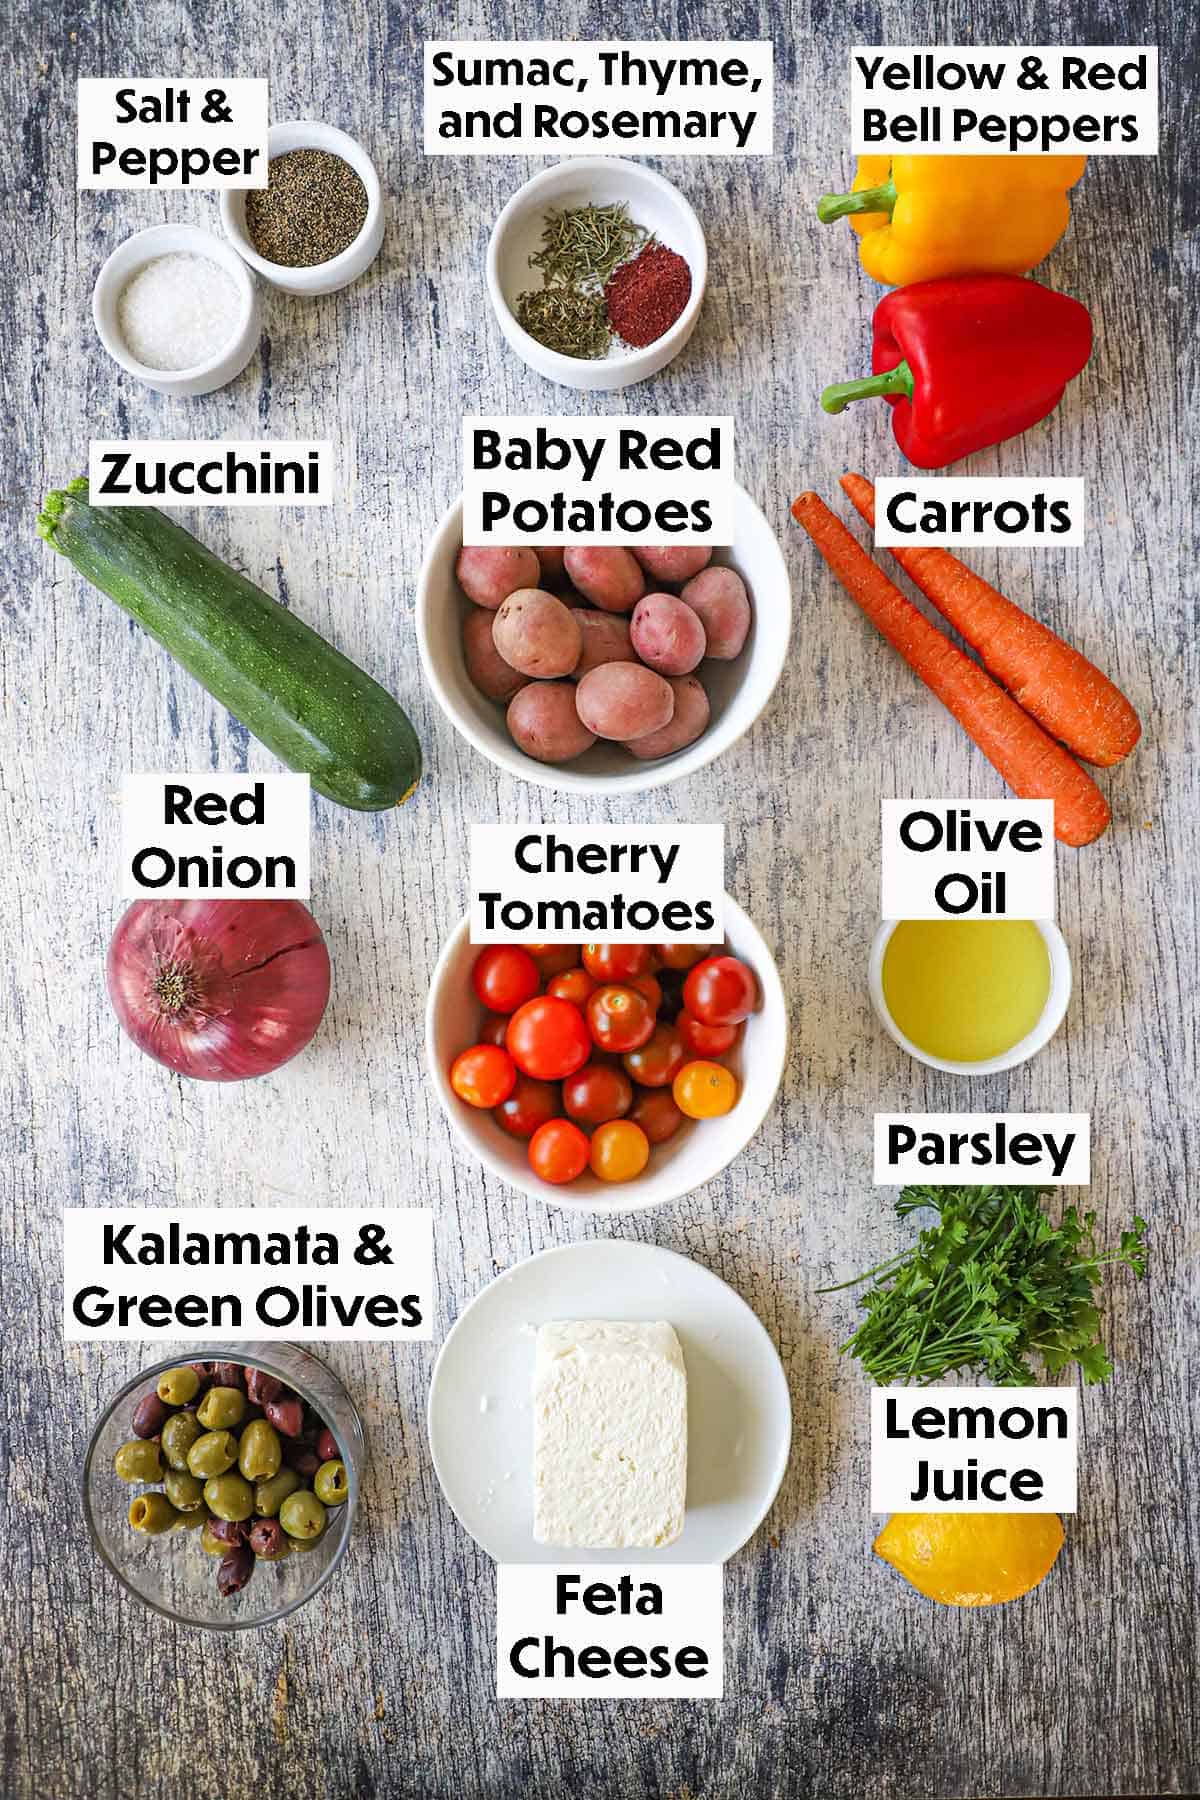
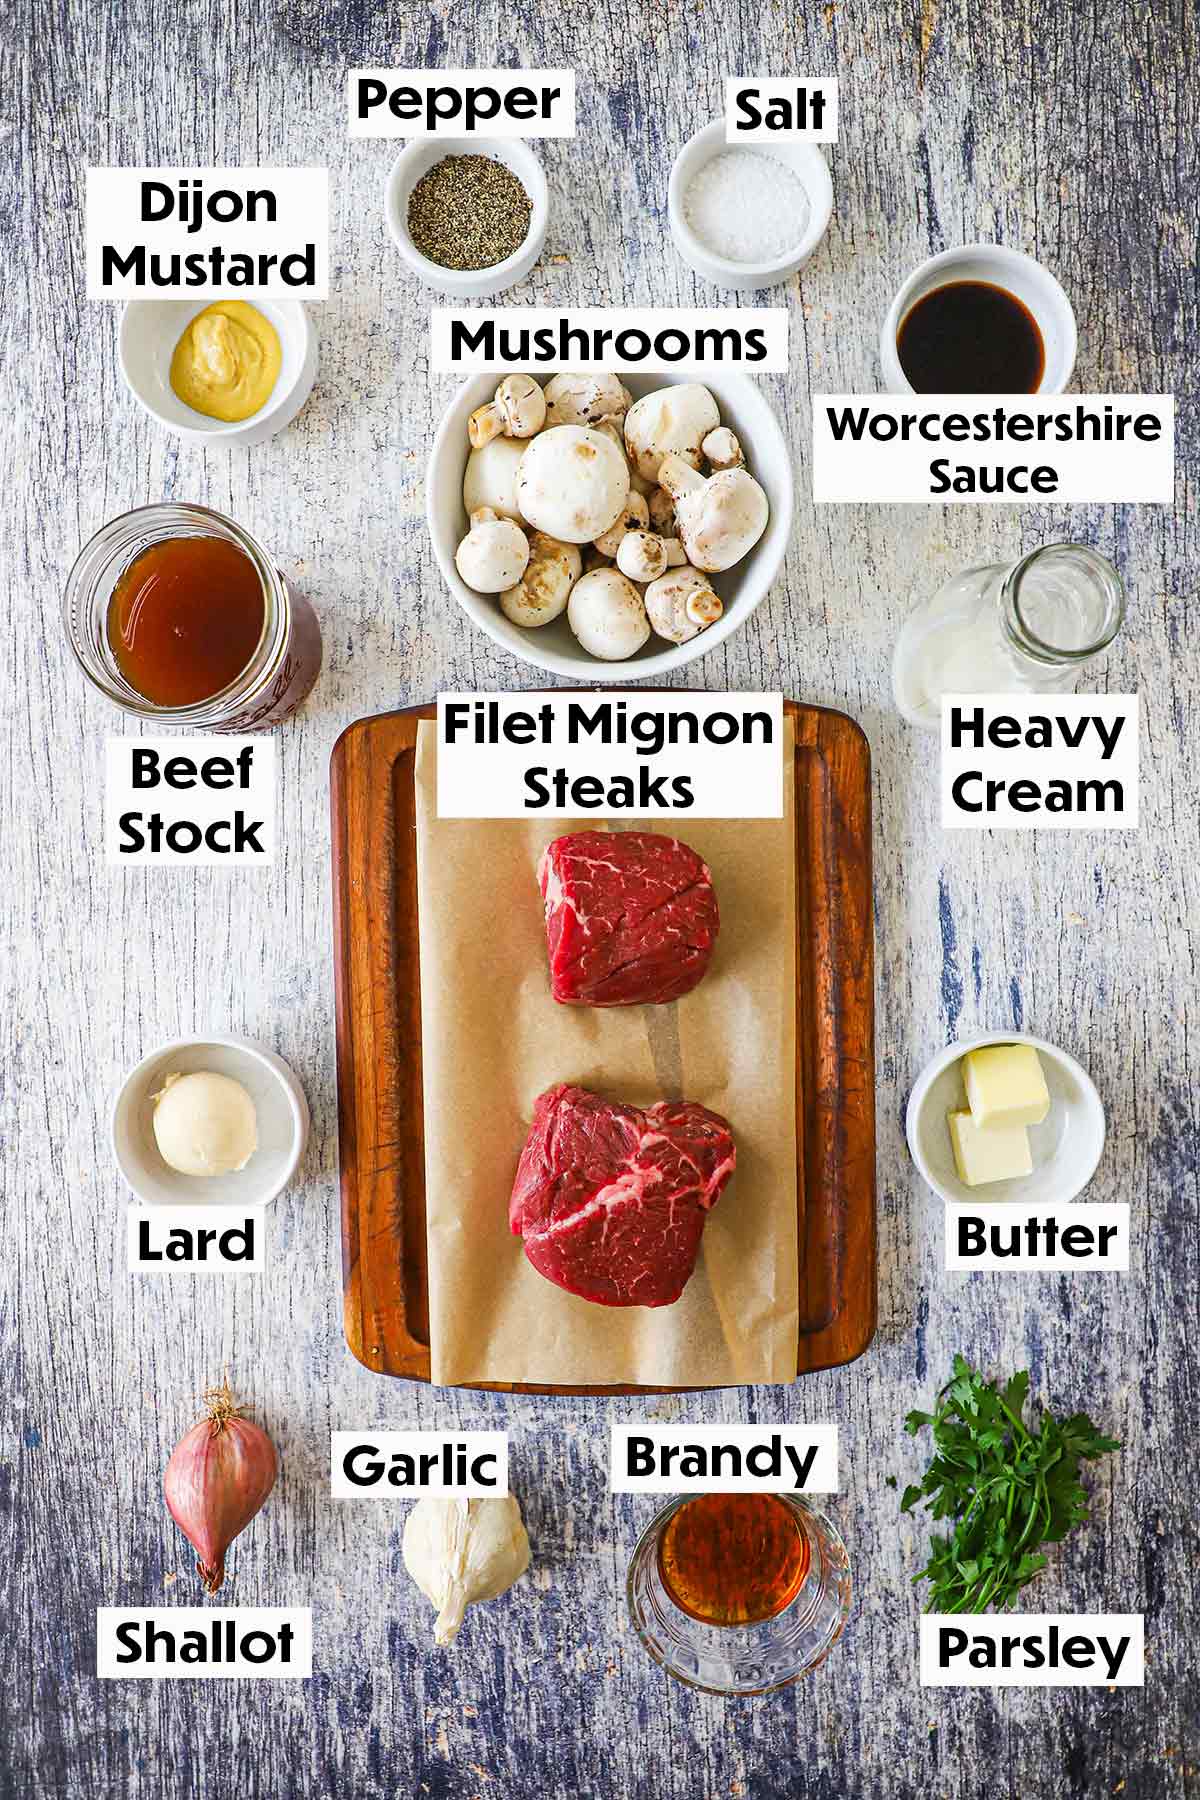
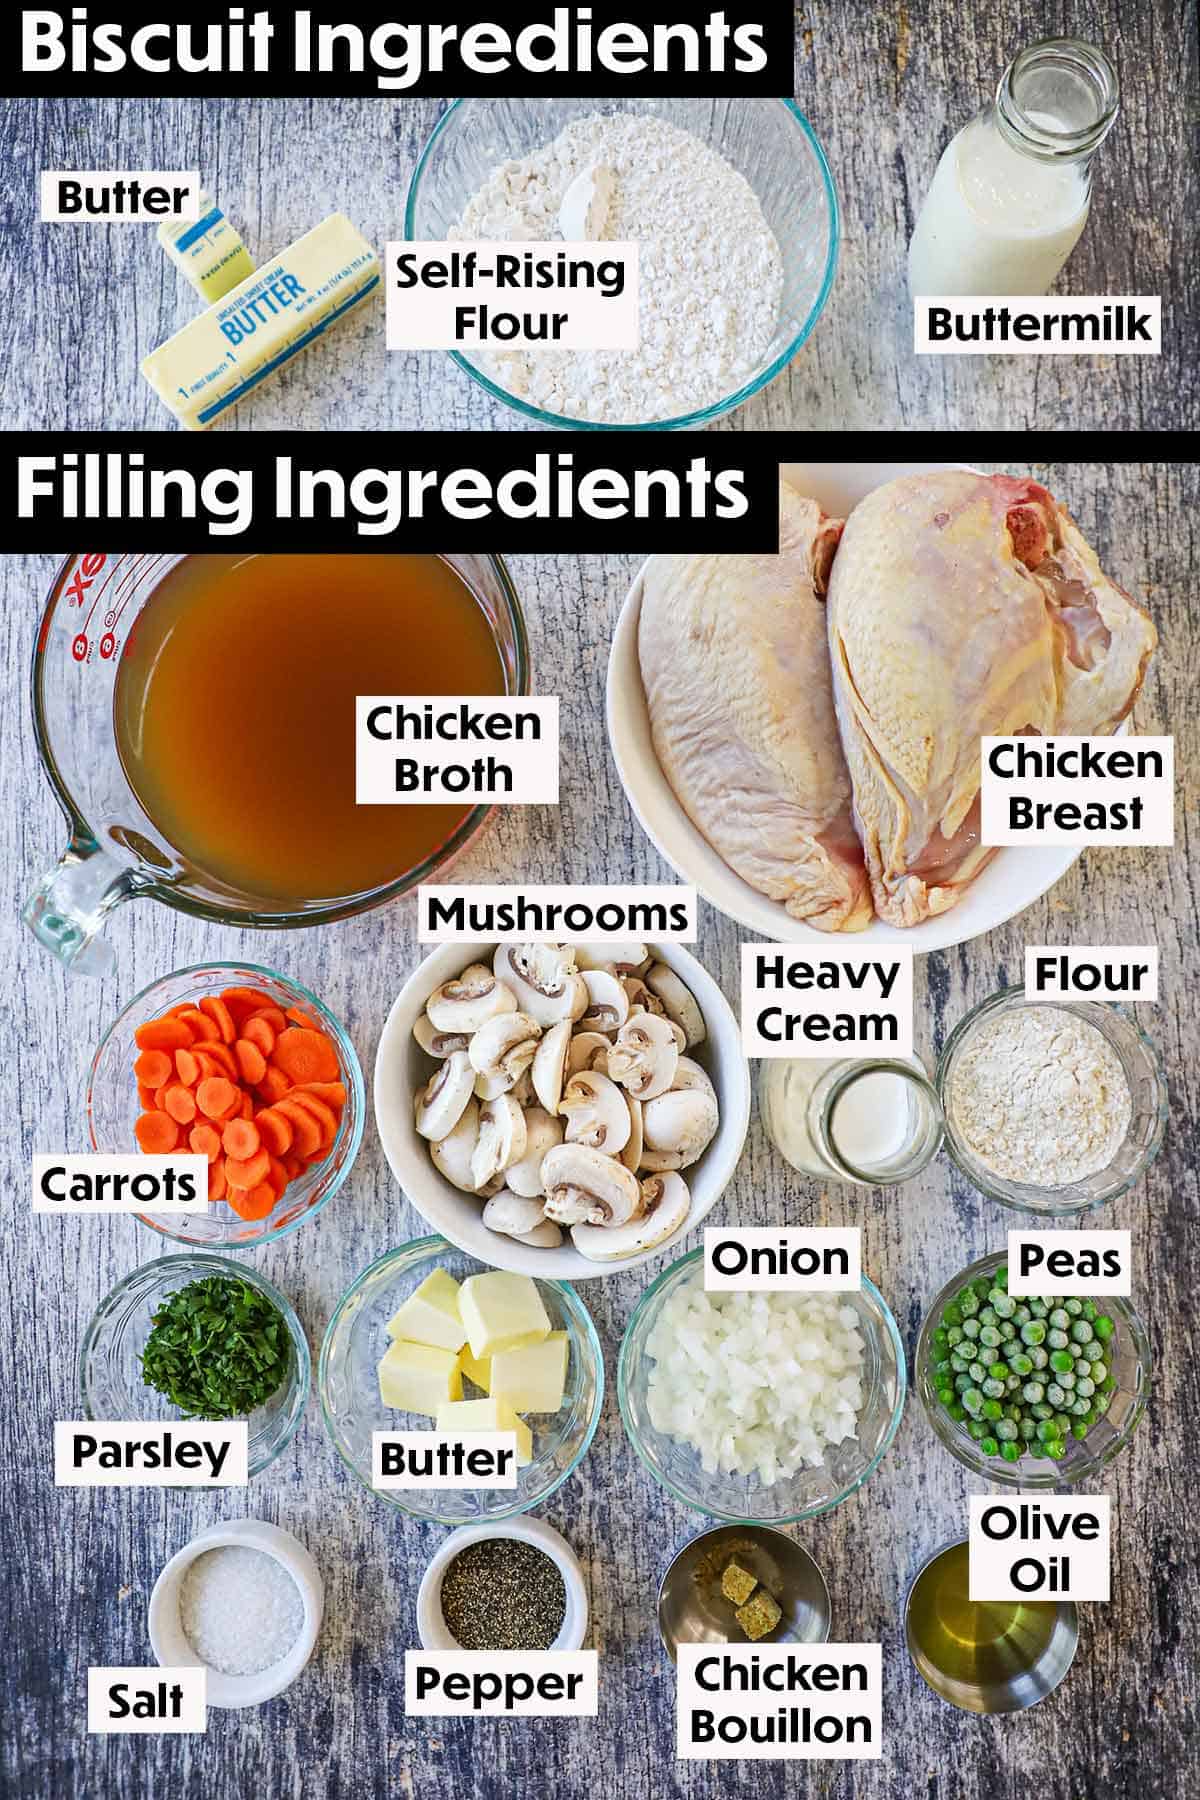
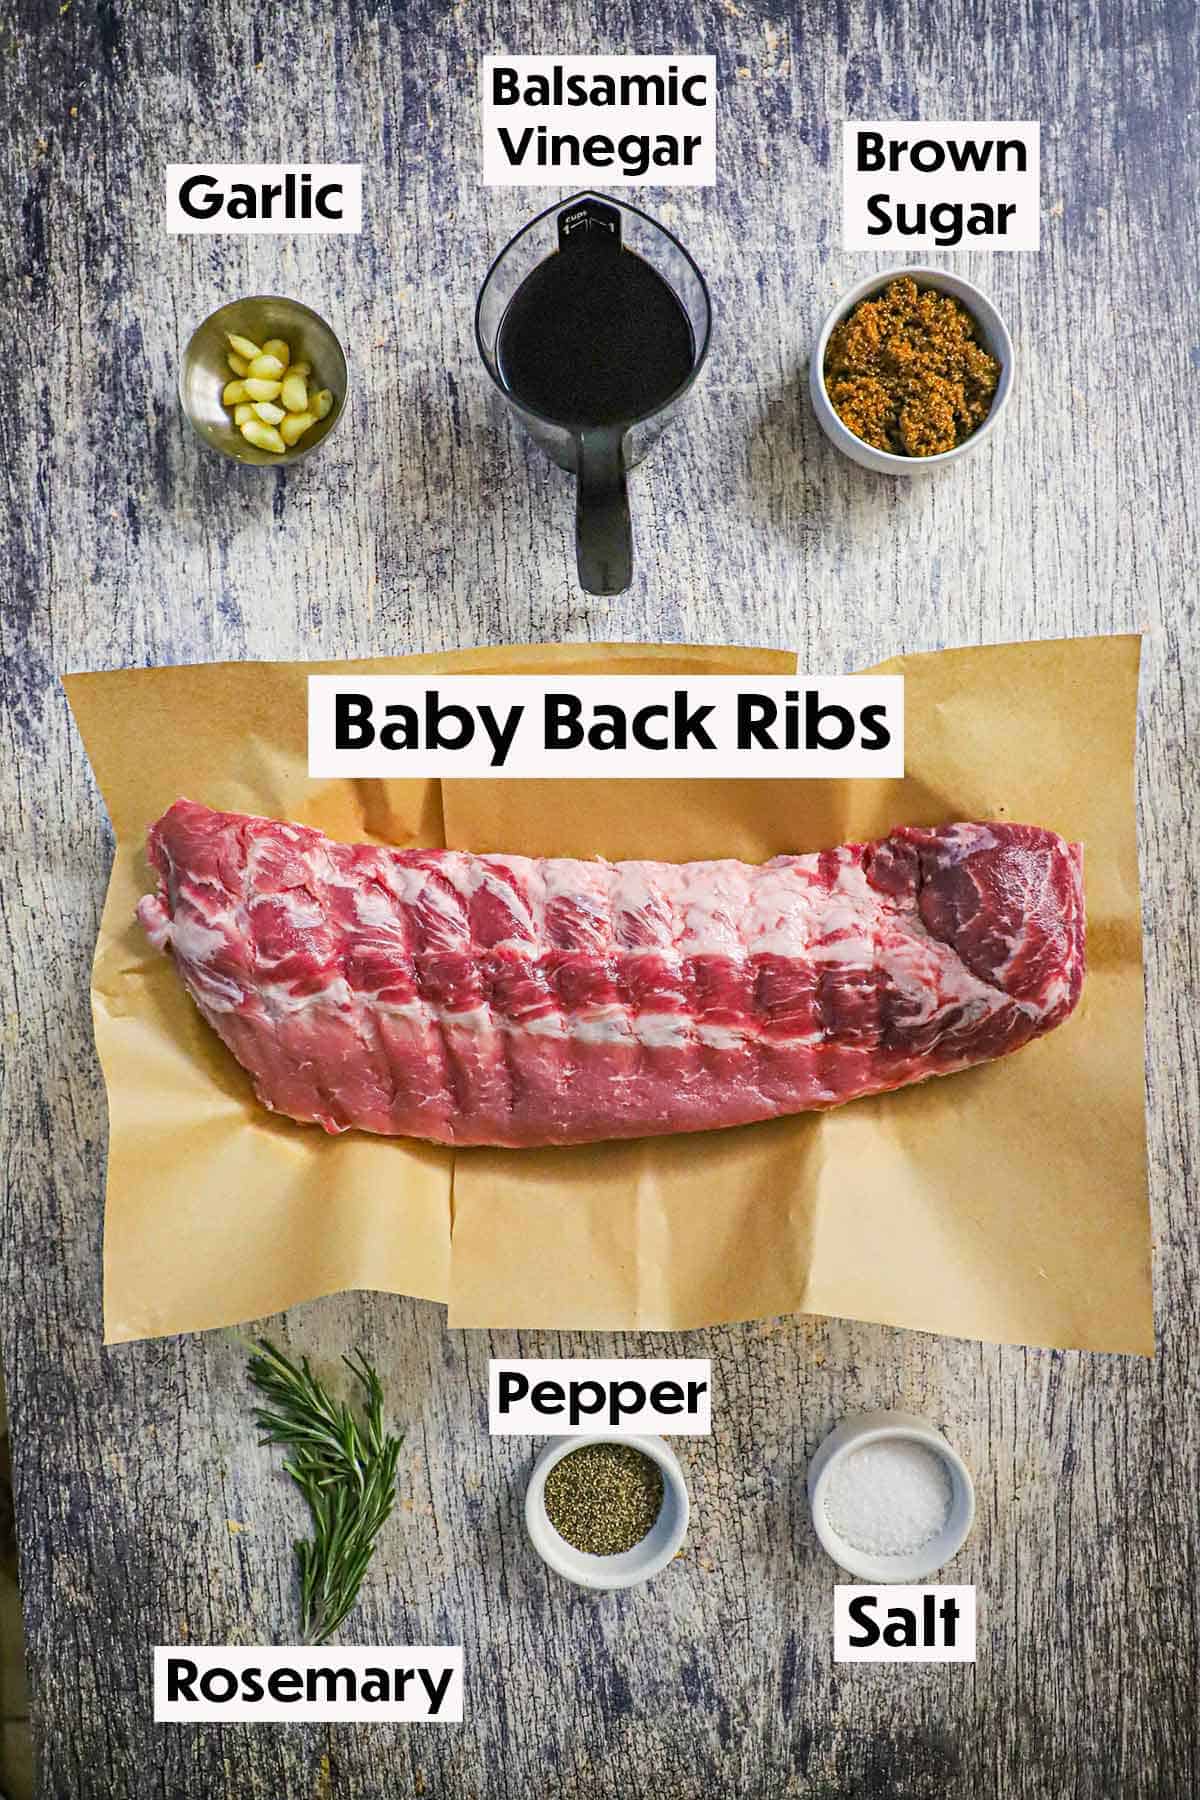
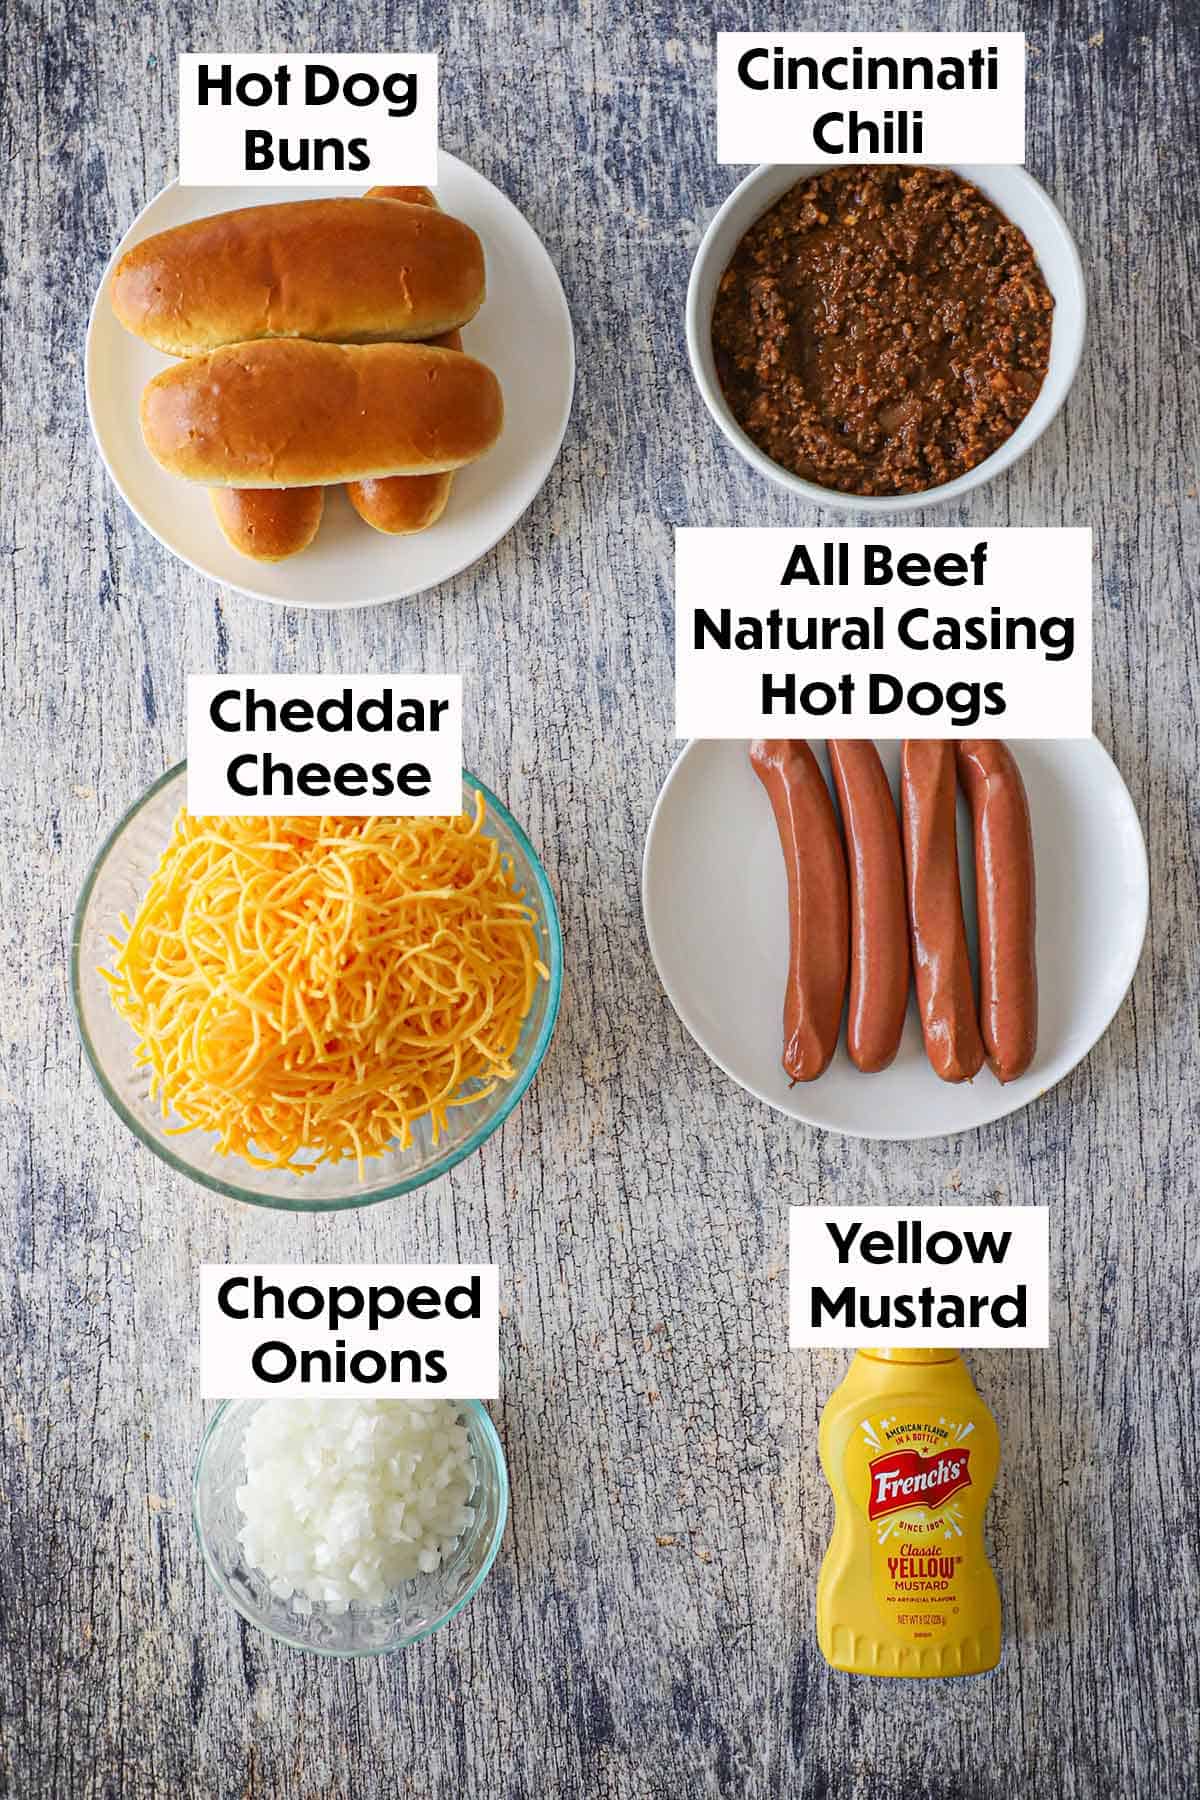
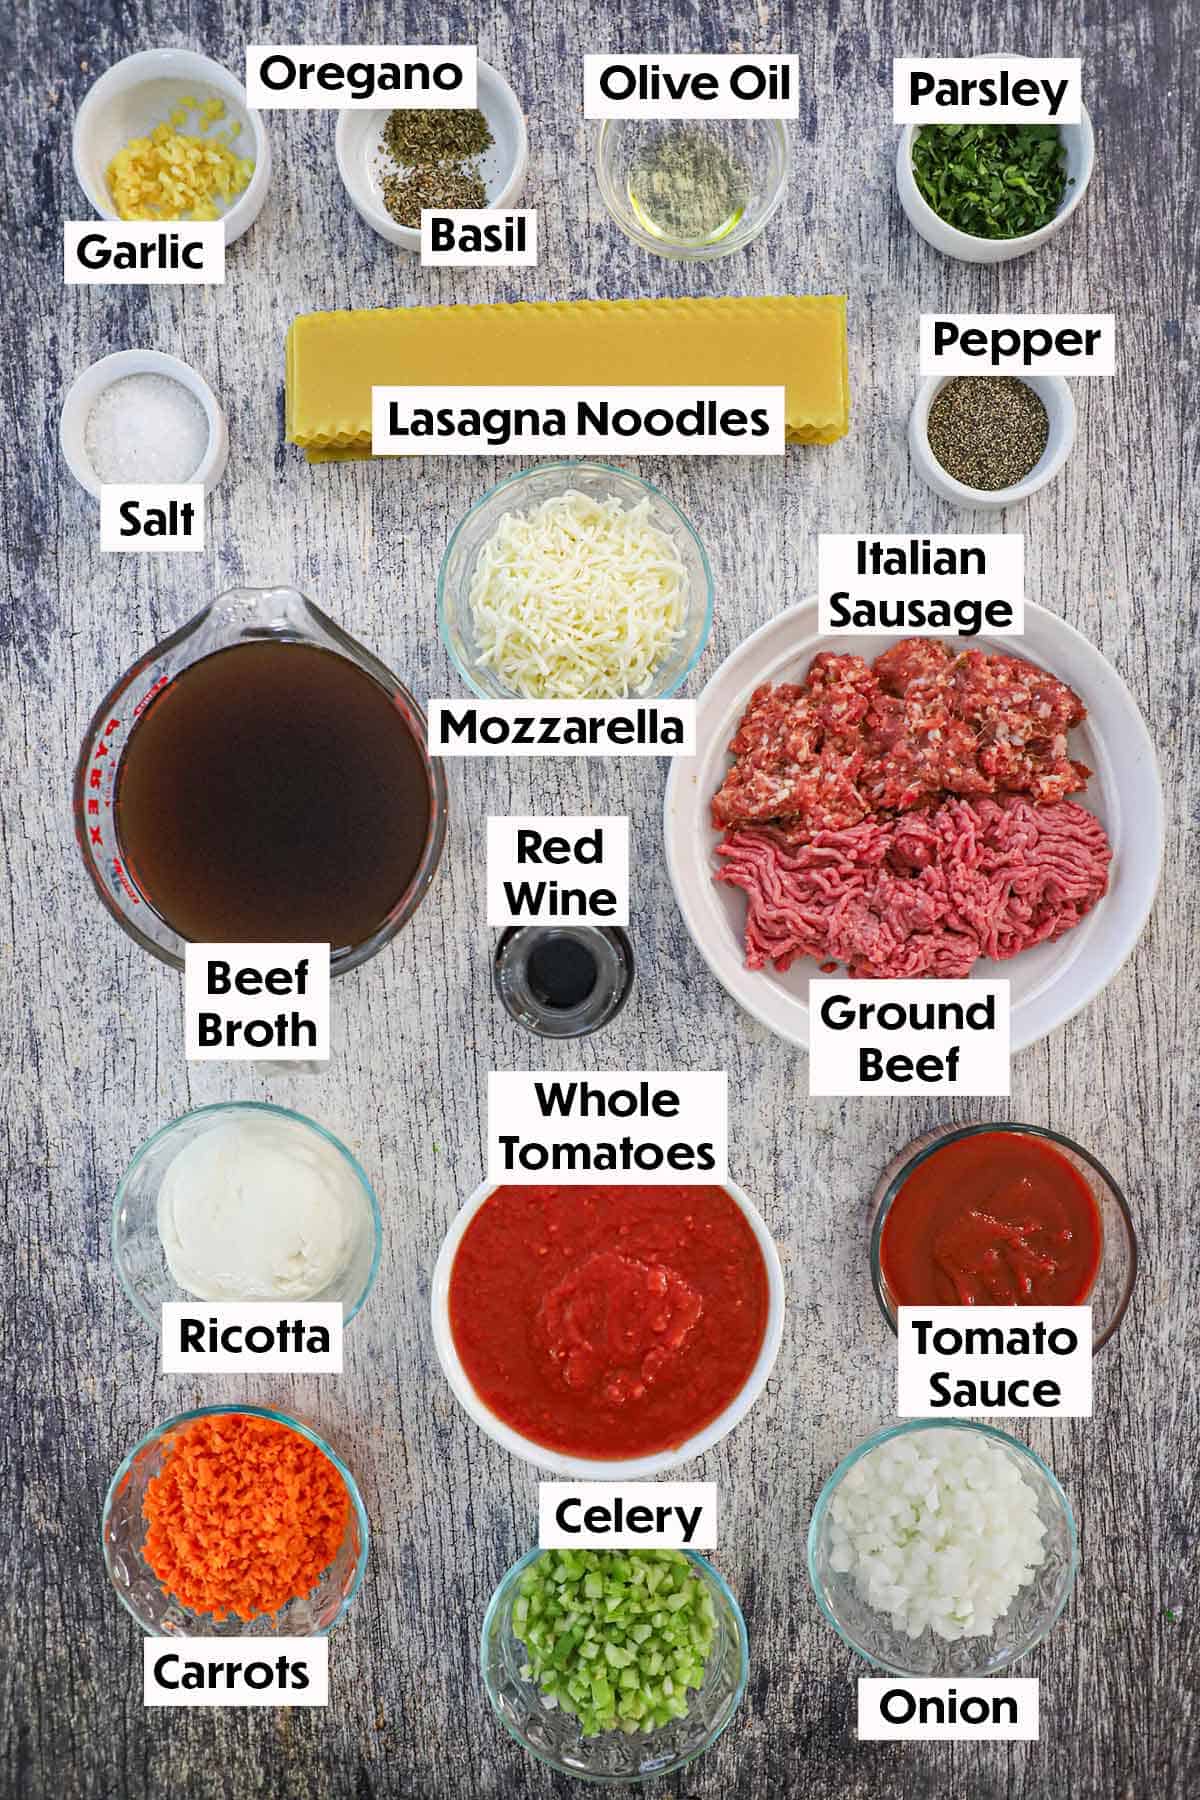
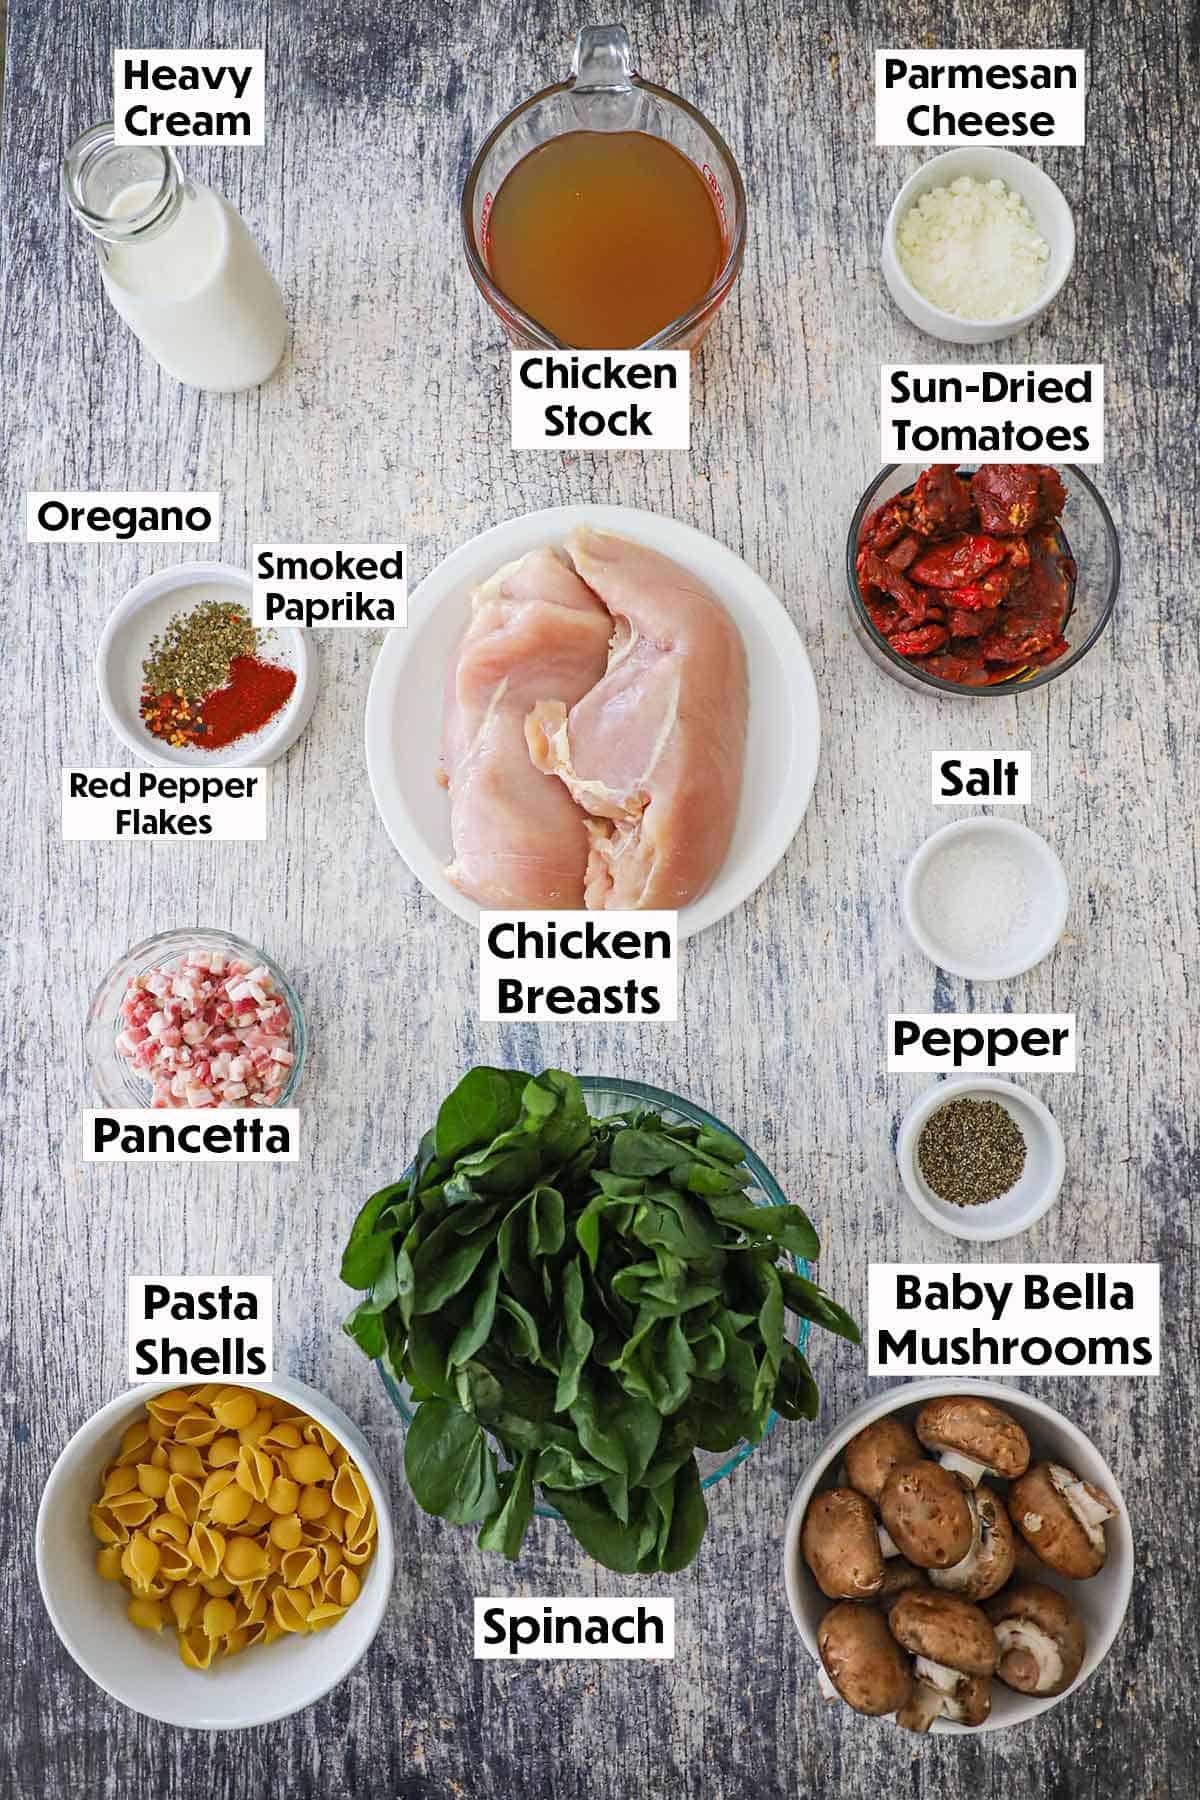
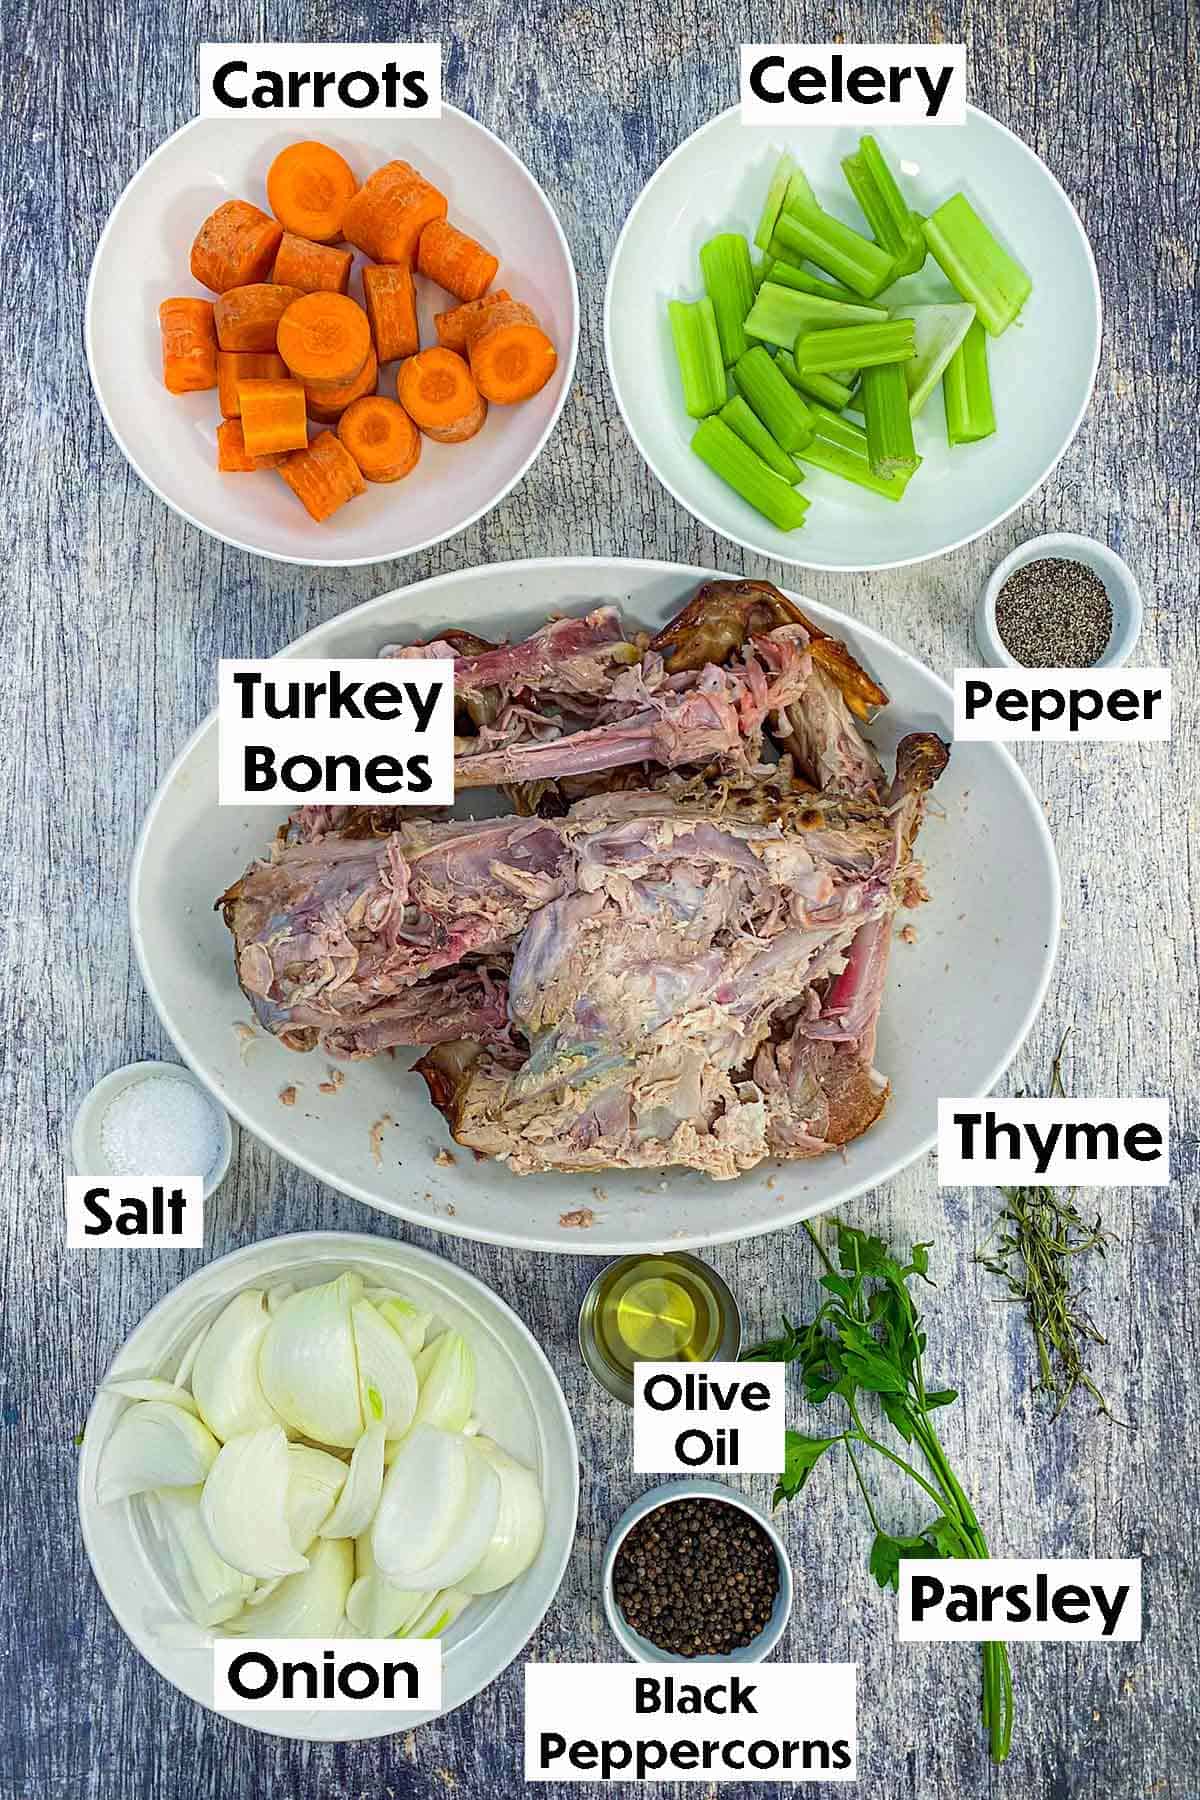
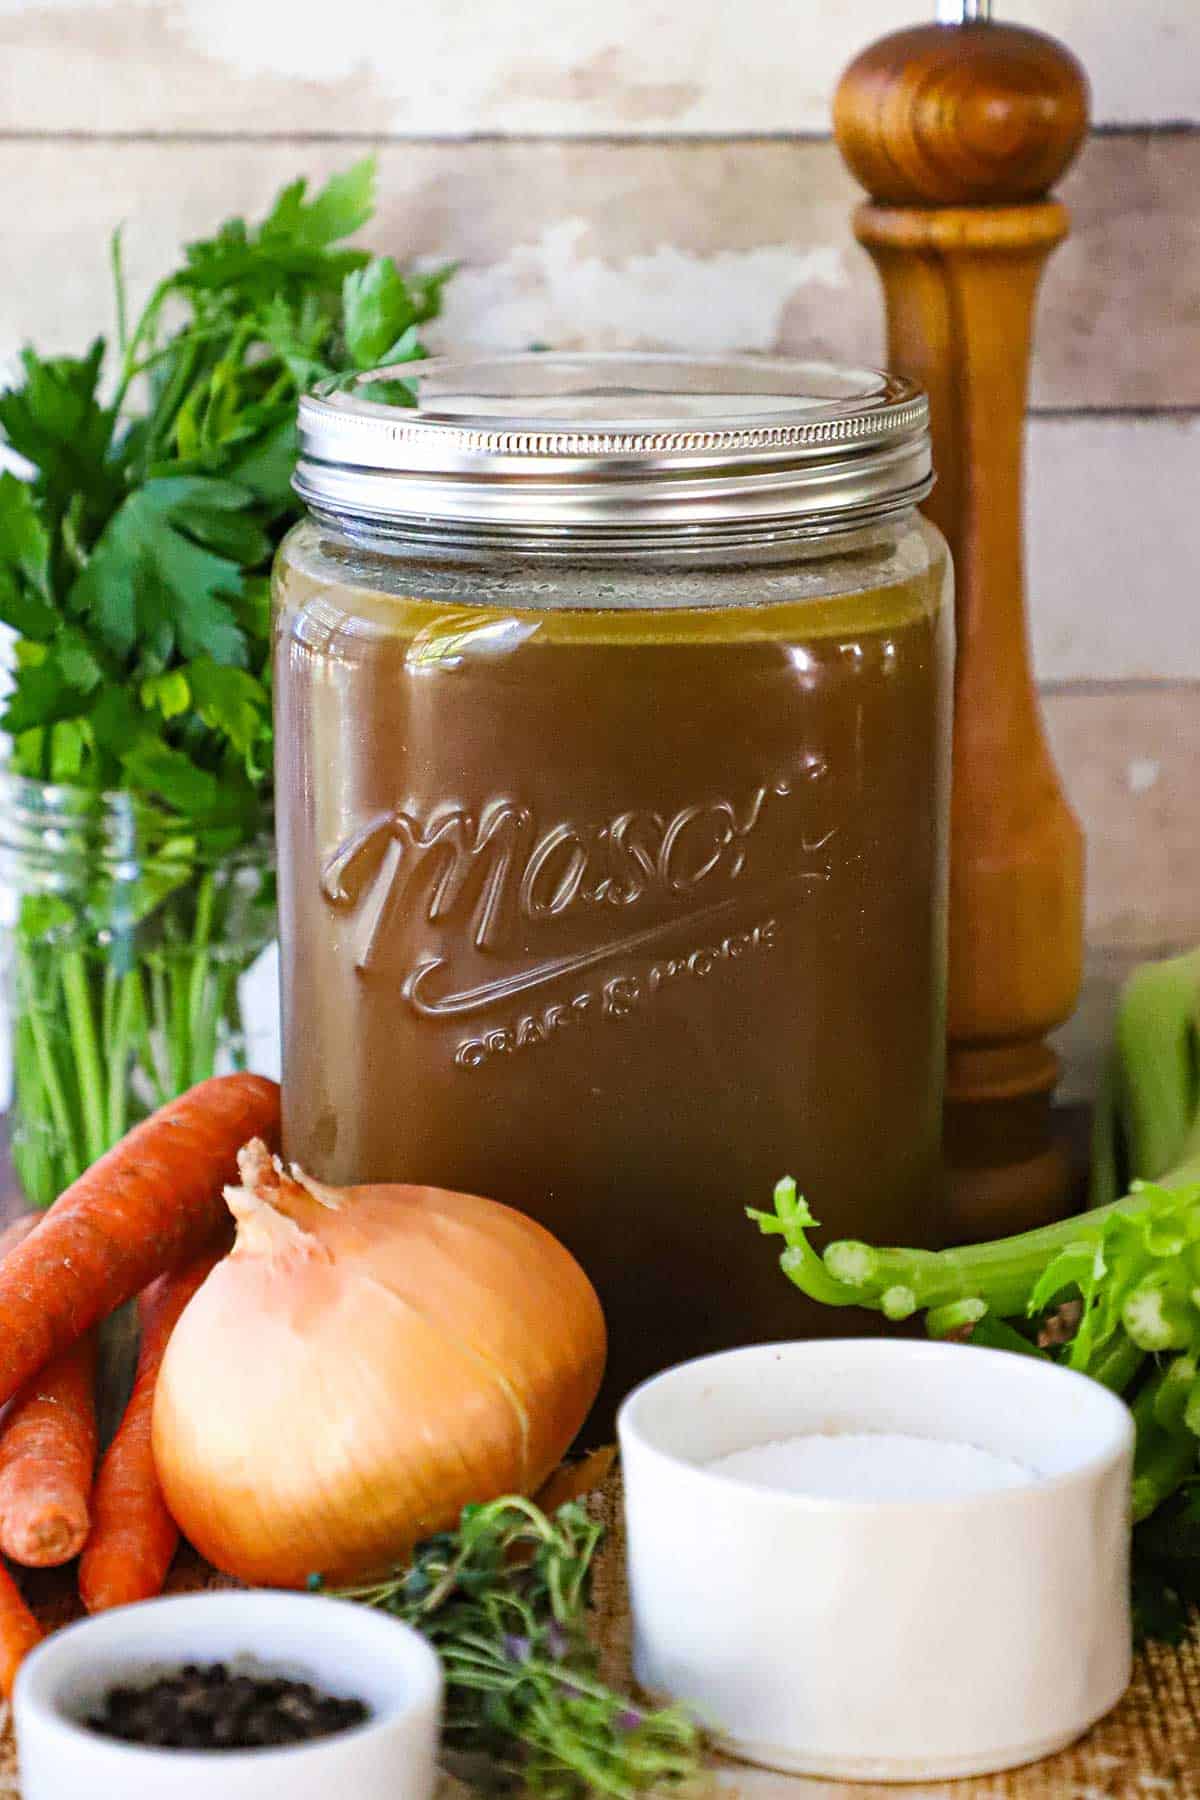
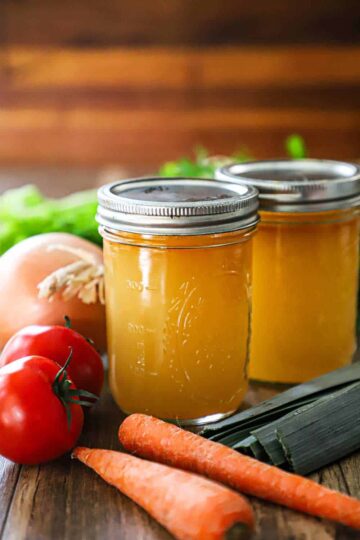
A handful of simple, wholesome ingredients come together to create a rich, aromatic stock bursting with deep roasted flavor and comforting warmth. Find ingredient notes (including substitutions and variations) below.
📝 Ingredient Notes, Substitutions & Variations
- Turkey Bones: Use the leftover carcass and bones from your roasted turkey—both light and dark meat bones add depth. If you don’t have enough, supplement with chicken bones or wings.
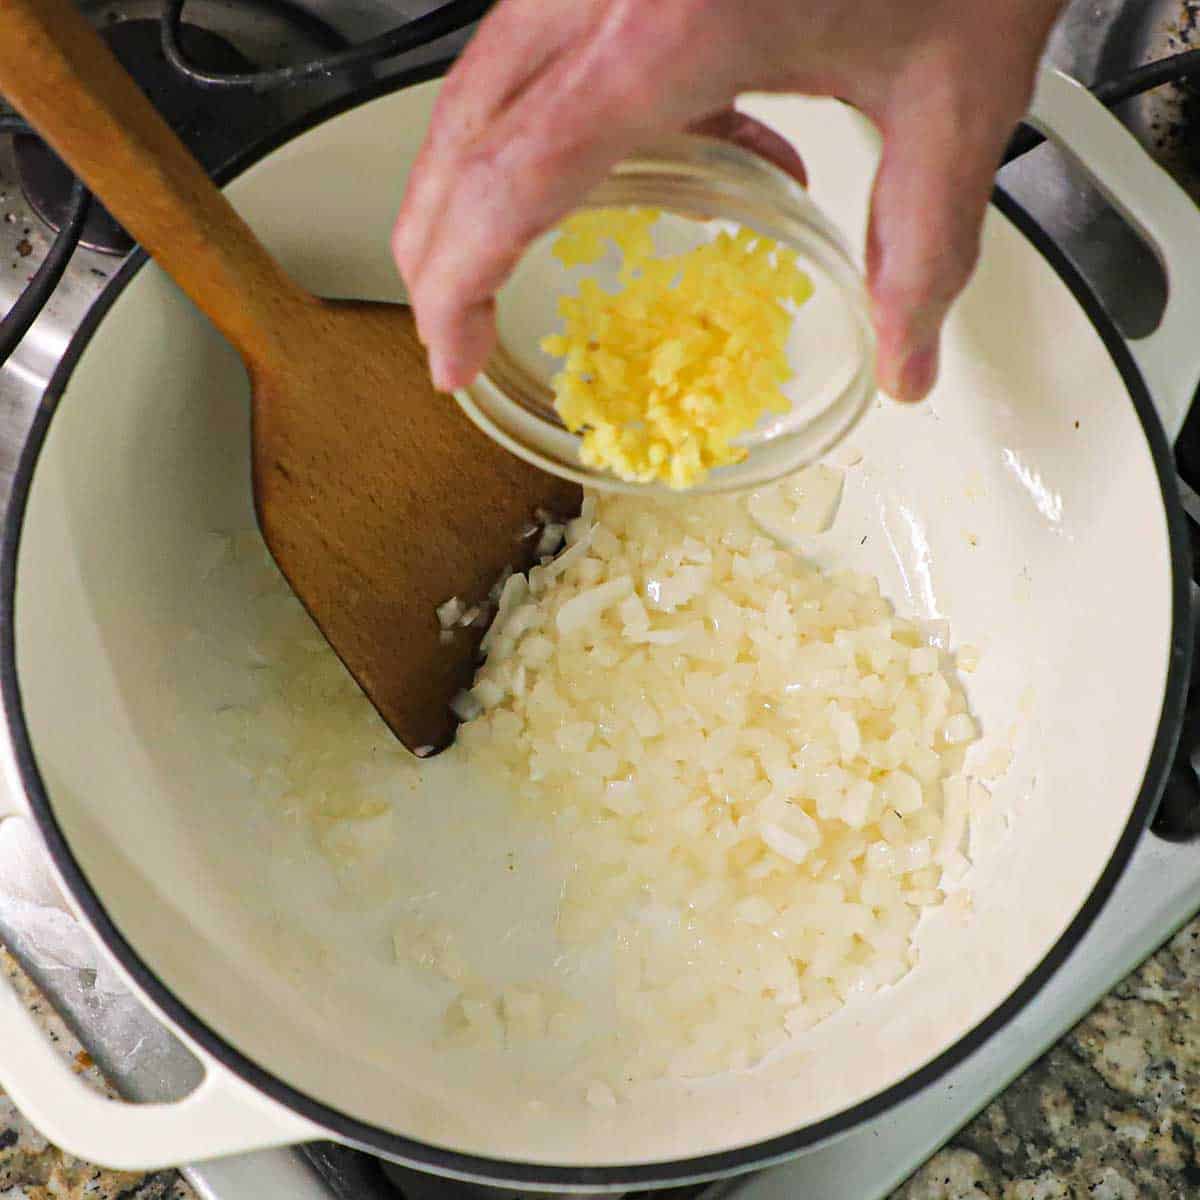
- Vegetables: Classic aromatics like onions, carrots, and celery build the flavor base. You can add leeks, garlic, or parsnips for extra sweetness or complexity.
- Herbs: Fresh thyme and parsley add brightness; dried herbs work in a pinch, or try rosemary or sage for a more herbal, earthy note.
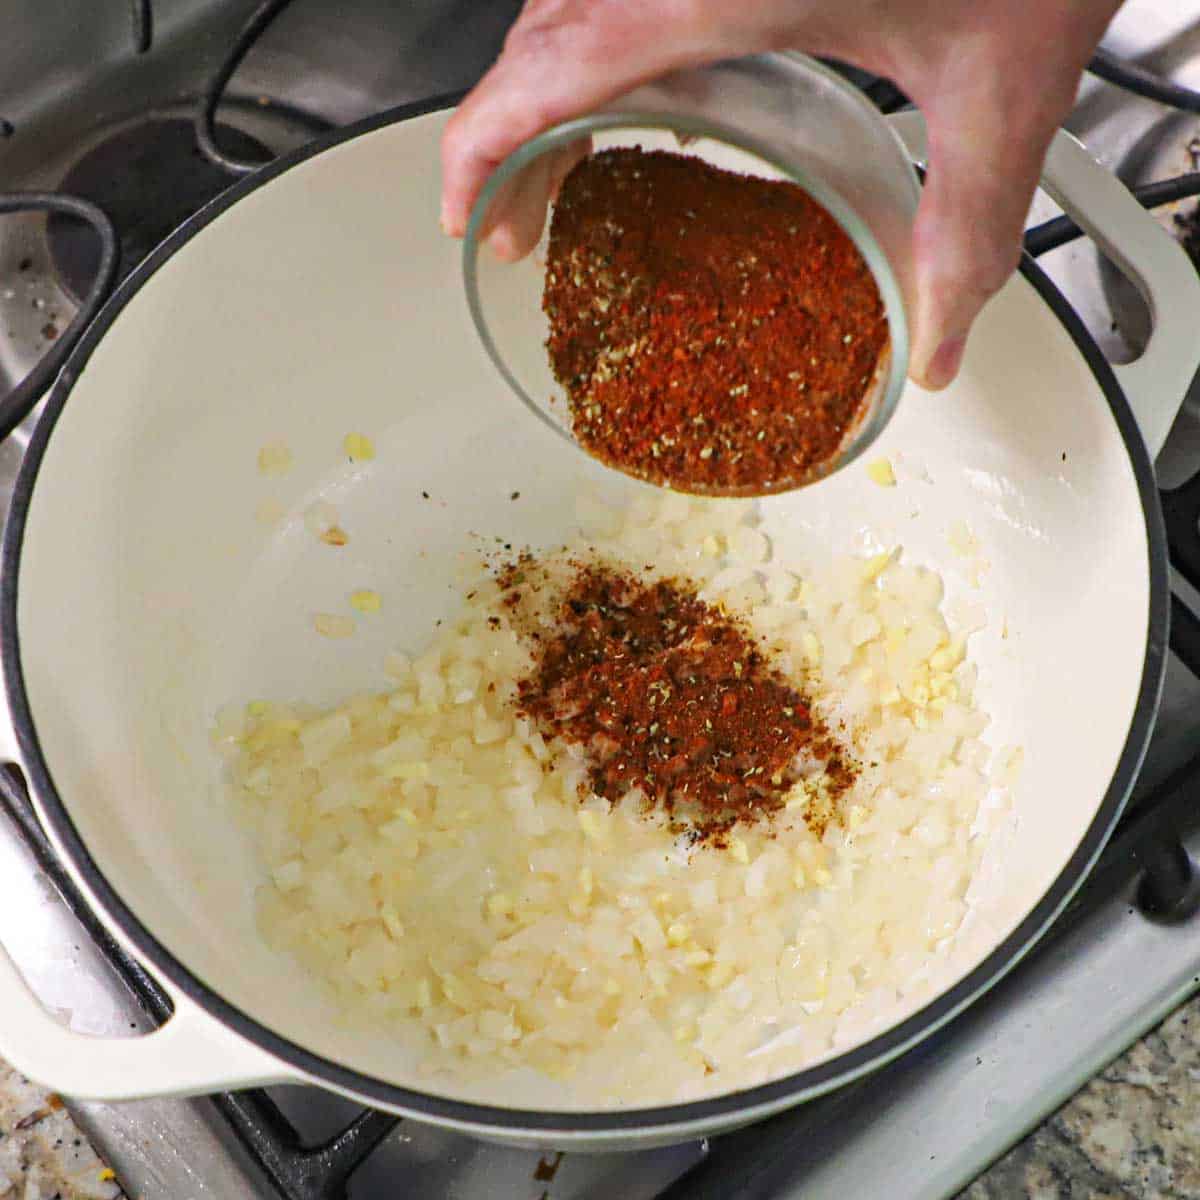
- Peppercorns & Seasoning: Whole black peppercorns add subtle spice—adjust salt and pepper after simmering to taste.
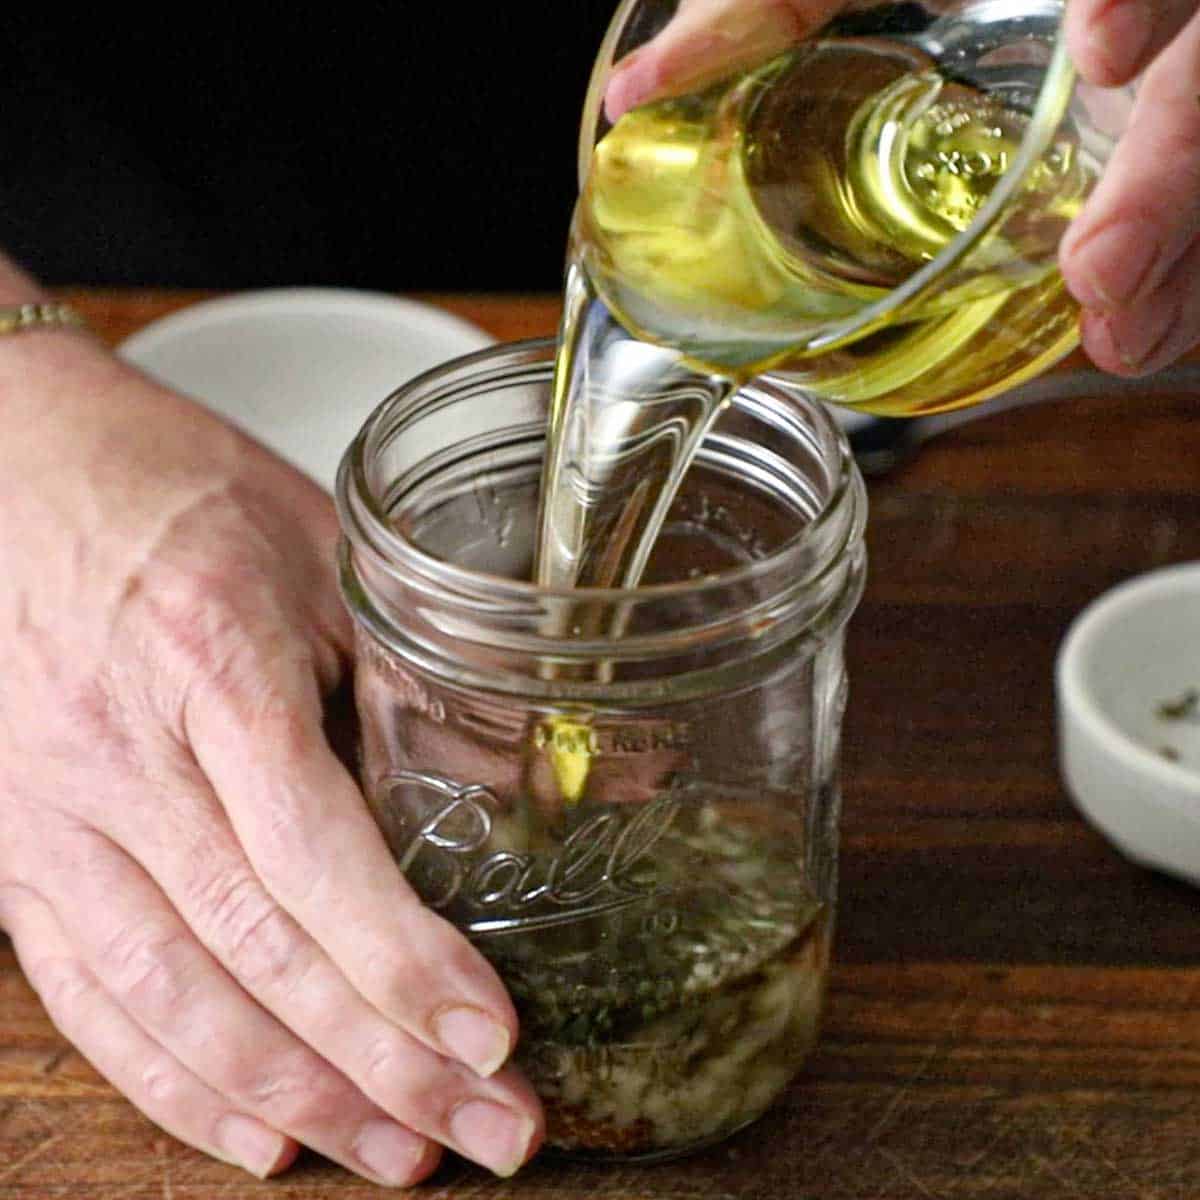
- Olive Oil: A drizzle helps caramelize the bones and vegetables during roasting; butter or neutral oil can be used instead.
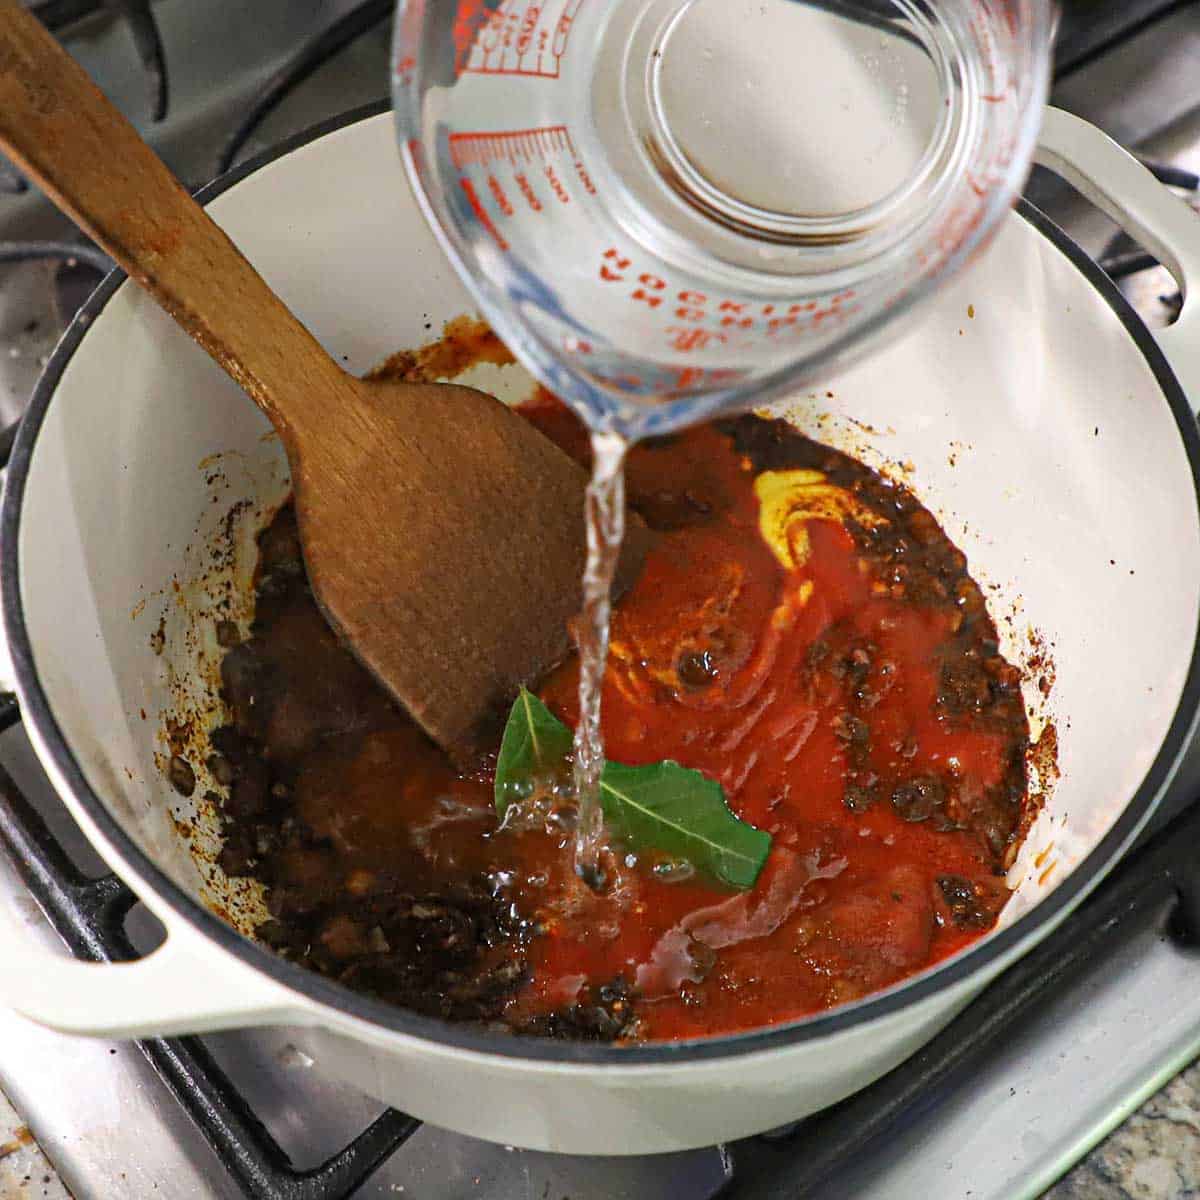
- Variations: Add a splash of white wine or apple cider vinegar before simmering to help extract flavor from the bones, or toss in a bay leaf for a classic stock aroma.
See the recipe card (with video) below for a full list of ingredients and measurements.
🔥 Tips & Tricks
- Roast everything well: Don’t rush the roasting step—deeply browned bones and vegetables create the richest, most flavorful stock.
- Use cold water to start: Starting with cold water helps draw out the collagen and flavor from the bones as the stock slowly heats.
- Simmer gently: Keep the stock at a gentle simmer, not a rolling boil, to ensure a clear, clean-tasting broth.
- Skim the foam: Occasionally skim off any foam or impurities that rise to the top for a smoother, more refined stock.
- Don’t over-salt: Wait to season fully until the end, especially if you plan to reduce the stock later.
- Strain carefully: Use a fine-mesh strainer or cheesecloth for a clear, golden liquid.
- Cool and store safely: Let the stock cool completely before refrigerating or freezing—store in smaller containers for easy use later.
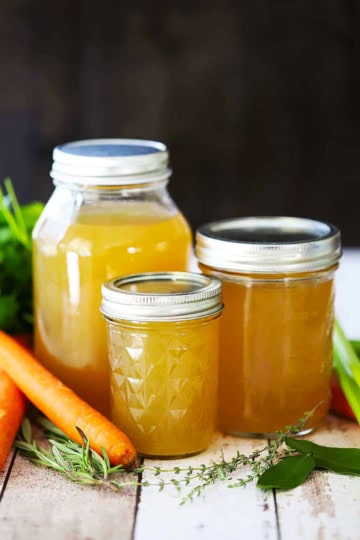
- Freeze smart: Pour cooled stock into ice cube trays or freezer-safe jars for convenient portion sizes in future recipes.
👩🏼🍳 How to Make Homemade Roasted Turkey Stock
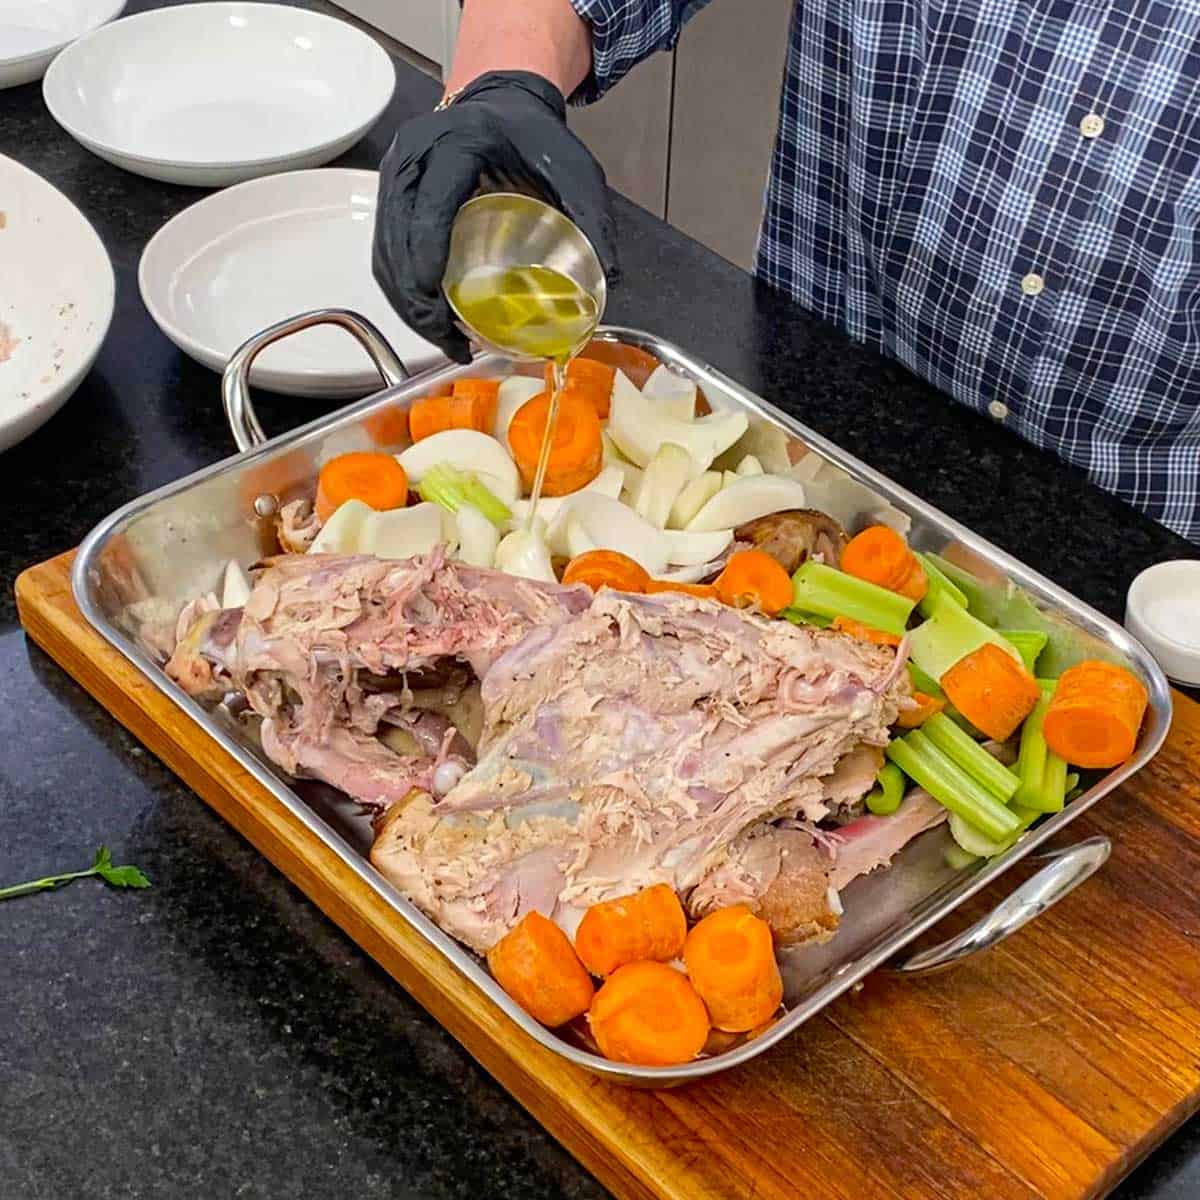
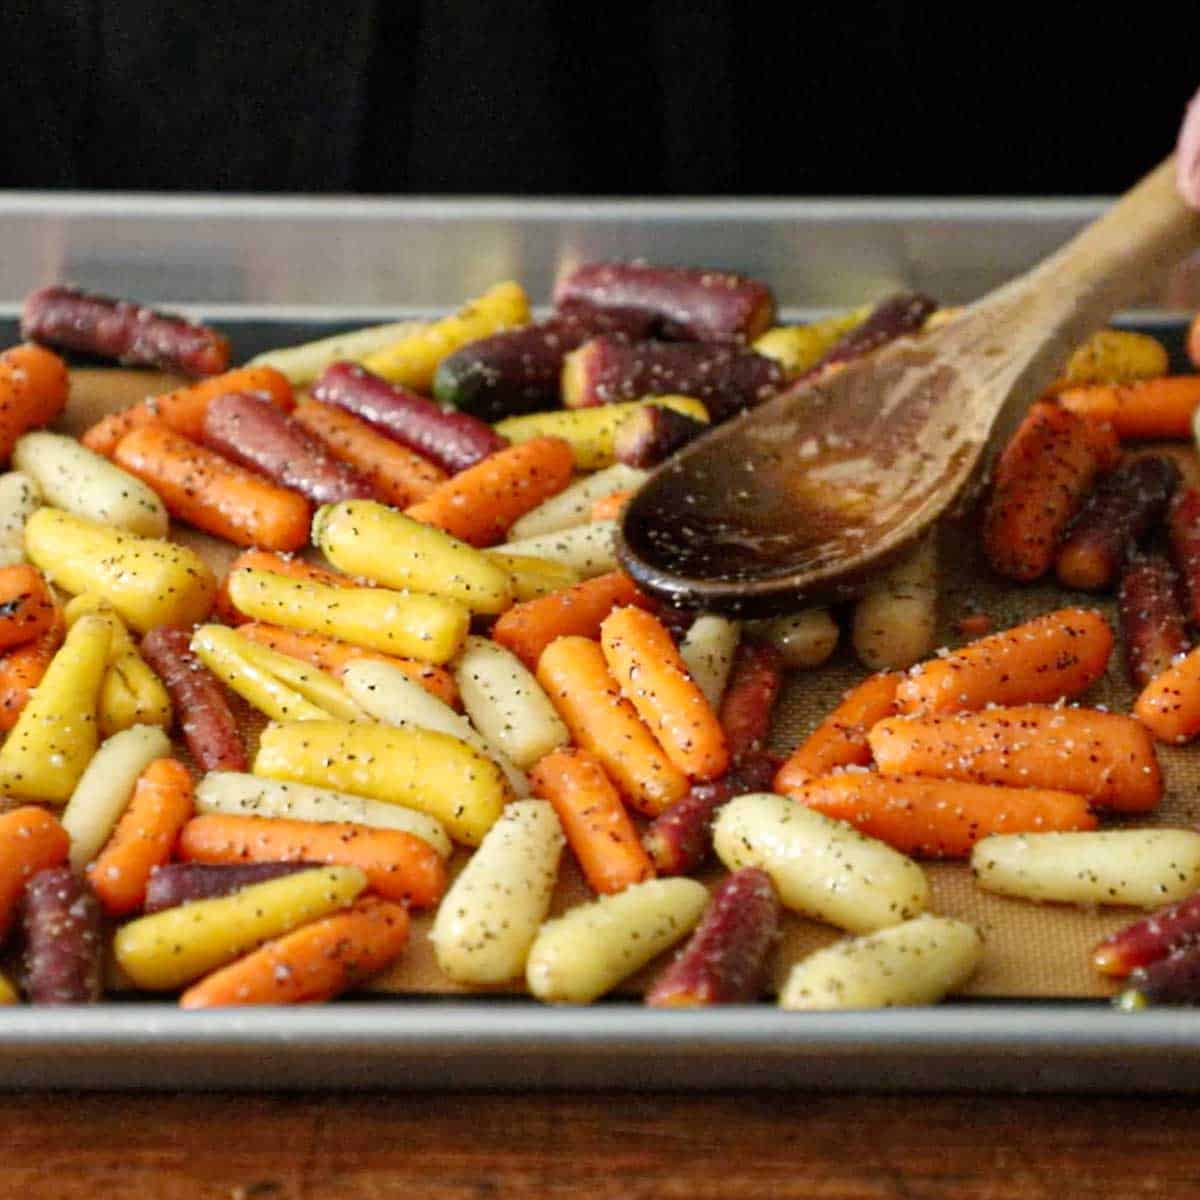
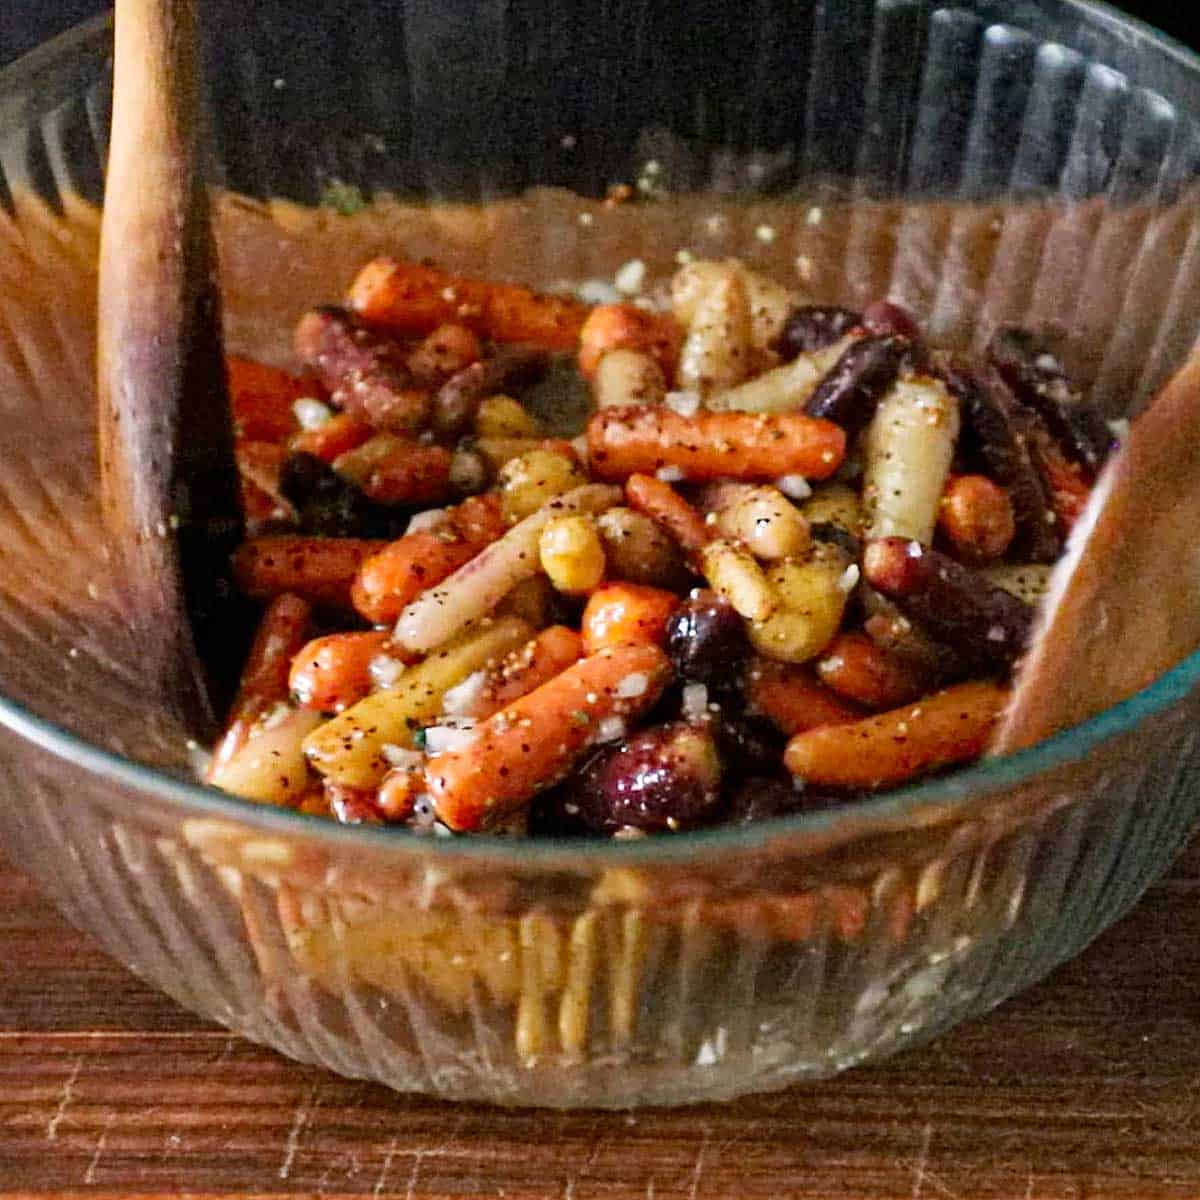
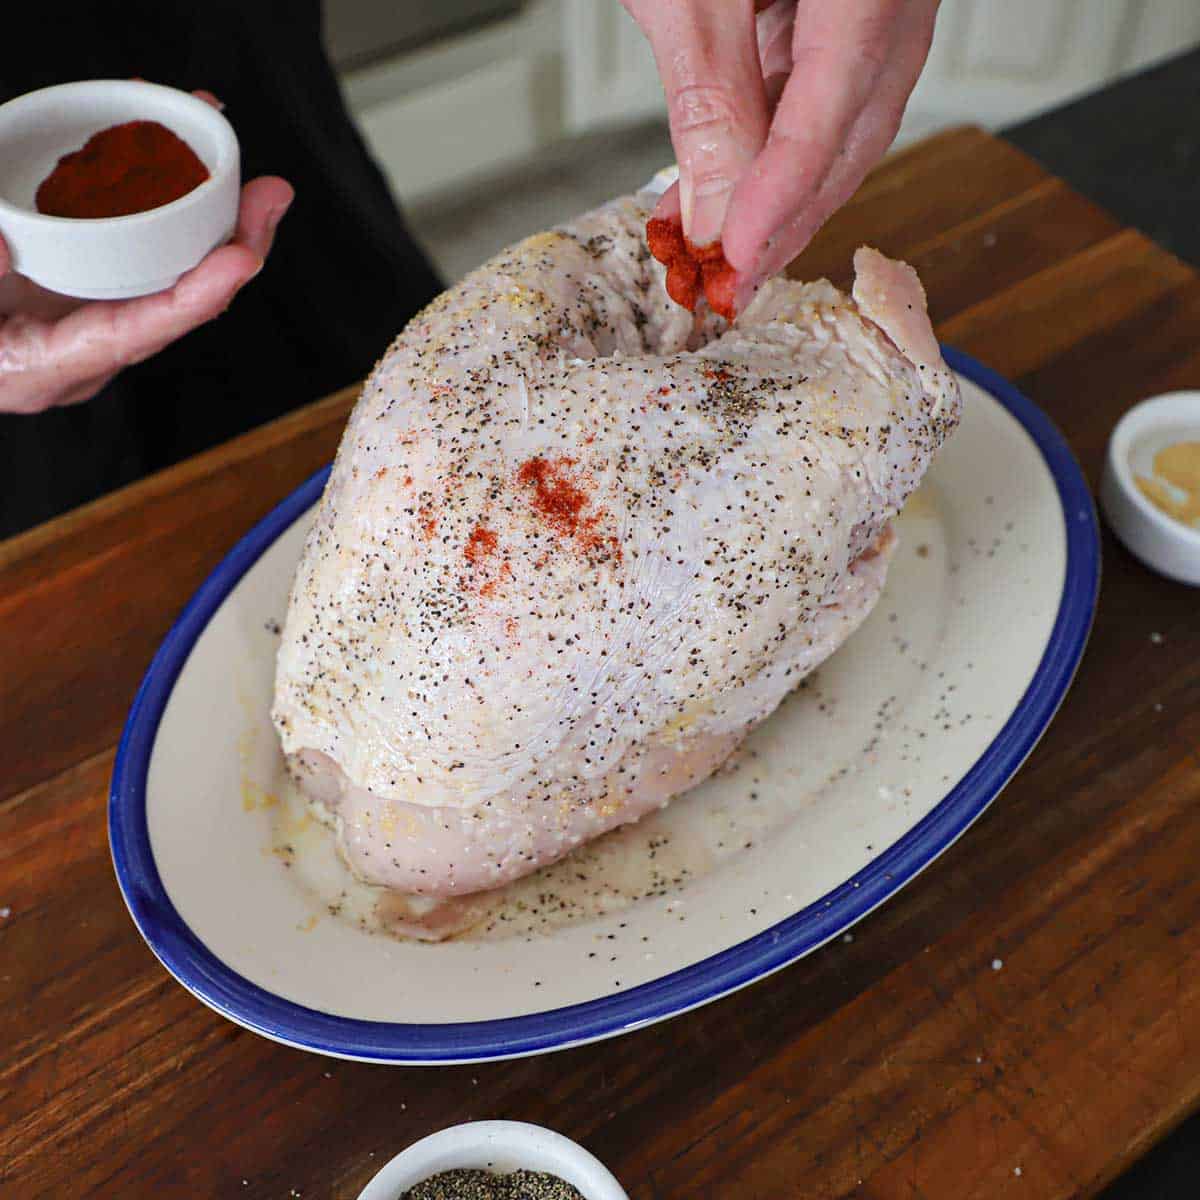
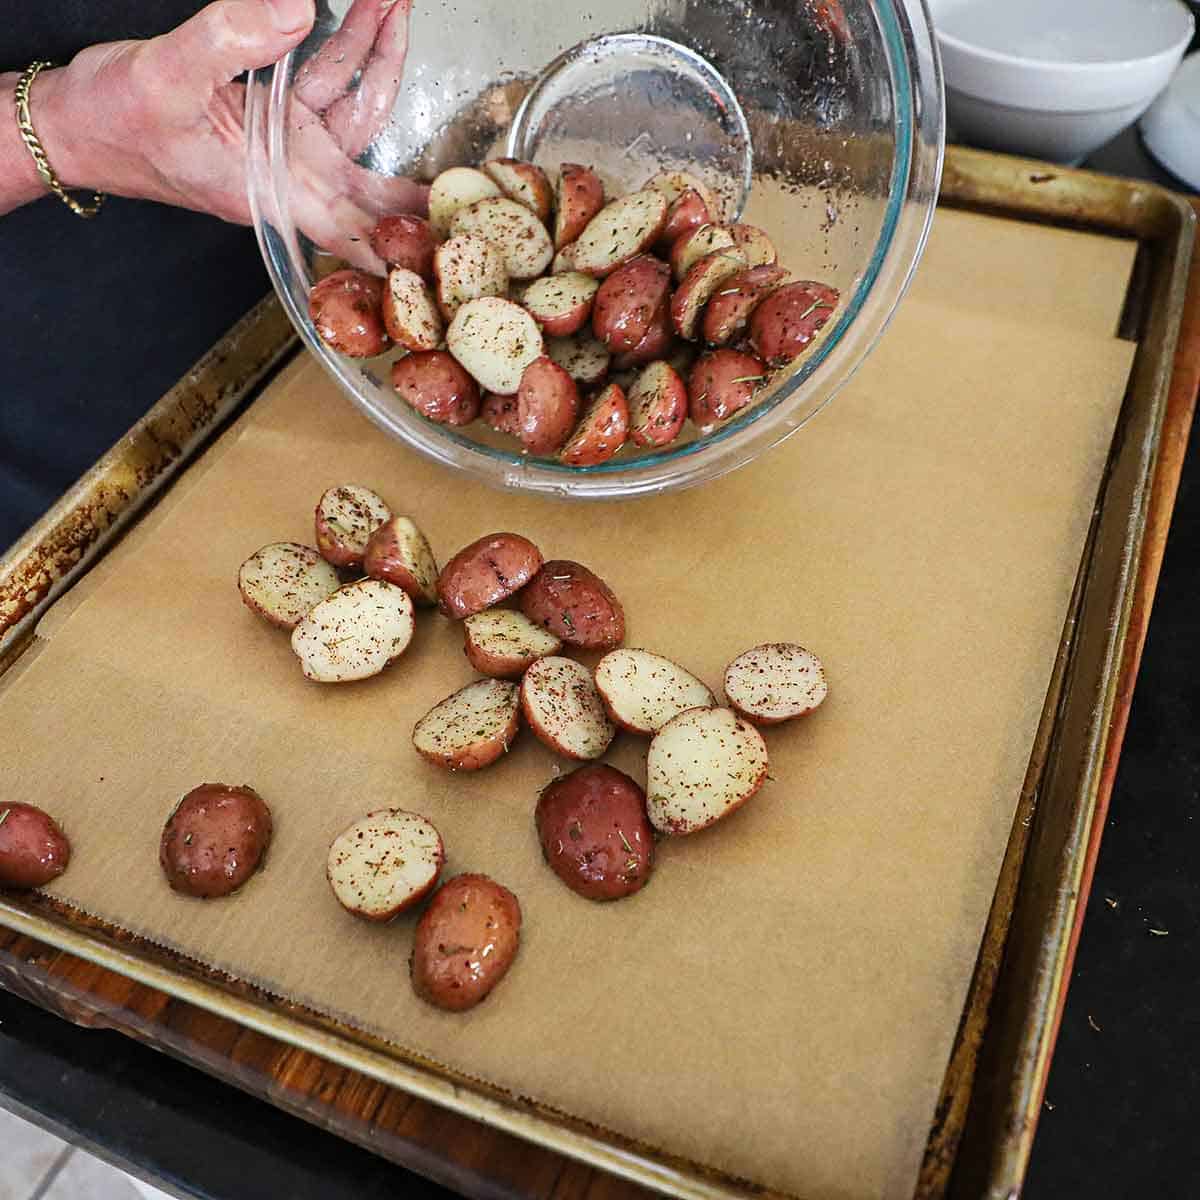
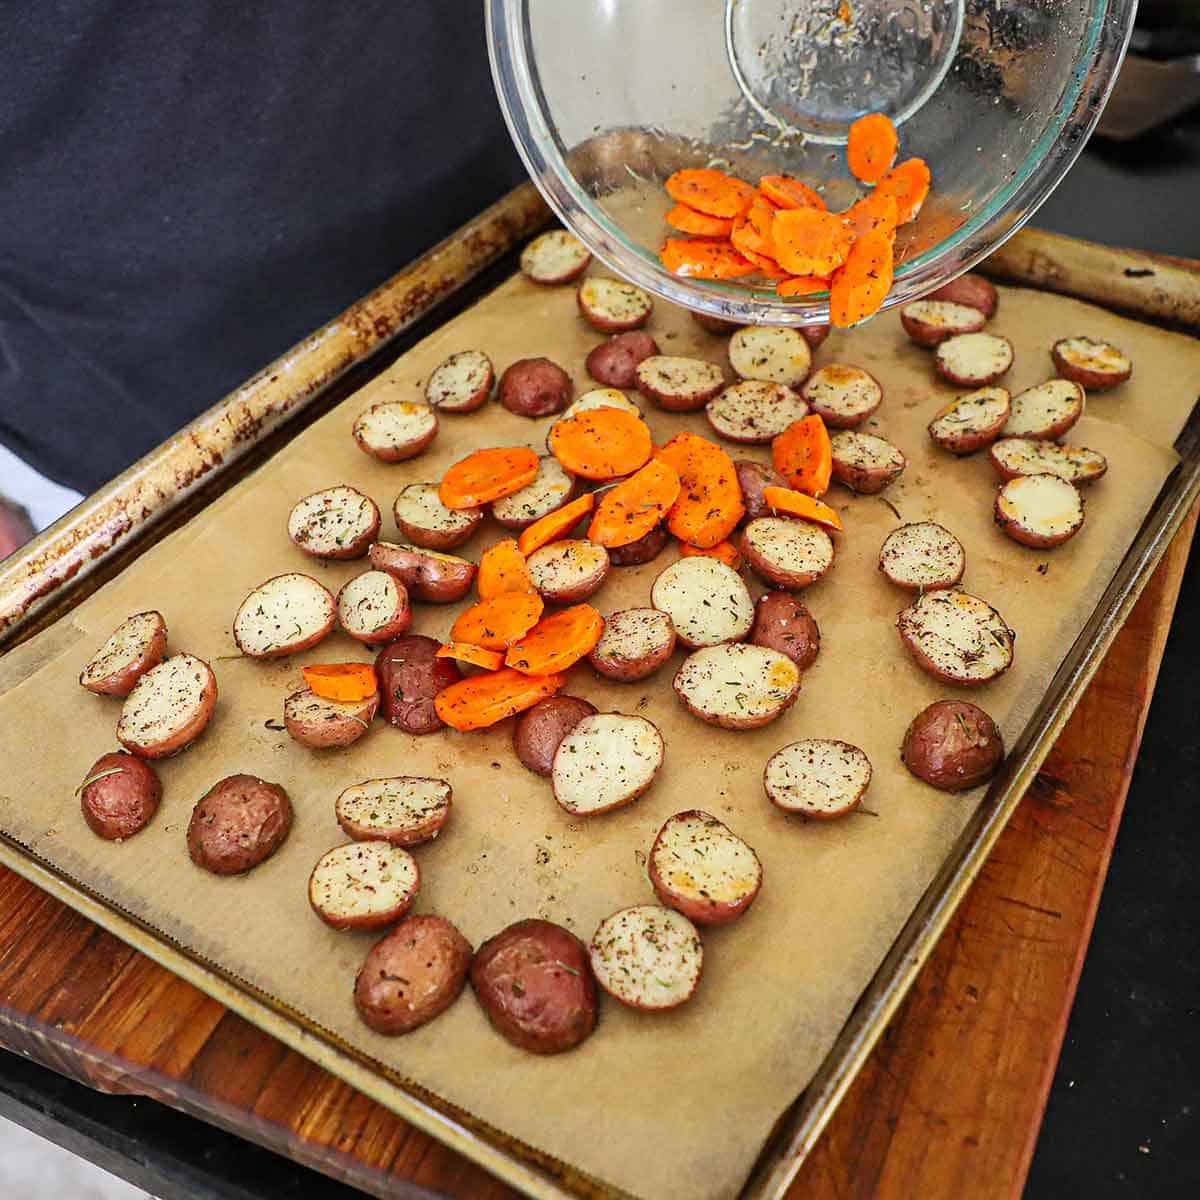
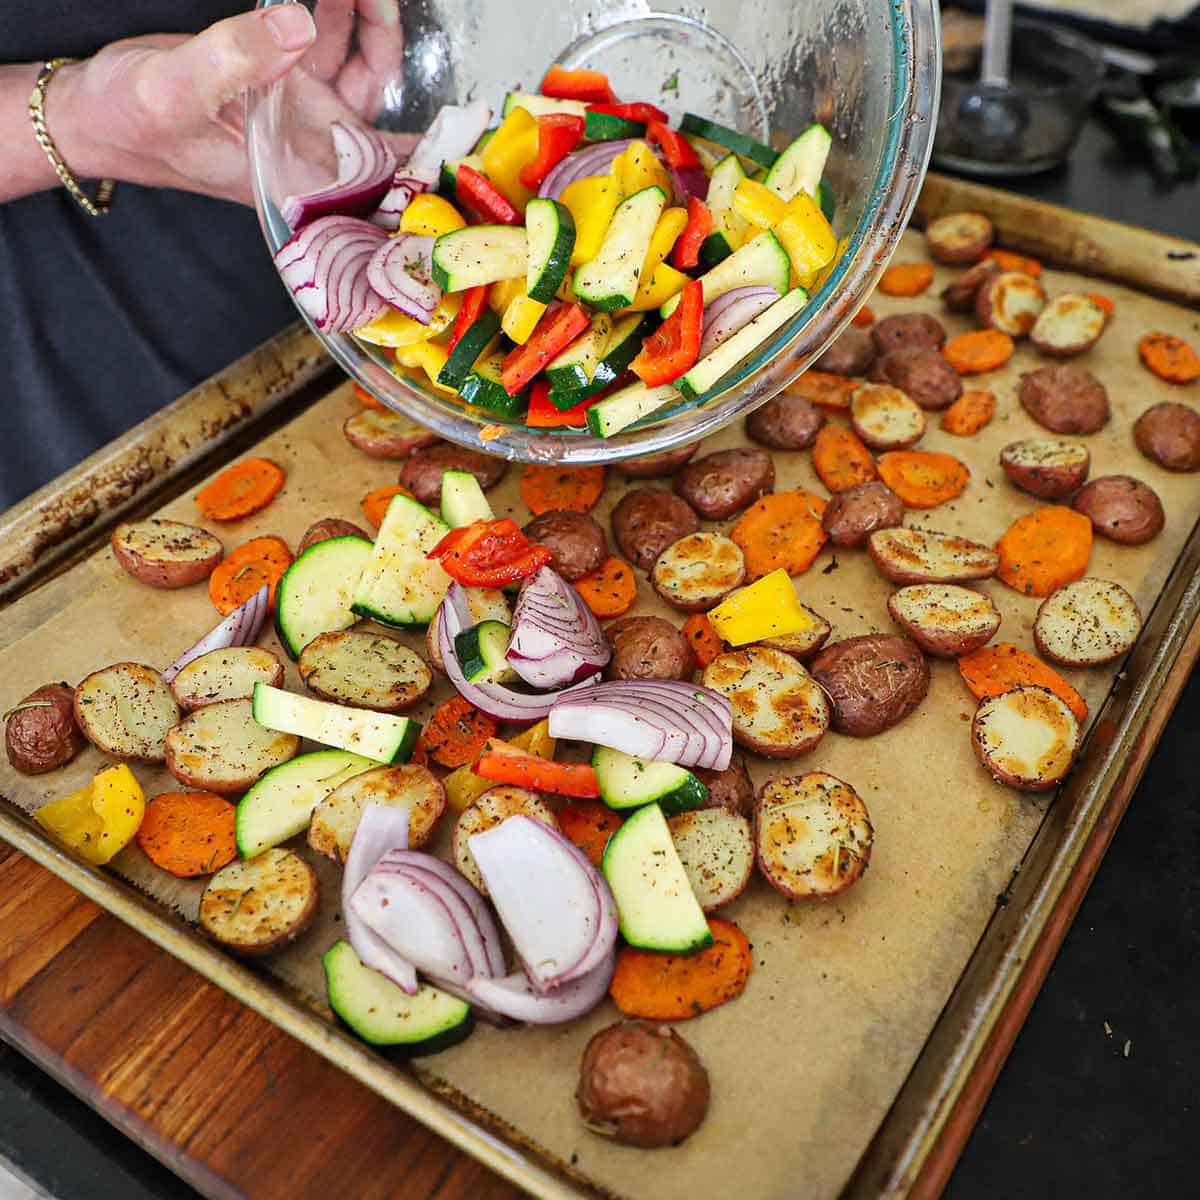
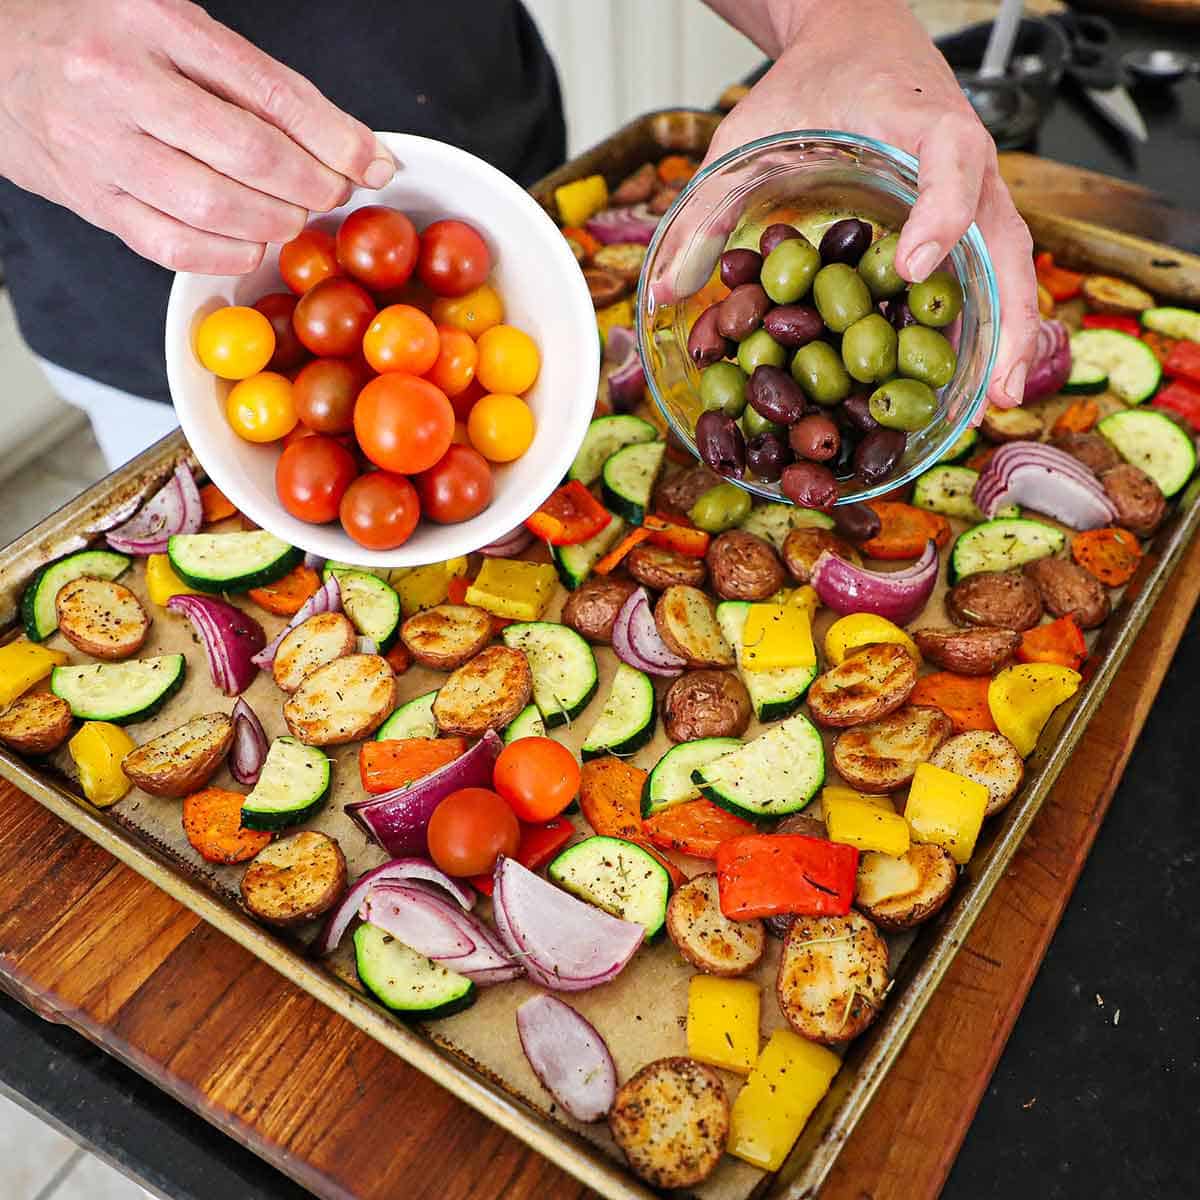
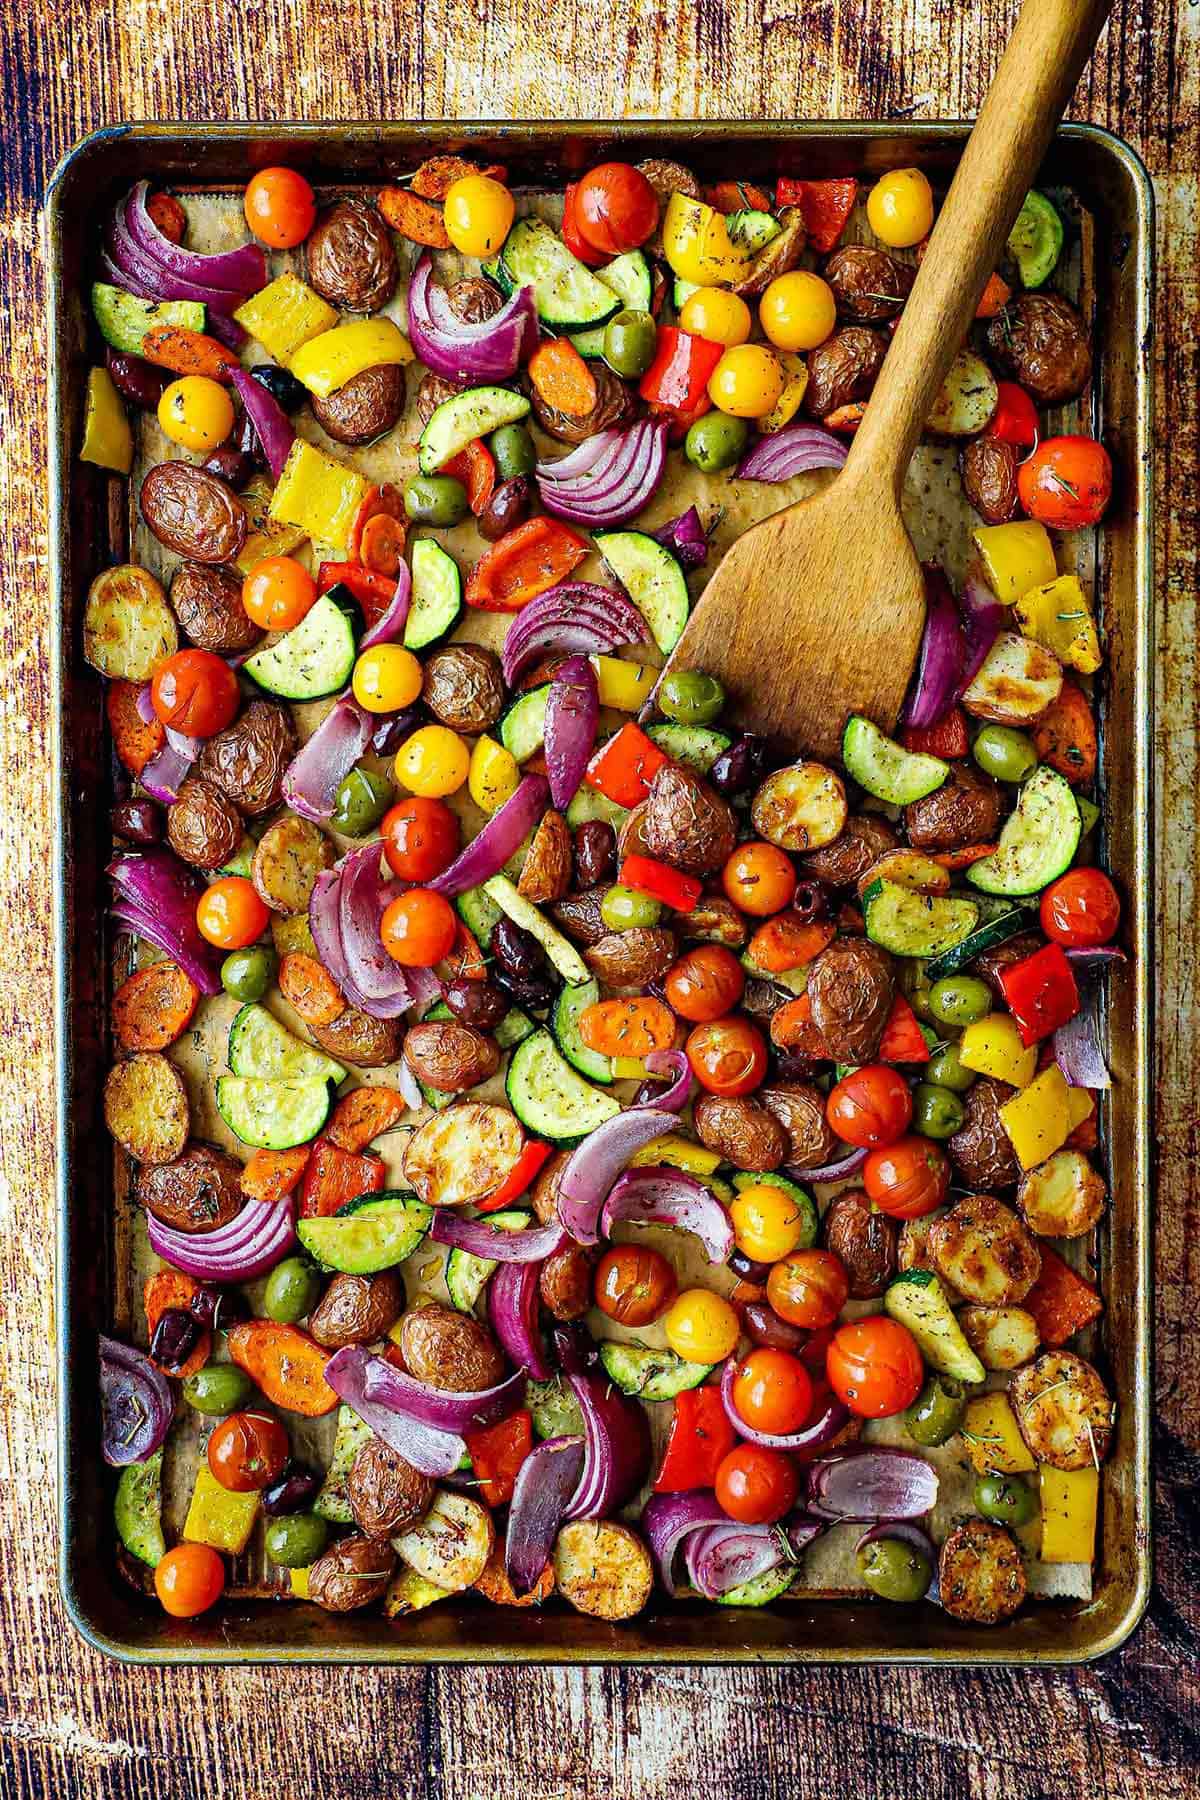
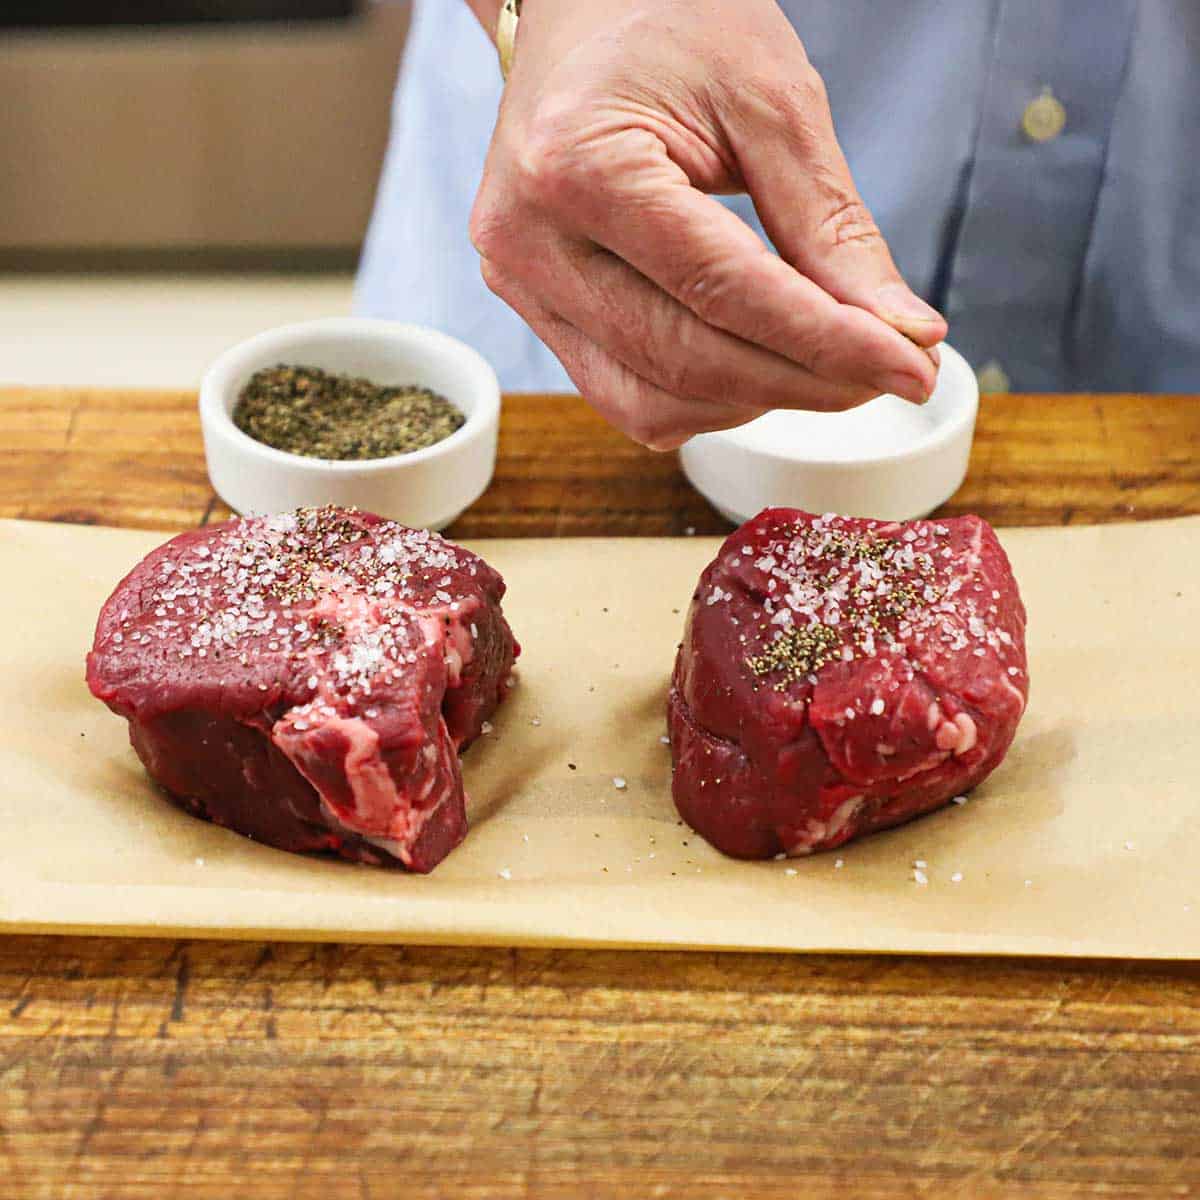
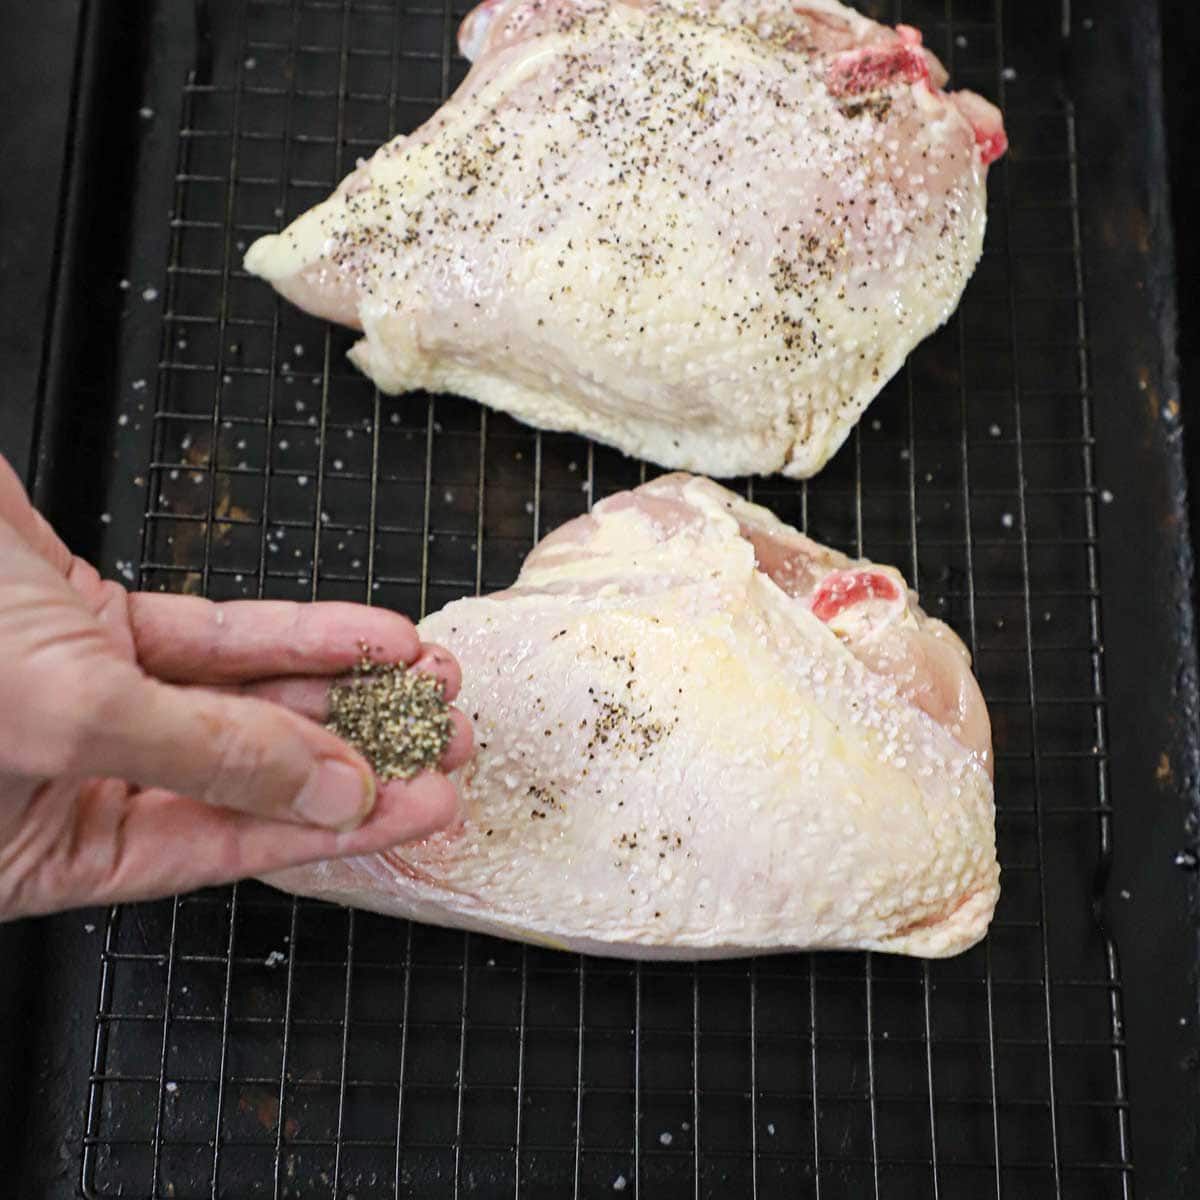
- Step 1: Place the turkey bones and vegetables in a large roasting pan and toss with olive oil, salt, and pepper.
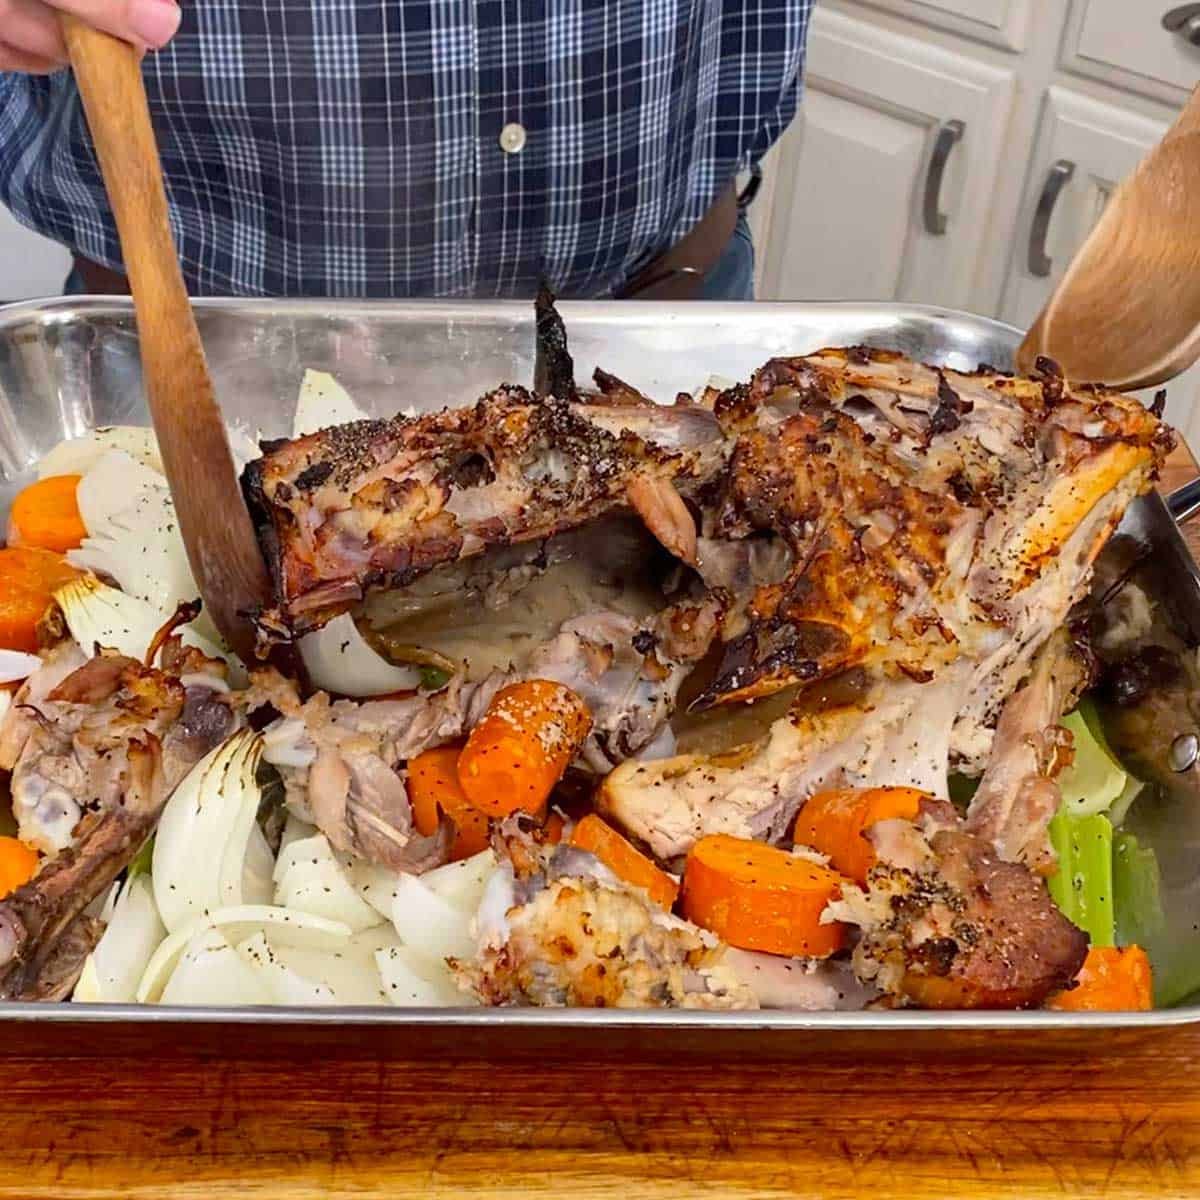
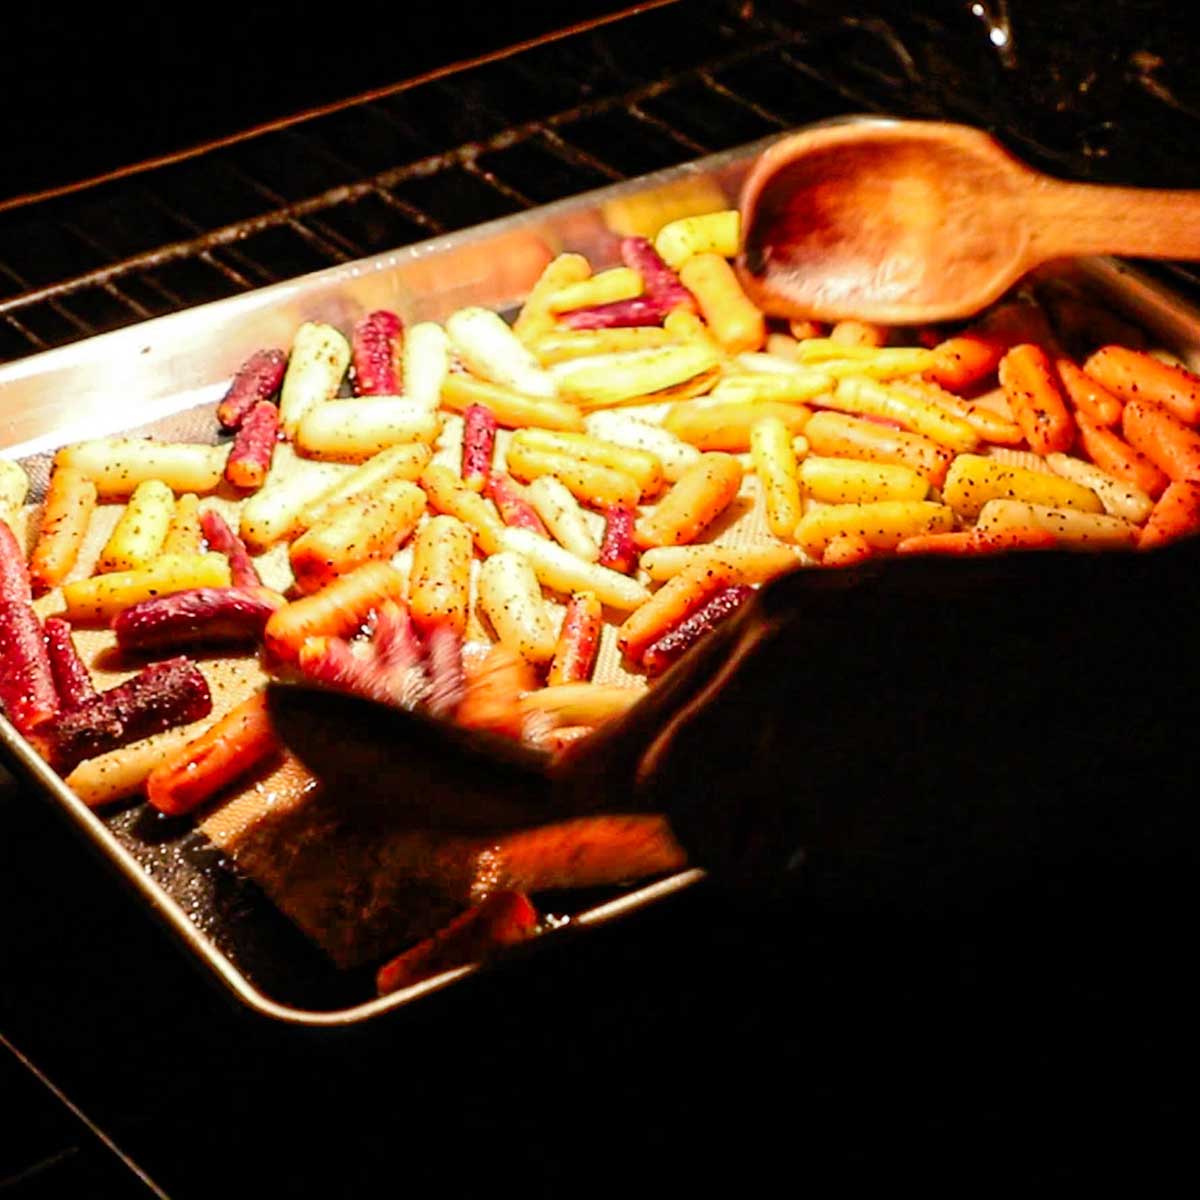
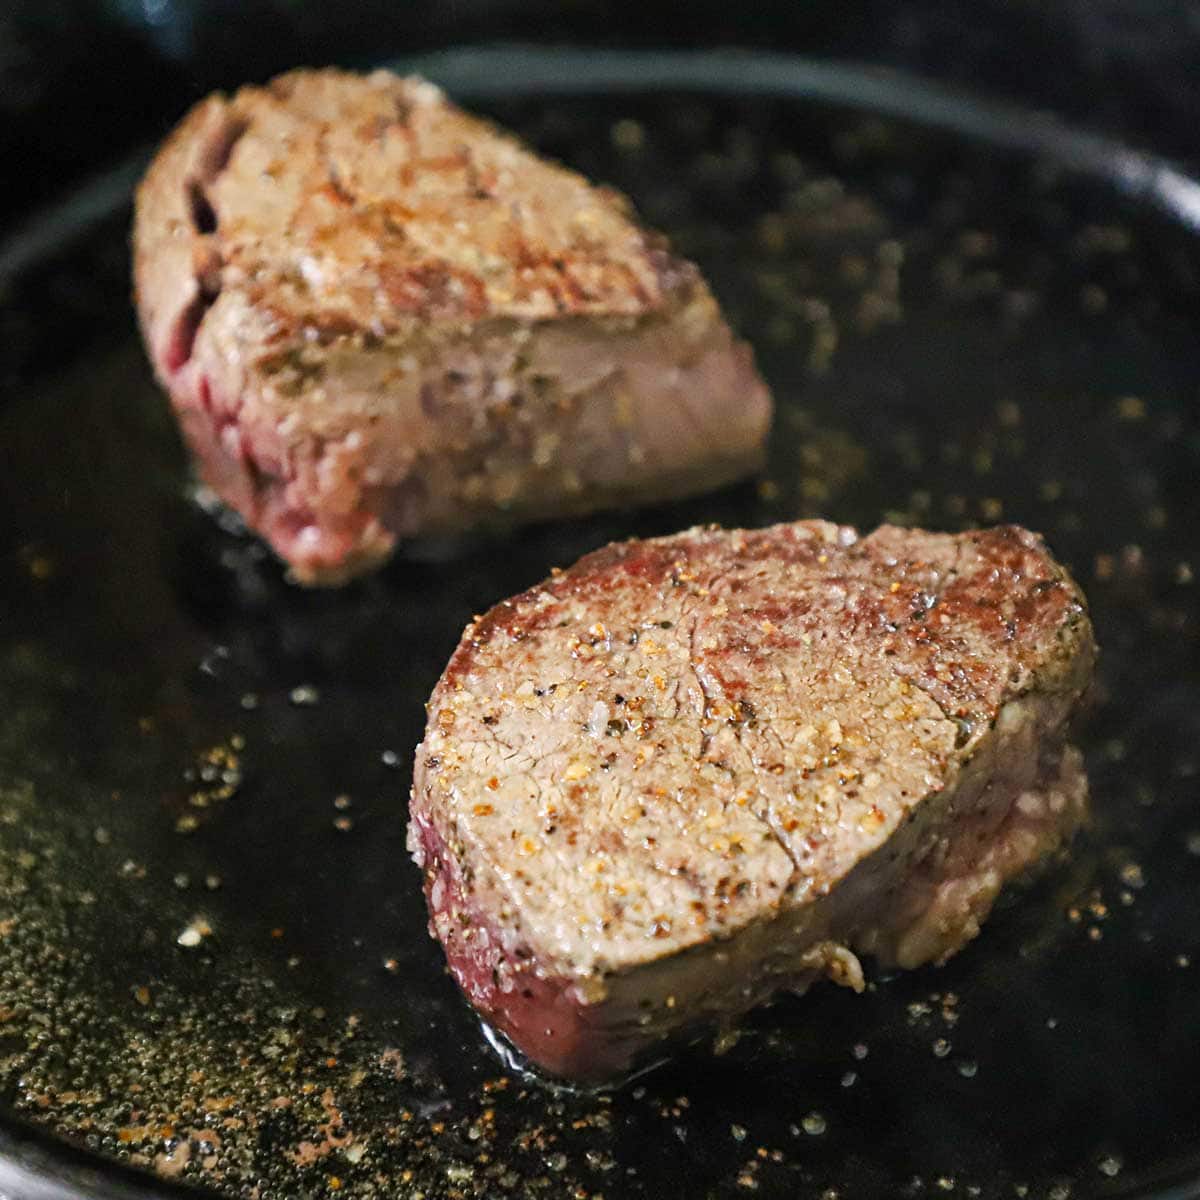
- Step 2: Roast at 450°F for 40 minutes, tossing everything gently about halfway through.

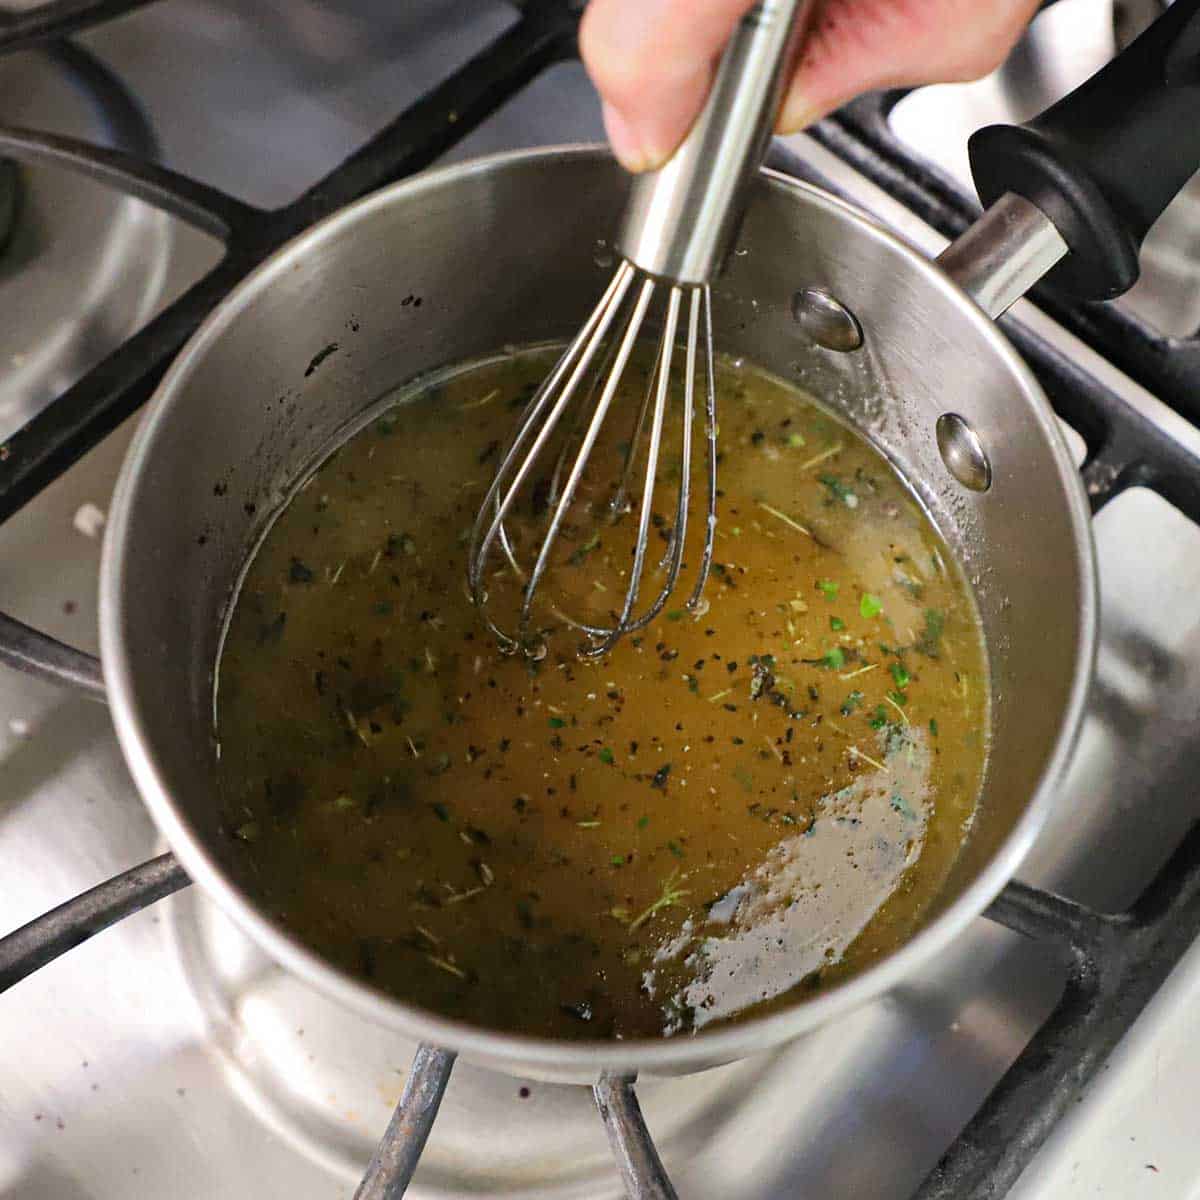
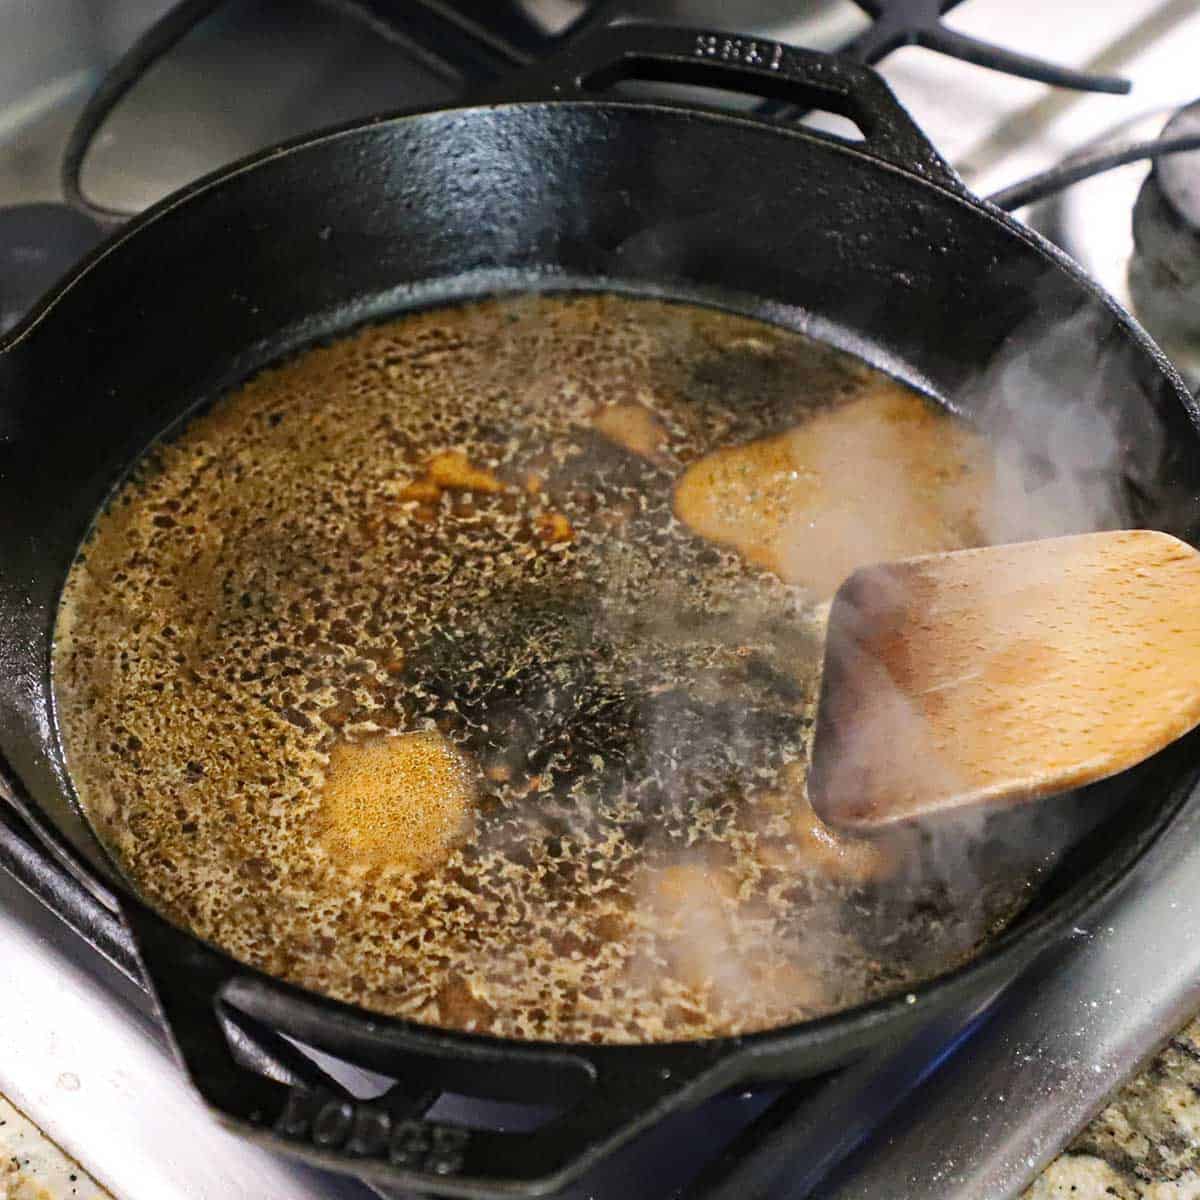
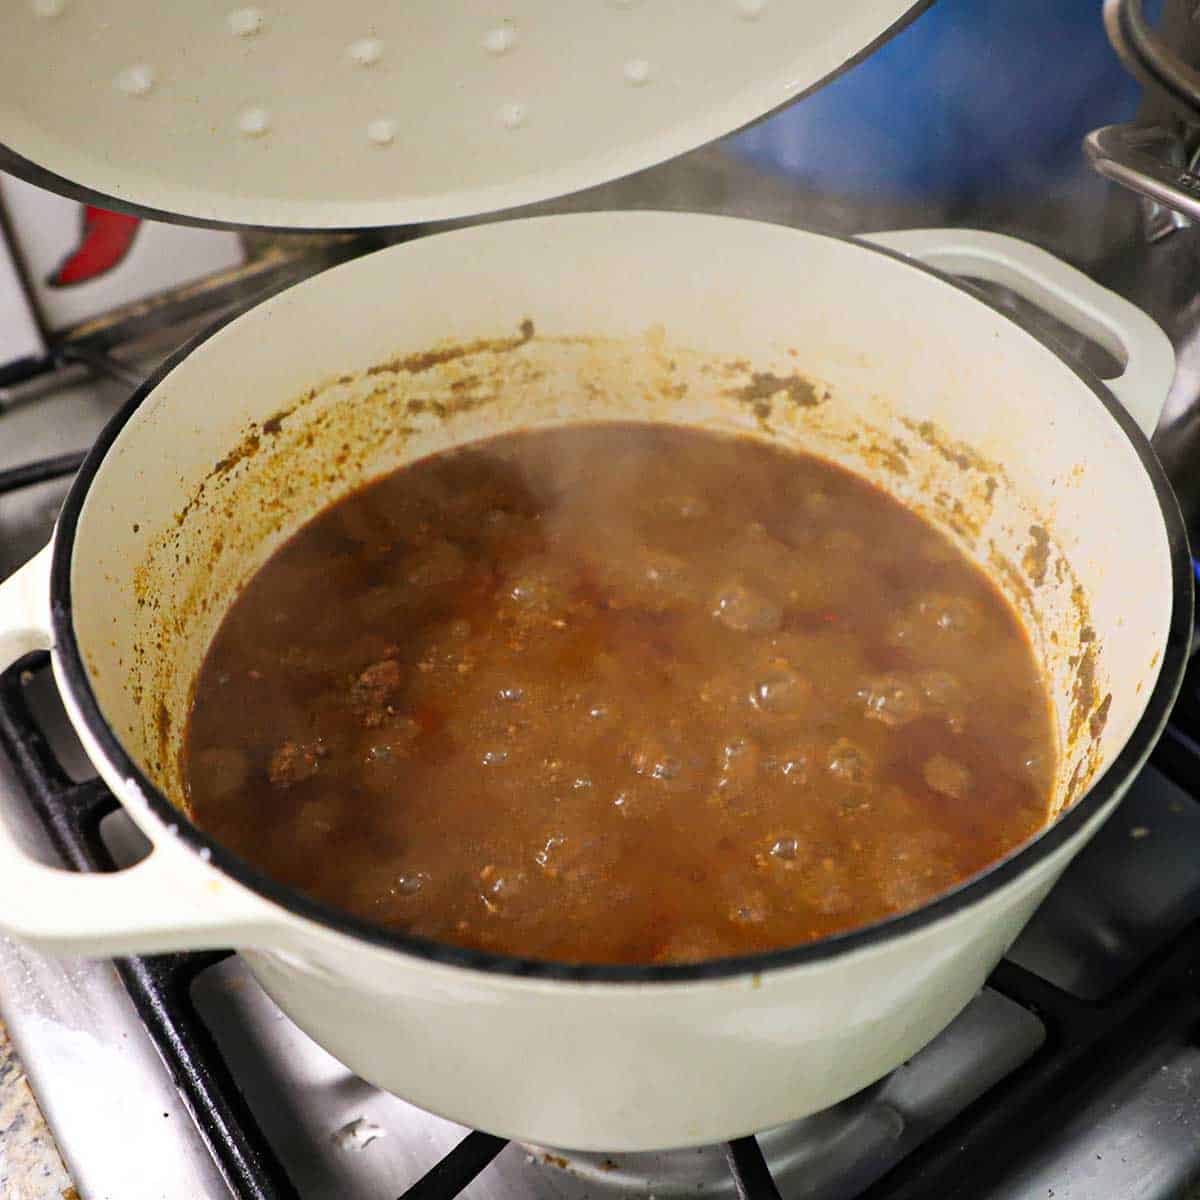
- Step 3: Add the roasted turkey bones and veggies to a large stock pot and fill with water, and add the herbs and peppercorns. Simmer for 3 to 4 hours.
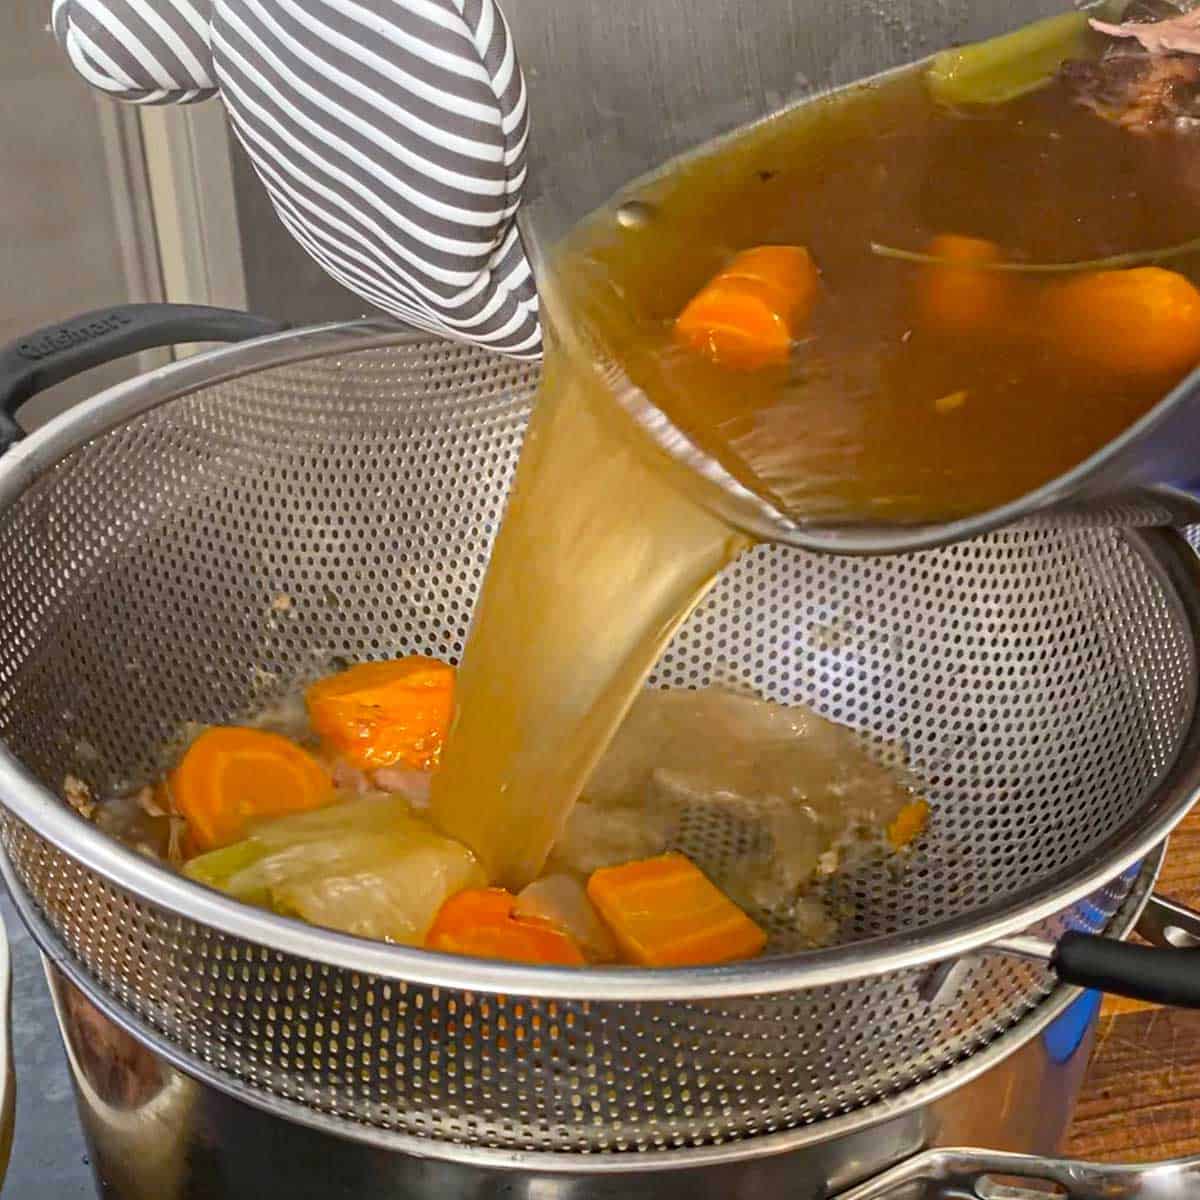
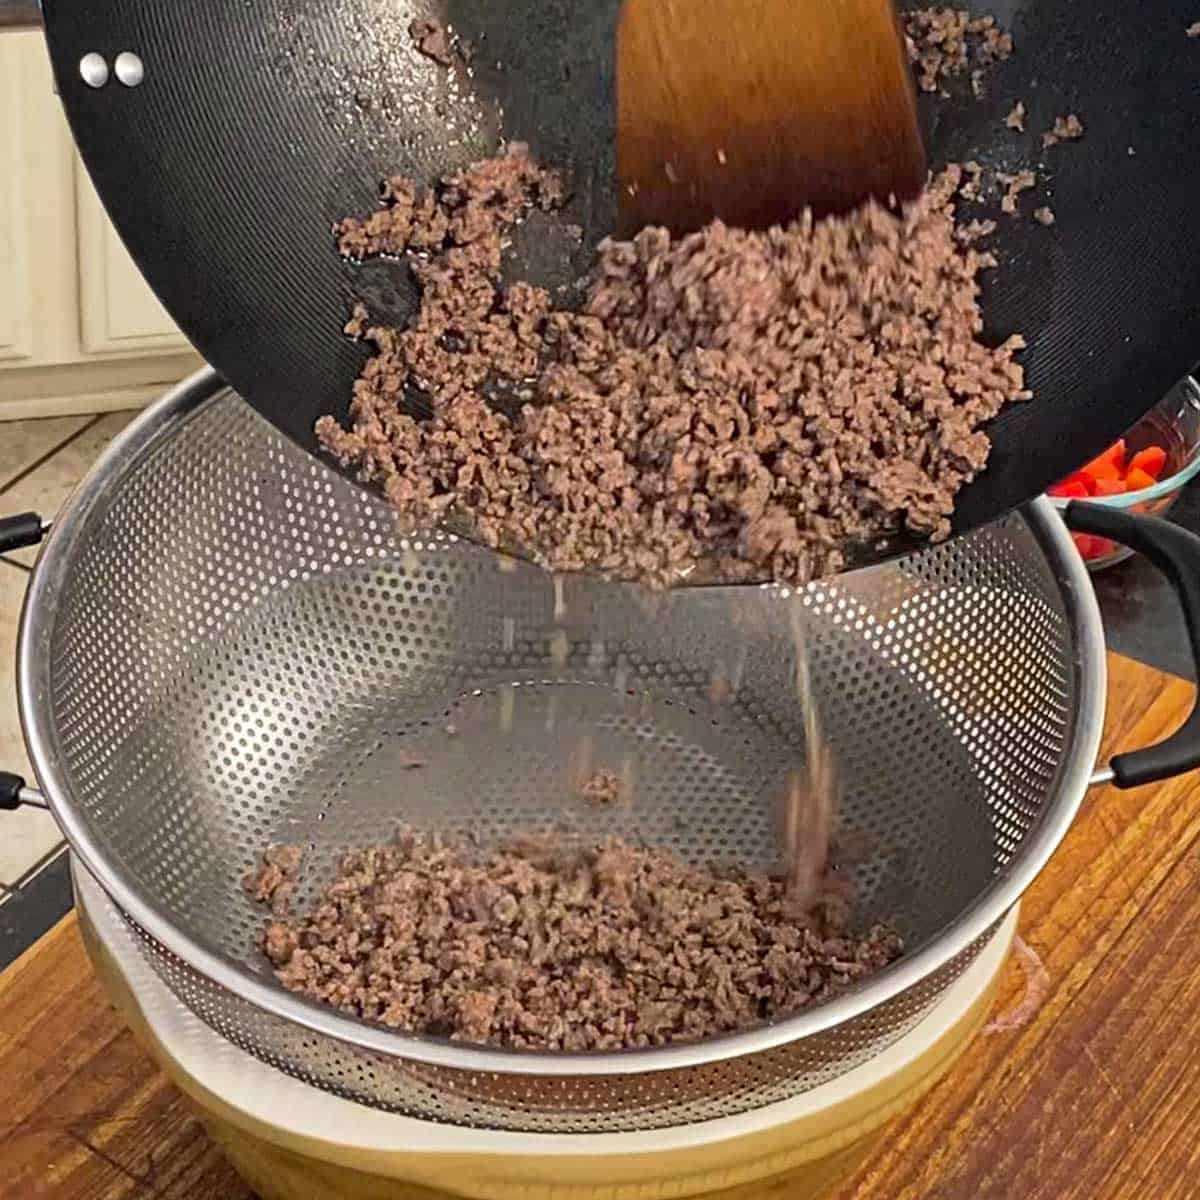
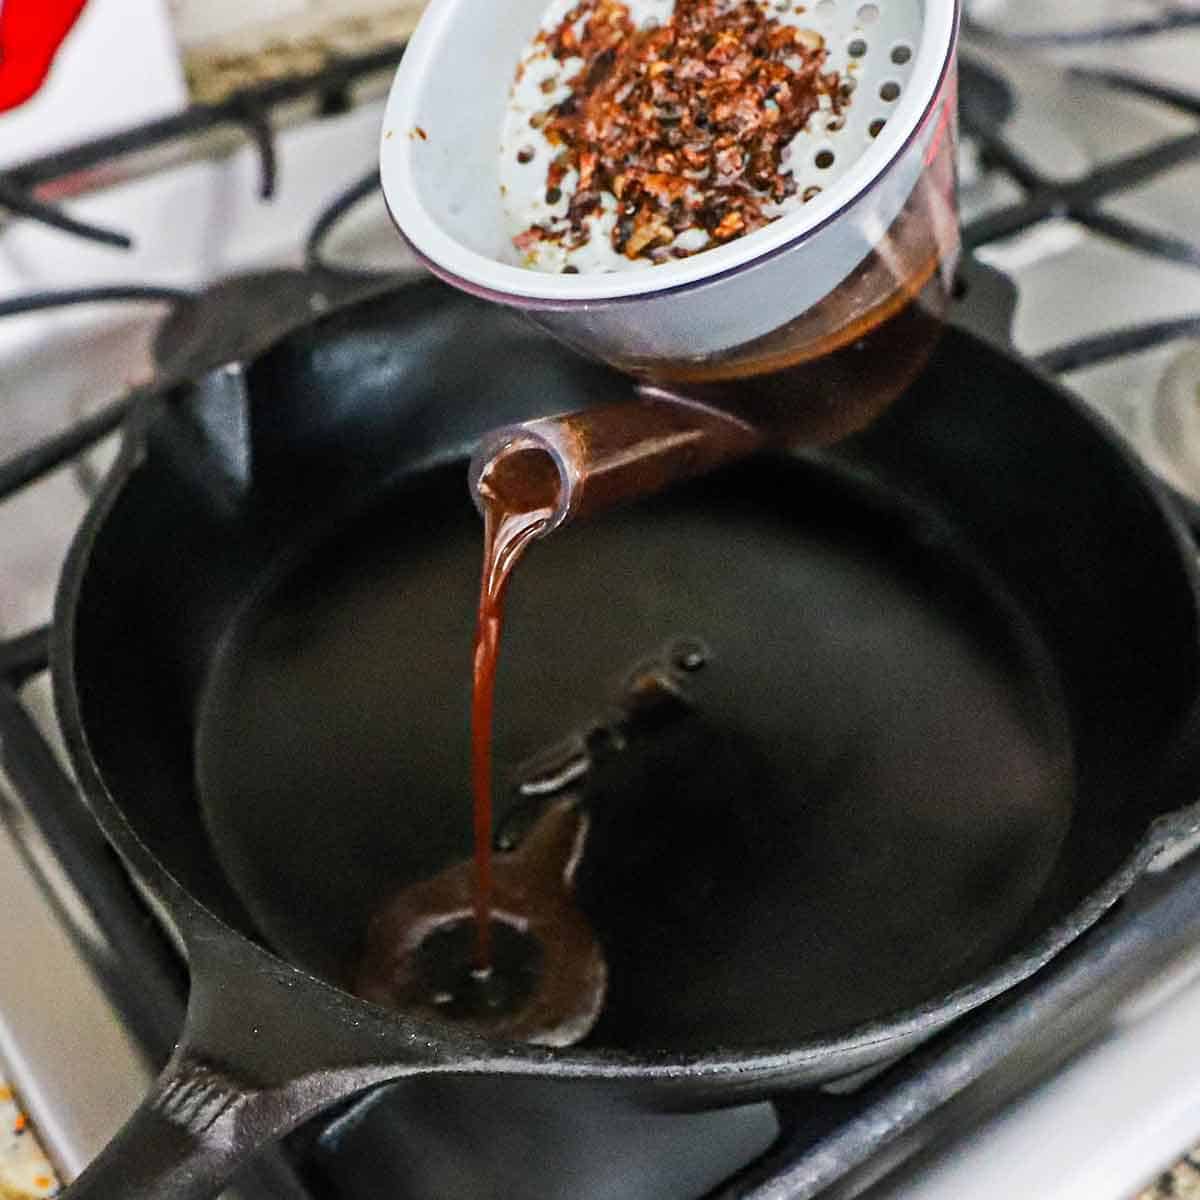
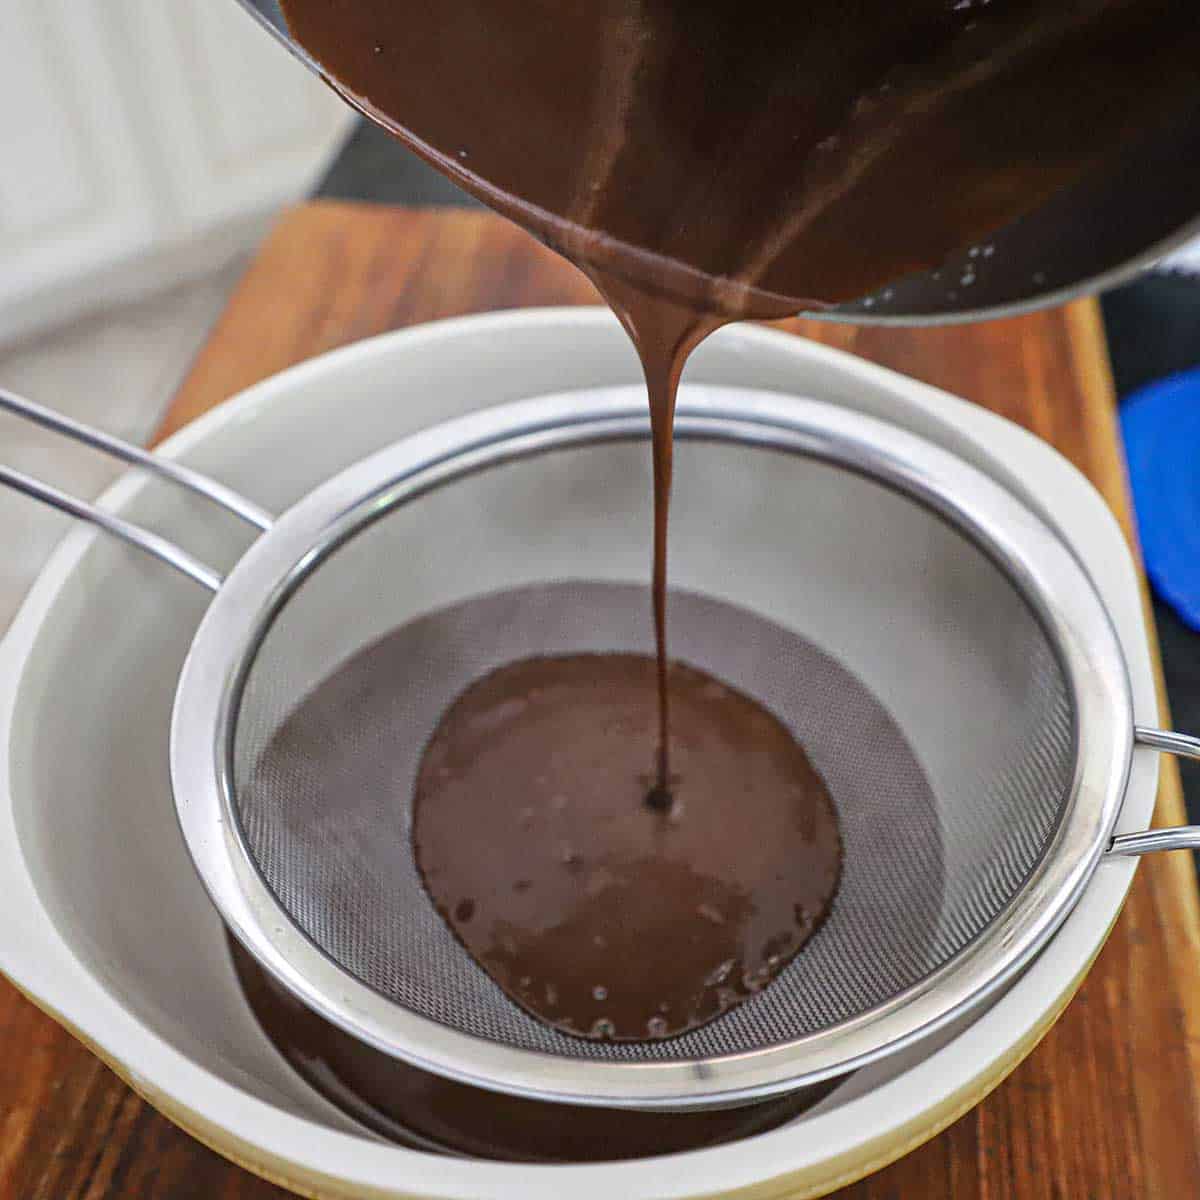
- Step 4: Remove the large bones and then strain into a separate pot. Repeat with a fine-mesh sieve, if desired.
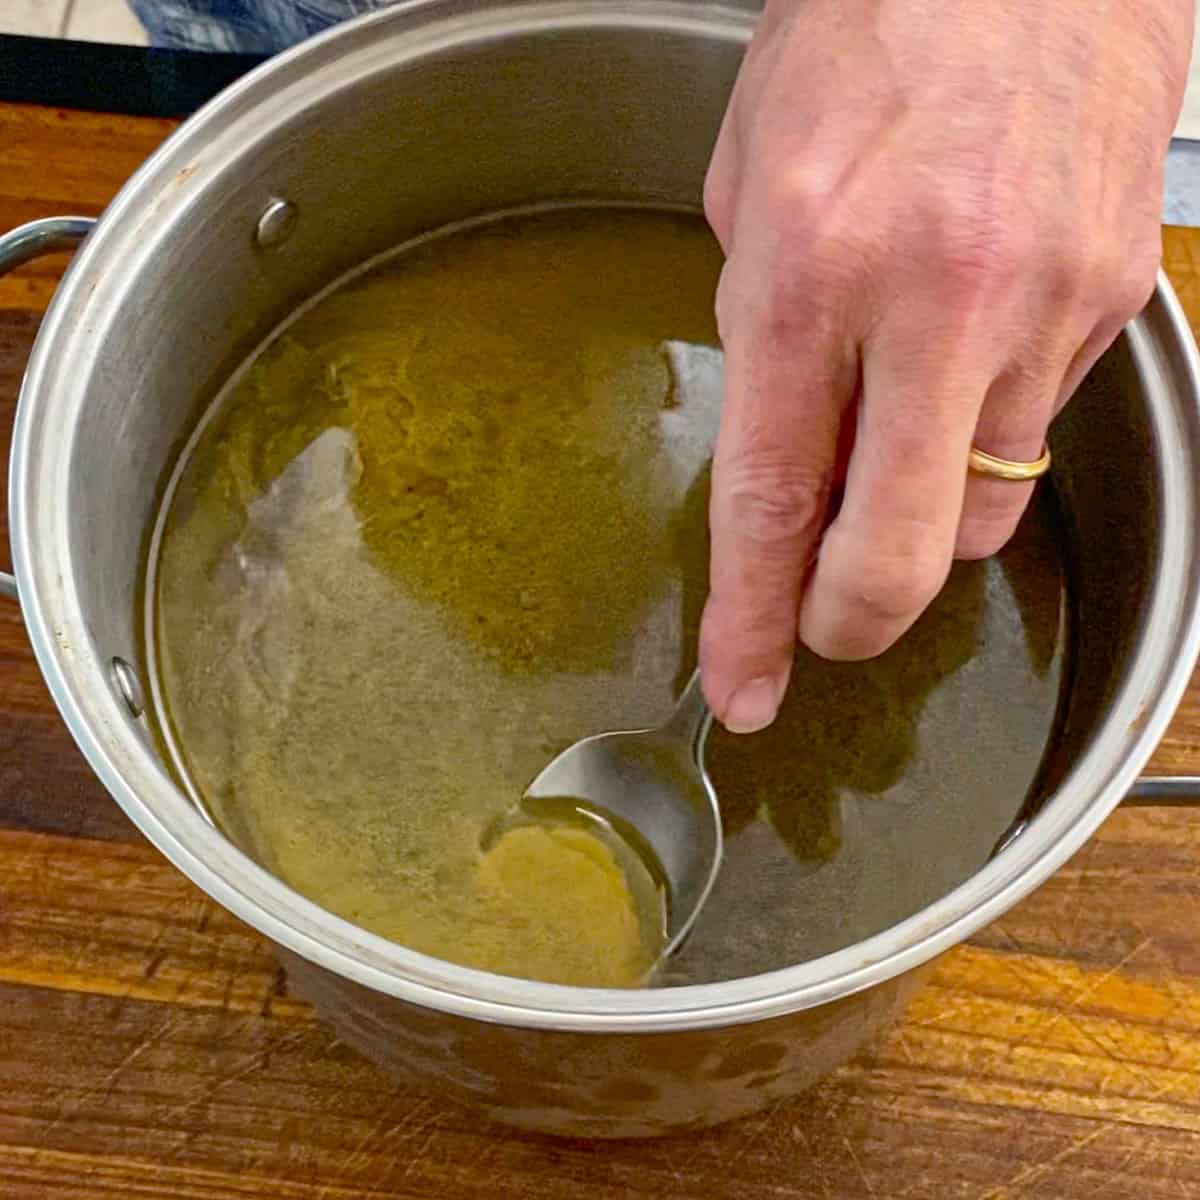
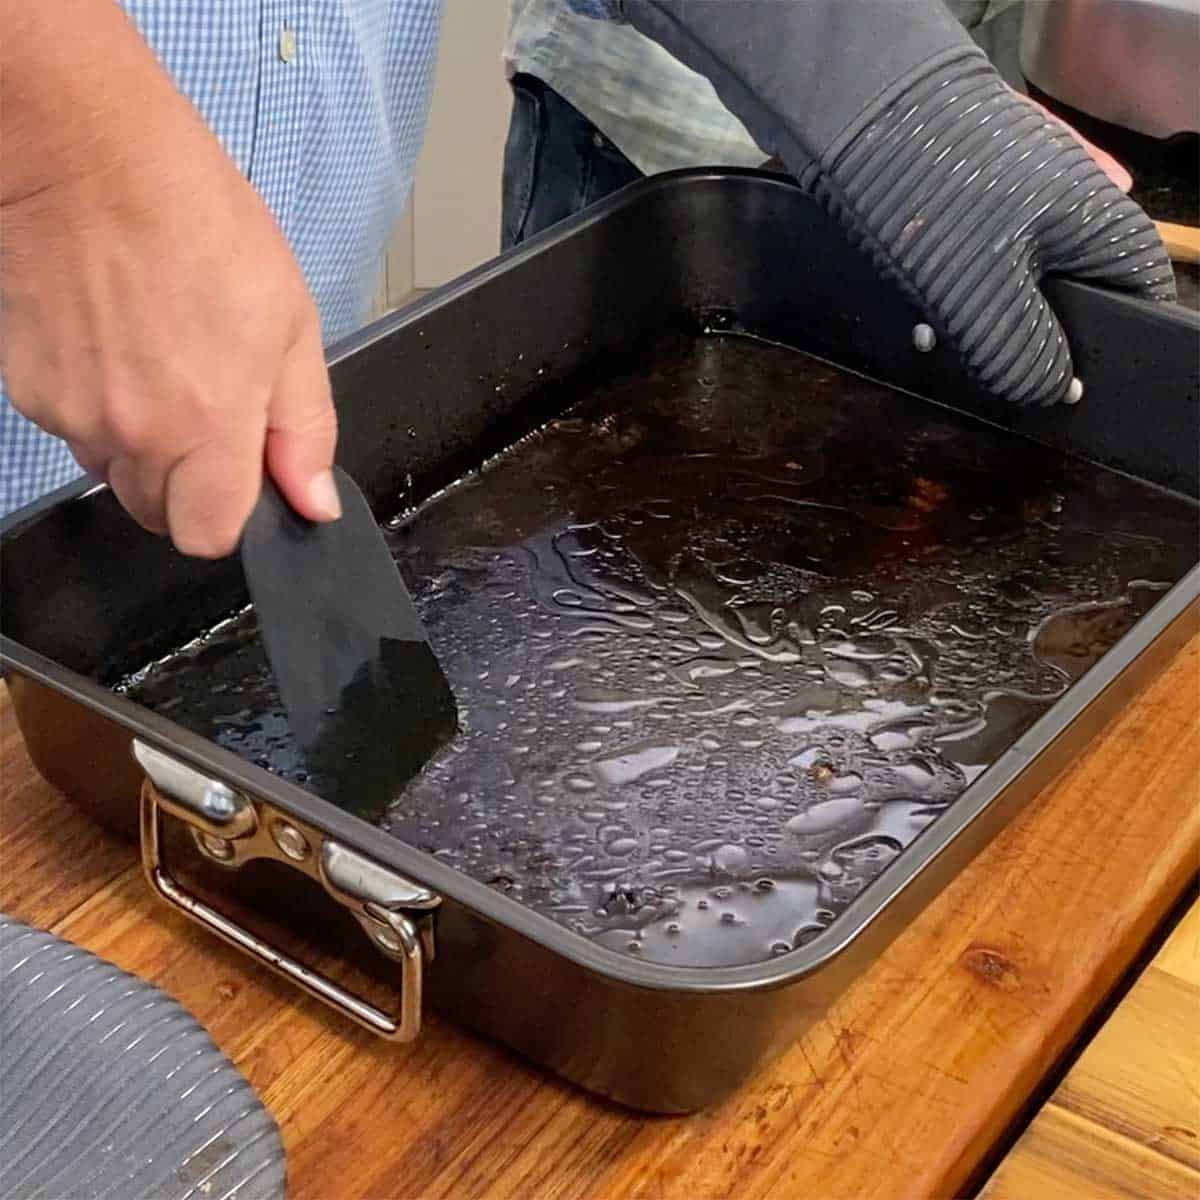
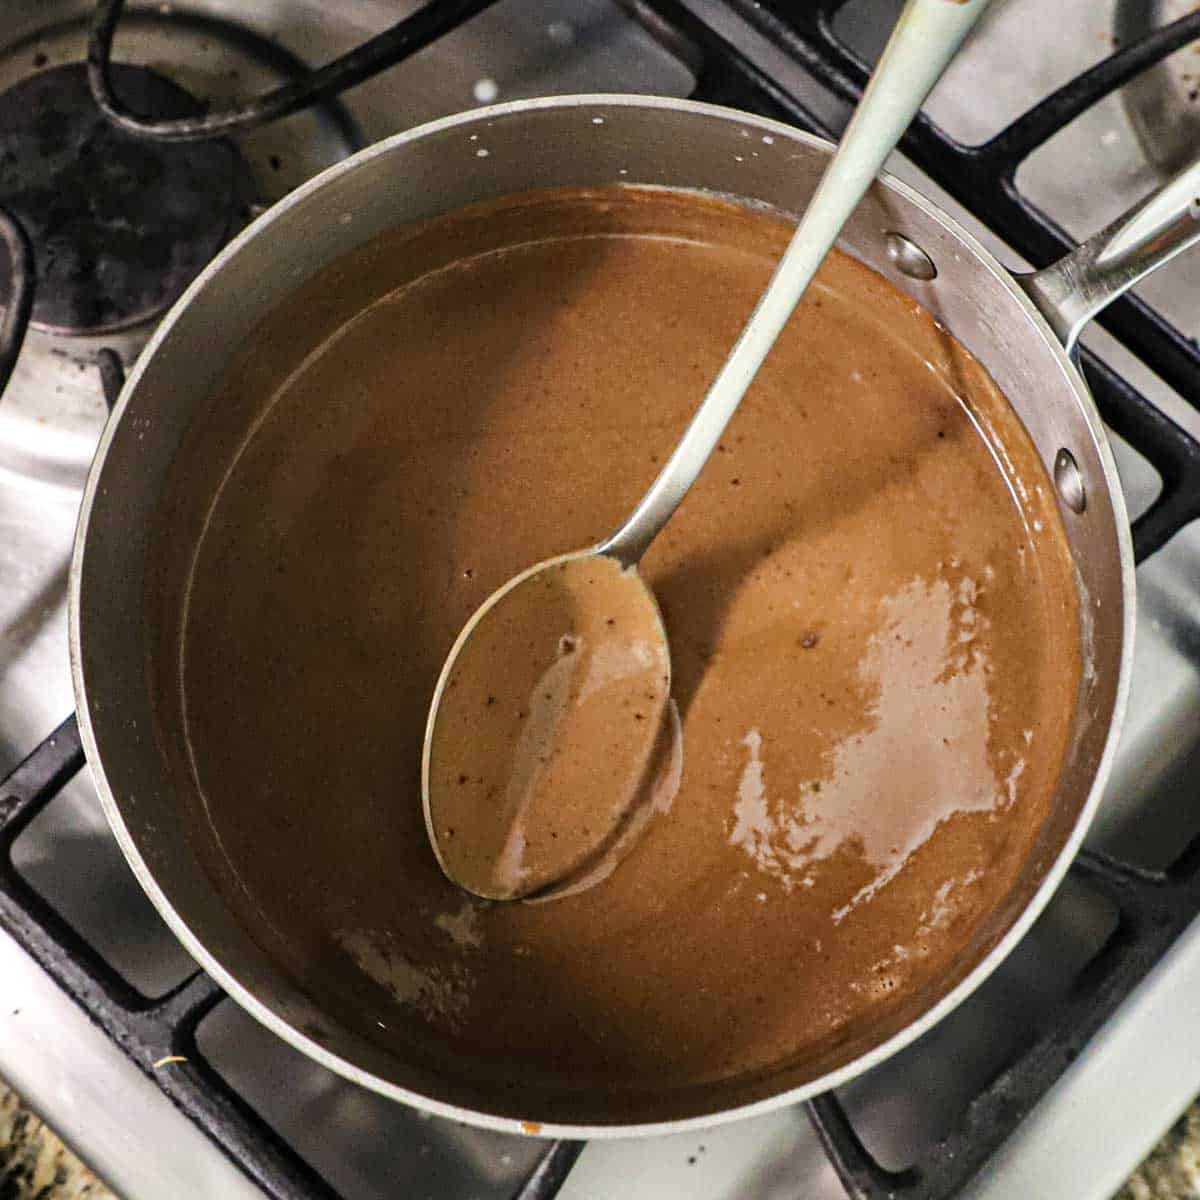
- Step 5: Cover and chill overnight in the fridge. Use a spoon to remove any congealed fat on the surface of the stock.
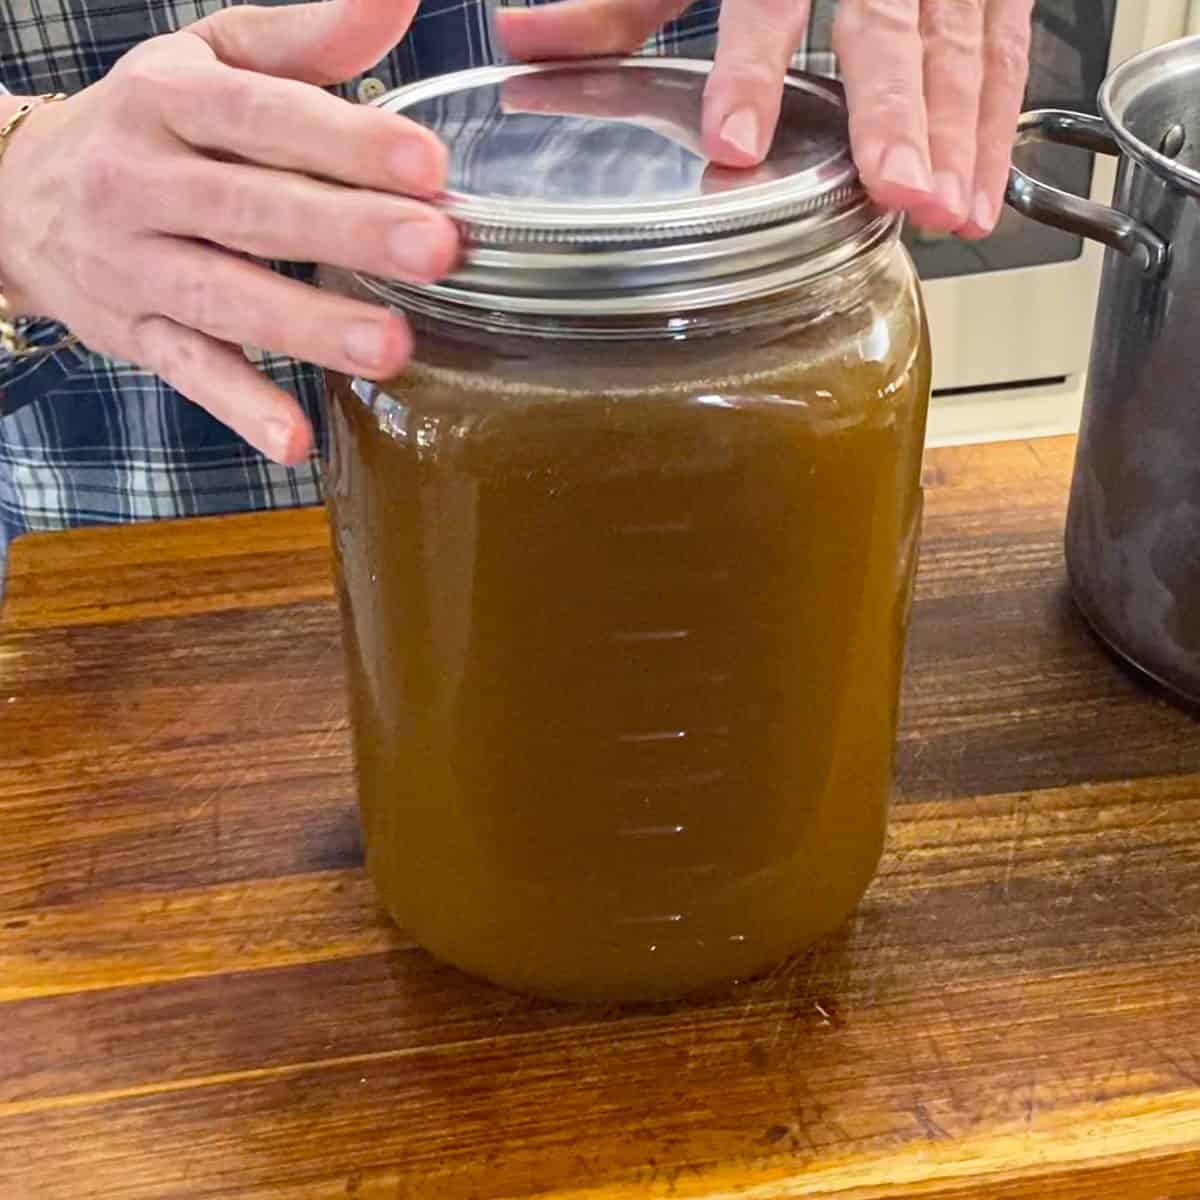
- Step 6: Transfer the stock to a large vessel (or vessels) and store until ready to use. See NOTES about freezing.
Expert Tip
For the smoothest, silkiest stock, strain it twice—first through a regular colander to remove large pieces, then again through a fine-mesh sieve or cheesecloth to catch any tiny bits and achieve a beautifully clear, refined finish.
🍲 How to Use Roasted Turkey Stock
- Soups & Stews: Use as a rich, flavorful base for turkey noodle soup, vegetable soup, or hearty stews.
- Gravy: Elevate your Thanksgiving or holiday gravy with the deep, roasted flavor of homemade stock.
- Risotto or Rice Dishes: Swap out water or store-bought broth for this stock to add incredible depth.
- Mashed Potatoes: Replace some of the milk or cream with warm stock for lighter, more flavorful potatoes.
- Sauces & Pan Juices: Deglaze roasting pans or enhance pan sauces for poultry or roasted pork.
- Casseroles: Add moisture and flavor to stuffing, pot pies, or any baked comfort dish.
- Freezer Staple: Freeze in portions to have homemade stock ready for quick weeknight meals all winter long.
🙋🏽♂️ Frequently Asked Questions
It will keep for about 4 to 5 days in an airtight container. For longer storage, freeze it for up to 3 months.
Yes, but roasting adds a deeper, richer flavor and color. If you skip this step, your stock will be lighter and milder.
Yes, breaking the bones into smaller pieces helps them fit in the pot and allows more flavor to extract during simmering.
Absolutely! Both methods work well—just adjust the simmering time. Slow cookers develop great flavor over several hours, while pressure cookers reduce the time significantly.
It’s up to you! Skimming off the fat gives a cleaner stock, but leaving a bit adds richness and body, especially for soups or gravies.
🥩 Other Amazing Broth or Stock Recipes
Ready to take your soups, dressing, casseroles, and more to the next level? Go for it!
And when you do, take a photo of the stock, post it on Instagram, and tag @HowToFeedaLoon and hashtag #HowToFeedaLoon!
Homemade Roasted Turkey Stock
Equipment
- 1 Large roasting pan.
- 1 large stock pan
- 1 Colander and a fine-mesh sieve
Ingredients
- 3 to 4 lb turkey bones carcass broken down, if possible (See NOTES)
- 2 large onions quartered, skins left on
- 2 large carrots roughly cut, no need to peel the skin
- 3 stalks celery
- 2 tablespoon olive oil
- salt and pepper
- 4 sprigs thyme fresh
- 4 sprigs Italian parsley
- ¼ cup black peppercorns
Instructions
- Preheat oven to 450°F.
- Place turkey bones, onions, carrots, and celery in a large roasting pan. Drizzle on some of the oil and liberally sprinkle with salt and pepper. Toss to coat, adding a little more oil, salt, and pepper, if needed.3 to 4 lb turkey bones, 2 large onions, 2 large carrots, 3 stalks celery, 2 tablespoon olive oil, salt and pepper
- Roast for 40 minutes, carefully stirring the bones and veggies after 20 minutes.
- Transfer the roasted bones and veggies to a large stock pot. Add enough water to cover by about 2 inches, usually about 1 gallon.
- Add the thyme, parsley, and peppercorns to the pot.4 sprigs thyme, 4 sprigs Italian parsley, ¼ cup black peppercorns
- Gently simmer over medium heat for 4 hours, skimming any impurities that may appear on the surface.
- Remove most of the bones from the stock before straining. This makes straining easier.
- Carefully strain the stock into another large pot through a colander. Discard the solid items. If desired, strain again through a fine-mesh sieve or a colander lined with cheesecloth.
- Cover the stock and place it in the fridge (on a hot pad) for 3 to 4 hours, or even better, overnight. Remove from the fridge and use a spoon to skim congealed fat from the surface of the stock.
- Use at once, or store in air-tight containers. Store in the refrigerator for up to 1 week, or freeze for up to 3 months.
Video
Notes
- Break down the carcass: Try to break the turkey carcass into smaller pieces before roasting or simmering—this helps it fit better in the pot and allows more surface area to release flavor and collagen.
- Don’t skip roasting: Roasting the bones and vegetables first adds incredible depth and a rich, golden color to your stock.
- Simmer gently: Keep the stock at a low simmer (not a boil) to extract flavor without clouding the broth.
- Strain twice for clarity: For the smoothest, silkiest stock, strain once through a colander and again through a fine-mesh sieve or cheesecloth.
- Storage tip: Cool completely before refrigerating or freezing. The stock will keep for up to 7 days in the fridge or 3 months in the freezer.